This survey will take about 1 minute.
Your answers will help us to improve our website.
Elden Ring Nightreign
Raider Best Build, Weapons, and Relics Guide
★ Team up using our Multiplayer Board!
☆ The Forsaken Hollows DLC: Scholar | Undertaker
★ The Great Hollow Guide and Rewards
☆ New Bosses: Balancers | Dreglord
★ Best Class Tier List and Best Teams
☆ How to Unlock Forsaken Hollows DLC
This is a Raider build guide for Elden Ring Nightreign. See the best build, weapons, and relics for Raider, as well as his playstyle, and character profile here!
| Raider Character Pages | ||
|---|---|---|
| Build | Remembrance | Skins |
List of Contents
Best Raider Build
| Jump to a Section! | |||||
|---|---|---|---|---|---|
| Weapons | Relics | Dormant Powers | |||
| Items | Talismans | ||||
Raider Best Weapons
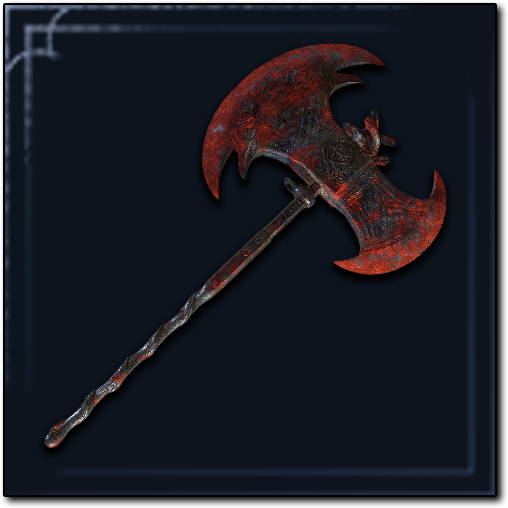 Rotten Greataxe Rotten Greataxe
|
Minimum Level: 3 Attack Scaling: Strength Damage Type: Physical, Scarlet Rot |
|---|---|
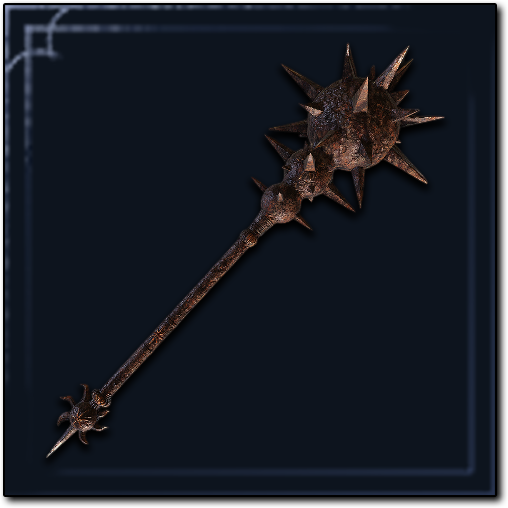 Great Stars Great Stars
|
Minimum Level: 3 Attack Scaling: Strength Damage Type: Physical, Bleed |
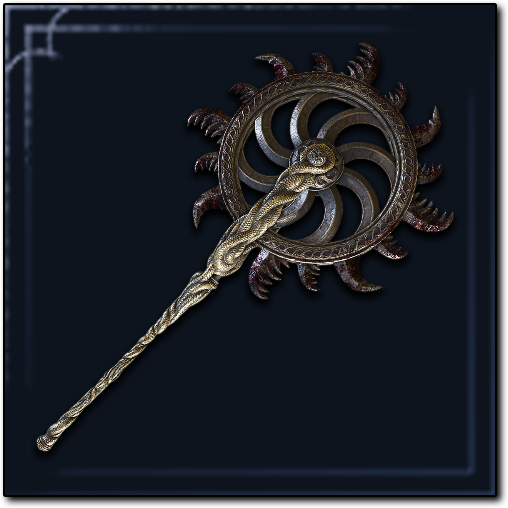 Ghiza's Wheel Ghiza's Wheel
|
Minimum Level: 7 Attack Scaling: Strength Damage Type: Physical, Bleed |
Status Effects like Scarlet Rot and Bleed are some of the most powerful sources of damage in Nightreign. For Raider, the Rotten Greataxe is a good choice for the Scarlet Rot effect that procs with just a few hits, continuously dealing damage over time. This is especially effective against bosses with large health pools, such as the Nightlords.
The Great Stars Great Hammer is another great option for its Bleed effect, especially when dual-wielded if you happen to find two of them. Using the dual-wield Power Stance attacks effectively doubles the Bleed buildup that you get, bursting enemies for huge damage with a few Power Stance swings.
Among purple-rarity drops, Ghiza's Wheel stands out for its high base physical damage, excellent reach, and Bleed buildup potential. Its heavy attacks can effectively deal Bleed procs consistently with its spinning wheel effect.
Best Weapon Passives for Raider
| Best Passives for Offense | |
|---|---|
| Improved Attack Power When Two-Handing | Improved Stance-Breaking When Two-Handing |
| Alternative Offense Option | |
| Attack Up When Wielding Two Armaments | |
| Best Passives for Defense | |
| Taking Damge Boosts Damage Negation | |
For Weapon Passives, prioritize those that boost offense while Two-Handing. As Raider, you will usually wield a big weapon with both hands for extra damage. Improved Attack Power increases overall damage, while Improved Stance-Breaking helps stagger bosses, opening them up for critical hits.
Alternatively, if you are building two weapons for dual-wielding and using Power Stance attacks, your damage output will hugely increase using the Attack Up when Wielding Two Armaments instead.
Note: Two-Handing is when you use both hands on one weapon. Two Armaments, is when you have a unique weapon on each hand, which can be Power Stanced (unique moveset) if they are the same weapon type.
For defense, Taking Damage Boosts Damage Negation is a great fit, as you’ll often be taking hits due to your close-range playstyle and the nature of Retaliate, which requires absorbing damage to dish it back. The added damage negation significantly improves your survivability.
Weapon Passives Will Still Apply Even if Not Using Them
Weapon passives apply as long as the weapon is in your inventory, even if you're not actively using it. Exceptions to this rule are weapons that have a hand icon on their passives. These weapons must be equipped for the passives to take effect.
Be sure to fill your inventory with useful passives, even from random weapons you won't use, if the effect suits the build so you don't waste an inventory slot.
Raider Best Relics
| Best Relics for Raider | |
|---|---|
| DPS | Tank |
Best Relics for Raider (DPS)
| Recommended Relic Rites (DPS) | |
|---|---|
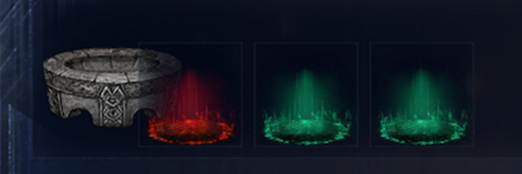 Raider's Urn |
|
| Relics | Effects |
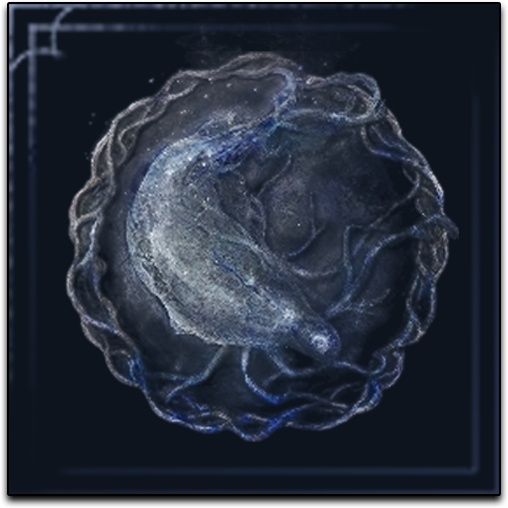 Night of the Fathom Night of the Fathom
|
• Increased Maximum HP • Flask Also Heals Allies • Items confer effect to all nearby allies |
 Night of the Beast Night of the Beast
|
• Stamina recovers with each successful attack +1 • Starting armament deals fire damage |
| Grand Tranquil Scene |
• Endurance +3 • Physical Attack Up • Improved Stance-Breaking when Two-Handing |
| Alternate Raider Relic Passives | |
| • Standard attacks 1 level stronger • Boosts Attack Power of Added Affinity Attacks • Critical Hit Boosts Stamina Recovery Speed • Improved Critical Hits |
|
Night of the Beast is a must-have for DPS-focused Raiders, as each swing restores a bit of Stamina. It's especially effective when Dual-Wielding, as one Power Stanced attack, has both your weapons hit, triggering the Stamina refill twice. This keeps your stamina up and lets you stay aggressive. You get this after defeating the Tricephalos Nightlord.
To pair with it, Night of the Fathom, while typically used by Tanks, is still excellent for you and the entire team even if you're the main damage dealer. It gives a massive HP boost for survivability in the fight and helps save resources for your team. This is the reward after defeating the Augur Nightlord.
For random Relics, the best effects to look out for are bonus Endurance, Physical Attack Up, and Improved Stance-Breaking when Two-Handing. Endurance is the highest priority, granting more stamina for attacks and dodges. This helps you maintain a high hit rate and damage output, allowing you to finish off enemies and bosses more quickly.
Any passive effects that boost attack power and enhance Critical Hits are also good for dishing out more damage, especially for affinity attacks such as Bleed, Scarlet Rot, and Frostbite.
Best Relics for Raider (Tank)
| Recommended Relic Rites (Tank) | |
|---|---|
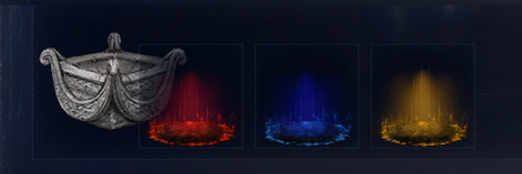 Raider's Goblet |
|
| Relics | Effects |
|
Night of the Fathom
|
• Increased Maximum HP • Flask Also Heals Allies • Items confer effect to all nearby allies |
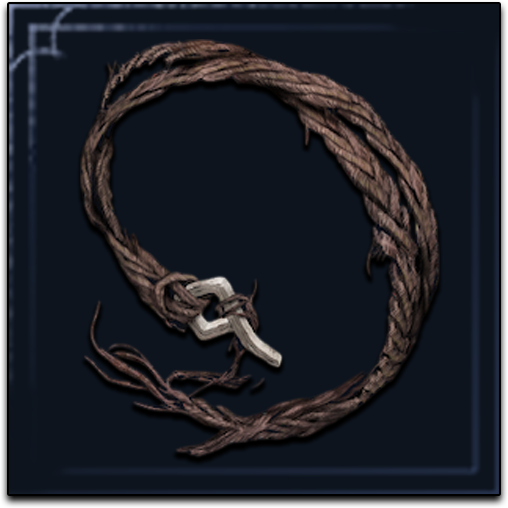 Torn Braided Cord Torn Braided Cord
|
• [Raider] Damage taken while using Character Skill improves attack power and stamina • Strength +3 |
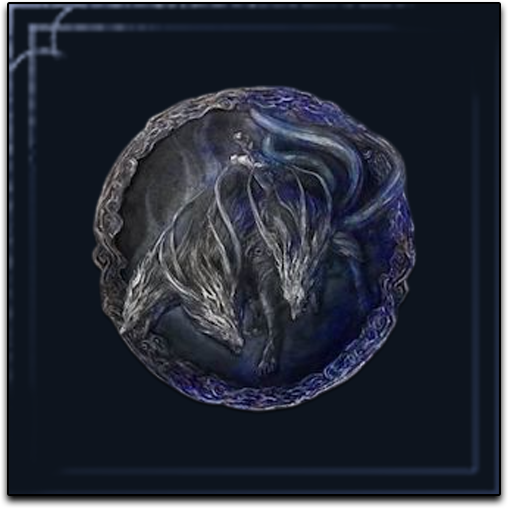
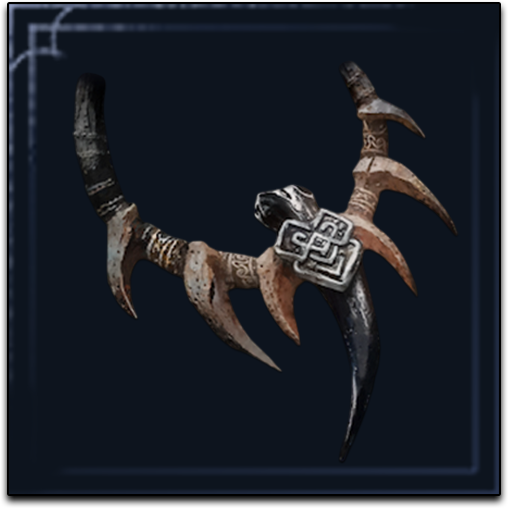 Black Claw Necklace Black Claw Necklace
|
• Defeating enemies near Totem Stela restores HP • Defeating enemies fills more of the Art gauge • Poise +3 |
Night of the Fathom, which you get after defeating the Augur Nightlord, is one of the best Relics in the game. As the party's tank, the HP boost it provides is massive, making you harder to kill. You also greatly support your team since healing and using items on yourself applies to your teammates, saving on flasks and consumables.
The unique Torn Braided Cord Relic from Raider’s first Remembrance quest is ideal and a guaranteed reward. It grants bonus Strength for increased damage and provides a powerful buff after absorbing hits with the Retaliate skill, boosting both attack power and stamina to amplify your offensive output further.
To complete the tank Relic setup, the Black Claw Necklace, the reward for completing all Raider's Remembrances, is perfect. It lets Totem Stela heal you on enemy kills and recharge faster. The +3 Poise bonus also helps prevent staggering, making you a sturdier bulwark for your team.
You Can Also Use the Raider's Chalice Vessel Instead
| Alternative Relic Vessel | |
|---|---|
 Raider's Chalice |
If you happen to have any of Raider's best bonus effects on another red Relic instead of green or yellow, you can equip Raider's Chalice and slot in two red ones instead.
The final slot is universal, allowing you to mix and match the Torn Braided Cord, Black Claw Necklace, or Night of the Beast. The Raider's Chalice is rewarded after completing all of Raider's Remembrances.
Note: This entirely depends on the rolls you get for Relics. Use Raider's Urn or Raider's Goblet if you have better effects on green or yellow Relics respectively.
Raider Remembrance Quest Guide
Raider Best Dormant Powers
| Stamina Boosting Dormant Powers | |
|---|---|
| Increased Maximum Stamina | Improved Stamina Recovery | Best Dormant Powers for Offense |
| Improved Physical Attack Power | Improved Stance-Breaking | Best Dormant Powers for Defense |
| Improved Flask HP Restoration | Increased Maximum HP |
| Improved Physical Damage Negation | |
Stamina is always one of the best stats to boost for Raider, letting you swing your heavy weapons more often and dodge safely, so always make it a priority.
For offense, Physical Attack Power and Stance-Breaking boosts are top picks, increasing raw damage and improving stagger potential, just like the best weapon passives and Relics we recommend.
Defensively, Improved Flask HP Restoration is S-tier for any Nightfarer, helping you conserve flasks during long boss fights. Increased Max HP and Physical Damage Negation are also great, effectively giving you more durability on the front lines.
Raider Best Consumable Items
| Item | Effect |
|---|---|
 Boiled Crab Boiled Crab
|
Greatly boosts physical damage negation for a certain duration. |
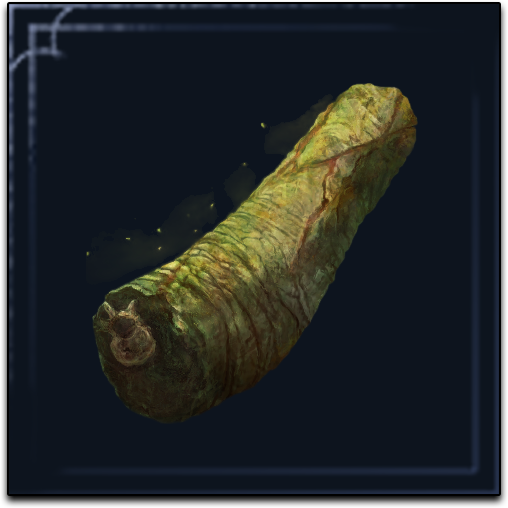 Pickled Turtle Neck Pickled Turtle Neck
|
Temporarily boosts stamina recovery. |
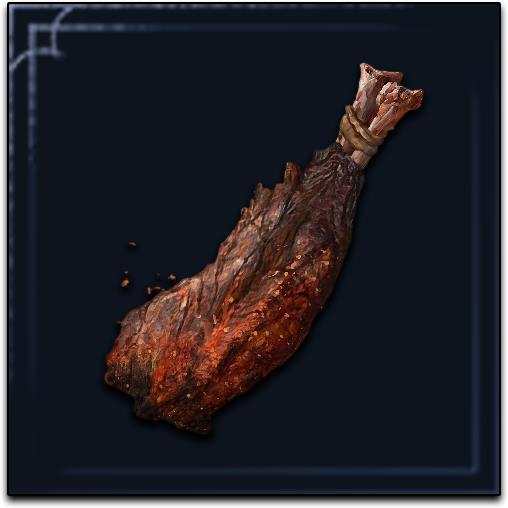 Exalted Flesh Exalted Flesh
|
Temporarily boosts physical attack. |
Boiled Crabs are one of the highest value consumable items for its huge boost in defense. As Raider, you are on the frontlines and will likely take a lot of physical hits. The Boiled Crabs allow you to shrug off a bit more damage before having to heal.
Pickled Turtle Necks and Exalted Flesh help your offense by increasing your stamina recovery and physical attack respectively. Stamina boosts are always valuable for Raider, and increasing the damage of your already hard-hitting weapons lets you deal even more devastating blows.
Raider Best Talismans
| Talisman | Effect |
|---|---|
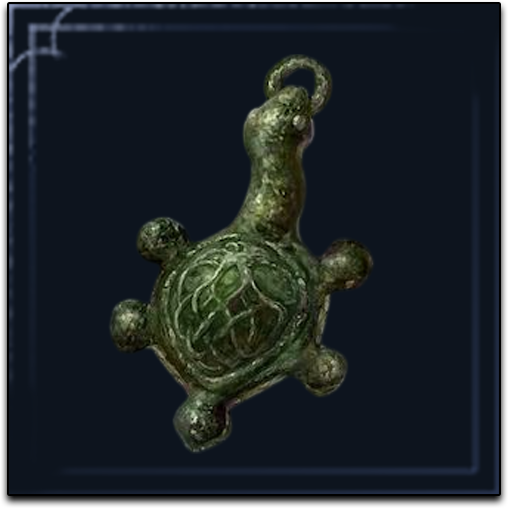 Green Turtle Talisman Green Turtle Talisman
|
Raises stamina recovery speed. |
 Dragoncrest Shield Talisman Dragoncrest Shield Talisman
|
Boosts physical damage negation (+15%) |
The Green Turtle Talisman is excellent for any melee-focused character, especially Raider, who uses some of the most Stamina-consuming weapons. In line with the Stamina-boosting theme, it’s the best talisman for improving Stamina efficiency.
The Dragoncrest Talisman is also a strong choice for front-line defense, reducing physical damage taken by a whopping 15%. This can help conserve healing Flasks during tougher encounters.
How to Play Raider
| How to Play Raider |
|---|
|
|
Stay Close to Enemies
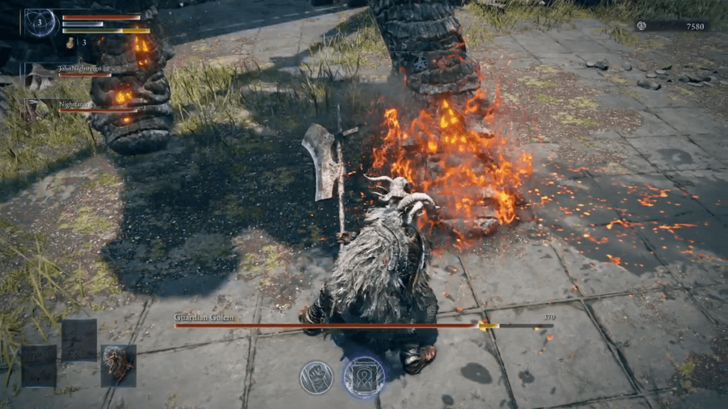
The Raider excels in close-quarters combat, thanks to his ability to wield large, heavy weapons, as well as his Retaliate skill. As such, jump into the fray head-on and stick close to enemies to take advantage of the damage that he can dish out.
Though he is not as tanky as the Guardian, the Raider can serve as a tank of sorts and pull aggro away from his teammates. Stay close to the enemy to give your teammates the opportunity to deal damage.
Use Retaliate on Cooldown
Retaliate is an important part of the Raider's kit and can be used to stagger even bosses. Whenever you see an enemy about to perform a powerful move, prioritize using Retaliate instead of blocking or dodging, as your Retaliate gets empowered whenever you receive damage, and you won't get knocked back thanks to Fighter's Resolve.
Reserve Totem Stela for Boss Fights
Totem Stela is terrific to use in boss fights for its versatile utility. Defensively, you can use it in sticky situations since you are invulnerable while casting it. Excellent for when you need to revive allies who are surrounded by enemies or a boss.
Offensively, it has great damage, and even better, it can stagger any boss in the game on hit. This is especially useful when you want to stun a boss charging up a dangerous attack, such as Maris, Fathom of Night's Sleep Attack.
Other than its utility, stagger, and attack buffs, ranged characters like Recluse or Ironeye can use the gravestone to attack from a safe distance. It can also block attacks, so you can use it as a wall or platform when reviving or healing.
Manage Your Stamina Bar
Stamina management is crucial, not just for attacking but especially for dodging. Always try to keep a bit of stamina in reserve so you're ready to dodge or sprint when needed.
It’s easy to burn through your entire stamina bar when repeatedly attacking with Raider’s weapon preferences of Great Hammers, Greataxes and Colossal Weapons, which consume a large amount of stamina per swing.
Only empty your stamina bar when you're confident it will secure a kill or land a critical hit. Otherwise, back off briefly to recover stamina before re-engaging. This is especially important in earlier levels, when your stamina bar is much smaller.
Raider Character Information
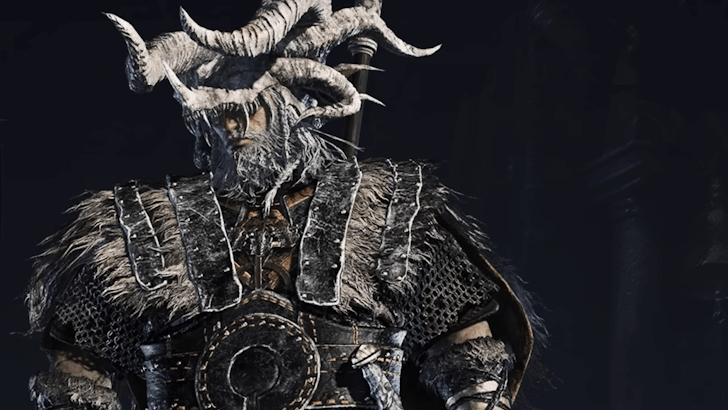 A powerful sea-farer who favors enormous weapons. |
|||
| Preferred Weapon | Greataxes, Great Hammers, Colossal Weapons | ||
|---|---|---|---|
| HP | FP | Stamina | Strength |
| A | D | A | S |
| Dexterity | Intelligence | Faith | Arcane |
| C | D | D | C |
Raider Ranking
| Tier List Ranking |
|---|
High-Damaging Defensive Abilities
Raider’s abilities excel at both absorbing damage and striking back, making them ideal for combining defense and offense. Both his Retaliate skill and Totem Stela ultimate can deal massive damage while also protecting you and your team.
Powerful But Hard to Master Weapons
Raider brings massive damage and stagger potential, but his preference of slow and stamina-heavy weapons can make the early game feel clunky and punishing. With practice using heavy weapons, he becomes a powerful threat to any enemy, especially in the mid-late game.
Raider Abilities
Raider Passive Ability - Fighter's Resolve
Fighter's Resolve - Cannot be knocked down while using Retaliate. |
Raider's Passive Ability, Fighter's Resolve, is tied directly to his Character Skill Retaliate. Whenever the Raider uses Retaliate, they cannot be knocked down by enemy attacks, allowing them to perform the skill even after getting hit.
Additionally, during the Retialite animation, Raider cannot die. If you take fatal damage, you'll survive with 1 HP instead of die. This gives you an opportunity to get away and heal, further highlighting Raider's excellent survivability.
Raider Character Skill - Retaliate
Retaliate - Assume an attack stance and pummel vigorously. Enhanced based on the damage that you take while performing it. |
Raider's Character Skill, Retaliate, has the Raider assume an attack stance before performing an unarmed attack. Raider will receive reduced damage while performing this attack.
Although the the unarmed attack is initially weak, taking damage while performing Retaliate will enhance the attack. The enhanced attack has increased damage and stagger, which scales based on how much damage you took while performing Retaliate.
Retaliate Charges Up When You Take Enough Damage
When Raider takes enough damage, he'll start emitting white smoke from his body, indicating that Retaliate is charged up. On your next use of Retaliate, Raider charges up longer and will deal a blow with significantly more damage, poise damage, and have a larger area-of-effect.
Raider Ultimate Art - Totem Stela
Totem Stela - Summons a giant tombstone that deals damage, boosts nearby allies, and can be used as a platform. |
Raider's Ultimate Art, Totem Stela, summons a giant tombstone underneath where the Raider is standing. This tombstone deals damage to nearby enemies, and will stay on the field for a duration.
The damage also applies to reviving teammates, taking one bar off of their Near-Death gauge when hit by the tombstone. Moreover, the tombstone will buff nearby allies with additional attack power.
You are also completely invulnerable when casting the ultimate, making it an excellent defensive tool. Additionally, the tombstone can block enemy attacks. At the same time, allies can climb the tombstone and use it as a raised platform to rain attacks down on enemies, dodge attacks, or heal up before entering the fight again.
Raider Initial Equipment
 Raider's Greataxe Raider's Greataxe
|
Minimum Level: 1 Attack Scaling: Strength Damage Type: Physical |
|---|
Raider Stats
| HP | FP | Stamina | |
|---|---|---|---|
| Lvl 1 | 260 | 55 | 60 |
| Lvl 2 | 440 | 60 | 72 |
| Lvl 3 | 500 | 60 | 74 |
| Lvl 4 | 560 | 65 | 78 |
| Lvl 5 | 620 | 65 | 82 |
| Lvl 6 | 680 | 70 | 86 |
| Lvl 7 | 760 | 70 | 90 |
| Lvl 8 | 820 | 75 | 94 |
| Lvl 9 | 880 | 75 | 98 |
| Lvl 10 | 940 | 80 | 102 |
| Lvl 11 | 1000 | 80 | 106 |
| Lvl 12 | 1080 | 85 | 110 |
| Lvl 13 | 1120 | 85 | 114 |
| Lvl 14 | 1160 | 90 | 118 |
| Lvl 15 | 1200 | 95 | 122 |
Elden Ring Nightreign Related Guides
All Character Classes
 Wylder Wylder |
 Guardian Guardian |
 Duchess Duchess |
 Recluse Recluse |
 Ironeye Ironeye |
 Raider Raider |
 Executor Executor |
 Revenant Revenant |
 Scholar Scholar
|
 Undertaker Undertaker |
||
How to Unlock
| Duchess |
Revenant |
| Scholar |
Undertaker |
Comment
Author
Raider Best Build, Weapons, and Relics Guide
Please participate in our site
improvement survey
03/2026
improvement survey
03/2026
Would you assist in
improving Game8's site?
improving Game8's site?

×
We are listening to our users' valuable opinions and discussing how to act on them.
The information collected through this survey will be used for the purpose of improving our services. In addition, the information will only be disclosed a part of a statistic in a format that will not allow identification of personal information.
Begin Survey
Not Now
×
Please rate each item regarding Game8.co's Advertisements.
Amount of Ads
Very Dissatisfied
Somewhat Dissatisfied
Fine
Somewhat Satisfied
Highly Satisfied
Placement of Ads
Timing of Ad Display
Ad Loading Speed
Safeness of Ads
Content of Ads
×
Please rate each item regarding Game8.co's Quality of Articles.
Amount of information
Very Dissatisfied
Somewhat Dissatisfied
Fine
Somewhat Satisfied
Highly Satisfied
Frequency of updates
Speed of new information
Accuracy of articles
Understandibility of articles
Readability of sentences
×
Please rate each item regarding Game8.co's Usability of the Site.
Ease of finding information
Very Dissatisfied
Somewhat Dissatisfied
Fine
Somewhat Satisfied
Highly Satisfied
Loading Speed
Use of Color
Font Size
Visibility of Images
Easy to Understand Layout
×
Please rate each item regarding Game8.co's Message Boards, Comments.
Ease of Writing
Very Dissatisfied
Somewhat Dissatisfied
Fine
Somewhat Satisfied
Highly Satisfied
Readability
Ease in Finding Information
Comment Quality
Comment Quantity
Admin Response
×
Please rate each item regarding Game8.co's Site's new design.
Please rate our site's new design
Very Dissatisfied
Somewhat Dissatisfied
Fine
Somewhat Satisfied
Highly Satisfied
Do you think that the website's design change makes the site easier to use?
Has the new design made it easier for you to find information on the site?
Has the new design improved the overall visual appeal of the site?
How would you rate your overall satisfaction with the new design of the site?
×
How likely are you to recommend Game8 to someone you know?
Very Unlikely
0
1
2
3
4
5
6
7
8
9
10
Very Likely
If you have other opinions regarding potential improvement to the website, please share them with us. We would appreciate your honest opinion.
Note: This is a free response section, so you can proceed without entering anything.
Note: Please be sure not to enter any kind of personal information into your response.
Note: Please be sure not to enter any kind of personal information into your response.
×
Thank You
×
Thank you for participating in our survey! Your answers will help us to improve the quality of our website and services.
We hope you continue to make use of Game8.
We hope you continue to make use of Game8.
Close
Rankings
- We could not find the message board you were looking for.
Gaming News


![Everwind Review [Early Access] | The Shaky First Step to A Very Long Journey](https://img.game8.co/4440226/ab079b1153298a042633dd1ef51e878e.png/thumb)

![Monster Hunter Stories 3 Review [First Impressions] | Simply Rejuvenating](https://img.game8.co/4438641/2a31b7702bd70e78ec8efd24661dacda.jpeg/thumb)
Popular Games

Genshin Impact Walkthrough & Guides Wiki
Honkai: Star Rail Walkthrough & Guides Wiki
Umamusume: Pretty Derby Walkthrough & Guides Wiki
Pokemon Pokopia Walkthrough & Guides Wiki
Resident Evil Requiem (RE9) Walkthrough & Guides Wiki
Monster Hunter Wilds Walkthrough & Guides Wiki
Wuthering Waves Walkthrough & Guides Wiki
Arknights: Endfield Walkthrough & Guides Wiki
Pokemon FireRed and LeafGreen (FRLG) Walkthrough & Guides Wiki
Pokemon TCG Pocket (PTCGP) Strategies & Guides Wiki


Recommended Games
Diablo 4: Vessel of Hatred Walkthrough & Guides Wiki
Fire Emblem Heroes (FEH) Walkthrough & Guides Wiki
Yu-Gi-Oh! Master Duel Walkthrough & Guides Wiki
Super Smash Bros. Ultimate Walkthrough & Guides Wiki
Pokemon Brilliant Diamond and Shining Pearl (BDSP) Walkthrough & Guides Wiki
Elden Ring Shadow of the Erdtree Walkthrough & Guides Wiki
Monster Hunter World Walkthrough & Guides Wiki
The Legend of Zelda: Tears of the Kingdom Walkthrough & Guides Wiki
Persona 3 Reload Walkthrough & Guides Wiki
Cyberpunk 2077: Ultimate Edition Walkthrough & Guides Wiki


All rights reserved
© 2010 - 2024 Bandai Namco Entertainment Europe S.A.S
The copyrights of videos of games used in our content and other intellectual property rights belong to the provider of the game.
The contents we provide on this site were created personally by members of the Game8 editorial department.
We refuse the right to reuse or repost content taken without our permission such as data or images to other sites.