Smithing Stone 1 Locations
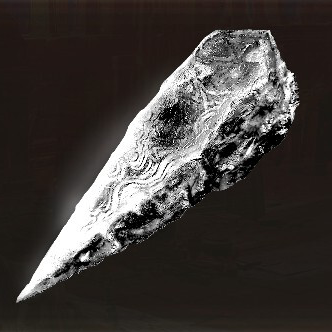
Smithing Stone 1 is a type of Bolstering Material found in Elden Ring. Read on to learn where to find Smithing Stone 1, its effect, lore description, and price!
List of Contents
Smithing Stone 1 Locations
Inside Limgrave Tunnels
| World View | Map Location |
|---|---|
 View Full Image |
 View Full Image |
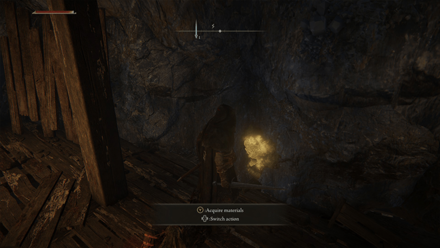
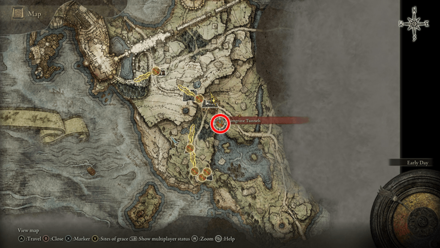
You can farm a total of eight Smithing Stone 1 in the early game inside the Limgrave Tunnels. Head northeast of the Church of Elleh and enter the tunnel below the cliffside to access the tunnels.
Pick Up the Glowing Spots
You can get Smithing Stones from the yellow glowing spots on the walls where the miners are digging. Defeating the miners also have a chance to drop Smithing Stones.
Limgrave Tunnels Location and What to Do
Dropped by Godrick Knights
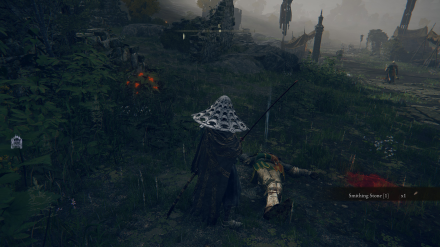
Godrick Knights have a chance to drop a Smithing Stone 1 when defeated. You can encounter several in the forest north of the Church of Elleh near Gatefront Ruins, Stormgate, and in Castle Morne.
Inside Morne Tunnel
| World View | Map Location |
|---|---|
 |
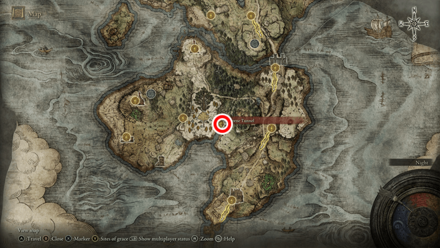 |
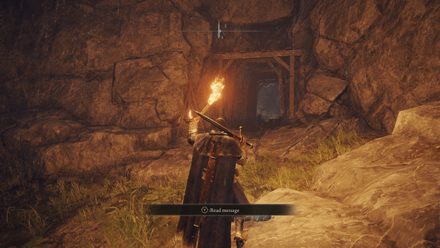
You can also farm for more Smithing Stones 1 at the Morne Tunnel in the Weeping Peninsula east of the Tombsward Site of Grace. Take note that enemies in this area are stronger than the ones in Limgrave Tunnels.
Morne Tunnel Location and What to Do
Near the Gravestones in Summonwater Village
| Map Location |
|---|
 View Full Image |
You can find a Smithing Stone 1 on a dead body near the flooded gravestones in Summonwater Village.
Summonwater Village Location and What to Do
Northeast of the Warmaster's Shack
On an unmarked area northeast of the Warmaster's Shack, you can find plenty of giant trolls roaming around. If you let one of them destroy the statue in the area, you can obtain plenty of Smithing Stones 1 and Smithing Stones 2.
Warmaster's Shack Location and What to Do
Purchase From a Merchant
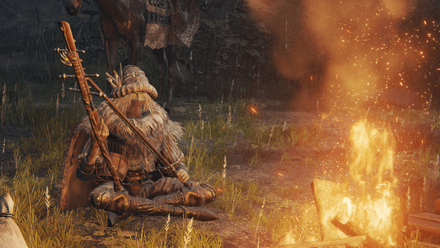
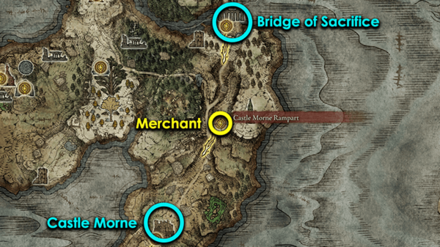
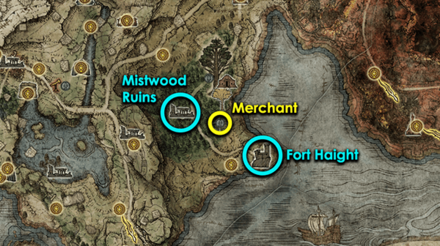
Smithing Stone 1 can be purchased from the following merchants:
| Merchant | Map Location | Price |
|---|---|---|
 Twin Maiden Husks Twin Maiden Husks
|
 |
800 Runes |
 Nomadic Merchant (Weeping Peninsula) Nomadic Merchant (Weeping Peninsula)
|
 |
200 Runes |
 Nomadic Merchant (Limgrave East) Nomadic Merchant (Limgrave East)
|
 |
200 Runes |
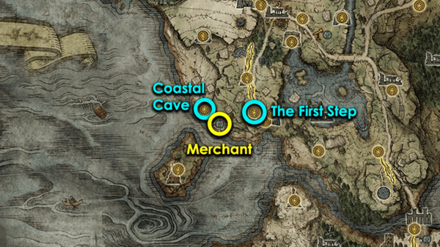
 Nomadic Merchant (Limgrave West) Nomadic Merchant (Limgrave West)
|
 |
200 Runes |
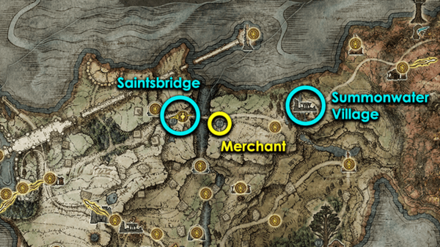
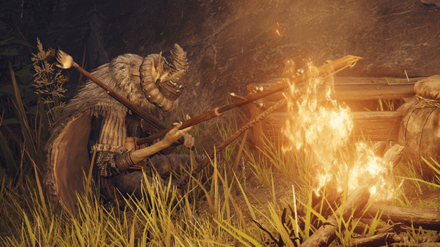 Nomadic Merchant (Limgrave North) Nomadic Merchant (Limgrave North)
|
 |
200 Runes |
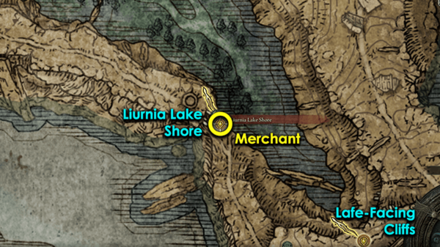
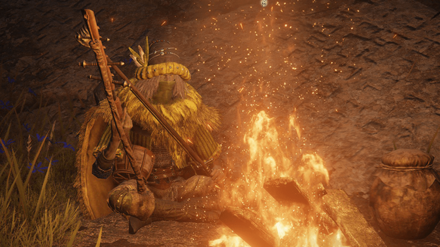 Nomadic Merchant (Liurnia Lake Shore) Nomadic Merchant (Liurnia Lake Shore)
|
 |
200 Runes |
Note that the Smithing Stone 1 is only available for purchase after offering the Smithing-Stone Miner's Bell Bearing 1 to the Twin Maiden Husks in Roundtable Hold.
You can obtain the bell bearing after defeating the Crystalian at the Raya Lucaria Crystal Tunnel.
Raya Lucaria Crystal Tunnel Location and What to Do
Smithing Stone 1 Overview
Smithing Stone 1 Effect
 Smithing Stone 1 Smithing Stone 1
|
|
| Effect | |
|---|---|
| Reinforce armaments up to +3 | |
| Type | Bolstering Material |
| Buy Price | Sell Price |
| 800 | Currently unknown |
Smithing Stone 1 Lore Description
| Lore Description |
|---|
|
"Stone used to smith a variety of armaments. A shard found in plenty. Strengthens armaments up to +3. Smithing stone is found throughout the Lands Between, and mining galleries built to excavate it can be found anywhere." |
Elden Ring Related Guides

How to Get All Smithing Stones
Smithing Stones Guides
Comment
Author
Smithing Stone 1 Locations
improvement survey
03/2026
improving Game8's site?

Your answers will help us to improve our website.
Note: Please be sure not to enter any kind of personal information into your response.

We hope you continue to make use of Game8.
Rankings
- We could not find the message board you were looking for.
Gaming News
Popular Games

Genshin Impact Walkthrough & Guides Wiki

Honkai: Star Rail Walkthrough & Guides Wiki

Umamusume: Pretty Derby Walkthrough & Guides Wiki

Pokemon Pokopia Walkthrough & Guides Wiki

Resident Evil Requiem (RE9) Walkthrough & Guides Wiki

Monster Hunter Wilds Walkthrough & Guides Wiki

Wuthering Waves Walkthrough & Guides Wiki

Arknights: Endfield Walkthrough & Guides Wiki

Pokemon FireRed and LeafGreen (FRLG) Walkthrough & Guides Wiki

Pokemon TCG Pocket (PTCGP) Strategies & Guides Wiki
Recommended Games

Diablo 4: Vessel of Hatred Walkthrough & Guides Wiki

Fire Emblem Heroes (FEH) Walkthrough & Guides Wiki

Yu-Gi-Oh! Master Duel Walkthrough & Guides Wiki

Super Smash Bros. Ultimate Walkthrough & Guides Wiki

Pokemon Brilliant Diamond and Shining Pearl (BDSP) Walkthrough & Guides Wiki

Elden Ring Shadow of the Erdtree Walkthrough & Guides Wiki

Monster Hunter World Walkthrough & Guides Wiki

The Legend of Zelda: Tears of the Kingdom Walkthrough & Guides Wiki

Persona 3 Reload Walkthrough & Guides Wiki

Cyberpunk 2077: Ultimate Edition Walkthrough & Guides Wiki
All rights reserved
ELDEN RING™ & ©BANDAI NAMCO Entertainment Inc. / ©2021 FromSoftware, Inc.
The copyrights of videos of games used in our content and other intellectual property rights belong to the provider of the game.
The contents we provide on this site were created personally by members of the Game8 editorial department.
We refuse the right to reuse or repost content taken without our permission such as data or images to other sites.
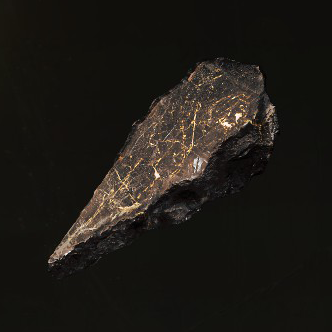 Smithing Stone 2
 Smithing Stone 3
 Smithing Stone 4
 Smithing Stone 5
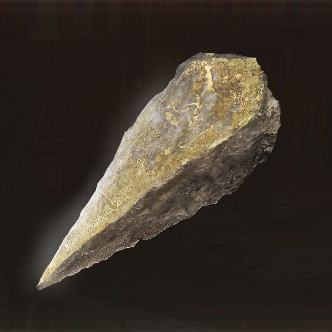 Smithing Stone 6
 Smithing Stone 7
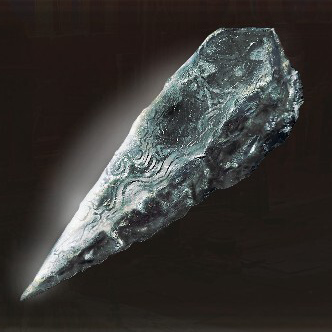 Smithing Stone 8
 Ancient Dragon Smithing Stone
 Somber Smithing Stone 1
 Somber Smithing Stone 2
 Somber Smithing Stone 3
 Somber Smithing Stone 4
 Somber Smithing Stone 5
 Somber Smithing Stone 6
 Somber Smithing Stone 7
 Somber Smithing Stone 8
 Somber Smithing Stone 9
 Somber Ancient Dragon Smithing Stone


