This survey will take about 1 minute.
Your answers will help us to improve our website.
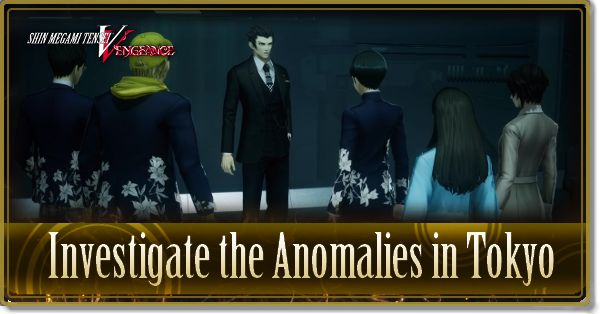
Shin Megami Tensei V: Vengeance (SMT V)
Investigate the Anomalies in Tokyo Main Quest Guide
This is a complete walkthrough for Investigate the Anomalies in Tokyo and its continuing quests in the Shinjuku Area, which are the tenth, eleventh, and twelfth Main Quests in Shin Megami Tensei V: Vengeance (SMT V). Read on for a detailed guide for each quest, general tips, and all Miman locations!
| ◀ Previous Quest | Next Quest ▶ |
|---|---|
| A Golden Opportunity | Rescue Miyazu Atsuta |
List of Contents
Investigate the Anomalies in Tokyo Walkthrough
Full Walkthrough
※ Select a Tab to see its its corresponding quest walkthrough! ※
Tokyo Anomalies
Salt Incidents
Angelic Ranks
| Objective | |
|---|---|
| 1 |  Start the Investigate the Anomalies in Tokyo Quest Start the Investigate the Anomalies in Tokyo QuestReturn to the Fairy Village after the previous quest and head to the Leyline Fount. Go back to the Medical Research Lab and talk to everyone to start the Main Quest, Investigate the Anomalies in Tokyo. |
| 2 | 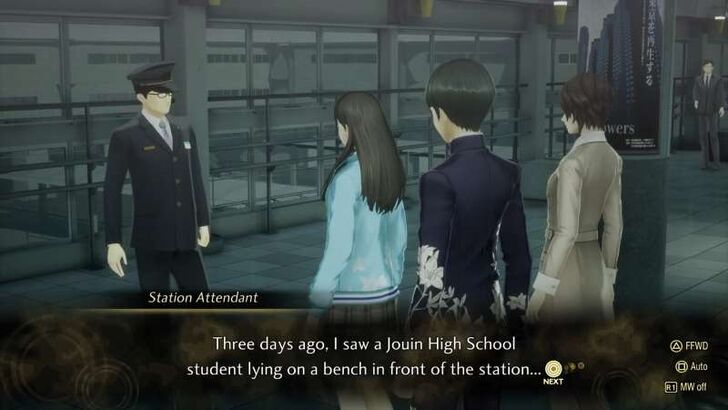 Go to Shinagawa Station Go to Shinagawa StationLeave the Medical Research Lab and head to Shinagawa Station. Go towards the quest marker and talk to the Station Attendant. |
| 3 | 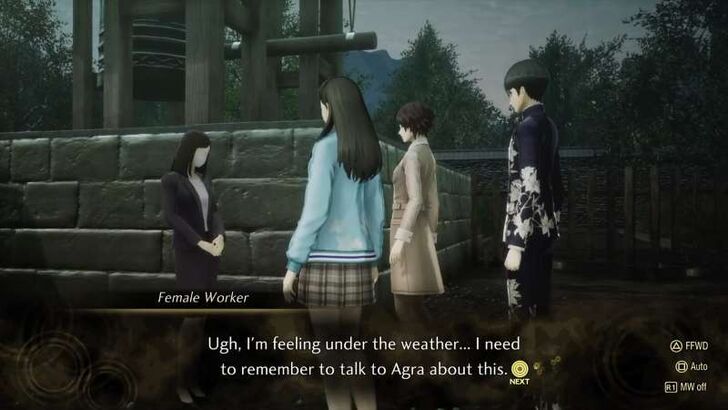 Head to Jozoji Temple Head to Jozoji TempleLeave the station and go to Jozoji Temple. Talk to the person indicated on the map. The subquest, Picture-Perfect Debut is also availble here. |
| 4 | 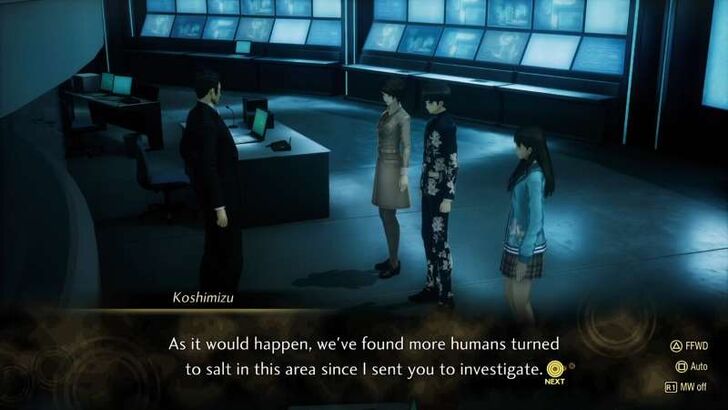 Return to the Medical Research Lab Return to the Medical Research LabReturn to the Medical Research Lab and a small cutscene will happen. Talk to Koshimizu to finish the Investigate the Anomalies in Tokyo main quest. After this, head back to the dorm and rest. |
| Objective | |
|---|---|
| 1 | 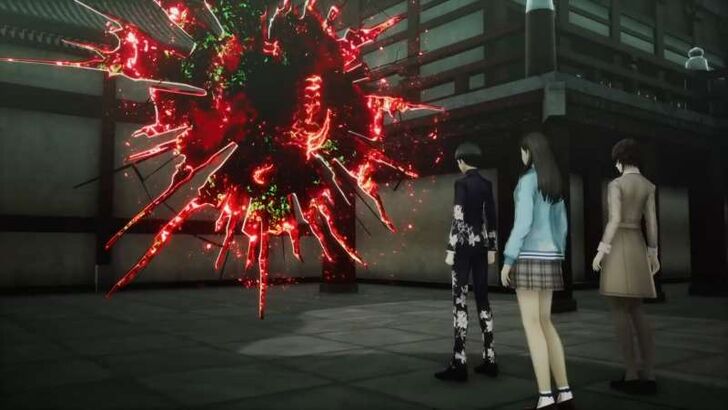 Start Investigate the Salt Incidents Quest Start Investigate the Salt Incidents Quest After waking up, head back to the Medical Research Lab and start the next quest, Investigate the Salt Incidents. After this, head to Jozoji Temple and talk to Tao to head to the next Da'at if you are ready. |
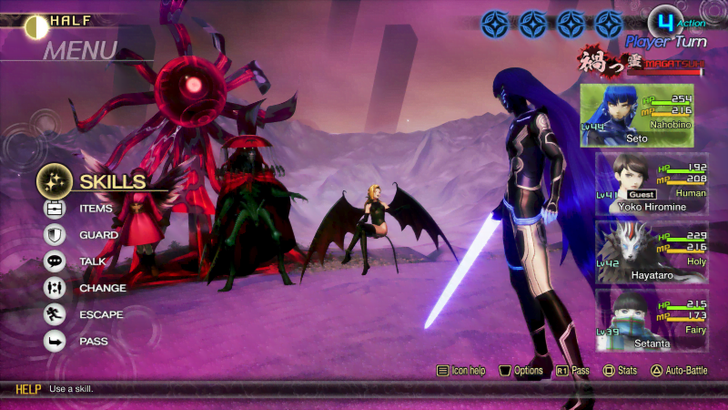
| 2 | 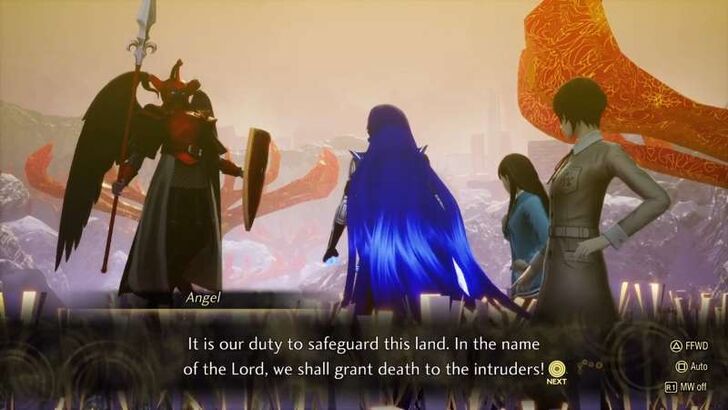 Explore Shinjuku Explore ShinjukuAfter arriving in Shinjuku, you will be fighting Power following a cutscene. After the battle, head inside the Demon Haunt via the Leyline Fount and talk to Aogami. |
| 3 | 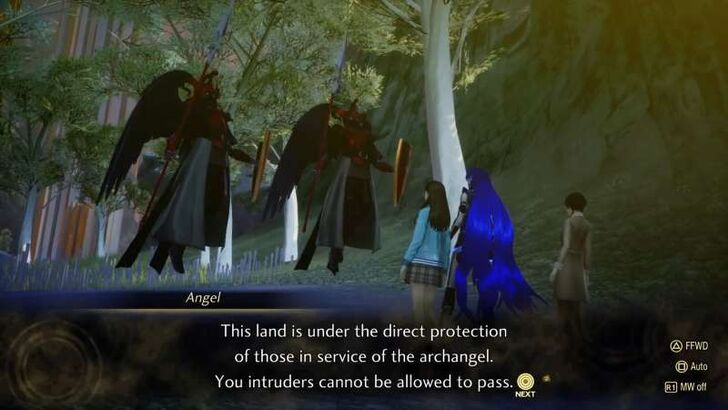 Head to the Quest Markers on the Map Head to the Quest Markers on the MapA new marker on the map will appear. Head to this location. The path is blocked and a new marker will appear. Head to the new marker down south. You can battle the Abscess in Shinjuku Gyoen on the way. Once you get to the marker, you will fight two Powers so be prepared for battle. |
| 4 | Destroy the Abscess in Sendagaya After the battle, a new quest marker will appear on the map. On the way there, you can destroy the Abscess in the Sendagaya area. Once the quest marker is reached, a short conversation event will occur, then you can go west to the next quest marker. |
| 5 | Quest is Left Incomplete Unfortunately, this quest won't be resolved until further in the game. You can start the next main quest after this with no worries. |
| Objective | |
|---|---|
| 1 | 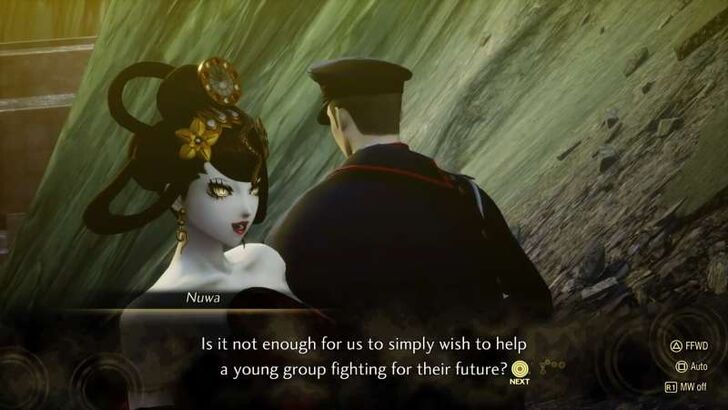 Start Breaking Angelic Ranks Quest Start Breaking Angelic Ranks Quest Approaching the marked location will result in a brief cutscene with Nuwa and Yakumo. After this, the main quest, Breaking Angelic Ranks will begin. Also, register the nearby Leyline Fount. |
| 2 | 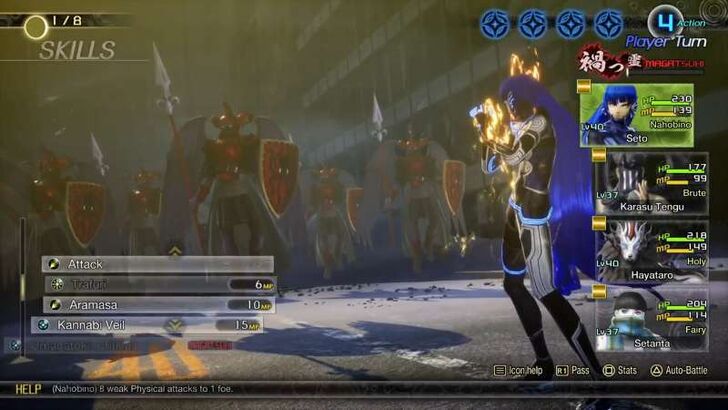 Consecutive Battles! Consecutive Battles!Go south and head to the next quest marker. Prepare for battle as you will fight four consecutive battles with Power, each battle with increasing Demons in number. |
| 3 | Destroy the Abscess in Yoyogi The next quest marker will be near the Shinjuku Gyoen Leyline Fount, but before this, destroy the Abscess in Yoyogi first. After this, fast travel to Shinjuku Gyoen's Leyline Fount using the one at Yoyogi. |
| 4 | 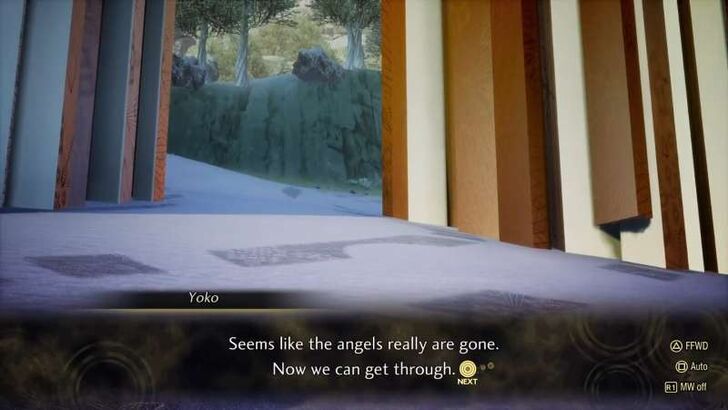 Finish the Quest Finish the QuestFrom the Shinjuku Gyoen Leyline Fount, head to the location marker up north. Once reached, the quest Breaking Angelic Ranks will be completed. |
| 5 | 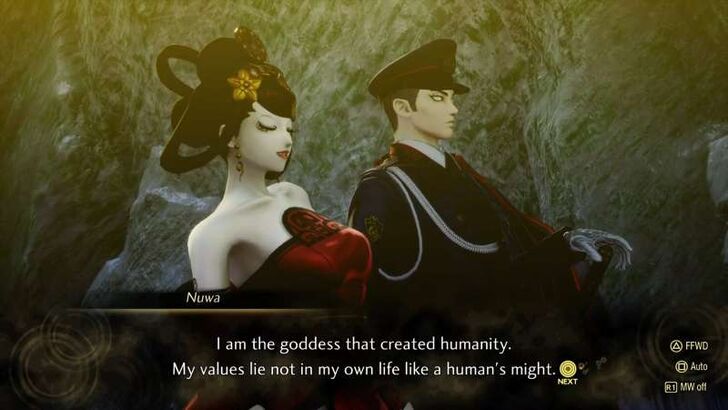 Talk to Nuwa and Yakumo Talk to Nuwa and YakumoReach the next quest marker that appeared on the map and this will lead to a conversation with Nuwa and Yakumo. Register Shinjuku 1st Block's Leyline Fount and head back to the Medical Research Lab. |
⬆️Jump to Investigate the Anomalies in Tokyo Walkthrough⬆️
Investigate the Anomalies in Tokyo General Tips
How to Defeat Power
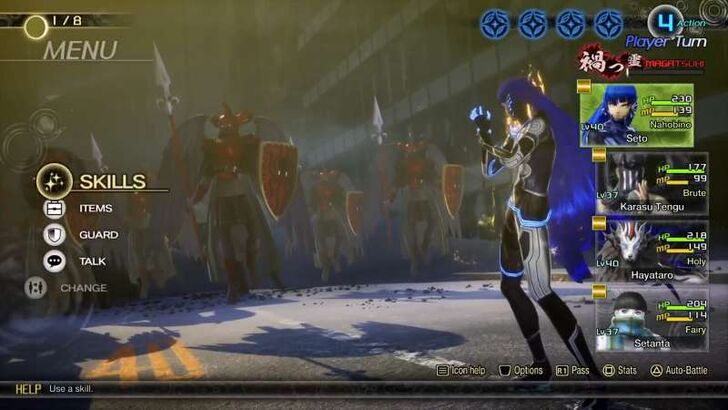
All throughout the main quest, you will be encountering Power as a boss. Power is not that strong as a demon, but it is noteworthy to know how to fight it properly.
Power is weak to Force and Dark skills so it is best to bring demons with these skills in their repertoire such as Karasu Tengu, Lilim, or Setanta.
All Abscess Locations and Strategy
※ Select a Tab to see each Abscess Location and Strategy! ※
Shinjuku Gyoen
Sendagaya
Yoyogi
 |
| Strategy |
|---|
| ・You will be facing against Muu Shuwuu, Kumbhanda, and Lilim in this battle. ・ Muu Shuwuu is weak to Fire, Kumbhanda is weak to Electricity and Lilim is weak to Light. ・Have Yoko Hiromine and Tao Isonokami in your line up plus one other demon with most of these skills. ・Be sure to take down Muu Shuwuu first as she uses recovery skills. |
 |
| Strategy |
|---|
| ・Here, you'll be fighting against Dormarth and Senri. ・Dormarth is weak to Force while Senri is weak to Electricity. ・You will need to defeat Senri first as he will continuously heal Dormarth and will use Sexy Dance on the whole party. |
 |
| Strategy |
|---|
| ・This abscess will spawn 2 Orthrus and 2 Lamia. ・Both are weak to Ice Skills. ・Have demons on your party that have strong Ice Skills such as Sukuna-Hikona, Forneus, or Naga Raja. |
⬆️Jump to All Abscess Locations and Guides⬆️
Investigate the Anomalies in Tokyo Miman Locations
50 New Shinjuku Mimans in Vengeance
| The locations for all Shinjuku Mimans is currently a work-in-progress. Check back later for the full list! |
Mimans in Shinjuku Gyoen, Sendagaya, and Jingu Gaien
※ Select a Tab to see its its corresponding Miman Locations ※
Shinjuku Gyoen
Sendagaya
Jingu Gaien
| Actual Location | Map Location | |
|---|---|---|
| 1 |  | 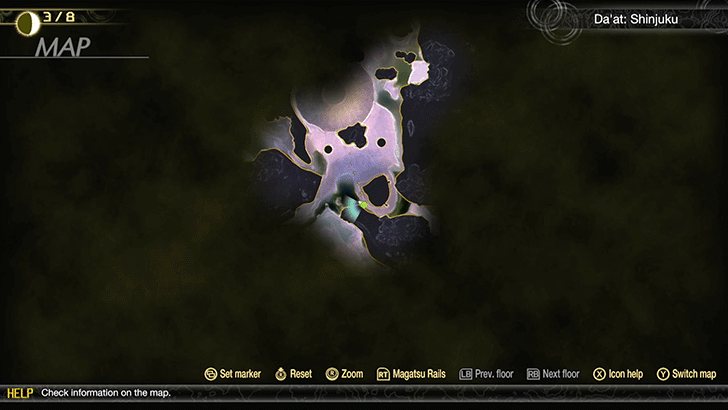 |
| Southwest of the Shinjuku Gyoen Leyline Fount, along the U-shaped path. | ||
| 2 |  | 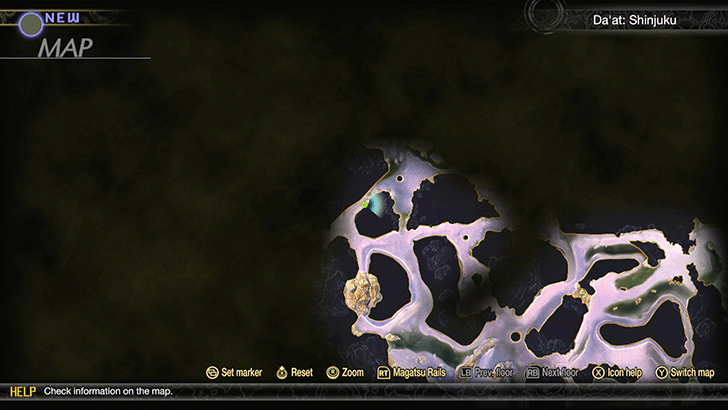 |
| Can be found on the west side of the pond. | ||
| 3 | 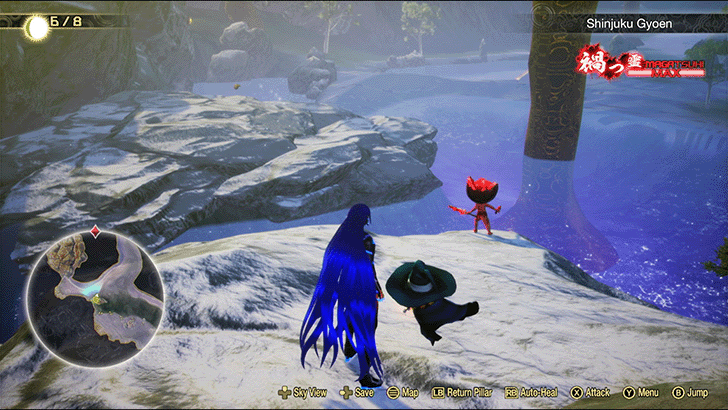 |  |
| Go up the hill and slide down the slope to get to this Miman. | ||
| 4 | 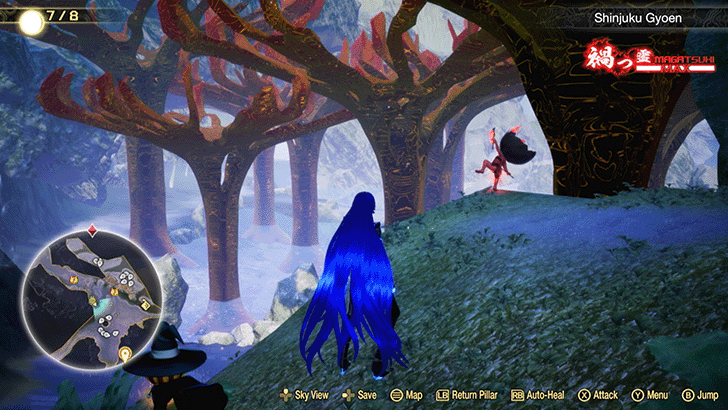 | 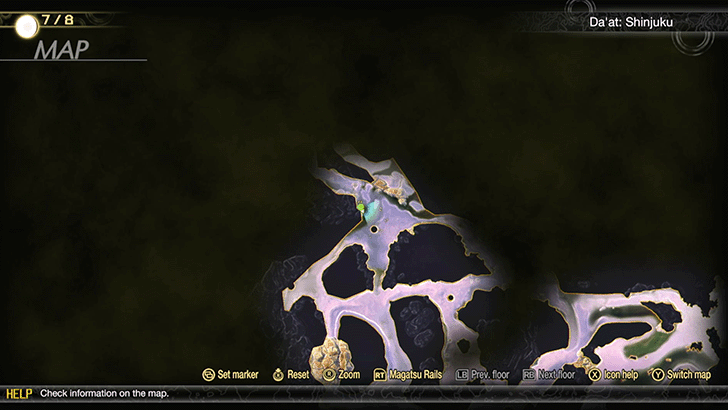 |
| On a ledge, west of the Demon Statue. | ||
| Actual Location | Map Location | |
|---|---|---|
| 5 | 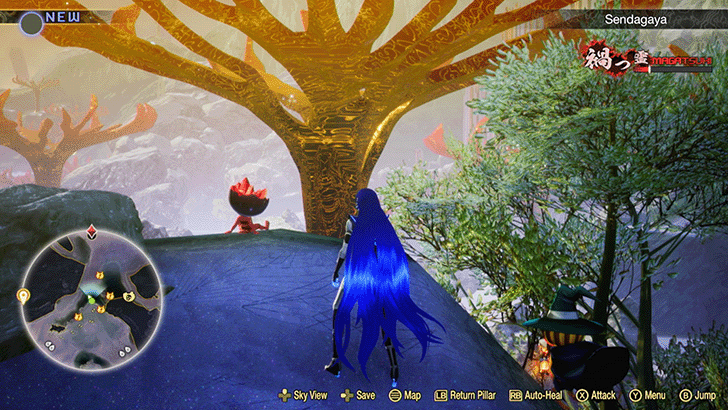 | 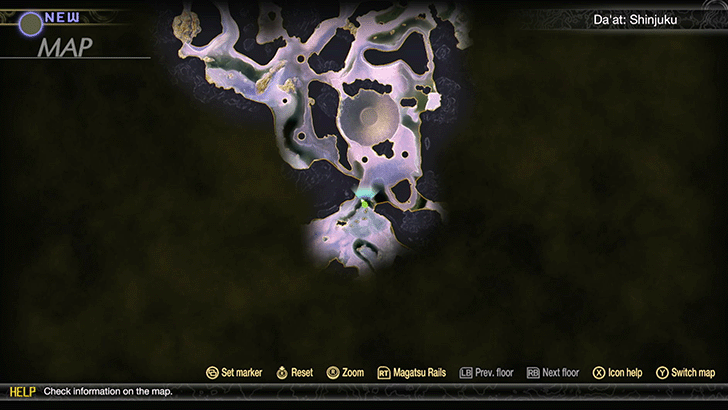 |
| After entering Sendagaya, go around the hill to your right and head north. You can find the Miman on the edge of the cliff. | ||
| 6 | 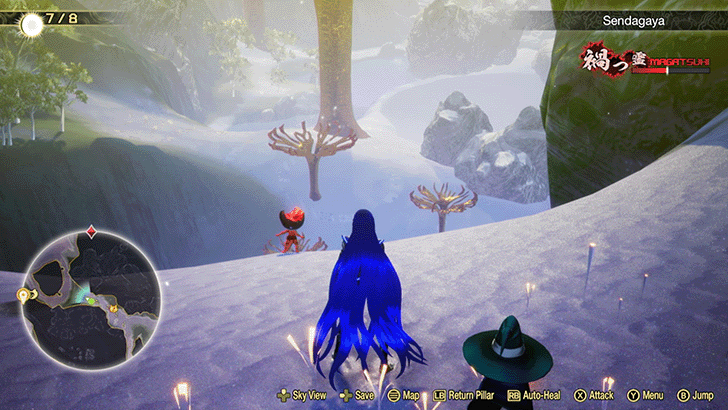 | 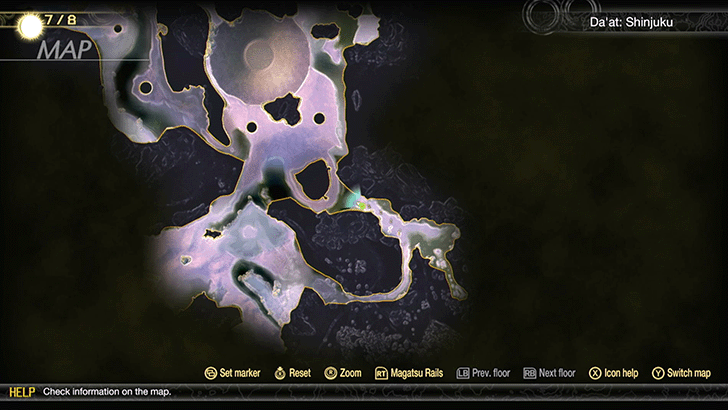 |
| Head east from the previous Miman and continue on the narrow pathway until you reach the end. | ||
| 7 | 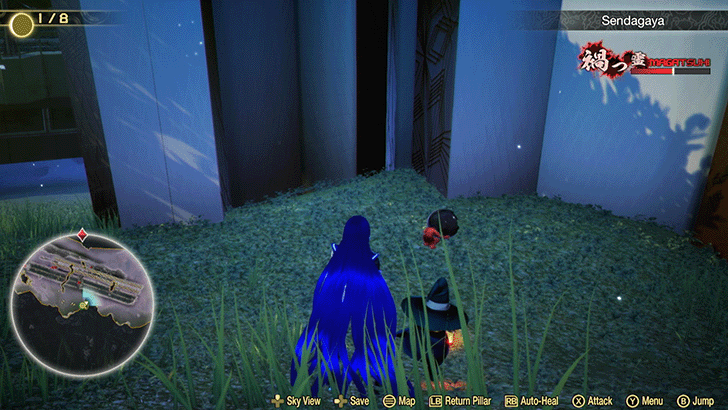 | 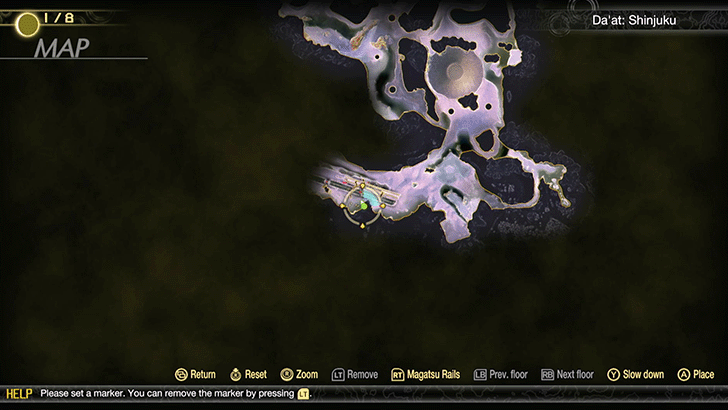 |
| Hiding behind a pillar along the highway. | ||
| 8 |  |  |
| Behind a pillar at the end of the highway. | ||
| 9 |  |  |
| On top of the broken building to the left of the railway line. | ||
| 10 | 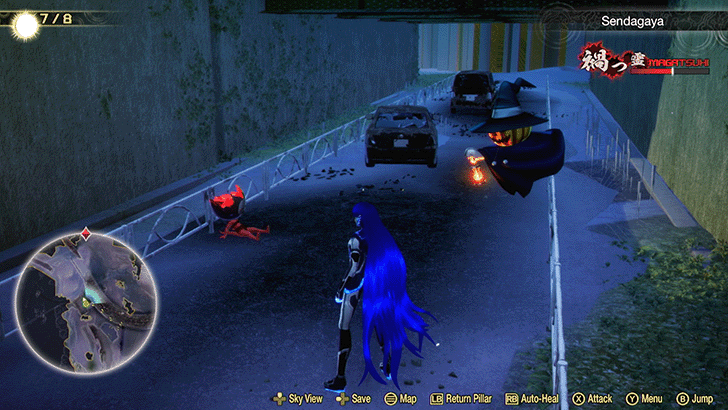 | 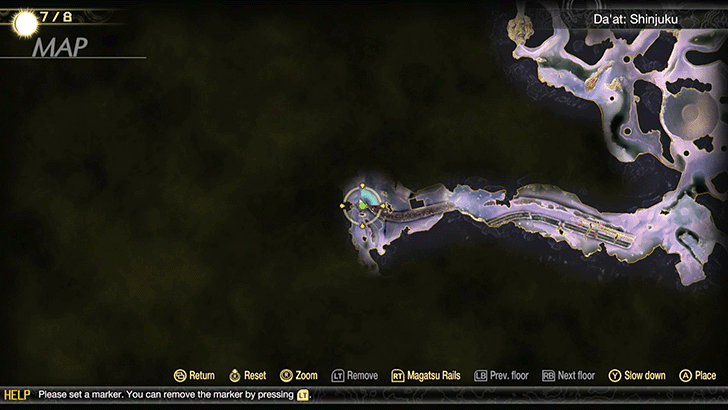 |
| Towards the end of the railway line, jump off to the left side and you should find it along the road. | ||
| Actual Location | Map Location | |
|---|---|---|
| 11 | 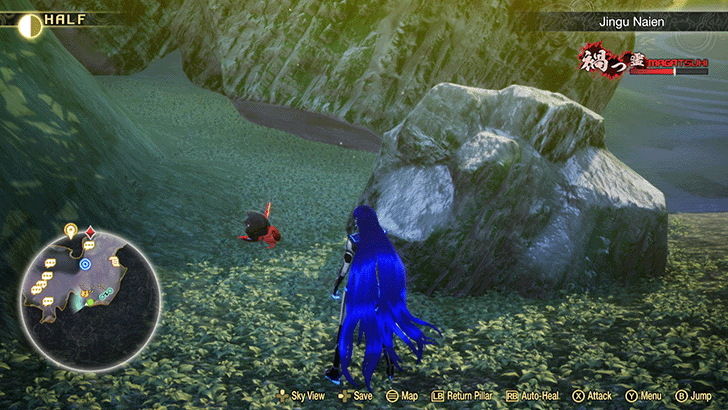 | 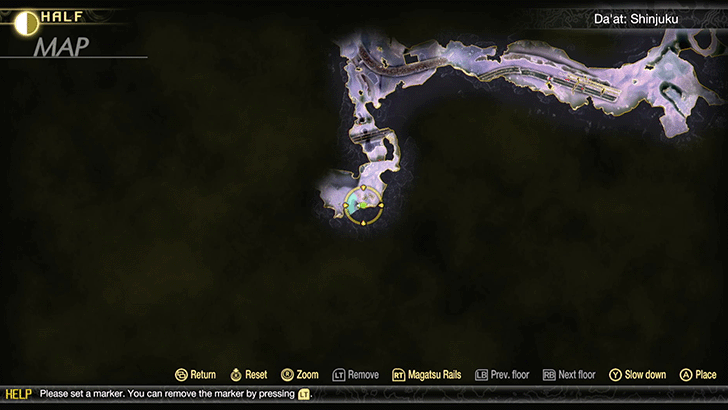 |
| Behind a rock, directly south of the Jingu Gaien Leyline Fount. | ||
⬆️Jump to All Miman Locations in Investigate the Anomalies in Tokyo⬆️
Mimans in Yoyogi, Yotsuya, Shinjuku 1st Block
※ Select a Tab to see its its corresponding Miman Locations ※
Yoyogi
Yotsuya
Shinjuku 1st Block
| Actual Location | Map Location | |
|---|---|---|
| 12 | 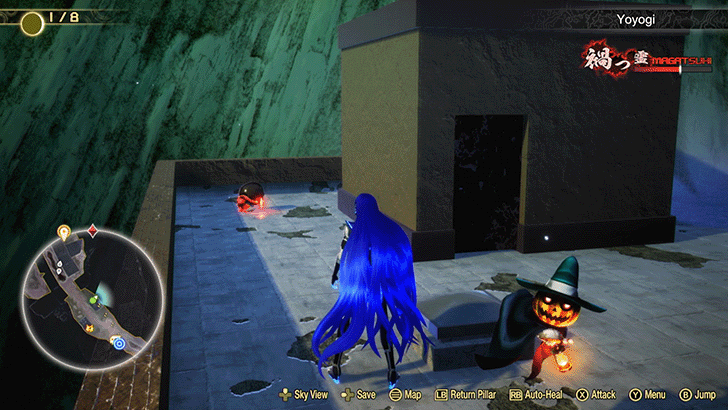 | 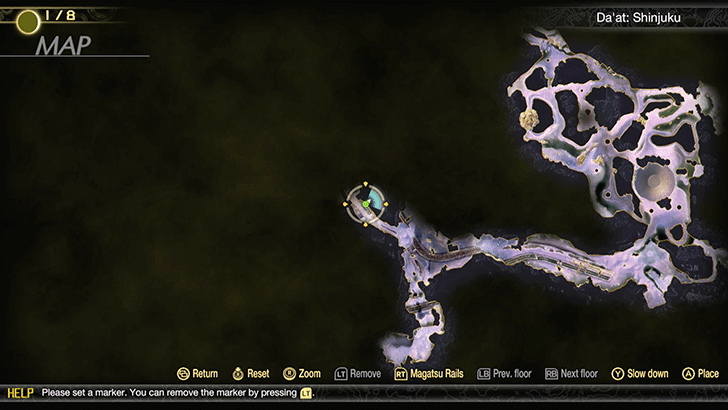 |
| On the roof of the building, north of the Leyline Fount. | ||
| 13 | 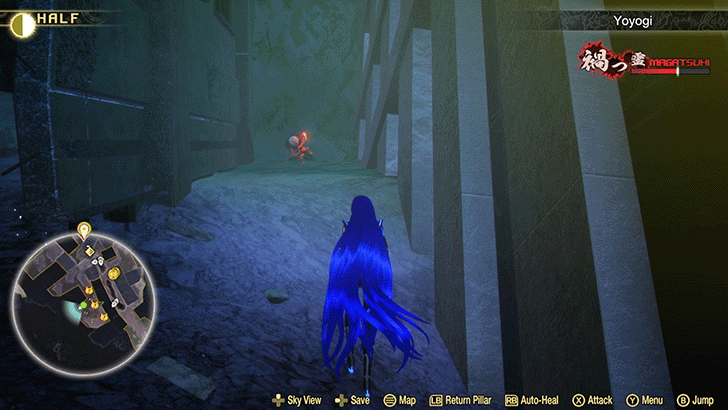 | 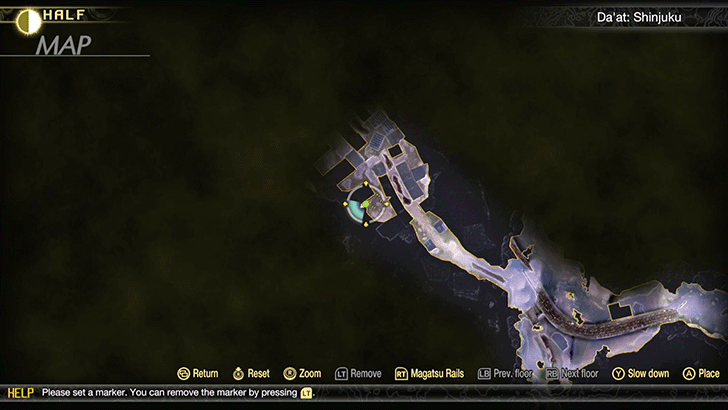 |
| In a corridor, beside a destroyed building. | ||
| 14 |  | 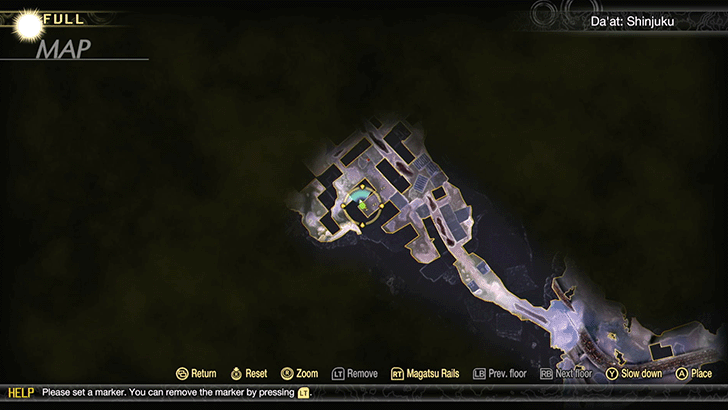 |
| On top of the hill, behind the rubble. | ||
| 15 | 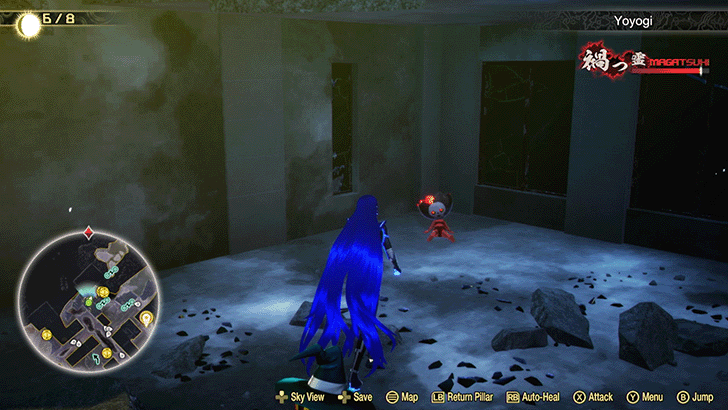 |  |
| Go up the building adjacent to this one and jump through the opening to get here. | ||
| 16 | 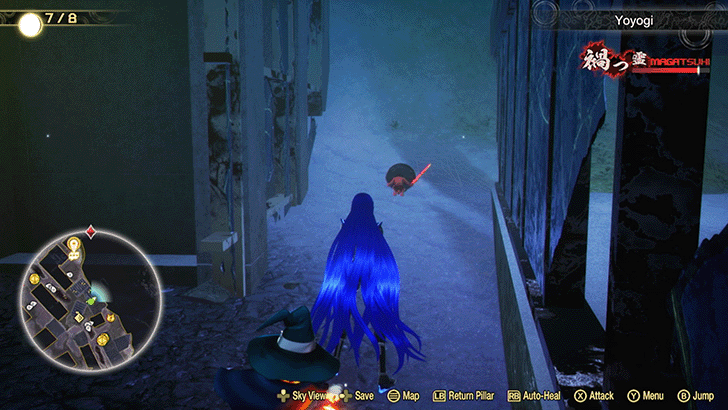 |  |
| Found inside the destroyed building. | ||
| Actual Location | Map Location | |
|---|---|---|
| 17 | 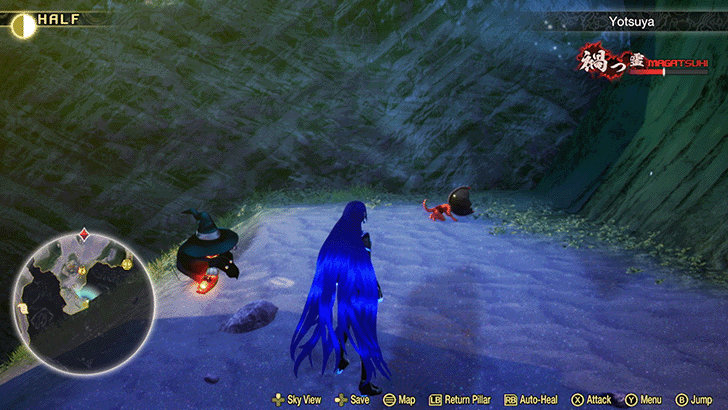 | 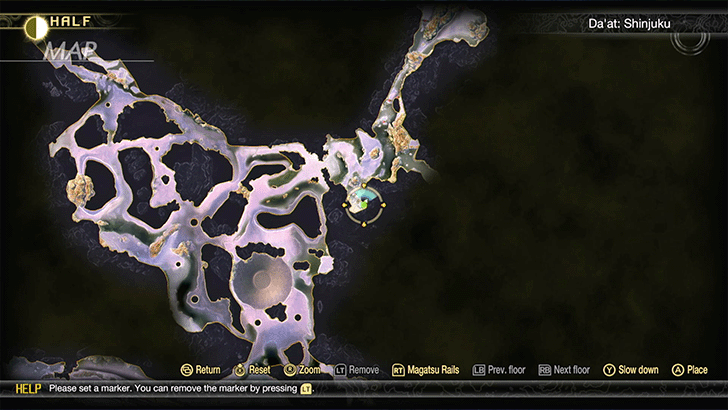 |
| Once you enter Yotsuya, go to the southernmost area and you'll find the Miman on top of a hill. | ||
| 18 |  | 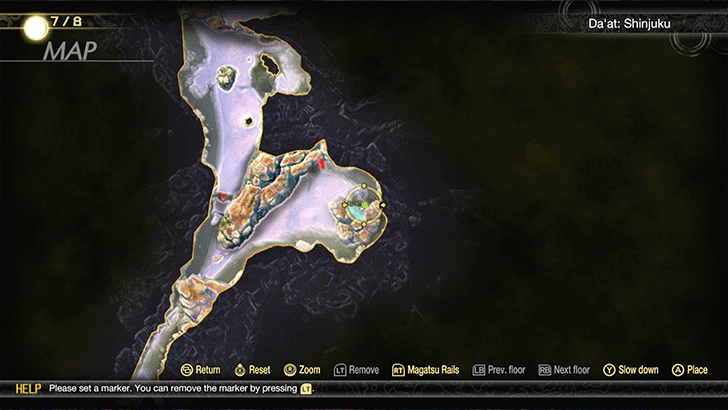 |
| At the path that splits into two, go right and make your way behind the large boulder at the corner. | ||
| 19 |  | 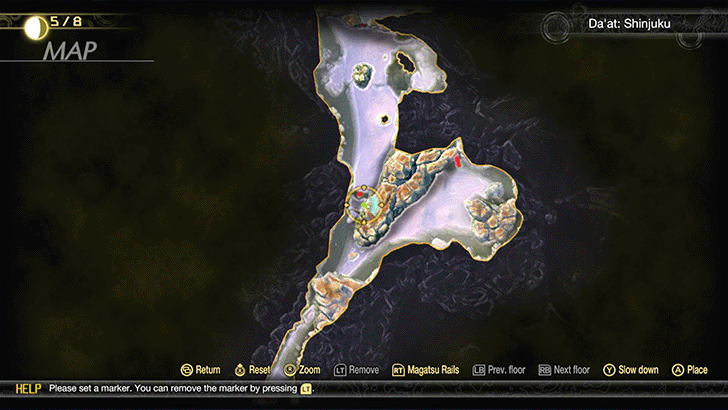 |
| At the path that splits into two, go left and you'll find the Miman beside the giant rock in the middle. | ||
| 20 |  |  |
| On top of the giant boulder. | ||
| 21 |  | 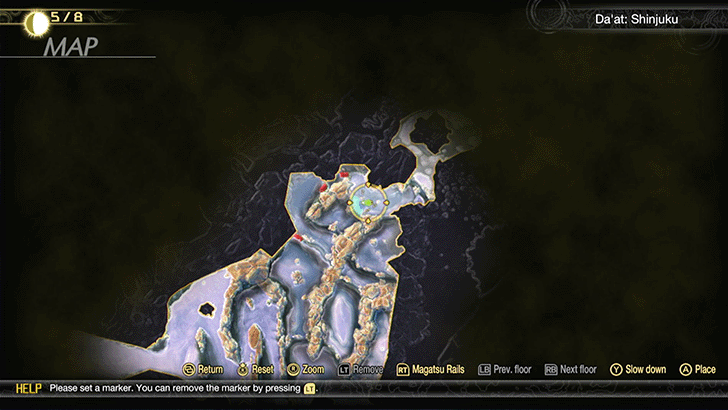 |
| Northwest of the Demon Statue. | ||
| 22 | 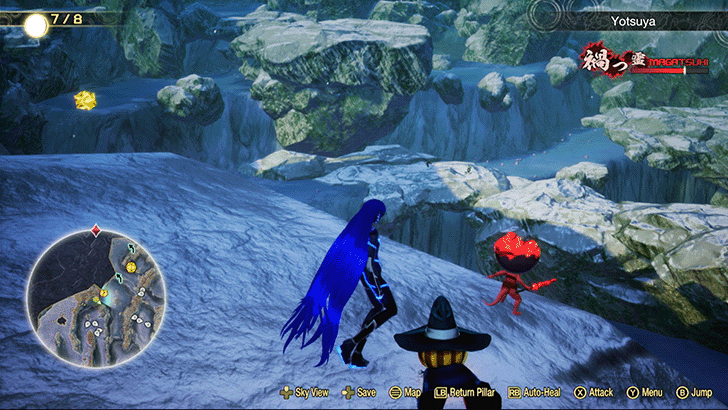 | 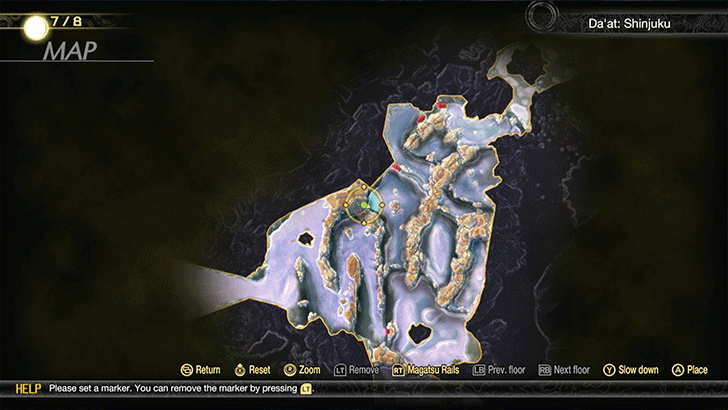 |
| Northeast of the Shinjuku 1st Block Leyline Fount | ||
| Actual Location | Map Location | |
|---|---|---|
| 23 | 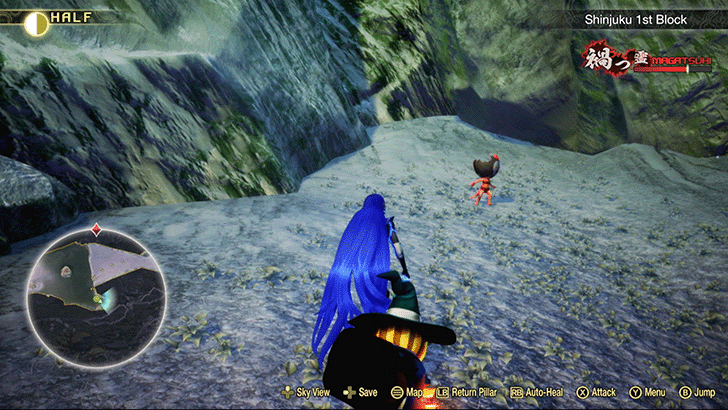 | 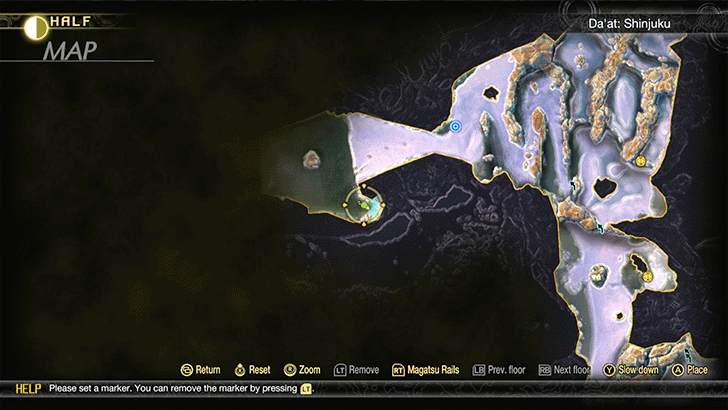 |
| As you head down the slope, make a sharp turn left and run towards the corner. | ||
⬆️Jump to All Miman Locations in Investigate the Anomalies in Tokyo⬆️
Mimans in Shinjuku 2nd Block, Shinjuku 3rd Block, and Kabukicho
※ Select a Tab to see its its corresponding Miman Locations ※
Shinjuku 2nd Block
Shinjuku 3rd Block
Kabukicho
| Actual Location | Map Location | |
|---|---|---|
| 24 |  | 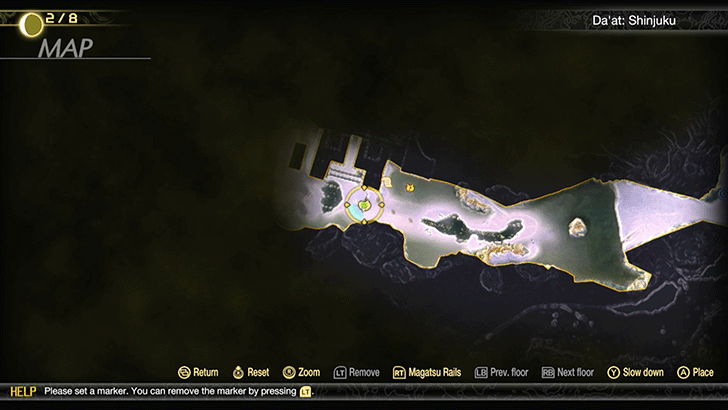 |
| Located on the bridge just down the slope. | ||
| Actual Location | Map Location | |
|---|---|---|
| 25 | 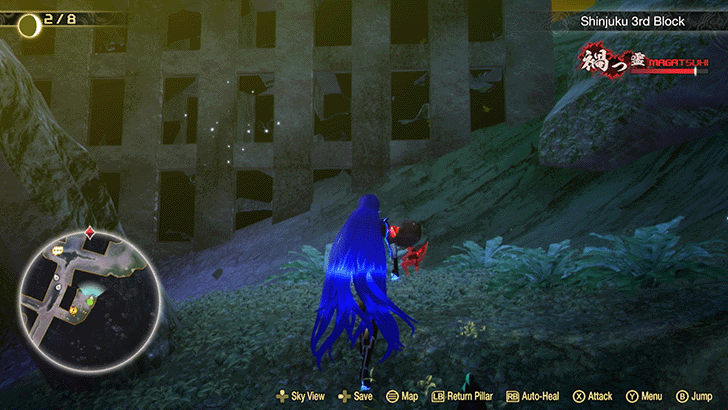 | 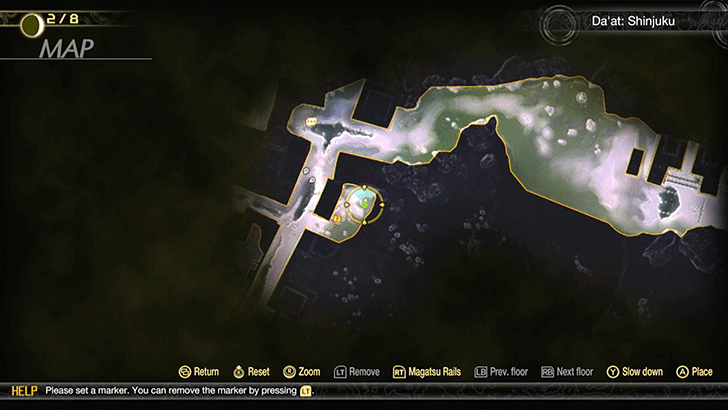 |
| After sliding down the slope, proceed down the road and take the eastern path. | ||
| 26 |  | 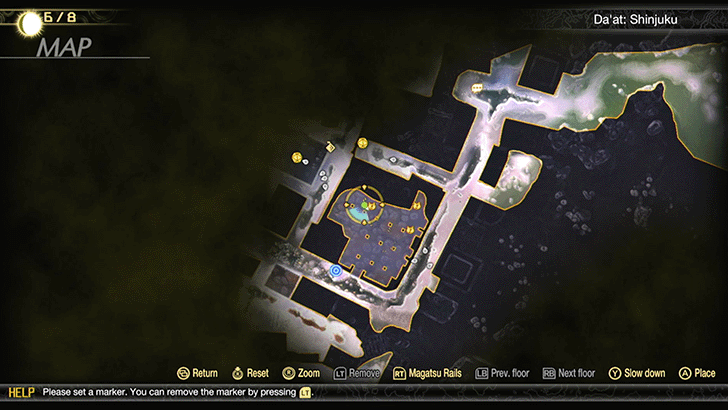 |
| Inside the building beside the Leyline Fount. It will be behind a pillar next to the escalators. | ||
| 27 |  | 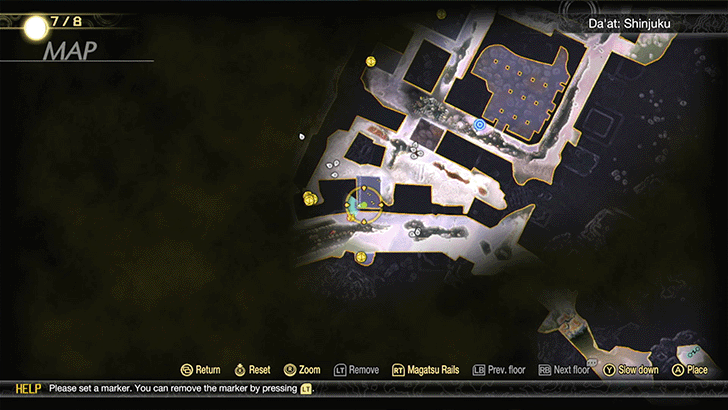 |
| In a building south of the Leyline Fount. You can find the Miman at the corner. | ||
| 28 | 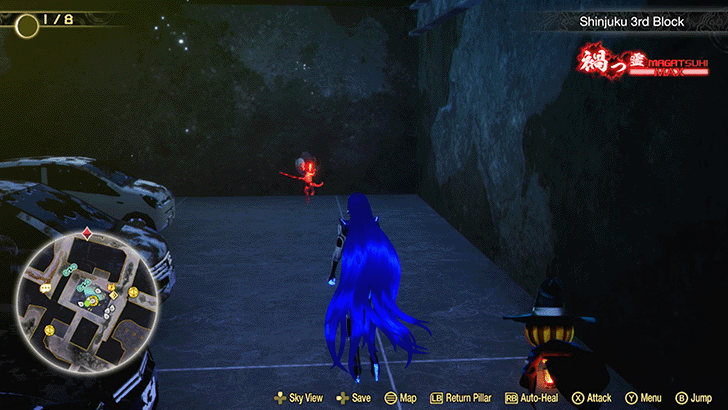 |  |
| Located on the third floor of the parking garage. Take the Magatsu Rail found directly to the west to get here. | ||
| 29 | 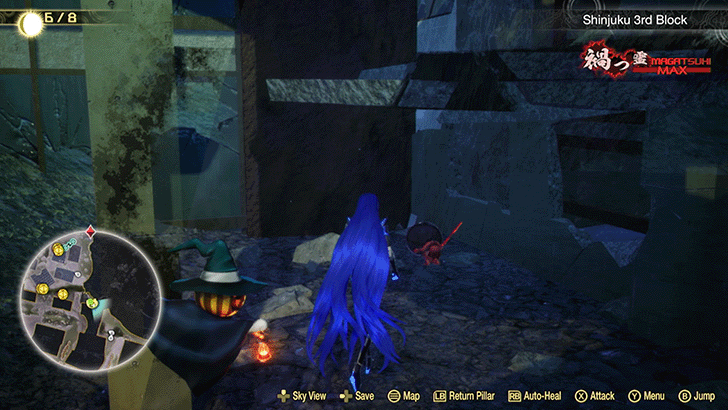 |  |
| South of the Demon Statue. It will be at the corner behind the building. | ||
| 30 | 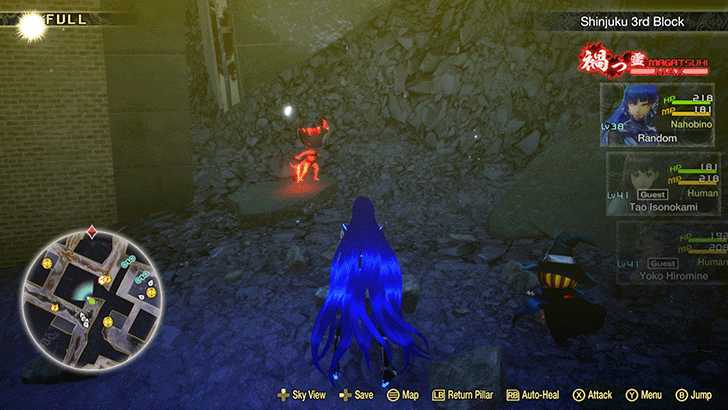 |  |
| Northeast of the Abscess, beside the building that's blocking the road. | ||
| 31 |  | 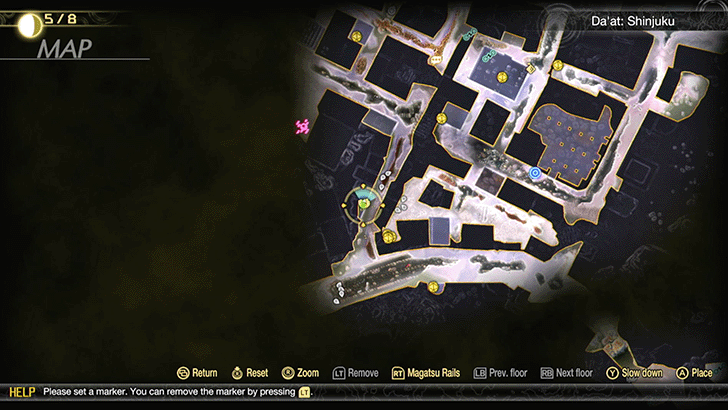 |
| In an alcove, along the road leading to a highway. | ||
| Actual Location | Map Location | |
|---|---|---|
| 32 | 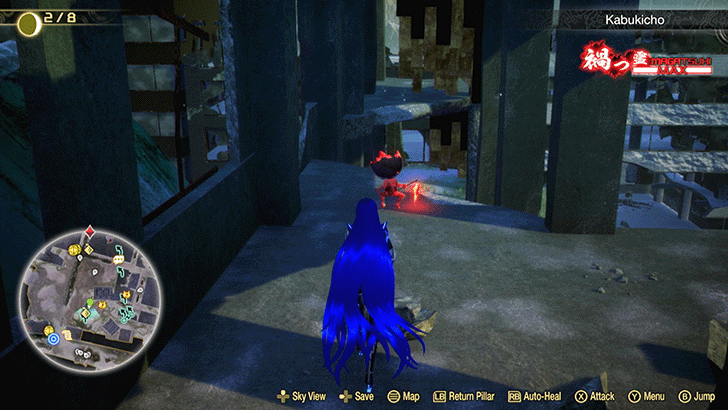 | 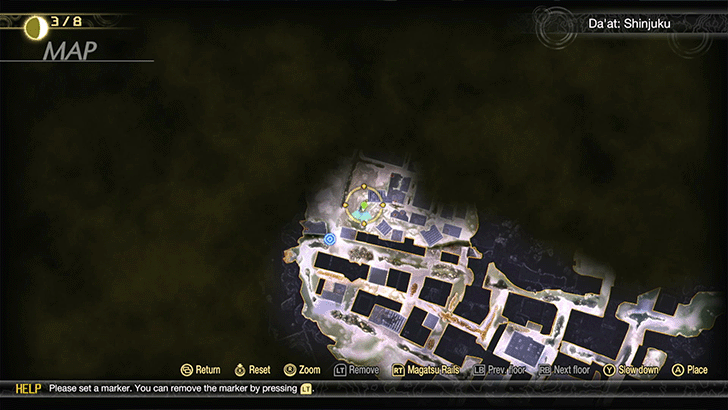 |
| Climb up the two platforms of the building and then drop down one level. | ||
| 33 | 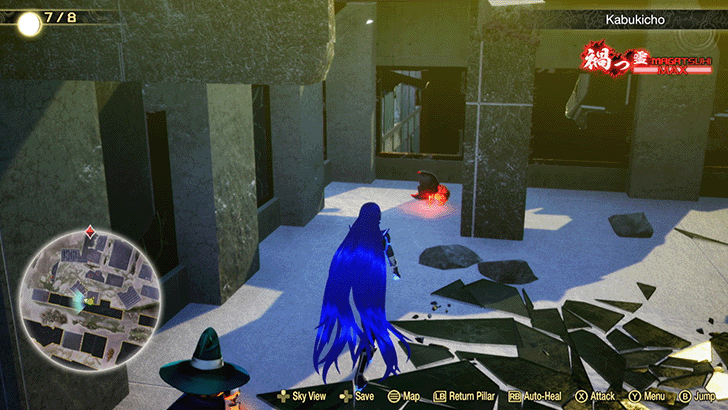 |  |
| Climb on top of the building next to this to get here. | ||
| 34 |  | 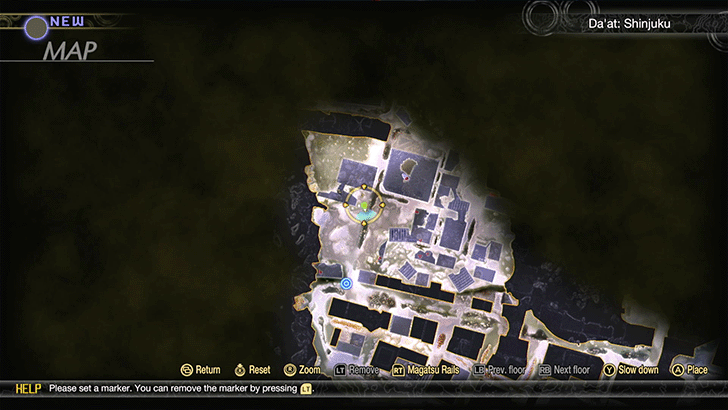 |
| Look for the grass area to the north and keep going around it until you reach this corner. | ||
| 35 | 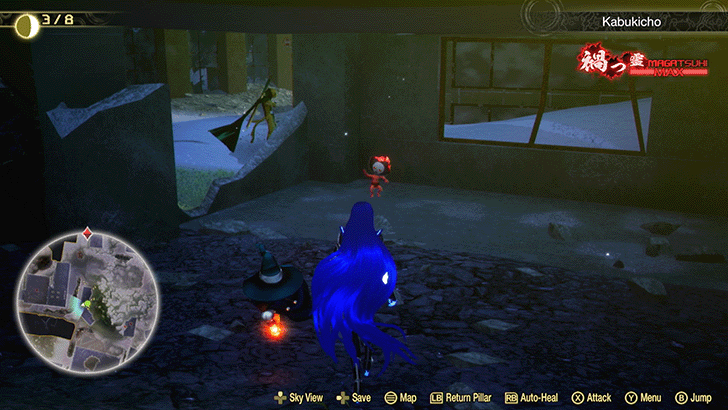 |  |
| From the grass area, head slightly northeast and you'll find the Miman on the first floor of a broken building. | ||
| 36 |  | 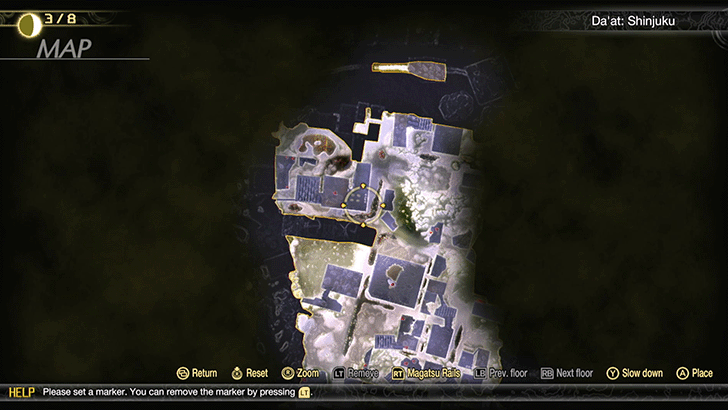 |
| On the rooftop of a building, directly north of the grass area. | ||
| 37 | 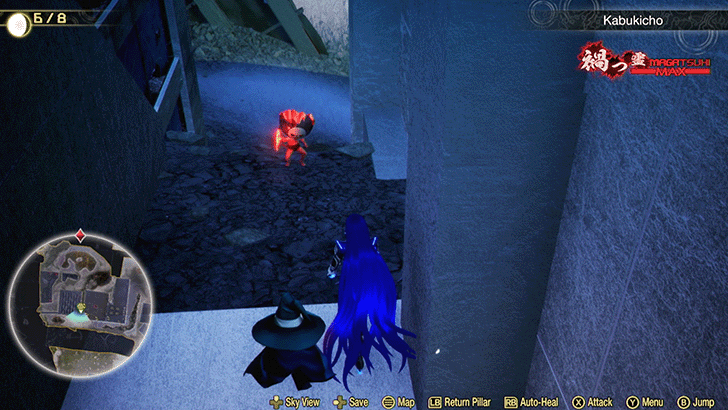 | 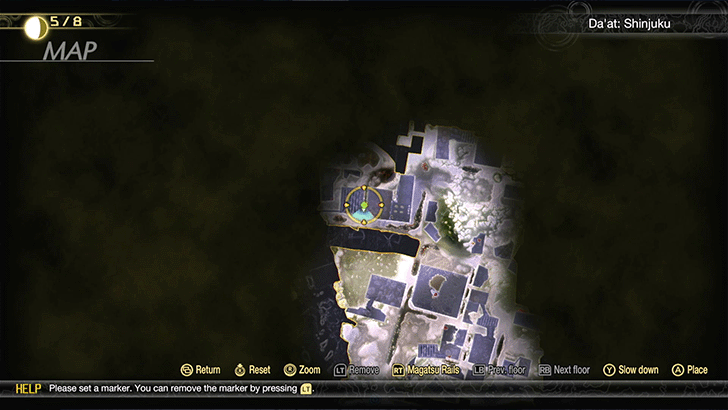 |
| From the rooftop of the building, drop down the gap to get here. | ||
| 38 |  | 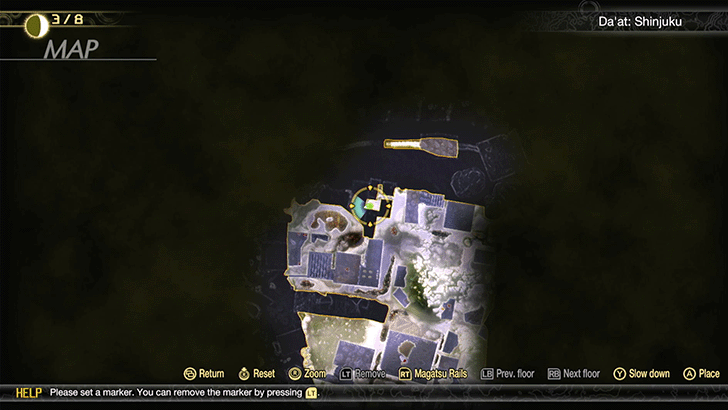 |
| Enter the alleyway to the north. Keep on going until you reach the Miman at the end. | ||
| 39 | 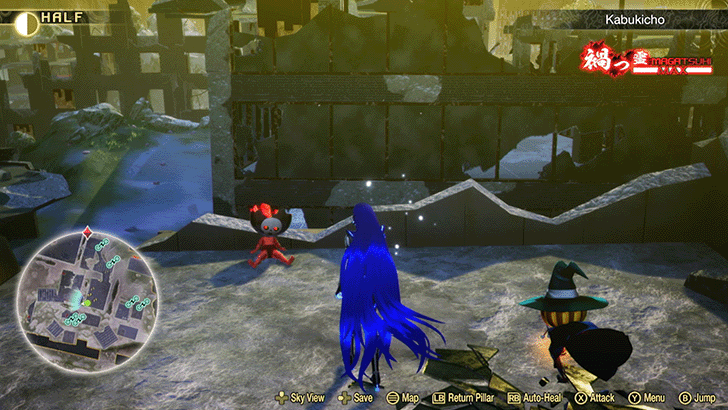 | 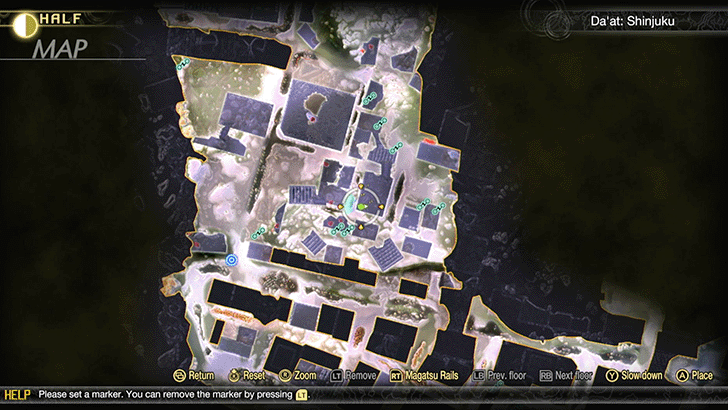 |
| Uncover the hidden Magatsu Rail on the ground level, north of this building. Use it to get to the rooftop where this Miman is located. | ||
| 40 | 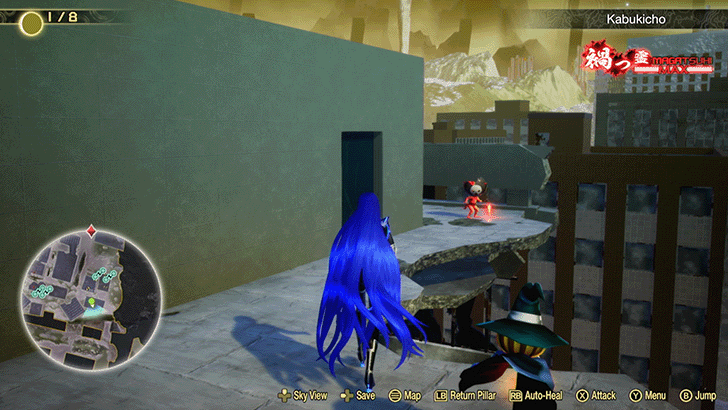 | 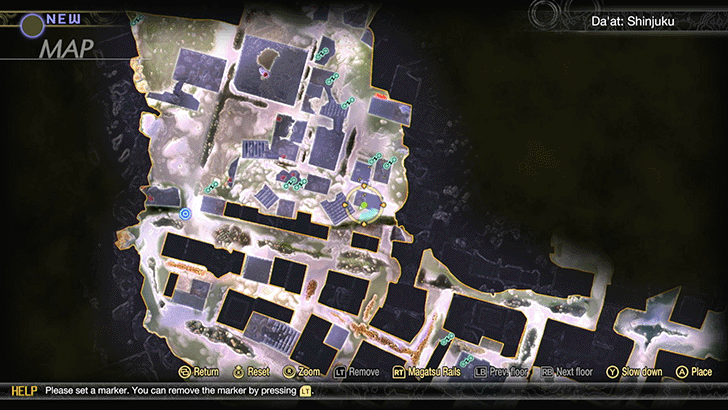 |
| From the previous Miman, drop down the east side of the building and use the Magatsu Rail in the alleyway to get here. | ||
| 41 | 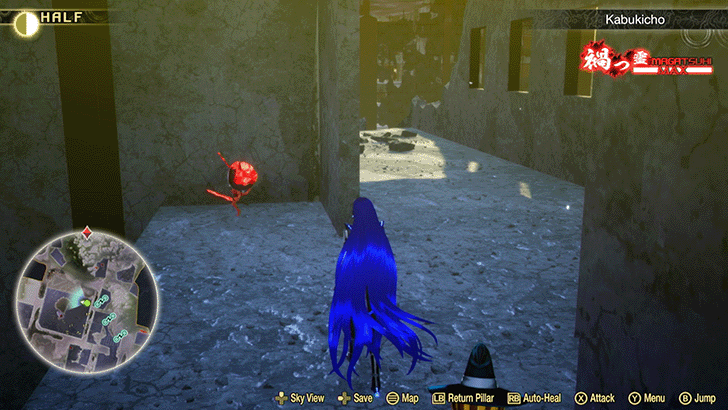 |  |
| Go up the stairs and climb up the 2 platforms. You can find this Miman on the northeast corner of this building. | ||
⬆️Jump to All Miman Locations in Investigate the Anomalies in Tokyo⬆️
Shin Megami Tensei V: Vengeance (SMT V) Related Guides

Story Walkthrough and Route Guides
SMT V: Vengeance Walkthrough Guides
| Both Story Routes | |
|---|---|
 The Lay of the Land The Lay of the Land |
 The Angel's Trail The Angel's Trail |
 The Angels' Request The Angels' Request |
 Head to Jozoji Temple Head to Jozoji Temple |
 Save the Students Save the Students |
 A Golden Opportunity A Golden Opportunity |
| ↓ Canon of Creation ↓ | ↓ Canon of Vengeance ↓ |
 Chiyoda Chiyoda |
Investigate the Anomalies in Tokyo |
 Tokyo Station Tokyo Station |
 Rescue Miyazu Atsuta Rescue Miyazu Atsuta
|
 Demon King's Castle Demon King's Castle |
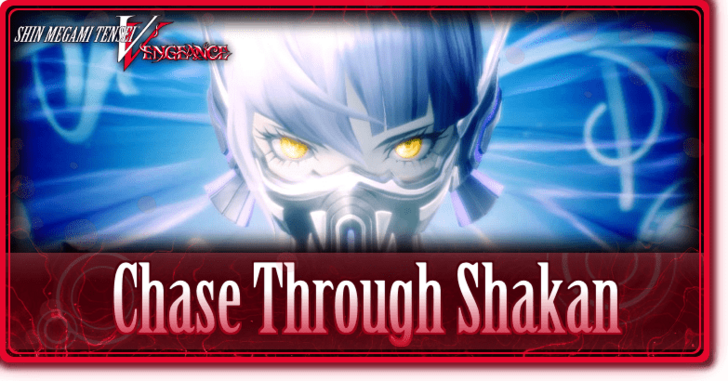 Chase Through Shakan Chase Through Shakan
|
| Both Story Routes | |
 The Three Keys The Three Keys
|
 To The Empyrean To The Empyrean
|
 Towards a New World Towards a New World
|
 Endings Guide Endings Guide |
Comment
Author
Shin Megami Tensei V Vengeance (SMTVV) Walkthrough & Guides Wiki
Investigate the Anomalies in Tokyo Main Quest Guide
Please participate in our site
improvement survey
03/2026
improvement survey
03/2026
Would you assist in
improving Game8's site?
improving Game8's site?

×
We are listening to our users' valuable opinions and discussing how to act on them.
The information collected through this survey will be used for the purpose of improving our services. In addition, the information will only be disclosed a part of a statistic in a format that will not allow identification of personal information.
Begin Survey
Not Now
×
Please rate each item regarding Game8.co's Advertisements.
Amount of Ads
Very Dissatisfied
Somewhat Dissatisfied
Fine
Somewhat Satisfied
Highly Satisfied
Placement of Ads
Timing of Ad Display
Ad Loading Speed
Safeness of Ads
Content of Ads
×
Please rate each item regarding Game8.co's Quality of Articles.
Amount of information
Very Dissatisfied
Somewhat Dissatisfied
Fine
Somewhat Satisfied
Highly Satisfied
Frequency of updates
Speed of new information
Accuracy of articles
Understandibility of articles
Readability of sentences
×
Please rate each item regarding Game8.co's Usability of the Site.
Ease of finding information
Very Dissatisfied
Somewhat Dissatisfied
Fine
Somewhat Satisfied
Highly Satisfied
Loading Speed
Use of Color
Font Size
Visibility of Images
Easy to Understand Layout
×
Please rate each item regarding Game8.co's Message Boards, Comments.
Ease of Writing
Very Dissatisfied
Somewhat Dissatisfied
Fine
Somewhat Satisfied
Highly Satisfied
Readability
Ease in Finding Information
Comment Quality
Comment Quantity
Admin Response
×
Please rate each item regarding Game8.co's Site's new design.
Please rate our site's new design
Very Dissatisfied
Somewhat Dissatisfied
Fine
Somewhat Satisfied
Highly Satisfied
Do you think that the website's design change makes the site easier to use?
Has the new design made it easier for you to find information on the site?
Has the new design improved the overall visual appeal of the site?
How would you rate your overall satisfaction with the new design of the site?
×
How likely are you to recommend Game8 to someone you know?
Very Unlikely
0
1
2
3
4
5
6
7
8
9
10
Very Likely
If you have other opinions regarding potential improvement to the website, please share them with us. We would appreciate your honest opinion.
Note: This is a free response section, so you can proceed without entering anything.
Note: Please be sure not to enter any kind of personal information into your response.
Note: Please be sure not to enter any kind of personal information into your response.
×
Thank You
×
Thank you for participating in our survey! Your answers will help us to improve the quality of our website and services.
We hope you continue to make use of Game8.
We hope you continue to make use of Game8.
Close
Rankings
- We could not find the message board you were looking for.
Gaming News


![Everwind Review [Early Access] | The Shaky First Step to A Very Long Journey](https://img.game8.co/4440226/ab079b1153298a042633dd1ef51e878e.png/thumb)

![Monster Hunter Stories 3 Review [First Impressions] | Simply Rejuvenating](https://img.game8.co/4438641/2a31b7702bd70e78ec8efd24661dacda.jpeg/thumb)
Popular Games

Genshin Impact Walkthrough & Guides Wiki
Honkai: Star Rail Walkthrough & Guides Wiki
Umamusume: Pretty Derby Walkthrough & Guides Wiki
Pokemon Pokopia Walkthrough & Guides Wiki
Resident Evil Requiem (RE9) Walkthrough & Guides Wiki
Monster Hunter Wilds Walkthrough & Guides Wiki
Wuthering Waves Walkthrough & Guides Wiki
Arknights: Endfield Walkthrough & Guides Wiki
Pokemon FireRed and LeafGreen (FRLG) Walkthrough & Guides Wiki
Pokemon TCG Pocket (PTCGP) Strategies & Guides Wiki


Recommended Games
Diablo 4: Vessel of Hatred Walkthrough & Guides Wiki
Cyberpunk 2077: Ultimate Edition Walkthrough & Guides Wiki
Fire Emblem Heroes (FEH) Walkthrough & Guides Wiki
Yu-Gi-Oh! Master Duel Walkthrough & Guides Wiki
Super Smash Bros. Ultimate Walkthrough & Guides Wiki
Pokemon Brilliant Diamond and Shining Pearl (BDSP) Walkthrough & Guides Wiki
Elden Ring Shadow of the Erdtree Walkthrough & Guides Wiki
Monster Hunter World Walkthrough & Guides Wiki
The Legend of Zelda: Tears of the Kingdom Walkthrough & Guides Wiki
Persona 3 Reload Walkthrough & Guides Wiki


All rights reserved
©ATLUS. ©SEGA. All rights reserved. ATLUS and SEGA are registered in the U.S. Patent and Trademark Office. ATLUS, the ATLUS logo, SHIN MEGAMI TENSEI and SMT are either registered trademarks or trademarks of ATLUS Co., Ltd. or its affiliates.
The copyrights of videos of games used in our content and other intellectual property rights belong to the provider of the game.
The contents we provide on this site were created personally by members of the Game8 editorial department.
We refuse the right to reuse or repost content taken without our permission such as data or images to other sites.