This survey will take about 1 minute.
Your answers will help us to improve our website.
Shin Megami Tensei V: Vengeance (SMT V)
Towards a New World Main Quest Guide
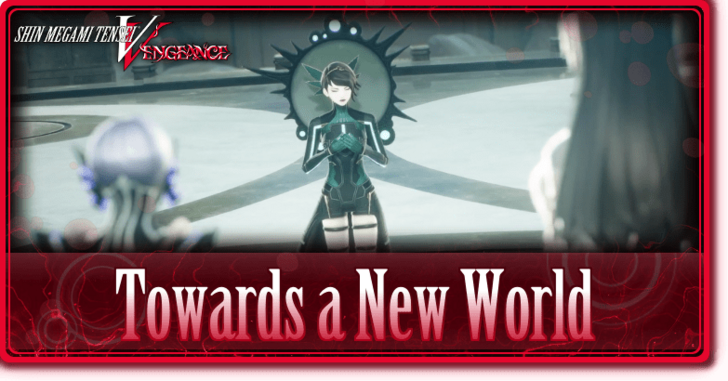
Towards a New World is the final quest in Shin Megami Tensei V:Vengeance (SMT V). Read on for a full walkthrough in Empyrean including all objectives, all bosses, tips and strategies, decisions in this area, and all obtainable demons, essences, and items!
| Previous Quest | Next Quest |
|---|---|
| To The Empyrean | - |
Towards a New World Objectives
Canon of Vengeance 2 Types of Endings
| All Endings |
|---|
 |
|
|
In the Canon of Vengeance, your ending is determined by the choices you make throughout the story. Each choice you make will appeal to either Tao or Yoko.
Head to Shinjuku First Block Leyline Fount After Entering Empyrean
After entering Empyrean, head to Shinjuku First Block and talk to Mastema to unlock the Samael quest, The Serpent King
. Finishing this quest will unlock the quest, The Great Adversary
, that unlocks the fight with Satan.
Tao Isonokami (CoV Law) Route
Yoko Hiromine (CoV Chaos) Route
| Objective | |
|---|---|
| 1 | Register the leyline fount of Empyrean Atrium |
| 2 | Start moving forward. There will be another leyline fount at the end of the road. There will be battles against Sraosha, Melchizedek, and Alilat on the way to the end, |
| * | If you have more than 75% completion in your compendium and you've accepted the Seed of Life from Sophia, you can accept the quest, "The Compassionate Queen" from Maria. Maria has an Electric weakness and specializes in Light and Force attacks. You will be able to unlock Megami Maria for fusion afterwards. |
| 3 | Register the Path to the Throne leyline fount, walk up the stairs, watch the cutscene, and defeat Tiamat. ▶ Tiamat boss fight guide |
| 4 | After the battle, register the Serpent Grave: Altar leyline fount and continue forward We recommend saving your progress and healing first before proceeding. After the battle with Tiamat, you can go back to Empyrean and accept the quest, "The Seraph's Return" from Melchizedek to unlock the fusion for Herald Michael. ▶ This quest requires the completion of the quest, "The Holy Ring". |
| 5 | Engage into a battle with Tehom ▶ Tehom boss fight guide |
| 6 | After the battle, head to the throne and to the ends of the earth. Defeat Lucifer ▶ Lucifer boss fight guide |
| 7 | Watch the ending cutscene ▶ You will unlock Herald Mastema and Lady Nuwa (Transformed) after the cutscene. ▶ You will unlock the virtual battle,"Battles to Preserve the World " and be able to register Panagia Tao into your NG+ compendium. |
| Objective | |
|---|---|
| 1 | Register the leyline fount of Empyrean Atrium |
| 2 | Start moving forward. There will be another leyline fount at the end of the road. There will be battles against Sraosha, Melchizedek, and Alilat on the way to the end, |
| * | If you have more than 75% completion in your compendium and you've accepted the Seed of Life from Sophia, you can accept the quest, "The Wrathful Queen" from Maria. Innana has an Physical and Dark weakness and specializes in all elemental attacks. You will be able to unlock Lady Innana for fusion afterwards. |
| 3 | Register the Path to the Throne leyline fount, walk up the stairs, watch the cutscene, and defeat Tiamat. ▶ Tiamat boss fight guide |
| 4 | After the battle, register the Serpent Grave: Altar leyline fount and continue forward We recommend saving your progress and healing first before proceeding. After the battle with Tiamat, you can go back to Empyrean and accept the quest,The Red Dragon's Invitation from Nebiros to unlock the fusion for Tyrant Belial ▶ This quest requires the completion of the quest, "The Holy Ring". |
| 5 | Engage into a battle with Mastema ▶ Mastema boss fight guide |
| 6 | After the battle, head to the throne and to the ends of the earth. Defeat Lucifer ▶ Lucifer boss fight guide |
| 7 | Watch the ending cutscene ▶ You will unlock Herald Mastema and Lady Nuwa (Transformed) after the cutscene. ▶ You will unlock the virtual battle,"Battles to Destroy the World" and be able to register Panagia Yoko into your NG+ compendium. |
Canon of Creation 4 Types of Endings
| All Endings |
|---|
|
|
In the Canon of Creation, a choice event will trigger after defeating Metatron at the top of the Temple of Eternity. What you choose will decide the story's ending so it is highly advised that you save your progress after beating Metatron if you want to see all the possible endings.
Uphold God's Order Route
Recreate the World Route
Destroy the Throne Route
Create a World for Humans Route
| Objective | |
|---|---|
| 1 | Register the leyline fount of Empyrean Atrium |
| 2 | Follow the path for a cutscene Herald Abdiel will be unlocked for fusion afterward. |
| 3 | Continue following the path until a fight with 3 Melchizedek is initiated Melchizedek is weak to Force, blocks Dark, and absorbs Light. |
| 4 | Move further north and start a battle against Sraosha Sraosha is weak to Force, resists Ice and Electric, and absorbs Light. |
| 5 | Now follow the path again until you reach the leyline fount of the Path to the Throne where Alilat is waiting Alilat has no weakness and is resistant to both Light and Dark. |
| 6 | Walk up the stairs, watch the cutscene, and defeat Tsukuyomi. ▶ Tsukuyomi boss fight guide |
| 7 | Move to the next area and defeat Nuwa We recommend saving your progress and healing first before proceeding. After the fight, Tao will leave the party. ▶ Nuwa boss fight guide |
| 8 | Register the leyline fount of the Empyrean Throne Room first then save your progress |
| 9 | Interact with the pillar of light and defeat Lucifer ▶ Lucifer boss fight guide |
| 10 | Watch the ending cutscenes Lady Nuwa and Fallen Abdiel will be unlocked for fusion. |
| Objective | |
|---|---|
| 1 | Register the leyline fount of Empyrean Atrium |
| 2 | Follow the path for a cutscene Holy Hayataro will join your party and be unlocked for fusion afterward. |
| 3 | Continue following the path until a fight with 3 Melchizedek is initiated Melchizedek is weak to Force, blocks Dark, and absorbs Light. |
| 4 | Move further north and start a battle against Sraosha Sraosha is weak to Force, resists Ice and Electric, and absorbs Light. |
| 5 | Now follow the path again until you reach the leyline fount of the Path to the Throne where Alilat is waiting Alilat has no weakness and is resistant to both Light and Dark. |
| 6 | Walk up the stairs, watch the cutscene, and defeat Abdiel. ▶ Abdiel boss fight guide |
| 7 | Move to the next area and defeat Nuwa We recommend saving your progress and healing first before proceeding. After the fight, Tao will leave the party. ▶ Nuwa boss fight guide |
| 8 | Register the leyline fount of the Empyrean Throne Room first then save your progress |
| 9 | Interact with the pillar of light and defeat Lucifer ▶ Lucifer boss fight guide |
| 10 | Watch the ending cutscenes Lady Nuwa, Herald Abdiel, and Fallen Abdiel will be unlocked for fusion. |
| Objective | |
|---|---|
| 1 | Register the leyline fount of Empyrean Atrium Tao will leave the party upon entering the Empyrean. |
| 2 | Continue following the path until a fight with 3 Melchizedek is initiated Melchizedek is weak to Force, blocks Dark, and absorbs Light. |
| 3 | Move further north and start a battle against Sraosha Sraosha is weak to Force, resists Ice and Electric, and absorbs Light. |
| 4 | Now follow the path again until you reach the leyline fount of the Path to the Throne where Alilat is waiting Alilat has no weakness and is resistant to both Light and Dark. |
| 5 | Walk up the stairs, watch the cutscene, and defeat Abdiel. ▶ Abdiel boss fight guide |
| 6 | Move to the next area and defeat Tsukuyomi We recommend saving your progress and healing first before proceeding. ▶ Tsukuyomi boss fight guide |
| 7 | Watch the ending cutscenes Lady Nuwa, Herald Abdiel, and Fallen Abdiel will be unlocked for fusion. |
| Objective | |
|---|---|
| 1 | 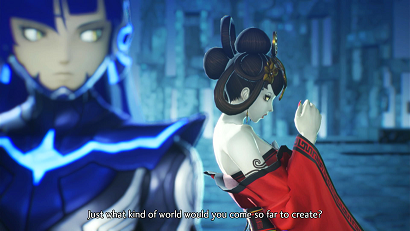 If you did all the pre-requisite subquests for the secret ending and chose the Destroy the Throne route, Nuwa will appear in the cutscene after defeating Abdiel ▶ How to get the secret ending |
| 2 | Move to the next area and defeat Tsukuyomi ▶ Tsukuyomi boss fight guide |
| 3 | 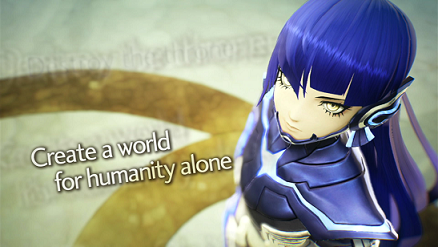 During the choice event after beating Tsukuyomi, choose "Create a world for humanity alone" |
| 4 | Interact with the pillar of light and defeat Lucifer ▶ Lucifer (Secret Ending) boss fight guide |
| 5 | Watch the ending cutscenes |
Towards a New World Bosses and Strategies
Tsukuyomi
| Recommended Level: 83 |
|---|
 |
| Tips and Strategy |
|
|
Tsukuyomi mostly uses Physical and Ice attacks so try bringing demons or giving the Nahobino essences that resist, or better yet, absorb or reflect these attacks to axe his turn icons.
Mada and Adramelech are good choices for Fire attackers but since they're weak to Ice, you have to give them Resist Ice or Null Ice through fusion.
When he uses False Replication, use a multi-target attack (Fire Shards or Fire skills) then use single-target attacks on the real Tsukuyomi but when he uses True Replication, only use multi-target attacks as you won't be able to tell which one's the real one until his next turn ends.
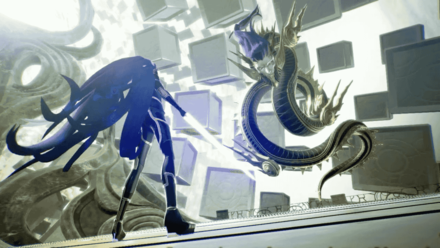
Nuwa
| Recommended Level: 83 |
|---|
 |
| Tips and Strategy |
|
|
Nuwa and Shohei's Nahobino form can use both Force and Electric attacks, but will mostly use Electric. Odin is an excellent choice for the attacker role in this fight as he can reflect Electric attacks and deal high damage with his Physical attacks. You only need to give him Null Force in case Nuwa decides to use their Force skills.
Other great choices for the attacker role are Seth, Mara, and Uriel.
They will also occasionally use Electrify which will charge one of ther Thunder Bits. Destroy these Thunder Bits immediately as they strengthen the next Rising Storm Dragon that Nuwa will use. If they use this move with all four Thunder Bits charged, it's likely that your party will get wiped out, even if you take defensive actions.
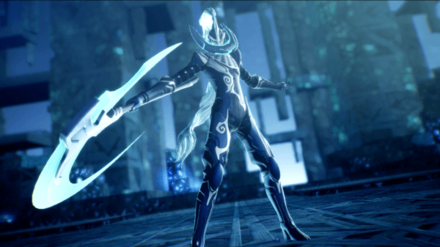
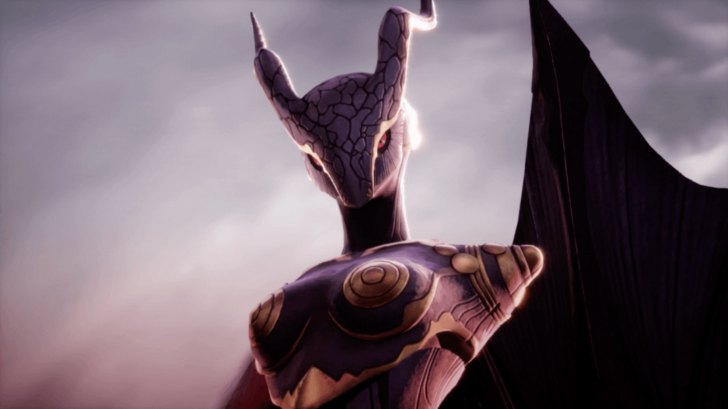
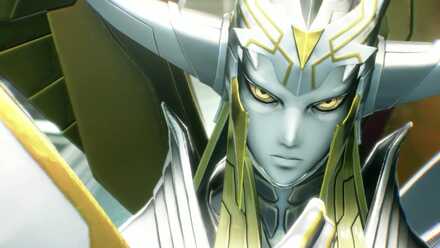
Abdiel
| Recommended Level: 83 |
|---|
 |
| Tips and Strategy |
|
|
Abdiel is now weak to Ice so demons with high Ice skill potential like Vasuki are recommended, though you might need to give them Null Fire if they're weak to Fire. Arioch is another excellent choice for the attacker role as he has high Ice skill potential (plus High Ice Pleroma) and no weakness to Fire.
When Abdiel's HP is cut down to about 50%, the Depraved Wing and Depraved Arm will start to move, increasing their total turn icons to four. Destroy these immediately as they can cast annoying Support skills like Makarakarn and Masukukaja.
The Depraved Arm is weak to Light while the Depraved Wing is weak to Electric.
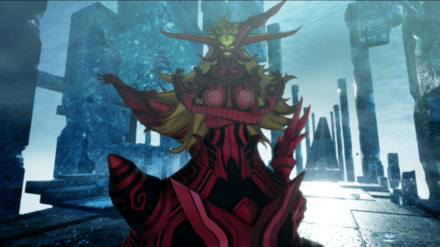
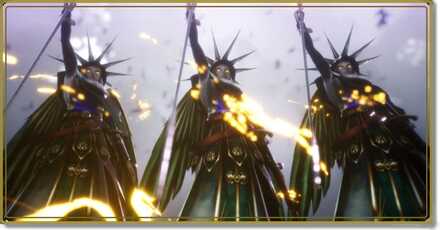
Tiamat
| Recommended Level: 83 |
|---|
 |
| Tips and Strategy |
|
|
Tiamat's gimmick is that her mian body will heal up any of her minion heads on her body. Defeating her minion heads gradually will deplete her main body's HP slowly so we recommend concentrating on her minion heads, since they are weaker and less tanky than her main body.
Tiamat's minion heads have different weaknesses and resistances to each other so bring a wide array of demons to cover every element and make sure to cover your weaknesses as well.
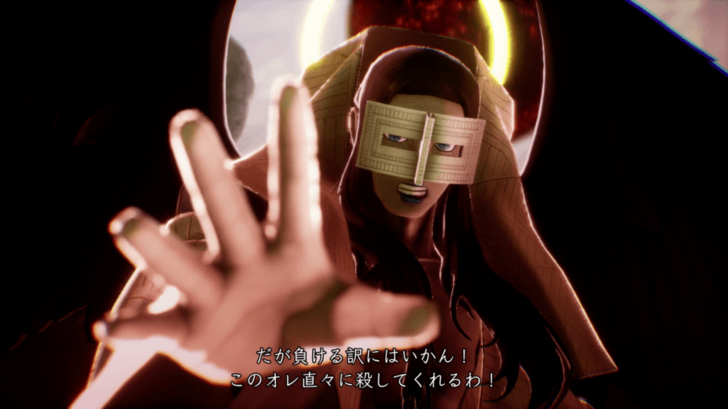
Mastema (Yoko Route Only)
| Recommended Level: 84 |
|---|
 |
| Tips and Strategy |
|
|
Mastema's Innate Skill, Crime and Punishment
, adds additional Press Turn Icons to his turn everytime an enemy hits his weakness so bringing demons that can reflect or absorb his skills can immediately put a stop to this during his turn.
Mastema is weak against Fire so spam Fire to bring him down quickly (but this brings his Press Turn Icons up so beware!). If you do not want to proc his Innate Skill, use Almighty attacks against him.
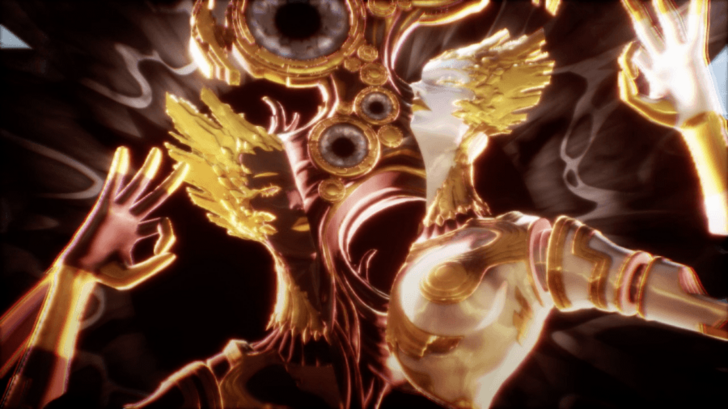
Tehom (Tao Route Only)
| Recommended Level: 84 |
|---|
 |
| Tips and Strategy |
|
|
Tehom's Innate Skill, World Ingurgitation
, will turn any weakness hit at the previous turn into a Drain affinity. Being aware of which weakness you hit per turn will bring Tehom down quickly.
Using plenty of items like Elemental Gems and different types of demons to hit weaknesses is the key of beating Tehom. Switch out your demons per element you hit and keep track of what element you used against Tehom.
Lucifer
| Recommended Level: 85 |
|---|
 |
| Tips and Strategy |
|
|
Lucifer has no weakness. In order to deal decent damage, you need to use Almighty attacks or skills that ignore affinity resistance.
His skillset covers every affinity but Light and Dark so it would be wise to build a team with demons that can block/reflect/absorb Fire, Ice, Electric, and Force. You can achieve this by inheriting Null passive skills as you fuse demons or essences.
When Lucifer creates a Cocytus Star and a Brimstone Star, he will be weak to Fire and Ice attacks. This may sound great but you won't be that happy if the stars survive the round. Destroy them before your turn ends as he can explode them to deal Severe damage that ignores affinity resistance the first chance he gets.
Lucifer (Secret Ending)
| Recommended Level: 90 |
|---|
 |
| Tips and Strategy |
|
|
The basic strategy remains the same as fighting Lucifer during the first and second routes but he will now have access to stronger skillsets and the final boss fight now consists of 3 phases.
Lucifer will start to get more aggressive starting from the second phase and will often use Ailment skills so stock up on Amrita items before the fight.
Same as the normal ending Lucifer, you'll need to destroy the star that he creates, the Morning Star, before he can use it to deal massive Almighty damage to your team. The presence of the Morning Star alters Lucifer's affinity resistances as well, like what the Cocytus and Brimstone stars do.
How to Beat Lucifer (Secret Ending)
Towards a New World Available Sidequests
| Sidequests | |
|---|---|
| The Seraph's Return | The Red Dragon's Invitation |
| The Noble Queen | The Wrathful Queen |
| The Compassionate Queen | A Plot Revealed |
Shin Megami Tensei V: Vengeance Related Guides

Story Walkthrough and Route Guides
SMT V: Vengeance Walkthrough Guides
| Both Story Routes | |
|---|---|
 The Lay of the Land The Lay of the Land |
 The Angel's Trail The Angel's Trail |
 The Angels' Request The Angels' Request |
 Head to Jozoji Temple Head to Jozoji Temple |
 Save the Students Save the Students |
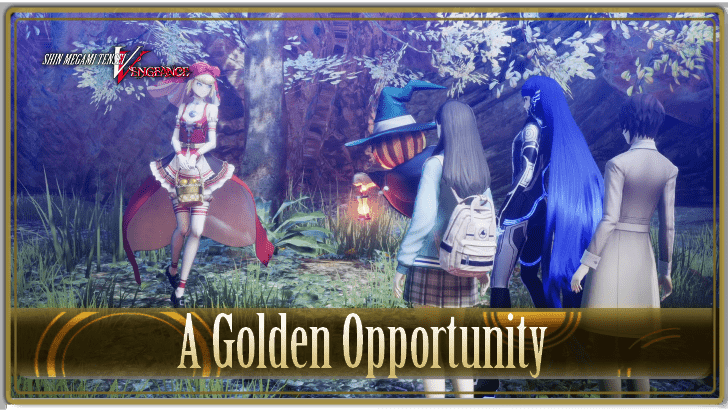 A Golden Opportunity A Golden Opportunity |
| ↓ Canon of Creation ↓ | ↓ Canon of Vengeance ↓ |
 Chiyoda Chiyoda |
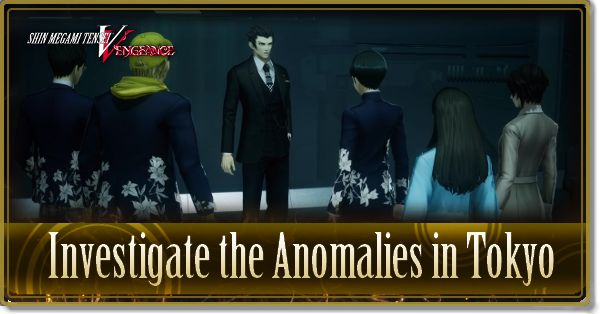 Investigate the Anomalies in Tokyo Investigate the Anomalies in Tokyo |
 Tokyo Station Tokyo Station |
 Rescue Miyazu Atsuta Rescue Miyazu Atsuta
|
 Demon King's Castle Demon King's Castle |
 Chase Through Shakan Chase Through Shakan
|
| Both Story Routes | |
 The Three Keys The Three Keys
|
 To The Empyrean To The Empyrean
|
| Towards a New World
|
 Endings Guide Endings Guide |
Author

Shin Megami Tensei V Vengeance (SMTVV) Walkthrough & Guides Wiki
Towards a New World Main Quest Guide
Please participate in our site
improvement survey
03/2026
improvement survey
03/2026
Would you assist in
improving Game8's site?
improving Game8's site?

×
We are listening to our users' valuable opinions and discussing how to act on them.
The information collected through this survey will be used for the purpose of improving our services. In addition, the information will only be disclosed a part of a statistic in a format that will not allow identification of personal information.
Begin Survey
Not Now
×
Please rate each item regarding Game8.co's Advertisements.
Amount of Ads
Very Dissatisfied
Somewhat Dissatisfied
Fine
Somewhat Satisfied
Highly Satisfied
Placement of Ads
Timing of Ad Display
Ad Loading Speed
Safeness of Ads
Content of Ads
×
Please rate each item regarding Game8.co's Quality of Articles.
Amount of information
Very Dissatisfied
Somewhat Dissatisfied
Fine
Somewhat Satisfied
Highly Satisfied
Frequency of updates
Speed of new information
Accuracy of articles
Understandibility of articles
Readability of sentences
×
Please rate each item regarding Game8.co's Usability of the Site.
Ease of finding information
Very Dissatisfied
Somewhat Dissatisfied
Fine
Somewhat Satisfied
Highly Satisfied
Loading Speed
Use of Color
Font Size
Visibility of Images
Easy to Understand Layout
×
Please rate each item regarding Game8.co's Message Boards, Comments.
Ease of Writing
Very Dissatisfied
Somewhat Dissatisfied
Fine
Somewhat Satisfied
Highly Satisfied
Readability
Ease in Finding Information
Comment Quality
Comment Quantity
Admin Response
×
Please rate each item regarding Game8.co's Site's new design.
Please rate our site's new design
Very Dissatisfied
Somewhat Dissatisfied
Fine
Somewhat Satisfied
Highly Satisfied
Do you think that the website's design change makes the site easier to use?
Has the new design made it easier for you to find information on the site?
Has the new design improved the overall visual appeal of the site?
How would you rate your overall satisfaction with the new design of the site?
×
How likely are you to recommend Game8 to someone you know?
Very Unlikely
0
1
2
3
4
5
6
7
8
9
10
Very Likely
If you have other opinions regarding potential improvement to the website, please share them with us. We would appreciate your honest opinion.
Note: This is a free response section, so you can proceed without entering anything.
Note: Please be sure not to enter any kind of personal information into your response.
Note: Please be sure not to enter any kind of personal information into your response.
×
Thank You
×
Thank you for participating in our survey! Your answers will help us to improve the quality of our website and services.
We hope you continue to make use of Game8.
We hope you continue to make use of Game8.
Close
Rankings
- We could not find the message board you were looking for.
Gaming News


![Everwind Review [Early Access] | The Shaky First Step to A Very Long Journey](https://img.game8.co/4440226/ab079b1153298a042633dd1ef51e878e.png/thumb)

![Monster Hunter Stories 3 Review [First Impressions] | Simply Rejuvenating](https://img.game8.co/4438641/2a31b7702bd70e78ec8efd24661dacda.jpeg/thumb)
Popular Games

Genshin Impact Walkthrough & Guides Wiki
Honkai: Star Rail Walkthrough & Guides Wiki
Umamusume: Pretty Derby Walkthrough & Guides Wiki
Pokemon Pokopia Walkthrough & Guides Wiki
Resident Evil Requiem (RE9) Walkthrough & Guides Wiki
Monster Hunter Wilds Walkthrough & Guides Wiki
Wuthering Waves Walkthrough & Guides Wiki
Arknights: Endfield Walkthrough & Guides Wiki
Pokemon FireRed and LeafGreen (FRLG) Walkthrough & Guides Wiki
Pokemon TCG Pocket (PTCGP) Strategies & Guides Wiki


Recommended Games
Diablo 4: Vessel of Hatred Walkthrough & Guides Wiki
Cyberpunk 2077: Ultimate Edition Walkthrough & Guides Wiki
Fire Emblem Heroes (FEH) Walkthrough & Guides Wiki
Yu-Gi-Oh! Master Duel Walkthrough & Guides Wiki
Super Smash Bros. Ultimate Walkthrough & Guides Wiki
Pokemon Brilliant Diamond and Shining Pearl (BDSP) Walkthrough & Guides Wiki
Elden Ring Shadow of the Erdtree Walkthrough & Guides Wiki
Monster Hunter World Walkthrough & Guides Wiki
The Legend of Zelda: Tears of the Kingdom Walkthrough & Guides Wiki
Persona 3 Reload Walkthrough & Guides Wiki


All rights reserved
©ATLUS. ©SEGA. All rights reserved. ATLUS and SEGA are registered in the U.S. Patent and Trademark Office. ATLUS, the ATLUS logo, SHIN MEGAMI TENSEI and SMT are either registered trademarks or trademarks of ATLUS Co., Ltd. or its affiliates.
The copyrights of videos of games used in our content and other intellectual property rights belong to the provider of the game.
The contents we provide on this site were created personally by members of the Game8 editorial department.
We refuse the right to reuse or repost content taken without our permission such as data or images to other sites.