 Acolyte of Damnation
 Eskara
 Ifriss the Destroyer
 King Leoric
 Manoruk
 Skeletal Mage
 Sir Gorash
 Lakrii
 Icon of Souls
 King Fahir
 Corphet the Venomwing
 Segithis
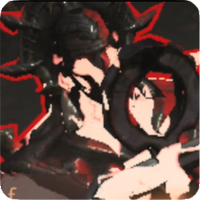 Icon of Rebirth
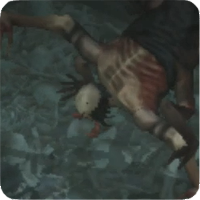 Skorspine the Marrowrot
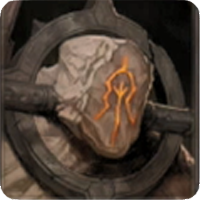 The Eternal Guardian
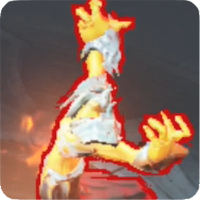 Grimaldi the Flaming Soul
 The Curator
 Ongori
 Soul Killer Shaman
 Elder Owens
 Rhodri the Red
 Baal
Baal Sargoth
 Glacial Colossus
 Zaka the Abyssal Worm
 Skarn
SkarnThis survey will take about 1 minute.
Your answers will help us to improve our website.
Diablo Immortal
The Countess Boss Guide: Location and How to Beat
Check out Game8's Diablo 4 Wiki for our latest guides!
☆Diablo 4 Best Builds
☆Diablo 4 Interactive Map
☆Diablo 4 Class Tier List
☆Diablo 4 Story Walkthrough
☆Diablo 4 Leveling Guide
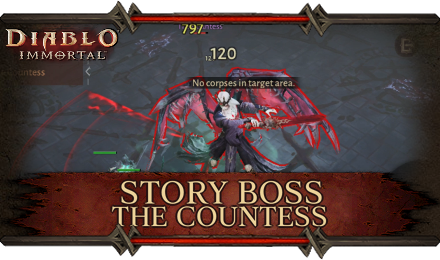
This is a guide about The Countess, a Main Story Boss in Diablo Immortal. Read on to learn more about The Countess including its location, associated Quest, and strategies that can be used against this Boss!
List of Contents
The Countess Location and Rewards
The Countess Overview
 The Countess |
Recommended CR |
|---|---|
| 60 | |
| Location | |
| Forgotten Tower | |
| Quest | |
| Blood Resurrection | |
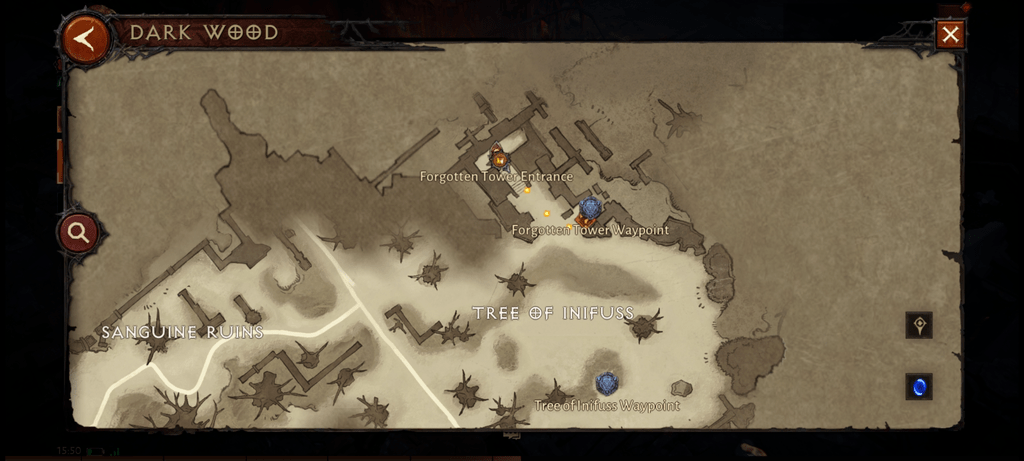
The Countess Location
| Map Location | World View |
|---|---|
 View Full Image |
 View Full image |
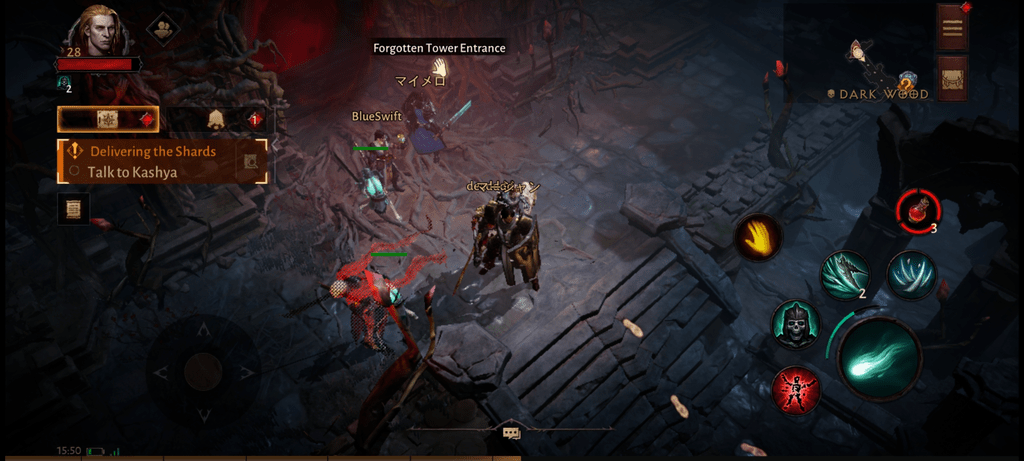
The Countess can be found and fought towards the end of the Dungeon/Raid area called the Forgotten Tower. She also serves as the final boss that must be beaten for the Main Story Quest Blood Resurrection.
How to Beat The Countess
| |
Eliminate the Mob
Unlike most other Bosses, The Countess' summoned mob enemies pack more punch than usual. These enemies come in two variants – ones holding a spear, one equipped with a sword and shield, as well as one that bears a bow and arrow.
Of all of the variants, the ones who have a bow and arrow can take out your HP quickly if you do not eliminate them quickly – eliminating them is best done while Countess is doing her Flight Slam attack, as it leaves you with enough time to take out a group of these enemies before the Countess can come back.
Attack the Flanks
Countess' attacks tend to have long wind-ups to them – exploit these by navigating yourself to her flanks and attacking from there as she executes her attacks.
The Countess Attack Patterns
Charge Attack
The Countess's charge attack comes in the form of a simple swipe that sounds out a wave a short distance away from her front. The wind-up time for this usually lasts two to three seconds before she executes the actual attack, allowing you some time to move to the flanks for an attack.
Flight Slam
Countess will jump up high in the air and won't come back down for several seconds. It is nearly impossible to dodge this attack, as the only sign you'll get that the attack is coming (a red circle on the ground just before she slams down) will only last for at least two seconds.
This is too little time to move away, so keep moving around the fight area while she's in the air to avoid her coming slam down to the ground.
Ground Lines
A method for Countess to somewhat trap you within a smaller fight area with her, she'll drag, at most, two lines down on the ground that will damage and slow you should you move across them. These render small amounts of damage, however, so navigating past these lines might be a danger worth taking in exchange for a larger fighting space.
Bat Attack

A test for player's mobility, the Countess's Bat Attack will shower the entire field with a number of bats moving around in a circular manner. These can be easily avoided, but can cause incredible amounts of damage for anyone standing too close to the Countess once she unleashes this attack.
Diablo Immortal Related Guides
Boss Types
 Helliquary Bosses Helliquary Bosses |
 World Bosses World Bosses |
 Story Bosses Story Bosses |
 Elite Bosses Elite Bosses |
All Story Bosses
Author

The Countess Boss Guide: Location and How to Beat
Please participate in our site
improvement survey
03/2026
improvement survey
03/2026
Would you assist in
improving Game8's site?
improving Game8's site?

×
We are listening to our users' valuable opinions and discussing how to act on them.
The information collected through this survey will be used for the purpose of improving our services. In addition, the information will only be disclosed a part of a statistic in a format that will not allow identification of personal information.
Begin Survey
Not Now
×
Please rate each item regarding Game8.co's Advertisements.
Amount of Ads
Very Dissatisfied
Somewhat Dissatisfied
Fine
Somewhat Satisfied
Highly Satisfied
Placement of Ads
Timing of Ad Display
Ad Loading Speed
Safeness of Ads
Content of Ads
×
Please rate each item regarding Game8.co's Quality of Articles.
Amount of information
Very Dissatisfied
Somewhat Dissatisfied
Fine
Somewhat Satisfied
Highly Satisfied
Frequency of updates
Speed of new information
Accuracy of articles
Understandibility of articles
Readability of sentences
×
Please rate each item regarding Game8.co's Usability of the Site.
Ease of finding information
Very Dissatisfied
Somewhat Dissatisfied
Fine
Somewhat Satisfied
Highly Satisfied
Loading Speed
Use of Color
Font Size
Visibility of Images
Easy to Understand Layout
×
Please rate each item regarding Game8.co's Message Boards, Comments.
Ease of Writing
Very Dissatisfied
Somewhat Dissatisfied
Fine
Somewhat Satisfied
Highly Satisfied
Readability
Ease in Finding Information
Comment Quality
Comment Quantity
Admin Response
×
Please rate each item regarding Game8.co's Site's new design.
Please rate our site's new design
Very Dissatisfied
Somewhat Dissatisfied
Fine
Somewhat Satisfied
Highly Satisfied
Do you think that the website's design change makes the site easier to use?
Has the new design made it easier for you to find information on the site?
Has the new design improved the overall visual appeal of the site?
How would you rate your overall satisfaction with the new design of the site?
×
How likely are you to recommend Game8 to someone you know?
Very Unlikely
0
1
2
3
4
5
6
7
8
9
10
Very Likely
If you have other opinions regarding potential improvement to the website, please share them with us. We would appreciate your honest opinion.
Note: This is a free response section, so you can proceed without entering anything.
Note: Please be sure not to enter any kind of personal information into your response.
Note: Please be sure not to enter any kind of personal information into your response.
×
Thank You
×
Thank you for participating in our survey! Your answers will help us to improve the quality of our website and services.
We hope you continue to make use of Game8.
We hope you continue to make use of Game8.
Close
Rankings
- We could not find the message board you were looking for.
Gaming News


![Monster Hunter Stories 3 Review [First Impressions] | Simply Rejuvenating](https://img.game8.co/4438641/2a31b7702bd70e78ec8efd24661dacda.jpeg/thumb)
Popular Games

Genshin Impact Walkthrough & Guides Wiki
Honkai: Star Rail Walkthrough & Guides Wiki
Umamusume: Pretty Derby Walkthrough & Guides Wiki
Pokemon Pokopia Walkthrough & Guides Wiki
Resident Evil Requiem (RE9) Walkthrough & Guides Wiki
Monster Hunter Wilds Walkthrough & Guides Wiki
Wuthering Waves Walkthrough & Guides Wiki
Arknights: Endfield Walkthrough & Guides Wiki
Pokemon FireRed and LeafGreen (FRLG) Walkthrough & Guides Wiki
Pokemon TCG Pocket (PTCGP) Strategies & Guides Wiki


Recommended Games
Diablo 4: Vessel of Hatred Walkthrough & Guides Wiki
Cyberpunk 2077: Ultimate Edition Walkthrough & Guides Wiki
Fire Emblem Heroes (FEH) Walkthrough & Guides Wiki
Yu-Gi-Oh! Master Duel Walkthrough & Guides Wiki
Super Smash Bros. Ultimate Walkthrough & Guides Wiki
Pokemon Brilliant Diamond and Shining Pearl (BDSP) Walkthrough & Guides Wiki
Elden Ring Shadow of the Erdtree Walkthrough & Guides Wiki
Monster Hunter World Walkthrough & Guides Wiki
The Legend of Zelda: Tears of the Kingdom Walkthrough & Guides Wiki
Persona 3 Reload Walkthrough & Guides Wiki


All rights reserved
©2022 BLIZZARD ENTERTAINMENT, INC. ALL RIGHTS RESERVED.
All trademarks referenced herein are the properties of their respective owners.
The copyrights of videos of games used in our content and other intellectual property rights belong to the provider of the game.
The contents we provide on this site were created personally by members of the Game8 editorial department.
We refuse the right to reuse or repost content taken without our permission such as data or images to other sites.