Zaka the Abyssal Worm Boss Guide: Location and How to Beat
Check out Game8's Diablo 4 Wiki for our latest guides!
☆Diablo 4 Best Builds
☆Diablo 4 Interactive Map
☆Diablo 4 Class Tier List
☆Diablo 4 Story Walkthrough
☆Diablo 4 Leveling Guide
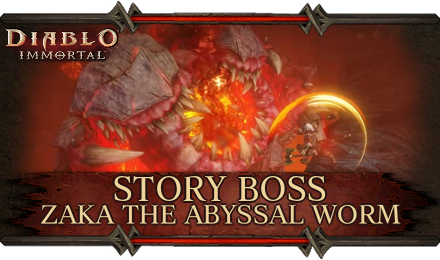
This is a guide about Zaka the Abyssal Worm, a Main Story Boss in Diablo Immortal. Read on to learn more about Zaka the Abyssal Worm including its location, associated Quest, and strategies that can be used against this Boss!
List of Contents
Zaka the Abyssal Worm Location and Rewards
Zaka the Abyssal Worm Overview
 Zaka the Abyssal Worm |
Recommended CR |
|---|---|
| 600 | |
| Location | |
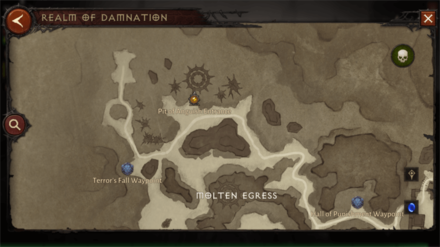
| Realm of Damnation | |
| Quest | |
| Lord of Damnation | |
Zaka the Abyssal Worm Location
| Map Location | World View |
|---|---|
 View Full Image |
 View Full image |
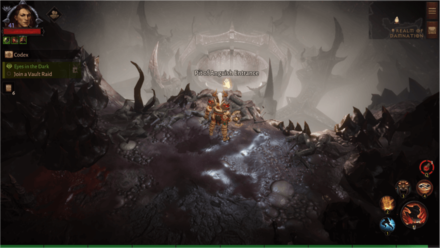
Zaka the Abyssal Worm appears at the end of the Pit of Anguish, first encountered during the Lord of Damnation Main Story Quest.
How to Beat Zaka the Abyssal Worm
|
|
Watch for Attack Indicators
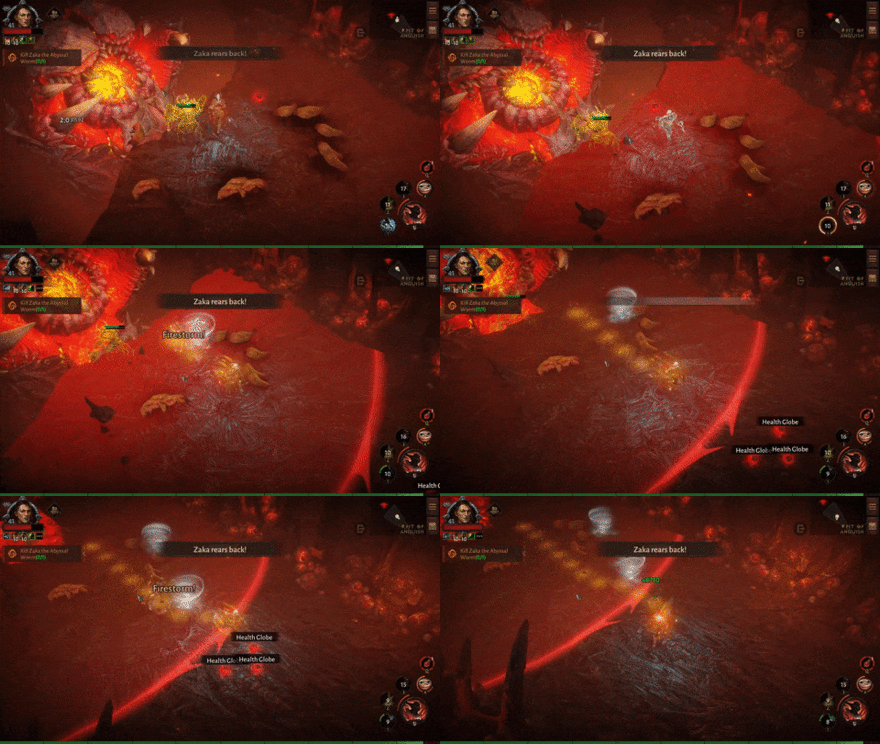
Most of Zaka's attacks will have warnings or red indicators that appear on the ground. Pay attention to red circles and zones forming beneath your feet and immediately leave their area to avoid taking large amounts of damage.
Use Health Potions Wisely
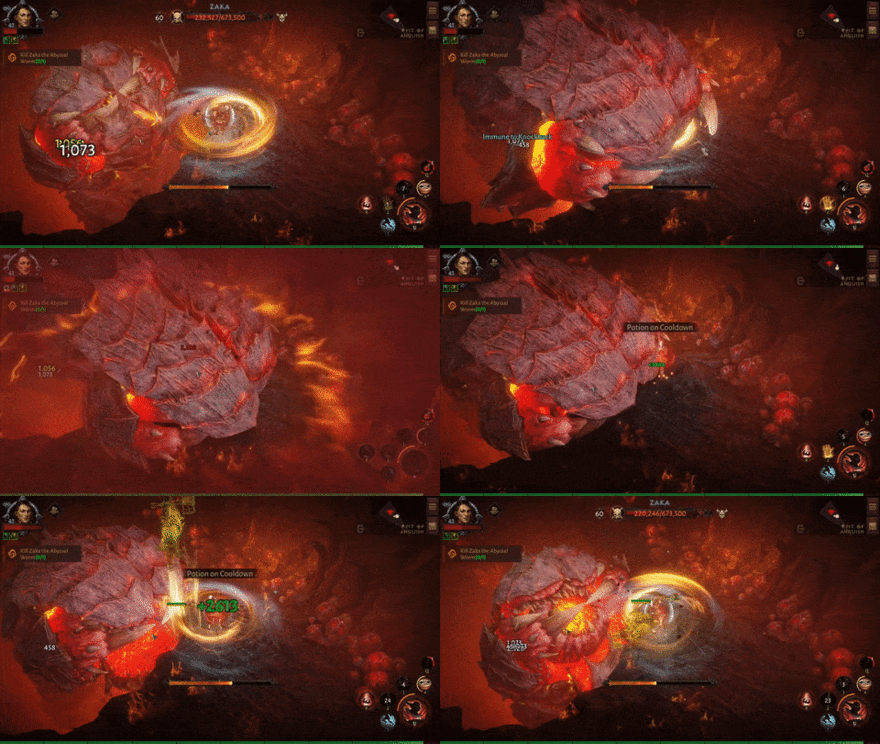
Due to each of Zaka's attacks dealing significant amounts of damage, efficient usage of Health Potions is key to surviving throughout the whole fight.
Try to conserve Health Potions by avoiding Zaka's telegraphed attacks and using the Health Globes that drop after depleting one of the boss's health bars.
Clear Minions Quickly
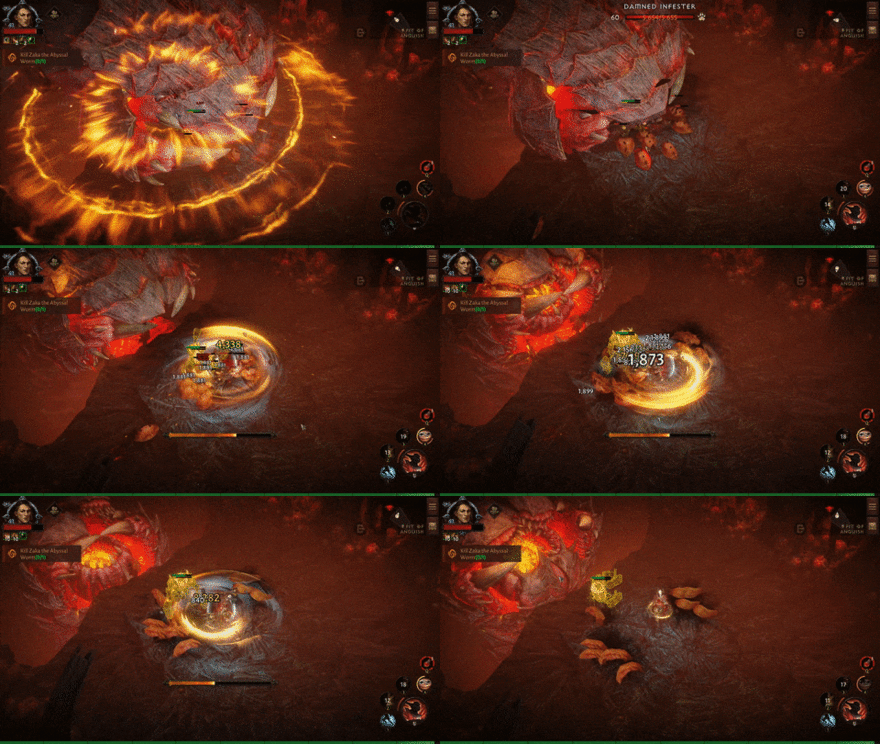
Zaka can spawn additional enemies during the fight, which can end up distracting you and making you accidentally get hit by Zaka's heavy-hitting attacks.
Quickly defeat each minion the boss spawns to give yourself an easier time during the fight.
Defeat Zaka's Heart and the Parasitic Maw
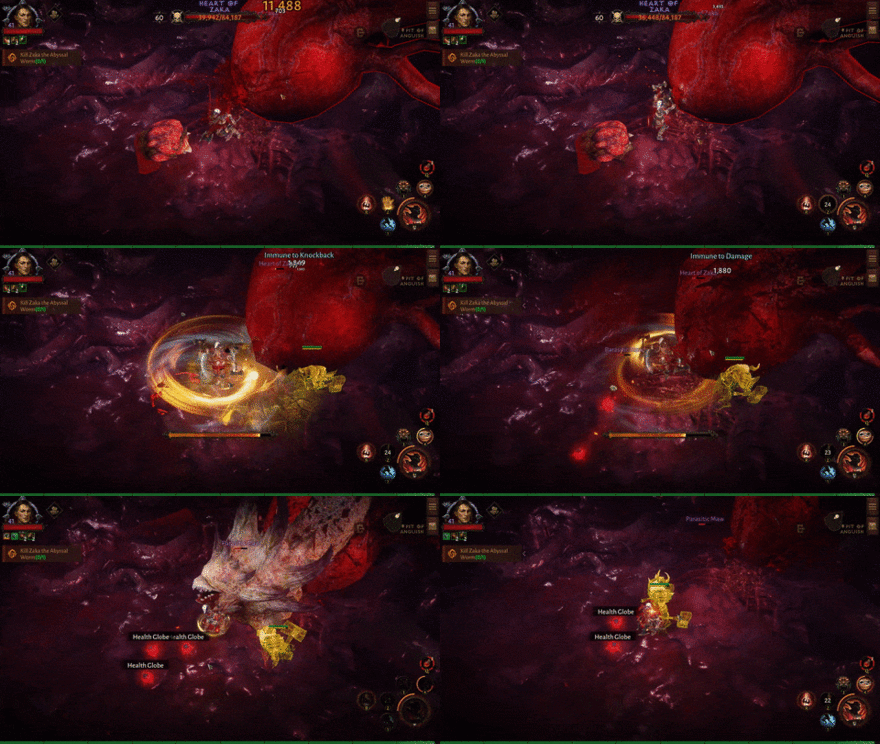
The boss's final phase takes place within Zaka's body, where you fight the worm's heart and the Parasitic Maw. Quickly take these two bosses down to complete the boss fight.
Zaka the Abyssal Worm Attack Patterns
Fire Spit
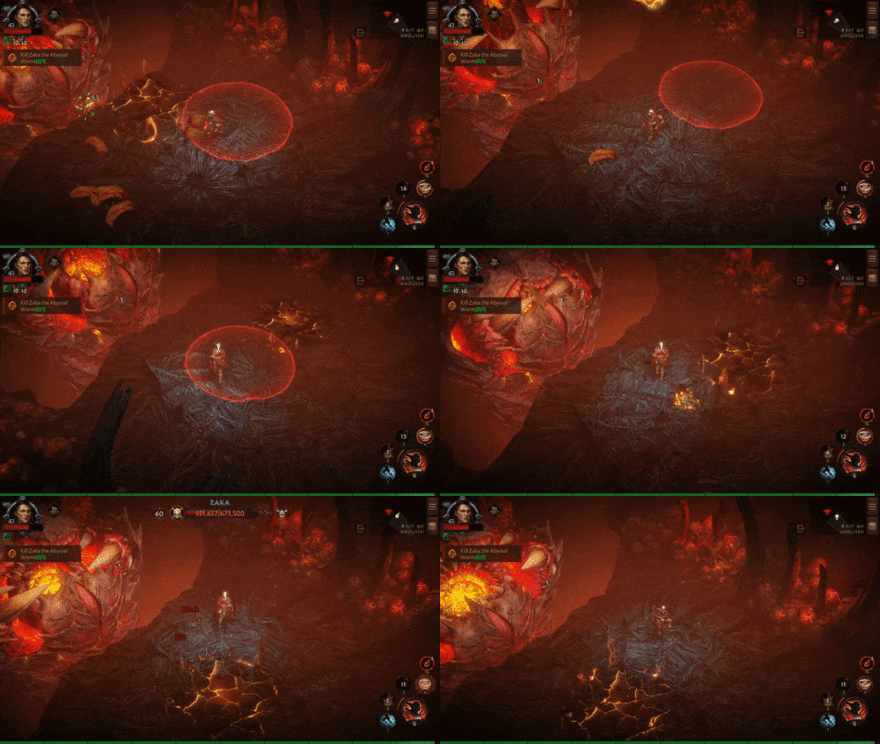
Zaka spits globs of fire that leave damaging pools of flame on the ground. Avoid this attack by moving away from the red circles on the floor that mark the spit's landing spots.
Worm Bite
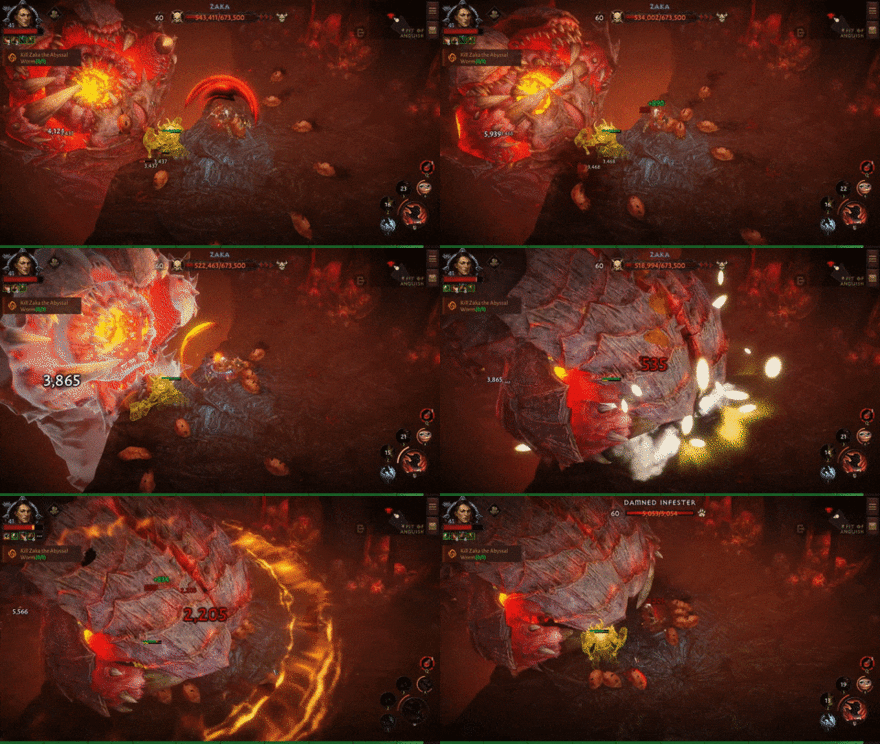
Zaka slightly rears back before lunging forward and taking a large impactful bite that deals heavy damage and can hit multiple times. You can avoid this attack by running away from Zaka before the move connects.
Leaping Chomp
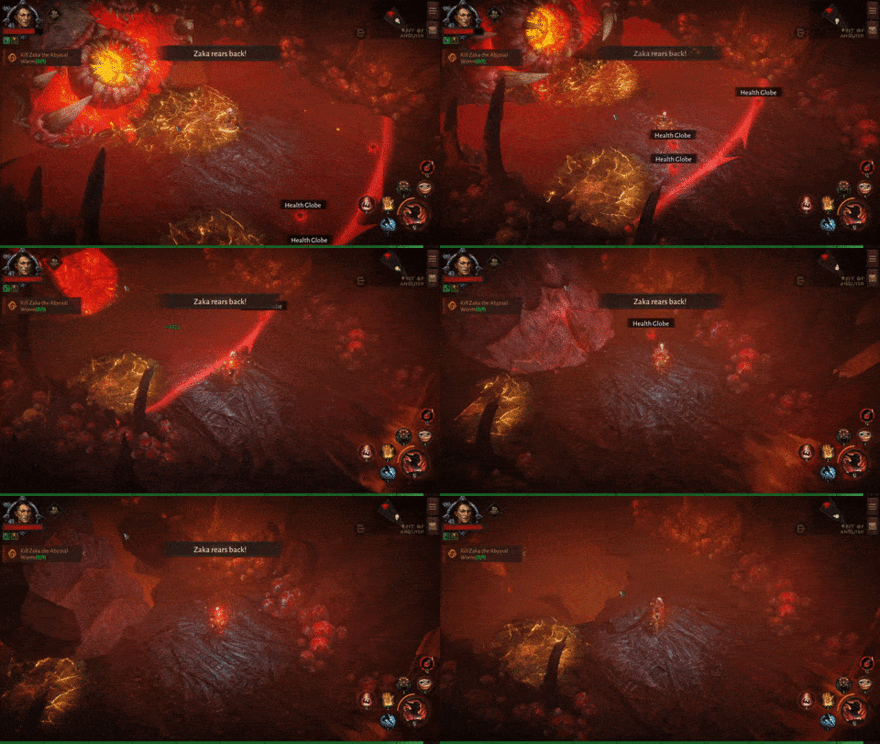
Zaka rears far back before leaping and chomping down on the arena, breaking part of the platform, dealing heavy damage, and knocking the player backward.
This attack happens each time you deplete one of Zaka's health bars and has multiple warning indicators, so react accordingly by running out of the attack's radius.
Magma Bombs
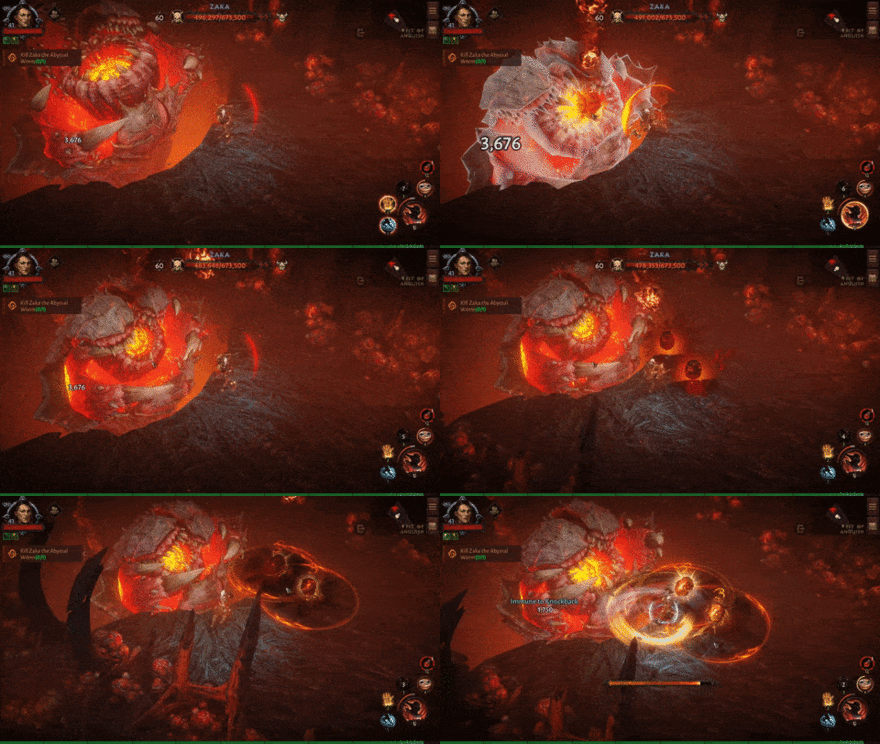
Zaka spits out magma bombs that explode after a three-second delay. After detonation, these magma bombs will knock you back and leave a lingering pool of magma on the floor.
Keep your distance from the bombs when they land and avoid the magma pools until they dissipate.
Steam Breath
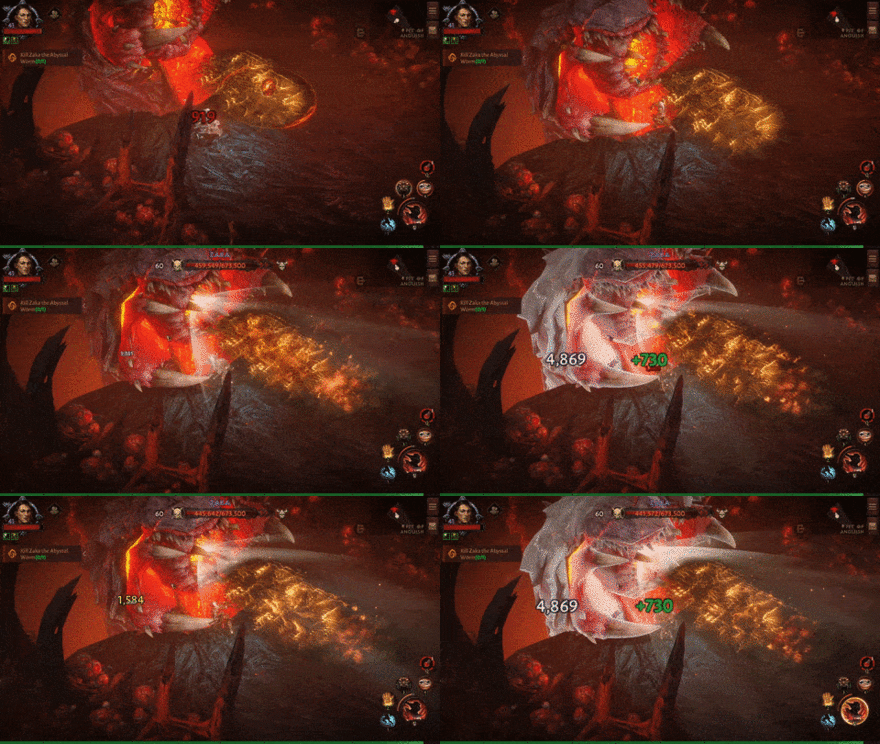
Zaka lets out a cone of steam from its mouth, damaging the player and pushing them backward. You can avoid the Steam Breath by moving to the immediate left or right of Zaka's mouth.
Fire Breath
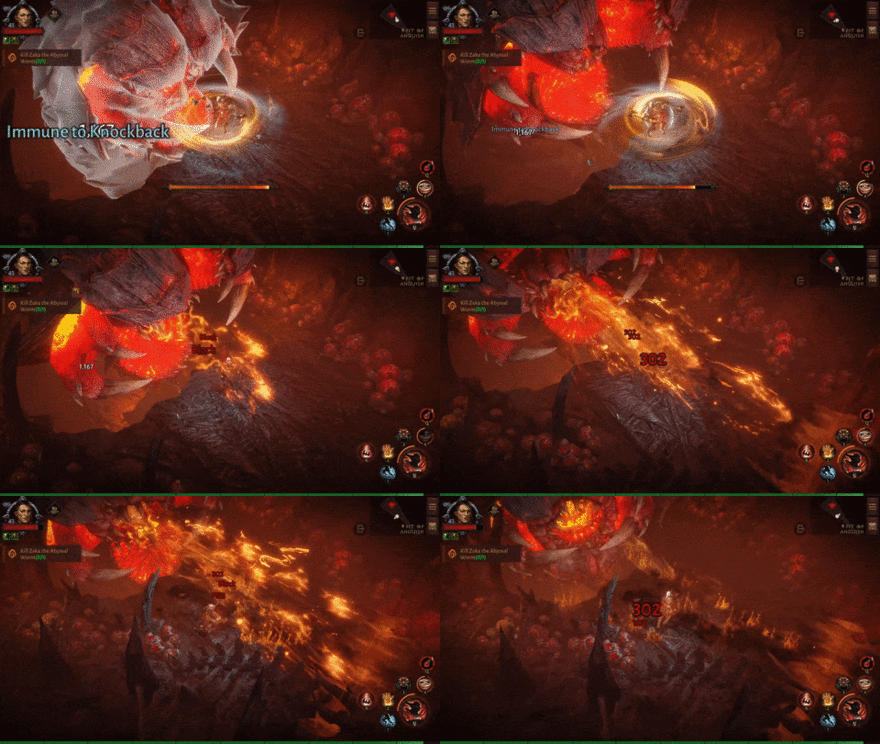
Zaka lets out a sweeping breath of fire, starting from the center of the arena and moving towards the left or right side. This Fire Breath also produces damaging lingering flames on the ground.
You can mitigate damage from this attack by moving towards the opposite side of where Zaka sweeps its Fire Breath.
Parasitic Maw Attack Patterns
Blood Spears
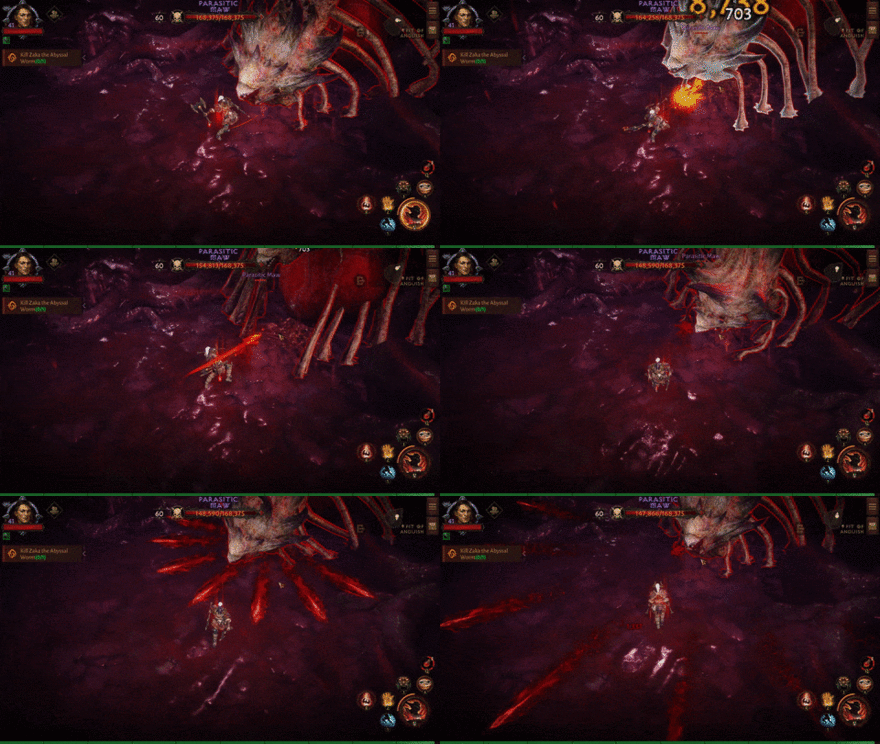
The Parasitic Maw rears backward before letting out a semicircular wave of blood spears. You can easily avoid this move by staying near the center of the boss and running away at an angle when it starts the attack.
Blood Laser
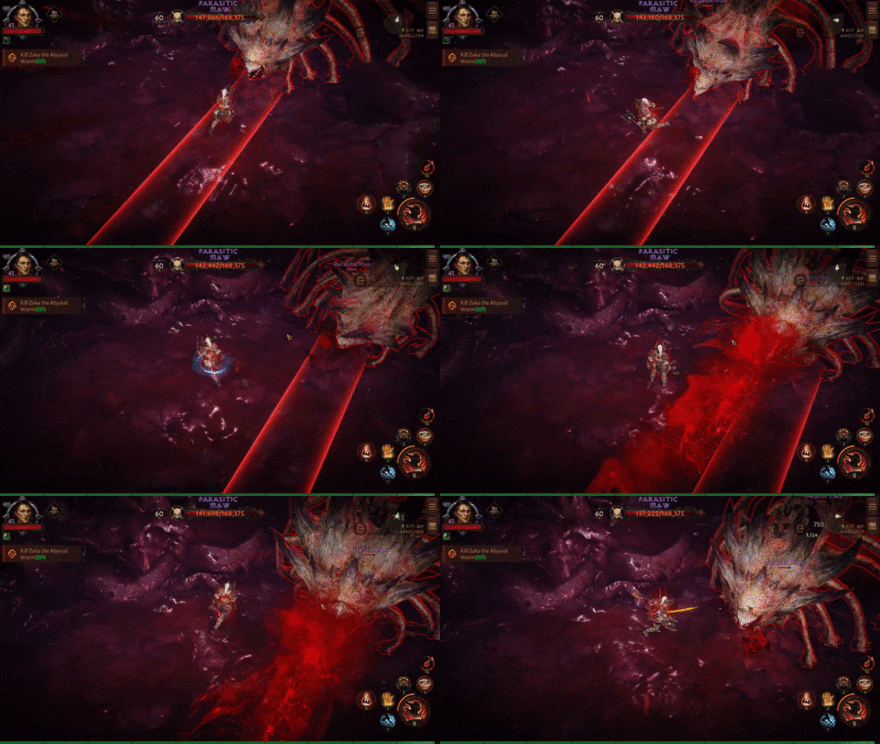
The Parasitic Maw charges up and releases a blood laser, which deals heavy damage on contact. Avoid this attack by running away from the red rectangular area that indicates the blood laser's position.
Modified Blood Laser in Second Phase
When the Parasitic Maw enters its second phase, its Blood Laser attack will now happen three times in a row, so watch out for this attack variation when it occurs.
Blood Bombs
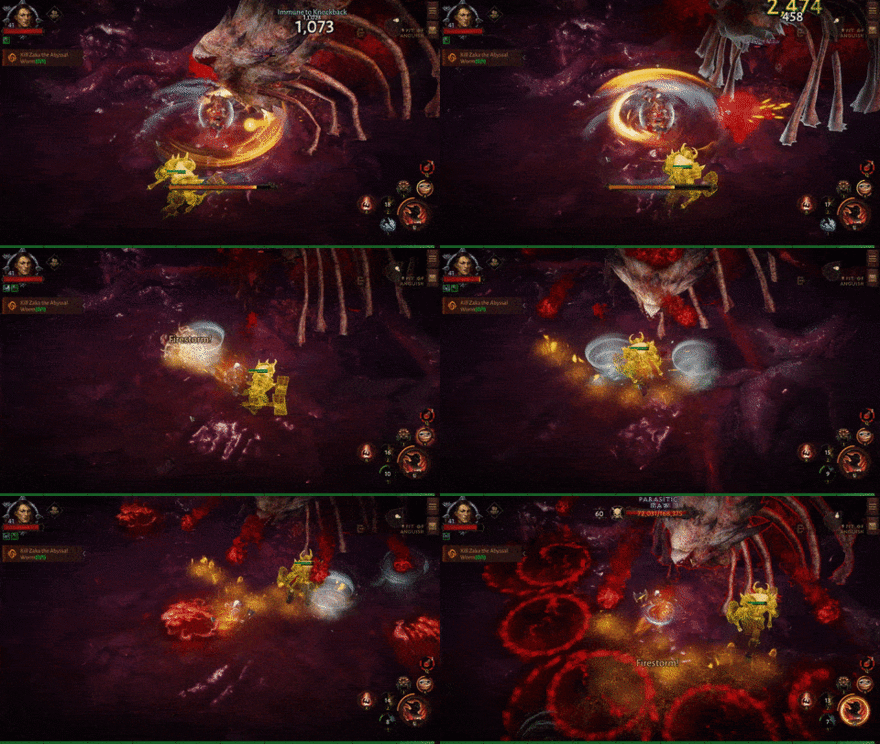
The Parasitic Maw charges up and releases barrages of blood bombs, coming down in a semicircular area. Avoid this attack by running away from the impact points of the blood bombs.
Diablo Immortal Related Guides
Boss Types
 Helliquary Bosses Helliquary Bosses |
 World Bosses World Bosses |
 Story Bosses Story Bosses |
 Elite Bosses Elite Bosses |
All Story Bosses
Author
Zaka the Abyssal Worm Boss Guide: Location and How to Beat
improvement survey
03/2026
improving Game8's site?

Your answers will help us to improve our website.
Note: Please be sure not to enter any kind of personal information into your response.

We hope you continue to make use of Game8.
Rankings
Gaming News
Popular Games

Genshin Impact Walkthrough & Guides Wiki

Honkai: Star Rail Walkthrough & Guides Wiki

Umamusume: Pretty Derby Walkthrough & Guides Wiki

Pokemon Pokopia Walkthrough & Guides Wiki

Resident Evil Requiem (RE9) Walkthrough & Guides Wiki

Monster Hunter Wilds Walkthrough & Guides Wiki

Wuthering Waves Walkthrough & Guides Wiki

Arknights: Endfield Walkthrough & Guides Wiki

Pokemon FireRed and LeafGreen (FRLG) Walkthrough & Guides Wiki

Pokemon TCG Pocket (PTCGP) Strategies & Guides Wiki
Recommended Games

Diablo 4: Vessel of Hatred Walkthrough & Guides Wiki

Cyberpunk 2077: Ultimate Edition Walkthrough & Guides Wiki

Fire Emblem Heroes (FEH) Walkthrough & Guides Wiki

Yu-Gi-Oh! Master Duel Walkthrough & Guides Wiki

Super Smash Bros. Ultimate Walkthrough & Guides Wiki

Pokemon Brilliant Diamond and Shining Pearl (BDSP) Walkthrough & Guides Wiki

Elden Ring Shadow of the Erdtree Walkthrough & Guides Wiki

Monster Hunter World Walkthrough & Guides Wiki

The Legend of Zelda: Tears of the Kingdom Walkthrough & Guides Wiki

Persona 3 Reload Walkthrough & Guides Wiki
All rights reserved
©2022 BLIZZARD ENTERTAINMENT, INC. ALL RIGHTS RESERVED.
All trademarks referenced herein are the properties of their respective owners.
The copyrights of videos of games used in our content and other intellectual property rights belong to the provider of the game.
The contents we provide on this site were created personally by members of the Game8 editorial department.
We refuse the right to reuse or repost content taken without our permission such as data or images to other sites.

 Acolyte of Damnation
 Eskara
 Ifriss the Destroyer
 King Leoric
 Manoruk
 Skeletal Mage
 Sir Gorash
 Lakrii
 The Countess
 Icon of Souls
 King Fahir
 Corphet the Venomwing
 Segithis
 Icon of Rebirth
 Skorspine the Marrowrot
 The Eternal Guardian
 Grimaldi the Flaming Soul
 The Curator
 Ongori
 Soul Killer Shaman
 Elder Owens
 Rhodri the Red
 Baal
Baal Sargoth
 Glacial Colossus
 Skarn
Skarn





![Monster Hunter Stories 3 Review [First Impressions] | Simply Rejuvenating](https://img.game8.co/4438641/2a31b7702bd70e78ec8efd24661dacda.jpeg/thumb)


