Lassal The Flame-Spun Raid Guide: How to Beat and Rewards
Check out Game8's Diablo 4 Wiki for our latest guides!
☆Diablo 4 Best Builds
☆Diablo 4 Interactive Map
☆Diablo 4 Class Tier List
☆Diablo 4 Story Walkthrough
☆Diablo 4 Leveling Guide
This is a raid guide to Lassal The Flame Spun in Diablo Immortal! Read on to learn how to beat the Helliquary boss Lassal, its attack patterns, and rewards for defeating Lassal!
Lassal The Flame Spun Combat Rating and Rewards
Overview
| Boss | Recommended CR |
|---|---|
 Lassal The Flame-Spun Lassal The Flame-Spun |
Level 1:
420
Level 2: 1250 Level 3: 1640 |
| Trophy Reward | Flame-Twisted Claw |
Flame-Twisted Claw
| Trophy | Effects |
|---|---|
 Flame-Twisted Claw Flame-Twisted Claw
|
Sealed in the Helliquary to receive a +30 to Combat Rating. Also grants +10% Attack Speed (Challenge Rifts only) if sealed in the Main Slot of the Helliquary. |
General Rewards
| Level | Rewards |
|---|---|
| 1 |
・Mystery Equipment
・Gold ・Chest of Glory (top 3 players) ・10 Scoria ・10 Scoria (Warband Raid) |
| 2 |
・Mystery Equipment
・Gold ・Chest of Glory (top 3 players) ・15 Scoria ・15 Scoria (Warband Raid) |
| 3 |
・Mystery Equipment
・Gold ・Chest of Glory (top 3 players) ・20 Scoria ・20 Scoria (Warband Raid) |
How to Beat Lassal The Flame Spun
Avoid Spending Resources in Phase 1
Phase 1 is the easiest part of the fight. Focus on attacking and dodging Lassal's jump attack if it uses it. This phase should be a breeze if your character has the necessary stat for the raid.
Quickly Eliminate Summoned Slagspitters
When Lassal summons the Slagspitters anytime during the fight, make sure to prioritize killing them asap. They can deal continuous damage to your party and if Lassal's attack connects while your HP is low, you may potentially die and have the raid fail.
Always Mind Your Position
Positioning is the most critical aspect of the Lassal Raid, especially during its boulder attack. Know your class and always position yourself in the most ideal area for your attack range. Stay far if you're a ranged class and position near and away from molten cracks if you're a melee class.
Avoid Resurrecting Allies in Phase 4
Phase 4 causes Lassal to go wild and start using its attack at a rapid pace. Your revive will be interrupted easily so it's better to dish out damage during this phase and end the fight immediately. You can revive your fallen allies after the battle concludes.
Don't Waste Your Own Revive
During the raid, you can spend one free revive without the assistance of an ally and at full HP as well. Make sure to use this sparingly and as much as possible, only use this during phase 3 or 4. Have your ally revive you during the easier phases.
Lassal The Flame Spun Attack Patterns
Phase 1 Attack Patterns
Jump Slams
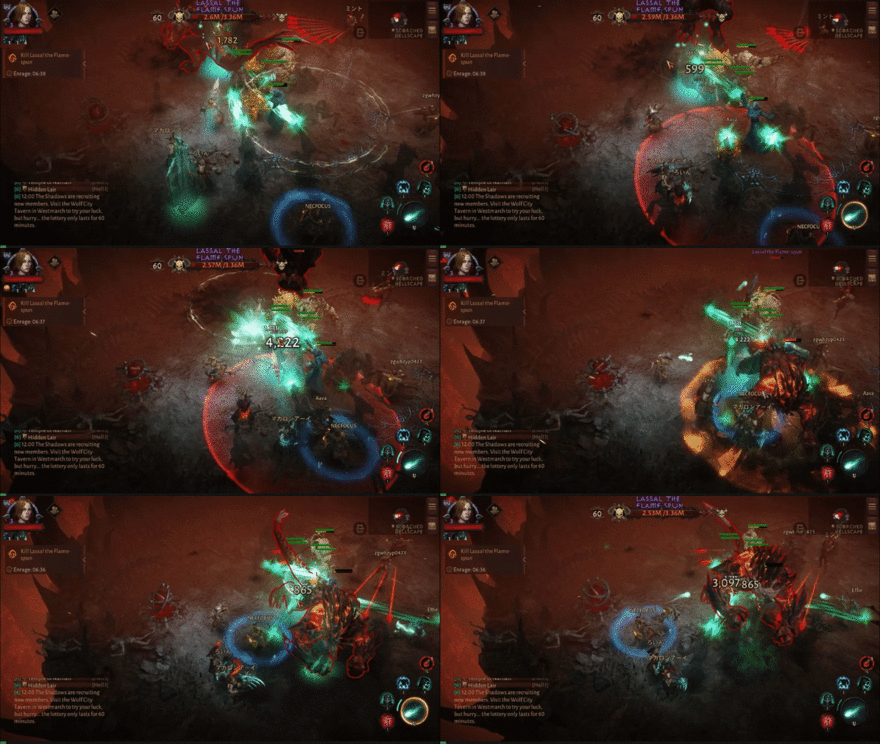
This is Lassal's strongest attack for Phase 1. He can hop around the map and land in a large area that targets one player. This repeats multiple times and you cannot run towards him as Lassal's hitbox will block your movement.
Phase 2 Attack Patterns
Flame Arc
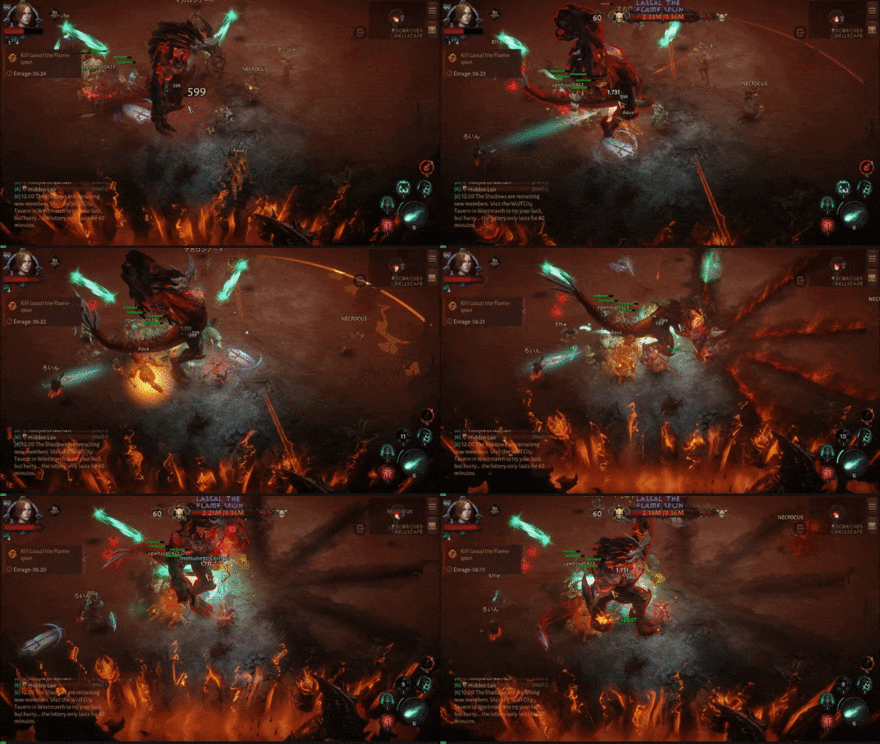
This is a large attack but it has a long charge time. It is easier to move behind Lassal when he charges for this move if you're melee and away if you're ranged (and in the right position).
Summon Demons and Slagspitters
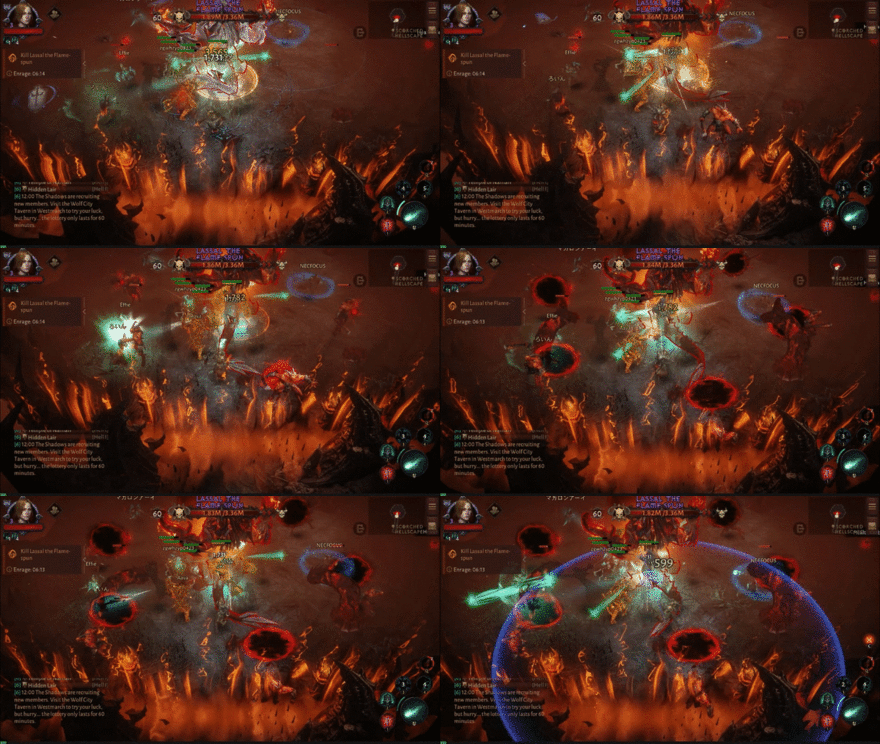
Lassal summons several demons and Slagspitters who will relentlessly attack the players during the raid. The Slagspitters in particular can deal huge amounts of damage to the players.
Flame Arc Ignite
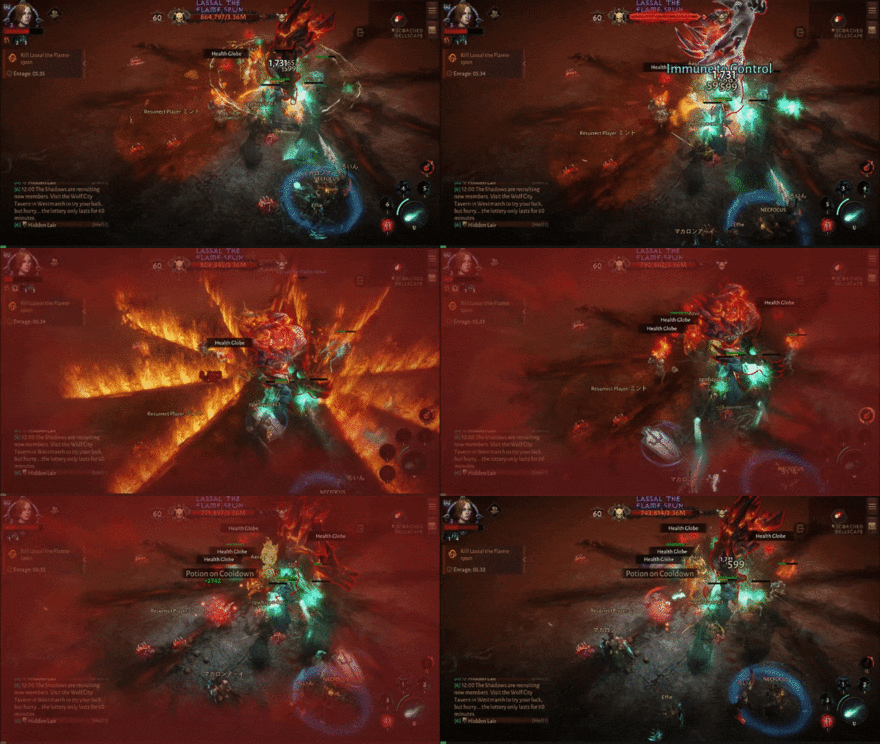
Lassal ignites the molten cracks created by its Flame Arc attack. Make sure to position yourself away during these molten cracks at all times!
Phase 3 Attack Patterns
AoE Boulder Attack
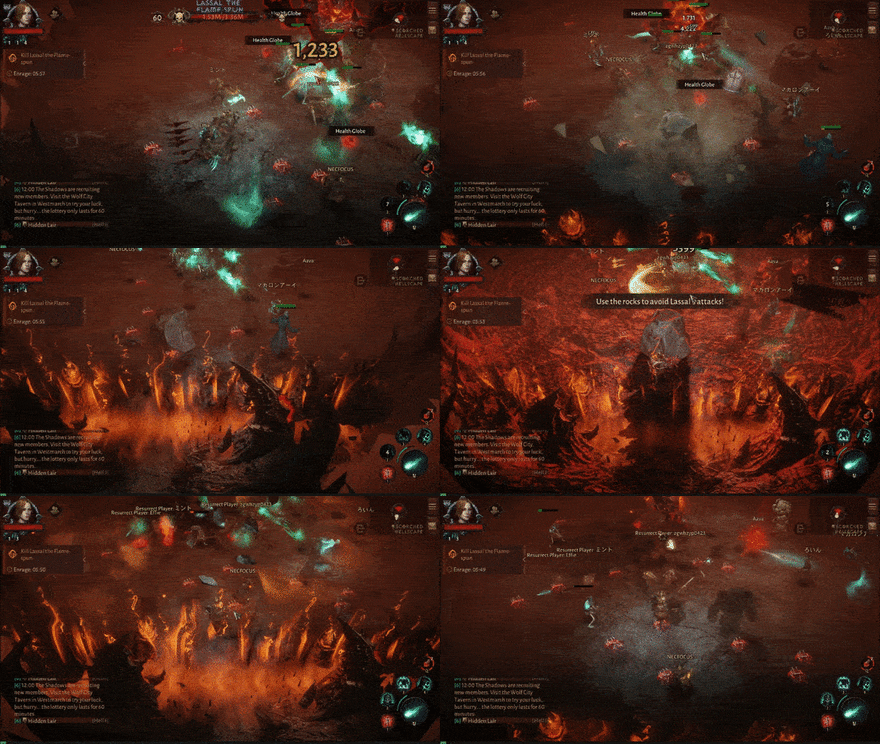
Lassal summons a boulder on the battlefield. After a short while, any player that is not positioned behind the boulder will take massive damage and likely die if their defensive stats and Combat Rating are near the suggested Combat Rating requirement.
Phase 4 Attack Patterns
All Movesets
When Lassal enters Phase 4 which is its last bits of HP. He goes into a frenzy and he gains an increased attack rate. In addition to this, all moves he uses during phases 1 to 3 will be usable in this phase. It's highly recommended to use all your ultimates during this phase if available.
Diablo Immortal Related Guides
Boss Types
 Helliquary Bosses Helliquary Bosses |
 World Bosses World Bosses |
 Story Bosses Story Bosses |
 Elite Bosses Elite Bosses |
Author
Lassal The Flame-Spun Raid Guide: How to Beat and Rewards
improvement survey
03/2026
improving Game8's site?

Your answers will help us to improve our website.
Note: Please be sure not to enter any kind of personal information into your response.

We hope you continue to make use of Game8.
Rankings
- We could not find the message board you were looking for.
Gaming News
Popular Games

Genshin Impact Walkthrough & Guides Wiki

Honkai: Star Rail Walkthrough & Guides Wiki

Umamusume: Pretty Derby Walkthrough & Guides Wiki

Pokemon Pokopia Walkthrough & Guides Wiki

Resident Evil Requiem (RE9) Walkthrough & Guides Wiki

Monster Hunter Wilds Walkthrough & Guides Wiki

Wuthering Waves Walkthrough & Guides Wiki

Arknights: Endfield Walkthrough & Guides Wiki

Pokemon FireRed and LeafGreen (FRLG) Walkthrough & Guides Wiki

Pokemon TCG Pocket (PTCGP) Strategies & Guides Wiki
Recommended Games

Diablo 4: Vessel of Hatred Walkthrough & Guides Wiki

Cyberpunk 2077: Ultimate Edition Walkthrough & Guides Wiki

Fire Emblem Heroes (FEH) Walkthrough & Guides Wiki

Yu-Gi-Oh! Master Duel Walkthrough & Guides Wiki

Super Smash Bros. Ultimate Walkthrough & Guides Wiki

Pokemon Brilliant Diamond and Shining Pearl (BDSP) Walkthrough & Guides Wiki

Elden Ring Shadow of the Erdtree Walkthrough & Guides Wiki

Monster Hunter World Walkthrough & Guides Wiki

The Legend of Zelda: Tears of the Kingdom Walkthrough & Guides Wiki

Persona 3 Reload Walkthrough & Guides Wiki
All rights reserved
©2022 BLIZZARD ENTERTAINMENT, INC. ALL RIGHTS RESERVED.
All trademarks referenced herein are the properties of their respective owners.
The copyrights of videos of games used in our content and other intellectual property rights belong to the provider of the game.
The contents we provide on this site were created personally by members of the Game8 editorial department.
We refuse the right to reuse or repost content taken without our permission such as data or images to other sites.





![Monster Hunter Stories 3 Review [First Impressions] | Simply Rejuvenating](https://img.game8.co/4438641/2a31b7702bd70e78ec8efd24661dacda.jpeg/thumb)


