Lodespring Crossing Main Mission Guide
✪ Check Game8 Endfield Twitter for daily tips!
★ Exclusive: Endfield's Connection to Arknights
★ Ver. 1.1: Release Date | Livestream | Maintenance
★ Tangtang (Build | Banner) | Rossi (Build | Banner)
★ Best Builds: Yvonne | Last Rite | Laevatain
★ Hot: Essence Tool | Blueprint | Best Dijiang Setup
Lodespring Crossing is a Main Mission in the Path of Ascension quest series of Arknights: Endfield. Check out how to destroy Ankhors, how to unlock this mission, its walkthrough, and all its rewards in this guide!
| Previous Mission | Next Mission |
|---|---|
| Shattered Veins | Cradle of Ages |
List of Contents
Lodespring Crossing Quest Information
Lodespring Crossing Quest Details
| Mission Type | Main Mission |
|---|---|
| Quest Line | Path of Ascension |
| Chapter | Chapter 1 - Process 3 |
| Location | Origin Lodespring, Valley IV |
Lodespring Crossing is the eighth quest under the Path of Ascension mission series. This quest is under Chapter 1 - Process 3 of the main story and is located in Origin Lodespring.
How to Unlock Lodespring Crossing

Lodespring Crossing is immediately unlocked after completing the Shattered Veins quest and has no level restrictions.
Shattered Veins Main Mission Guide
Lodespring Crossing Walkthrough
Lodespring Crossing Quest Guide
- Destroy the First Ankhor
- Destroy the Second Ankhor
- Talk to the Survey Team Member
- Defeat the Aggeloi
- Destroy the Third Ankhor
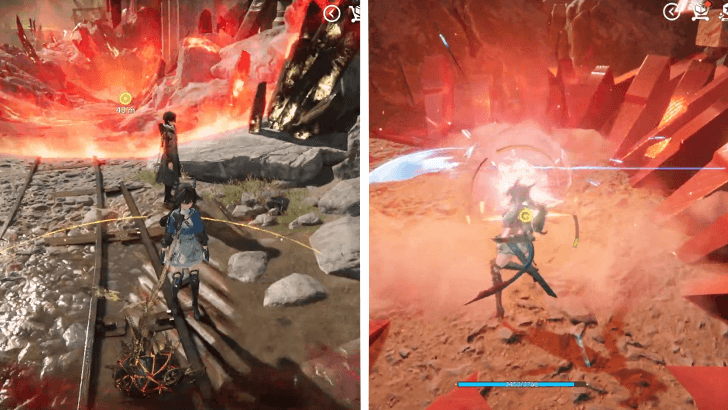
Destroy the First Ankhor
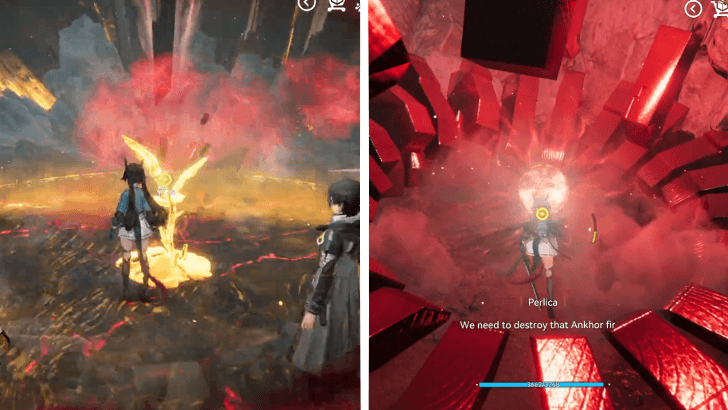
You would need to protect yourself by staying in the shield that every Originium Sapling creates. If you get hit with the shockwave, it will spawn you back to the last sapling you crossed.
How to Destroy First Ankhor
| First Ankhor Guide | |
|---|---|
| 1 | 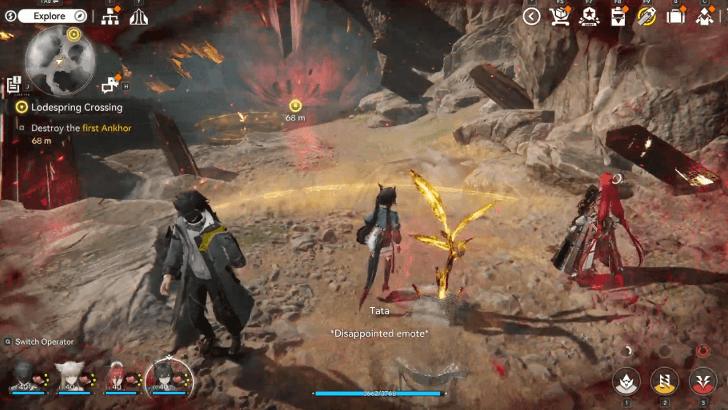 Move to the Second Sapling Stay in the first sapling until the shockwaves end, then move to the next closest sapling. |
| 2 | 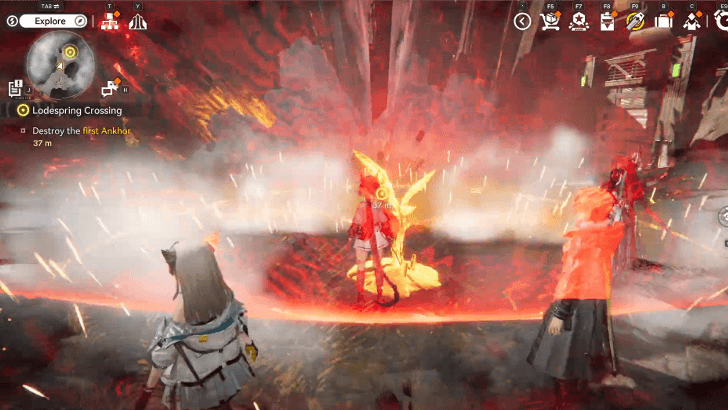 Wait for the Shockwave Before Destroying the Core At the second sapling, wait again for the shockwave to end. Then, go for the Ankhor core and destroy it. |
Destroy the Second Ankhor
Open the door and go to the Originium sapling. You will see Originium slugs that carry and move the sapling with them. Keep going to the next sapling or slug before the shockwave hits you.
How to Destroy Second Ankhor
| Second Ankhor Guide | |
|---|---|
| 1 | 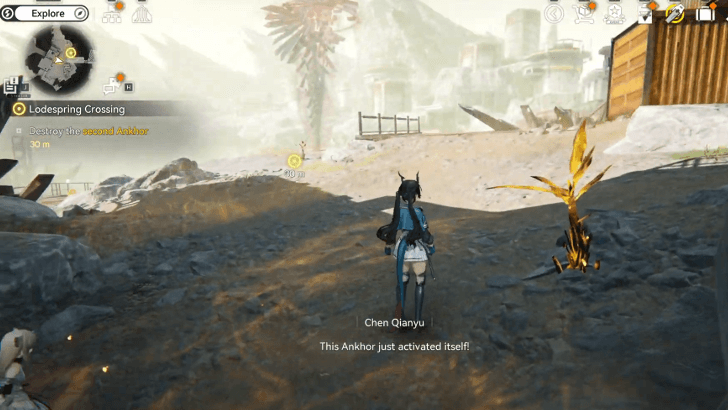 Move to Second Sapling to See Trapped Crew Mates Continue the path in the Originium Mines to the first sapling. Then after the shockwave, move to the next sapling to see that there are crew mates trapped at the road. |
| 2 | 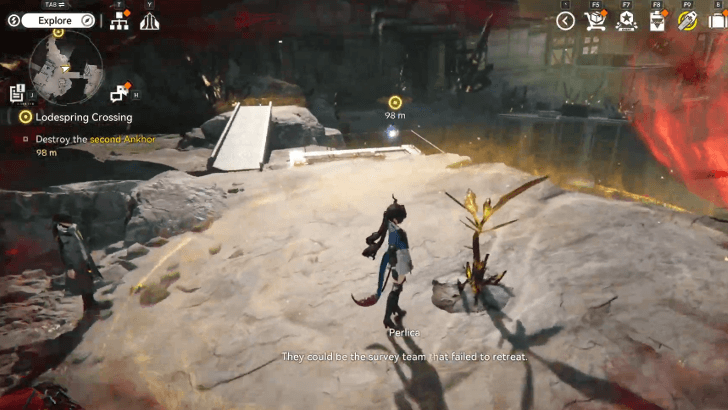 Walk Across the Platform Bridge Cross the platform bridge to your left and get to the next sapling in time. |
| 3 | 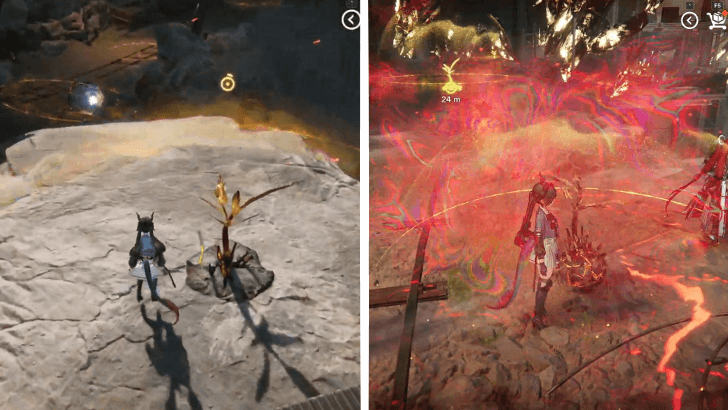 Move Along with Originium Slugs in Tunnel There will be a tunnel full of Originium Saplings and Originium Slugs. The slugs move with the branch stuck to them. Move with the slugs after every shockwave throughout the tunnel. |
| 4 | 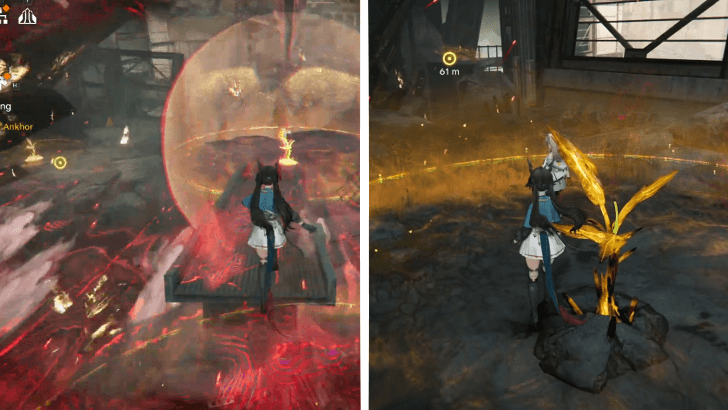 Keep Following Platform Bridges with Saplings At the middle of the tunnel, there will be platform bridges that will lead to the next sapling. Keep following the path to get closer to the road. |
| 5 | 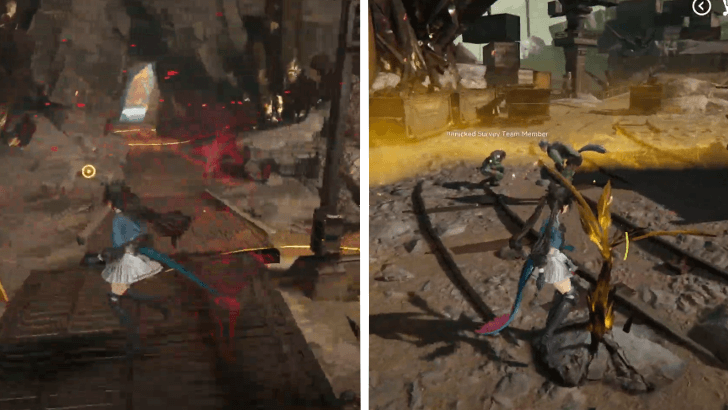 Enter the Cave to Reach the Road Enter the small entrance to a cave that will lead out to the road by the trapped crew mates. Then, move to the last slug before destroying the core. |
| 6 | 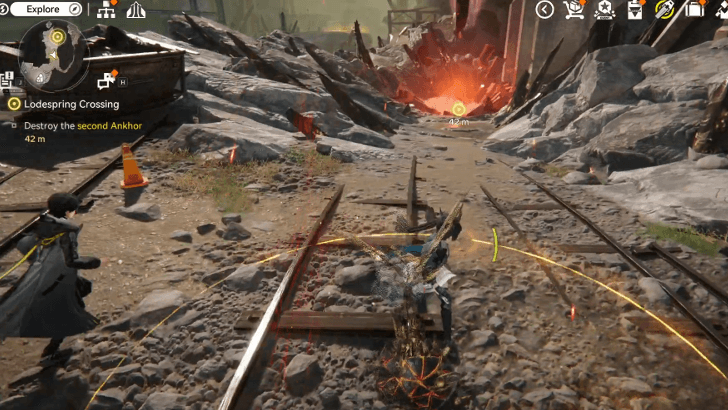 Wait for Shockwave in Closest Originium Slug Wait for the shockwave to end before moving out to destroy the core. |
Talk to the Survey Team Member
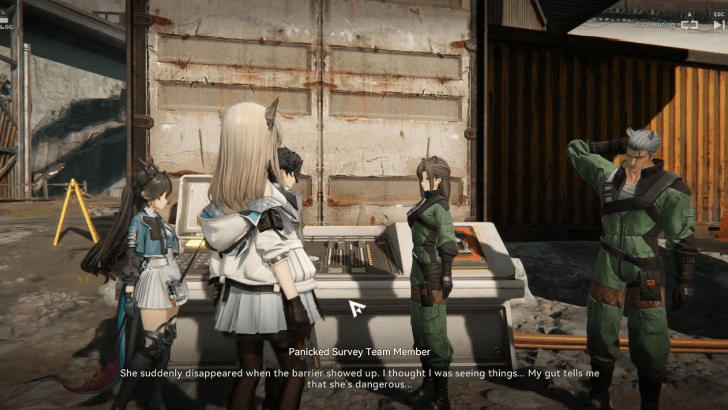
Go back to the survey team member who tells you that Nefarith was seen within the area. Continue to find the third Ankhor.
Defeat the Aggeloi
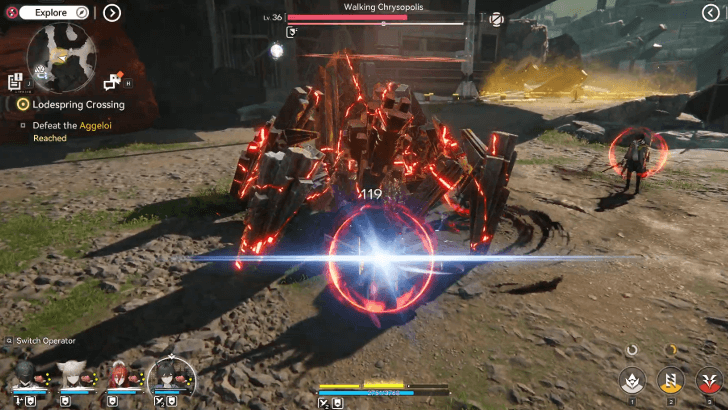
Go through the shipping container and head back to the first location of the mission. Speak with Matvei, who will clear the path. Past the cleared path is a Walking Chrysopolis. Defeat the giant Aggeloi and continue finding the Third Ankhor.
Destroy the Third Ankhor
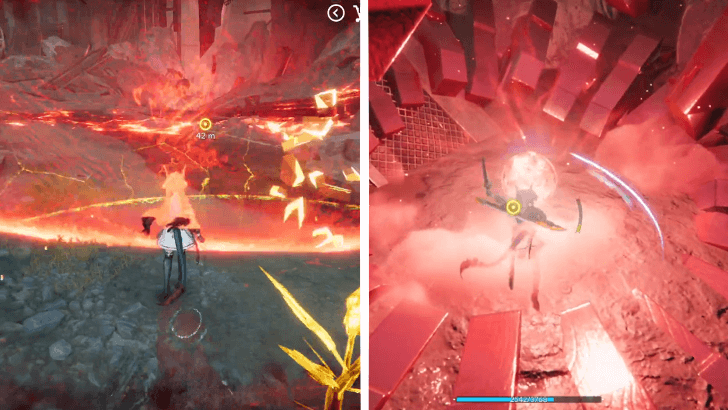
Go to the Protocom Signal Tower so Tata can scan the area. Most Originium saplings have jump pads close by. Keep using the jump pads to move from one sapling to the next.
How to Destroy Third Ankhor
| Third Ankhor Guide | |
|---|---|
| 1 | 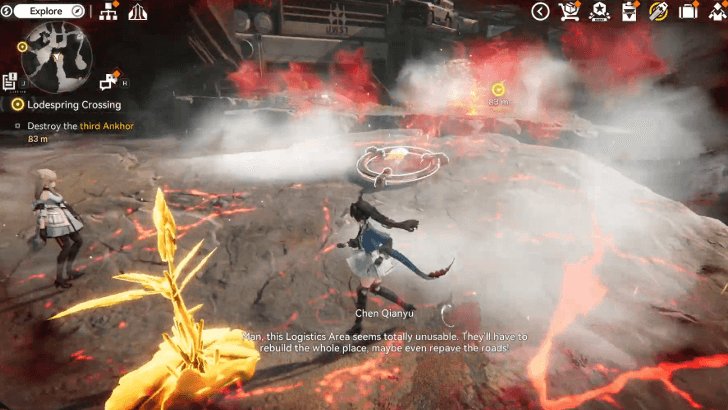 Use Jump Pads Near Originium Saplings For the final Ankhor, the journey will involve a lot of jump pads. Use these jump pads to jump over missing land. |
| 2 | 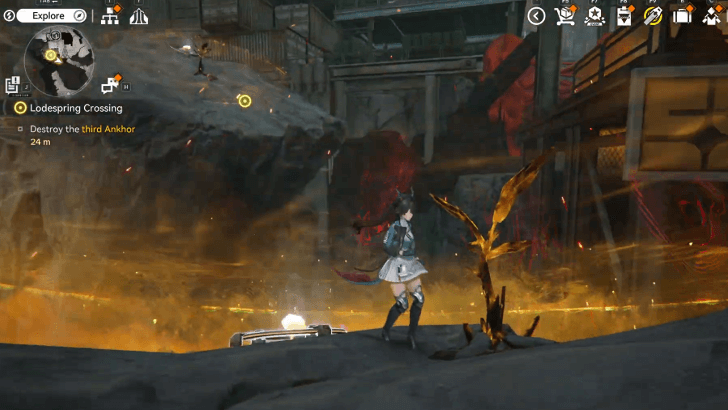 Jump from One Floating Rock to Another There will be saplings sitting on floating rocks. Use the jump pads after the shockwave to reach the next safe area. |
| 3 | 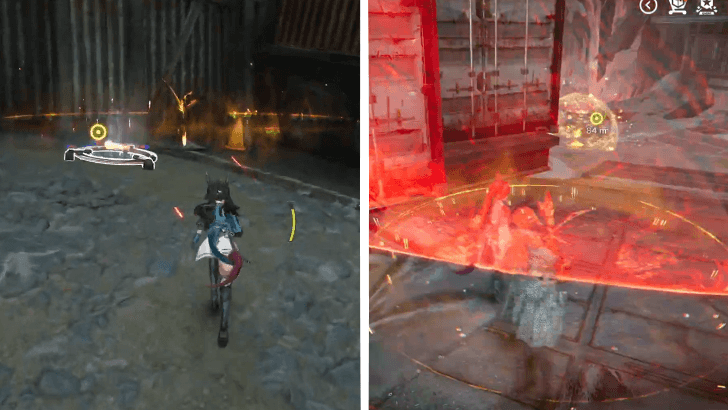 Jump to Originium Slug on Top of Containers Find the last jump pad to get to the top of containers with a slug waiting there. Stay until the shockwave ends before moving. |
| 4 | 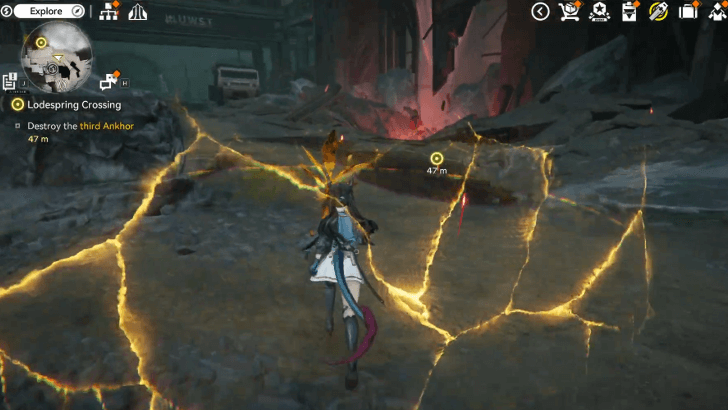 Move to the Last Originium Slug Run towards the Originium Slug closest to the final core. Destroy the core before the next shockwave to finally dispel the barrier. |
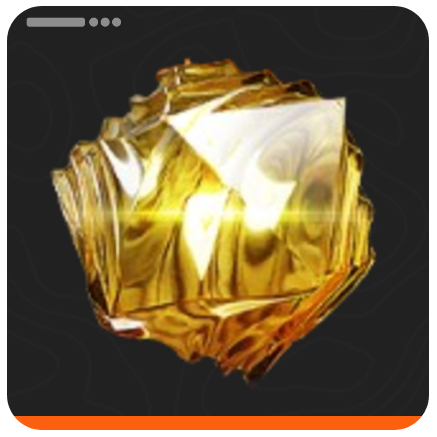
Lodespring Crossing Quest Rewards
Total Item Rewards
| Total Quest Rewards |
 T-Creds x6500 |
 Protoprism x11 |
 Origeometry x2 |
|---|---|---|
 Arms INSP Kit x15 |
||
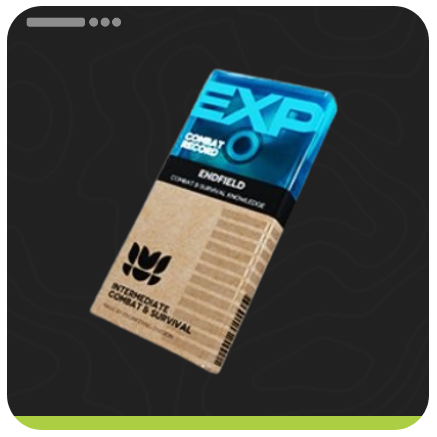
You can also get 400 Operational EXP and 200 Valley Regional Development Metric for finishing the mission.
Arknights: Endfield Related Guides

All Main Chapters and Processes
Comment
Author

Lodespring Crossing Main Mission Guide
Premium Articles
Rankings

Gaming News


![Nova Roma Review [Early Access] | Newer, Better, and More Confusing](https://img.game8.co/4455512/2cbf8926e9a1c72a3ff056088f801ef4.png/thumb)
Popular Games

Genshin Impact Walkthrough & Guides Wiki
Umamusume: Pretty Derby Walkthrough & Guides Wiki
Crimson Desert Walkthrough & Guides Wiki
Monster Hunter Stories 3: Twisted Reflection Walkthrough & Guides Wiki
Honkai: Star Rail Walkthrough & Guides Wiki
Pokemon Pokopia Walkthrough & Guides Wiki
The Seven Deadly Sins: Origin Walkthrough & Guides Wiki
Wuthering Waves Walkthrough & Guides Wiki
Zenless Zone Zero Walkthrough & Guides Wiki
Arknights: Endfield Walkthrough & Guides Wiki


Recommended Games
Fire Emblem Heroes (FEH) Walkthrough & Guides Wiki
Diablo 4: Vessel of Hatred Walkthrough & Guides Wiki
Cyberpunk 2077: Ultimate Edition Walkthrough & Guides Wiki
Yu-Gi-Oh! Master Duel Walkthrough & Guides Wiki
Super Smash Bros. Ultimate Walkthrough & Guides Wiki
Pokemon Brilliant Diamond and Shining Pearl (BDSP) Walkthrough & Guides Wiki
Elden Ring Shadow of the Erdtree Walkthrough & Guides Wiki
Monster Hunter World Walkthrough & Guides Wiki
The Legend of Zelda: Tears of the Kingdom Walkthrough & Guides Wiki
Persona 3 Reload Walkthrough & Guides Wiki


All rights reserved
Copyright © 2022 - 2025 GRYPHLINE. All Rights Reserved.
The copyrights of videos of games used in our content and other intellectual property rights belong to the provider of the game.
The contents we provide on this site were created personally by members of the Game8 editorial department.
We refuse the right to reuse or repost content taken without our permission such as data or images to other sites.