Regional Development Management Guide
✪ Check Game8 Endfield Twitter for daily tips!
★ Exclusive: Endfield's Connection to Arknights
★ Ver. 1.1: Release Date | Livestream | Maintenance
★ Tangtang (Build | Banner) | Rossi (Build | Banner)
★ Best Builds: Yvonne | Last Rite | Laevatain
★ Hot: Essence Tool | Blueprint | Best Dijiang Setup
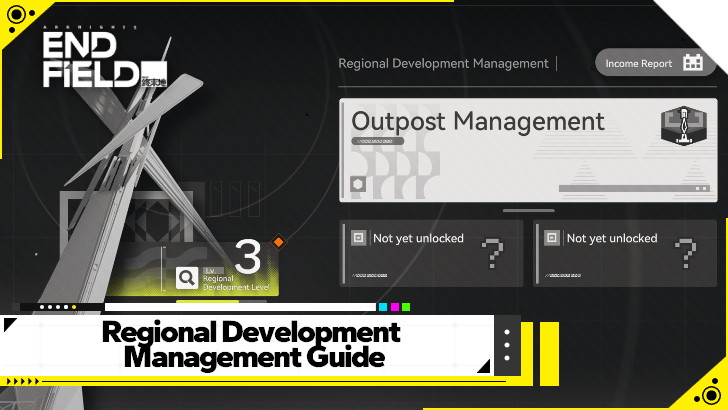
Regional Development helps gauge the overall progression of your factories and outposts. It also allows you to trade supplies within all regions of Talos-II. Learn the different functions of the Regional Development Management, rewards, items to trade, and more here!
| Regional Development Management Guides | |
|---|---|
| RDM Main Guide | Stock Redistribution |
| Operator Liaison | Development Level |
| Outpost Management | Environment Monitoring |
| Depot Node Guide | How to Deliver Goods |
Regional Development Features
| Jump to a Section Here! | |
|---|---|
| Development Level | Stock Redistribution |
| Outpost Management | Depot Node |
| Income Report | Environmental Monitoring |
Regional Development Level
The Regional Development Level screen allows you to view your current RDL and RDM progress in one region. When you go through other regions, their RDL progress will vary depending on how many factories and outposts, as well as other related activity, you have there.
How to Raise Regional Development Level
Stock Redistribution (Stock Market)
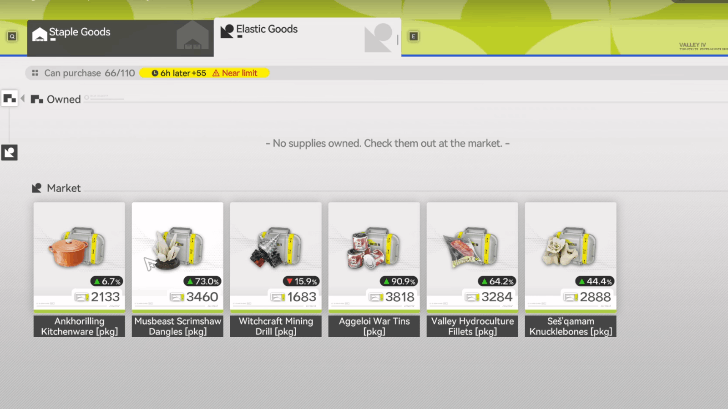
Stock Bills collected from Outposts can then be used at a market in the RDM called the Stock Redistribution, basically allowing you to buy valuables such as HH Tickets but with the twist of having a stock market to plan your purchase and selloffs of certain materials.
Stock Redistribution Guide (Stock Market)
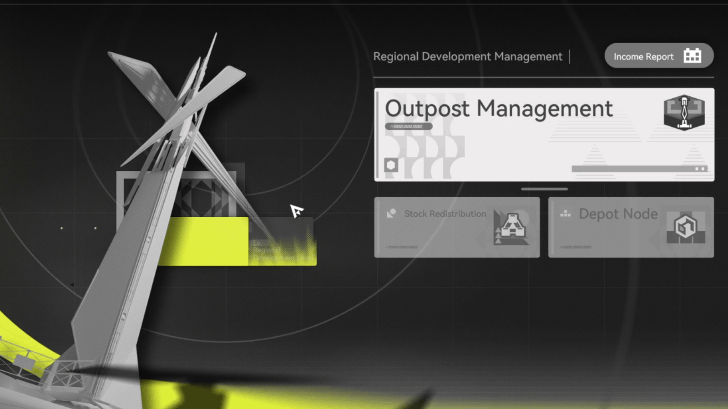
Outpost Management
Outpost Management handles the trading between active Outposts in-game, and is where you get Stock Bills that you can use for trade and stock redistribution. Your Outpost Prosperity dictates how your Outpost will look alongside other upgrades.
Outpost Management and Level Guide
Outpost Liaisons Can Improve Outpost Growth
Outposts can have liaisons, composed of your playable characters to support the outpost by providing it buffs when trading and getting prosperity points.
Depot Node
Depot Nodes allow you to repackage your extra materials to other NPCs in the world, basically freeing up your storage and depot while also completing set goals for certain in-game characters.
Deliver Supplies and Gain Stock Bills
One way to get Stock Bills is to deliver supplies via the Depot Nodes! Provide additional resources to the people of Talos-II and get rewards by delivering supplies.
Income Report
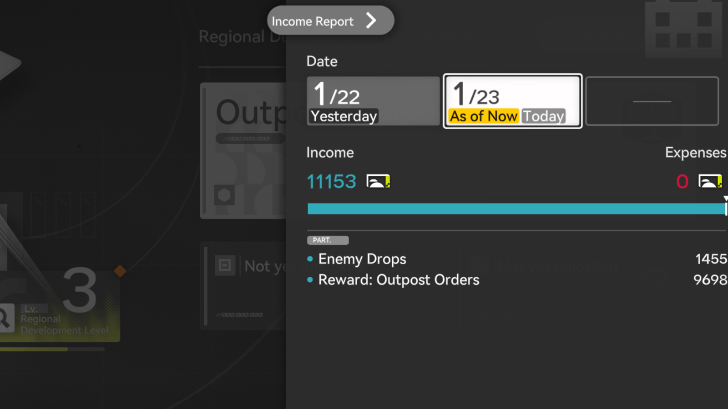
Income Report is a summary of your daily Stock Bill income, which can be referenced to improve your automation and make materials processing more efficient, which in turn, can give you more stock bills through outpost trading.
Environment Monitoring
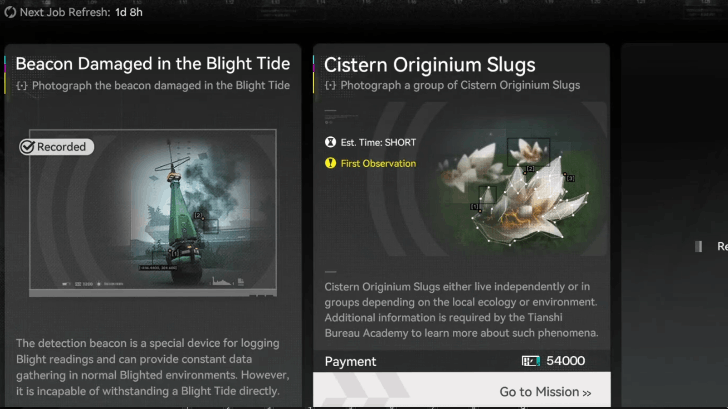
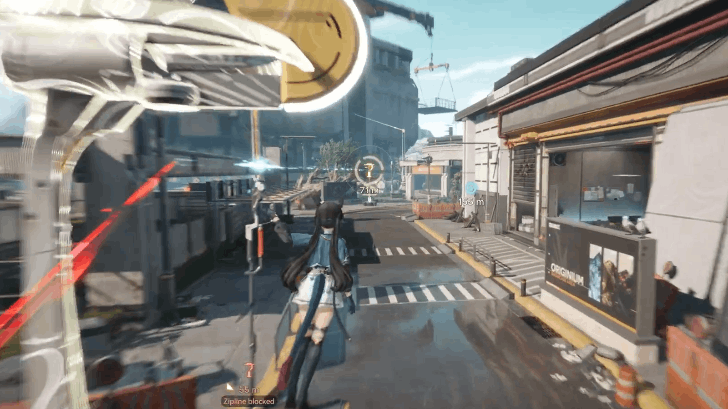
Environment Monitoring is a feature of the Regional Development first unlocked in Wuling that allows you to snap photos of different environments as part of the photography quests in the area, with Stock Bills as rewards.
How to Level Regional Development Metric (RDM)
Complete AIC Tasks, Build Outpots and Expand Depot Nodes
 |
| ・Rigging Mining Spots for the 1st Time ・Outpost Connection and Prosperity Upgrades ・Recycling Station Unlocking and Upgrades ・Depot Node Unlocking and Upgrades ・Stock Redistribution Tasks |
The Regional Development Metric (RDM) serves as the outpost management's EXP Bar that you can level by completing AIC Tasks, building Outposts and interacting with the stock market, unlocking Depot Nodes, and completions Missions in any of the current regions of the game!
These activities provide varying rates of experience for your RDM so make sure to do them all to get as much experience as possible.
Regional Development Rewards
| List of Rewards Per Region | |
|---|---|
| Valley IV | Wuling |
Valley IV Full Rewards
| Level | Upgrades | Milestone Rewards |
|---|---|---|
| 1 | Unlocks Regional Development | No Upgrades |
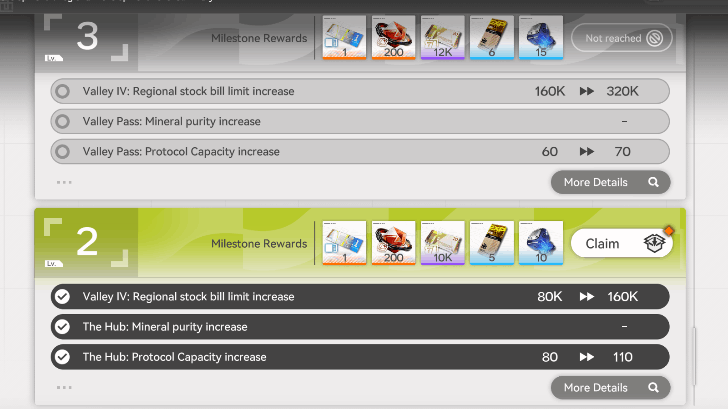
| 2 | ・Valley IV: Regional Stock Bill Limit Increase (160K) ・The Hub: Mineral Purity Increase ・The Hub: Protocol Capacity Increase (110) ・The Hub: Zipline Limit Increase (12) ・The Hub: Combat Facility Increase (6) |
・
・
・
・
|
| 3 | ・Valley IV: Regional Stock Bill Limit Increase (320K) ・Valley Pass: Mineral Purity Increase ・Valley Pass: Protocol Capacity Increase (70) ・Valley Pass: Zipline Limit Increase (7) ・Valley Pass: Combat Facility Increase (6) |
・
・
・
・
|
| 4 | ・Valley IV: Regional Stock Bill Limit Increase (720K) ・The Hub: Mineral Purity Increase ・The Hub: Protocol Capacity Increase (150) ・The Hub: Zipline Limit Increase (15) ・The Hub: Combat Facility Increase (8) ・Aburrey Quarry: Protocol Capacity Increase (70) ・Aburrey Quarry: Mineral Purity Increase ・Aburrey Quarry: Zipline Limit Increase (7) ・Aburrey Quarry: Combat Facility Increase (6) |
・
・
・
・
|
| 5 | ・Valley IV: Regional Stock Bill Limit Increase (1.8M) ・Valley Pass: Protocol Capacity Increase (80) ・Valley Pass: Zipline Limit Increase (8) ・Valley Pass: Combat Facility Increase (8) ・Originium Science Park: Protocol Capacity Increase (110) ・Originium Science Park: Zipline Increase (12) ・Originium Science Park: Combat Facility Increase (6) |
・
・
・
・
・
|
| 6 | ・Valley IV: Regional Stock Bill Limit Increase (3.6M) ・The Hub: Protocol Capacity Increase (200) ・The Hub: Zipline Placement Increase (20) ・The Hub: Combat Facility Increase (10) ・Originium Science Park: Protocol Capacity Increase (110) ・Originium Science Park: Zipline Increase (12) ・Originium Science Park: Combat Facility Increase (6) |
・
・
・
・
・
|
| 7 |
・Valley IV: Regional Stock Bill Limit Increase (6M) ・Valley Pass: Protocol Capacity Increase (100) ・Valley Pass: Zipline Placement Increase (10) ・Valley Pass: Combat Facility Increase (10) ・Originium Science Park: Protocol Capacity Increase (150) ・Originium Science Park: Zipline Placement Increase (16) ・Originium Science Park: Combat Facility Increase (8) |
・
・
・
・
・
|
| 8 |
・Valley IV: Regional Transfer Unlocked
・Valley IV: Regional Stock Bill Limit Increase (8.5M) ・Aburrey Quarry: Mineral Purity Increase ・Aburrey Quarry: Protocol Capacity Increase (100) ・Aburrey Quarry: Zipline Placement Limit Increase (10) ・Aburrey Quarry: Combat Facility Increase (10) ・Origin Lodespring: Mineral Purity Increase ・Origin Lodespring: Protocol Capacity Increase (170) ・Origin Lodespring: Zipline Placement Increase (20) ・Origin Lodespring: Combat Facility Increase (8) |
・
・
・
・
・
|
| 9 |
・Valley IV: Regional Transfer Total Increased (900) ・Valley IV: Regional Stock Bill Limit Increase (13.5M) ・Originium Science Park: Mineral Purity Increase ・Originium Science Park: Protocol Capacity Increase (200) ・Originium Science Park: Zipline Placement Increase (20) ・Originium Science Park: Combat Facility Increase (10) ・Power Plateau: Mineral Purity Increase ・Power Plateau: Protocol Capacity Increase (160) ・Power Plateau: Zipline Placement Increase (16) ・Power Plateau: Combat Facility Increase (8) |
・
・
・
・
・
|
| 10 |
・Valley IV: Regional Transfer Total Increased (1K) ・Valley IV: Regional Stock Bill Limit Increase (16M) ・Origin Lodespring: Mineral Purity ・Origin Lodespring: Protocol Capacity Increase (220) ・Origin Lodespring: Zipline Placement Increase (25) ・Origin Lodespring: Combat Facility Increase (10) |
・
・
・
・
・
|
| 11 |
・Valley IV: Regional Transfer Total Increased (1.2K) ・Valley IV: Regional Stock Bill Limit Increase (20M) ・Power Plateau: Mineral Purity Increase ・Power Plateau: Protocol Capacity Increase (200) ・Power Plateau: Zipline Placement Increase (20) ・Power Plateau: Combat Facility Increase (10) |
・
・
・
・
|
| 12 |
・Valley IV: Regional Transfer - Metastorage Transfer Unlocked ・Valley IV: Regional Transfer Total Value Increased (1.5K) ・Valley IV: Regional Stock Bill Limit Increased (30M) |
・
・
・
・
|
The following are the rewards for Regional Development in Valley IV, as well as all the upgrades you get alongside the region's growth.
Wuling Full Rewards
| Level | Upgrades | Milestone Rewards |
|---|---|---|
| 1 | Unlocks Regional Development | No Upgrades |
| 2 | ・Wuling: Regional Stock Bill Limit Increase (250K) ・Jingyu Valley: Mineral Purity Increase ・Jingyu Valley: Protocol Capacity Increase (150) |
・
・
・
・
|
| 3 | ・Wuling: Regional Stock Bill Limit Increase (420K) ・Wuling City: Mineral Purity Increase ・Wuling City: Protocol Capacity Increase (250) |
・
・
・
・
|
| 4 | ・Wuling: Regional Stock Bill Limit Increase (1.5M) ・Jingyu Valley: Mineral Purity Increase ・Jingyu Valley: Protocol Capacity Increase (180) |
・
・
・
・
|
| 5 | ・Wuling: Regional Stock Bill Limit Increase (3M) ・Wuling City: Protocol Capacity Increase (300) ・Wuling City: Zipline Placement Limit Increase (40) |
・
・
・
・
|
| 6 |
・Wuling: Regional Stock Bill Limit Increase(6.3M) ・Jingyu Valley: Protocol Capacity Increase (210) ・Jingyu Valley: Zipline Placement Limit Increase (25) |
・
・
・
・
|
The following are the rewards for Regional Development in Wuling, as well as all the upgrades you get alongside the region's growth.
How to View Regional Development (RDM)
Press Your Hotkey or Go to the Protosync Menu
Press your Regional Management Development (RDM) button or go to the Protosync Menu to access and find the Regional Development section on the upper right.
What is Regional Development Management?
Monitors Your Entire Development of the Regions in Talos-II
Regional Development Management is the game's exploration and core mechanic system that monitors how much of a certain region in Talos-II has been developed.
This is gauged by the Regional Development Level (RDL) each region has, which can be increased via the Regional Development Metric (RDM), earned by upgrading factories and outposts, finishing missions, and putting mining spots around the map.
Connected to Most Automation and Outpost Mechanics in the Game
This mechanic is tied to most of the game's Automated Industrial Complex (AIC) and outpost trading mechanics, as completing these will help increase your Regional Development Level in the region you are in!
Arknights: Endfield Related Guides

Arknights: Endfield Wiki Front
Guides by Category
| Arknights: Endfield Categories | |
|---|---|
 News and Game Info News and Game Info |
 Characters Characters |
 Tips and Tricks Tips and Tricks |
 Items Items |
 Weapons Weapons |
 Gear Gear |
 AIC (Factory) AIC (Factory) |
 Banners Banners |
 Missions Missions |
 All Events & Schedule All Events & Schedule |
 Message Board Message Board |
 Interactive Map Interactive Map |
 Bosses Bosses |
 Enemies Enemies |
 Etchspace Salvage Etchspace Salvage |
 Umbral Monument Umbral Monument |
 Regional Development Management Regional Development Management |
 Delver of the Cryptic Delver of the Cryptic |
 Achievements Achievements |
|
All Tier Lists and Meta Guides
 Characters Tier List
 Reroll Guide and Tier List
 Best Team Comps
 Team Building Guide
 All Character Builds
 Weapons Tier List
 All Stats and Explanation
 Best Weapons Per Character
 Best Gear Sets Per Character
All Helpful Tools
 Tier List Maker Tier List Maker |
 Team Builder Tool Team Builder Tool |
 Weapon Essence Checker Weapon Essence Checker |
All Recommended Guides
 Gacha System Explained
 Protocol Pass Details
 Server Status and Times
 Bugs and Known Issues
 Medals and Achievements
 All Weapon Supply Guides
 Imminent Incursion Guide
 Etchspace Salvage Guide
 How to Farm Plants and Unlock Planting
 All Races In-Game
 Is Amiya in Endfield?
 List of All Bosses
 All Gear and Gear Set Effects List
 Best Blueprint Codes Sharing Codes
 Explosives Guide
 Best Banner To Pull On
 All Protocol Space Locations
 Delver of the Cryptic Guide
 How to Upgrade Gear
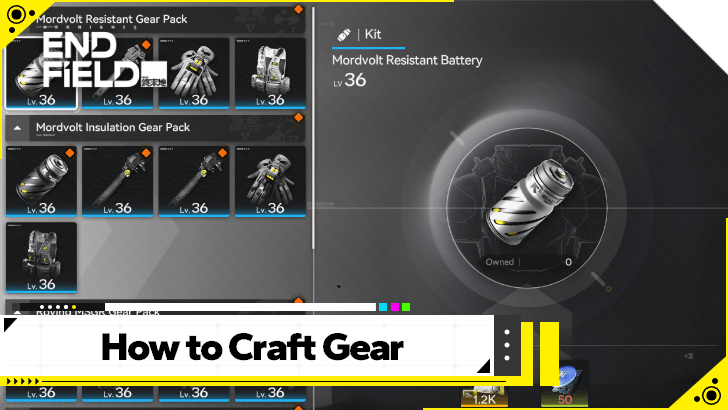 Gear System Crafting Guide
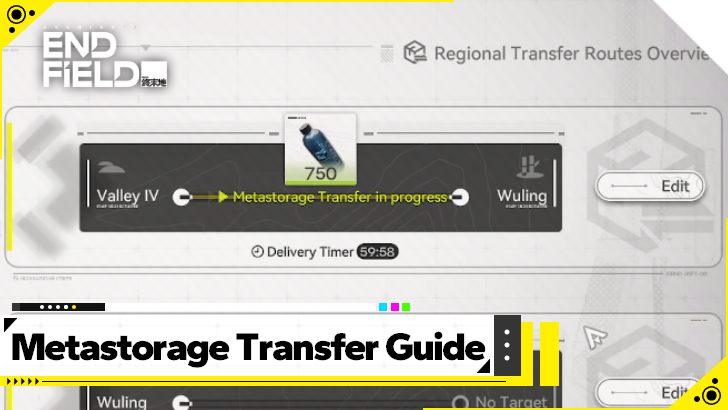 Metastorage Transfer Guide
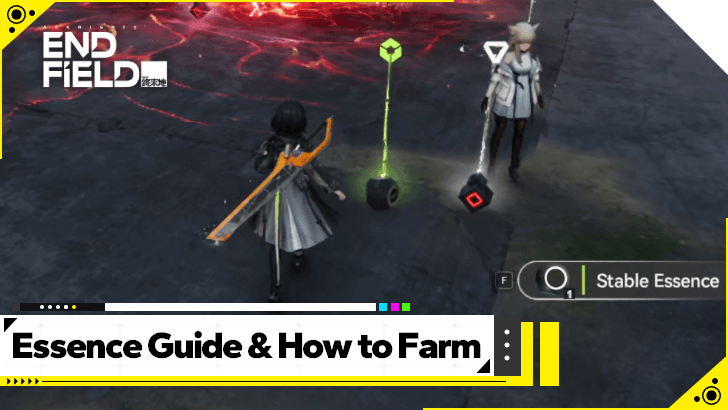 Essence Guide: How to Farm Essence
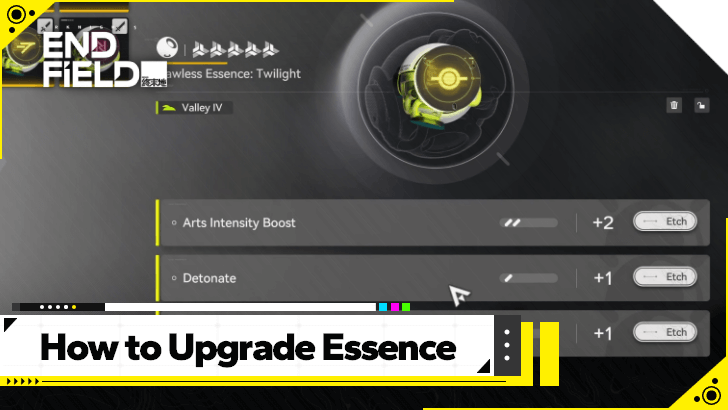 How to Upgrade Essence
 All Dried Originium Slug Locations
 Best Characters for Each Outpost
 How to Farm T-Creds
 Best Clue Room Characters
 Best Characters for OMV Dijiang
Comment
Author

Regional Development Management Guide
Premium Articles
Rankings

Gaming News


![Nova Roma Review [Early Access] | Newer, Better, and More Confusing](https://img.game8.co/4455512/2cbf8926e9a1c72a3ff056088f801ef4.png/thumb)
Popular Games

Genshin Impact Walkthrough & Guides Wiki
Umamusume: Pretty Derby Walkthrough & Guides Wiki
Crimson Desert Walkthrough & Guides Wiki
Monster Hunter Stories 3: Twisted Reflection Walkthrough & Guides Wiki
Honkai: Star Rail Walkthrough & Guides Wiki
Pokemon Pokopia Walkthrough & Guides Wiki
The Seven Deadly Sins: Origin Walkthrough & Guides Wiki
Wuthering Waves Walkthrough & Guides Wiki
Zenless Zone Zero Walkthrough & Guides Wiki
Arknights: Endfield Walkthrough & Guides Wiki


Recommended Games
Fire Emblem Heroes (FEH) Walkthrough & Guides Wiki
Diablo 4: Vessel of Hatred Walkthrough & Guides Wiki
Cyberpunk 2077: Ultimate Edition Walkthrough & Guides Wiki
Yu-Gi-Oh! Master Duel Walkthrough & Guides Wiki
Super Smash Bros. Ultimate Walkthrough & Guides Wiki
Pokemon Brilliant Diamond and Shining Pearl (BDSP) Walkthrough & Guides Wiki
Elden Ring Shadow of the Erdtree Walkthrough & Guides Wiki
Monster Hunter World Walkthrough & Guides Wiki
The Legend of Zelda: Tears of the Kingdom Walkthrough & Guides Wiki
Persona 3 Reload Walkthrough & Guides Wiki


All rights reserved
Copyright © 2022 - 2025 GRYPHLINE. All Rights Reserved.
The copyrights of videos of games used in our content and other intellectual property rights belong to the provider of the game.
The contents we provide on this site were created personally by members of the Game8 editorial department.
We refuse the right to reuse or repost content taken without our permission such as data or images to other sites.