List of All AIC Buildings
✪ Check Game8 Endfield Twitter for daily tips!
★ Exclusive: Endfield's Connection to Arknights
★ Ver. 1.1: Release Date | Livestream | Maintenance
★ Tangtang (Build | Banner) | Rossi (Build | Banner)
★ Best Builds: Yvonne | Last Rite | Laevatain
★ Hot: Essence Tool | Blueprint | Best Dijiang Setup
AIC Buildings and Facilities are essential for a functioning factory in Arknights: Endfield. See the list of all buildings and facilities used in AIC Factories, how to unlock them, what products they produce, and more!
List of All Buildings and Facilities
※ Select the search criteria below and press the Search button to filter the data.
| Facility | Type | How to Use |
|---|---|---|
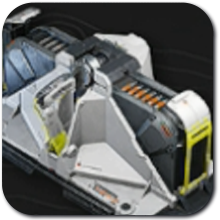
 Refining Unit Refining Unit
|
Processing | Performs high temperature refining of various materials. |
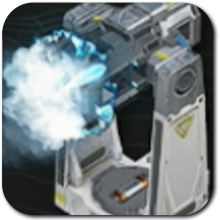
 Shredding Unit Shredding Unit
|
Processing | Heavy facility that shreds and pulverizes various materials. |
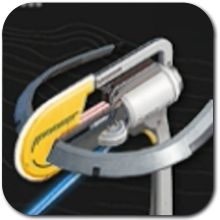
 Portable Originium Rig Portable Originium Rig
|
Resourcing | Mining rig for digging up Originium Ore. Does not require power. |
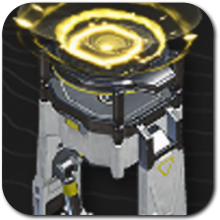
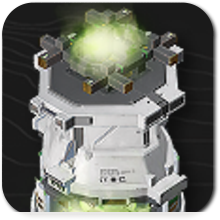
 Medical Tower Medical Tower
|
Combat | Converts electrical power into healinga arts that can treat injured operators nearby. |
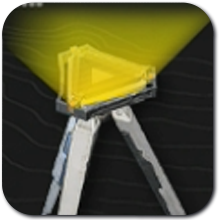
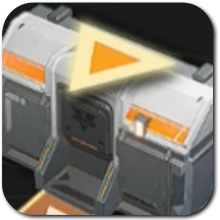
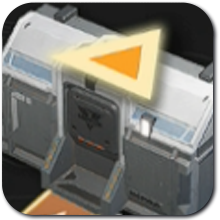
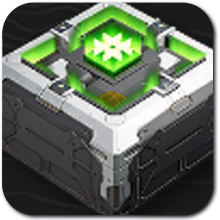
 Protocol Stash Protocol Stash
|
Exploration | Can store items and functions like a chest. When powered, it can deliver stored items into the Depot automatically at set intervals. |
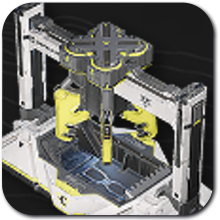
 Gearing Unit Gearing Unit
|
Processing | A facility that laminates different materials together to create gear components. Important for Operator Gear component creation. |
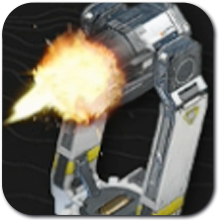
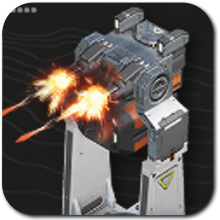
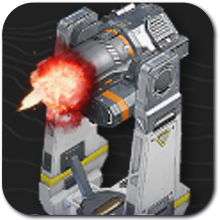
 Gun Tower Gun Tower
|
Combat | Continuously fires energy bolts that deal Physical DMG. |
 Electric Pylon Electric Pylon
|
Power | Used to automatically connect machines into the power grid as long as it is within the Pylon's power supply radius. Can be used inside the Core AIC area or in the open world. |
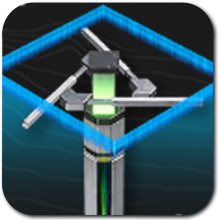
 Relay Tower Relay Tower
|
Power | The key power transmission facility that is used to transport power from the main source (AIC PAC) to other Towers, Pylons, and Electric Nexuses. |
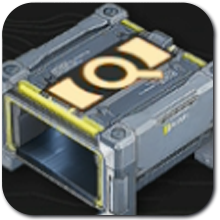 Item Control Port Item Control Port
|
Logistics | Limits the type and quantity of items allowed to pass through transport belts. Used in blueprints to mark the type of items to be moved into various transport belt sections. |
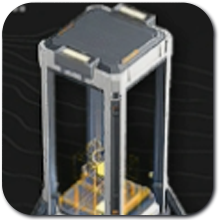
 Electric Mining Rig Electric Mining Rig
|
Resourcing | Mining rig for digging up Originium and Amethyst Ore. Requires 5 Power and automatically transfers ores to the Depot at set intervals. |
 Moulding Unit Moulding Unit
|
Processing | A facility capable of producing various containers via stamp moulding. Bottles are usually produced here. |
 Fitting Unit Fitting Unit
|
Processing | A facility capable of processing various parts that can be fitted together. |
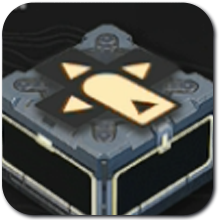 Splitter Splitter
|
Logistics | Splits the product flow of 1 transport belt to up to 3 transport belts. |
 Belt Bridge Belt Bridge
|
Logistics | Allows a transport belt to go over another without disrupting the flow of items on both belts. |
 Zipline Pylon Zipline Pylon
|
Exploration | Used to setup Zipline routes to quickly zip between one zipline to another. You can either select which pylon to go next when available. |
 Easy Stash Easy Stash
|
Exploration | Provides direct access to the local Depot even when outside in the wilderness. Must be connected to power though, so you will need to use it near a Pylon or Relay Tower. |
 Memo Beacon Memo Beacon
|
Exploration | A facility used to post and leave beacon memos for other players to see. It may include icons or special messages that you want other players to see when they chance your beacon in their world. |
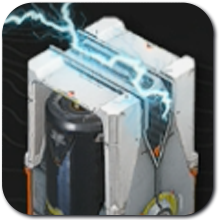 Thermal Bank Thermal Bank
|
Power | A facility that accepts batteries or Originium Ores as fuel to convert into electrical power. Must be connected to the power grid to work. The generated power is based on the fuel used. |
 LN Tower LN Tower
|
Combat | Fires special liquid nitrogen (LN) crystals that shatter upon impact to slow the movement speed of enemies in the area of effect. |
 Grenade Tower Grenade Tower
|
Combat | Launches grenades in a ballistic trajectory. The grenades detonate above ground near enemies and deal area of effect Heat DMG. |
 Seed-Picking Unit Seed-Picking Unit
|
Processing | A facility that extracts seeds from common crops. Can also be upgraded to have a pipe input for some plants and crops. |
 Depot Unloader Depot Unloader
|
Power | Unloading point attached to the Depot Bus that acts like a source for items from the Depot Storage. Can only be attached to a Depot Bus. |
 Depot Loader Depot Loader
|
Power | Loading point attached to the Depot Bus that acts like an intake for items for Depot Storage. Can only be attached to a Depot Bus. |
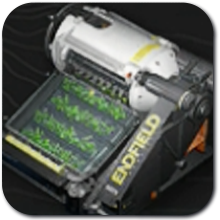
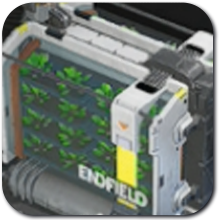 Planting Unit Planting Unit
|
Processing | A cultivating silo for growing various common plants and crops. Can also be upgraded to have a pipe input for some plants and crops. |
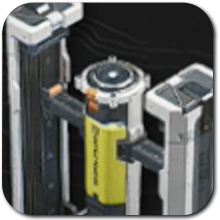
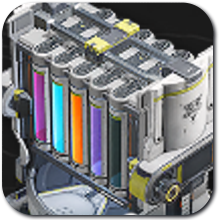
 Packaging Unit Packaging Unit
|
Processing | A facility for packaging certain power components. Mostly used for batteries, but also for used for other items. |
 Filling Unit Filling Unit
|
Processing | Fills containers with various materials. Can also accept fluids. |
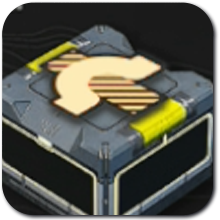
 Converger Converger
|
Logistics | Converge product flows of 3 transport belts into a single belt. |
 Electric Mining Rig Mk II Electric Mining Rig Mk II
|
Resourcing | Mining rig for digging up Ferrium Ore and other minerals. Requires 10 Power and automatically transfers ores to the Depot at set intervals. |
 Heavy Gun Tower Heavy Gun Tower
|
Combat | Continuously fires Mk II energy bolts with every 4th shot being an empowered bolt. The bolts deal Physical DMG. |
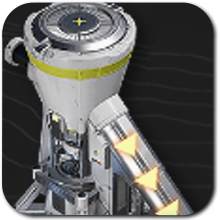
 Omnidirectional Sonic Tower Omnidirectional Sonic Tower
|
Combat | Fires a shockwave that stuns common and advanced enemies within the area of effects. |
 Grinding Unit Grinding Unit
|
Processing | Performs fine grinding of powdered materials. Mostly processes shredded items and turn them into a finer material. |
|
Zipline Tower
|
Exploration | An improved version of the Zipline Pylon that allows the creation of zipline routes that pass through multiple Zipline towers in a single trip. |
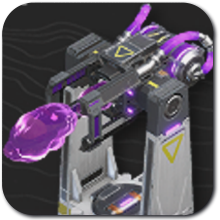
 Surge Tower Surge Tower
|
Combat | Releases electrical arcs that attack enemies. The arc also chains to nearby enemies (up to 2) and deals Electro DMG. |
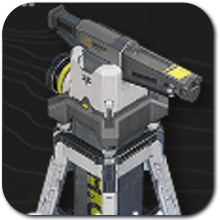
 Sentry Tower Sentry Tower
|
Combat | Unleashes long-range attacks that target high-threat enemies first and deal massive Physical DMG. |
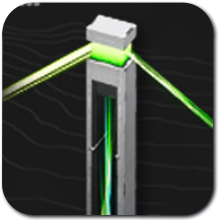
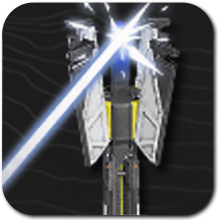 Beam Tower Beam Tower
|
Combat | Consumes vast amounts of energy to emit a beam that deals massive Electric DMG to enemies. |
 Separating Unit Separating Unit
|
Processing | A facility for disassembling various items or extracting liquid from filled bottles. |
 Marsh Gas Mk I Marsh Gas Mk I
|
Combat | Launches special mist grenades that detonate above ground near enemies. The mist grenade explosion deals area of effect Nature DMG and leaves a mist zone that deals DMG and slows the movement speed of enemies within it. |
 HE Grenade Tower HE Grenade Tower
|
Combat | Attacks enemies by launching Mk II grenades along a ballistic trajectory that detonate above ground near enemies. The grenade explosion deals area of effect Heat DMG and leaves a burning zone that deals DMG to enemies within it. |
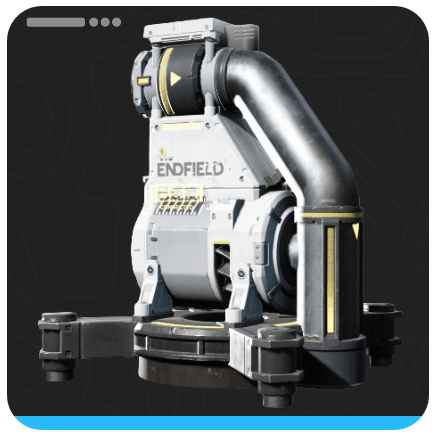
 Fluid Supply Unit Fluid Supply Unit
|
Processing | Placed near a lake or other bodies of water to supply fluids into the target area. The fluid outlet must be above the water body. |
 Sprinkler Sprinkler
|
Logistics | Connects to a water source to automatically sprinkle water on a target. |
 Xiranite Relay Xiranite Relay
|
Xiranite Industry | An improved Relay Tower exclusively used in Wuling that is used to transport power over long distances. It auto-connects to other Xiranite power facilities within a 80-m radius around it without needing manual connection. |
 Xiranite Pylon Xiranite Pylon
|
Xiranite Industry | An improved Electric Pylon exclusively used in Wuling that provides power to any facility within its power supply radius. It auto-connects to other Xiranite power facilities within a 30-m radius without needing to facilitate manual connection. Auto-connects to the PAC within the Core AIC Area. |
 Forge of the Sky Forge of the Sky
|
Xiranite Industry | A facility for making Xiranite-based products. |
 Reactor Crucible Reactor Crucible
|
Processing | A facility for running solid or liquid-state chemical reactions. |
 Depot Bus Port Depot Bus Port
|
Xiranite Industry | A Depot Bus Port that can be deployed in the Core AIC Area. For it to work, it must be connected to other active Depot Bus Sections or Ports. Depot Loaders and Unloaders can be attached to this. |
 Depot Bus Section Depot Bus Section
|
Xiranite Industry | A Depot Bus section that can be deployed in the Core AIC area. For it to work, it must be connected to other active Depot Bus Sections. Depot Loaders and Unloaders can be attached to this. |
 Fluid Tank Fluid Tank
|
Logistics | Stores a single type of fluid delivered to it via pipelines. |
 Pipe Converger Pipe Converger
|
Logistics | Converges up to 3 pipelines into a single pipeline. |
 Pipe Bridge Pipe Bridge
|
Logistics | Allows a pipeline to go over another without disrupting the flow of fluids in both pipelines. |
 Pipe Splitter Pipe Splitter
|
Logistics | Splits 1 pipeline into 2 or 3 pipelines to divide fluid flow. |
 Pipe Control Port Pipe Control Port
|
Logistics | Limits the fluid and the quantity of fluids allowed to pass through pipelines. Used in bluprints to mark the type of fluid to be moved through various pipelines. |
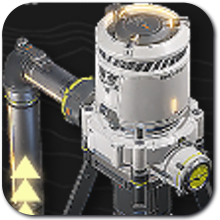 Fluid Pump Fluid Pump
|
Resourcing | A facility for pumping fluids. Requires 10 Power to work. |
 AF1 Armor Fragger AF1 Armor Fragger
|
Combat | Fires a flaming jet to attack approaching enemies. The flaming jet deals Heat DMG over time to enemies within range. |
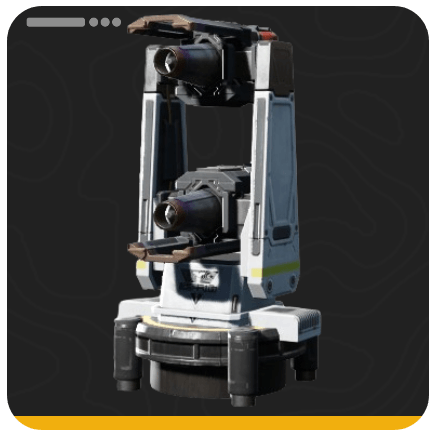
 Water Treatment Unit Water Treatment Unit
|
Processing | A facility for processing Sewage. It can also process Xircon Effluent and Inert Xircon Effluent, albeit with limited efficiency. |
 Conduit Outlet Conduit Outlet
|
Power | An outlet for an underground pipeline. Connect this to a matching Conduit inlet to transport fluids through it. |
 Conduit Inlet Conduit Inlet
|
Power | An inlet for an underground pipeline. Connect this to a matching Conduit outlet to transport fluids through it. |
 Deluge Tower Deluge Tower
|
Combat | Fires a stream of deluge at approaching enemies. The stream pushes back small and medium enemies along the direction of the attack. |
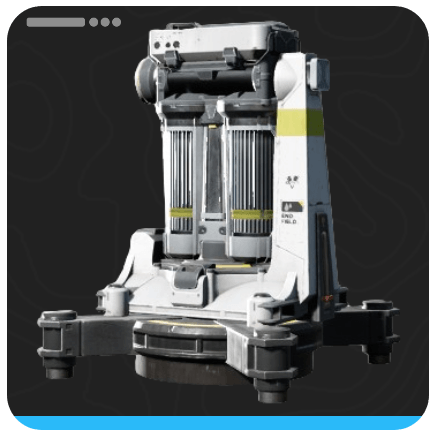
 Hydro Mining Rig Hydro Mining Rig
|
Resourcing | A mining rig for digging up various types of ore such as Cuprium Ore. This rig does not need power as it can be driven with Clean Water. |
What are AIC Buildings?
Used to Automatically Craft Items in Endfield
Arknights Endfield has a factory system that allows you to automate the creation of various items in the world, enabling you to hoard lots materials either for selling or crafting.
Divided Into Various Types
AIC Factory Buildings are usually divided into different types depending on their purpose. Use these facilities and build them in the world for your benefit!
| Type | Usage |
|---|---|
| Resourcing | Buildings used to mine resources from raw nodes. |
| Logistics | Facilitates movement of materials from building to building. |
| Processing | Buildings responsible for processing raw materials into usable products, whether in a chain or not. |
| Power | Facilitates power delivery and generation so your factory will not stop running. |
| Combat | Deployable buildings responsible for defending or supporting your efforts against your enemies in Talos-II. |
| Exploration | Buildings that aid in transportation and exploration around Talos-II. |
| Xiranite | Wuling-exclusive buildings that uses Xiranite, an ore forged in Wuling. These buildings can only be used in Wuling. |
Arknights: Endfield Related Guides
AIC Progression Guides
| Valley IV Progression | ||
|---|---|---|
| Early Game Layout | Mid Game Layout | Late Game Layout |
| Wuling Progression | ||
| Starter Factory in Wuling | Mid Game Factory in Wuling | - |
AIC Factory Guides
 Best Blueprint Codes and AIC Layouts
 Best Zipline Locations
 Best Gear Blueprints
 All AIC Factory Locations
 How to Create and Share Blueprints
 How to Increase Power Output
 How to Solve Clogged Facilities
 How to Move Items Between Regions
 Theoretical Data Explained
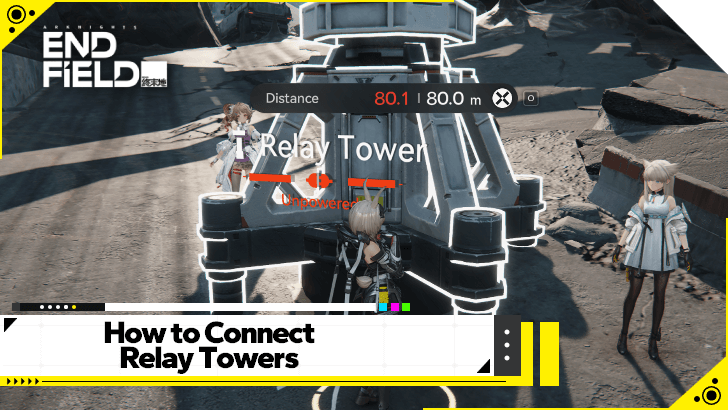 How to Connect Relay Towers
 How to Increase AIC Storage
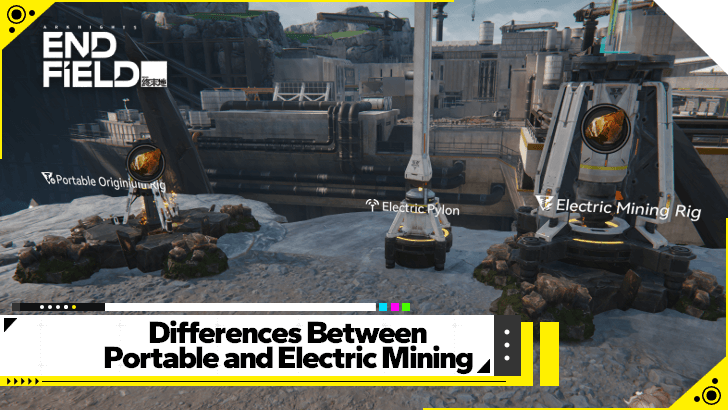 Differences Between Portable and Electric Mining
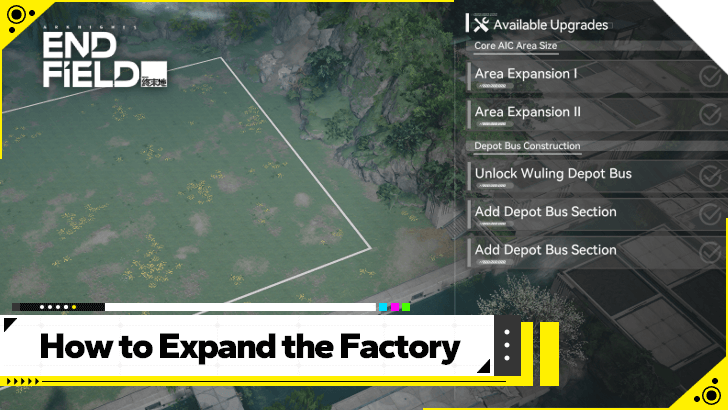 How to Expand the Factory
AIC Factory Simulation Guides
| Reactor Expansion Guide | Depot Bus Integration Guide | Belt Integration Guide |
AIC Buildings by Type
| Resourcing | Logistics | Processing |
| Power | Combat | Exploration |
| Xiranite | - | - |
Comment
Author

List of All AIC Buildings
Premium Articles
Rankings
- We could not find the message board you were looking for.

Gaming News


![Nova Roma Review [Early Access] | Newer, Better, and More Confusing](https://img.game8.co/4455512/2cbf8926e9a1c72a3ff056088f801ef4.png/thumb)
Popular Games

Genshin Impact Walkthrough & Guides Wiki
Umamusume: Pretty Derby Walkthrough & Guides Wiki
Crimson Desert Walkthrough & Guides Wiki
Monster Hunter Stories 3: Twisted Reflection Walkthrough & Guides Wiki
Honkai: Star Rail Walkthrough & Guides Wiki
Pokemon Pokopia Walkthrough & Guides Wiki
The Seven Deadly Sins: Origin Walkthrough & Guides Wiki
Wuthering Waves Walkthrough & Guides Wiki
Zenless Zone Zero Walkthrough & Guides Wiki
Arknights: Endfield Walkthrough & Guides Wiki


Recommended Games
Fire Emblem Heroes (FEH) Walkthrough & Guides Wiki
Diablo 4: Vessel of Hatred Walkthrough & Guides Wiki
Cyberpunk 2077: Ultimate Edition Walkthrough & Guides Wiki
Yu-Gi-Oh! Master Duel Walkthrough & Guides Wiki
Super Smash Bros. Ultimate Walkthrough & Guides Wiki
Pokemon Brilliant Diamond and Shining Pearl (BDSP) Walkthrough & Guides Wiki
Elden Ring Shadow of the Erdtree Walkthrough & Guides Wiki
Monster Hunter World Walkthrough & Guides Wiki
The Legend of Zelda: Tears of the Kingdom Walkthrough & Guides Wiki
Persona 3 Reload Walkthrough & Guides Wiki


All rights reserved
Copyright © 2022 - 2025 GRYPHLINE. All Rights Reserved.
The copyrights of videos of games used in our content and other intellectual property rights belong to the provider of the game.
The contents we provide on this site were created personally by members of the Game8 editorial department.
We refuse the right to reuse or repost content taken without our permission such as data or images to other sites.