Origin Lodespring Interactive Map and Locations
✪ Check Game8 Endfield Twitter for daily tips!
★ Exclusive: Endfield's Connection to Arknights
★ Ver. 1.1: Release Date | Livestream | Maintenance
★ Tangtang (Build | Banner) | Rossi (Build | Banner)
★ Best Builds: Yvonne | Last Rite | Laevatain
★ Hot: Essence Tool | Blueprint | Best Dijiang Setup
Origin Lodespring is an area in the Valley IV Region in Arknights: Endfield. See an interactive map and 100% guide for Origin Lodespring, how to reach and unlock the area, and map locations for all collectibles, enemies and items in this guide!
Origin Lodespring Interactive Map
| ・Pins checked off the map will reflect in the list below. ・Use the upper dropdown menu to select the Region. Then, use the lower dropdown menu to swap between Areas within that Region. ・To suggest map pins, simply click anywhere on the map. Please list down as much information as you can including reward data or acquisition methods. For images, uploading a full rectangular screenshot with a resolution of at least 728 x 410 pixels will be highly appreciated. ・Farmable map pins now reset automatically when items are ready for regathering. Select the Asia or US/EU server region for accurate timing.NEW ┗ This is a new feature, so we are looking for feedback from our users. Please leave a comment to let us know what you think! We encourage users to Sign Up and Log In to save your progress with the map. |
Valley IV Interactive Map and Locations
Origin Lodespring 100% Exploration Guide
| All Collectibles in Origin Lodespring | |
|---|---|
Origin Lodespring Aurylene Locations
| ✔️ | Overworld View | Details |
|---|---|---|
 |
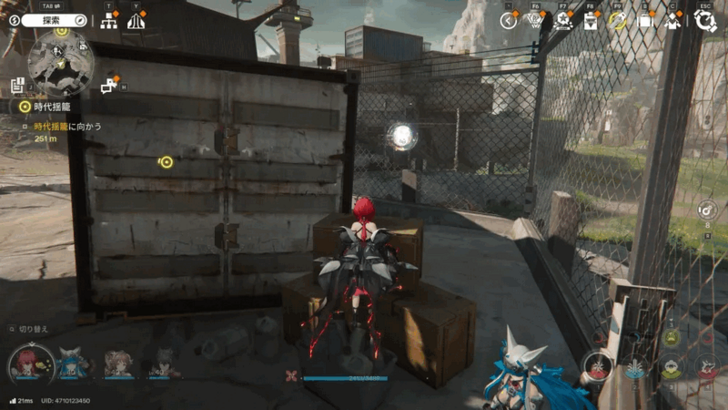
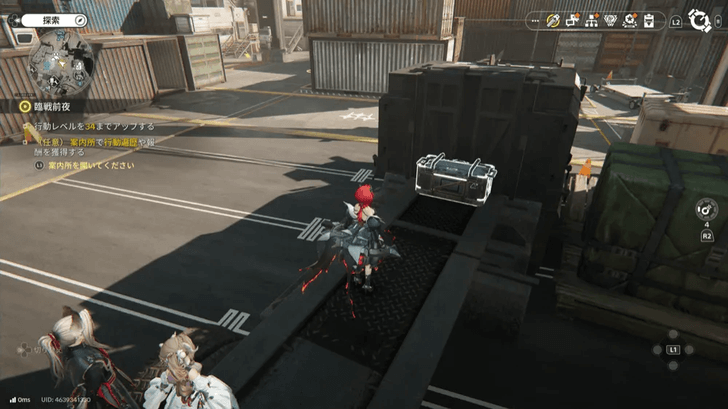
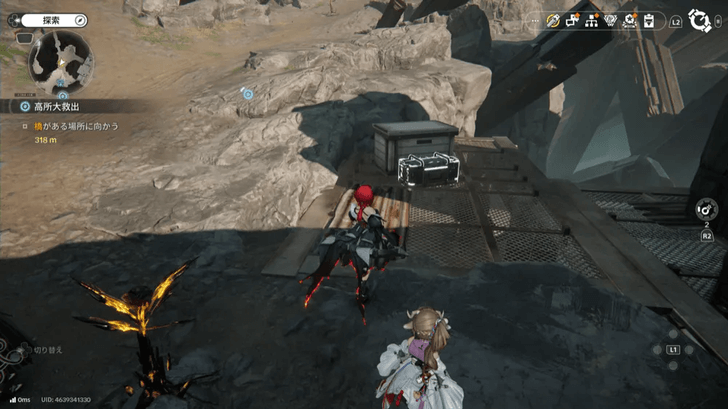
Type: Aurylene How to Get: North of Mountain Passage and Landbreaker Camp, move a crate to be able to reach it. |
|
 |
Type: Aurylene How to Get: South of the Mining Area Clinic |
|
 |
Type: Aurylene How to Get: Mining Area Clinic. Go through the breakable floor then use the auto jet vents to climb towards the Aurylene. |
|
 |
Type: Aurylene How to Get: Up on the 2nd floor of the Mining Area Clinic, on top of a vent. |
|
 |
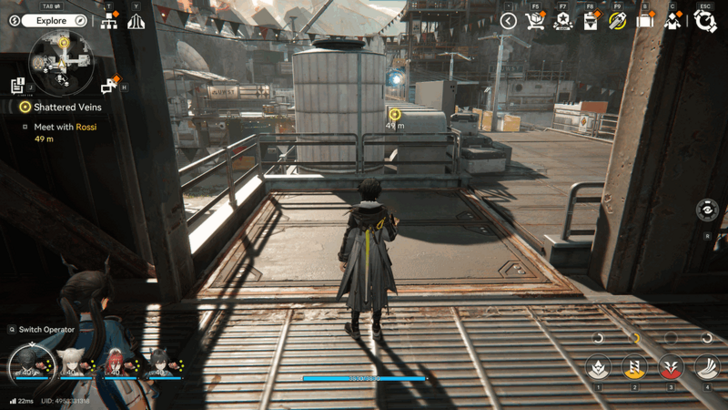
Type: Aurylene How to Get: North of the Mining Area Clinic, on the 2nd floor of the Mining Camp. Can be found behind some breakable crates as you make your way through the quest Shattered Veins. |
|
 |
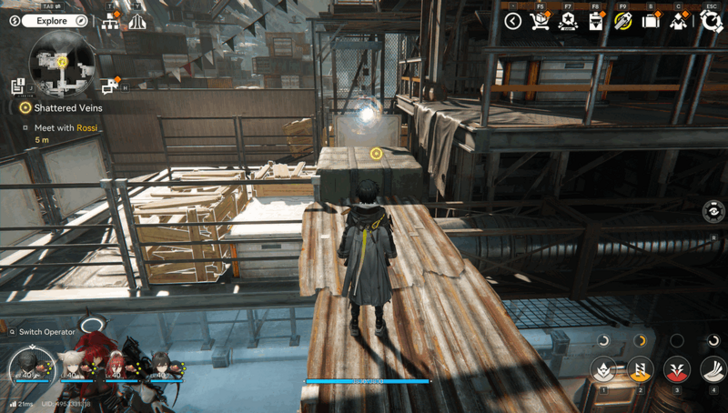
Type: Aurylene How to Get: North of the Mining Area Clinic, on the 3rd floor of the Mining Camp. Arrived at during the quest Shattered Veins. |
|
 |
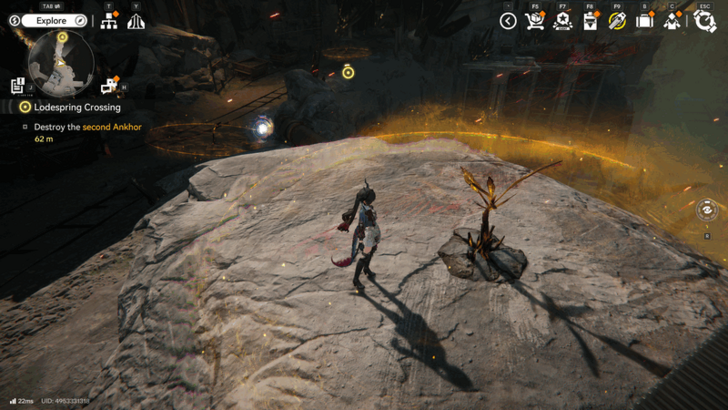
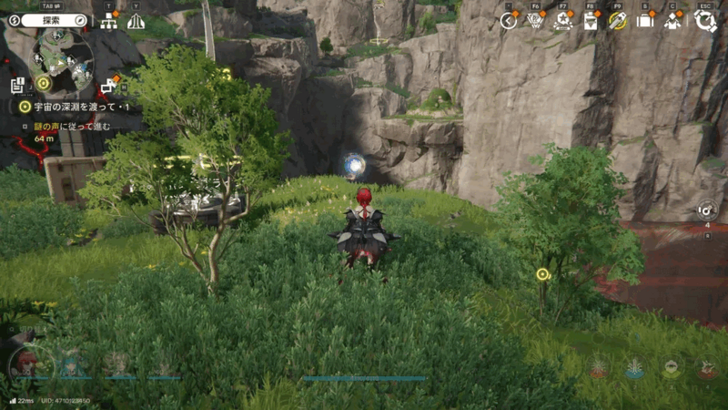
Type: Aurylene How to Get: Between Containment Zone intersection and Old Mines, in the middle of two saplings during the quest Lodespring Crossing. |
|
 |
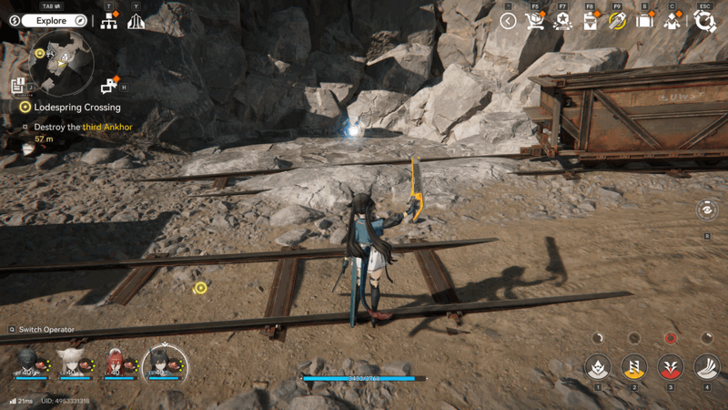
Type: Aurylene How to Get: Between Containment Zone intersection and Old Mines, near a sapling. |
|
 |
Type: Aurylene How to Get: Southeast of the Old Mines Waypoint. |
|
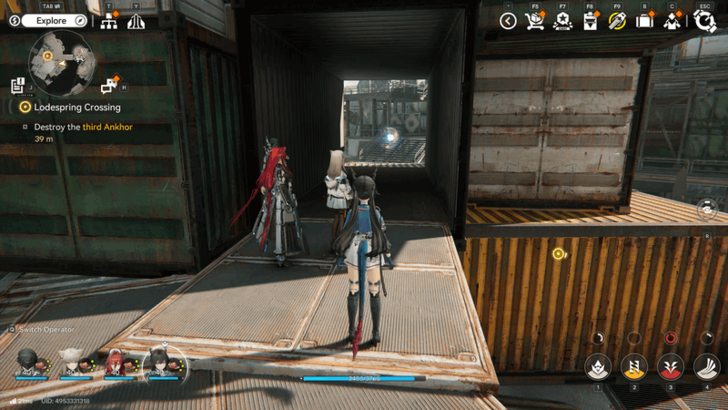 |
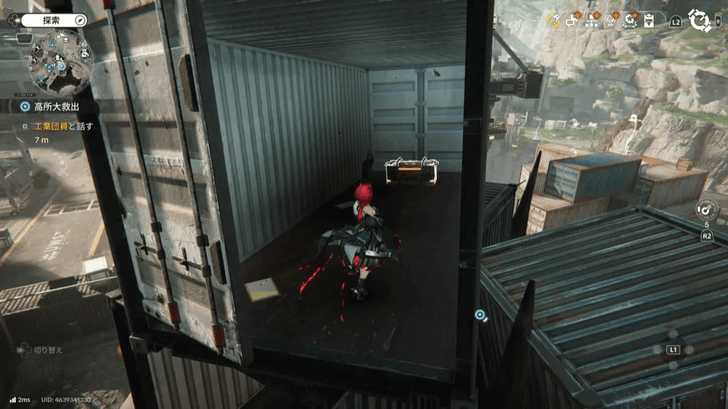
Type: Aurylene How to Get: Inside some metal container crates slightly southwest of the Old Mines waypoint. |
|
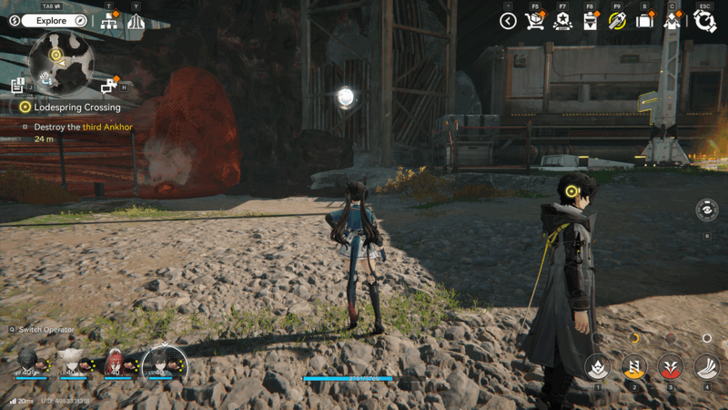 |
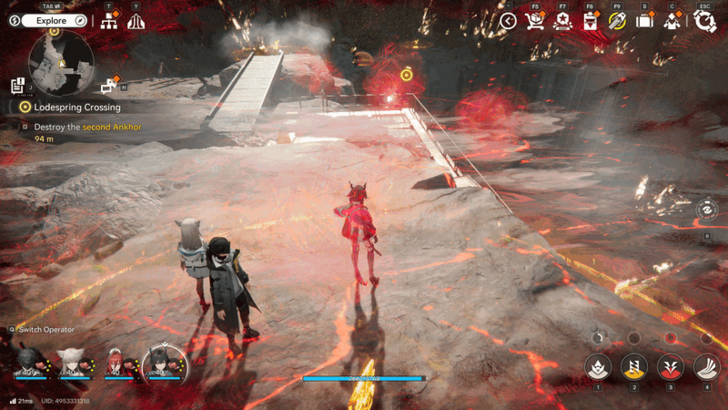
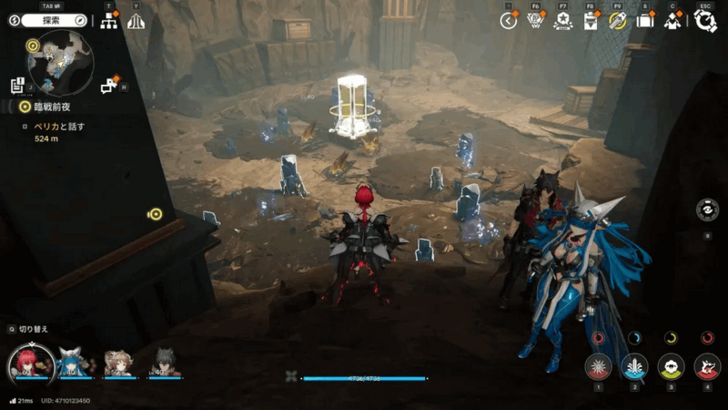
Type: Aurylene How to Get: Floating in the mini boss area during the Lodespring Crossing quest, between Containment Zone and Logistics Area. This one will move so clear the nearby blightwall and follow where it goes. |
|
 |
Type: Aurylene How to Get: West of Landbreaker Camp, area is locked behind breakable walls. Throw explosives to break them. |
|
 |
Type: Aurylene How to Get: By the Chrysodendra gathering spot south of the Meteorological Station. |
|
 |
Type: Aurylene How to Get: Underneath some suspended crates, south of Meteorological Station. |
|
 |
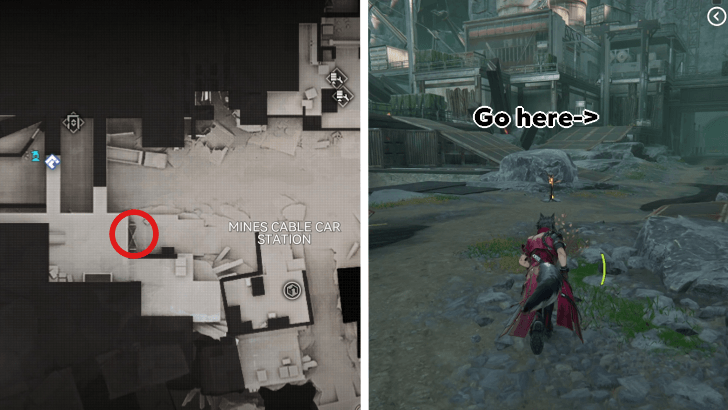
Type: Aurylene How to Get: Around the fence, northwest of Mine Cable Car Station. |
|
 |
Type: Aurylene How to Get: Under the platform of the upper level, southwest of Mines Cable Car Station. |
|
 |
Type: Aurylene How to Get: Behind a few cylindrical containers, north of Mines Cable Car Station, after repairing the door. |
|
 |
Type: Aurylene How to Get: Behind a shipping container, northeast of Mines Cable Car Station, after repairing the door. |
|
 |
Type: Aurylene How to Get: Found on a lower level, east of Mines Cable Car Station. |
|
 |
Type: Aurylene How to Get: At the end of the cliff, west of the Logistics Area. |
|
 |
Type: Aurylene How to Get: Found at the end of a dead end path in between Containment Zone Intersection and Logistics Area. |
|
 |
Type: Aurylene How to Get: Found high up on a rocky ledge at the south end of the Containment Zone Intersection. |
|
 |
Type: Aurylene How to Get: On a metal platform, southest of the Containment Zone Intersection. |
|
 |
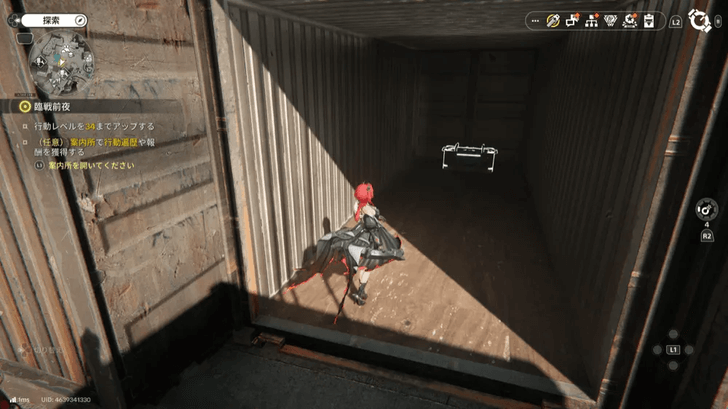
Type: Aurylene How to Get: Inside a shipping container southest of the Containment Zone Intersection. |
|
 |
Type: Aurylene How to Get: Up the stairs of the Meteorological Station. |
|
 |
Type: Aurylene How to Get: Behind the gate of the power supply. |
|
 |
Type: Aurylene How to Get: Under a shipping container at Temporary Stockpile. The device directly behind the container lifts it up. |
|
 |
Type: Aurylene How to Get: Inside the fence at the north side of Temporary Stockpile. |
|
 |
Type: Aurylene How to Get: In a narrow space in between two buildings west of the Mining Camp. |
|
 |
Type: Aurylene How to Get: High up on an elevated pipe way. You can get up here by finding the bounce pad behind a shipping container to the southwest of this spot. |
|
 |
Type: Aurylene How to Get: On a higher floor on the northeast side of Mining Camp. |
|
 |
Type: Aurylene How to Get: Right at the entrance to Originium Science Park, just south of the Landbreaker Camp. It is high up on some railings. |
|
 |
Type: Aurylene How to Get: At the tip of a hill south of Mining Area Clinic. Appears when you destroy a container with a bomb. |
|
 |
Type: Aurylene How to Get: Southeast of Temporary Stockpile, on top of shipping containers. Destroy blight core with a bomb to reveal Aurylene. |
|
 |
Type: Aurylene How to Get: Southeast of Temporary Stockpile, on top of shipping containers. Destroy blight core with a bomb to reveal Aurylene. You can ge tup here by playing through a side quest in this area. |
|
 |
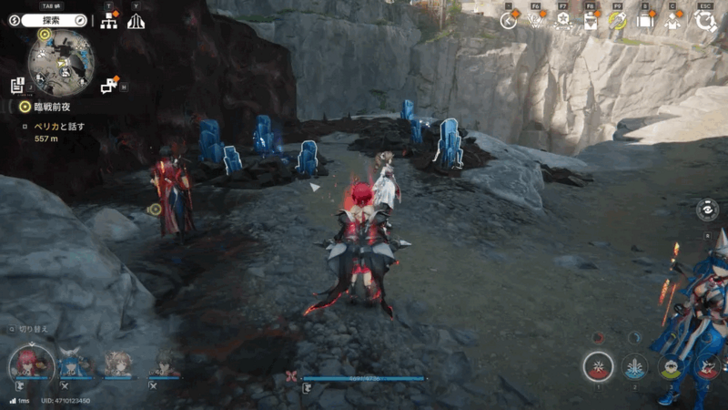
Type: Aurylene How to Get: Southeast of Temporary Stockpile, next to the bridge going down to Blightcliff Observation Post. It will run away if you get too close, so chase it to obtain it. |
|
 |
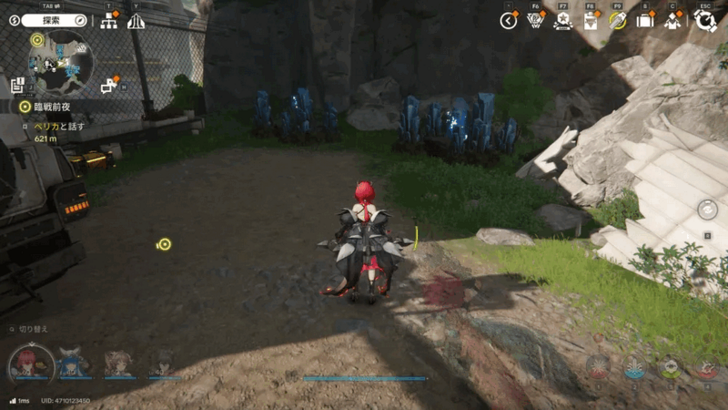
Type: Aurylene How to Get: It runs away when you get close, but comes back if you wait. |
|
 |
Type: Aurylene How to Get: South of Temporary Stockpile. Inside a shipping container sitting on the edge of a cliff, overlooking the Blightcliff Observation Post. |
|
 |
Type: Aurylene How to Get: Between several shipping containers and next to a fence, near the center of Blightcliff Observation Post. |
There are a total of 39 Aurylenes found in Origin Lodespring.
Origin Lodespring Chest Locations
| ✔️ | Overworld View | Details |
|---|---|---|
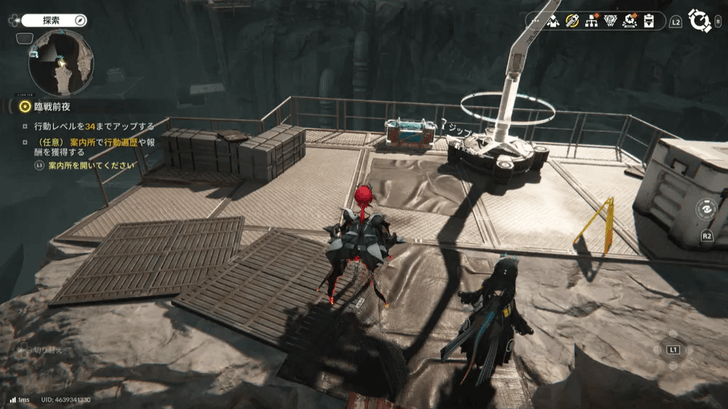
 |
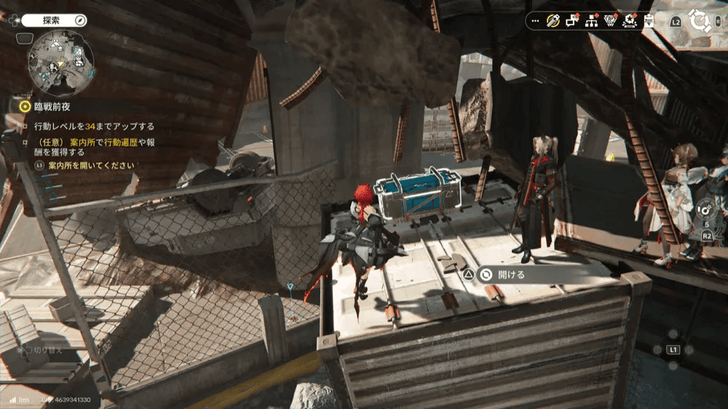
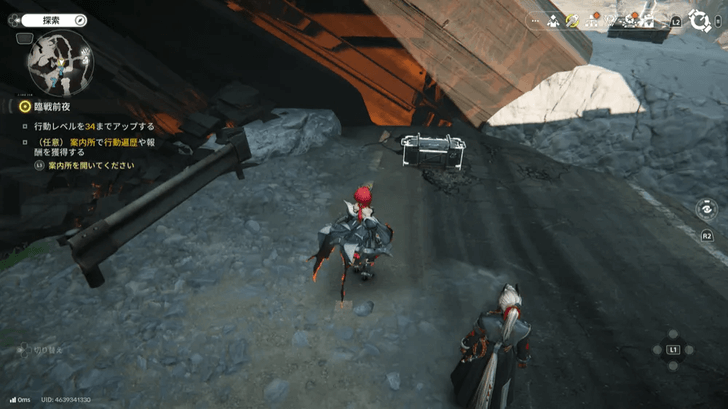
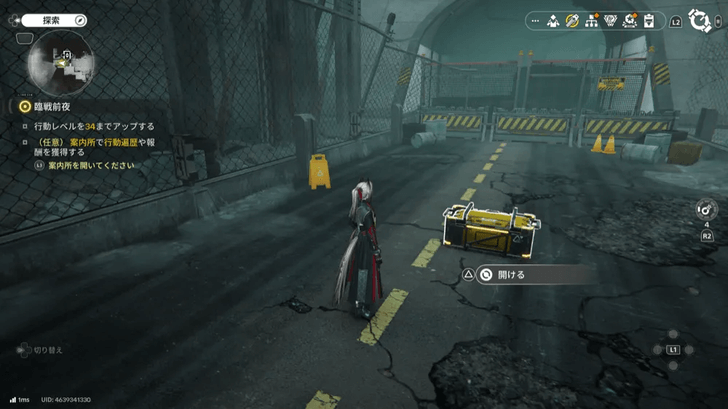
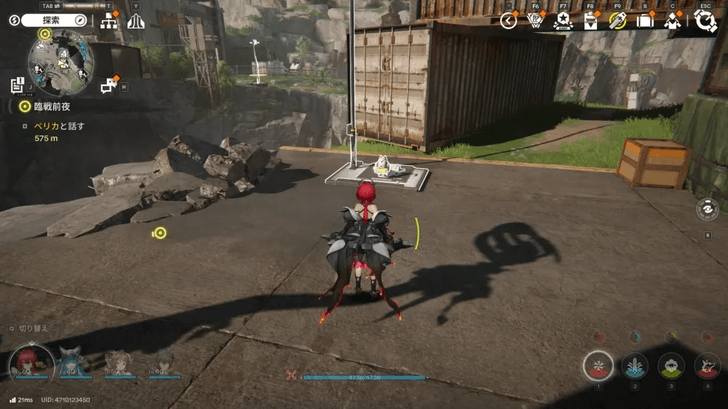
Type: Chest How to Get: Found just to the west of the Origin Lodespring entrance from Originium Science Park, stand on an air vent to propel yourself to the platform with the chest. |
|
 |
Type: Chest How to Get: Clear the Energy Alluvium on the southern path from the Mountain Passage. |
|
 |
Type: Chest How to Get: Found in the area on the path south of Mountain Passage guarded by some enemies. |
|
 |
Type: Chest How to Get: Found on a cliff just after the narrow passage to the west of Mountain Passage. |
|
 |
Type: Chest How to Get: Drop down into the cracked surface in the area south of Mining Area Clinic. |
|
 |
Type: Chest How to Get: Drop down into the cracked surface in the area south of Mining Area Clinic. |
|
 |
Type: Chest How to Get: Bring power to the device and open the fence to find the chest in the area. |
|
 |
Type: Chest How to Get: Destroy the box found through an electric fence that leads to a slope. |
|
 |
Type: Chest How to Get: Located just through a cargo container near the Mining Area Clinic. |
|
 |
Type: Chest How to Get: Follow along the cliff to the west of Mining Area Clinic. |
|
 |
Type: Chest How to Get: Next to the building west of Mining Camp. |
|
 |
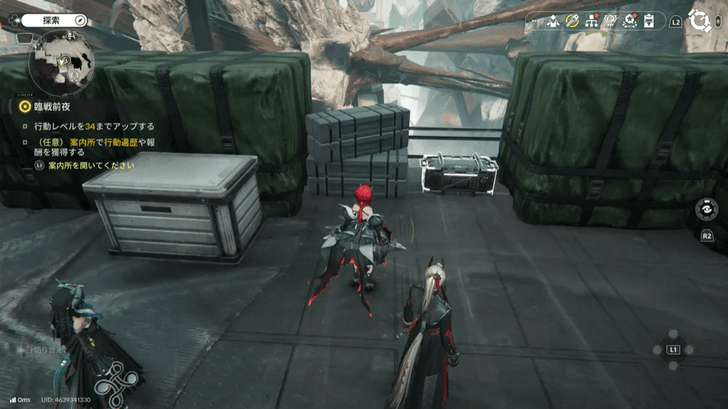
Type: Chest How to Get: In an area with lots of cargo west of Mining Camp. |
|
 |
Type: Chest How to Get: Found on the roof of a building northwest of Mining Camp. |
|
 |
Type: Chest How to Get: Behind a container northwest of Mining Camp. |
|
 |
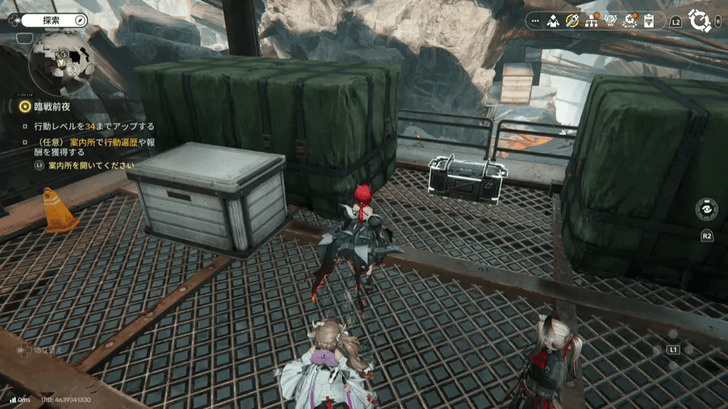
Type: Chest How to Get: Between the containers northwest of Mining Camp. |
|
 |
Type: Chest How to Get: Outside the building on the 2nd floor of Mining Area Clinic. |
|
 |
Type: Chest How to Get: In the outdoor area of the 2nd floor of Mining Area Clinic. |
|
 |
Type: Chest How to Get: On the upper platforms north of Mining Camp. |
|
 |
Type: Chest How to Get: Under some platforms up the stairs north of Mining Camp. |
|
 |
Type: Chest How to Get: Climb the stairs north of Mining Camp and up some boxes to find the chest. |
|
 |
Type: Chest How to Get: Climb the stairs north of Mining Camp, get up on the boxes, and then climb the stairs again behind the right side of the elevator. |
|
 |
Type: Chest How to Get: In the building eastt of Mining Camp behind a counter. |
|
 |
Type: Chest How to Get: Through a narrow path behind the building southeast of Mining Camp. |
|
 |
Type: Chest How to Get: Near the trailer west of Mining Area Clinic. |
|
 |
Type: Chest How to Get: Go through the container and climb to the top north of Temporary Stockpile. |
|
 |
Type: Chest How to Get: North of Temporary Stockpile guarded by some enemies. |
|
 |
Type: Chest How to Get: Drop down a hole in the ground under a container northwest of Temporary Stockpile. |
|
 |
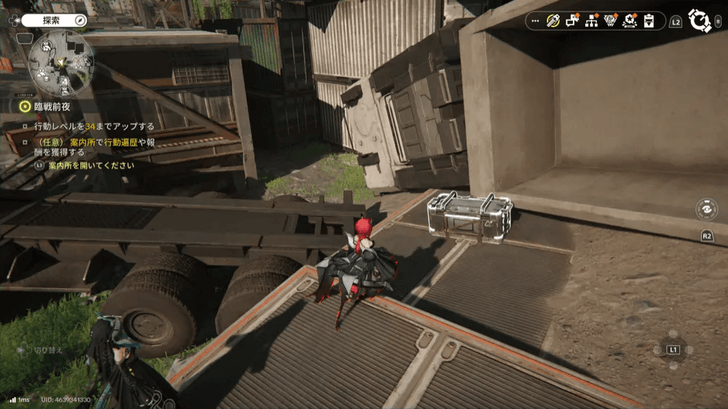
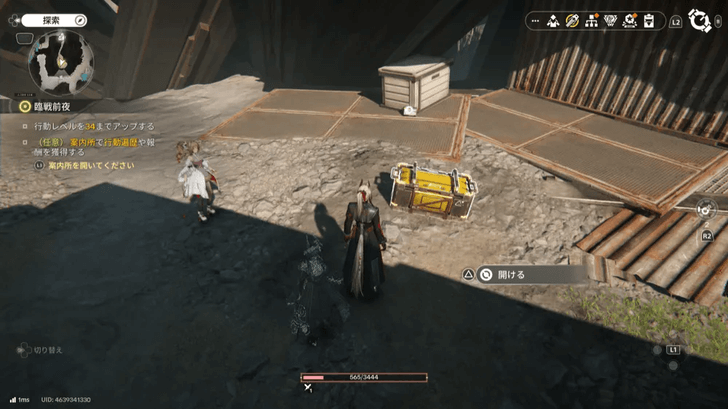
Type: Chest How to Get: Right in the middle of Temporary Stockpile reachable by jumping on a nearby green box. |
|
 |
Type: Chest How to Get: Destroy the box with bombs in the cargo containers southwest of Temporary Stockpile. |
|
 |
Type: Chest How to Get: Repair the bridge through the mission "Elevated Rescue" then throw explosives at the core to clear the erosion in the area south of Temporary Stockpile. |
|
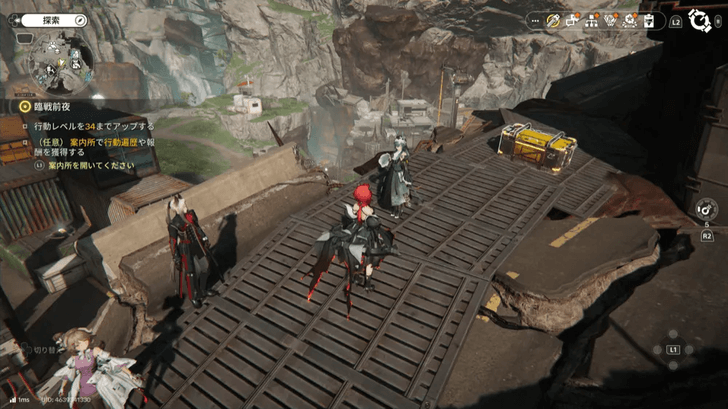 |
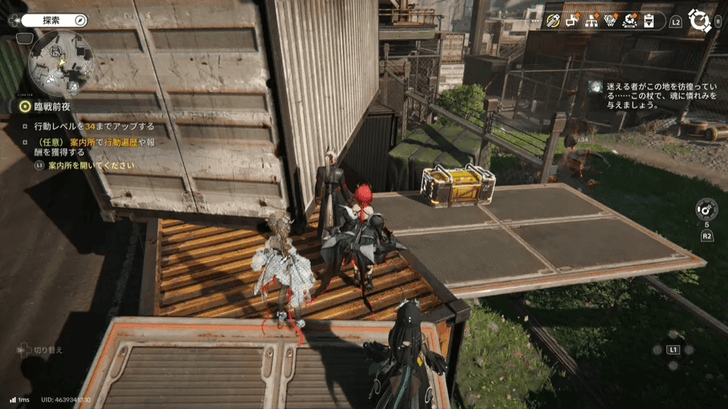
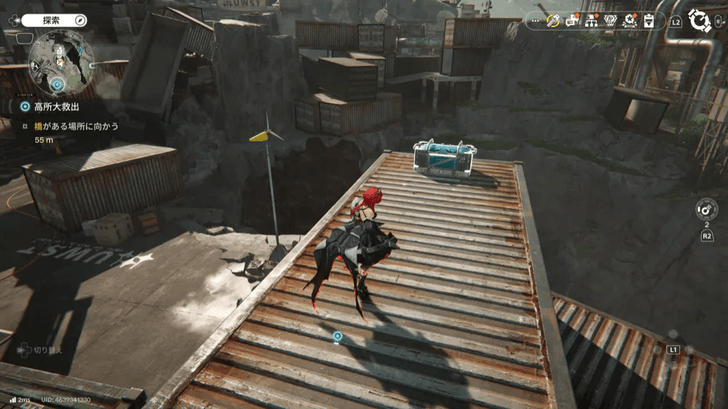
Type: Chest How to Get: During the mission "Elevated Rescue" then use the crane to make a bridge to the chest using two containers. |
|
 |
Type: Chest How to Get: Repair the bridge through the mission "Elevated Rescue" then throw explosives at the core to clear the erosion in the area south of Temporary Stockpile. |
|
 |
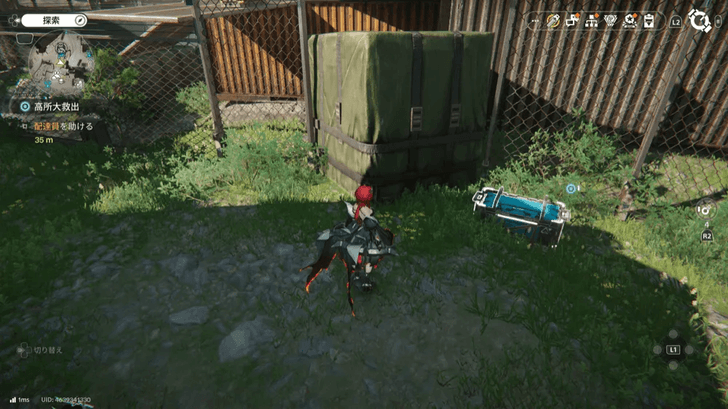
Type: Chest How to Get: In front of the shed under the broken bridge south of Temporary Stockpile. |
|
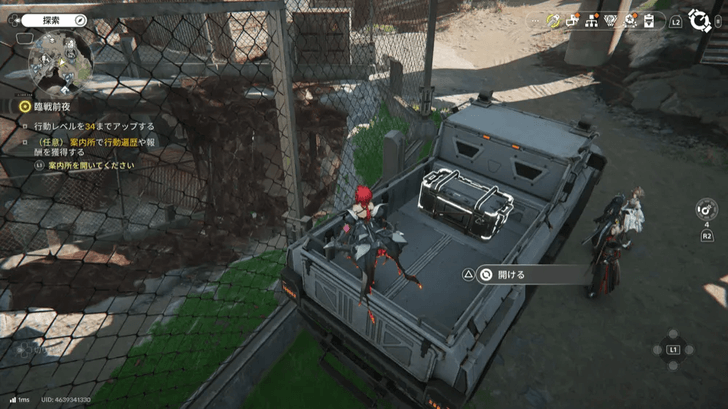 |
Type: Chest How to Get: On the back of a truck south of Temporary Stockpile. |
|
 |
Type: Chest How to Get: Repair the bridge through the mission "Elevated Rescue" then throw explosives at the core to clear the erosion in the area south of Temporary Stockpile then jump on the container using the air vent device. |
|
 |
Type: Chest How to Get: Found up a cliff southeast of Temporary Stockpile guarded by some enemies. |
|
 |
Type: Chest How to Get: Repair the bridge during the mission "Elevated Rescue" to reach Blightcliff Observation Post. |
|
 |
Type: Chest How to Get: Repair the bridge during the mission "Elevated Rescue" to reach Blightcliff Observation Post. |
|
 |
Type: Chest How to Get: Repair the bridge during the mission "Elevated Rescue" to reach Blightcliff Observation Post. |
|
 |
Type: Chest How to Get: Found southwest of Temporary Stockpile and unlocked by gathering the nearby Sealing Aurylenes. |
|
 |
Type: Chest How to Get: Located in the tunnel passage underground southwest of Temporary Stockpile. |
|
 |
Type: Chest How to Get: Behind the electric fence at Cliffside Mining Area. |
|
 |
Type: Chest How to Get: Found west outside of Temporary Stockpile and unlocked by gathering the nearby Sealing Aurylenes. |
|
 |
Type: Chest How to Get: Clear the Energy Alluvium in the area west of Temporary Stockpile. |
|
 |
Type: Chest How to Get: Found just outside the Meteorological Station. |
|
 |
Type: Chest How to Get: Found along the road going north west of Mining Camp and unlocked by gathering the nearby Sealing Aurylenes. |
|
 |
Type: Chest How to Get: Next to the fence northwest of Temporary Stockpile. |
|
 |
Type: Chest How to Get: In a container on the western path from Containment Zone Intersection. |
|
 |
Type: Chest How to Get: At the Containment Zone Intersection guarded by some enemies. |
|
 |
Type: Chest How to Get: Behind the electric fence to the east of Containment Zone Intersection. |
|
 |
Type: Chest How to Get: Found through some containers in the area southeast of Containment Zone Intersection. |
|
 |
Type: Chest How to Get: On top of the stack of containers in the area east of Containment Zone Intersection. |
|
 |
Type: Chest How to Get: In the underground area accessed by dropping down a ledge south of the TP Point east of Containment Zone Intersection. |
|
 |
Type: Chest How to Get: Across the narrow walkway north of Old Mines. |
|
 |
Type: Chest How to Get: Go up the elevator in the area north of the Old Mines. |
|
 |
Type: Chest How to Get: Next to the wall in the area north of the Old Mines. |
|
 |
Type: Chest How to Get: On the edge of a cliff in the eastern part of the Logistics Area. |
|
 |
Type: Chest How to Get: At the end of the road in the eastern part of Logistics Area. |
|
 |
Type: Chest How to Get: Clear the Energy Alluvium at the far eastern end of the Mines Cable Car Station. |
|
 |
Type: Chest How to Get: Near the storage boxes south of Mines Cable Car Station. |
|
 |
Type: Chest How to Get: Near the storage boxes south of Mines Cable Car Station. |
|
 |
Type: Chest How to Get: Clear the Energy Alluvium west of Mines Cable Car Station. |
|
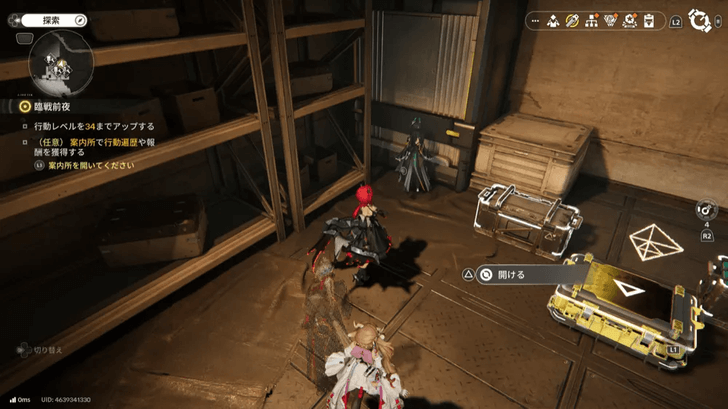 |
Type: Chest How to Get: In the building north of Mines Cable Car Station where there are a lot of delta robots. |
|
 |
Type: Chest How to Get: In the building north of Mines Cable Car Station where there are a lot of delta robots. |
|
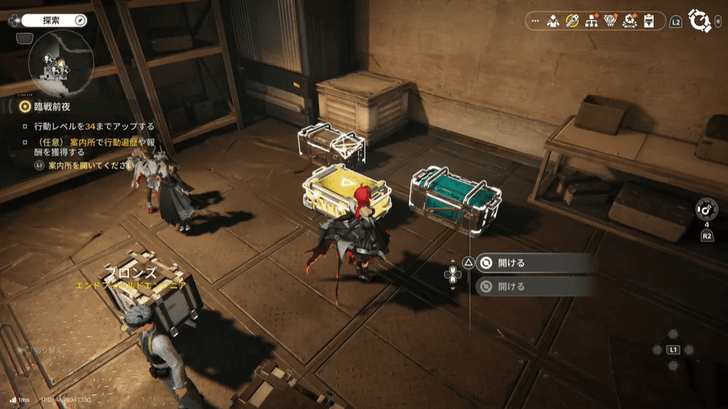 |
Type: Chest How to Get: In the building north of Mines Cable Car Station where there are a lot of delta robots. |
There are a total of 65 Treasure Chests found in Origin Lodespring.
Origin Lodespring Protocol Datalogger Locations
| ✔️ | Overworld View | Details |
|---|---|---|
 |
Type: Protocol Datalogger How to Get: In a slightly grassy area far southwest of the Containment Zone Intersection, and also northeast of the Meteorological Station. |
|
 |
Type: Protocol Datalogger How to Get: Directly south of the Mining Area Clinic. |
|
 |
Type: Protocol Datalogger How to Get: Next to some Ferrium Ore mining spots in the northwest part of Old Mines. |
There are a total of 3 Protocol Dataloggers found in Origin Lodespring.
Origin Lodespring Facility Repair Robot Locations
| ✔️ | Overworld View | Details |
|---|---|---|
 |
Type: Facility Repair Robot How to Get: Found under the bridge near the Old Mines TP Point. |
|
 |
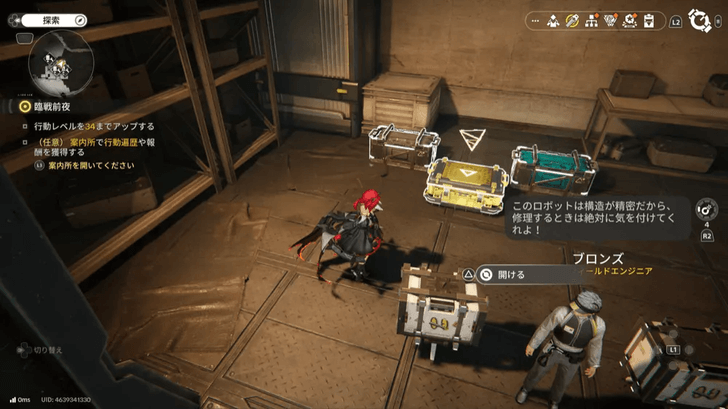
Type: Facility Repair Robot How to Get: Found in the northern building at Mines Cable Car Station accessed during the mission, "Repair Story". |
|
 |
Type: Facility Repair Robot How to Get: Found in the northern building at Mines Cable Car Station accessed during the mission, "Repair Story". |
|
 |
Type: Facility Repair Robot How to Get: Found in the northern building at Mines Cable Car Station accessed during the mission, "Repair Story". |
|
 |
Type: Facility Repair Robot How to Get: Found in the northern building at Mines Cable Car Station. |
|
 |
Type: Facility Repair Robot How to Get: Found southwest of the Mining Area Clinic on the other side of the chasm. |
|
 |
Type: Facility Repair Robot How to Get: Found in the northern building at Mines Cable Car Station. |
|
 |
Type: Facility Repair Robot How to Get: Found in the northern building at Mines Cable Car Station. |
|
 |
Type: Facility Repair Robot How to Get: Found on a cliff southwest of Temporary Stockpile. |
|
 |
Type: Facility Repair Robot How to Get: Found at the end of the bridge that can be crossed during the mission, "Elevated Rescue". |
|
 |
Type: Facility Repair Robot How to Get: Found around southwest of Temporary Stockpile and guarded by an enemy. |
|
 |
Type: Facility Repair Robot How to Get: Found around southwest of Temporary Stockpile. |
|
 |
Type: Facility Repair Robot How to Get: Found south of Temporary Stockpile. |
|
 |
Type: Facility Repair Robot How to Get: Found east of the Mining Camp and Mining Area Clinic. |
|
 |
Type: Facility Repair Robot How to Get: Found south of the Mining Area Clinic on a cliffside. |
|
 |
Type: Facility Repair Robot How to Get: Found just outside the Mining Area Clinic. |
|
 |
Type: Facility Repair Robot How to Get: Found southeast from Mining Area Clinic on the other path next to the Mountain Passage. |
There are a total of 17 Facility Repair Robots found in Origin Lodespring.
Origin Lodespring Recycling Station Locations
| ✔️ | Overworld View | Details |
|---|---|---|
 |
Type: Recycling Station How to Get: Found along the road north of Temporary Stockpile. |
|
 |
Type: Recycling Station How to Get: Found in the eastern part of Temporary Stockpile. |
There are 2 Recycling Stations found in Origin Lodespring.
Origin Lodespring Ore Farming Locations
| ✔️ | Overworld View | Details |
|---|---|---|
 |
Type: Mining How to Get: Found at the south end of Logistics area. |
|
 |
Type: Mining How to Get: Found along the dead-end tunnel in between Containment Zone Intersection and Logistics Area.. |
|
 |
Type: Mining How to Get: Near the North side of Old Mines, next to a Protocol Datalogger. |
|
 |
Type: Mining How to Get: At the southern part of the Old Mines, next to the TP Point. |
|
 |
Type: Mining How to Get: In the area to the east of Temporary Stockpile. |
|
 |
Type: Mining How to Get: In a fenced area behind a building at the southeast corner of the Mining Camp. |
|
 |
Type: Mining How to Get: Below ground, in the Cliffside Mining Area. |
Origin Lodespring Rare Ore Locations
| ✔️ | Overworld View | Details |
|---|---|---|
 |
Type: Rare Ores How to Get: Found at the Logistics Area on the eastern side. |
|
 |
Type: Rare Ores How to Get: Found in the area before the Logistics Area. |
|
 |
Type: Rare Ores How to Get: Found at the far eastern corner of the Mining Camp. |
There are a total of 3 Rare Ore spots found in Origin Lodespring.
Origin Lodespring Rare Growth Locations
| ✔️ | Overworld View | Details |
|---|---|---|
 |
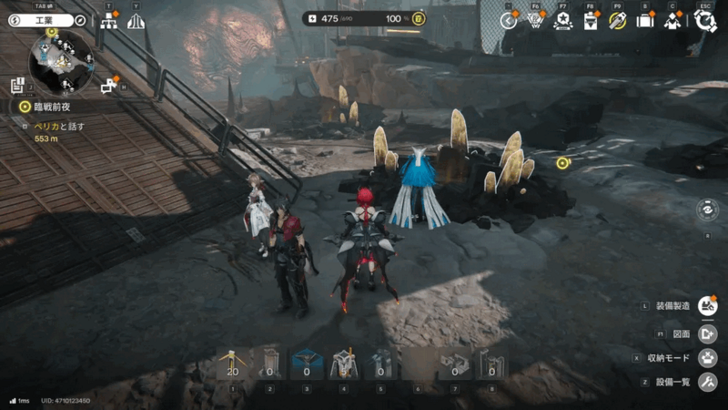
Type: Rare Growths How to Get: Found at the center of Temporary Stockpile. |
|
 |
Type: Rare Growths How to Get: Found in the chasm south of Meteorological Station. |
|
 |
Type: Rare Growths How to Get: Found in the area east of Landbreaker Camp. |
|
 |
Type: Rare Growths How to Get: Found west of Blightcliff Observation Post. |
|
 |
Type: Rare Growths How to Get: Found in the western section of the Logistics Area. |
There are a total of 5 Rare Growth spots found in Origin Lodespring.
Origin Lodespring Repair Logic Locations
| ✔️ | Overworld View | Details |
|---|---|---|
 |
Type: Repair Logic How to Get: Found by taking the the lift to the left of the warehouse at the Mines Cable Car Station. |
|
 |
Type: Repair Logic How to Get: Located past the bridge that you can fix during the Elevated Rescue mission at Blightcliff Observation Post. |
There are 2 Repair Logics found in Origin Lodespring.
How to Unlock Origin Lodespring Location
Complete Down the Hill Mission
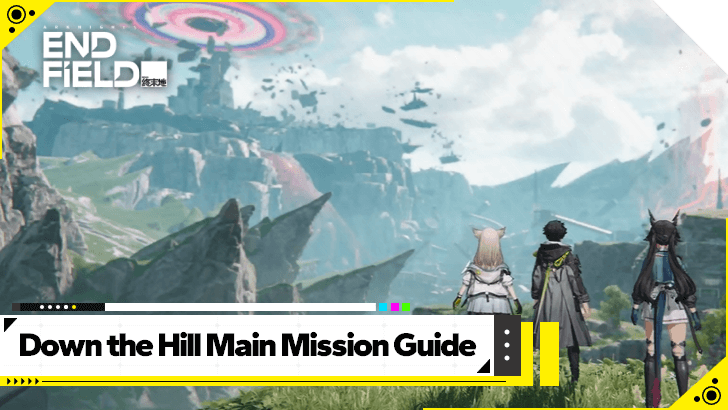
To unlock Origin Lodespring, players must first finish the Main Mission, Down the Hill.
This mission will lead you straight into Origin Lodespring as you progress the mission and complete it.
Down the Hill Main Mission Guide
Items Found in Origin Lodespring
Resources, Gatherables and Materials
| Natural Resources |
•
|
|---|---|
| Gatherables |
•
|
| Rare Materials |
•
|
All Missions in Origin Lodespring
Main Mission in Origin Lodespring
| Quest Name |
|---|
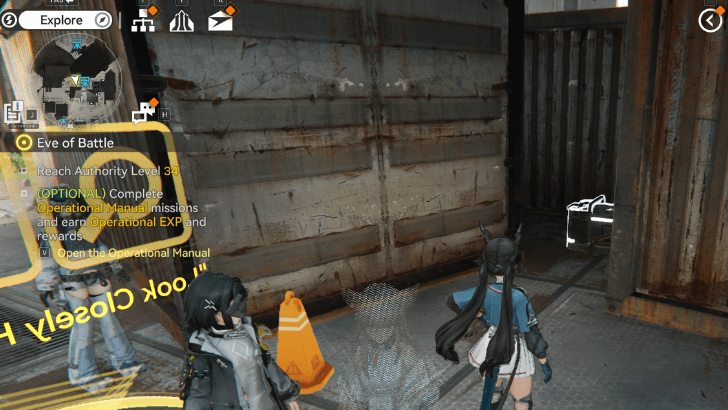
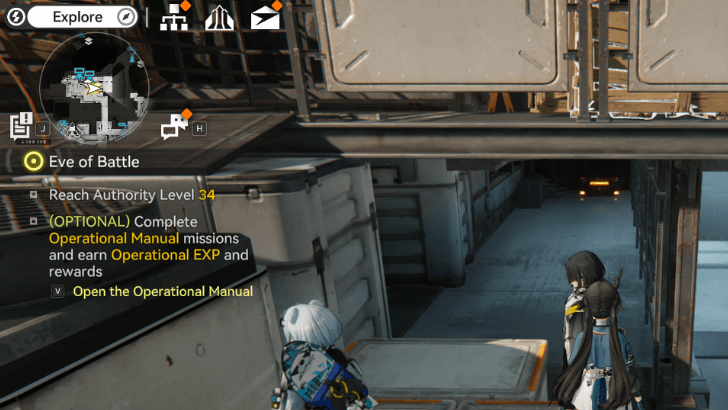
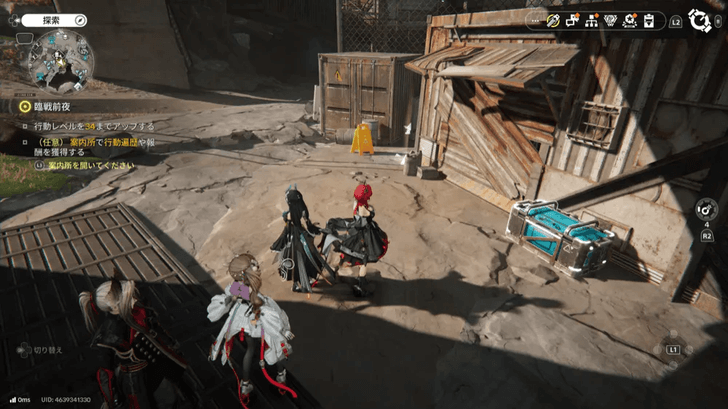
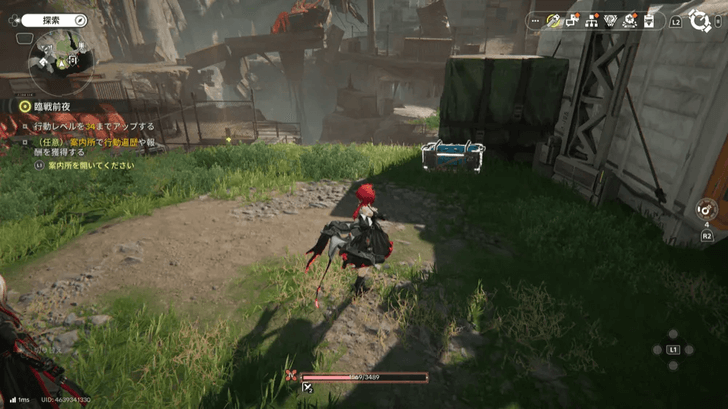
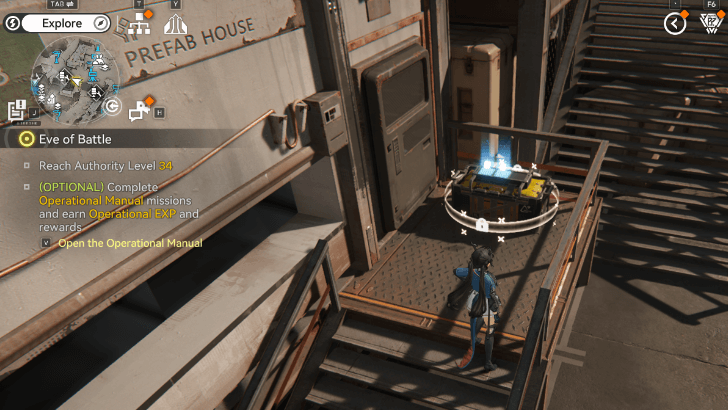
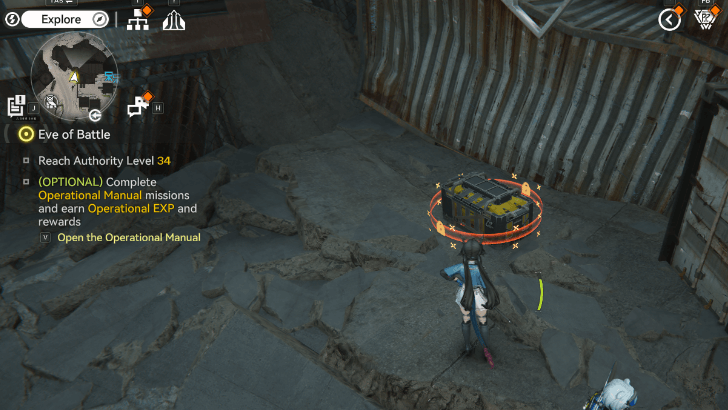
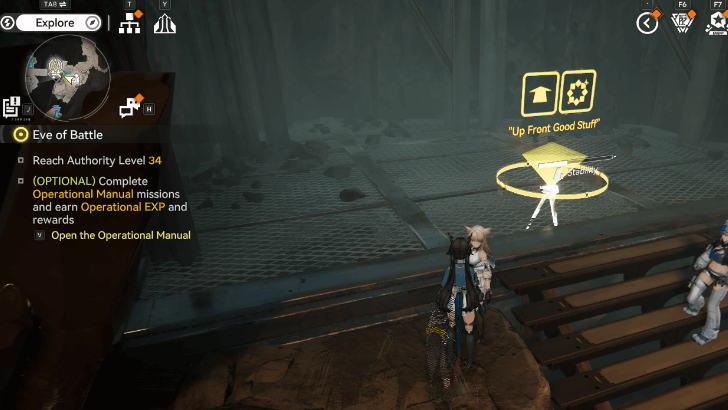
| Eve of Battle |
| Cradle of Ages |
| Lodespring Crossing |
| Shattered Veins |
Exploration Mission in Origin Lodespring
| Quest Name |
|---|
| Beyond the Worlds' Expanse I |
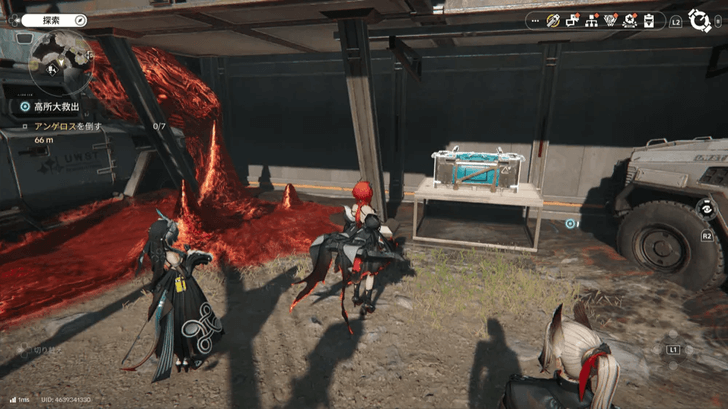
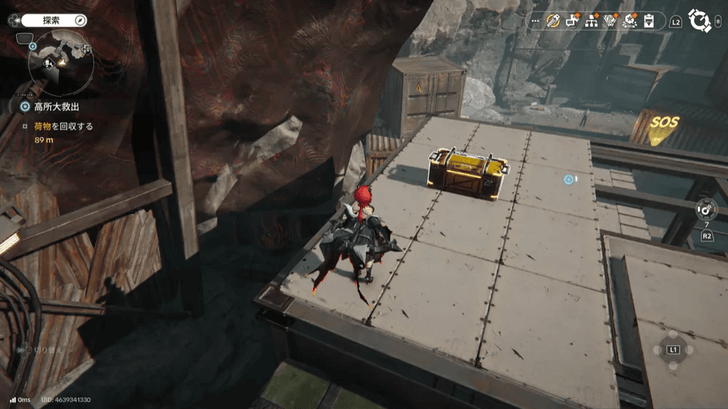
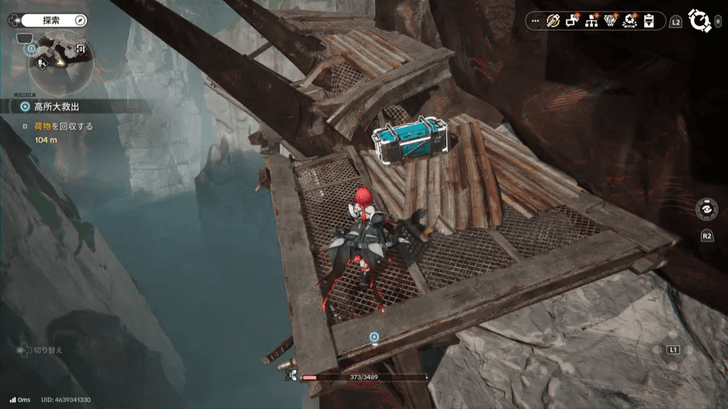
| Elevated Rescue |
| Repair Story |
| Sluggish Escapade |
| A Brewing Storm - Origin Lodespring |
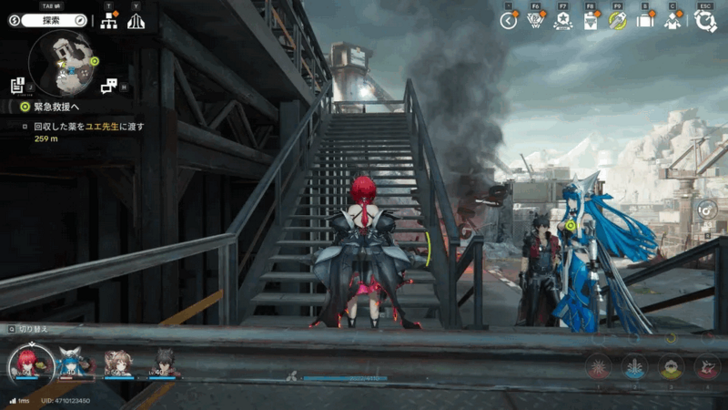
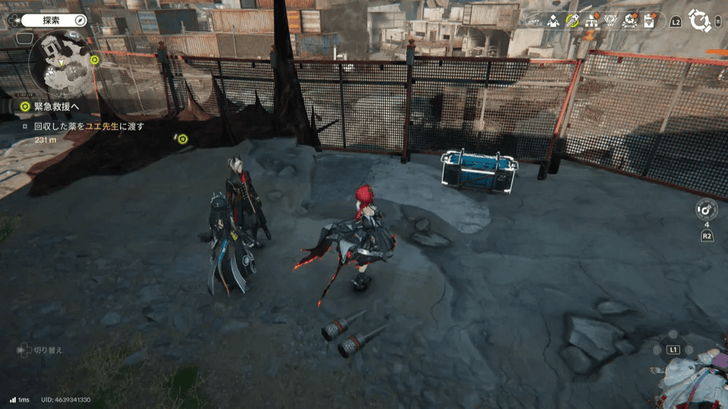
| Emergency Rescue |
| Ode to the Oak I |
| Ode to the Oak II |
Arknights: Endfield Related Guides
All Region Guides
| Valley IV | |
|---|---|
| The Hub | Valley Pass |
| Aburrey Quarry | Originium Science Park |
| Origin Lodespring | Power Plateau |
| OMV Dijiang | |
| Wuling | |
| Jingyu Valley | Wuling City |
| Qingbo Stockade | |
All Map Guides
Comment
Author

Origin Lodespring Interactive Map and Locations
Premium Articles
Rankings

Gaming News


![Monster Hunter Stories 3 Review [First Impressions] | Simply Rejuvenating](https://img.game8.co/4438641/2a31b7702bd70e78ec8efd24661dacda.jpeg/thumb)
![The Seven Deadly Sins: Origin [First Impressions] | A Promising Start](https://img.game8.co/4440581/584e0bfb87908f12c4eab6e846eb1afd.png/thumb)

Popular Games

Genshin Impact Walkthrough & Guides Wiki
Umamusume: Pretty Derby Walkthrough & Guides Wiki
Pokemon Pokopia Walkthrough & Guides Wiki
Honkai: Star Rail Walkthrough & Guides Wiki
Monster Hunter Stories 3: Twisted Reflection Walkthrough & Guides Wiki
Arknights: Endfield Walkthrough & Guides Wiki
Wuthering Waves Walkthrough & Guides Wiki
Zenless Zone Zero Walkthrough & Guides Wiki
Pokemon TCG Pocket (PTCGP) Strategies & Guides Wiki
Monster Hunter Wilds Walkthrough & Guides Wiki


Recommended Games
Fire Emblem Heroes (FEH) Walkthrough & Guides Wiki
Diablo 4: Vessel of Hatred Walkthrough & Guides Wiki
Cyberpunk 2077: Ultimate Edition Walkthrough & Guides Wiki
Yu-Gi-Oh! Master Duel Walkthrough & Guides Wiki
Super Smash Bros. Ultimate Walkthrough & Guides Wiki
Pokemon Brilliant Diamond and Shining Pearl (BDSP) Walkthrough & Guides Wiki
Elden Ring Shadow of the Erdtree Walkthrough & Guides Wiki
Monster Hunter World Walkthrough & Guides Wiki
The Legend of Zelda: Tears of the Kingdom Walkthrough & Guides Wiki
Persona 3 Reload Walkthrough & Guides Wiki


All rights reserved
Copyright © 2022 - 2025 GRYPHLINE. All Rights Reserved.
The copyrights of videos of games used in our content and other intellectual property rights belong to the provider of the game.
The contents we provide on this site were created personally by members of the Game8 editorial department.
We refuse the right to reuse or repost content taken without our permission such as data or images to other sites.