Invisible Glyphs - Revelation Mission Guide
✪ Check Game8 Endfield Twitter for daily tips!
★ Exclusive: Endfield's Connection to Arknights
★ Ver. 1.1: Release Date | Livestream | Maintenance
★ Tangtang (Build | Banner) | Rossi (Build | Banner)
★ Best Builds: Yvonne | Last Rite | Laevatain
★ Hot: Essence Tool | Blueprint | Best Dijiang Setup
Invisible Glyphs: Revelation is a side mission in Arknights: Endfield 1.0. See how to solve the riddle and open the stone gate, how to unlock this quest, its complete walkthrough, and all its rewards here!
List of Contents
How to Unlock Invisible Glyphs: Revelation
Complete Invisible Glyphs: Investigation
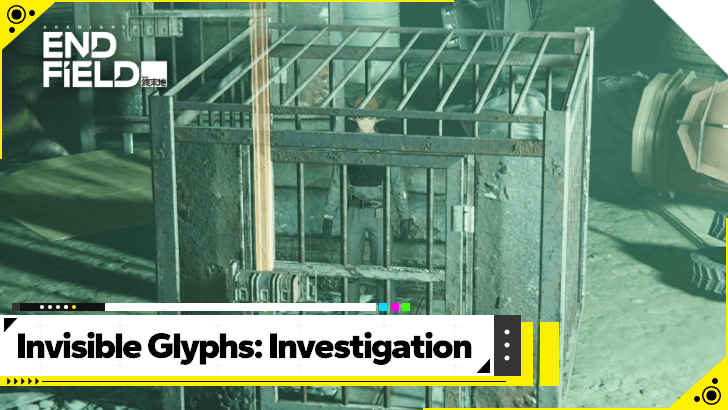
You can unlock Invisible Glyphs: Revelation by completing the previous mission of this quest line, Invisible Glyphs: Investigation! Revelation will automatically start immediately after completing Investigation, so view your mission journal in the case that it doesn't, and track it from there!
Invisible Glyph: Investigation Mission Guide
Invisible Glyphs: Revelation Walkthrough
Look for Clues Near the Cave
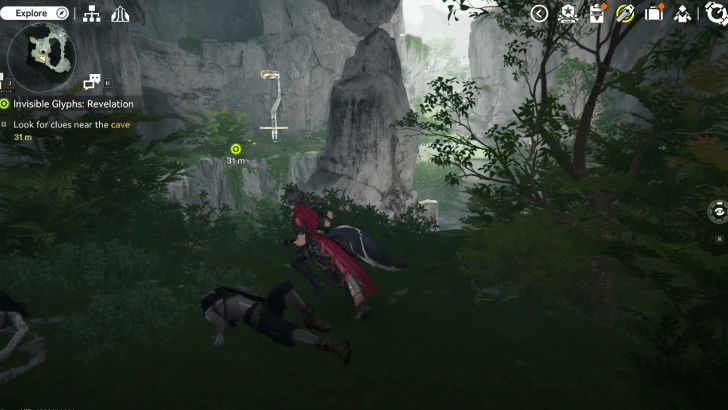
Upon starting the quest, teleport to the TP-Point in Valley Pass, and look for clues near the cave once you've arrived there. The cavern is decently small, and features the same lever mechanism and denstack haze to open the hidden latch.
Interact With the Denstack Haze

Next thing to do is interact with the Denstack Haze to reveal the hidden Bonekrush glyphs that will tell you the correct order of the lever.
Solve the Riddle to Open the Stone Gate
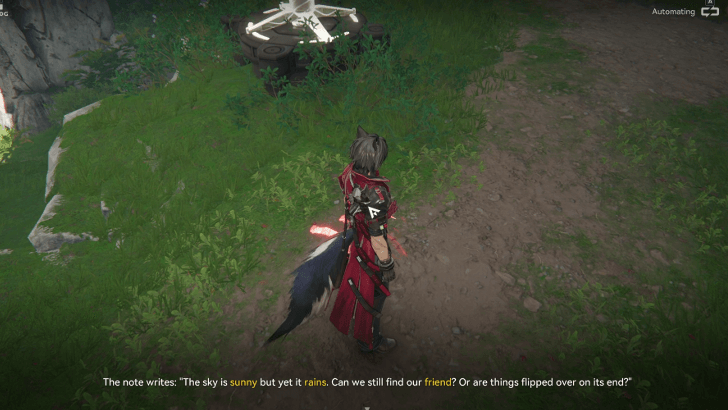
To solve the Riddle to open the stone gate, read the note on the ground first, and pull the down the levers in the same order that the glyphs were mentioned on the note. Pulling down the levers correctly should open the latch and solve the riddle!
How to Solve the Riddle to Open the Stone Gate
| How to Open the Stone Gate | |
|---|---|
| 1 | 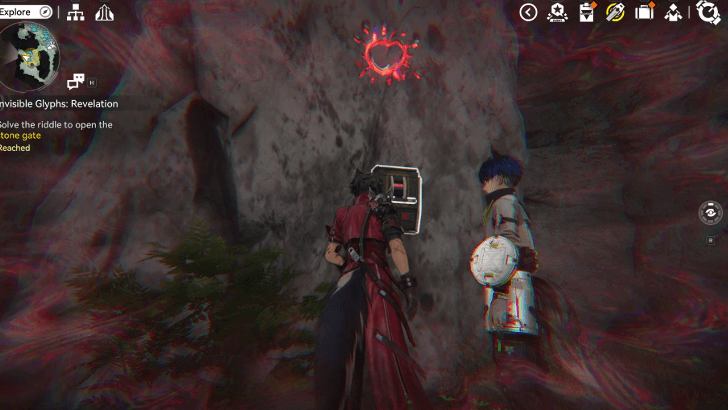 Pull the lever marked with the Sun glyph first. |
| 2 | 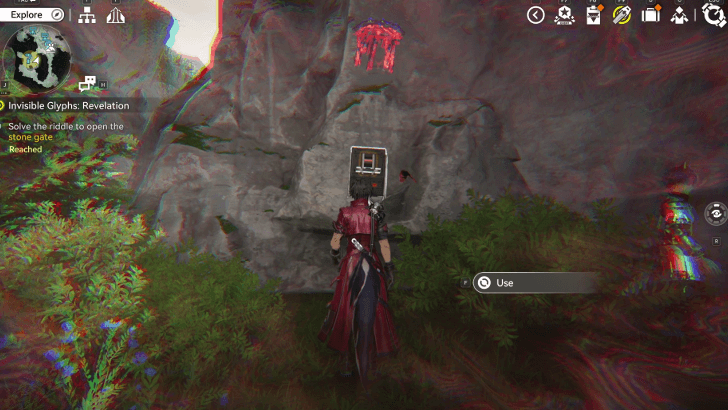 Next, pull the lever with the Rain glyph. |
| 3 | 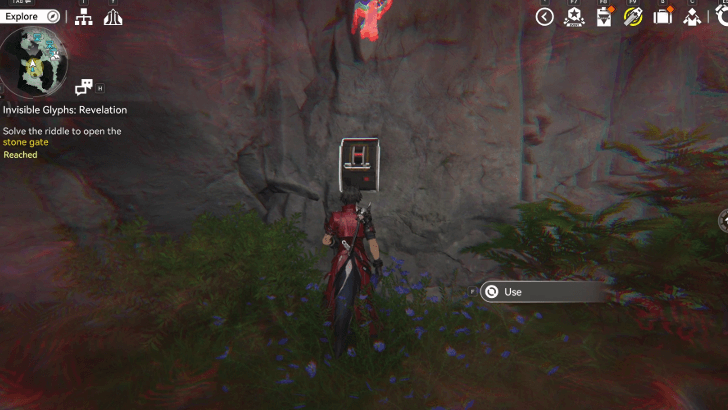 Lastly, pull down the lever with the Friend glyph to open the stone gate. |
Investigate the Cave
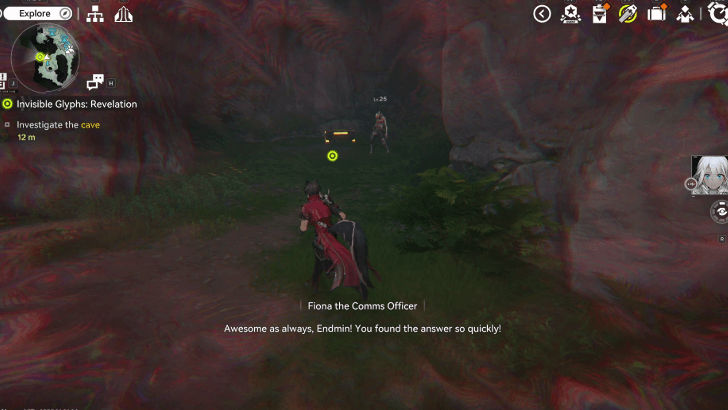
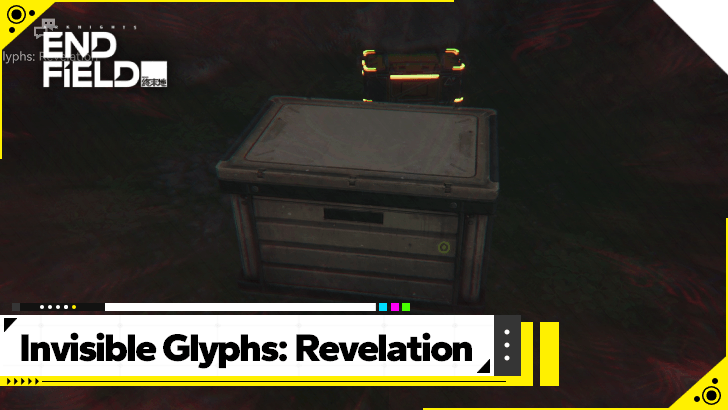
After opening the stone gate, investigate the cave and defeat the enemy inside. A supply chest that contains the stolen goods from Satyr's crew is also inside, so contact Satyr via the Baker to conclude the quest!
Invisible Glyphs: Revelation Rewards
Total Quest Rewards
| Total Quest Rewards |
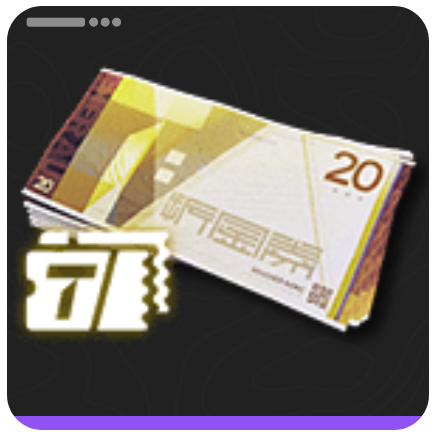 T-Creds x4.6K |
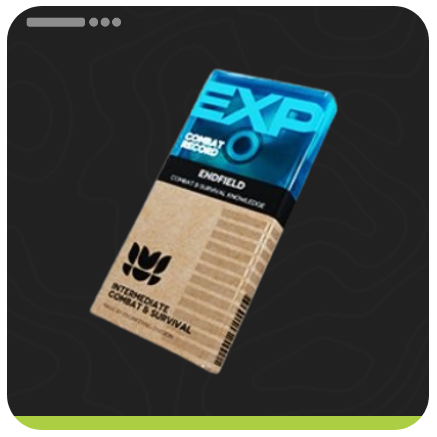
 Protoprism x8 |
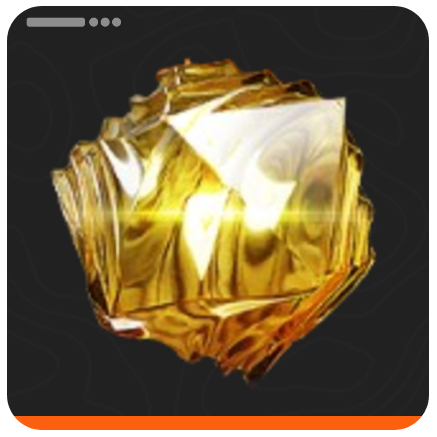 Origeometry x75 |
|---|---|---|
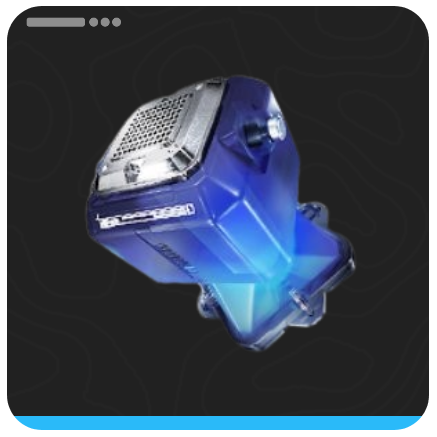
 Arms INSP Kit x11 |
||
Arknights: Endfield Related Guides
All Side Missions in Valley IV
| Valley IV Side Missions | ||
|---|---|---|
| Invisible Glyphs - Discovery | Invisible Glyphs - Investigation | Invisible Glyphs - Revelation |
| Base Revisited | Rumors About Tech | Cog in the Wheel |
| Visitor from the Band I | Quarry Rescue | Fix the Super Crane |
| Deep Management Post Rescue | Cost of Hope I | Cost of Hope II |
| Morale Booster | ||
List of All Side Missions
| All Side Missions | ||
|---|---|---|
| Melody of the Valley | Three Little Categories | All That Rises Must Converge |
| Invisible Glyphs - Discovery | Invisible Glyphs - Investigation | Invisible Glyphs - Revelation |
| Base Revisited | Rumors About Tech | Cog in the Wheel |
| Visitor from the Band I | Quarry Rescue | Fix the Super Crane |
| Deep Management Post Rescue | Cost of Hope I | Cost of Hope II |
| Morale Booster | ||
Comment
Author

Invisible Glyphs - Revelation Mission Guide
Premium Articles
Rankings

Gaming News


![Nova Roma Review [Early Access] | Newer, Better, and More Confusing](https://img.game8.co/4455512/2cbf8926e9a1c72a3ff056088f801ef4.png/thumb)
Popular Games

Genshin Impact Walkthrough & Guides Wiki
Umamusume: Pretty Derby Walkthrough & Guides Wiki
Crimson Desert Walkthrough & Guides Wiki
Monster Hunter Stories 3: Twisted Reflection Walkthrough & Guides Wiki
Honkai: Star Rail Walkthrough & Guides Wiki
Pokemon Pokopia Walkthrough & Guides Wiki
The Seven Deadly Sins: Origin Walkthrough & Guides Wiki
Wuthering Waves Walkthrough & Guides Wiki
Zenless Zone Zero Walkthrough & Guides Wiki
Arknights: Endfield Walkthrough & Guides Wiki


Recommended Games
Fire Emblem Heroes (FEH) Walkthrough & Guides Wiki
Diablo 4: Vessel of Hatred Walkthrough & Guides Wiki
Cyberpunk 2077: Ultimate Edition Walkthrough & Guides Wiki
Yu-Gi-Oh! Master Duel Walkthrough & Guides Wiki
Super Smash Bros. Ultimate Walkthrough & Guides Wiki
Pokemon Brilliant Diamond and Shining Pearl (BDSP) Walkthrough & Guides Wiki
Elden Ring Shadow of the Erdtree Walkthrough & Guides Wiki
Monster Hunter World Walkthrough & Guides Wiki
The Legend of Zelda: Tears of the Kingdom Walkthrough & Guides Wiki
Persona 3 Reload Walkthrough & Guides Wiki


All rights reserved
Copyright © 2022 - 2025 GRYPHLINE. All Rights Reserved.
The copyrights of videos of games used in our content and other intellectual property rights belong to the provider of the game.
The contents we provide on this site were created personally by members of the Game8 editorial department.
We refuse the right to reuse or repost content taken without our permission such as data or images to other sites.