
This survey will take about 1 minute.
Your answers will help us to improve our website.
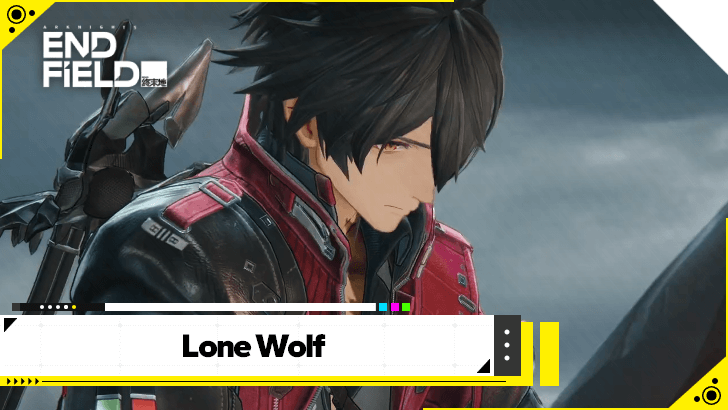
Arknights: Endfield
Lone Wolf Mission Guide
✪ Check Game8 Endfield Twitter for daily tips!
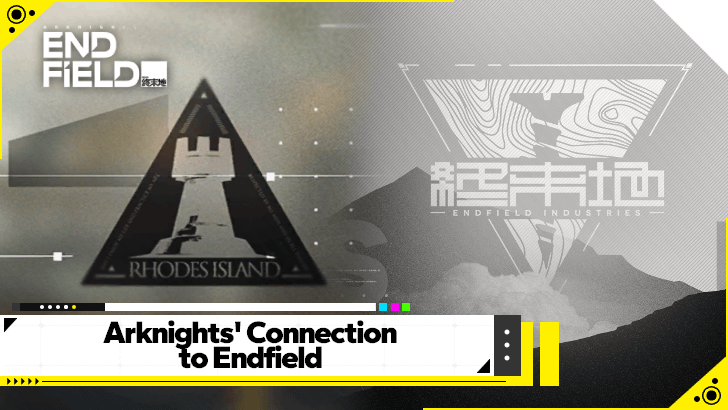
★ Exclusive: Endfield's Connection to Arknights
★ Version 1.2: Release Date | Livestream
★ Zhuang Fangyi (Build | Banner) | Fest of Brilliance
★ Tangtang (Build | Banner) | Rossi (Build | Banner)
★ 1.1 Events: Survival Training | Cleanse and Rinse
Lone Wolf is the Wulfgard Operator Mission in Arknights: Endfield 1.0. See how to find a way to open the gate, how to disable the ignition device, how to unlock this quest, a full walkthrough, and all the mission rewards you can get in this guide!
How to Unlock Lone Wolf
Complete Paving the Way
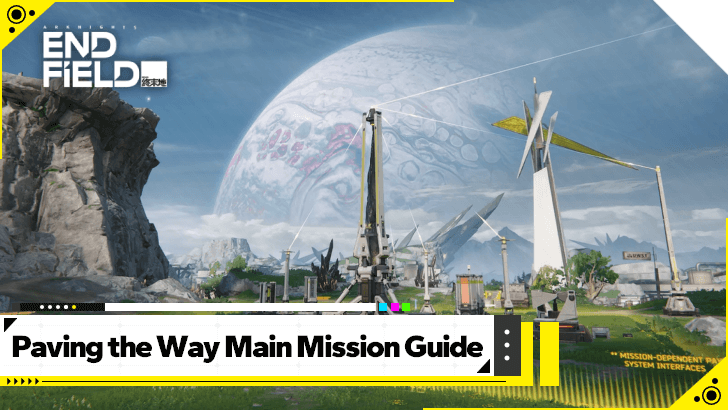
Lone Wolf is unlocked after completing the Paving the Way under The Turbid Heavens mission series, and has no level restriction.
Paving the Way Main Mission Guide
Lone Wolf Walkthrough
Lone Wolf Quest Guide
- View Rossi's Message
- Talk to Rossi
- Scan the Place to Track Wulfgard
- Scan the Place to Further Track Wulfgard
- Find Wulfgard
- Find the Clues Left Behind by the Traitor
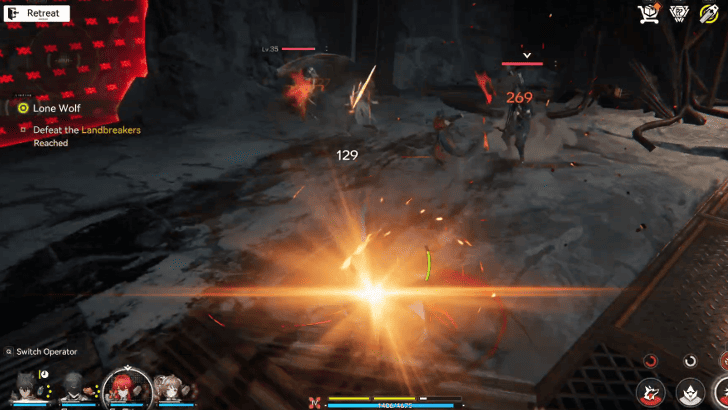
- Defeat the Landbreakers
- Find the Clues Left Behind by the Traitor
- Defeat the Landbreakers
- Scan the Place and Track the Marks Left by the Arts
- Defeat the Landbreakers
- Follow Giovanni
- Talk to Wulfgard
- Enter the Valley Pass
- Gather Clues from the Crew Mates
- Scan the Place to Look for the Missing UWST Crew Mate
- Meet with Giovanni
- Defeat the Landbreakers
- Talk to Giovanni
- Defeat the Landbreakers on Guard
- Defeat the Landbreakers
- Find the Entrance to the Underground Camp
- Explore the Underground Camp
- Defeat the Landbreakers
- Find a Way to Open the Gate
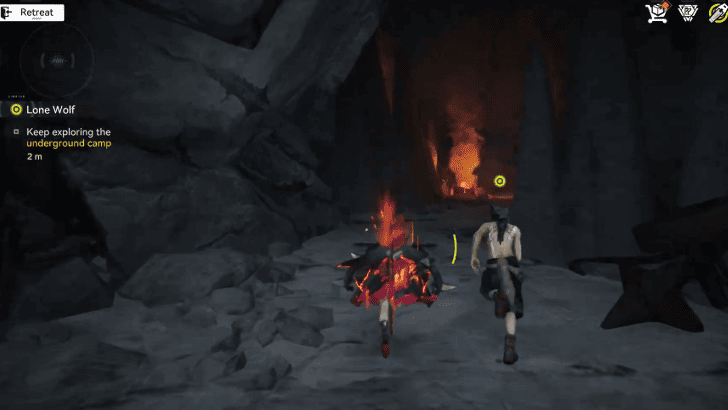
- Keep Exploring the Underground Camp
- Defeat the Landbreakers
- Keep Exploring the Underground Camp
- Defeat the Landbreakers
- Keep Exploring the Underground Camp
- Catch Up to Giovanni
- Disable the Ignition Device
- Go Deeper into the Underground Camp
- Defeat the Landbreakers
- Activate the Elevator
- Defeat the Landbreaker Chief
- Leave the Underground Camp
- Find Wulfgard
View Rossi's Message
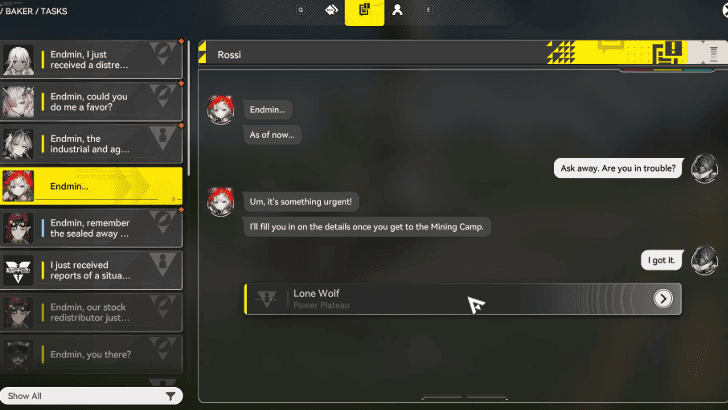
Open up Baker and check Rossi's message to you. Head to the Mining Camp for Rossi to fill you in on the details.
Talk to Rossi
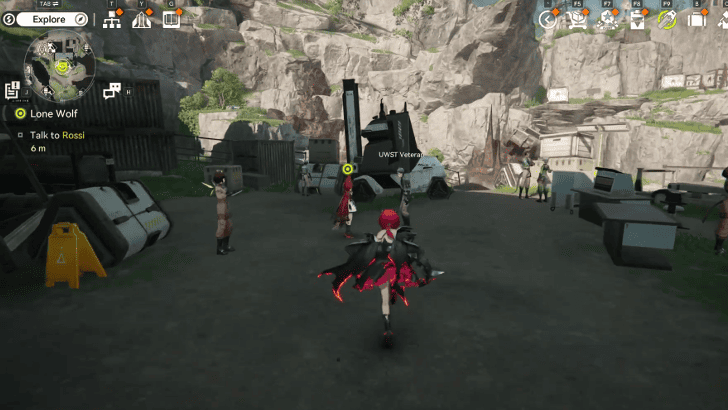
Find Rossi in the Mining Camp and talk to her. She tells you about Wulfgard's disappearance and hopes you could help bring him back. Rossi hands you a tracker she made herself.
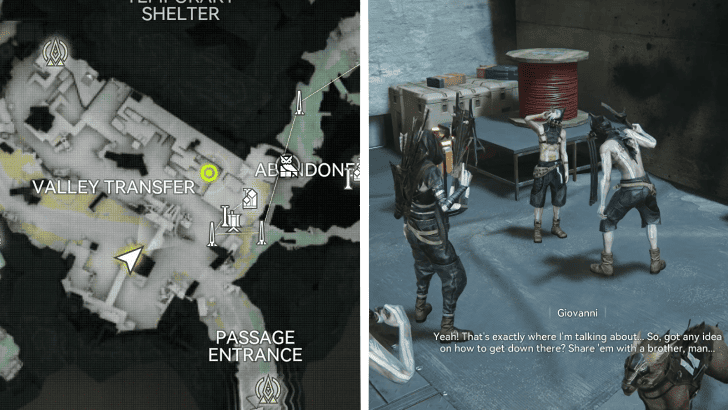
Scan the Place to Track Wulfgard
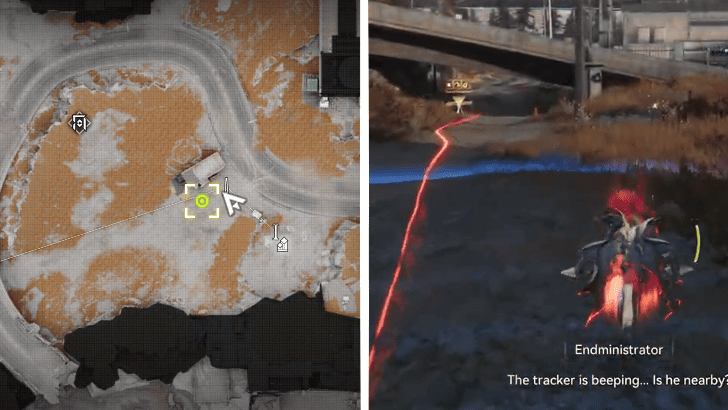
Go to Power Plateau and use the Scan tool to track Wulfgard. Keep following the red trail seen after scanning until you get past the United Parking Lot.
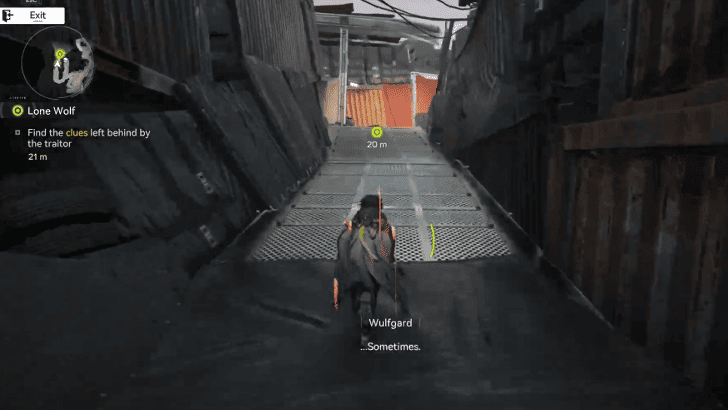
Scan the Place to Further Track Wulfgard
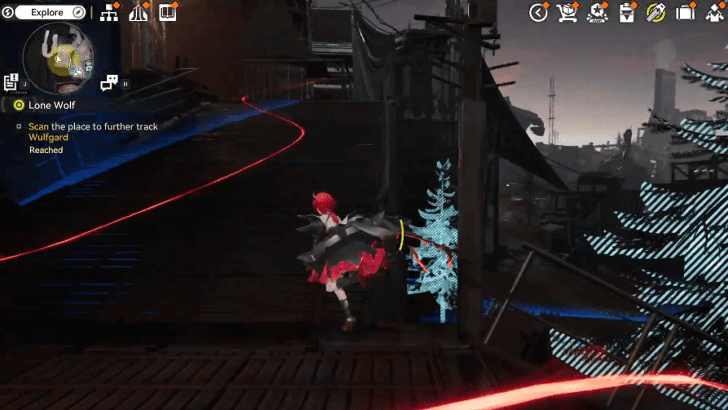
Once you get close to the ramp at Bridge Approach Camp, keep scanning the area to find Wulfgard's trail. Follow his trail up the ramp until you reach the gate at the top.
Find Wulfgard
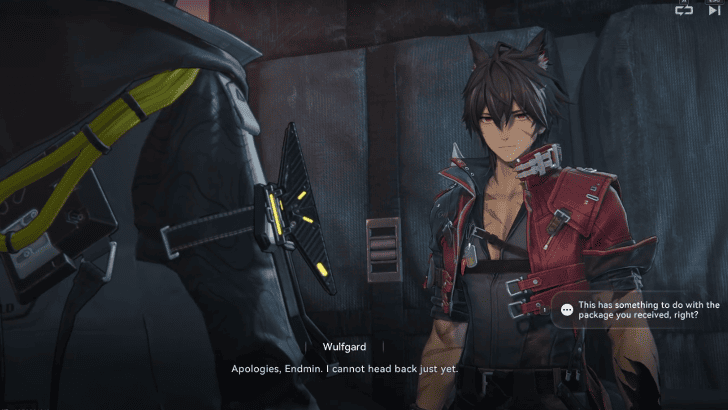
Open the gate to enter the area. This will make you enter Immersion Mode where some features may not be available. You finally find Wulfgard, who is finding the traitors in the Pack. You decide to join him in this investigation.
Find the Clues Left Behind by the Traitor
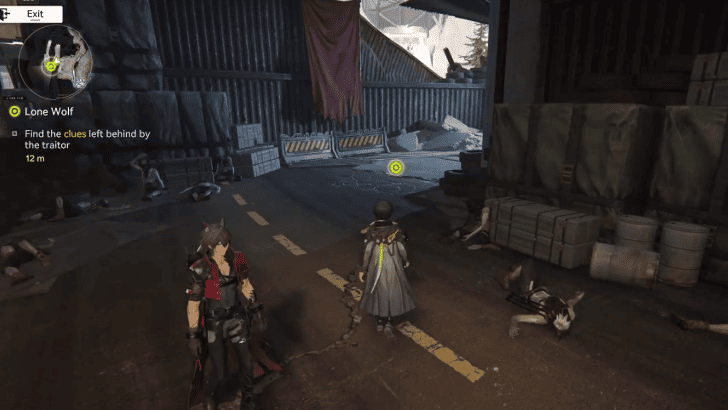
You and Wulfgard try to find the clues left behind by the traitor. Head out the area to find Landbreakers in the way.
Defeat the Landbreakers
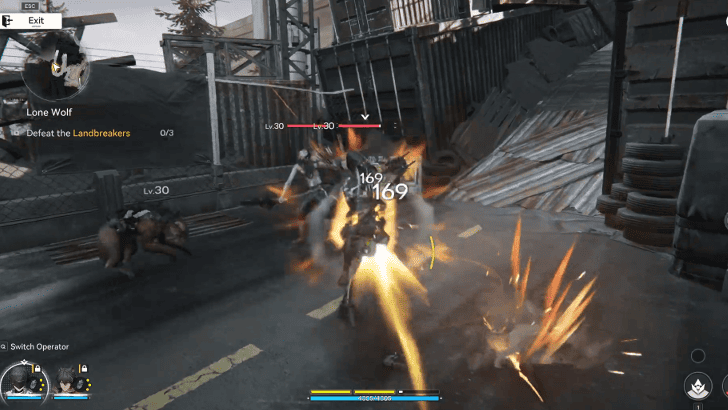
Defeat the Landbreakers that block your path. Head up the ramp to continue to find the clues.
Find the Clues Left Behind by the Traitor
Continue heading up to get to the top. There are more Landbreakers there who will try to stop you.
Defeat the Landbreakers
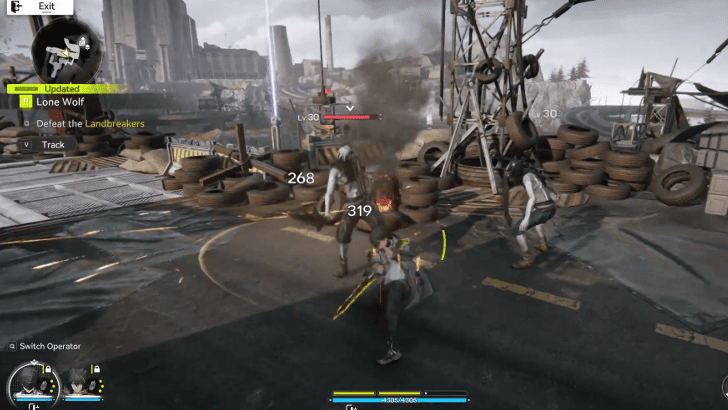
Defeat two more Landbreakers at the end of the road. After defeating them, proceed to find the clues within the area.
Scan the Place and Track the Marks Left by the Arts
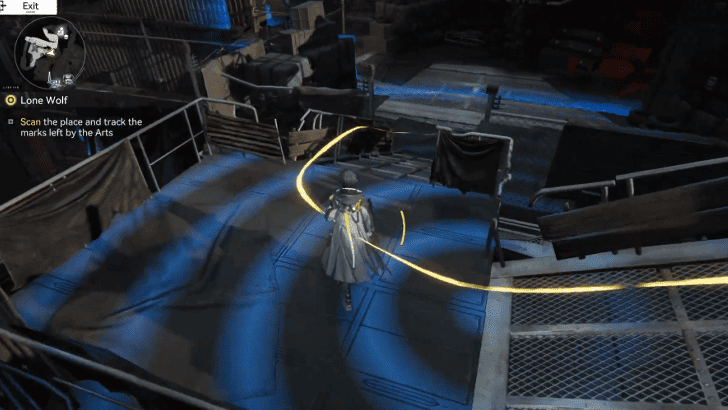
Use the Scan tool again to reveal a yellow trail. Follow the yellow trail down the ramp which leads you to an ambush.
Defeat the Landbreakers
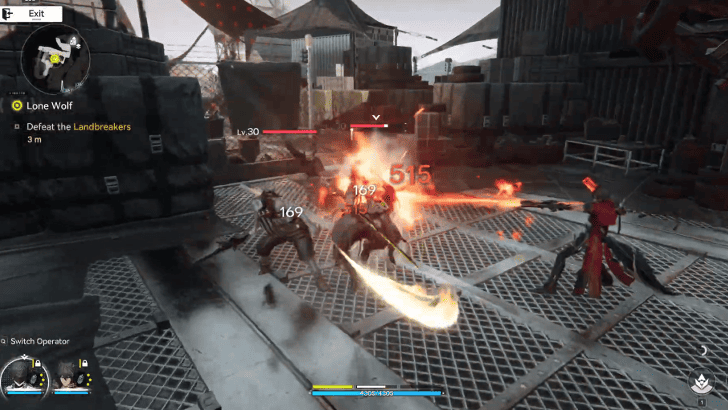
Defeat the ambushing Landbreakers with Wulfgard. You meet another member of the Pack disguised as a Landbreaker, Giovanni.
Follow Giovanni
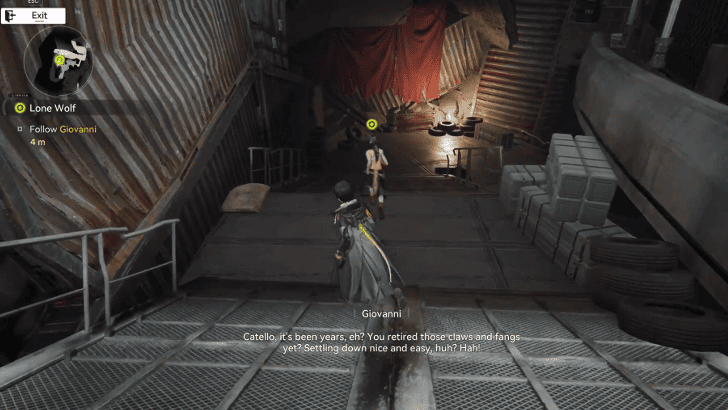
Follow Giovanni as he takes you deeper in the area to talk privately. He tells you that he's looking for Tommaso, who recently just died.
Talk to Wulfgard
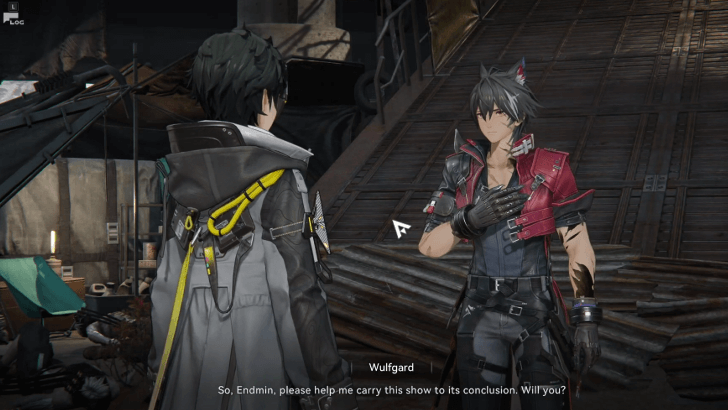
Wulfgard wants to use Giovanni to find the other traitors in the Pack. You agree to let Giovanni tag along. After the conversation, the two of you follow Giovanni to the Valley Pass.
Optional: Talk to Giovanni
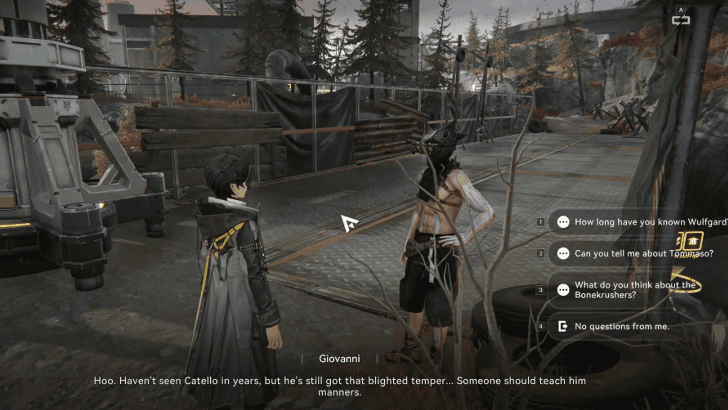
You can talk to Giovanni before talking to Wulfgard. You can ask him about Wulfgard, Tommaso, and his opinions about the Bonekrushers.
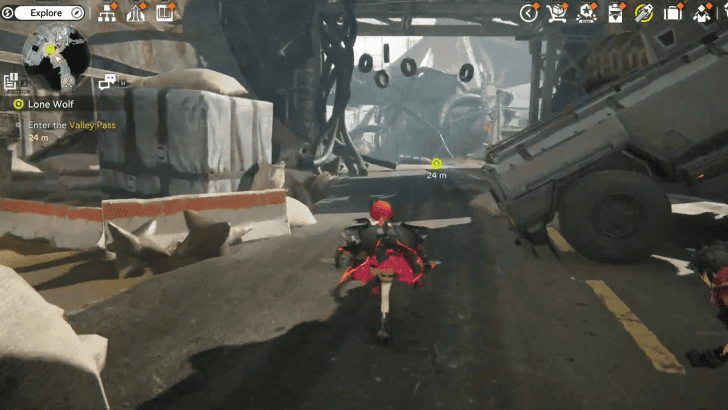
Enter the Valley Pass
Head down the road as soon as you enter the Valley Pass. You find a few UWST crew mates and think to ask them for clues. Giovanni takes a different route to avoid the UWST crew.
Gather Clues from the Crew Mates
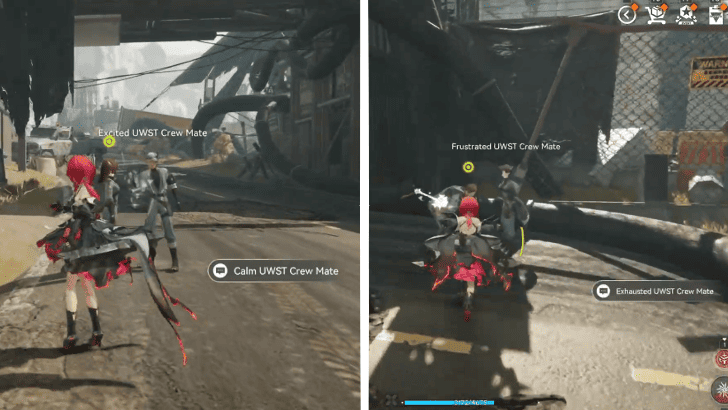
Come up to the excited and calm crew mates first, then the frustrated and exhausted crew mates after. You find out that there are missing crew mates, likely captured by the Bonekrushers.
Scan the Place to Look for the Missing UWST Crew Mate
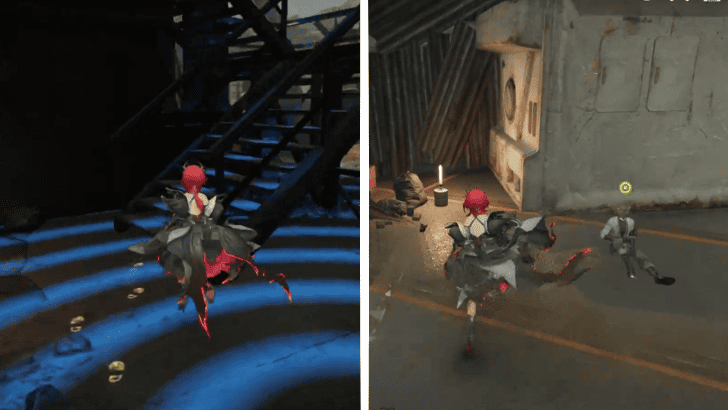
Use the Scan tool to look for the missing crew mate to reveal footprints. Follow the footprints up the stairs and destroy the box to find the missing UWST crew mate, Yuley.
Meet with Giovanni
You decide to meet with Giovanni after finding the crew mate. Head to the location to find Giovanni talking to other Landbreakers.
Defeat the Landbreakers
Defeat the Landbreakers Giovanni was talking to. Approach to Giovanni after who ran to the side during the fight.
Talk to Giovanni
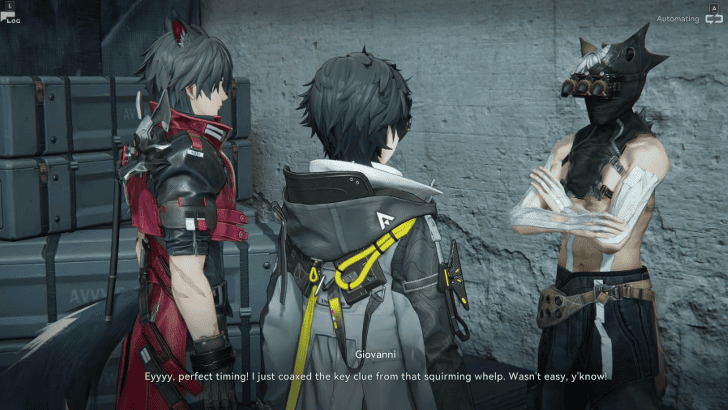
Talk to Giovanni, who managed to get the location of the Bonekrusher camp. Wulfgard agrees with Giovanni's risky plan, and you play along with Wulfgard.
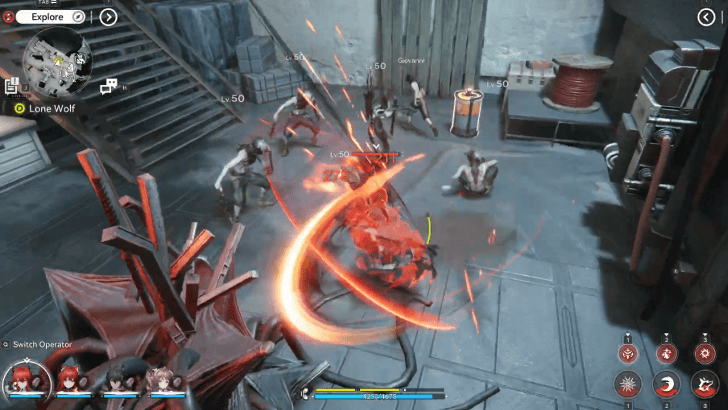
Defeat the Landbreakers on Guard
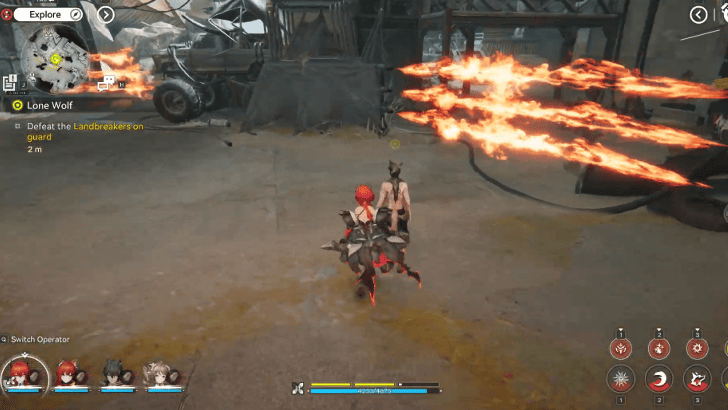
Follow Giovanni who leads you to the area guarded by Landbreakers. Along the way, flaming traps are suddenly active, and Landbreakers ambush you.
Defeat the Landbreakers
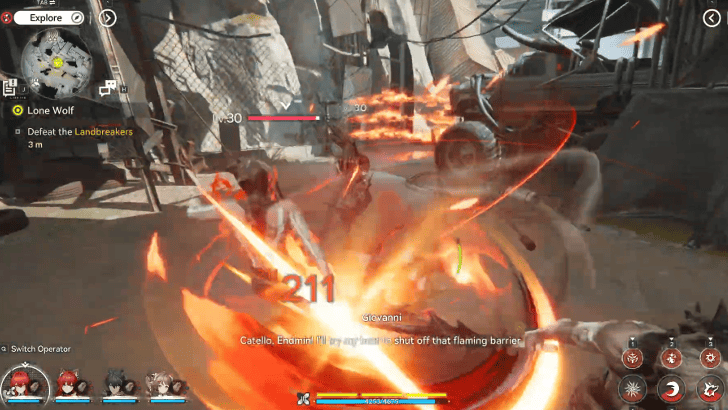
Defeat the Landbreakers while Giovanni takes his time to disable the flame barriers. Wulfgard notices Giovanni's dagger, which is custom-crafted by Giovanni.
Find the Entrance to the Underground Camp
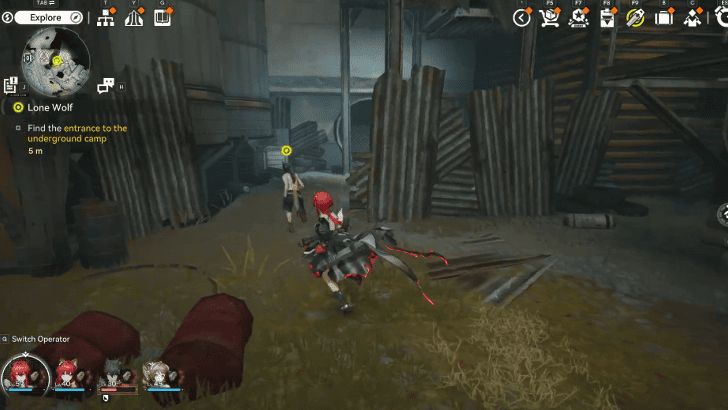
Follow Giovanni again, this time to the entrace of the underground camp. Entering the camp will require you to use a party with a trial Wulfgard and Endministrator.
Explore the Underground Camp
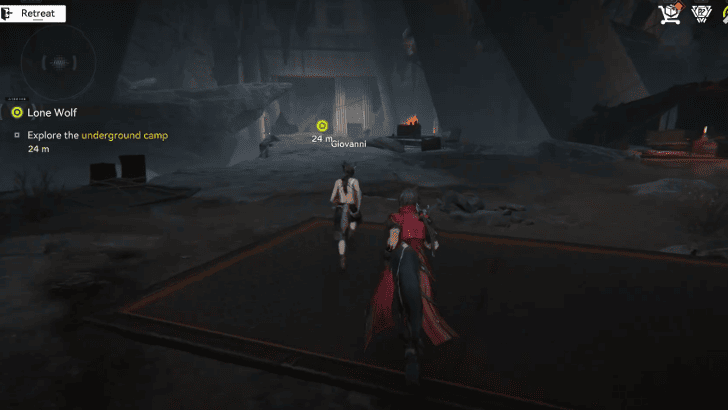
Get out of the water and explore the underground camp. The camp seems to be an abandoned underground factory of the UWST. Keep following Giovanni until you fall into another ambush.
Defeat the Landbreakers
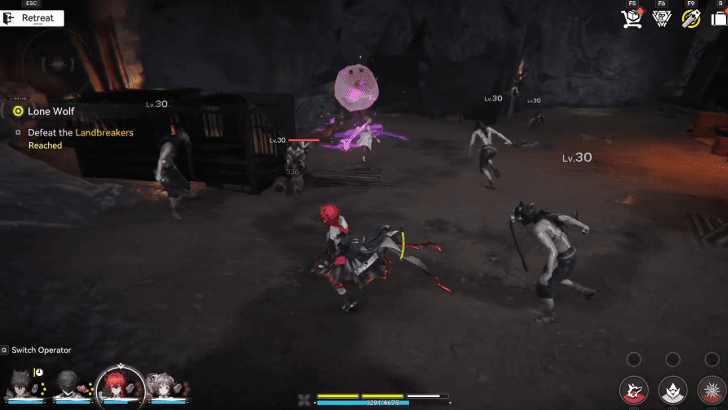
After getting closed in, defeat the Landbreakers. You find a gate that you can possibly take to continue with your investigation.
Find a Way to Open the Gate
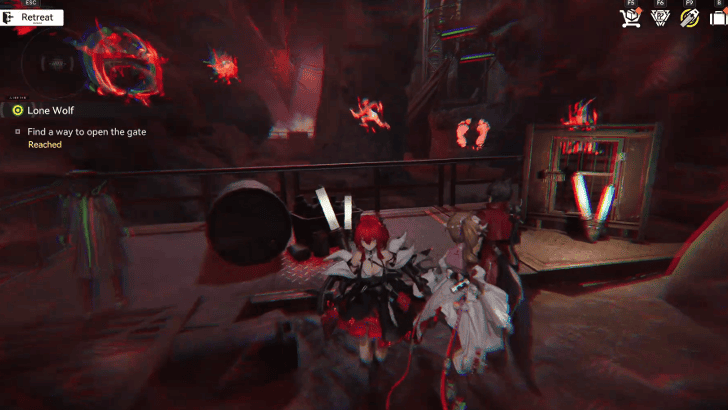
There are 5 switches with symbols on top of each one. Walk up to the area with the Haze to see arrows in the ground and wall. Follow the arrows to see the sequence of symbols to open the door.
How to Find a Way to Open the Gate
| How to Find a Way to Open the Gate | |
|---|---|
| 1 | 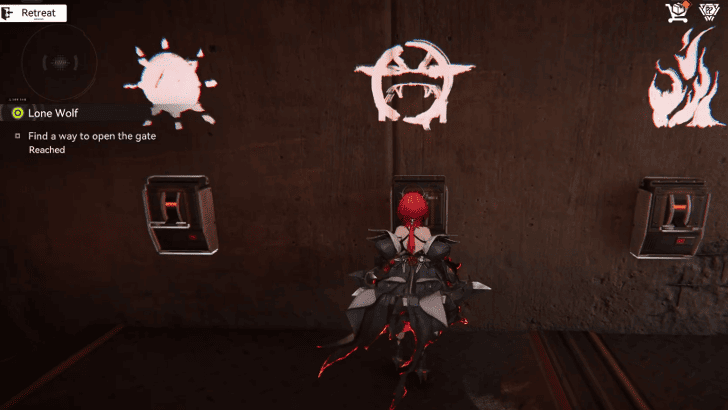 From the clues, activate the 2nd switch first. |
| 2 | 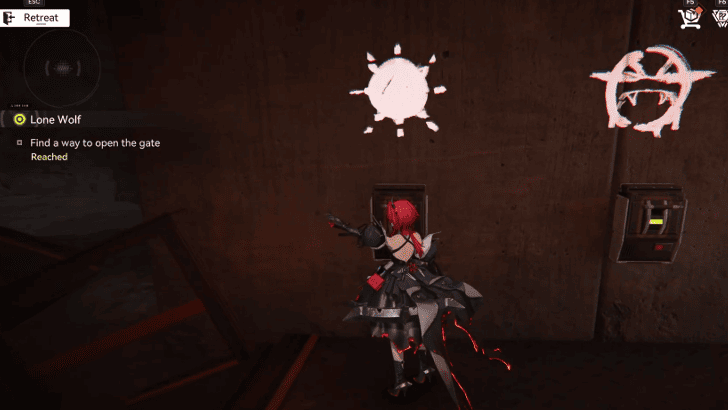 Then, activate the 1st switch next. |
| 3 | 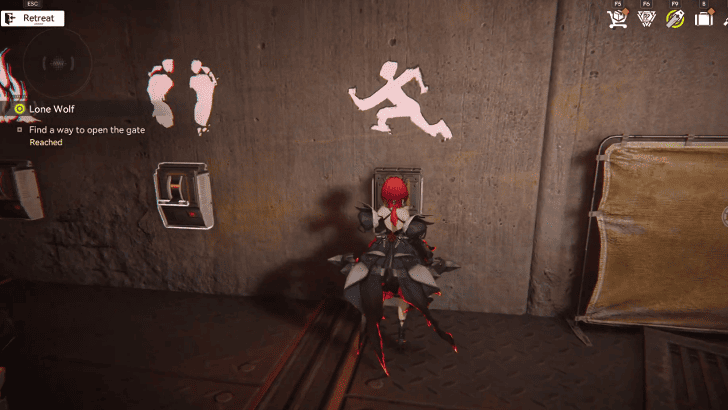 Next, activate the 5th switch with the running man symbol. |
| 4 | 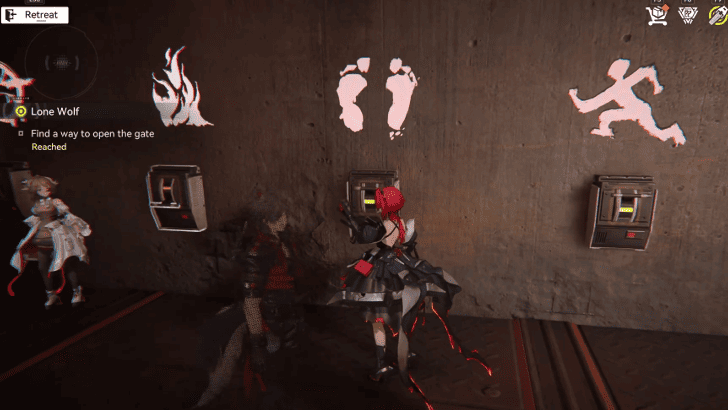 Activate the 4th switch with the feet symbol next. |
| 5 | 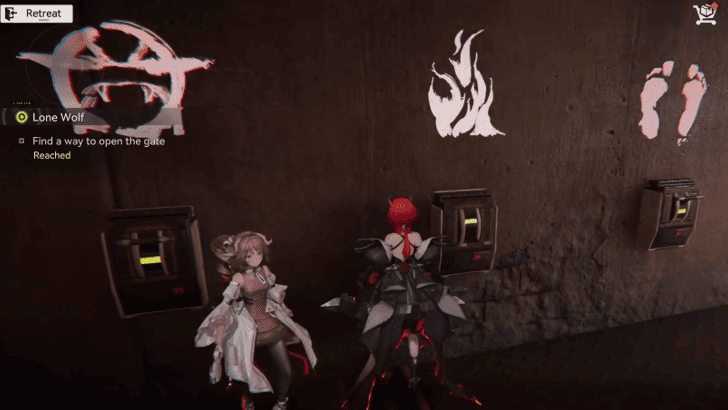 Finally, activate the 3rd switch with the flames symbol to open the gate. |
Keep Exploring the Underground Camp

Pass through the opened gate and keep following Giovanni. Use the switch to activate an elevator to take you higher.
Defeat the Landbreakers
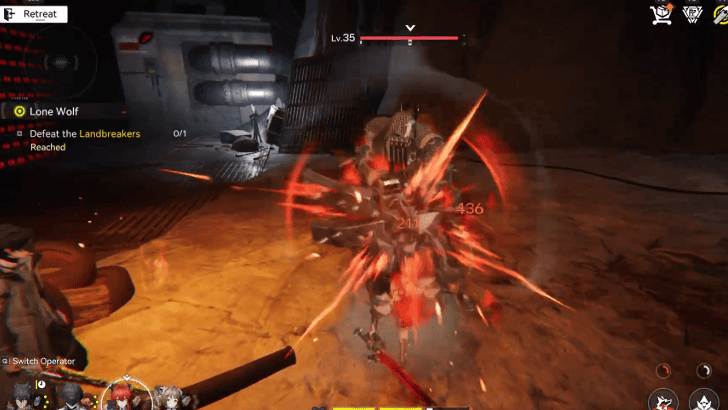
As you step out the elevator, defeat the Landbreakers in your path. Continue to explore the camp after defeating them.
Keep Exploring the Underground Camp
Go past the Landbreakers area to find two moving platforms. Wait for the platforms to reach your level and hop on each one to reach the other side. Follow the path and use the rope to get down to another area full of Landbreakers.
Defeat the Landbreakers
Defeat the Landbreakers to continue exploring the camp. Move forward after clearing the area.
Keep Exploring the Underground Camp
Continue to follow Giovanni's path to explore the area. Giovanni runs off as soon as he thinks he heard Tommaso's voice.
Catch Up to Giovanni
Run and catch up to Giovanni who is already far from you. As you try to run after him, you and Wulfgard fall into a trap. Wulfgard feels guilty of the situation, but works with you to find a way to leave the place.
Disable the Ignition Device
The area is surrounded by flaming barriers. To disable them, you need to find the fuel tank that fuels them all.
How to Disable the Ignition Device
| How to Disable the Ignition Device | |
|---|---|
| 1 | 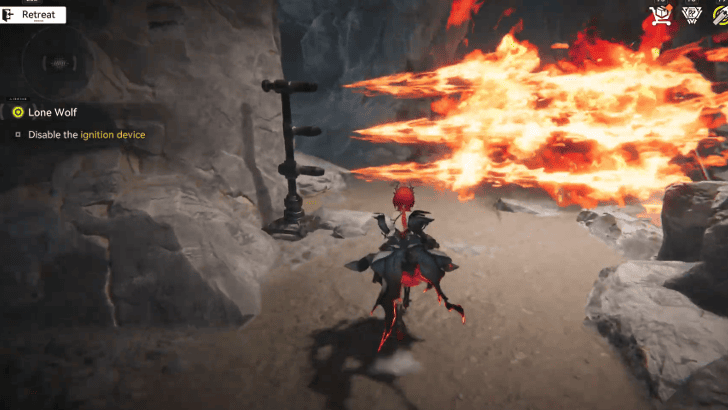 Wait for the first flaming barrier to recharge before crossing. |
| 2 | 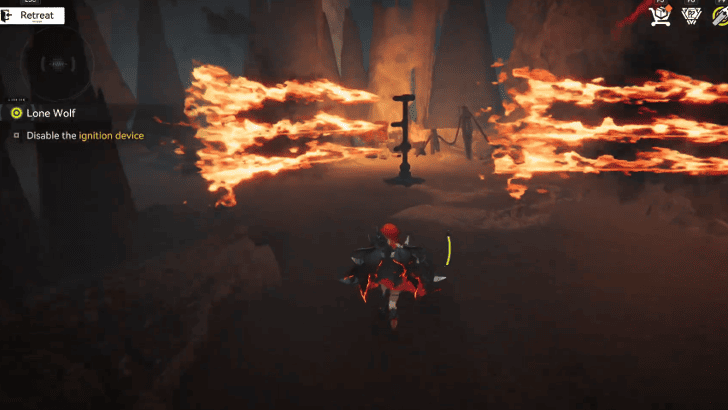 Then turn to the left side, then turn right to the rotating barriers. Get to the left side to enter a narrow hallway with a moving barrier. |
| 3 | 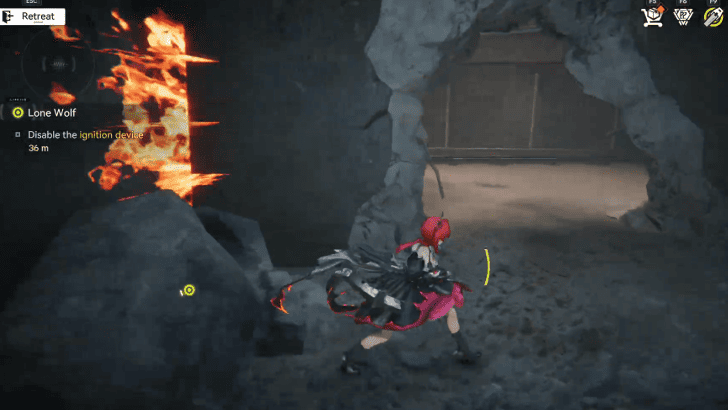 Next is a flaming barrier that moves forward and back. Hide in the room to the left to avoid getting hit. |
| 4 | 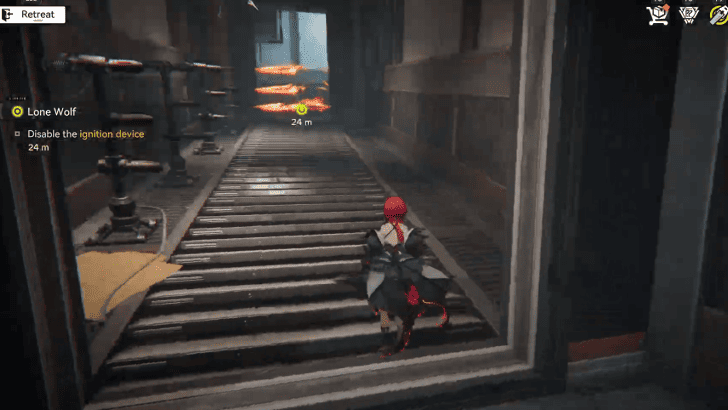 Head up the ramp with the flaming barriers that turn off to recharge one after another. Wait for them to recharge to pass through. |
| 5 | 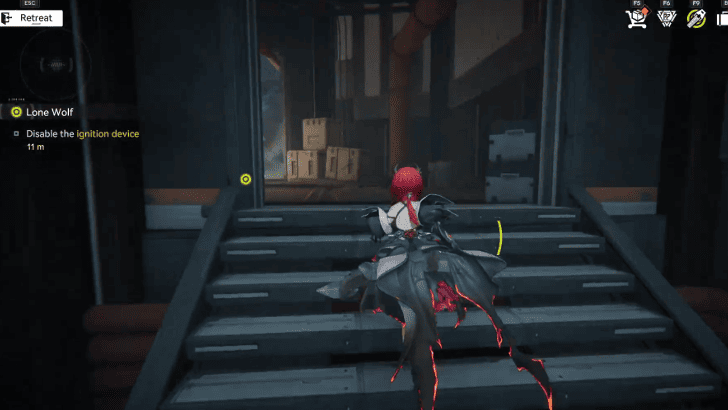 Finally, turn left to go up the stairs and Wulfgard will shoot the fuel tank. |
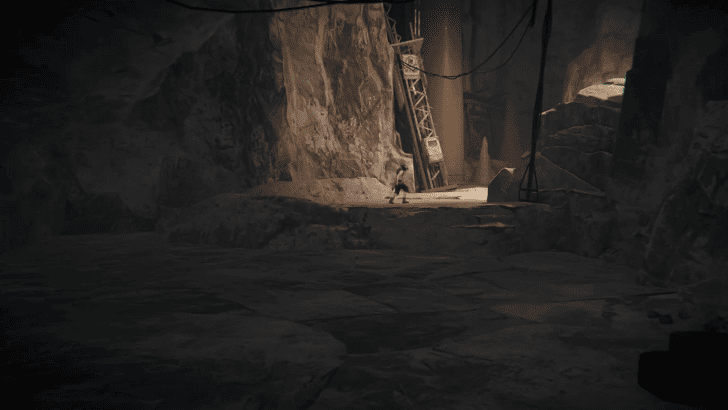
Go Deeper into the Underground Camp
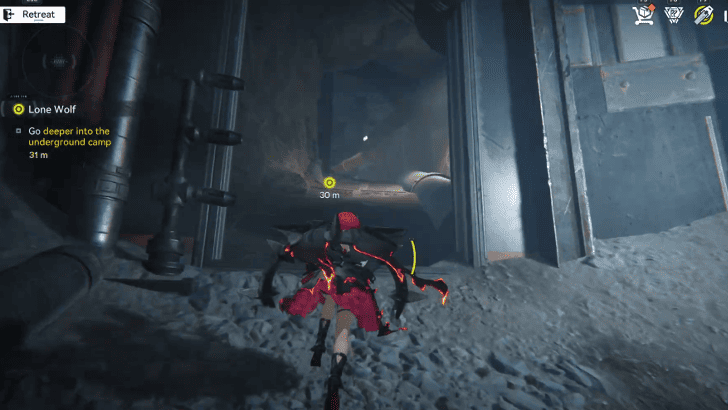
Head out the room and take the rope down to go deeper into the underground camp. Head up the path and enter the right entrance.
Defeat the Landbreakers
Defeat the Landbreakers that once again block your path. You will find an elevator to continue with the journey.
Activate the Elevator
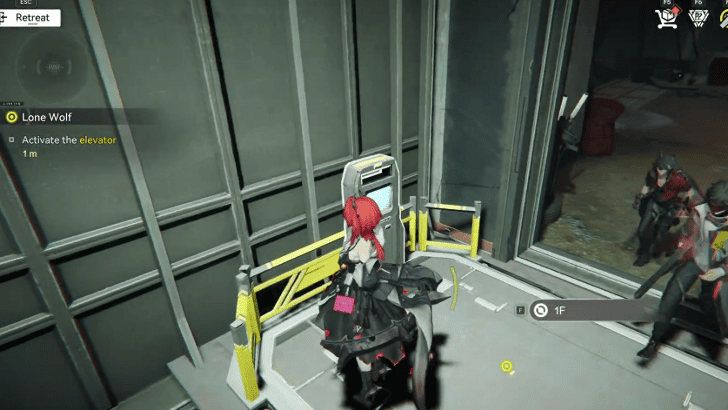
Take the elevator up the first floor to where Giovanni is. A Landbreaker Chief appears to ambush the two of you.
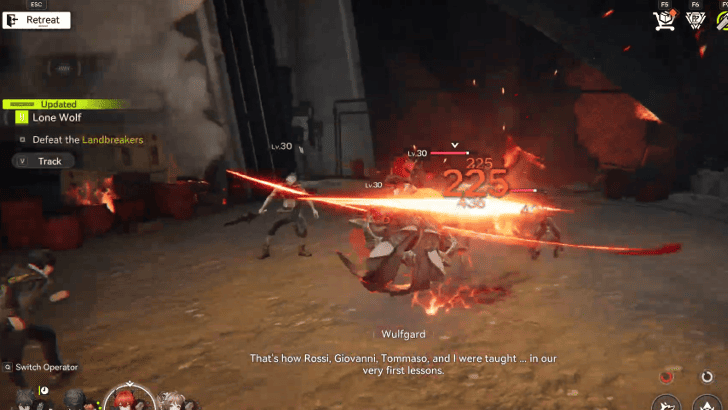
Defeat the Landbreaker Chief
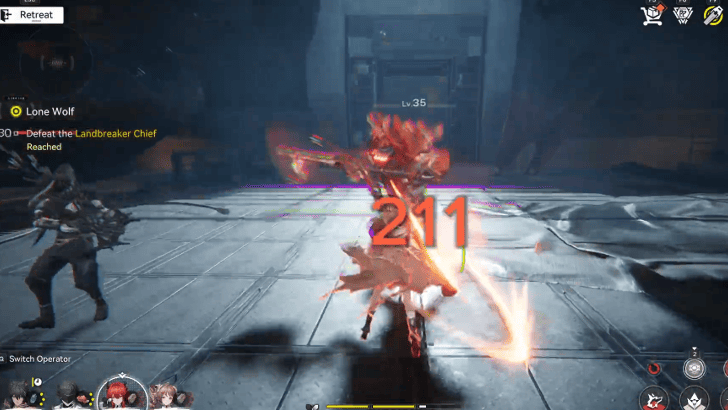
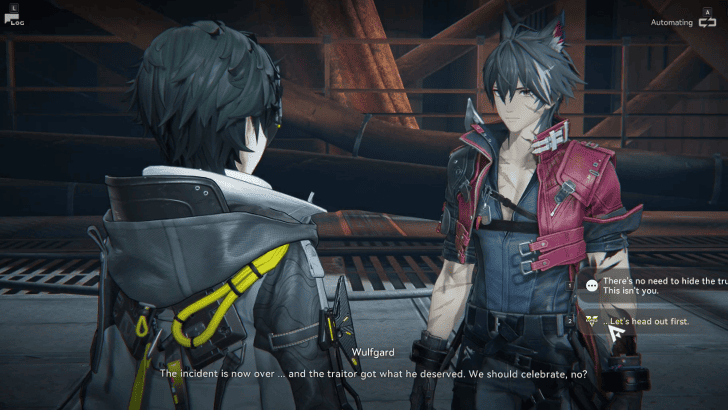
Take down and defeat the Landbreaker Chief and his mob. After depleting the Chief's HP, it will regain all of it back and deal more damage. Take the Landbreaker Chief down again and Giovanni appears to kill the Chief.
Wulfgard and Giovanni get into an argument with Giovanni claiming that someone else is acting behind the scenes. He refuses to tell more and gets killed by Wulfgard.
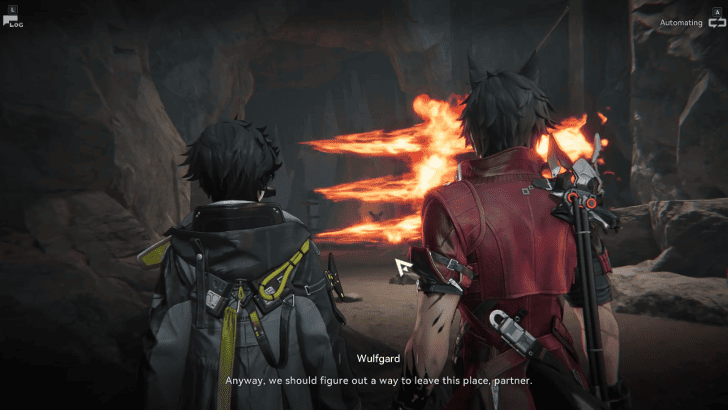
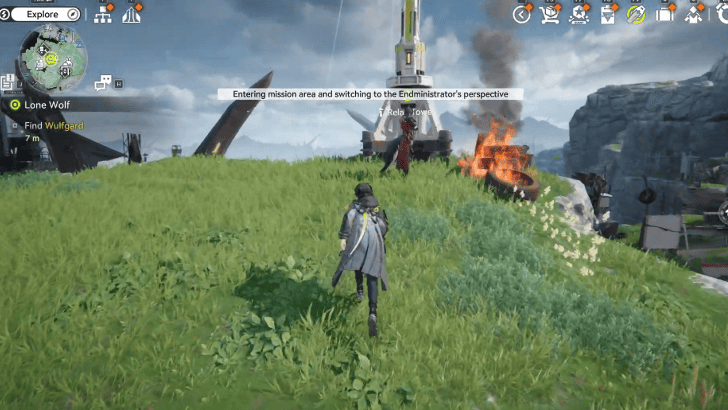
Leave the Underground Camp
After the brutal death of Giovanni, it is time to leave the underground camp. Approach Wulfgard and head out with him.
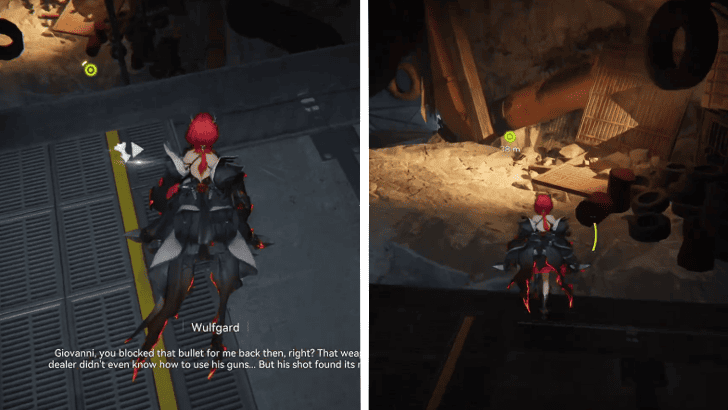
Find Wulfgard
After returning to the Hub, find Wulfgard who stands atop a hill. The two of you burn Giovanni's belongings. Wulfgard opens up about their past and hopes that you keep the entire encounter a secret.
Lone Wolf Rewards
Total Item Rewards
| Total Quest Rewards |
 T-Creds x14100 |
 Protoprism x26 |
 Oroberyl x600 |
|---|---|---|
You will also receive 600 Operational EXP for completing the quest.
Lone Wolf Information
Lone Wolf Quest Details
| Mission Type | Operator Side Mission |
|---|---|
| Quest Line | Lone Wolf |
| Chapter | Wulfgard - Act 1 |
| Location | Originium Science Park, Valley IV |
Lone Wolf is the Wulfgard Operator Mission that's located in Originium Science Park. You can start this mission after completing Paving the Way.
Arknights: Endfield Related Guides

List of All Operator Missions
Comment
Author

Lone Wolf Mission Guide
Please participate in our site
improvement survey
04/2026
improvement survey
04/2026
Would you assist in
improving Game8's site?
improving Game8's site?

×
We are listening to our users' valuable opinions and discussing how to act on them.
The information collected through this survey will be used for the purpose of improving our services. In addition, the information will only be disclosed a part of a statistic in a format that will not allow identification of personal information.
Begin Survey
Not Now
×
Please rate each item regarding Game8.co's Advertisements.
Amount of Ads
Very Dissatisfied
Somewhat Dissatisfied
Fine
Somewhat Satisfied
Highly Satisfied
Placement of Ads
Timing of Ad Display
Ad Loading Speed
Safeness of Ads
Content of Ads
×
Please rate each item regarding Game8.co's Quality of Articles.
Amount of information
Very Dissatisfied
Somewhat Dissatisfied
Fine
Somewhat Satisfied
Highly Satisfied
Frequency of updates
Speed of new information
Accuracy of articles
Understandibility of articles
Readability of sentences
×
Please rate each item regarding Game8.co's Usability of the Site.
Ease of finding information
Very Dissatisfied
Somewhat Dissatisfied
Fine
Somewhat Satisfied
Highly Satisfied
Loading Speed
Use of Color
Font Size
Visibility of Images
Easy to Understand Layout
×
Please rate each item regarding Game8.co's Message Boards, Comments.
Ease of Writing
Very Dissatisfied
Somewhat Dissatisfied
Fine
Somewhat Satisfied
Highly Satisfied
Readability
Ease in Finding Information
Comment Quality
Comment Quantity
Admin Response
×
Please rate each item regarding Game8.co's Site's new design.
Please rate our site's new design
Very Dissatisfied
Somewhat Dissatisfied
Fine
Somewhat Satisfied
Highly Satisfied
Do you think that the website's design change makes the site easier to use?
Has the new design made it easier for you to find information on the site?
Has the new design improved the overall visual appeal of the site?
How would you rate your overall satisfaction with the new design of the site?
×
How likely are you to recommend Game8 to someone you know?
Very Unlikely
0
1
2
3
4
5
6
7
8
9
10
Very Likely
If you have other opinions regarding potential improvement to the website, please share them with us. We would appreciate your honest opinion.
Note: This is a free response section, so you can proceed without entering anything.
Note: Please be sure not to enter any kind of personal information into your response.
Note: Please be sure not to enter any kind of personal information into your response.
×
Thank You
×
Thank you for participating in our survey! Your answers will help us to improve the quality of our website and services.
We hope you continue to make use of Game8.
We hope you continue to make use of Game8.
Close
Premium Articles
Rankings

Gaming News


![Forza Horizon 6 Review [Preview] | Beautiful Roads With a Whole Lot of Oversteer](https://img.game8.co/4460981/a7254c24945c43fbdf6ad9bea52b5ce9.png/thumb)
Popular Games

Genshin Impact Walkthrough & Guides Wiki
Crimson Desert Walkthrough & Guides Wiki
Umamusume: Pretty Derby Walkthrough & Guides Wiki
Honkai: Star Rail Walkthrough & Guides Wiki
Monster Hunter Stories 3: Twisted Reflection Walkthrough & Guides Wiki
Wuthering Waves Walkthrough & Guides Wiki
The Seven Deadly Sins: Origin Walkthrough & Guides Wiki
Pokemon TCG Pocket (PTCGP) Strategies & Guides Wiki
Pokemon Pokopia Walkthrough & Guides Wiki
Zenless Zone Zero Walkthrough & Guides Wiki


Recommended Games
Monster Hunter World Walkthrough & Guides Wiki
Fire Emblem Heroes (FEH) Walkthrough & Guides Wiki
Pokemon Brilliant Diamond and Shining Pearl (BDSP) Walkthrough & Guides Wiki
Super Smash Bros. Ultimate Walkthrough & Guides Wiki
Diablo 4: Vessel of Hatred Walkthrough & Guides Wiki
Cyberpunk 2077: Ultimate Edition Walkthrough & Guides Wiki
Yu-Gi-Oh! Master Duel Walkthrough & Guides Wiki
Elden Ring Shadow of the Erdtree Walkthrough & Guides Wiki
The Legend of Zelda: Tears of the Kingdom Walkthrough & Guides Wiki
Persona 3 Reload Walkthrough & Guides Wiki


All rights reserved
Copyright © 2022 - 2025 GRYPHLINE. All Rights Reserved.
The copyrights of videos of games used in our content and other intellectual property rights belong to the provider of the game.
The contents we provide on this site were created personally by members of the Game8 editorial department.
We refuse the right to reuse or repost content taken without our permission such as data or images to other sites.