List of All Combat Facilities
✪ Check Game8 Endfield Twitter for daily tips!
★ Exclusive: Endfield's Connection to Arknights
★ Ver. 1.1: Release Date | Livestream | Maintenance
★ Tangtang (Build | Banner) | Rossi (Build | Banner)
★ Best Builds: Yvonne | Last Rite | Laevatain
★ Hot: Essence Tool | Blueprint | Best Dijiang Setup
This is a list of all Combat Facilities in Arknights: Endfield. Check out a full list of Combat facilities, as well as an overview of their details in this guide!
List of Contents
List of All Combat Facilities
※ Select the search criteria below and press the Search button to filter the data.
| Facility | Plan | Details | Combat Stats | Effect |
|---|---|---|---|---|
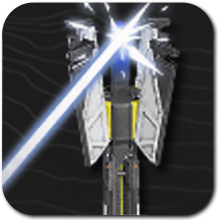
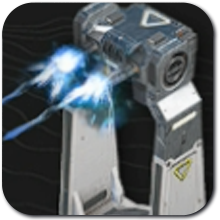 Gun Tower Gun Tower
|
Basic |
Power: 5 Area: 2x2 Tier: Basic II Skill: Defense I |
ATK: 609 ATK Interval: 2s Energy Per Use: 10/min Max Charge: 2000 |
Continuously fires energy bolts that deal Physical DMG. |
 Medical Tower Medical Tower
|
Basic |
Power: 5 Area: 3x3 Tier: Basic II Skill: Wilderness Aid |
ATK Interval: 5s Energy Per Use: 6000/min Max Charge: 30000 |
Converts electrical power into healinga arts that can treat injured operators nearby. |
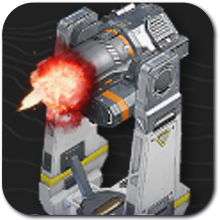
 Grenade Tower Grenade Tower
|
Basic |
Power: 10 Area: 2x2 Tier: Basic II Skill: Area Denial I |
ATK: 981 ATK Interval: 3s Energy Per Use: 30/min Max Charge: 2000 |
Launches grenades in a ballistic trajectory. The grenades detonate above ground near enemies and deal area of effect Heat DMG. |
 LN Tower LN Tower
|
Basic |
Power: 10 Area: 2x2 Tier: Basic II Skill: Hostile Control I |
ATK Interval: 5s Energy Per Use: 50/min Max Charge: 2000 |
Fires special liquid nitrogen (LN) crystals that shatter upon impact to slow the movement speed of enemies in the area of effect. |
 Heavy Gun Tower Heavy Gun Tower
|
Basic |
Power: 20 Area: 2x2 Tier: Basic III Skill: Custom Defense I |
ATK: 2136 ATK Interval: 2s Energy Per Use: 40/min Max Charge: 2000 |
Continuously fires Mk II energy bolts with every 4th shot being an empowered bolt. The bolts deal Physical DMG. |
 Sentry Tower Sentry Tower
|
Basic |
Power: 20 Area: 2x2 Tier: Basic III Skill: Custom Defense II |
ATK: 11634 ATK Interval: 5s Energy Per Use: 100/min Max Charge: 2000 |
Unleashes long-range attacks that target high-threat enemies first and deal massive Physical DMG. |
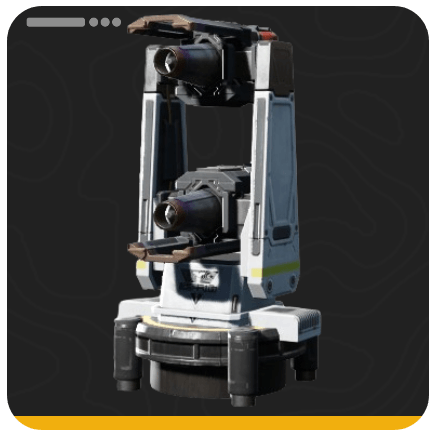
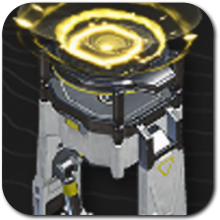 Omnidirectional Sonic Tower Omnidirectional Sonic Tower
|
Basic |
Power: 20 Area: 2x2 Tier: Basic III Skill: Hostile Control II |
ATK Interval: 5s Energy Per Use: 100/min Max Charge: 2000 |
Fires a shockwave that stuns common and advanced enemies within the area of effects. |
 Beam Tower Beam Tower
|
Basic |
Power: 10 Area: 2x2 Tier: Basic III Skill: Point Defense |
ATK: 22338 ATK Interval: 8s Energy Per Use: 160/min Max Charge: 2000 |
Consumes vast amounts of energy to emit a beam that deals massive Electric DMG to enemies. |
 Surge Tower Surge Tower
|
Basic |
Power: 20 Area: 2x2 Tier: Basic III Skill: Area Denial II |
ATK: 4886 ATK Interval: 3s Energy Per Use: 60/min Max Charge: 2000 |
Releases electrical arcs that attack enemies. The arc also chains to nearby enemies (up to 2) and deals Electro DMG. |
 HE Grenade Tower HE Grenade Tower
|
Wuling |
Power: 20 Area: 2x2 Tier: Wuling I Skill: HE Grenade Tower |
ATK: 5585 ATK Interval: 3s |
Attacks enemies by launching Mk II grenades along a ballistic trajectory that detonate above ground near enemies. The grenade explosion deals area of effect Heat DMG and leaves a burning zone that deals DMG to enemies within it. |
 Marsh Gas Mk I Marsh Gas Mk I
|
Wuling |
Power: 20 Area: 2x2 Tier: Wuling I Skill: Marsh Gas Mk I |
ATK: 5485 ATK Interval: 5s |
Launches special mist grenades that detonate above ground near enemies. The mist grenade explosion deals area of effect Nature DMG and leaves a mist zone that deals DMG and slows the movement speed of enemies within it. |
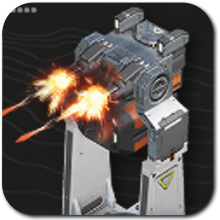
 AF1 Armor Fragger AF1 Armor Fragger
|
Wuling |
Power: 20 Area: 3x3 Tier: Wuling II Skill: AF1 Armor Fragger |
ATK: 17252 |
Fires a flaming jet to attack approaching enemies. The flaming jet deals Heat DMG over time to enemies within range. |
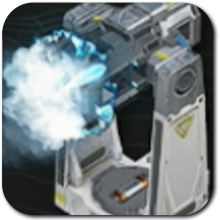
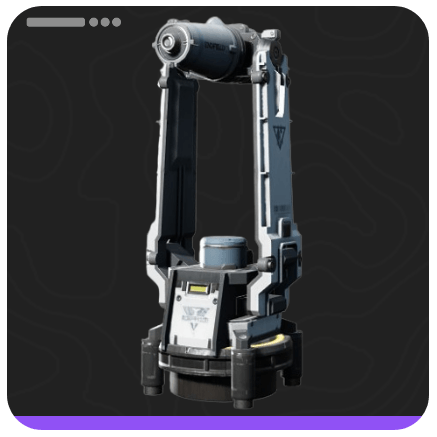 Deluge Tower Deluge Tower
|
Wuling |
Power: 20 Area: 2x2 Tier: Wuling II Skill: Deluge Tower |
ATK Interval: 5s |
Fires a stream of deluge at approaching enemies. The stream pushes back small and medium enemies along the direction of the attack. |
What are Combat Facilities?
Structures That Participate in Combat
Combat Facilities are comprised mostly of structures that have to do with fighting enemies. These towers have varying effects, ranging from dealing various forms of damage, applying crowd-control, or healing allies.
They consume charge to perform their functions, meaning that they have to be supplied with electricity to attack or heal.
Can Help Clear Energy Alluviums
These Combat Facilities can also be placed near Energy Alluviums, which are special structures that players can interact with to spawn enemies that drop special rewards.
Placing Combat Facilities near an Alluvium will allow them to assist in farming the Alluvium, making getting its rewards easier.
Used in Imminent Incursions
Endfield's tower defense mode, Imminent Incursions, will use combat towers. Make sure to know how each one works to succeed!
Imminent Incursion Tower Defense Guide
Arknights: Endfield Related Guides
AIC Progression Guides
| Valley IV Progression | ||
|---|---|---|
| Early Game Layout | Mid Game Layout | Late Game Layout |
| Wuling Progression | ||
| Starter Factory in Wuling | Mid Game Factory in Wuling | - |
AIC Factory Guides
 Best Blueprint Codes and AIC Layouts
 Best Zipline Locations
 Best Gear Blueprints
 All AIC Buildings
 All AIC Factory Locations
 How to Create and Share Blueprints
 How to Increase Power Output
 How to Solve Clogged Facilities
 How to Move Items Between Regions
 Theoretical Data Explained
 How to Connect Relay Towers
 How to Increase AIC Storage
 Differences Between Portable and Electric Mining
 How to Expand the Factory
AIC Factory Simulation Guides
| Reactor Expansion Guide | Depot Bus Integration Guide | Belt Integration Guide |
AIC Buildings by Type
| Resourcing | Logistics | Processing |
| Power | Combat | Exploration |
| Xiranite | - | - |
Comment
Author

List of All Combat Facilities
Premium Articles
Rankings

Gaming News


![Nova Roma Review [Early Access] | Newer, Better, and More Confusing](https://img.game8.co/4455512/2cbf8926e9a1c72a3ff056088f801ef4.png/thumb)
Popular Games

Genshin Impact Walkthrough & Guides Wiki
Umamusume: Pretty Derby Walkthrough & Guides Wiki
Crimson Desert Walkthrough & Guides Wiki
Monster Hunter Stories 3: Twisted Reflection Walkthrough & Guides Wiki
Honkai: Star Rail Walkthrough & Guides Wiki
Pokemon Pokopia Walkthrough & Guides Wiki
The Seven Deadly Sins: Origin Walkthrough & Guides Wiki
Wuthering Waves Walkthrough & Guides Wiki
Zenless Zone Zero Walkthrough & Guides Wiki
Arknights: Endfield Walkthrough & Guides Wiki


Recommended Games
Fire Emblem Heroes (FEH) Walkthrough & Guides Wiki
Diablo 4: Vessel of Hatred Walkthrough & Guides Wiki
Cyberpunk 2077: Ultimate Edition Walkthrough & Guides Wiki
Yu-Gi-Oh! Master Duel Walkthrough & Guides Wiki
Super Smash Bros. Ultimate Walkthrough & Guides Wiki
Pokemon Brilliant Diamond and Shining Pearl (BDSP) Walkthrough & Guides Wiki
Elden Ring Shadow of the Erdtree Walkthrough & Guides Wiki
Monster Hunter World Walkthrough & Guides Wiki
The Legend of Zelda: Tears of the Kingdom Walkthrough & Guides Wiki
Persona 3 Reload Walkthrough & Guides Wiki


All rights reserved
Copyright © 2022 - 2025 GRYPHLINE. All Rights Reserved.
The copyrights of videos of games used in our content and other intellectual property rights belong to the provider of the game.
The contents we provide on this site were created personally by members of the Game8 editorial department.
We refuse the right to reuse or repost content taken without our permission such as data or images to other sites.