All Etchspace Salvage Items
✪ Check Game8 Endfield Twitter for daily tips!
★ Exclusive: Endfield's Connection to Arknights
★ Ver. 1.1: Release Date | Livestream | Maintenance
★ Tangtang (Build | Banner) | Rossi (Build | Banner)
★ Best Builds: Yvonne | Last Rite | Laevatain
★ Hot: Essence Tool | Blueprint | Best Dijiang Setup
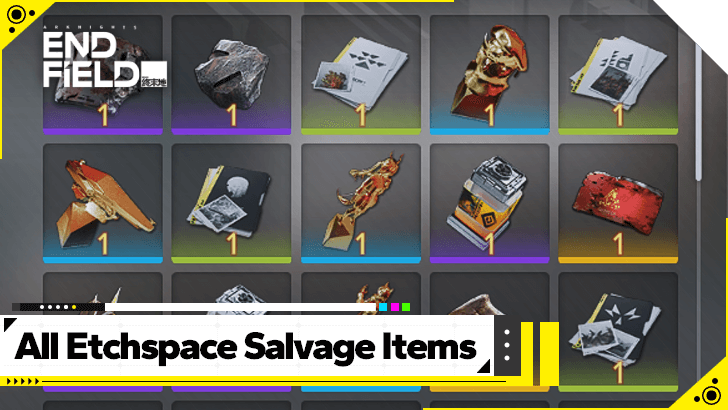
Classified items, gold statuettes, specimens, and fragments are items that can be found in Etchspace Salvage in Arknights: Endfield. See an interactive map of all items in Etchspace Salvage and find out where to get them here!
List of Contents
Etchspace Salvage Items Interactive Map
| ・Pins checked off the map will reflect in the list below. ・Use the upper dropdown menu to select the Region. Then, use the lower dropdown menu to swap between Areas within that Region. ・To suggest map pins, simply click anywhere on the map. Please list down as much information as you can including reward data or acquisition methods. For images, uploading a full rectangular screenshot with a resolution of at least 728 x 410 pixels will be highly appreciated. ・Farmable map pins now reset automatically when items are ready for regathering. Select the Asia or US/EU server region for accurate timing.NEW ┗ This is a new feature, so we are looking for feedback from our users. Please leave a comment to let us know what you think! We encourage users to Sign Up and Log In to save your progress with the map. |
Map Icon Meanings
| Map Legend | |
|---|---|
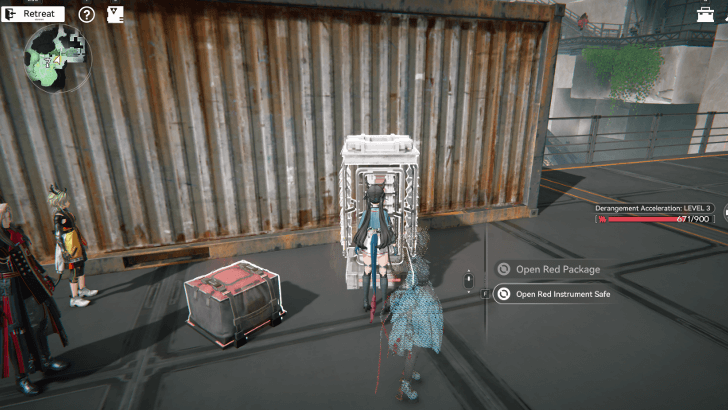
| Items obtained from opening packages found scattered around Etchspace Salvage. | |
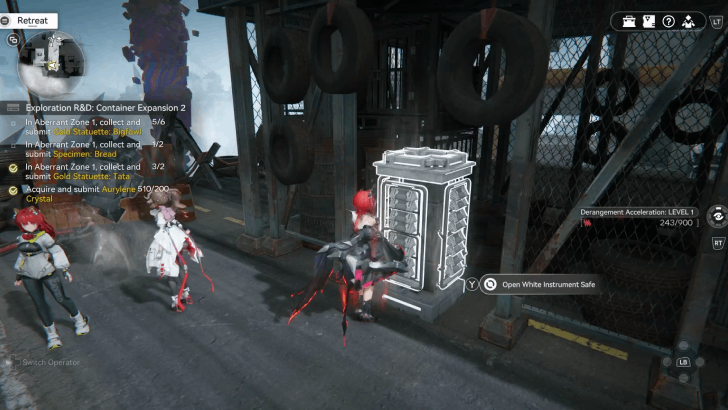
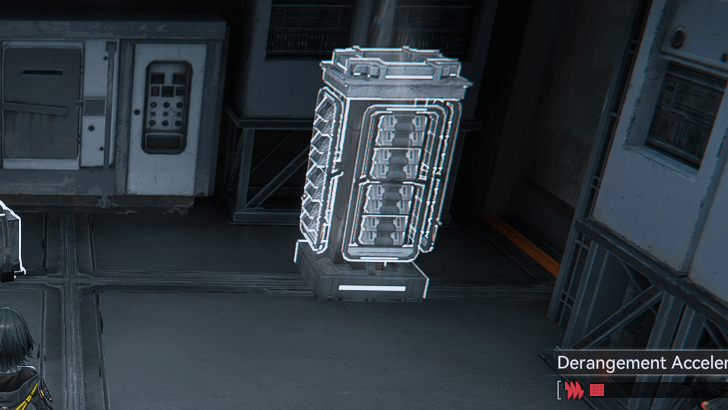
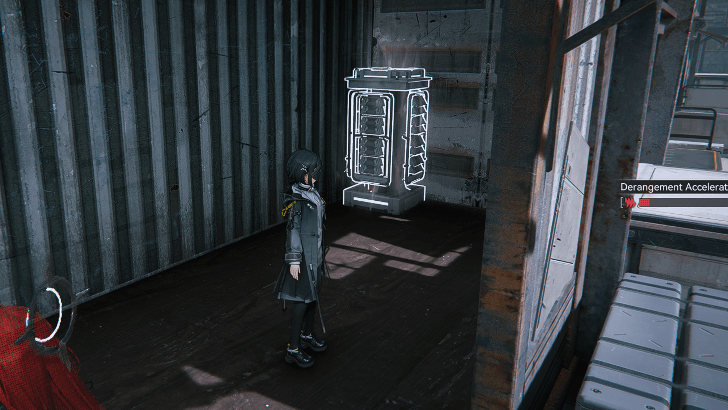
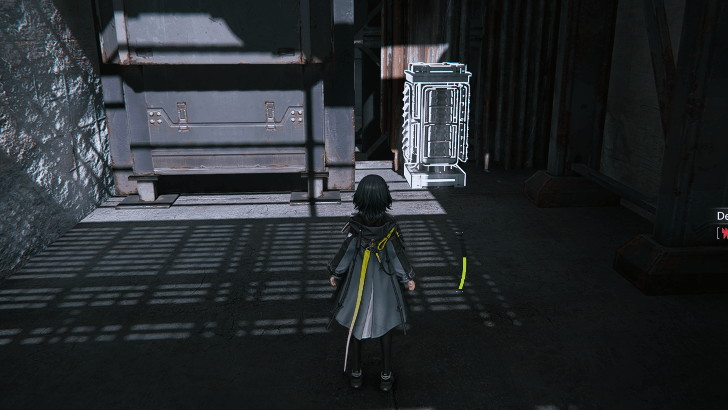
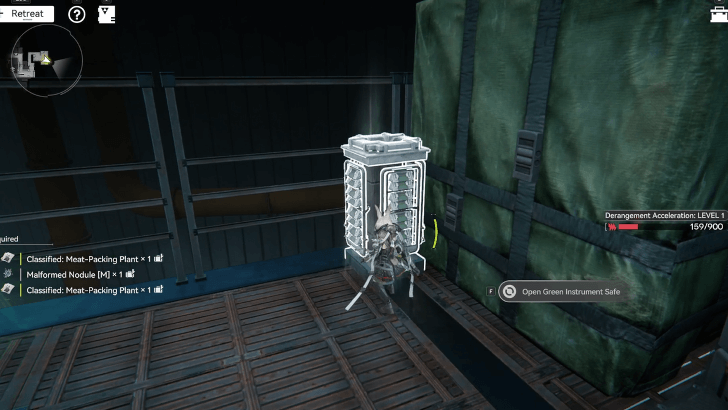
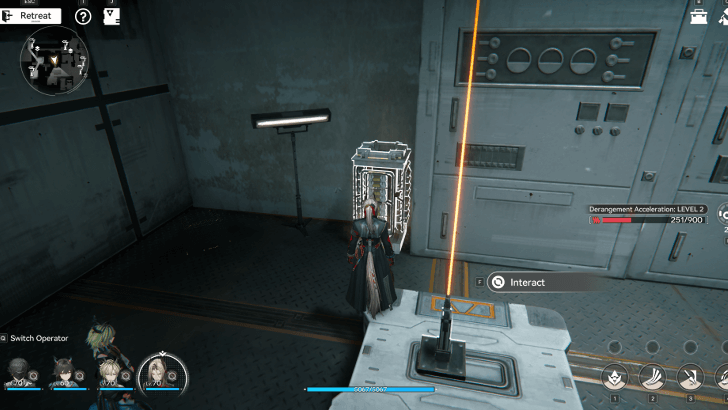
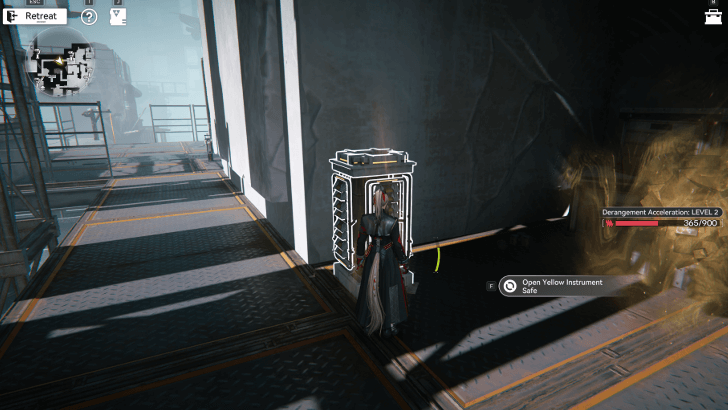
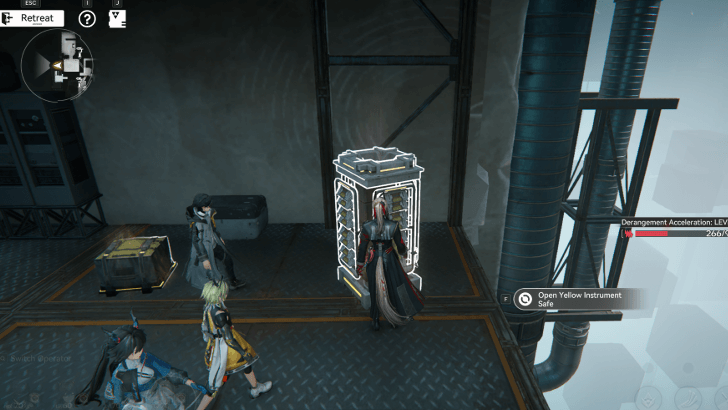
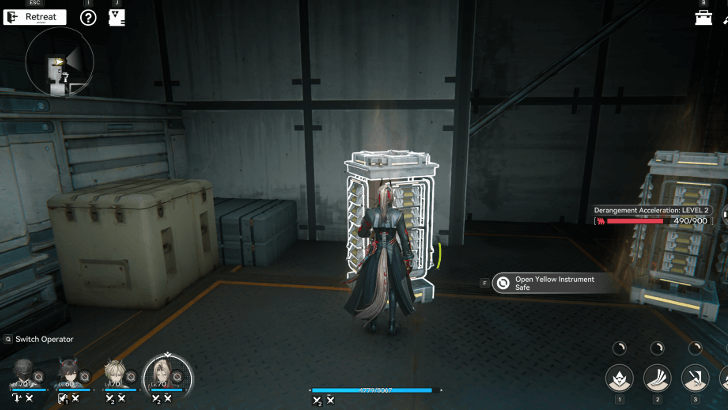
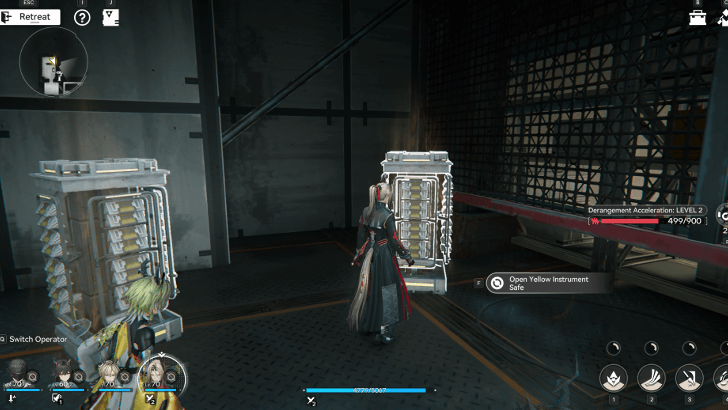
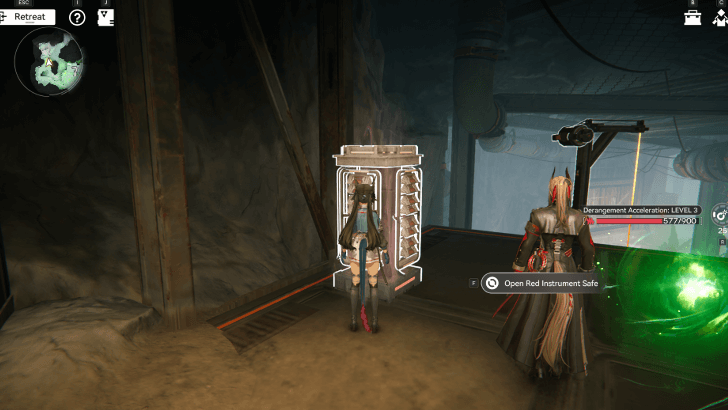
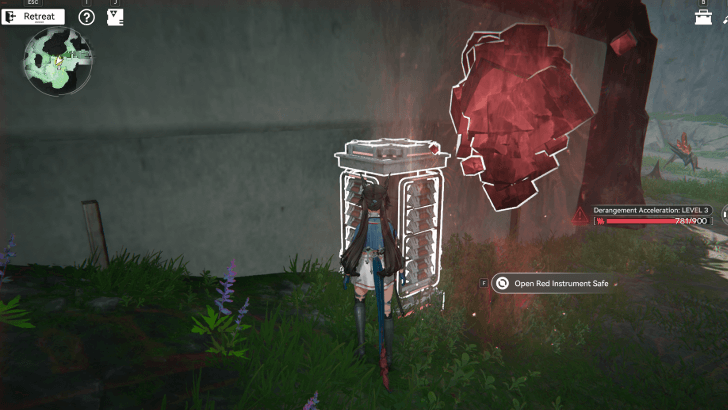
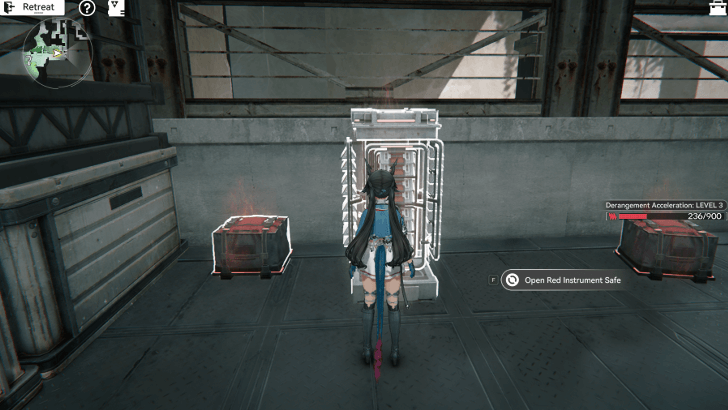
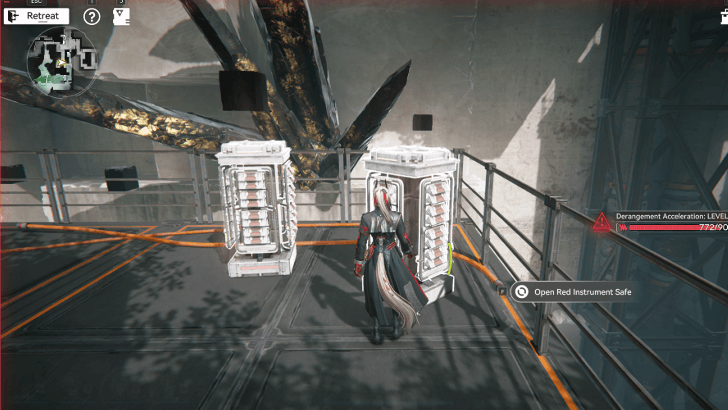
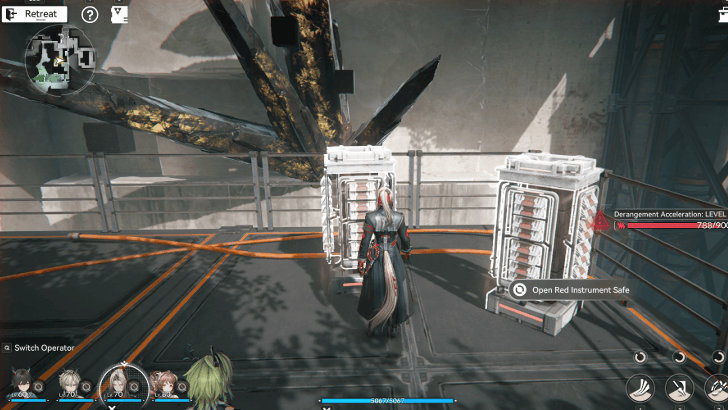
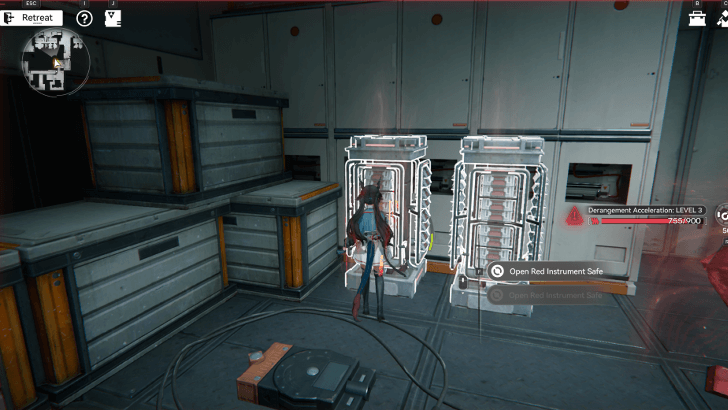
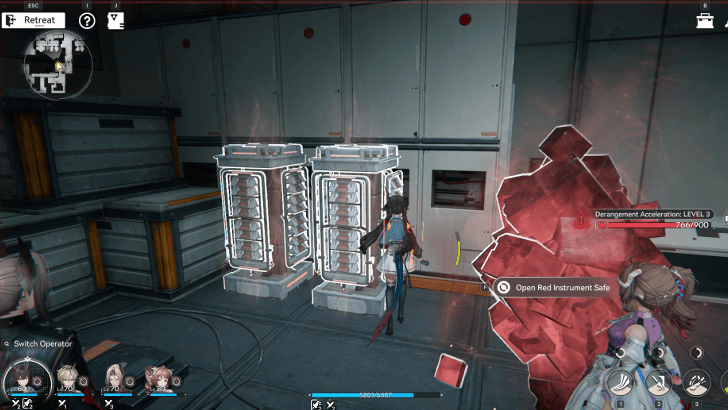
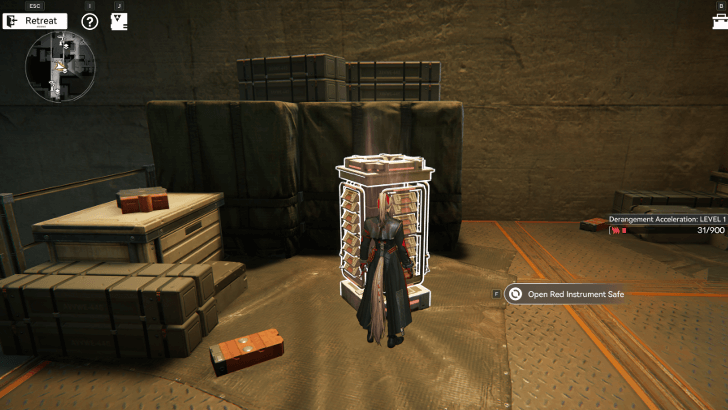
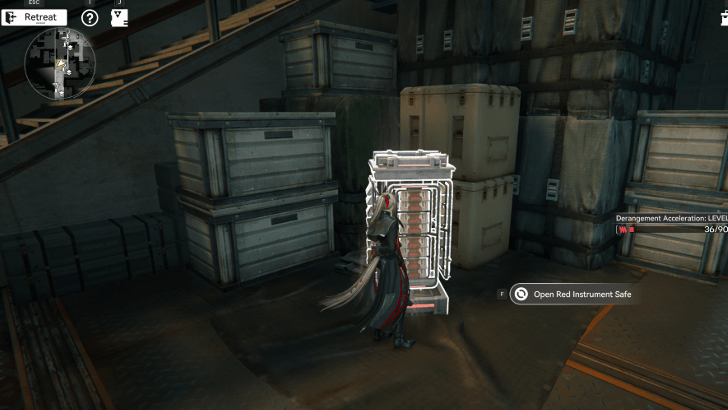
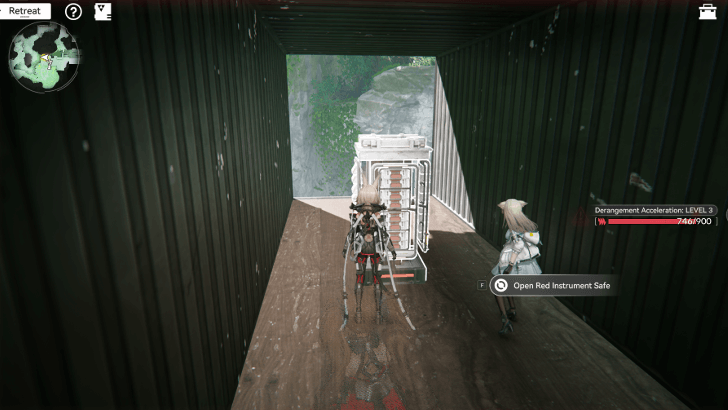
| Items obtained from opening Instrument Safes found in Etchspace Salvage. | |
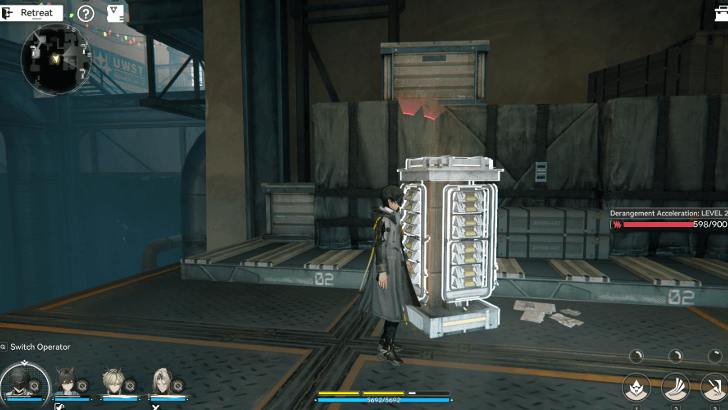
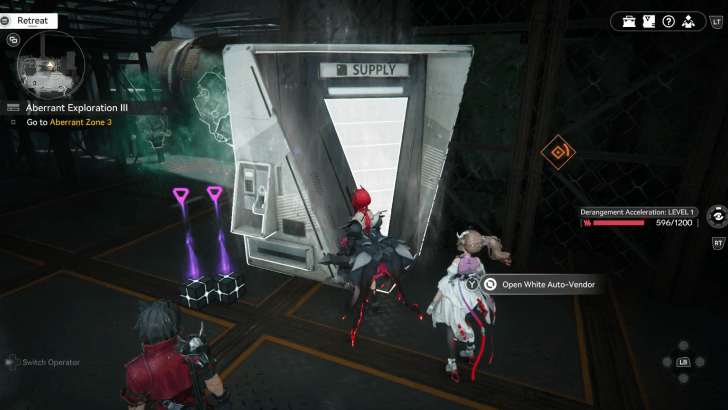
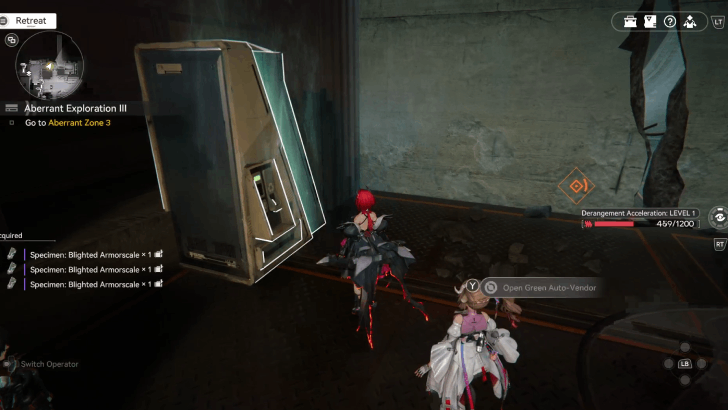
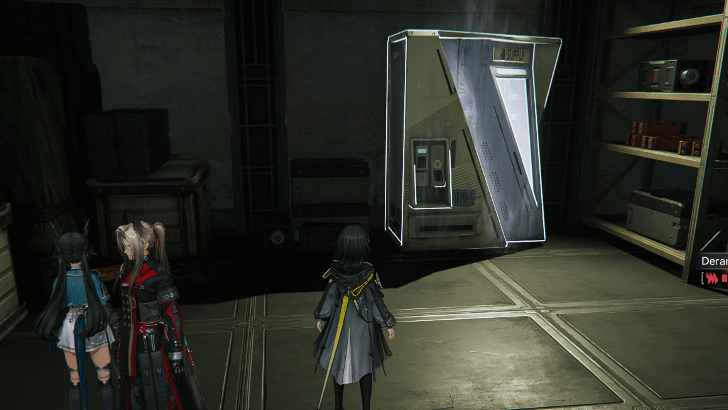
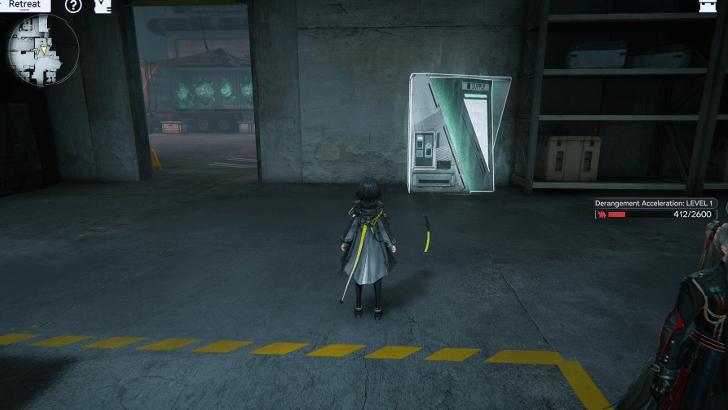
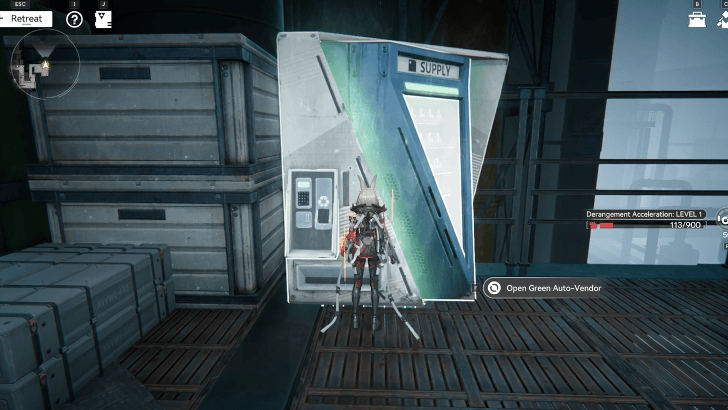
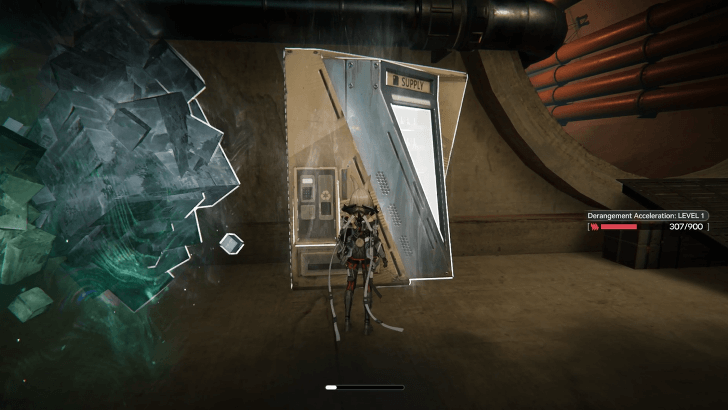
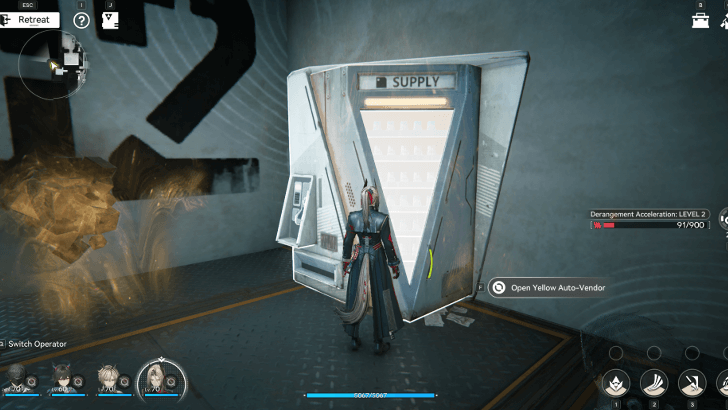
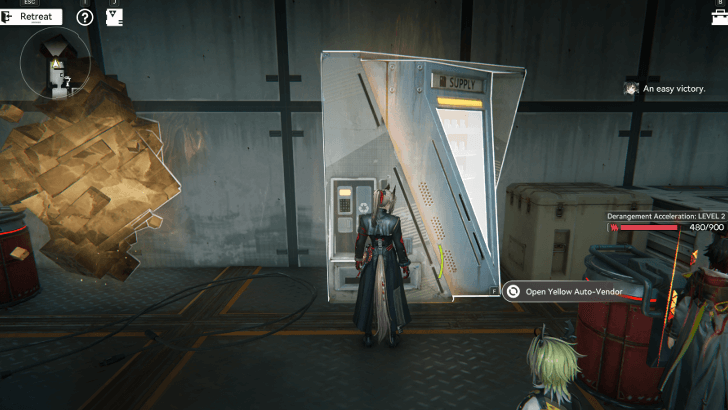
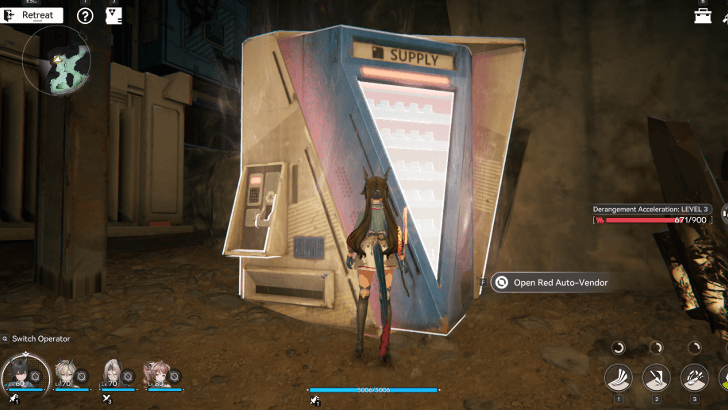
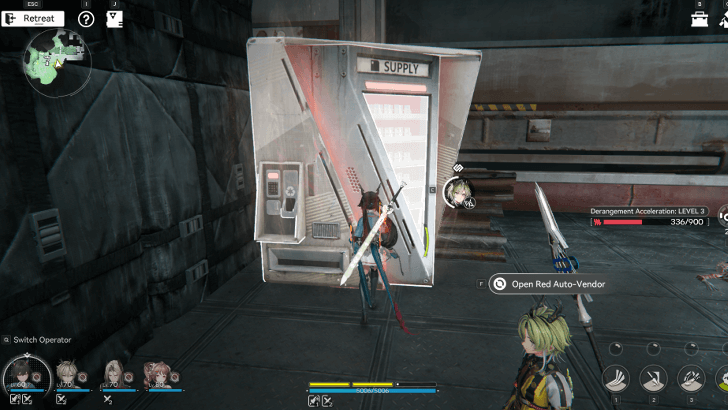
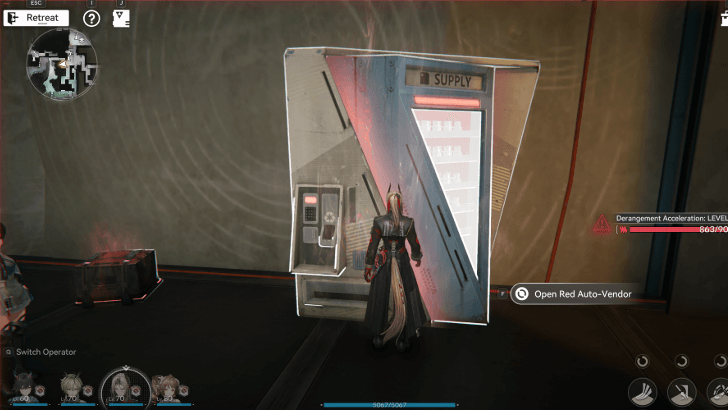
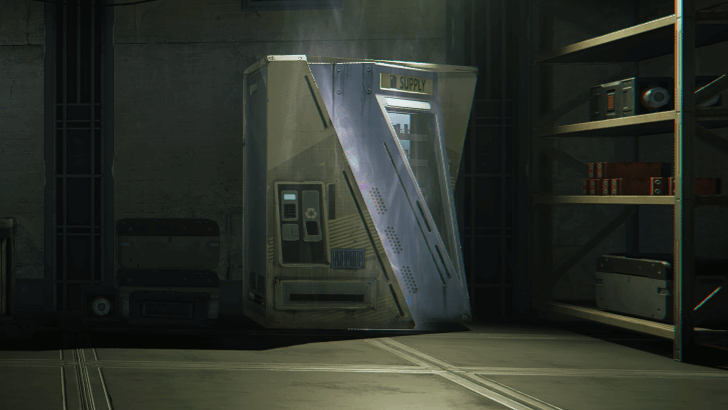
| Items obtained from interacting with Auto-Vendors found in Etchspace Salvage. | |
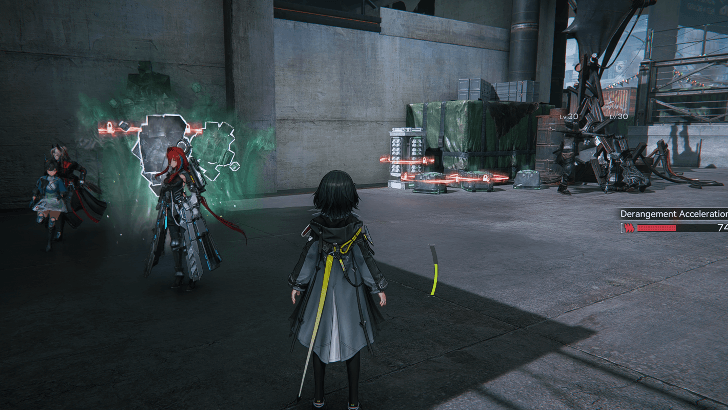
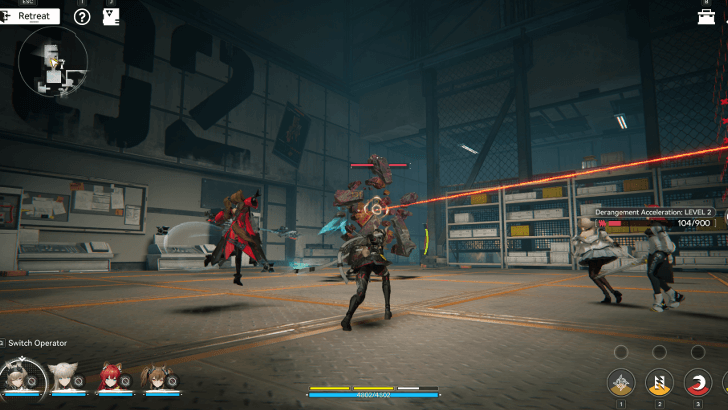
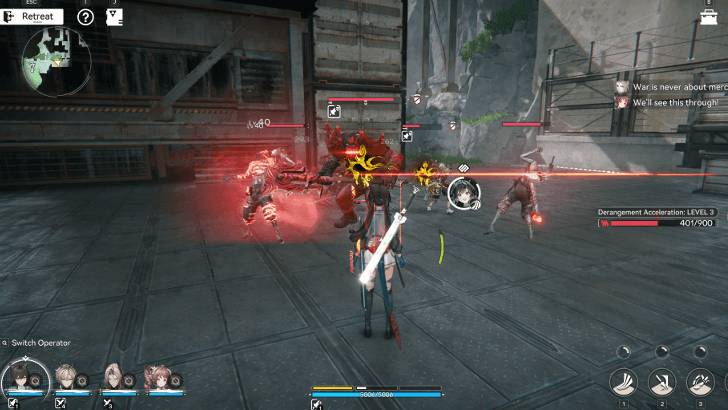
| An item dropped by Elite Landbreakers after defeating them in Etchspace Salvage. | |
| An item dropped by Elite Aggeloi after defeating them in Etchspace Salvage. | |
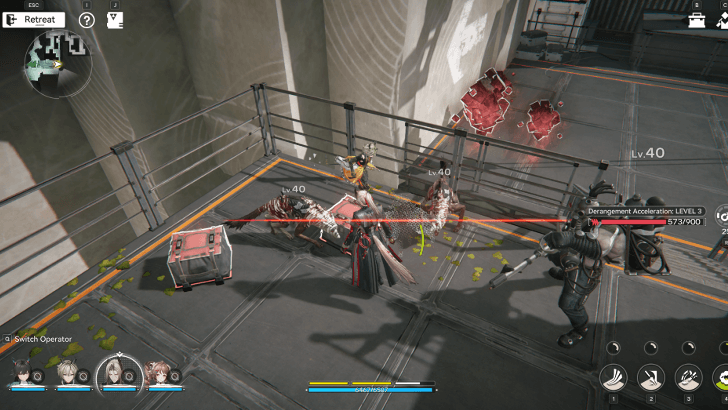
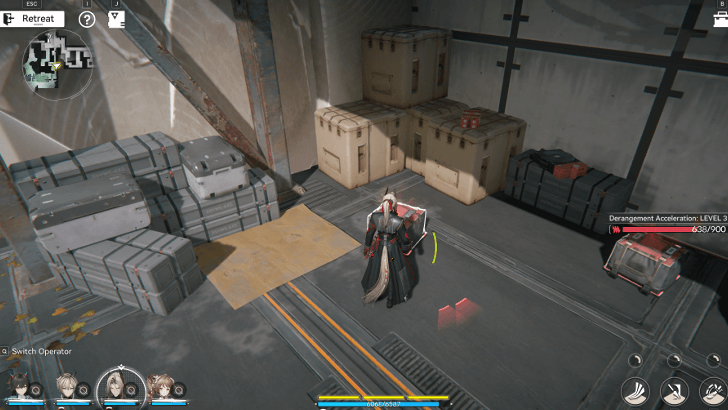
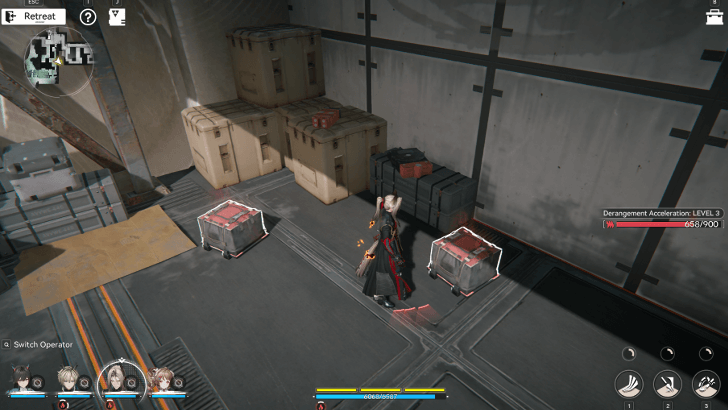
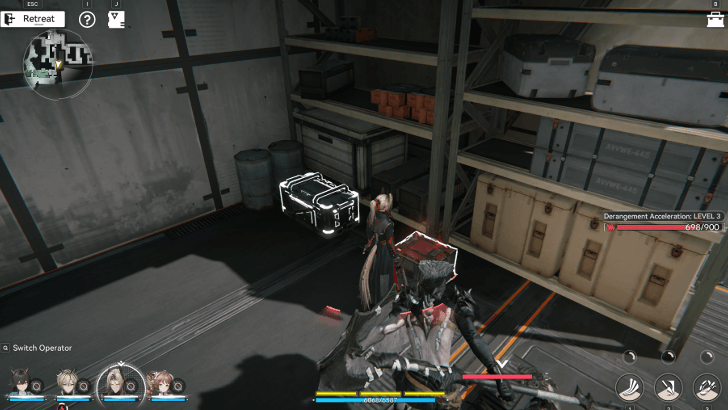
All Classified Item Locations
| Overworld View | Where to Find |
|---|---|
 |
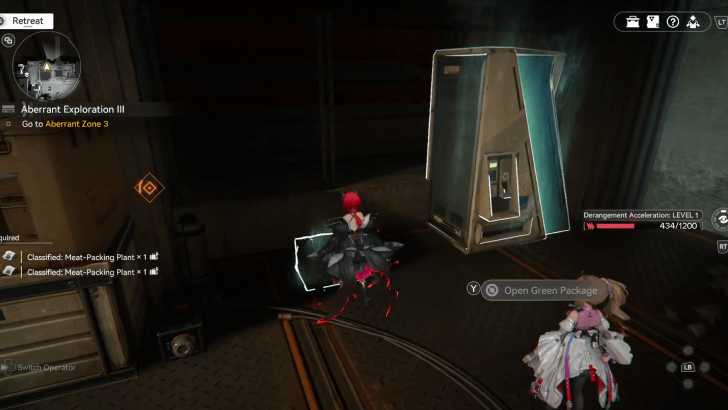
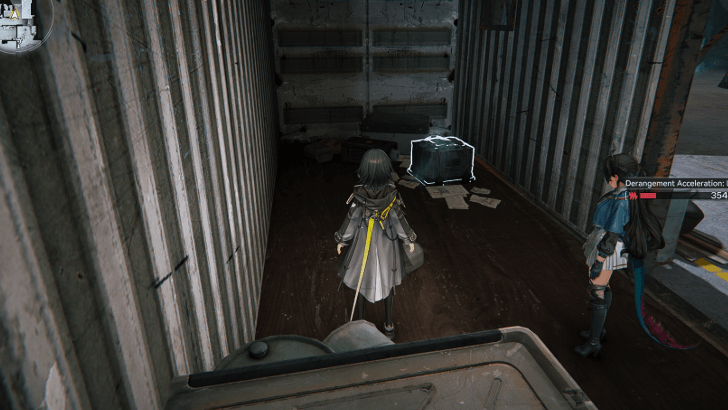
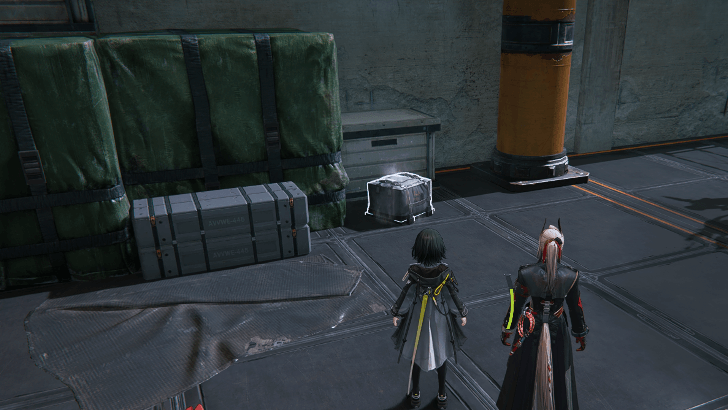
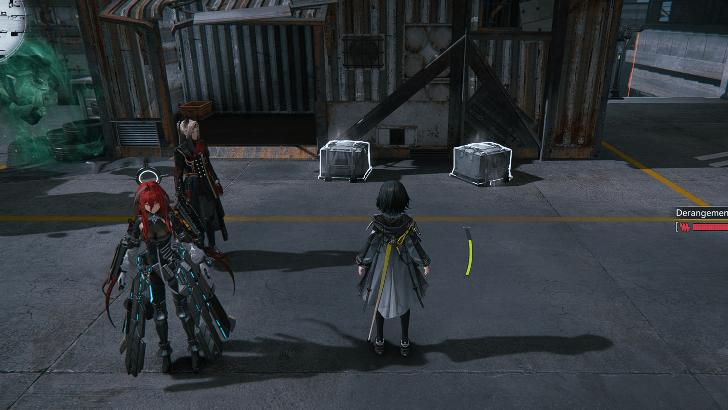
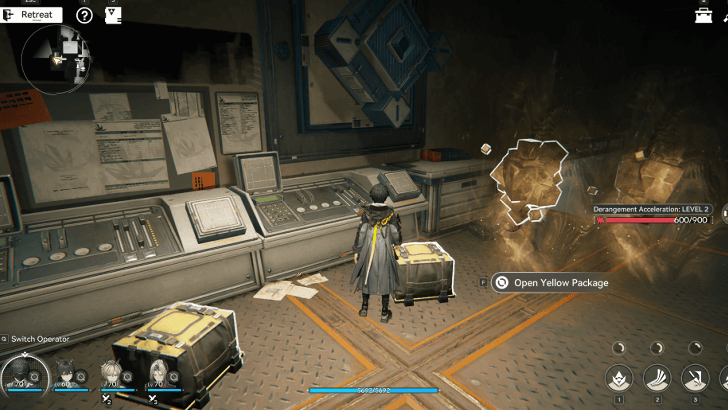
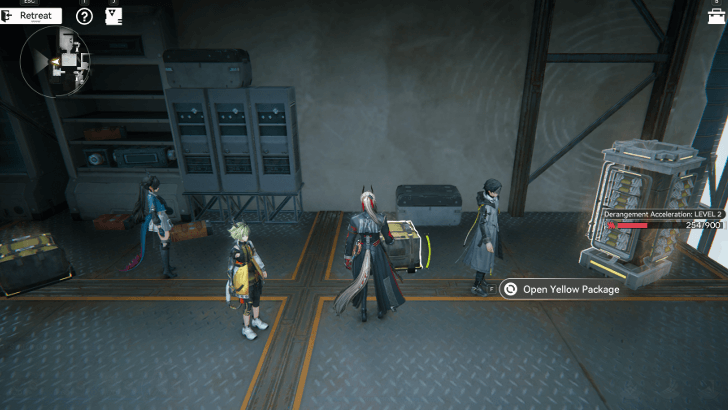
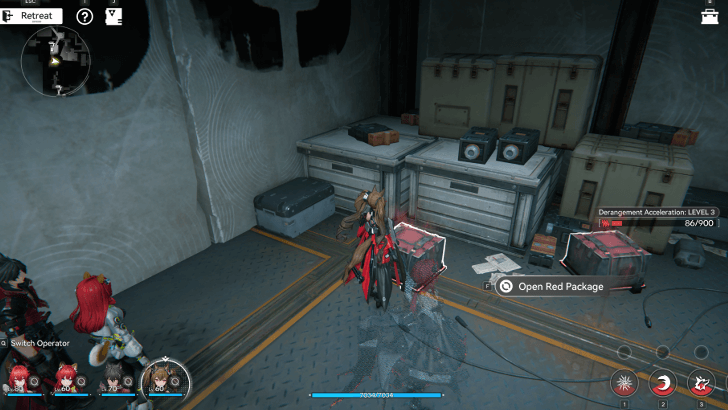
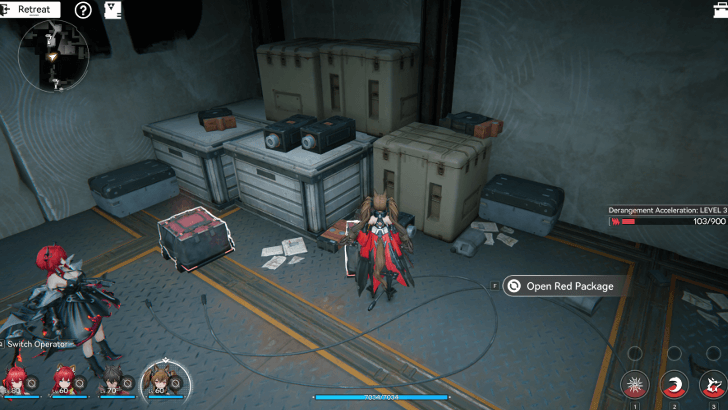
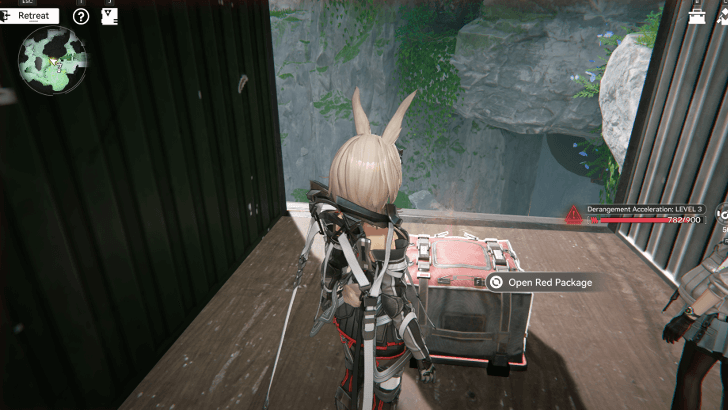
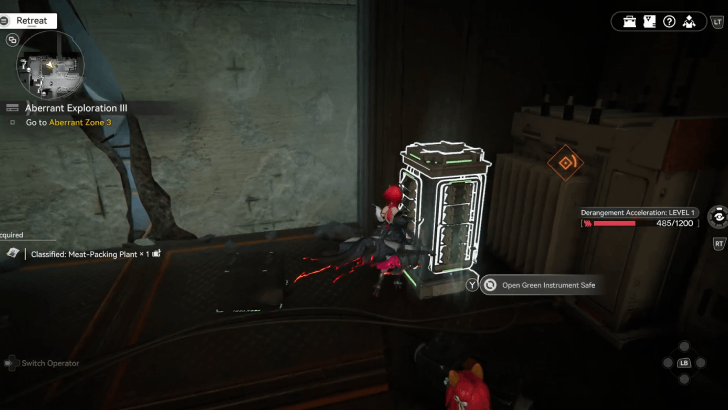
Item: Classified: Meat-Packing Plant Zone: Aberrant Zone 1, Lower Passage Area Found in a package in the northeast room. |
 |
Item: Classified: Meat-Packing Plant Zone: Aberrant Zone 1, Lower Passage Area Found in a package in the northeast room. |
 |
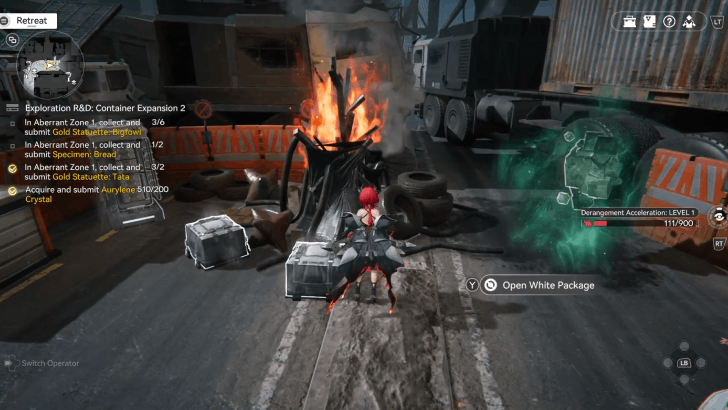
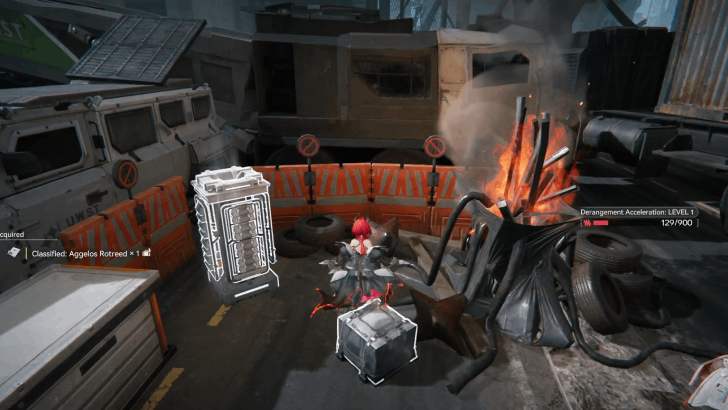
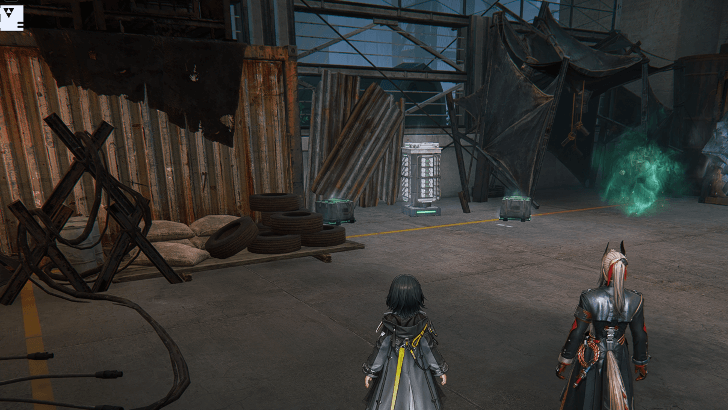
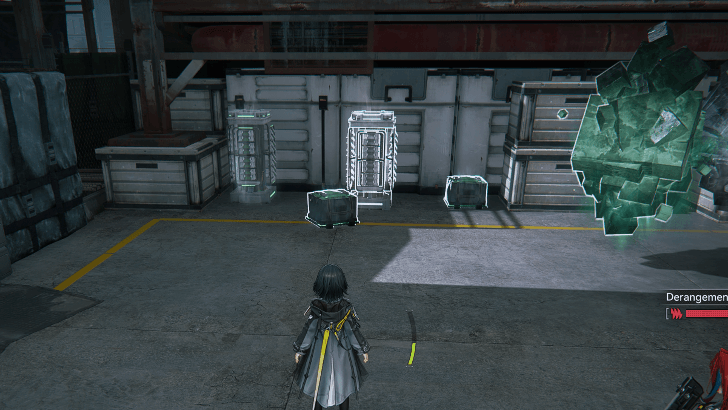
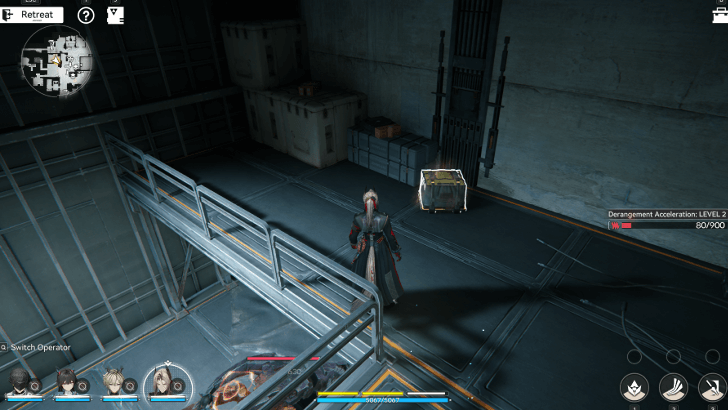
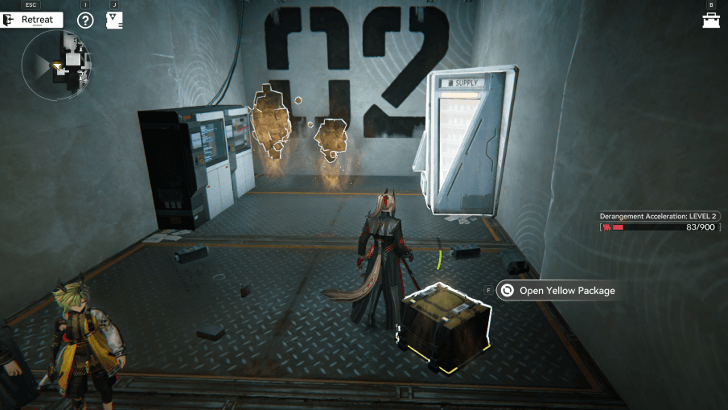
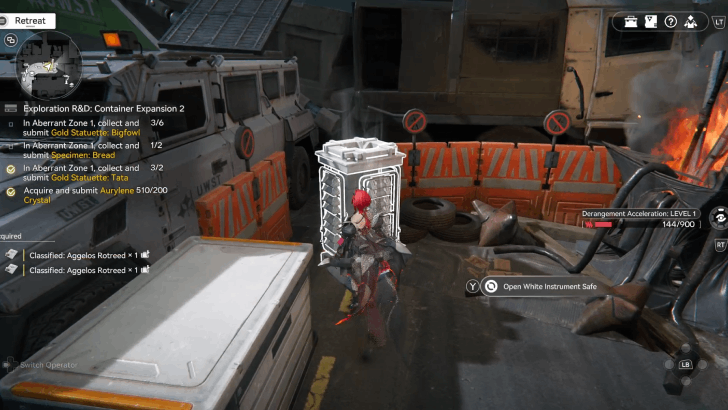
Item: Classified: Aggelos Rotreed Zone: Aberrant Zone 1, Lower Passage Area Found in the central area near some large crates. |
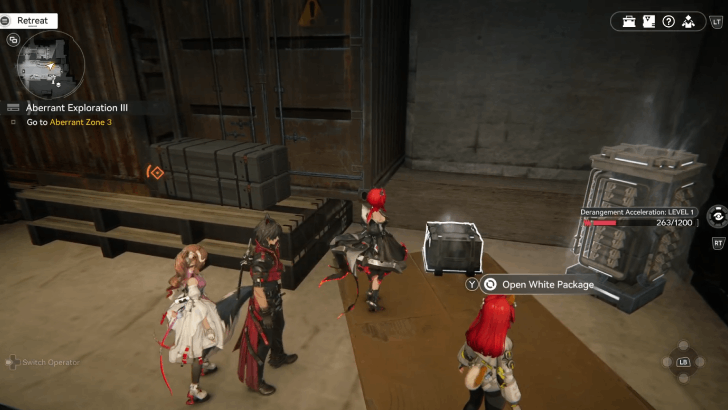 |
Item: Classified: Aggelos Rotreed Zone: Aberrant Zone 1, Lower Passage Area Found in the eastern part of the area beside an Instrument Safe. |
 |
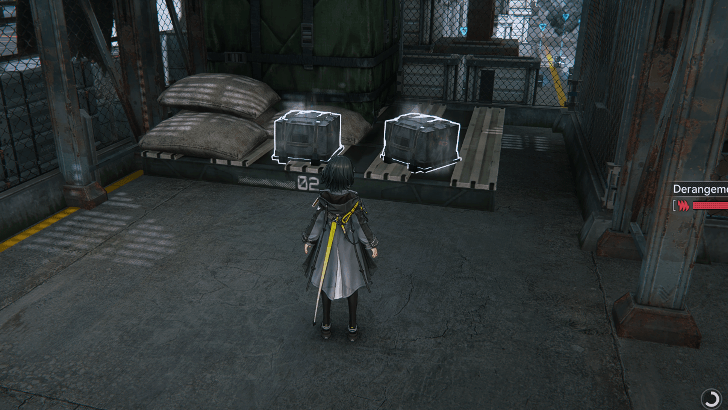
Item: Classified: Aggelos Rotreed Zone: Aberrant Zone 1, Lower Passage Area Found on a wood pallette in the central area. |
 |
Item: Classified: Aggelos Rotreed Zone: Aberrant Zone 1, Lower Passage Area Found on a wood pallette in the central area. |
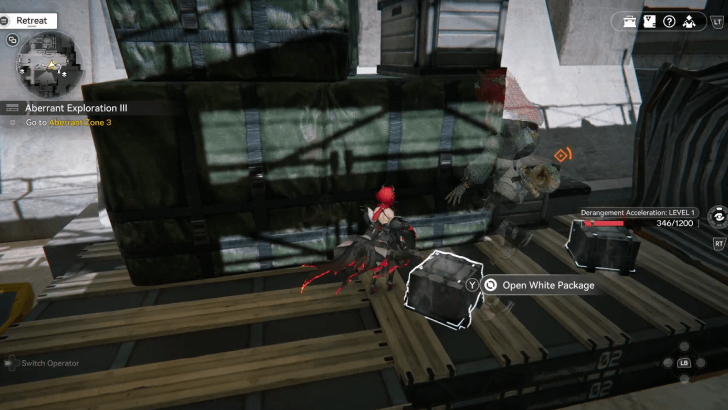
 |
Item: Classified: Meat-Packing Plant Zone: Aberrant Zone 1, Lower Passage Area Found near the wall with a big crack in it in the northwest area. |
 |
Item: Classified: Meat-Packing Plant Zone: Aberrant Zone 1, Lower Passage Area Found near the wall with a big crack in it in the northwest area. |
 |
Item: Classified: Meat-Packing Plant Zone: Aberrant Zone 1, Lower Passage Area Found near the wall with a big crack in it in the northwest area. |
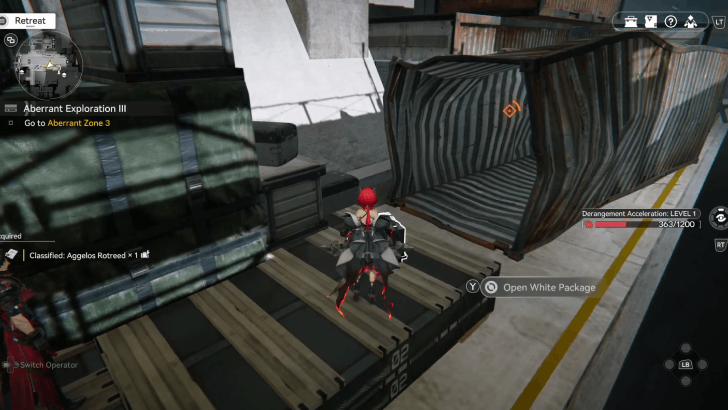
 |
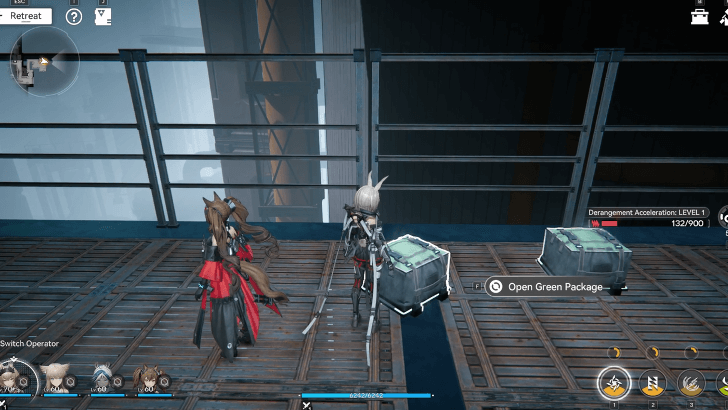
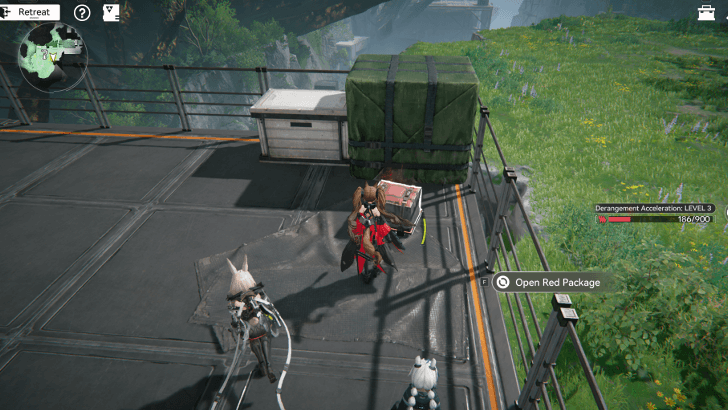
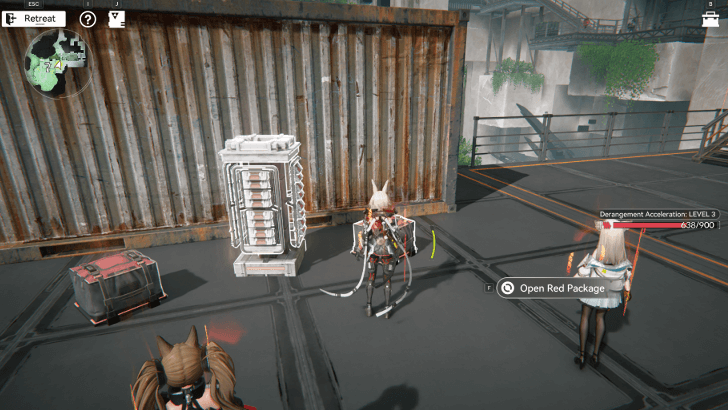
Item: Classified: Aggelos Rotreed Zone: Aberrant Zone 1, Overpass Ruins Found at the northern end of the Overpass Ruins area. |
 |
Item: Classified: Aggelos Rotreed Zone: Aberrant Zone 1, Overpass Ruins Found at the northern end of the Overpass Ruins area between another package and an Instrument Safe. |
 |
Item: Classified: Aggelos Rotreed Zone: Aberrant Zone 1, Overpass Ruins Beside some crates where the road curves. |
 |
Item: Classified: Aggelos Rotreed Zone: Aberrant Zone 1, Overpass Ruins Found under the stairs in the southern end of the Overpass Ruins area. |
 |
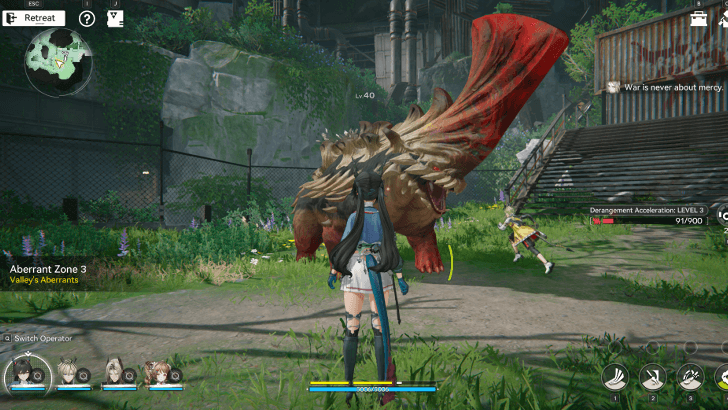
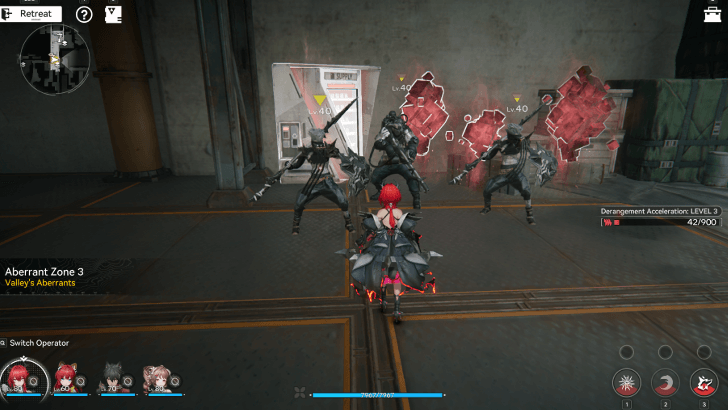
Item: Classified: Aggelos Rotreed Zone: Aberrant Zone 1, Valley's Aberrants Found near the shed, east of the starting zone in Aberrant Zone 1. |
 |
Item: Classified: Aggelos Rotreed Zone: Aberrant Zone 1, Valley's Aberrants Found next to the auto-vendor inside the room near the shed, east of the starting zone in Aberrant Zone 1. |
 |
Item: Classified: Aggelos Rotreed Zone: Aberrant Zone 1, Valley's Aberrants Found on the second floor of the room next to the shed outside the Aberrant Zone 1 safe zone. |
 |
Item: Classified: Aggelos Rotreed Zone: Aberrant Zone 1, Valley's Aberrants Found on the second floor of the room next to the shed outside the Aberrant Zone 1 safe zone. It is next to an Instrument Safe. |
 |
Item: Classified: Aggelos Rotreed Zone: Aberrant Zone 1, Valley's Aberrants Found near the shed close to the Aberrant Zone 1 boss room. |
 |
Item: Classified: Aggelos Rotreed Zone: Aberrant Zone 1, Valley's Aberrants Found outside of the starting area in Aberrant Zone 1. |
 |
Item: Classified: Meat-Packing Plant Zone: Aberrant Zone 1, Valley's Aberrants Found near the shed in the northeastern section of Aberrant Zone 1. |
 |
Item: Classified: Meat-Packing Plant Zone: Aberrant Zone 1, Valley's Aberrants Found inside the shed in the northeastern section of Aberrant Zone 1. |
 |
Item: Classified: Meat-Packing Plant Zone: Aberrant Zone 1, Valley's Aberrants Found by the northeastern section of Aberrant Zone 1. Landbreakers can be found nearby, along with an instrument safe and Nodules. |
 |
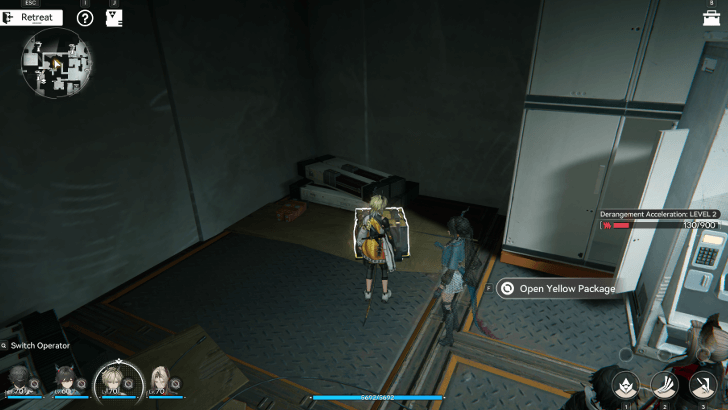
Item: Classified: Aburrey Zone: Aberrant Zone 1, Valley's Aberrants Found inside the first floor of the northwestern room in Aberrant Zone 1. It is near an instrument safe. |
 |
Item: Classified: Meat-Packing Plant Zone: Aberrant Zone 1, Valley's Aberrants Found on the northwestern corner of Aberrant Zone 1. Defeat the nearby Landbreakers to unlock. |
 |
Item: Classified: Aggelos Rotreed Zone: Aberrant Zone 1, Valley's Aberrants Found on the platform near the entrance to Aberrant Zone 2. |
 |
Item: Classified: Aggelos Rotreed Zone: Aberrant Zone 1, Valley's Aberrants Found outside the shed across the entrance to Aberrant Zone 2. |
 |
Item: Classified: Meat-Packing Plant Zone: Aberrant Zone 1, Valley's Aberrants Found in the southeast corner of Aberrant Zone 1. It is near a pair of instrument safes. |
 |
Item: Classified: Aggelos Rotreed Zone: Aberrant Zone 1, Valley's Aberrants Found in the southern corner of the starting area in Aberrant Zone 1. |
 |
Item: Classified: Meat-Packing Plant Zone: Aberrant Zone 1, Vertical Logistics Channel Found beside another package in the east room in Vertical Logistics Channel behind the Landbreakers |
 |
Item: Classified: Meat-Packing Plant Zone: Aberrant Zone 1, Vertical Logistics Channel Found beside another package in the east room in Vertical Logistics Channel behind the Landbreakers |
 |
Item: Classified: Aggelos Rotreed Zone: Aberrant Zone 1, Vertical Logistics Channel Found beside another package in the northwest corner in the northwest area of Vertical Logistics Channel. |
 |
Item: Classified: Aggelos Rotreed Zone: Aberrant Zone 1, Vertical Logistics Channel Found beside another package in the northwest corner in the northwest area of Vertical Logistics Channel. |
 |
Item: Classified: Meat-Packing Plant Zone: Aberrant Zone 1, Vertical Logistics Channel Found in the southwest area of the Vertical Logistics Channel guarded by the Landbreakers. |
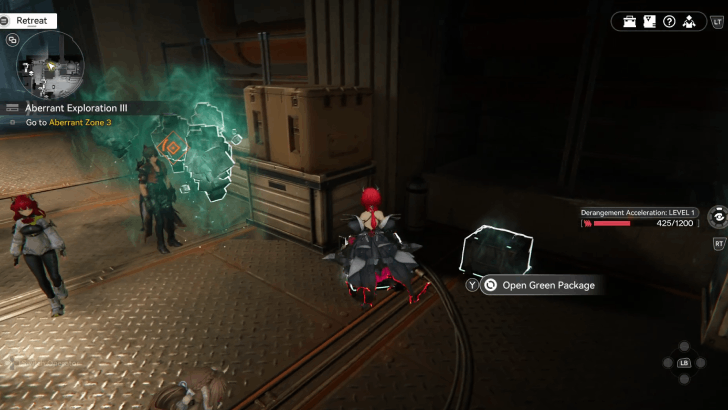
 |
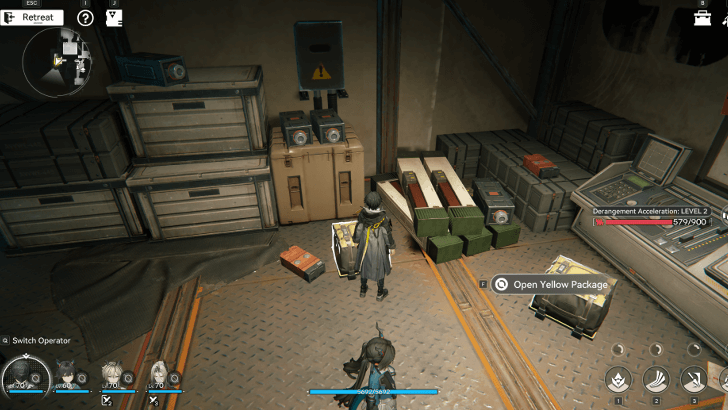
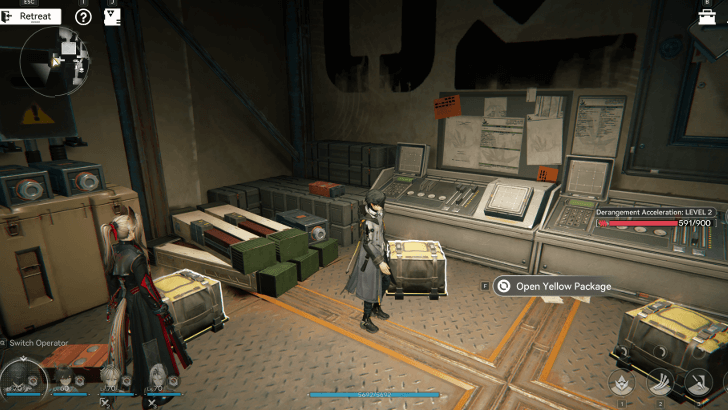
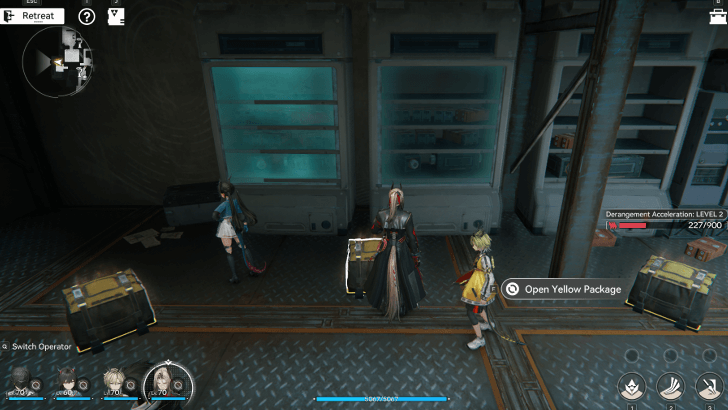
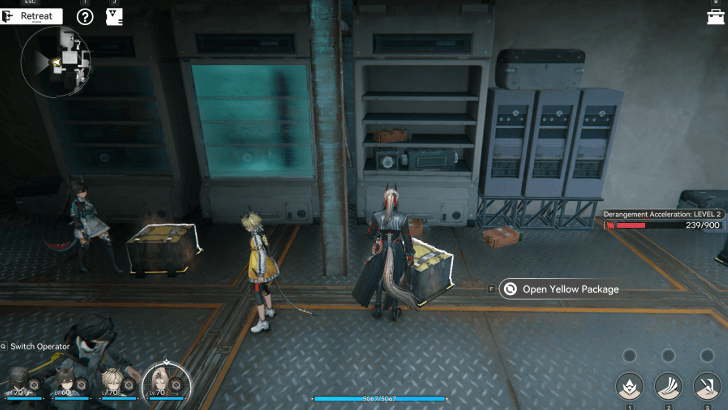
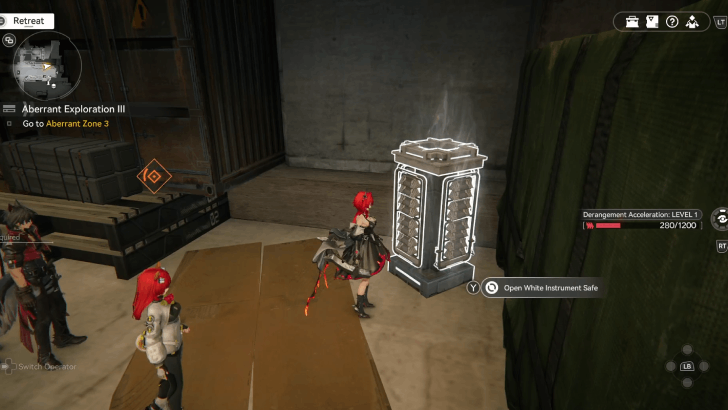
Item: Classified: Aburrey Zone: Aberrant Zone 2, Passageway Found in the 2nd room to the right as you enter Aberrant Zone 2, beside the rope. |
 |
Item: Classified: Aburrey Zone: Aberrant Zone 2, Passageway Found in the Passageway area as you take the rope down, beside another package in the corner. |
 |
Item: Classified: Aburrey Zone: Aberrant Zone 2, Passageway Found in the Passageway area as you take the rope down, beside another package in the corner. |
 |
Item: Classified: Aburrey Zone: Aberrant Zone 2, Passageway Found in the southwest corner of the Passageway south room with the Aggeloi. |
 |
Item: Classified: Aburrey Zone: Aberrant Zone 2, Passageway Found in the southwest corner of the Passageway south room with the Aggeloi. |
 |
Item: Classified: Aburrey Zone: Aberrant Zone 2, Passageway Found in the southwest corner of the Passageway south room with the Aggeloi. |
 |
Item: Classified: Aburrey Zone: Aberrant Zone 2, Valley's Aberrants Found inside the right building as you enter Aberrant Zone 2, to the left of the Aggeloi. |
 |
Item: Classified: Aburrey Zone: Aberrant Zone 2, Valley's Aberrants Found inside the right building as you enter Aberrant Zone 2, to the left of the Aggeloi. |
 |
Item: Classified: Aburrey Zone: Aberrant Zone 2, Valley's Aberrants Found on the second floor of the right building as you enter Aberrant Zone 2, beside an Aggeloi. |
 |
Item: Classified: Aburrey Zone: Aberrant Zone 2, Valley's Aberrants Found on the second floor of the right building as you enter Aberrant Zone 2, by the railing. |
 |
Item: Classified: Aburrey Zone: Aberrant Zone 2, Valley's Aberrants Found in the room to the left of Aberrant Zone 2. Go up the stairs and enter the room with the Aggeloi. |
 |
Item: Classified: Aburrey Zone: Aberrant Zone 2, Valley's Aberrants Found in the room to the left of Aberrant Zone 2. Go up the stairs and enter the room with the Aggeloi. |
 |
Item: Classified: Aburrey Zone: Aberrant Zone 2, Valley's Aberrants Found in the room across the south room, beside the Auto-Vendor. Access the control panel to move the angled platform to reach the room and connect the bridge. |
 |
Item: Classified: Aburrey Zone: Aberrant Zone 2, Valley's Aberrants Found in the room west of Aberrant Zone 2. Defeat the Aggeloi to open all 3 packages. |
 |
Item: Classified: Aburrey Zone: Aberrant Zone 2, Valley's Aberrants Found in the room west of Aberrant Zone 2. Defeat the Aggeloi to open all 3 packages. |
 |
Item: Classified: Aburrey Zone: Aberrant Zone 2, Valley's Aberrants Found in the room west of Aberrant Zone 2. Defeat the Aggeloi to open all 3 packages. |
 |
Item: Classified: Aburrey Zone: Aberrant Zone 2, Valley's Aberrants Found in a lower room west of Aberrant Zone 2. |
 |
Item: Classified: Aburrey Zone: Aberrant Zone 2, Valley's Aberrants Found in the lowest room in the western area of Aberrant Zone 2. Jump down from the room with Aggeloi. |
 |
Item: Classified: Aburrey Zone: Aberrant Zone 2, Valley's Aberrants Found in the lowest room in the western area of Aberrant Zone 2. Jump down from the room with Aggeloi. |
 |
Item: Classified: Aburrey Zone: Aberrant Zone 2, Valley's Aberrants Found in the lowest room in the western area of Aberrant Zone 2. Jump down from the room with Aggeloi. |
 |
Item: Classified: Aburrey Zone: Aberrant Zone 2, Valley's Aberrants Found in the lowest room in the western area of Aberrant Zone 2. Jump down from the room with Aggeloi. |
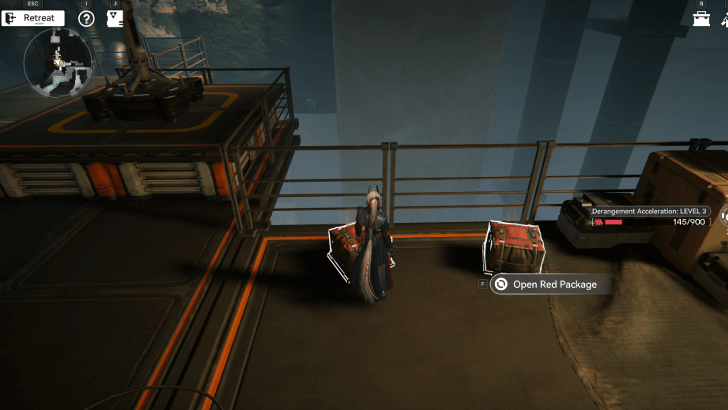 |
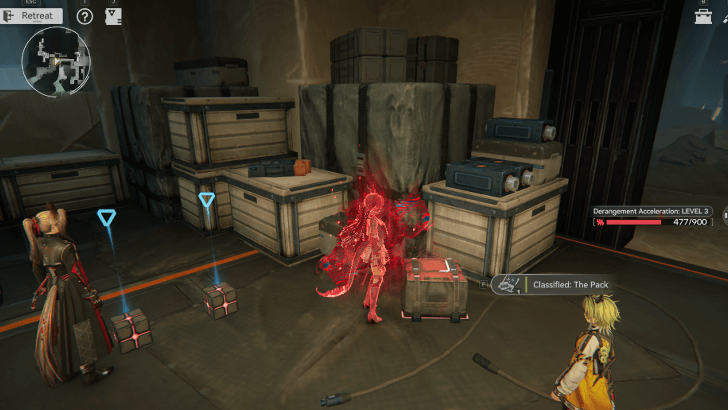
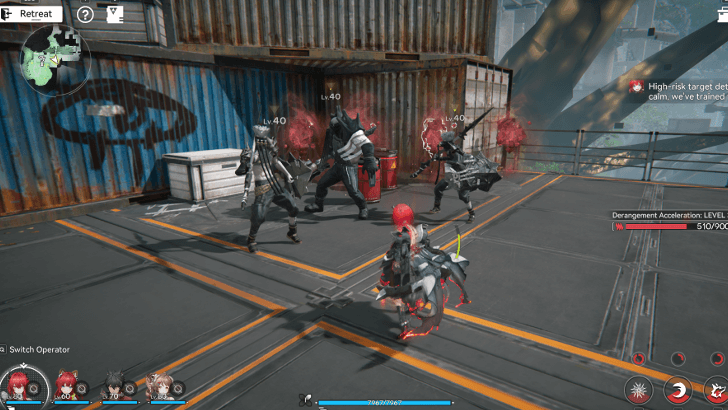
Item: Classified: The Pack Zone: Aberrant Zone 3 Found immediately beside another package as you enter through Aberrant Zone 3 from the Passageway in Zone 2. |
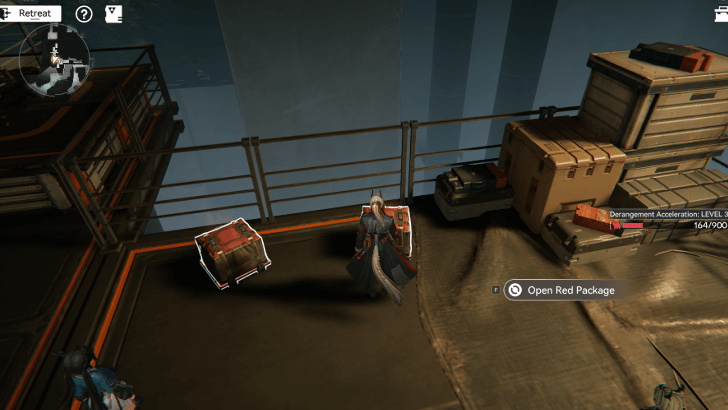 |
Item: Classified: The Pack Zone: Aberrant Zone 3 Found immediately beside another package as you enter through Aberrant Zone 3 from the Passageway in Zone 2. |
 |
Item: Classified: The Pack Zone: Aberrant Zone 3 Found before an entrance towards Tunneling Nidwyrms in the northern area of Aberrant Zone 3, beside a Red Instrument Safe. |
 |
Item: Classified: The Pack Zone: Aberrant Zone 3 Found in a room near another package, Red Instrument Safe, and a chest in the northern area of Aberrant Zone 3. Jump up the crates to enter the room. |
 |
Item: Classified: The Pack Zone: Aberrant Zone 3 Found in a room near another package, Red Instrument Safe, and a chest in the northern area of Aberrant Zone 3. Jump up the crates to enter the room. |
 |
Item: Classified: The Pack Zone: Aberrant Zone 3 Found beside another package near Indigenous Pincerbeasts. |
 |
Item: Classified: The Pack Zone: Aberrant Zone 3 Found beside another package near Indigenous Pincerbeasts. |
 |
Item: Classified: The Pack Zone: Aberrant Zone 3 Found in the south area with another package at Aberrant Zone 3 near the Zipline. |
 |
Item: Classified: The Pack Zone: Aberrant Zone 3 Found in the south area of Aberrant Zone 3 beside a Red Instrument Safe. |
 |
Item: Classified: The Pack Zone: Aberrant Zone 3 Found beside a Red Instrument Safe near the stairs in front of Landbreakers. |
 |
Item: Classified: The Pack Zone: Aberrant Zone 3 Found beside a red package and Red Instrument Safe near the stairs in front of Landbreakers. |
 |
Item: Classified: The Pack Zone: Aberrant Zone 3 Found beside two other red packages near the connecting bridge. |
 |
Item: Classified: The Pack Zone: Aberrant Zone 3 Found beside two other red packages near the connecting bridge. |
 |
Item: Classified: The Pack Zone: Aberrant Zone 3 Found beside two other red packages near the connecting bridge. |
 |
Item: Classified: The Pack Zone: Aberrant Zone 3 Found in the middle of Aberrant Zone 3 beside another package. |
 |
Item: Classified: The Pack Zone: Aberrant Zone 3 Found in the middle of Aberrant Zone 3 beside another package. |
 |
Item: Classified: The Pack Zone: Aberrant Zone 3 Found beside another package on top of the stairs past the Landbreakers. |
 |
Item: Classified: The Pack Zone: Aberrant Zone 3 Found beside another package on top of the stairs past the Landbreakers. |
 |
Item: Classified: The Pack Zone: Aberrant Zone 3 Found on a corner along with two other packages, guarded by Landbreakers. |
 |
Item: Classified: The Pack Zone: Aberrant Zone 3 Found on a corner along with two other packages, guarded by Landbreakers. |
 |
Item: Classified: The Pack Zone: Aberrant Zone 3 Found on a corner along with two other packages, guarded by Landbreakers. |
 |
Item: Classified: The Pack Zone: Aberrant Zone 3 Found immediately after unlocking the gate for Aberrant Zone 3 beside another red package. |
 |
Item: Classified: The Pack Zone: Aberrant Zone 3 Found immediately after unlocking the gate for Aberrant Zone 3 beside another red package. |
 |
Item: Classified: The Pack Zone: Aberrant Zone 3 Found east of the zipline in Aberrant Zone 3 near boxes. |
 |
Item: Classified: The Pack Zone: Aberrant Zone 3 Found east of the zipline beside a Red Instrument Safe. |
 |
Item: Classified: The Pack Zone: Aberrant Zone 3 Found inside the shipping container behind the Red Instrument Safe. |
All Gold Statuette Locations
| Overworld View | Where to Find |
|---|---|
 |
Item: Gold Statuette: Bigfowl Zone: Aberrant Zone 1, Lower Passage Area Found in the eastern part of the area beside a package. |
 |
Item: Gold Statuette: Tata Zone: Aberrant Zone 1, Lower Passage Area Found near the wall with a big crack in it in the northwest area. |
 |
Item: Gold Statuette: Bigfowl Zone: Aberrant Zone 1, Overpass Ruins Found at the northern end of the Overpass Ruins area next to a couple of packages. |
 |
Item: Gold Statuette: Bigfowl Zone: Aberrant Zone 1, Overpass Ruins Found at the southern end of the Overpass Ruins area. |
 |
Item: Gold Statuette: Bigfowl Zone: Aberrant Zone 1, Valley's Aberrants Found on the second floor of the room next to the shed outside the Aberrant Zone 1 safe zone. It is next to a package. |
 |
Item: Gold Statuette: Bigfowl Zone: Aberrant Zone 1, Valley's Aberrants Found inside the shed close to the Aberrant Zone 1 boss room. |
 |
Item: Gold Statuette: Bigfowl Zone: Aberrant Zone 1, Valley's Aberrants Found at the end of the alley between the sheds, east of the starting zone in Aberrant Zone 1. |
 |
Item: Gold Statuette: Bigfowl Zone: Aberrant Zone 1, Valley's Aberrants Found inside the shipping container. From the starting zone, head east then immediately turn left. Climb up the boxes to reach the container where the safe is located. |
|
|
Item: Gold Statuette: Tata Zone: Aberrant Zone 1, Valley's Aberrants Found by the northeastern section of Aberrant Zone 1. Landbreakers can be found nearby, along with packages and Nodules. |
 |
Item: Gold Statuette: Chen Qianyu Zone: Aberrant Zone 1, Valley's Aberrants Found inside the first floor of the northwestern room in Aberrant Zone 1. It is near two packages. |
 |
Item: Gold Statuette: Chen Qianyu Zone: Aberrant Zone 1, Valley's Aberrants Found on the second floor of the northwestern room in Aberrant Zone 1. Enter the eastern room to find the safe. |
|
|
Item: Gold Statuette: Tata Zone: Aberrant Zone 1, Valley's Aberrants Found on the northwestern corner of Aberrant Zone 1. Defeat the nearby Landbreakers to unlock. |
 |
Item: Gold Statuette: Tata Zone: Aberrant Zone 1, Valley's Aberrants Found inside the room next to the elevator that leads to the Overpass Ruins. |
|
|
Item: Gold Statuette: Bigfowl Zone: Aberrant Zone 1, Valley's Aberrants Found in the southeast corner of Aberrant Zone 1. It is near a pair of packages and another instrument safe. |
|
|
Item: Gold Statuette: Tata Zone: Aberrant Zone 1, Valley's Aberrants Found in the southeast corner of Aberrant Zone 1. It is near a pair of packages and another instrument safe. |
 |
Item: Gold Statuette: Tata Zone: Aberrant Zone 1, Vertical Logistics Channel Found in a corner near crates in the east room of the Vertical Logistics Channel. |
 |
Item: Gold Statuette: Chen Qianyu Zone: Aberrant Zone 2, Passageway Found in the 2nd room to the right as you enter Aberrant Zone 2, beside the rope and package. |
 |
Item: Gold Statuette: Chen Qianyu Zone: Aberrant Zone 2, Passageway Found in the east corner of the lower left room as you enter Aberrant Zone 2. Enter the right room past the stairs and take the path to reach the room. |
 |
Item: Gold Statuette: Chen Qianyu Zone: Aberrant Zone 2, Valley's Aberrants Found inside the right building as you enter Aberrant Zone 2, right beside the Classified: Aburrey packages. |
 |
Item: Gold Statuette: Chen Qianyu Zone: Aberrant Zone 2, Valley's Aberrants Found beside an Aggeloi after crossing the angled platform. |
 |
Item: Gold Statuette: Chen Qianyu Zone: Aberrant Zone 2, Valley's Aberrants Found in a corner west of the Zipline that borders Aberrant Zones 1 and 2. |
 |
Item: Gold Statuette: Chen Qianyu Zone: Aberrant Zone 2, Valley's Aberrants Found on the ledge of the lowest room in the western area of Aberrant Zone 2. Jump down from the room with Aggeloi. |
 |
Item: Gold Statuette: Chen Qianyu Zone: Aberrant Zone 2, Valley's Aberrants Found northeast of the Aberrant Zone 2 boss room. |
 |
Item: Gold Statuette: Chen Qianyu Zone: Aberrant Zone 2, Valley's Aberrants Found northeast of the Aberrant Zone 2 boss room beside another Statuette. |
 |
Item: Gold Statuette: Chen Qianyu Zone: Aberrant Zone 2, Valley's Aberrants Found in the room right beside an auto-vendor. |
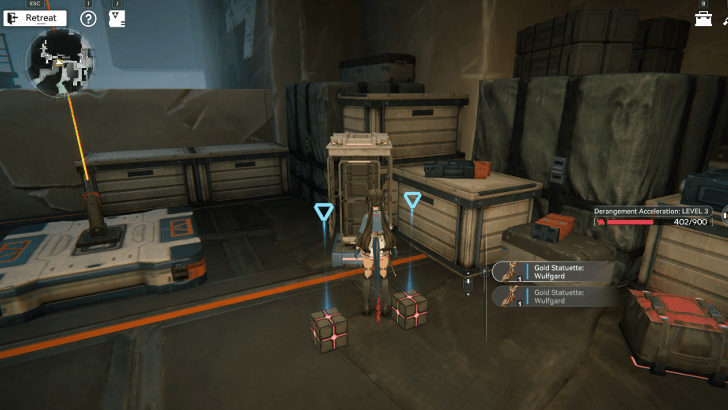 |
Item: Gold Statuette: Wulfgard Zone: Aberrant Zone 3 Found before an entrance towards Tunneling Nidwyrms in the northern area of Aberrant Zone 3, beside a rope and package. |
 |
Item: Gold Statuette: Wulfgard Zone: Aberrant Zone 3 Found in a room near two packages and a chest in the northern area of Aberrant Zone 3. Jump up the crates to enter the room. |
 |
Item: Gold Statuette: Wulfgard Zone: Aberrant Zone 3 Found past the Tunneling Nidwyrm after opening the path by destroying the rock with an Explosive. |
 |
Item: Gold Statuette: Wulfgard Zone: Aberrant Zone 3 Found behind Tunneling Nidwyrms in the southwest area of Aberrant Zone 3. |
 |
Item: Gold Statuette: Wulfgard Zone: Aberrant Zone 3 Found by the rope near the ledge of the platform. |
 |
Item: Gold Statuette: Wulfgard Zone: Aberrant Zone 3 Found in the south area of Aberrant Zone 3 to the right of the stairs beside an Auto-Vendor. |
 |
Item: Gold Statuette: Wulfgard Zone: Aberrant Zone 3 Found in the south area of Aberrant Zone 3 beside a package. |
 |
Item: Gold Statuette: Wulfgard Zone: Aberrant Zone 3 Found below the platform after destroying the Blight core to enter the area. |
 |
Item: Gold Statuette: Wulfgard Zone: Aberrant Zone 3 Found beside red packages near the stairs in front of Landbreakers. |
 |
Item: Gold Statuette: Wulfgard Zone: Aberrant Zone 3 Found beside another Red Instrument Safe across the three red packages. |
 |
Item: Gold Statuette: Wulfgard Zone: Aberrant Zone 3 Found beside another Red Instrument Safe across the three red packages. |
 |
Item: Gold Statuette: Wulfgard Zone: Aberrant Zone 3 Found in the room past the Aberrant Zone 3 boss beside another Red Instrument Safe. |
 |
Item: Gold Statuette: Wulfgard Zone: Aberrant Zone 3 Found in the room past the Aberrant Zone 3 boss beside another Red Instrument Safe. |
 |
Item: Gold Statuette: Wulfgard Zone: Aberrant Zone 3 Found near the top stairs before the bridge that connects Aberrant Zone 3 to Lower Passage Area in Aberrant Zone 1. |
 |
Item: Gold Statuette: Wulfgard Zone: Aberrant Zone 3 Found near the bottom of the stairs before the bridge that connects Aberrant Zone 3 to Lower Passage Area in Aberrant Zone 1. |
 |
Item: Gold Statuette: Wulfgard Zone: Aberrant Zone 3 Found inside the shipping container in front of a red package. |
All Specimen Locations
| Overworld View | Where to Find |
|---|---|
 |
Item: Specimen: Bread Zone: Aberrant Zone 1, Lower Passage Area Found in the northeast room being guarded by Landbreakers. |
 |
Item: Specimen: Blighted Armorscale Zone: Aberrant Zone 1, Lower Passage Area Found near the wall with a big crack in it in the northwest area. |
 |
Item: Specimen: Bread Zone: Aberrant Zone 1, Valley's Aberrants Found next to the package inside the room near the shed, east of the starting zone in Aberrant Zone 1. |
 |
Item: Specimen: Blighted Armorscale Zone: Aberrant Zone 1, Valley's Aberrants Found inside the room north of the Aberrant Zone 1 boss. |
 |
Item: Specimen: Originium Branch Zone: Aberrant Zone 1, Valley's Aberrants Found behind the Aggeloi north of Aberrant Zone 1 near the blighted path. |
 |
Item: Specimen: Bread Zone: Aberrant Zone 1, Valley's Aberrants In the southeast corner of Aberrant Zone 1. |
 |
Item: Specimen: Blighted Armorscale Zone: Aberrant Zone 1, Vertical Logistics Channel Found in the north side of the room east of Vertical Logistics Channel. |
 |
Item: Specimen: Bread Zone: Aberrant Zone 1, Vertical Logistics Channel Found in the northwest area of the Vertical Logistics Channel guarded by Landbreakers. |
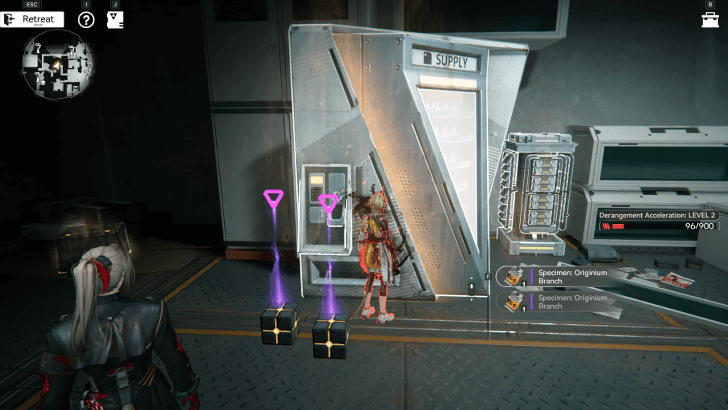 |
Item: Specimen: Originium Branch Zone: Aberrant Zone 2, Valley's Aberrants Found in the room across the south room. Access the control panel to move the angled platform to reach the room and connect the bridge. |
 |
Item: Specimen: Originium Branch Zone: Aberrant Zone 2, Valley's Aberrants Found in a lower room west of Aberrant Zone 2 with a package and chest. |
 |
Item: Specimen: Originium Branch Zone: Aberrant Zone 2, Valley's Aberrants Found north of the Aberrant Zone 2 boss room. |
 |
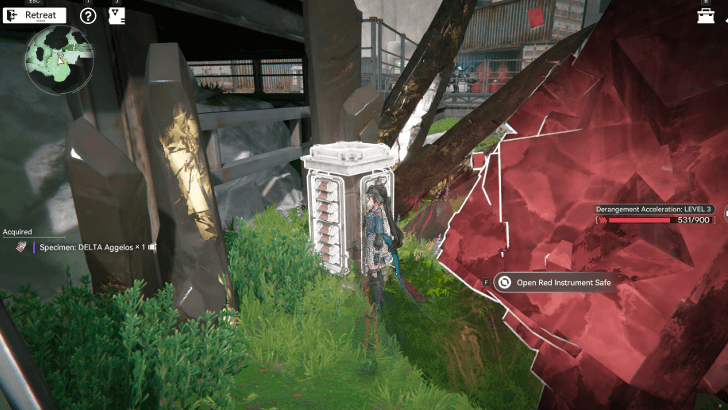
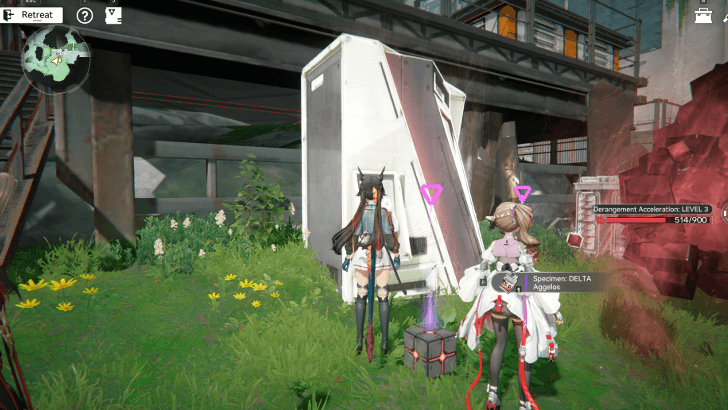
Item: Specimen: DELTA Aggelos Zone: Aberrant Zone 3 Found past the Tunneling Nidwyrm at the end of the room. Destroy the rock with Explosives to enter the area. |
 |
Item: Specimen: DELTA Aggelos Zone: Aberrant Zone 3 Found in the south area of Aberrant Zone 3 to the right of the stairs. |
 |
Item: Specimen: DELTA Aggelos Zone: Aberrant Zone 3 Found below behind two Landbreakers guarding it. |
 |
Item: Specimen: DELTA Aggelos Zone: Aberrant Zone 3 Found in the middle of Aberrant Zone 3 beside two red packages. |
 |
Item: Specimen: DELTA Aggelos Zone: Aberrant Zone 3 Found below the stairs, guarded by Landbreakers. |
All Fragment Locations
| Overworld View | Where to Find |
|---|---|
 |
Item: Mask Fragment Zone: Aberrant Zone 1, Lower Passage Area Found near the entrance to the north tunnel after defeating the Landbreakers. |
 |
Item: Mask Fragment Zone: Aberrant Zone 1, Lower Passage Area Found in the northeast room after defeating the Landbreakers. |
 |
Item: Mask Fragment Zone: Aberrant Zone 1, Lower Passage Area Found in the central area after defeating the Landbreakers. |
 |
Item: Mask Fragment Zone: Aberrant Zone 1, Lower Passage Area Found in the Northwestern section after going down a zipline and defeating Landbreakers. |
 |
Item: Mask Fragment Zone: Aberrant Zone 1, Overpass Ruins Found at the northern end of the Overpass Ruins area after defeating the Landbreakers. |
 |
Item: Mask Fragment Zone: Aberrant Zone 1, Overpass Ruins Found at the southern end of the Overpass Ruins area after defeating the Landbreakers. |
 |
Item: Mask Fragment Zone: Aberrant Zone 1, Valley's Aberrants Found in the northwestern corner, guarding three packages and an instrument safe. |
 |
Item: Mask Fragment Zone: Aberrant Zone 1, Valley's Aberrants In the southwest corner of Aberrant Zone 1. |
 |
Item: Mask Fragment Zone: Aberrant Zone 1, Valley's Aberrants Found north of the starting area of Aberrant Zone 1 |
 |
Item: Rust Fragment Zone: Aberrant Zone 1, Valley's Aberrants Found in the north area of Aberrant Zone 1. Accessed through the second floor of the building closed off by a destructible wall. |
 |
Item: Mask Fragment Zone: Aberrant Zone 1, Valley's Aberrants Found in the north area, just before the blighted path. |
 |
Item: Mask Fragment Zone: Aberrant Zone 1, Valley's Aberrants Found in the north area, inside a building near the blighted path. |
 |
Item: Mask Fragment Zone: Aberrant Zone 1, Valley's Aberrants Found in the northeast corner of the area. |
 |
Item: Mask Fragment Zone: Aberrant Zone 1, Valley's Aberrants Found in the southeast corner of the area. |
 |
Item: Mask Fragment Zone: Aberrant Zone 1, Vertical Logistics Channel Found in the east area of Vertical Logistics Channel by defeating the elite Landbreaker. |
 |
Item: Mask Fragment Zone: Aberrant Zone 1, Vertical Logistics Channel Found in the northwest area of the Vertical Logistics Channel by defeating the elite Landbreaker. |
 |
Item: Mask Fragment Zone: Aberrant Zone 1, Vertical Logistics Channel Found in the southwest area of the Vertical Logistics Channel by defeating the elite Landbreaker. |
 |
Item: Rust Fragment Zone: Aberrant Zone 2, Passageway Found in the lower room in the Passageway area in Aberrant Zone 2, beside the rope guarding a statuette. |
 |
Item: Rust Fragment Zone: Aberrant Zone 2, Valley's Aberrants Found in the first room north of the entrance of Aberrant Zone 2. |
 |
Item: Rust Fragment Zone: Aberrant Zone 2, Valley's Aberrants Found after crossing the angled platform, guarding a statuette, package, and chest. |
 |
Item: Rust Fragment Zone: Aberrant Zone 2, Valley's Aberrants Found outside the boss area of Aberrant Zone 2 near explosive crates. |
 |
Item: Amberite Fragment Zone: Aberrant Zone 2, Valley's Aberrants Found in the boss area of Aberrant Zone 2. |
 |
Item: Crystal-Embedded Fragment Zone: Aberrant Zone 3 Found in the center of Aberrant Zone 3 by an entrance. Defeat the Tunneling Nidwyrm. |
 |
Item: Crystal-Embedded Fragment Zone: Aberrant Zone 3 Found west of Aberrant Zone 3 after destroying the rock with an Explosive. Defeat the Tunneling Nidwyrm. |
 |
Item: Crystal-Embedded Fragment Zone: Aberrant Zone 3 Found after jumping down the grassy area just before the Blight. |
 |
Item: Crystal-Embedded Fragment Zone: Aberrant Zone 3 Found in the southwest area of Aberrant Zone 3. |
 |
Item: Axe Armor Fragment Zone: Aberrant Zone 3 Found in the southern area of Aberrant Zone 3 after defeating the Hazefyre Axe Armorbeast. |
 |
Item: Crystal-Embedded Fragment Zone: Aberrant Zone 3 Found below by defeating the Elite Executioner Landbreaker. |
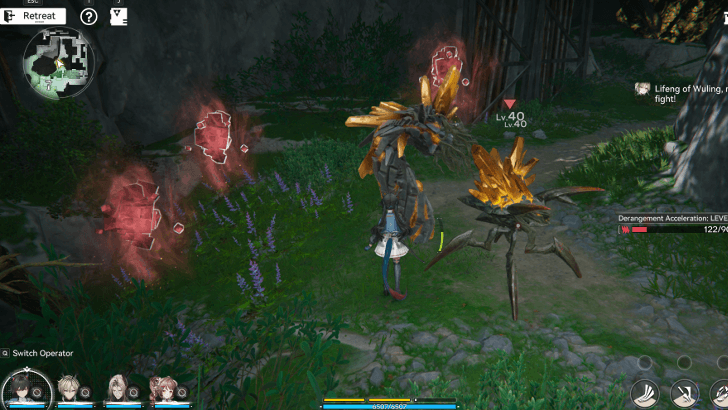 |
Item: Crystal-Embedded Fragment Zone: Aberrant Zone 3 Found in the middle of Aberrant Zone 3 by defeating a Tunneling Nidwyrm. |
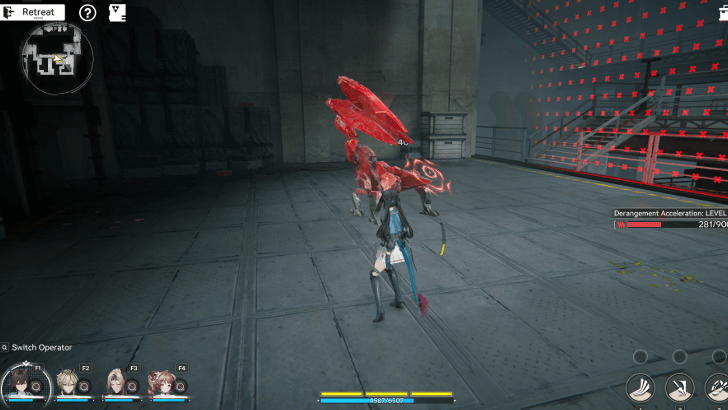 |
Item: Crystal-Embedded Fragment Zone: Aberrant Zone 3 Found past the flaming barriers by defeating the elite Aggeloi. |
 |
Item: Refractorite Fragment Zone: Aberrant Zone 3 Found at the end of the area past all flaming barriers by defeating the Aggeloi boss of Aberrant Zone 3. |
 |
Item: Crystal-Embedded Fragment Zone: Aberrant Zone 3 Found guarding an Auto-Vendor below the stairs. |
 |
Item: Crystal-Embedded Fragment Zone: Aberrant Zone 3 Found in the south area of Aberrant Zone 3 by defeating the Landbreaker before the stairs. |
 |
Item: Crystal-Embedded Fragment Zone: Aberrant Zone 3 Found in the south area of Aberrant Zone 3 near the shipping containers. |
Etchspace Salvage Items Information
Items Drop From Specific Containers
| Item | Container |
|---|---|
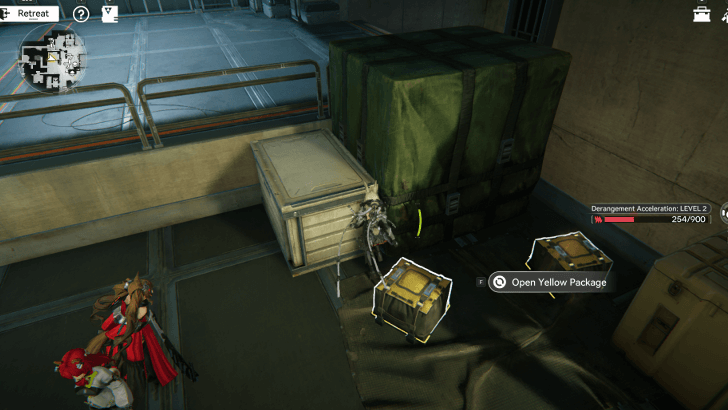
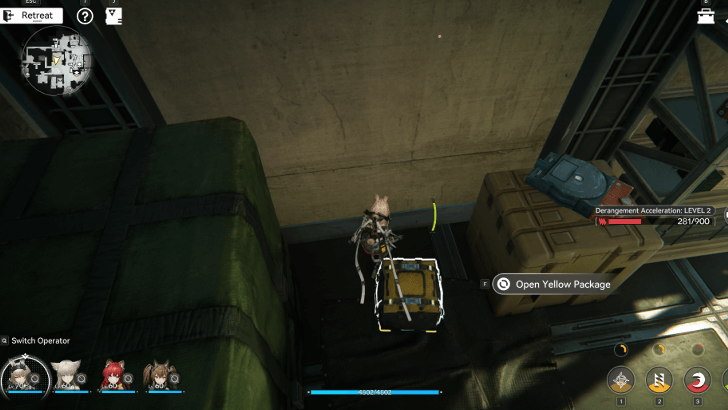
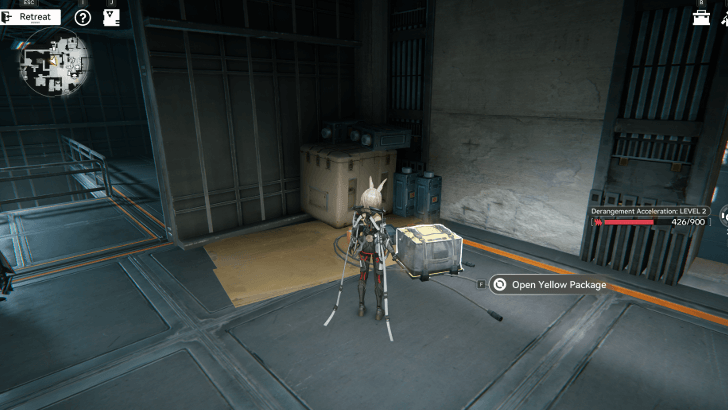
 Classified Items Classified Items |
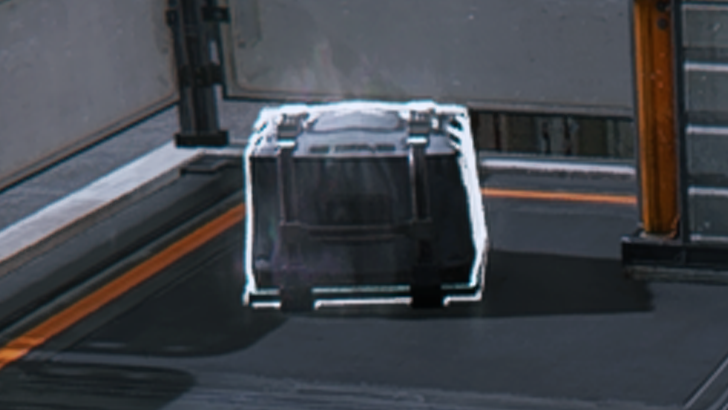 Package |
 Gold Statuettes Gold Statuettes |
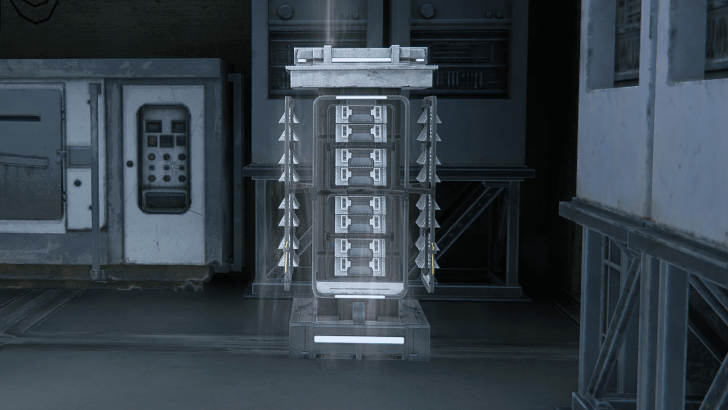 Instrument Safe |
 Specimens Specimens |
 Auto-Vendor |
Items in Etchspace Salvage can be split into three different types, namely: Classified Items, Gold Statuettes, and Specimens.
Each type of item drops from specific containers. Classified Items are only acquired from packages, Gold Statuettes are only found in Instrument Safes, and Specimens can only be obtained from Auto-Vendors.
Color Determines the Item Dropped
| Package | Safe | Vendor | |
|---|---|---|---|
| Gray | Aggelos Rotreed | Bigfowl | Bread |
| Green | Meat-Packing Plant | Tata | Blighted Armor Scale |
| Yellow | Aburrey | Chen Qianyu | Originium Branch |
| Red | The Pack | Wulfgard | DELTA Aggelos |
Additionally, each container is split into 4 different colors, namely: gray, green, yellow, and red. The color of the container determines the item it drops, and each color can only appear in specific Aberrant Zones.
Fragments Drop From Enemies and Bosses
| Fragment (Enemy) |
Fragment (Boss) |
|
|---|---|---|
| Aberrant Zone 1 | Mask Fragment | Detonation Unit Fragment |
| Aberrant Zone 2 | Rust Fragment | Amberite Fragment |
| Aberrant Zone 3 | Crystal-Embedded Fragment | Axe Armor Fragment Refractorite Fragment |
Fragment items, such as Mask Fragments and Amberite Fragments, can only drop from enemies and bosses in Etchspace Salvage.
Purple rarity fragments, such as Mask Fragments, drop primarily from elite enemies, while gold rarity fragments, such as the Amberite Fragment, can only drop from bosses.
Additionally, common enemies have a low chance to drop purple rarity fragments as well.
Items, Enemies, and Bosses Reset In Each Playthrough
All containers opened and enemies and bosses defeated during an Etchspace Salvage run will reset on the next playthrough.
As each run has a limited time and inventory, players may perform multiple playthroughs to complete commissions to unlock permanent buffs or gain Operation Metrics.
Arknights: Endfield Related Guides
All Etchspace Salvage Guides
 Etchspace Salvage Ziplines Etchspace Salvage Ziplines |
 Crystal Farming Routes Crystal Farming Routes |
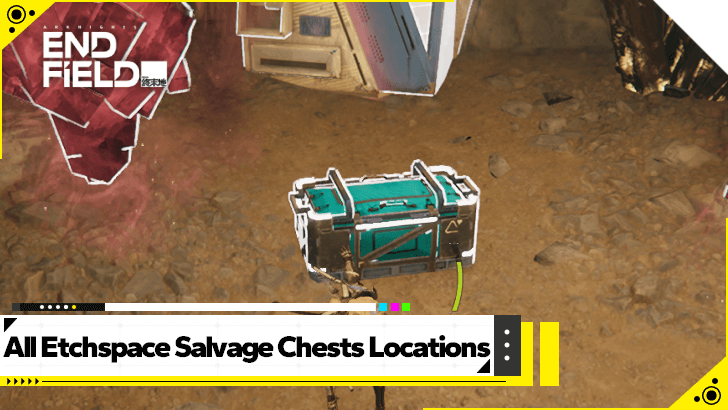 All Etchspace Salvage Chests All Etchspace Salvage Chests |
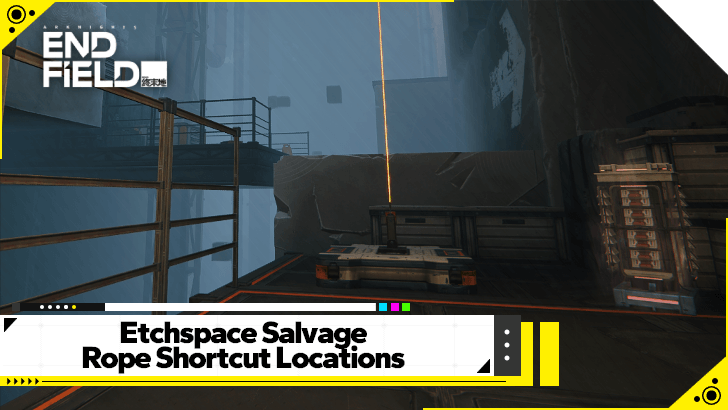 Etchspace Salvage Rope Shortcut Locations Etchspace Salvage Rope Shortcut Locations |
| All Etchspace Salvage Items |
Author

All Etchspace Salvage Items
Premium Articles
Rankings
- We could not find the message board you were looking for.

Gaming News


![Monster Hunter Stories 3 Review [First Impressions] | Simply Rejuvenating](https://img.game8.co/4438641/2a31b7702bd70e78ec8efd24661dacda.jpeg/thumb)
![The Seven Deadly Sins: Origin [First Impressions] | A Promising Start](https://img.game8.co/4440581/584e0bfb87908f12c4eab6e846eb1afd.png/thumb)

Popular Games

Genshin Impact Walkthrough & Guides Wiki
Umamusume: Pretty Derby Walkthrough & Guides Wiki
Pokemon Pokopia Walkthrough & Guides Wiki
Honkai: Star Rail Walkthrough & Guides Wiki
Monster Hunter Stories 3: Twisted Reflection Walkthrough & Guides Wiki
Arknights: Endfield Walkthrough & Guides Wiki
Wuthering Waves Walkthrough & Guides Wiki
Zenless Zone Zero Walkthrough & Guides Wiki
Pokemon TCG Pocket (PTCGP) Strategies & Guides Wiki
Monster Hunter Wilds Walkthrough & Guides Wiki


Recommended Games
Fire Emblem Heroes (FEH) Walkthrough & Guides Wiki
Diablo 4: Vessel of Hatred Walkthrough & Guides Wiki
Cyberpunk 2077: Ultimate Edition Walkthrough & Guides Wiki
Yu-Gi-Oh! Master Duel Walkthrough & Guides Wiki
Super Smash Bros. Ultimate Walkthrough & Guides Wiki
Pokemon Brilliant Diamond and Shining Pearl (BDSP) Walkthrough & Guides Wiki
Elden Ring Shadow of the Erdtree Walkthrough & Guides Wiki
Monster Hunter World Walkthrough & Guides Wiki
The Legend of Zelda: Tears of the Kingdom Walkthrough & Guides Wiki
Persona 3 Reload Walkthrough & Guides Wiki


All rights reserved
Copyright © 2022 - 2025 GRYPHLINE. All Rights Reserved.
The copyrights of videos of games used in our content and other intellectual property rights belong to the provider of the game.
The contents we provide on this site were created personally by members of the Game8 editorial department.
We refuse the right to reuse or repost content taken without our permission such as data or images to other sites.
Any chance you'll update to the Aberrant Zone 4?