Sand Sea Ruins Walkthrough and Location
★ 02/17 Update: New Game Plus added!
┗ Character Creation: New Playable Races
☆ Builds: Wizard | Fighter | Ranger
★ Best Weapons | Best Armor | Best Spells
☆ Unique Weapons | Unique Armor
★ All Treasure Map Locations
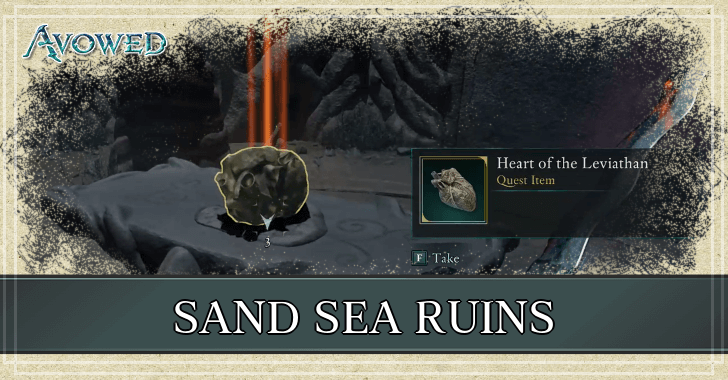
Sand Sea Ruins is a dungeon in Shatterscarp in Avowed. Read on for a full walkthrough for the Sand Sea Ruins!
Sand Sea Ruins Walkthrough
During the quest Heart of Valor, players must go to the Sand Sea Ruins after speaking to Keipo.
It is recommended to bring Giatta and at least one lockpick along in the Sand Sea Ruins, as these will be useful in the Sand Sea Ruins.
Going Through the Sand Sea Ruins
| Step | Walkthrough |
|---|---|
| 1 | 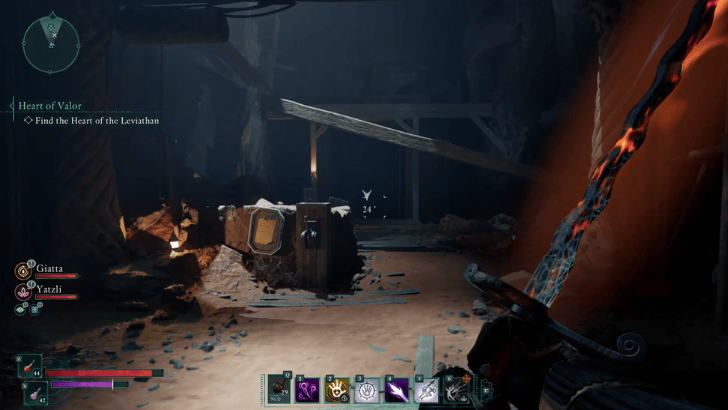 Enter this room and proceed to the other side. Do not pull the first lever you see as this would activate a trap of a log swinging out of the wall to hit you. However, it does unlock the That Sign Can't Stop Me Because I Can't Read achievement if you pull it. |
| 2 | 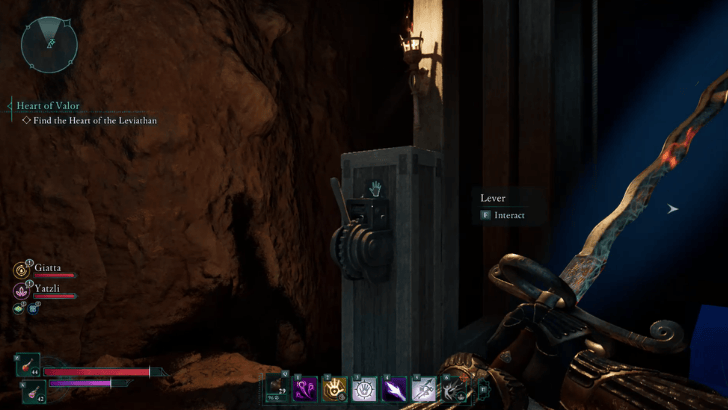 Pull the lever found on the side to call an elevator. Pull another lever at the middle of the platform to ride the elevator down. |
| 3 | 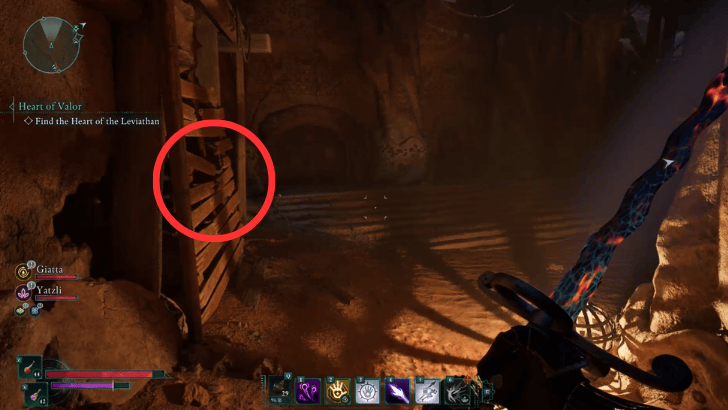 Proceed onwards and go down. Break the wooden wall to the left. Use Giatta or any lightning ability on the machine inside. Get ready for enemies to spawn upon activating the machine! |
| 4 | 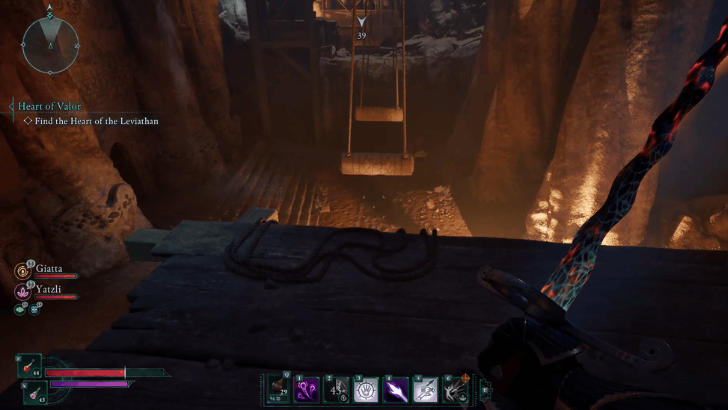 Activating that machine drops these logs. Go back up and use the logs to cross. |
| 5 | 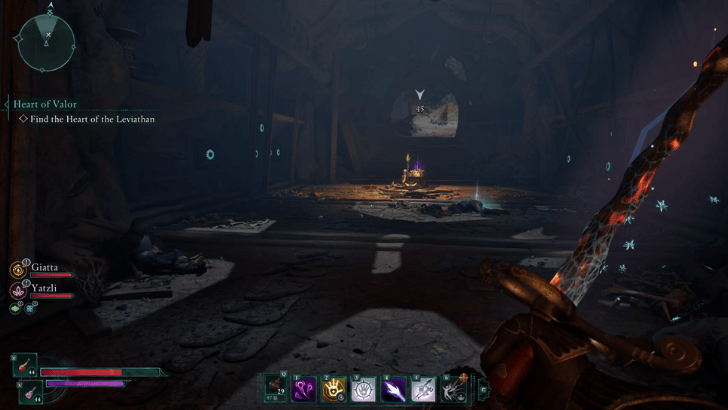 Turn right and cross the traps. It is recommended to stay near the sides to easily disarm some of the trip wires. Make sure to duck under the trip wire in the middle since this one cannot be disarmed. |
| 6 | 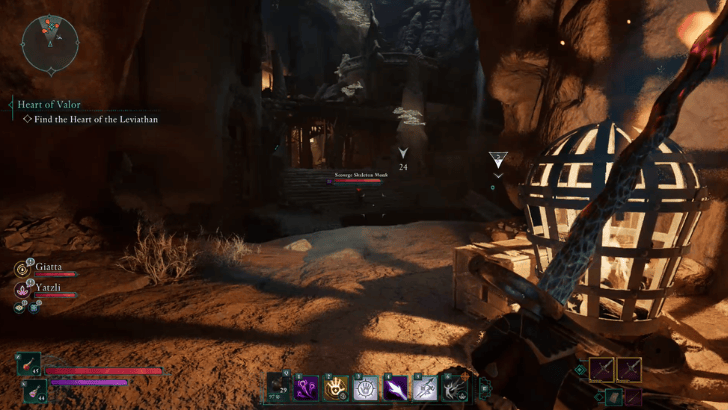 After crossing the traps, enter the following room and turn right. Defeat the numerous skeletons inside. |
| 7 | 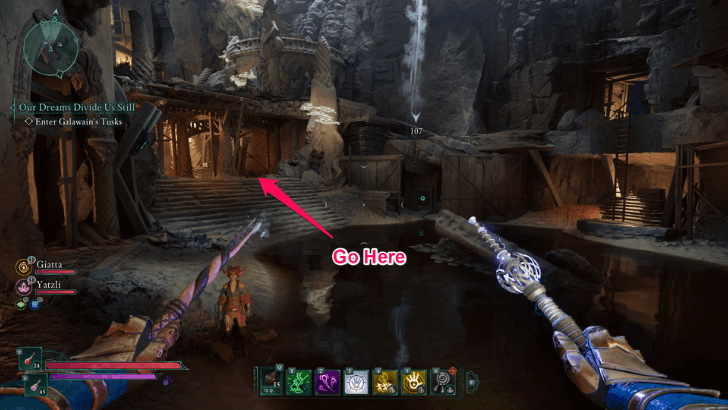 To obtain the unique shield The Desert's Bounty, climb up the stairs on the left to reach the area beneath the platforms. |
| 8 | 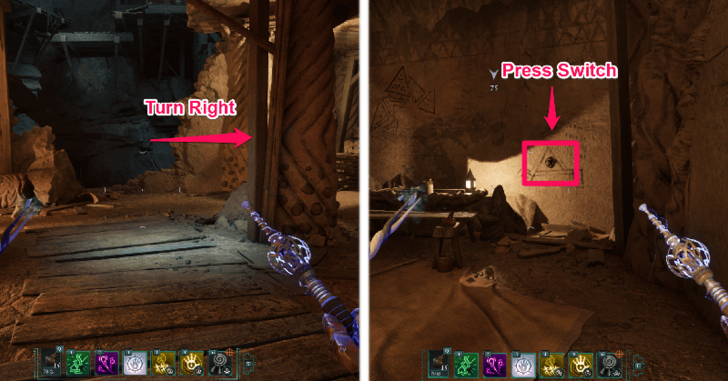 After ascending, turn right to find an altar and some wooden contraptions. Press the switch to the right of the altar to reveal a hidden room. |
| 9 | 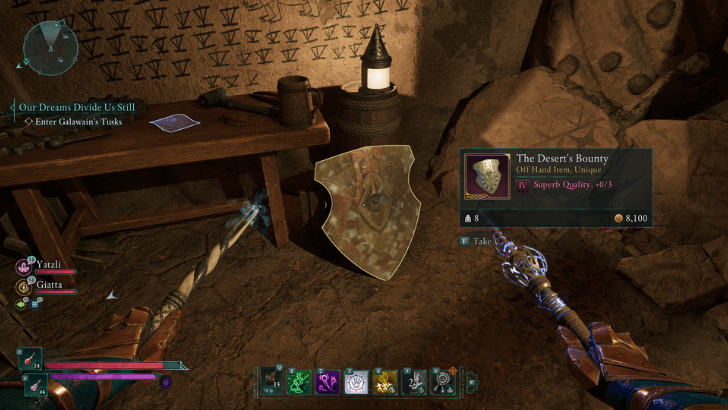 Enter the room and collect The Desert's Bounty leaning on a small crate. |
| 10 | 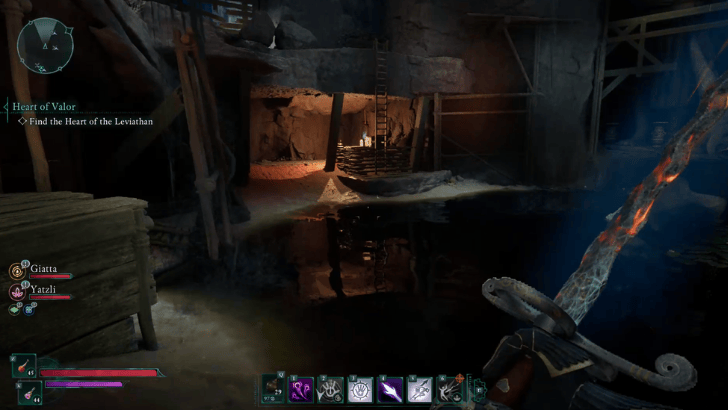 Return to the area with the pool of water and climb up this ladder and follow the path to the left. |
| 11 | 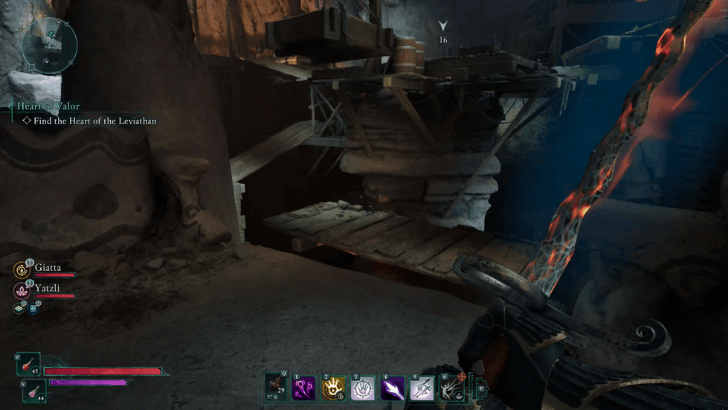 Parkour up this structure and follow the quest marker into the next room. |
| 12 | 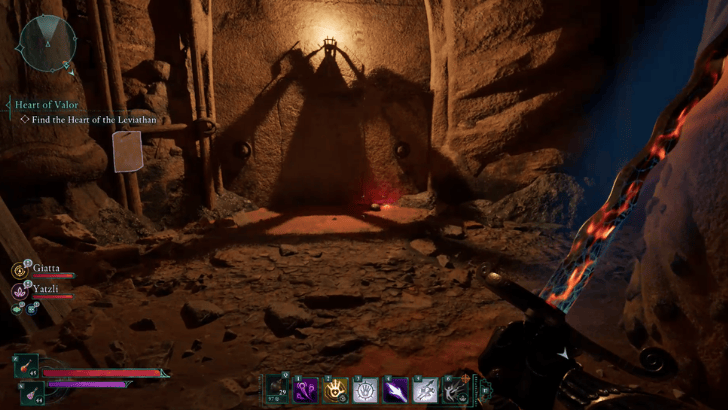 Activate the switch on the left to uncover a secret door with a chest inside. |
| 13 | 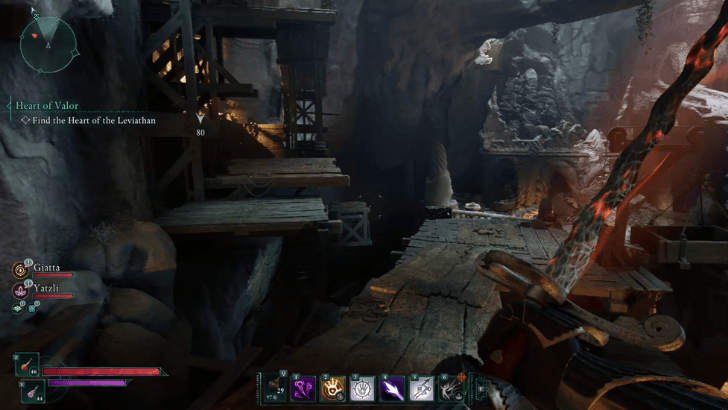 Go back out, go to the previous structure and continue climbing up. |
| 14 | 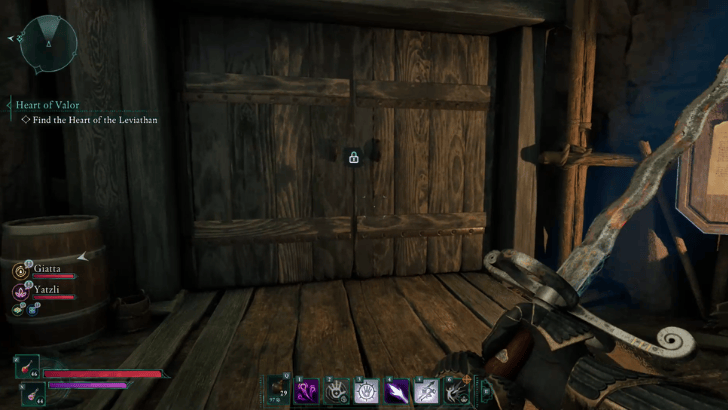 At the top of the structure, use a lockpick to open this door. |
| 15 | 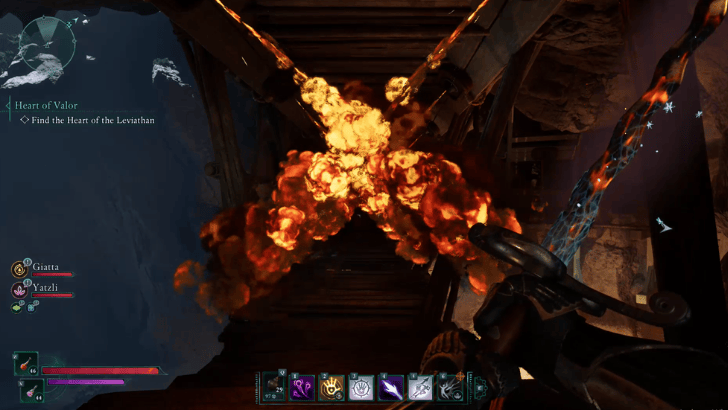 Go through the flames and follow the path to the following room. |
| 16 | 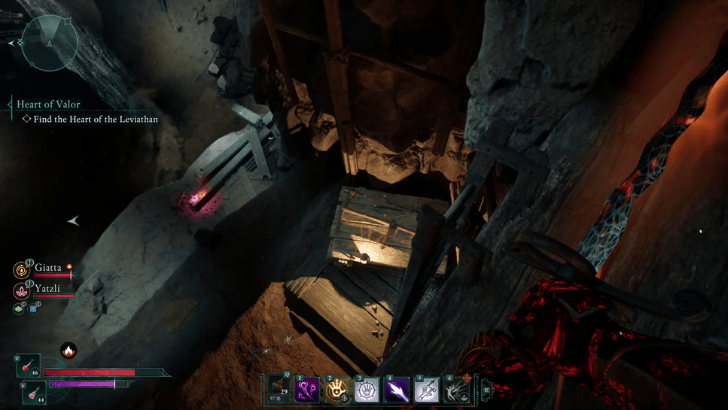 Climb down using the ladder to avoid taking fall damage. |
| 17 | 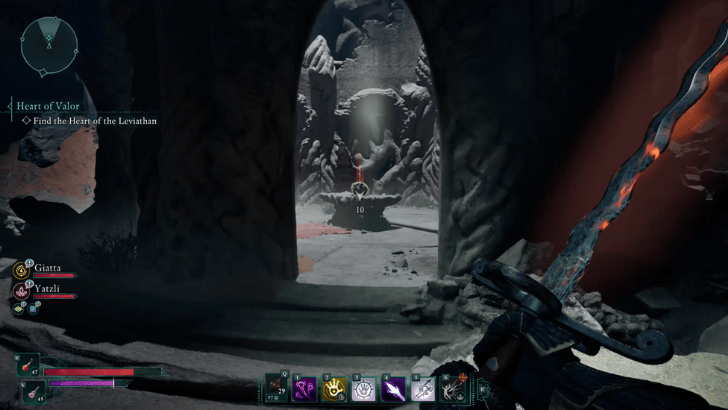 Go up the stairs leading to the Heart of the Leviathan. This is part of the quest Heart of Valor. |
| 18 | 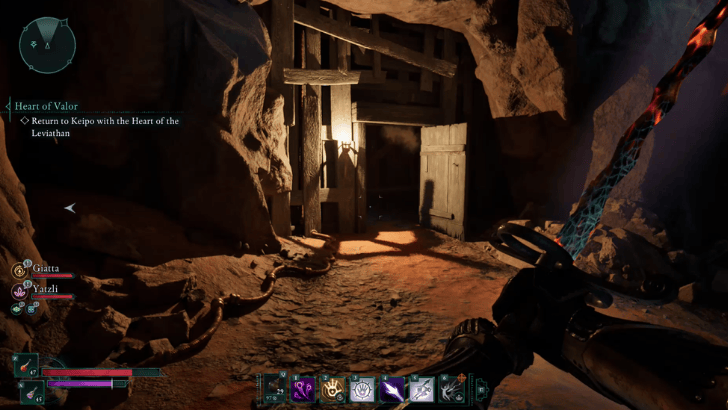 Exit through the door nearby. |
Sand Sea Ruins Location
Eastern Side of Shatterscarp Map
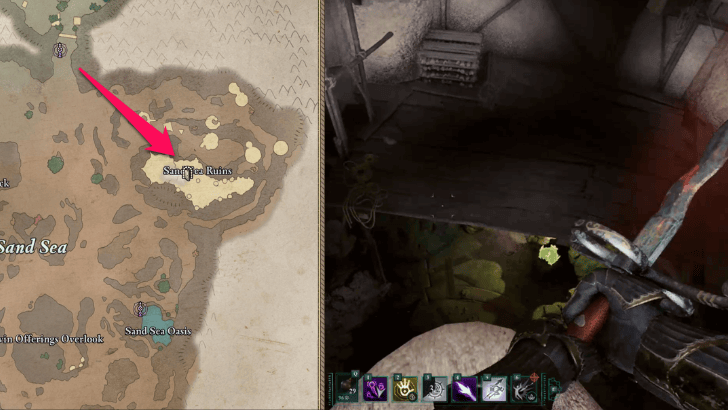
The Sand Sea Ruins is located on the eastern side of the Shatterscarp map, east of the Great Sand Sea.
Entering the Sand Sea Ruins
| Step | Walkthrough |
|---|---|
| 1 | 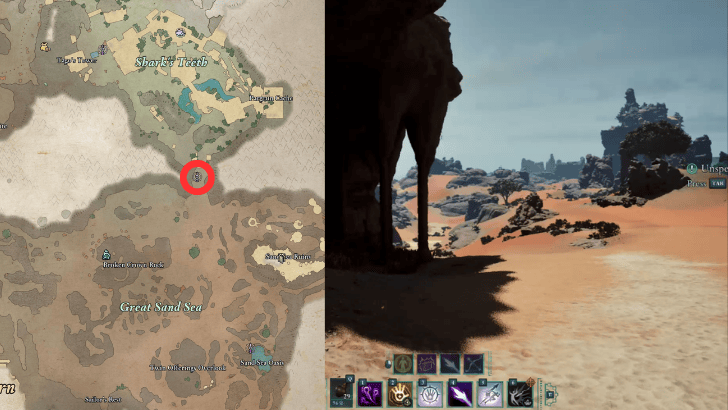 Travel to the Shark's Mouth Beacon on the east side of Shatterscarp. |
| 2 | 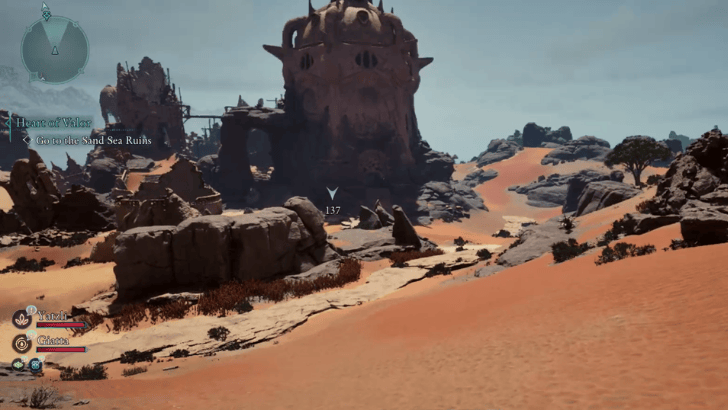 Travel southeast, towards Sand Sea Ruins |
| 3 | 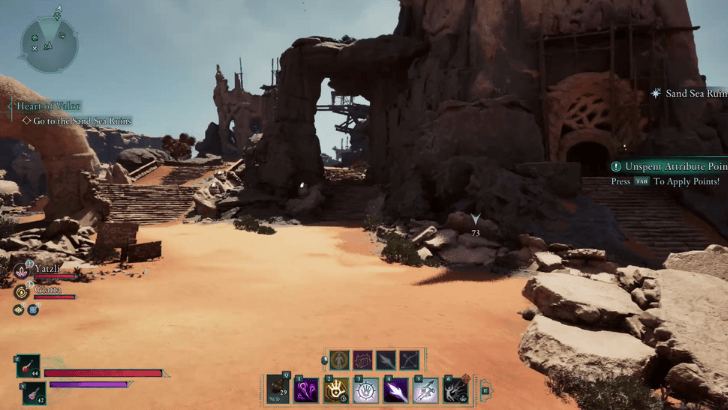 Go past this arc, beside this structure's door. |
| 4 | 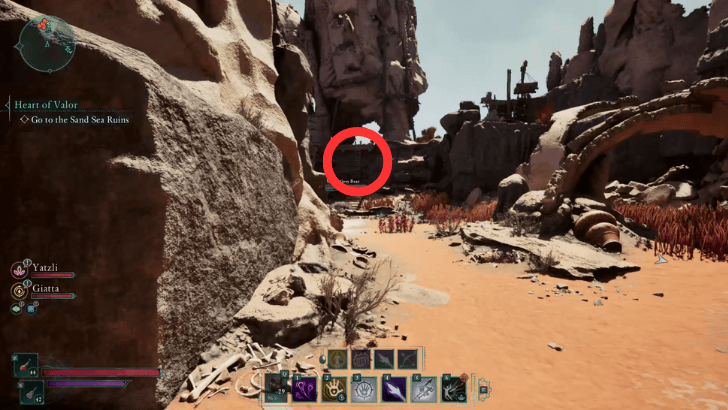 Go up this ladder on the left. There are enemies nearby, so be careful! |
| 5 | 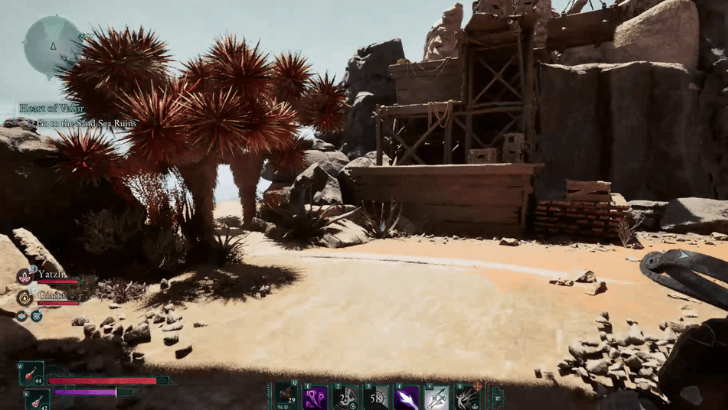 On the right side upon climbing the ladder, climb up here and turn right. |
| 6 | 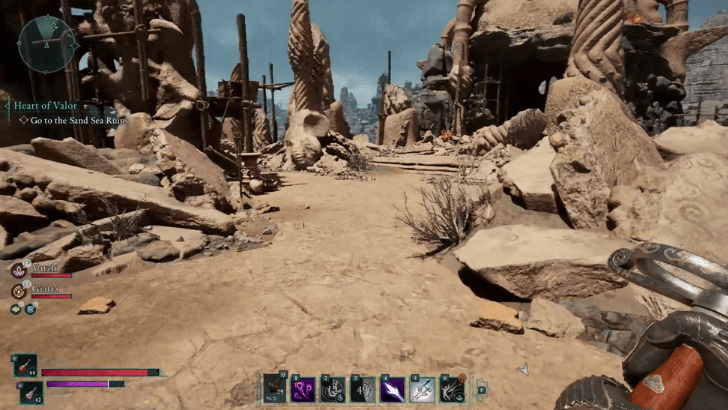 Proceed onwards and follow the path. |
| 7 | 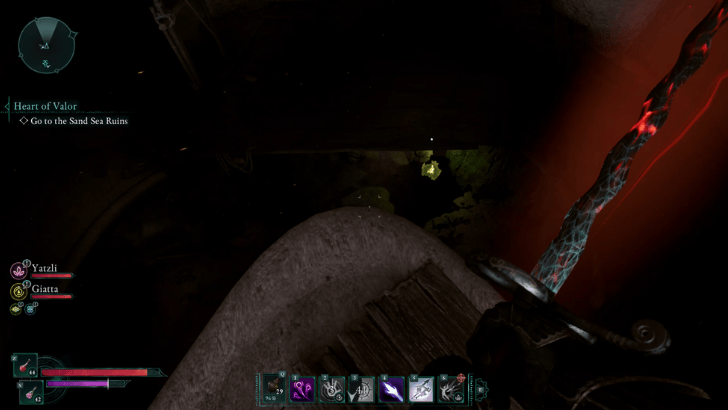 Upon reaching the structure, jump down on the platform below. You can find the Agate Eye Totem Fragment across this platform. |
| 8 | 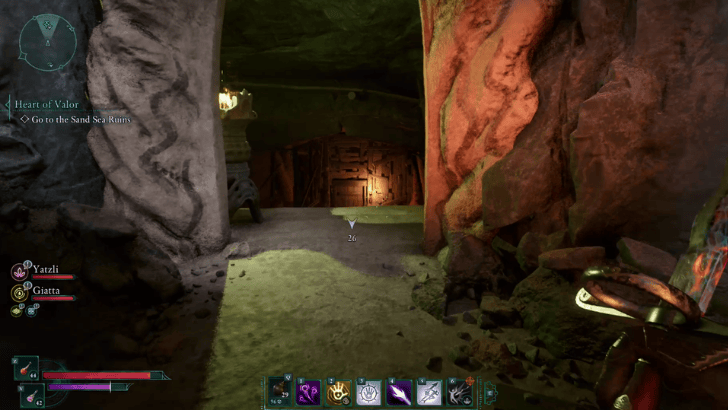 Fully descend and enter the Sand Sea Ruins. You may also unbar the door on the opposite side of the entrance just in case you need to leave midway. |
Avowed Related Guides

All Dungeon Guides
| Avowed Dungeons | |
|---|---|
| Waterfall Cave | Sand Sea Ruins |
Comment
About that lever at the beginning that unleashes a trap: There's an achievement for ignoring the note and pulling the lever anyway (You may want to be sure to read the note first.). Also, if you're standing back a bit, the log trap will miss you entirely.
Author
Sand Sea Ruins Walkthrough and Location
improvement survey
03/2026
improving Game8's site?

Your answers will help us to improve our website.
Note: Please be sure not to enter any kind of personal information into your response.

We hope you continue to make use of Game8.
Rankings
- We could not find the message board you were looking for.
Gaming News
Popular Games

Genshin Impact Walkthrough & Guides Wiki

Honkai: Star Rail Walkthrough & Guides Wiki

Umamusume: Pretty Derby Walkthrough & Guides Wiki

Pokemon Pokopia Walkthrough & Guides Wiki

Resident Evil Requiem (RE9) Walkthrough & Guides Wiki

Monster Hunter Wilds Walkthrough & Guides Wiki

Wuthering Waves Walkthrough & Guides Wiki

Arknights: Endfield Walkthrough & Guides Wiki

Pokemon FireRed and LeafGreen (FRLG) Walkthrough & Guides Wiki

Pokemon TCG Pocket (PTCGP) Strategies & Guides Wiki
Recommended Games

Diablo 4: Vessel of Hatred Walkthrough & Guides Wiki

Fire Emblem Heroes (FEH) Walkthrough & Guides Wiki

Yu-Gi-Oh! Master Duel Walkthrough & Guides Wiki

Super Smash Bros. Ultimate Walkthrough & Guides Wiki

Pokemon Brilliant Diamond and Shining Pearl (BDSP) Walkthrough & Guides Wiki

Elden Ring Shadow of the Erdtree Walkthrough & Guides Wiki

Monster Hunter World Walkthrough & Guides Wiki

The Legend of Zelda: Tears of the Kingdom Walkthrough & Guides Wiki

Persona 3 Reload Walkthrough & Guides Wiki

Cyberpunk 2077: Ultimate Edition Walkthrough & Guides Wiki
All rights reserved
© 2025 Obsidian Entertainment, Inc. Obsidian Entertainment, the Obsidian Entertainment logo, Avowed, and Avowed logos are trademarks or registered trademarks of Obsidian Entertainment, Inc. All rights reserved.
The copyrights of videos of games used in our content and other intellectual property rights belong to the provider of the game.
The contents we provide on this site were created personally by members of the Game8 editorial department.
We refuse the right to reuse or repost content taken without our permission such as data or images to other sites.




![Everwind Review [Early Access] | The Shaky First Step to A Very Long Journey](https://img.game8.co/4440226/ab079b1153298a042633dd1ef51e878e.png/thumb)

![Monster Hunter Stories 3 Review [First Impressions] | Simply Rejuvenating](https://img.game8.co/4438641/2a31b7702bd70e78ec8efd24661dacda.jpeg/thumb)


The key to the door with the flame traps can be found in a tunnel in the watery area below along with a treasure chest