This survey will take about 1 minute.
Your answers will help us to improve our website.
Avowed
The Heart of the Living Lands Walkthrough
★ 02/17 Update: New Game Plus added!
┗ Character Creation: New Playable Races
☆ Builds: Wizard | Fighter | Ranger
★ Best Weapons | Best Armor | Best Spells
☆ Unique Weapons | Unique Armor
★ All Treasure Map Locations
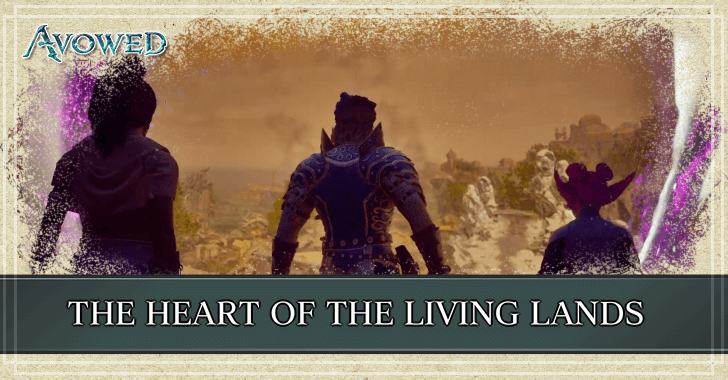
The Heart of the Living Lands is a main quest in Avowed. Read on for a complete walkthrough of The Heart of the Living Lands, the choices you can make, as well as the rewards for completing the quest.
| Previous Quest | Next Quest |
|---|---|
| Our Dreams Divide Us Still | The Siege of Paradis |
List of Contents
The Heart of the Living Lands Walkthrough
| List of Objectives | ||
|---|---|---|
| 1 | Find Sapadal | |
| 2 | Breach the Inner Complex | |
| Option 1 | Option 2 | |
| Destroy Sapadal | Free Sapadal | |
Find Sapadal
| Find Sapadal Objectives | ||
|---|---|---|
| 1 | Find Enclosed Grove Camp | |
| 2 | Getting the Wildwalker Armor (Optional) | |
| 3 | Going to Maegfolc Graveyard | |
| 4 | Going Through the Broken Aqueduct | |
Find Enclosed Grove Camp
| # | Reaching the First Enclosed Grove Camp |
|---|---|
| 1 | 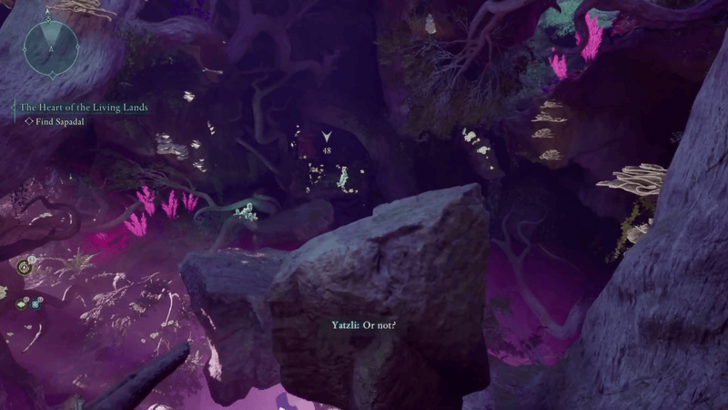 Once the quest starts, go straight and follow the objective marker. Jump on the rock platforms to get to the other side. |
| 2 | 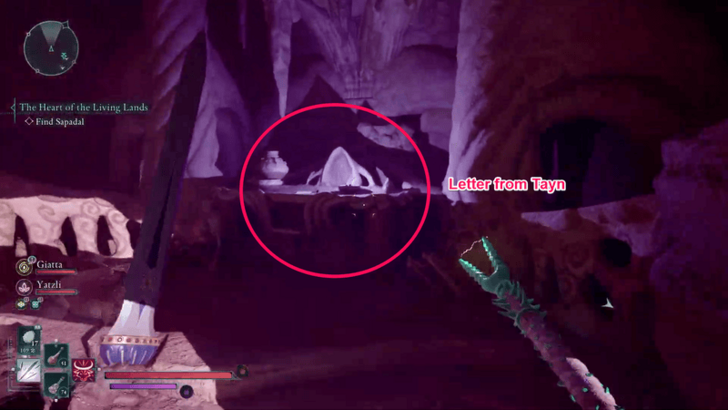 Once on the other side, go right until the end to see a table that has Letter of Tayn. This will spawn a lot of enemies so prepare for battle. Use freezing spells to impede enemies temporarily, particularly the Dreamthrall Elder Black Bear, and use this opportunity to attack. Also back away from enemies after attacking. Follow the objective marker again after defeating these enemies. |
| 3 | 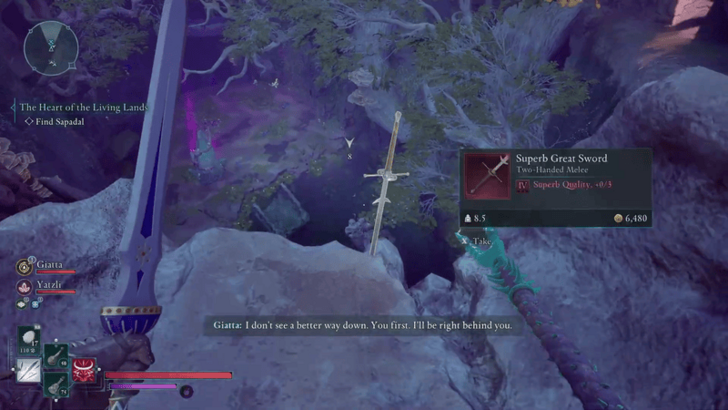 There will be a section where you will have to jump down from a high place but before you do, pick up the Superb Great Sword. Finally jump down to the water and you will see an Enclosed Grove Camp that you can use to rest and talk to companions. |
Getting the Wildwalker Armor (Optional)
| # | Getting the Wildwalker Armor |
|---|---|
| 1 |  On the same area as the Enclosed Grove Camp, go look left of the waterfalls and make ice platforms to reach it. Once at the top, use Yatzli's ability to open the path. |
| 2 | 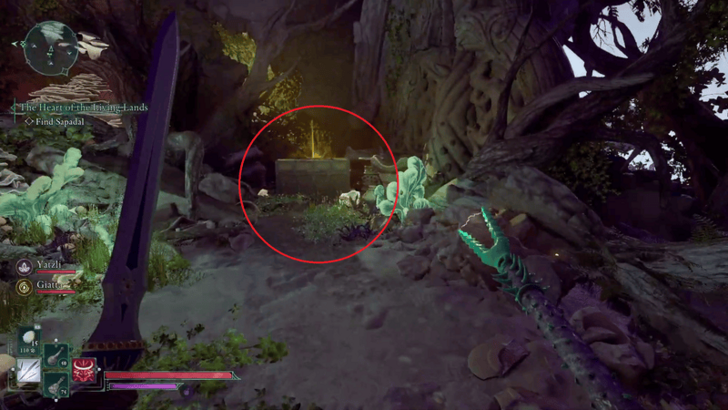 Once open, make ice platforms again on the water to get to the other side. Go proceed inside the whole and you will see a chest which contains the Wildwalker Armor. Go upstairs to get back to the area with the Enclosed Grove Camp. |
Going to Maegfolc Graveyard
| # | Going to Maegfolc Graveyard |
|---|---|
| 1 | 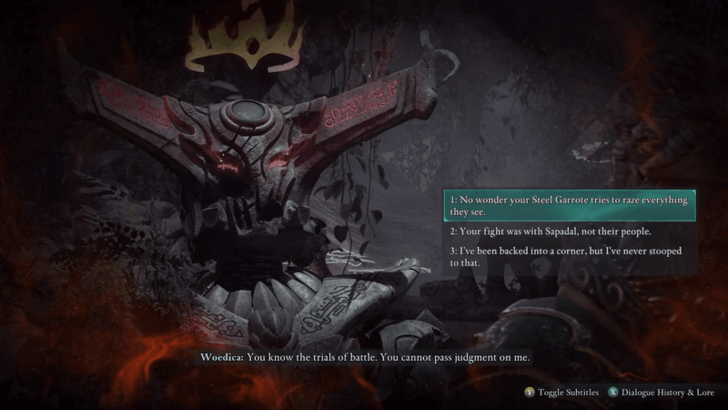 Follow the objective marker again. Open the door and you will see and talk to Woedica. After the conversation, proceed forward and fight enemies in the flooded room. |
| 2 | 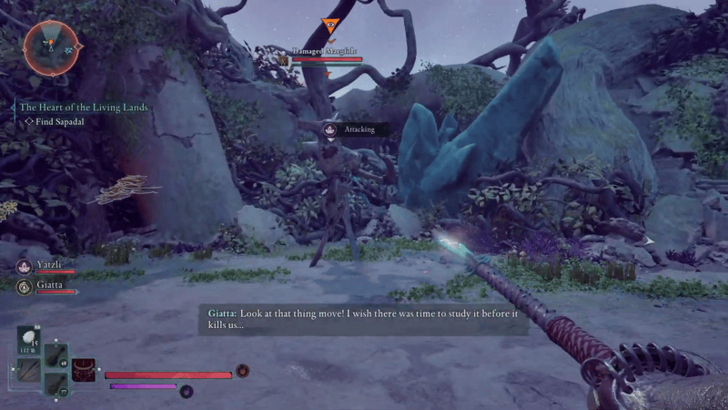 Just keep following the objective marker until you reach outside where you will have to fight a Damaged Maegfolc. There will also be a treasure chest in the same area after defeating it. |
| 3 | 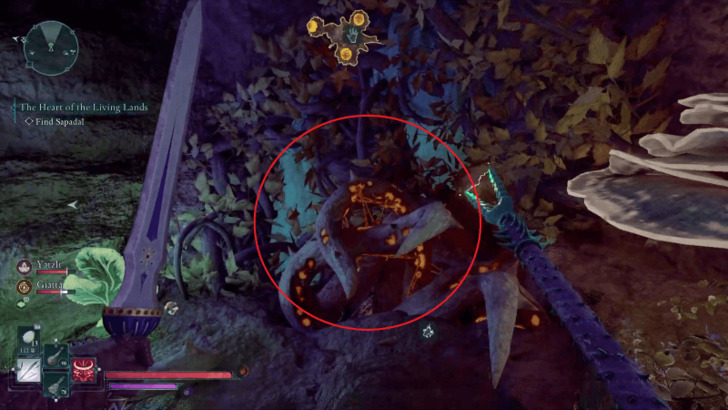 Follow the marker again and face the enemies on the way. In this next open area, you will be fighting skeletons and Dreamthrall Moon Spider. After defeating them, look to the right and locate a bramble blocking a hole that you need to burn to unlock a shortcut to the Enclosed Grove Camp. |
| 4 |  After unlocking the shortcut, just go straight until you get to Maegfolc Graveyard. Damaged Maegfolcs will await you outside so be careful when you battle it. |
| 5 | 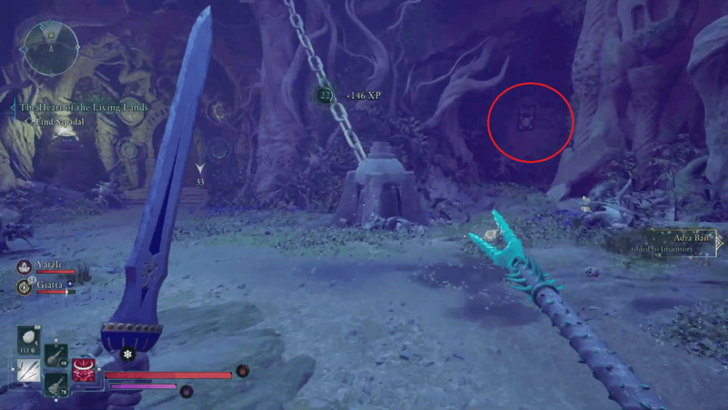 You will need to activate two switches to open the door. The first switch is located to the right of the door. |
| 6 | 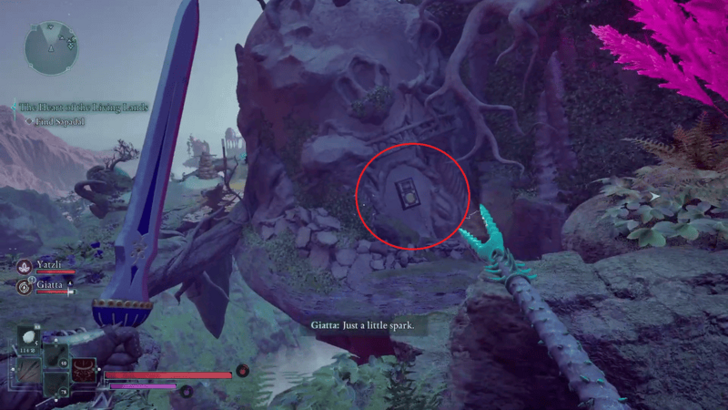 Go to the path on the left and you will see the second switch across it. This will cause the front door to open. |
Going Through the Broken Aqueduct
| # | Broken Aqueduct Walkthrough |
|---|---|
| 1 | 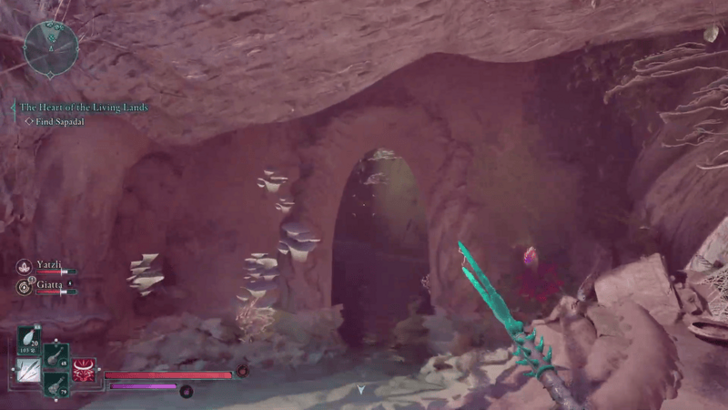 Once inside, go follow the objective marker until you encounter a web blocking your way. Once you burn it, fight the enemies inside and then go through the archway and swim under. |
| 2 | 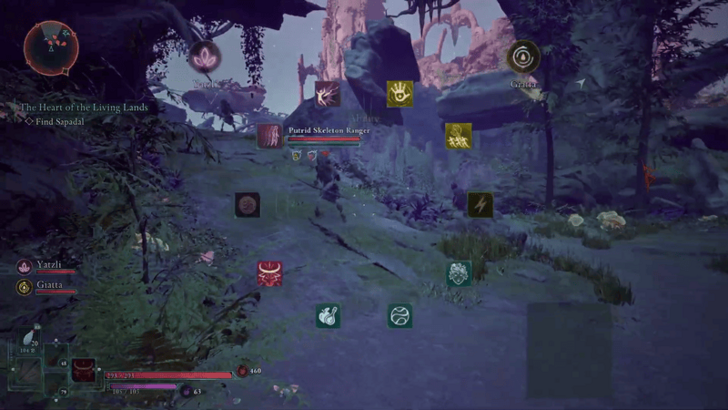 Just keep following the objective marker until you reach an open area called the Broken Aqueduct. Fight enemies within the area so you can freely explore without problems. |
| 3 |  Go up the ramp and then climb up the platforms. Go to the left round platform to proceed towards your objective. |
| 4 | 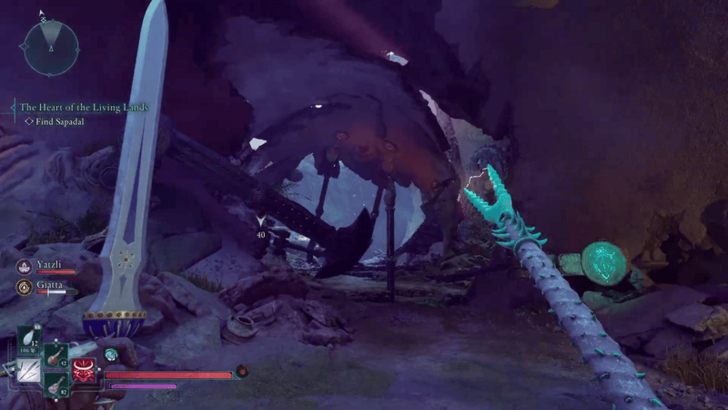 Fight enemies that you find along the way until you see a section with swinging blades. You can stop them by hitting the panels in this area with your abilities. Once you stop the blades, you can go down one of the holes to open a chest that contains Brooch of Spreading Flame. |
| 5 | 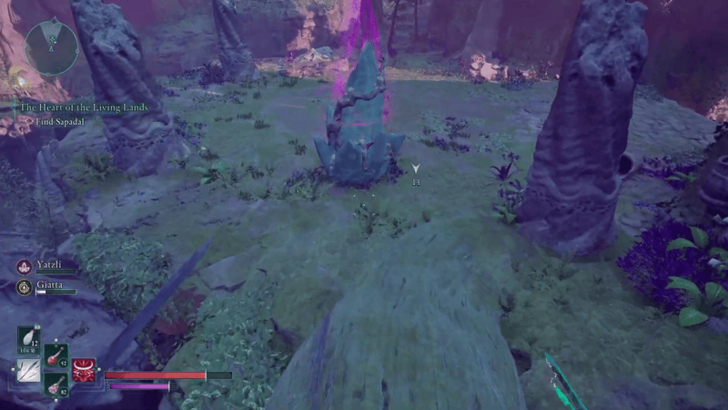 Just proceed forward from the blade area towards the objective until you see the Overlook Camp. A conversation will occur once you reach the camp. |
Breach the Inner Complex
| # | Inner Complex Walkthrough |
|---|---|
| 1 | 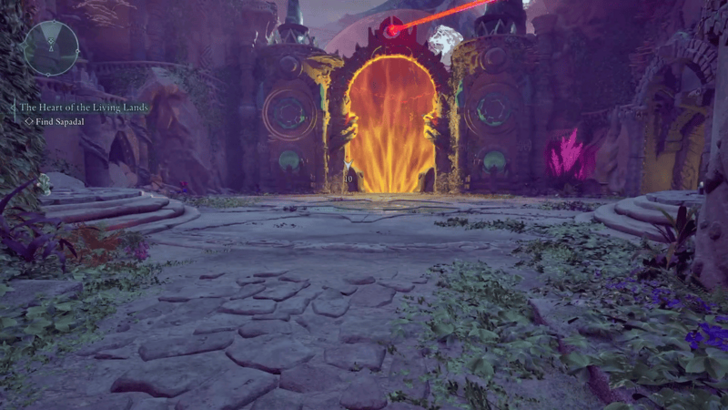 From the camp, follow the objective until you see a huge glowing barrier with laser above. |
| 2 | 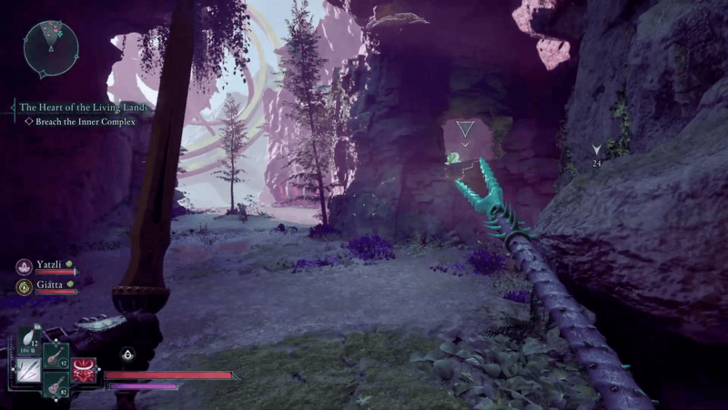 Go to the right of the glowing door and you will see a water path of swinging blades to the right and a ledge to the left. Go up the ledge and fight the enemies. Go around to the other side till you reach a tunnel area. |
| 3 | 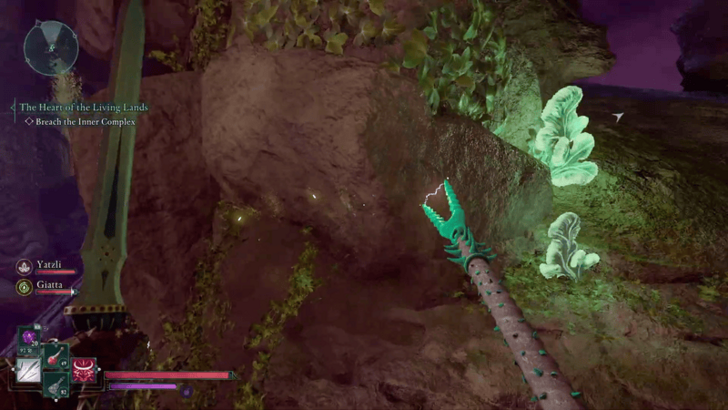 On the root bridge, you can see a panel to the right to stop the some of the swinging blades. From the root bridge, you can jump down to the water (which will damage you) then just go to the other side where a chest is. Make sure to heal once you're out of the water. |
| 4 |  From the chest area, go up the stairs to the right to reach a large area to fight the Pristine Maegfolc. You need to defeat this in order to get the Severed Maegfolc Arm which you will need on the next area. |
| 5 | 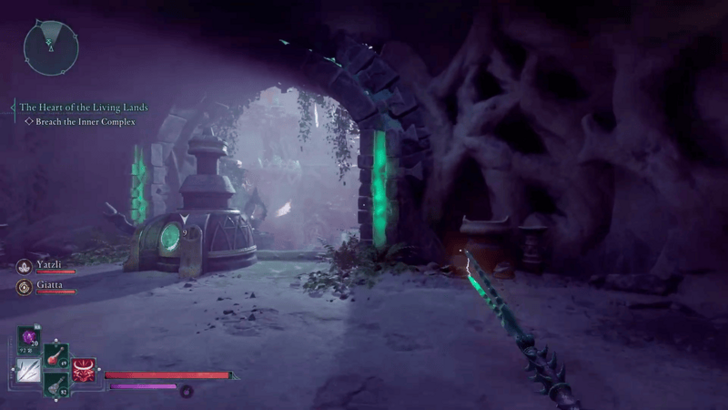 Head to the other side of the room and go up the stairs through the door. Go through the tunnel and up the stairs again until you see a device that will require the Severed Maegfolc Arm. Once you use the device, the glowing door will disappear but more enemies will spawn outside like the Damage Maegfolc, skeletons and some spiders. |
| 6 | 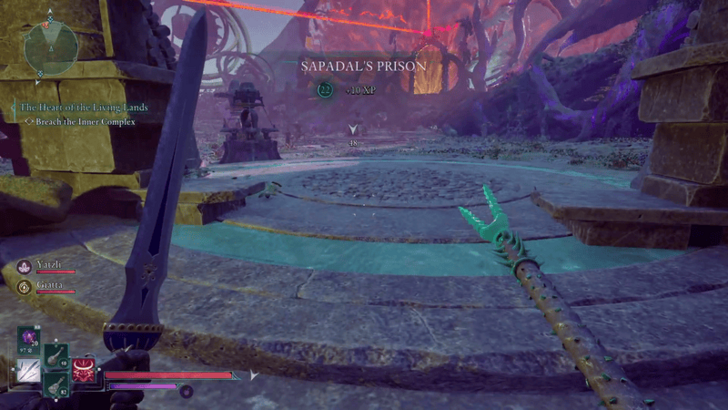 After defeating the enemies, go through the path that was blocked by the glowing barrier until you reach Sapadal's Prison where you can see two laser beams shooting toward a large door. This area is also filled with Maegfolc enemies that you need to defeat. Once you defeat all the enemies, grab another Severed Maegfolc Arm from the Pristine Maegfolc you killed and use it on the device on the area to proceed to where Sapadal is. |
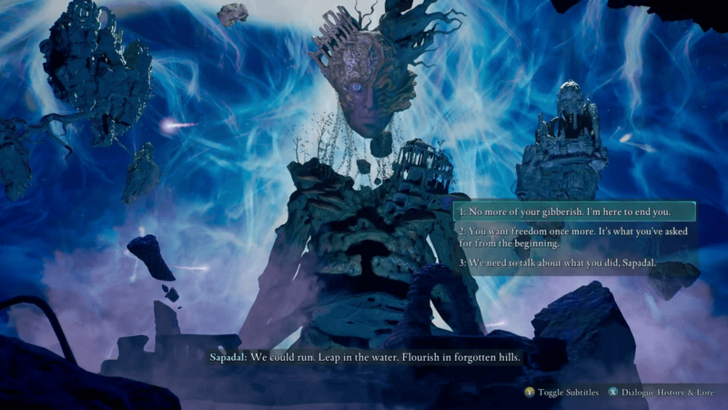
Once you meet Sapadal in the Heart of Garden, you will be given an option to destroy her or free her which will affect your reward and your story ending.
Destroy Sapadal
| Ability | Info |
|---|---|
 Woedica's Call Woedica's Call
|
Class: Godlike
Type: Active Casting Cost: 100 Essence Duration: 45 Seconds Cooldown: 60 Seconds |
| Effect: Calls forth a maegfolc ally that erupts from the earth to smite your enemies. | |
Destroying Sapadal will grant you Woedica's Call as your final reward.
Free Sapadal
| Ability | Info |
|---|---|
 Sapadal's Fury Sapadal's Fury
|
Class: Godlike
Type: Active Casting Cost: 100 Essence Cooldown: 60 Seconds |
| Effect: Unleashes the power of Sapadal to lift all nearby enemies into the air and slam them down, dealing high damage. | |
Choosing the other option, which is to free Sapadal, will get you the Sapadal's Fury. It has a different effect from Woedica's Call, but both can deal high damage to enemies.
The Heart of the Living Lands Rewards
Obtain Woedica's Call or Sapadal's Fury
During the quest, you will have to choose between destroying Sapadal or freeing her. Destroying her will grant you Woedica's Call while freeing her will give you Sapadal's Fury.
The Heart of the Living Lands Overview
Location and Mission Info
| The Heart of the Living Lands Quest Info | |
|---|---|
| Quest Type | Main Quest |
| Starting Location | The Garden |
| Mission Description | |
| Find them. They await. | |
Avowed Related Guides

All Main Quests
| List of All Main Quests | |
|---|---|
| 1 | On Strange Shores |
| 2 | Message from Afar |
| 3 | An Untimely End |
| 4 | The Animancy Method |
| 5 | Ancient Soil |
| 6 | A Path to the Garden |
| 7 | Face Your Fears |
| 8 | Shadows of the Past |
| 9 | Our Dreams Divide Us Still |
| 10 | The Heart of the Living Lands |
| Pulling Back the Veil | |
| 11 | The Siege of Paradis |
Comment
Author
The Heart of the Living Lands Walkthrough
Please participate in our site
improvement survey
03/2026
improvement survey
03/2026
Would you assist in
improving Game8's site?
improving Game8's site?

×
We are listening to our users' valuable opinions and discussing how to act on them.
The information collected through this survey will be used for the purpose of improving our services. In addition, the information will only be disclosed a part of a statistic in a format that will not allow identification of personal information.
Begin Survey
Not Now
×
Please rate each item regarding Game8.co's Advertisements.
Amount of Ads
Very Dissatisfied
Somewhat Dissatisfied
Fine
Somewhat Satisfied
Highly Satisfied
Placement of Ads
Timing of Ad Display
Ad Loading Speed
Safeness of Ads
Content of Ads
×
Please rate each item regarding Game8.co's Quality of Articles.
Amount of information
Very Dissatisfied
Somewhat Dissatisfied
Fine
Somewhat Satisfied
Highly Satisfied
Frequency of updates
Speed of new information
Accuracy of articles
Understandibility of articles
Readability of sentences
×
Please rate each item regarding Game8.co's Usability of the Site.
Ease of finding information
Very Dissatisfied
Somewhat Dissatisfied
Fine
Somewhat Satisfied
Highly Satisfied
Loading Speed
Use of Color
Font Size
Visibility of Images
Easy to Understand Layout
×
Please rate each item regarding Game8.co's Message Boards, Comments.
Ease of Writing
Very Dissatisfied
Somewhat Dissatisfied
Fine
Somewhat Satisfied
Highly Satisfied
Readability
Ease in Finding Information
Comment Quality
Comment Quantity
Admin Response
×
Please rate each item regarding Game8.co's Site's new design.
Please rate our site's new design
Very Dissatisfied
Somewhat Dissatisfied
Fine
Somewhat Satisfied
Highly Satisfied
Do you think that the website's design change makes the site easier to use?
Has the new design made it easier for you to find information on the site?
Has the new design improved the overall visual appeal of the site?
How would you rate your overall satisfaction with the new design of the site?
×
How likely are you to recommend Game8 to someone you know?
Very Unlikely
0
1
2
3
4
5
6
7
8
9
10
Very Likely
If you have other opinions regarding potential improvement to the website, please share them with us. We would appreciate your honest opinion.
Note: This is a free response section, so you can proceed without entering anything.
Note: Please be sure not to enter any kind of personal information into your response.
Note: Please be sure not to enter any kind of personal information into your response.
×
Thank You
×
Thank you for participating in our survey! Your answers will help us to improve the quality of our website and services.
We hope you continue to make use of Game8.
We hope you continue to make use of Game8.
Close
Rankings
- We could not find the message board you were looking for.
Gaming News


![Monster Hunter Stories 3 Review [First Impressions] | Simply Rejuvenating](https://img.game8.co/4438641/2a31b7702bd70e78ec8efd24661dacda.jpeg/thumb)
Popular Games

Genshin Impact Walkthrough & Guides Wiki
Honkai: Star Rail Walkthrough & Guides Wiki
Umamusume: Pretty Derby Walkthrough & Guides Wiki
Pokemon Pokopia Walkthrough & Guides Wiki
Resident Evil Requiem (RE9) Walkthrough & Guides Wiki
Monster Hunter Wilds Walkthrough & Guides Wiki
Wuthering Waves Walkthrough & Guides Wiki
Arknights: Endfield Walkthrough & Guides Wiki
Pokemon FireRed and LeafGreen (FRLG) Walkthrough & Guides Wiki
Pokemon TCG Pocket (PTCGP) Strategies & Guides Wiki


Recommended Games
Diablo 4: Vessel of Hatred Walkthrough & Guides Wiki
Cyberpunk 2077: Ultimate Edition Walkthrough & Guides Wiki
Fire Emblem Heroes (FEH) Walkthrough & Guides Wiki
Yu-Gi-Oh! Master Duel Walkthrough & Guides Wiki
Super Smash Bros. Ultimate Walkthrough & Guides Wiki
Pokemon Brilliant Diamond and Shining Pearl (BDSP) Walkthrough & Guides Wiki
Elden Ring Shadow of the Erdtree Walkthrough & Guides Wiki
Monster Hunter World Walkthrough & Guides Wiki
The Legend of Zelda: Tears of the Kingdom Walkthrough & Guides Wiki
Persona 3 Reload Walkthrough & Guides Wiki


All rights reserved
© 2025 Obsidian Entertainment, Inc. Obsidian Entertainment, the Obsidian Entertainment logo, Avowed, and Avowed logos are trademarks or registered trademarks of Obsidian Entertainment, Inc. All rights reserved.
The copyrights of videos of games used in our content and other intellectual property rights belong to the provider of the game.
The contents we provide on this site were created personally by members of the Game8 editorial department.
We refuse the right to reuse or repost content taken without our permission such as data or images to other sites.