Best Builds for Each Character

These are the Best Builds for each character in Final Fantasy 7 Rebirth (FF7 Rebirth). Learn about the characters' best weapons, equipment, and Materia here!
| Party and Build Guides | |
|---|---|
| Best Character Builds | Best Party Compositions |
| Character Tier List | Best Abilities |
List of Contents
Cloud Best Builds
Cloud Endgame Build
| Equipment | Materia |
|---|---|
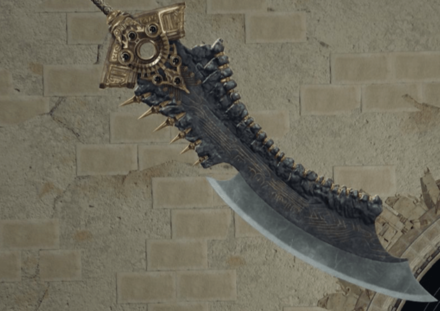 Igneous Saber Igneous Saber
Weapon Lv. 7 |
|
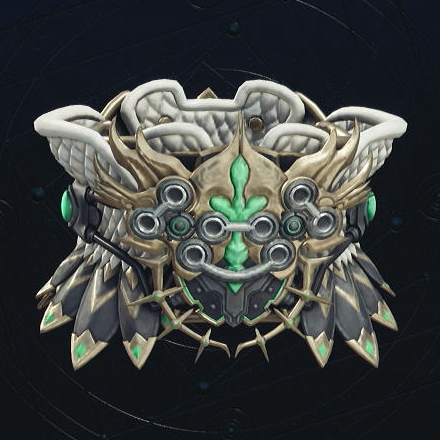 Cetran Bracer Cetran Bracer
|
|
| Alternative Armor | |
| Weapon Skills | |
| Accessory | Effect |
|---|---|
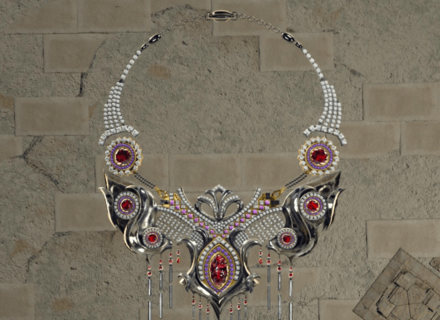 Gotterdammerung Gotterdammerung
|
Completely fills the limitbreak gauge at the start of battle. Gradually fills the limit break gauge during battle. |
| Alternative Accessories | |
Fire and Ice can be switched for any other element materia based on the fight.
This is a general build for Cloud that you can follow during the post-game's Hard Mode. Cloud's strength is through his numerous weapon abilities and his already fast ATB buildup.
Cloud has strong Limit Breaks like Ascension and Finishing Touch. His Limit gain can be boosted through accessories like Gotterdammerung or alternatively Gi Warrior's Charm. Otherwise, he can have faster access to skills through the Chocoking's Cape and a maxed out First Strike.
Elemental is added to his materia kit to give Cloud access to elemental damage and spells. Darkside remains an option for boosting damage from his abilities if not used by other members such as Red XIII.
How to Effectively Use Skill Master
|
|
Slightly fills the ATB gauge when 3 types ATB commands are performed. |
|---|---|
| Sample Ability Combos | |
| Combo 1 | Operator Mode: Prime Mode → Disorder → Triple Slash (airborne) |
| Combo 2 | Punisher Mode: Disorder → Prime Mode → Focused Thrust |
| Combo 3 | Punisher Mode: Disorder → Firebolt Blade → Braver |
| Important Notes | |
|
Disorder switches Cloud's mode based on his current stance: ・Punisher → Operator (airborne) ・Operator → Punisher (grounded) It is recommeded for combo extension since it provides Cloud an ATB boost when Disorder connects with an enemy. | |
Above are some sample ability combos utilizing Cloud's Disorder to ensure there are fewer gaps in his ATB bar for other commands.
Feel free to use a skill you feel is appropriate for the situation, but do not forget to block attacks when needed to prevent any combo interruptions and build ATB from Steadfast Block!
Best Team Synergies
| Synergy Skills | |
|---|---|
| Power Cleave Cloud unleashes a powerful physical attack. Good for dealing heavy physical damage in general without having to use ATB. |
|
| Spell Blade Cloud unleashes a powerful magical attack. Good for dealing magic burst damage top enemies. |
|
| Synergy Abilities | |
| United Refocus Grants Cloud and his synergy partner temporary 3-bar ATB gauges for a more flexible use of commands. |
|
| Relentless Rush Great for dealing huge damage and extending the stagger time on staggered enemies. |
|
| SOLDIER Moogle Class For damage dealing with Cait Sith in the party. Raises limit levels. |
|
Additional Build Notes
- Gotterdammerung is a strong accessory that is obtained from the Brutal Challenge: Rulers of the Outer World in Chadley's Combat Simulator, which is accessible after defeating Gilgamesh.
- Cetran Bracer is obtained during the course of Chapter 13. It is advised to obtain this since it has 8 materia slots filled by the build.
- Igneous Saber is the choice weaopon for having a higher potential attack power over the Slipstream Saber which focuses on magic attack.
Cloud Late Game Build
| Equipment | Materia |
|---|---|
 Igneous Saber Igneous Saber
Weapon Lv. 5 |
|
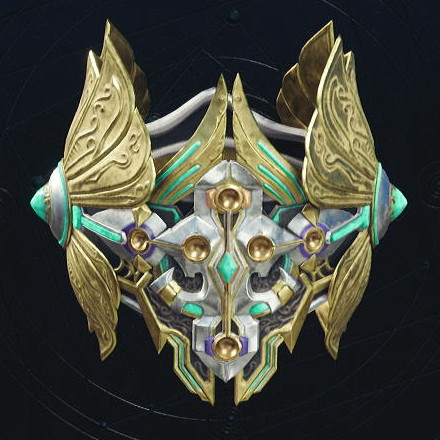 Valkyrian Bangle Valkyrian Bangle
|
|
| Alternative Armor | |
| Weapon Skills | |
| Accessory | Effect |
|---|---|
 Speed Demon Keychain Speed Demon Keychain
|
Slightly replenishes ATB gauge when using a weapon ability. |
| Alternative Accessories | |
・Full Throttle Wristguards ・ |
|
This build for Cloud can be constructed during Chapter 11: The Long Shadow of Shinra and focuses on Cloud's physical damage abilities and fast ATB buildup. Igneous Saber is the choice weapon for its high attack power and 6 available materia slots.
By this part of the game, Cloud has access to a strong set of weapon abilities like Prime Mode and Infinity's End. Make sure to master these abilities for utilizing bonus ATB from Skill Master.
If you wish to customize Cloud's kit to be more defensive or to make use of spells, the Valkyrian Bangle has 6 materia slots with 3 links. When not actively using Cloud, he is particularly strong when he has both Auto-Unique and Auto-Weapon ability materia equipped.
Best Team Synergies
| Synergy Skills | |
|---|---|
| Power Cleave Cloud unleashes a powerful physical attack. Good for dealing heavy physical damage in general without having to use ATB. |
|
| Spell Blade Cloud unleashes a powerful magical attack. Good for dealing magic burst damage top enemies. |
|
| Synergy Abilities | |
| United Refocus Grants Cloud and his synergy partner temporary 3-bar ATB gauges for a more flexible use of commands. |
|
| Relentless Rush Great for dealing huge damage and extending the stagger time on staggered enemies. |
|
Additional Build Notes
- The Odin materia increases attack power and strength. It can be obtained from defeating Odin at Chadley's Combat Simulator in Nibelheim.
- If no other party member is using Strength Up, you can swap out a materia for it. It is obtained by completing Corel Battle Intel: Sand Slitherers at Chadley's Combat Simulator.
- The Igneous Saber is obtained in the Northern Ridge - 160m area at Mt. Nibel. Its purple chest is found on a platform between climbable terrain.
- The Valkyrian Bangle is obtained at the Nidhogg Grotto in the Nibel Region (far southwest island). This needs a Chocobo capable of using Chocojet (Chocobo Intel found from the side quest Esoteric Secrets of the Elders).
Cloud Mid Game Build
| Equipment | Materia |
|---|---|
 Sleek Saber Sleek Saber
|
|
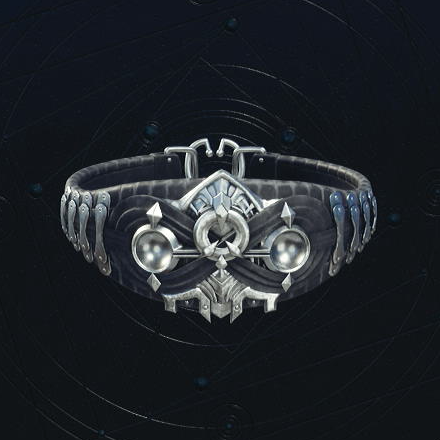 Abyssal Bangle Abyssal Bangle
|
|
| Weapon Skills |
| Accessory | Effect |
|---|---|
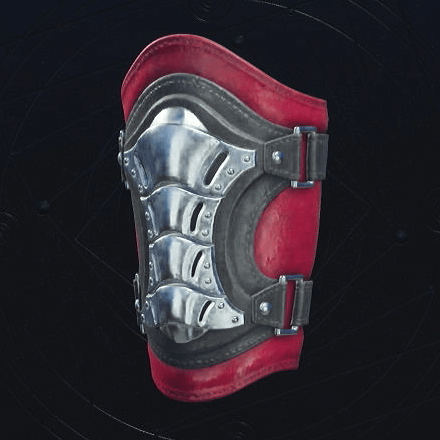 Hi-Power Wristguards Hi-Power Wristguards
|
Increases strength by 5%. Increases max HP by 250. |
This build for Cloud can be constructed during Chapter 7: Those Left Behind and focuses on taking advantage of the Enemy Skill and HP Absorption abilities while having a fast ATB Charge rate through Sleek Saber's available weapon skills.
Fire and Ice and Wind are the go-to elements since most enemies in the Corel Region are weak to this. In any case, feel free to swap them out for another combination like Lightning and Wind.
Best Team Synergies
| Synergy Skills | |
|---|---|
| Power Cleave Cloud unleashes a powerful physical attack. Good for dealing heavy physical damage in general without having to use ATB. |
|
| Spell Blade Cloud unleashes a powerful magical attack. Good for dealing magic burst damage top enemies. |
|
| Synergy Abilities | |
| United Refocus Grants Cloud and his synergy partner temporary 3-bar ATB gauges for a more flexible use of commands. |
|
| Relentless Rush Great for dealing huge damage and extending the stagger time on staggered enemies. |
|
Additional Build Notes
- HP Absorption can be developed from Chadley's Research in the Corel Region. Gathering Data Points from that region becomes available starting at Chapter 7.
- Enemy Skill can be obtained as a reward from Biological Intel: Know Thine Enemy in Chadley's Combat Simulator.
- Chakra for backup HP recovery. This can be swapped out for Healing or another materia if your party already has a dedicated healer.
- Hi-Power Wristguards can be unlocked for transmutation by completing Excavation Intel 2: Pipeline Depository (can be discovered by completing Expedition Intel) in the Grasslands.
Cloud Early Game Build
| Equipment | Materia |
|---|---|
 Sleek Saber Sleek Saber
|
|
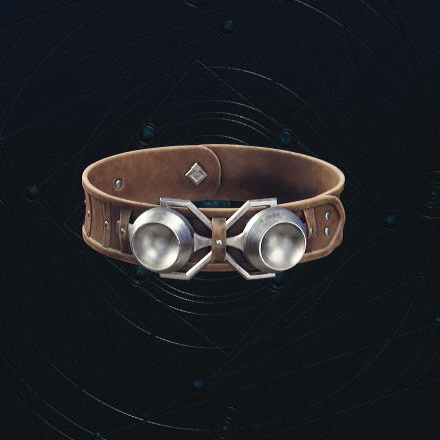 Hunter's Bangle Hunter's Bangle
|
|
| Weapon Skills |
| Accessory | Effect |
|---|---|
 Hi-Power Wristguards Hi-Power Wristguards
|
Increases strength by 5%. Increases max HP by 250. |
This is a simple early game build for Cloud available before fighting Midgardsomr, the game's first open world boss in Chapter 2: A New Journey Begins. This build should hold up to Junon in Chapter 4: Dawn of a New Era.
When actively using Cloud as a frontliner melee combatant, it is recommended to buff him with utility materia (HP and MP) and have the Sleek Saber for slotting in ATB Charge Rate Up to speed up getting access to his abilities, spells, and items.
Best Team Synergies
| Synergy Skills | |
|---|---|
| Bullet Batter Cloud deals up to three conseecutive ranged physical attacks with Barret. Good for fighting distant and aerial enemies. Can be used while in midair. |
|
| Synergy Abilities | |
| Relentless Rush Useful synergy ability for extending stagger time on foes. |
|
| Firework Blade Cloud teams up with Aerith to unleash a magical ranged attack. Useful for dealing with distant or flying enemies. Raises limit levels. |
|
Additional Build Notes
- Fire and Ice Materia is good to have on Cloud since some strong mobs in the first 4 chapters will be weak to them (ex. Ogre and Crystalline Crab).
- The Sleek Saber can be obtained for free in a purple chest at the Abandoned Dock as you progress the main story.
- If you do not plan on taking advantage of Cloud's perfect block, you can swap out Precision Defense Focus with any utility-based materia like Steal for farming items, or have another materia such as Lightning.
- Hi-Power Wristguards can be unlocked for transmutation by completing Excavation Intel 2: Pipeline Depository (can be discovered by completing Expedition Intel) in the Grasslands.
Aerith Best Builds
Aerith Endgame Build
| Accessory | Effect |
|---|---|
 Plumose Rod Plumose Rod
Weapon Lv. 8 |
|
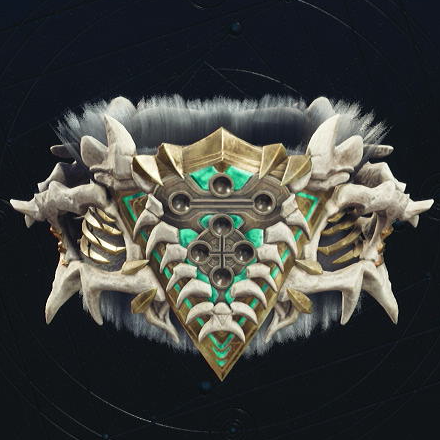 Hades Armlet Hades Armlet
|
|
| Alternative Armor | |
| Weapon Skills | |
| Accessory | Effect |
|---|---|
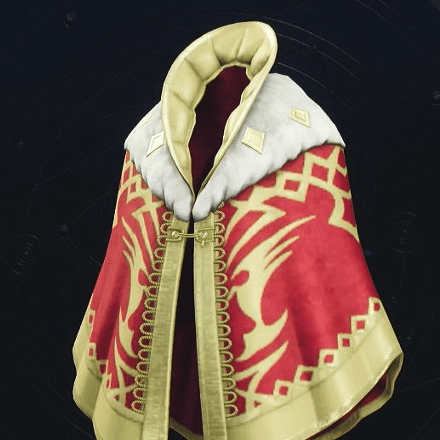 Chocoking's Cape Chocoking's Cape
|
Fills one ATB charge at the start of battle. |
| Alternative Accessories | |
This is a hard mode build for Aerith, equipped with magic element materia paired with support materia to help in petrifying most bosses and clearing mobs fast.
With First Strike, ATB Boost materia, and Chocoking's Cape, you should have enough ATB to cast a max-level spell within an arcane ward. This doubles your casted spell which means you'll double your damage.
Always use an elemental spell when fighting against mobs to finish the battle fast. Start with Petrify when fighting bosses to immobilize them early and land combos on them safely.
Keep in mind that Petrify can also be used as a spell that builds up stagger, while Poison should only be used if an enemy is weak to it.
Best Team Synergies
| Synergy Skills | |
|---|---|
| All | Bodyguard Ask any of your allies to defend you while you move about the battlefield. |
| Synergy Abilities | |
| United Refocus Provides a 3-charge ATB gauge. Useful for increasing the usage of commands in battle. |
|
| Mystic Manipulation Aerith clones Yuffie to assault an enemy. Grants unlimited MP for a limited time. |
|
Additional Build Notes
- You can get the Chocoking's Cape by completing the Gold Cup or Bust side quest.
- Cast one ward before using ATB Boost to maximize its full effect when starting battles (Only applicable if Chocoking's Cape is equipped).
- The third Magnify materia is a reward from the Brutal Challenge: Hellions' Intonement, which is available after beating Gilgamesh.
- You can pair Healing with Magic Efficiency instead if you only have two Magnify Materia.
Aerith Late Game Build
| Accessory | Effect |
|---|---|
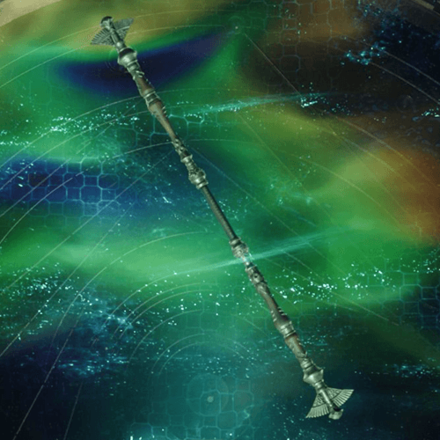 Timeless Rod Timeless Rod
Weapon Lv. 5 |
|
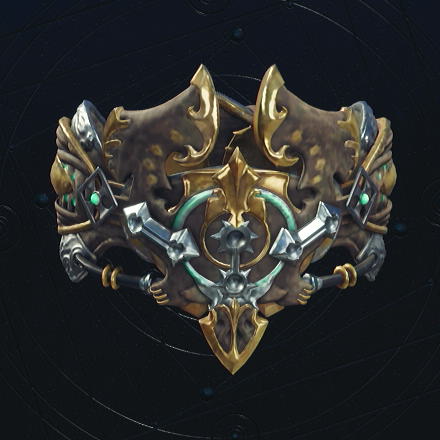 Yggdrasill Armlet Yggdrasill Armlet
|
|
| Weapon Skills |
| Accessory | Effect |
|---|---|
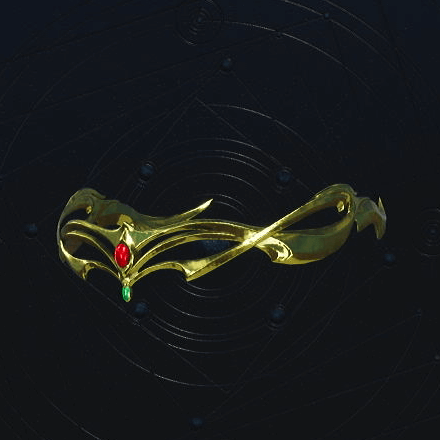 Circlet Circlet
|
Increases max MP by 10% and Increases magic power by 5% |
| Alternative Accessories | |
You can choose to equip the Ceremonial Staff for more magic attack at the cost of having only 2 materia slots.
This is a general build for Aerith you can follow when using her actively as a healer and spellcaster during Chapter 11: The Long Shadow of Shinra onwards.
Aerith maintains her role as a strong support and spellcaster able to exploit elemental weaknesses. Magnify is important since this allows any connected spell to apply to all enemies or allies. Time materia's Haste spell is useful for increasing ATB charge.
The Enhanced Yggrdasil Armlet provides 6 materia slots, enough for a wide variety of materia such as MP Absorption or Magic Focus. Feel free to switch out materia for any other linked materia or spells such as Gravity or Comet when needed.
Best Team Synergies
| Synergy Abilities | |
|---|---|
| United Refocus Provides a 3-charge ATB gauge. Useful for increasing the usage of commands in battle. |
|
| Firework Blade Unleash a strong magical range attack with Cloud against a distant enemy. Raises limit levels. |
|
| Mega Moogle Mash Extends stagger time and damage dealt to staggered enemies. |
|
Additional Build Notes
- Magnify can be obtained from Cait Sith's starting equipment.
- MP Absorption is developed at Chadley's Research in the Nibel Region.
- If you have not obtained it the Circlet yet, it can be found at the Seabreeze Storehouse after Corel's Chocobo Ranch, located in a treasure box past the two parked tankers
- Enhanced Yggdrasil Armlet is unlocked for transmutation when completing Excavation Intel: Island Base. The standard armlet is transmutable at Craftsmanship Level 13.
- Alternatively, you can equip the stronger Valkyrian Bangle. This can be obtained from Nidhogg Grotto (far southwest island) accessible via Chocobo.
- ATB Boost is best used when you have at least 1 bar of ATB since it will be doubled to 2 bars. This allows you to quickly use Prayer, cast two spells, or use another other command after placing a ward.
- You can choose to equip the Ceremonial Staff for more magic attack at the cost of having only 2 materia slots.
Aerith Mid Game Build
| Accessory | Effect |
|---|---|
 Wizard's Rod Wizard's Rod
|
|
 Abyssal Bangle Abyssal Bangle
|
|
| Weapon Skills |
| Accessory | Effect |
|---|---|
 Circlet Circlet
|
Increases max MP by 10% and Increases magic power by 5% |
| Alternative Accessories | |
This is a general build for Aerith you can follow when using her actively as a healer and spellcaster during Chapter 7: Those Left Behind onwards.
Slot in Fire and Ice and Lightning and Wind to cover all 4 elemental needs for your team. When using Healing materia, connect it with Magic Efficiency to reduce its MP cost.
With three available materia links, you can experiment with switching up Aerith's kit such as throwing in Elemental materia to imbue her basic attacks with elements (including attacks buffed by Radiant Ward), or having Auto-Cast if you are more actively using another character.
Best Team Synergies
| Synergy Abilities | |
|---|---|
| United Refocus Provides a 3-charge ATB gauge. Useful for increasing the usage of commands in battle. |
|
| Firework Blade Unleash a strong magical range attack with Cloud against a distant enemy. Raises limit levels. |
|
- Magic Efficiency can be developed at Chadley's Research in Corel.
- Fire and Ice are developed at Chadley's Research in the Grasslands, while Lightning and Wind are developed at Chadley's Research in Junon.
- Wizard's Rod can be obtained for free in a purple chest early on when entering Mt. Corel (can be found near vending machines).
- The Circlet can be found at the Seabreeze Storehouse after Corel's Chocobo Ranch, located in a treasure box past the two parked tankers
Aerith Early Game Build
| Accessory | Effect |
|---|---|
 Timeless Rod Timeless Rod
|
|
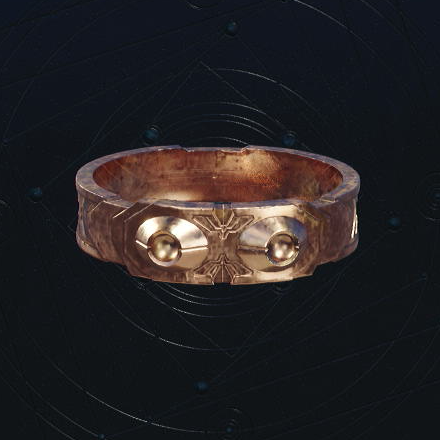 Copper Bracer Copper Bracer
|
|
| Weapon Skills |
| Accessory | Effect |
|---|---|
 Magical Earrings Magical Earrings
|
Increases magic power by 5%. Increases max MP by 3. |
This is an early game build for Aerith available before fighting Midgardsomr, the game's first open world boss in Chapter 2: A New Journey Begins. Aerith's strength is in her support magic and burst damage from spellcasting due to her high magic attack.
Be sure to use her strategically since her basic attacks are usually slow. The Timeless Rod's Chrono Aegis will help defend against strong enemies who are closing in on her.
Best Team Synergies
| Synergy Abilities | |
|---|---|
| United Refocus Provides a 3-charge ATB gauge. Useful for increasing the usage of commands in battle. |
|
| Divine Punishment Tifa teams up with Aerith to deal a strong AoE attack that applies to a wide area at the target's location. Useful for multiple enemies. Raises limit levels. |
|
Additional Build Notes
- Materia can be bought at the Vending Machine at Oliver's Farm. Fire and Ice is developed at Chadley's Research.
- The Timeless Rod can be found in a purple chest to the right of Chloe's Shop. The shop is found within Bill's Ranch in the Grasslands.
- The Copper Bracer can be transmuted for her at Craftsmanship Level 3. Alternatively, you can buy the Bone Bracelet from the Vending Machine for higher magic defense.
- Feel free to change Aerith's materia elements depending on the enemies she will face.
- Magical Earrings can be unlocked for transmutation by completing Excavation Intel 2: Pipeline Depository (can be discovered by completing Expedition Intel) in the Grasslands.
Aerith Best Builds and Weapons
Tifa Best Builds
Tifa Endgame Build
| Equipment | Materia |
|---|---|
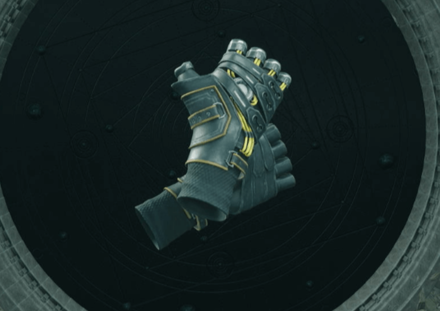 Járngreipr Járngreipr
Weapon Lv. 8 |
|
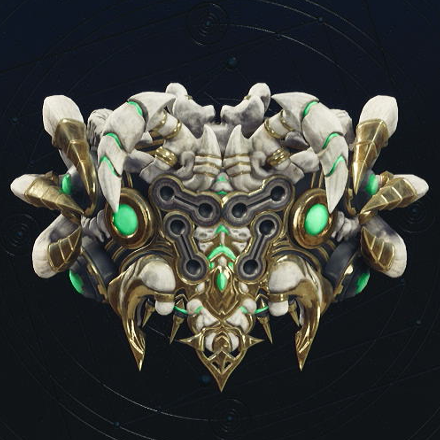 Cetran Armlet Cetran Armlet
|
|
| Alternative Armor | |
| Weapon Skills | |
| Accessory | Effect |
|---|---|
 Karmic Cowl Karmic Cowl
|
Increases vitality and spirit by 30. Grants immunity to Slow and Instant Death. |
This is a versatile Tifa endgame build designed for spamming weapon abilities and self-sustaining Tifa's HP when playing her as an active character. The build is also designed for non-active use when players only use Tifa when enemies are staggered.
Speed Up allows Tifa to build up ATB charges faster; this synergizes with the Plasma Discharge ability from the Enemy Skill materia paired with HP Absorption, allowing Tifa to siphon health from enemies hit by the discharge whenever she fills an ATB gauge.
The Karmic Cowl along with the HP Up, Chakra, and Spirit Up materia are used to add a bit of survivability for Tifa.
Steadfast Block, Precision Defense Focus, Auto-Unique Ability, and Auto-Weapon Ability materia are for situations where Tifa is a non-active character.
Best Team Synergies
| Synergy Skills | |
|---|---|
| Soaring Flurry Allows Tifa to engage in aerial combat. Best used against flying enemies or hard-to-reach enemy parts. |
|
| Heavenly Ascent Useful for stunlocking in midair or attacking flying enemies. |
|
| Synergy Abilities | |
| United Refocus Adds an extra ATB gauge for Tifa and Aerith or Yuffie; synergizes with this build's combo on Plasma Discharge and HP Absorption. |
|
| Divine Punishment Useful for dealing magic AoE damage against mobs or bosses with targettable body parts. |
|
Additional Build Notes
- You can swap Assess with any magic element (Fire, Ice, Lightning, and Wind) materia to help out with exploiting enemy weaknesses.
- The Plasma Discharge enemy skill is a reward from the combat simulator; Biological Intel: Blinded by Light.
Tifa Late Game Build
| Equipment | Materia |
|---|---|
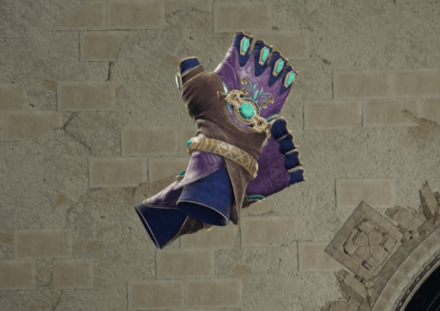 Crystal Gloves Crystal Gloves
Weapon Lv. 6 |
|
 Hades Armlet Hades Armlet
|
|
| Alternative Armor | |
| Weapon Skills | |
| Accessory | Effect |
|---|---|
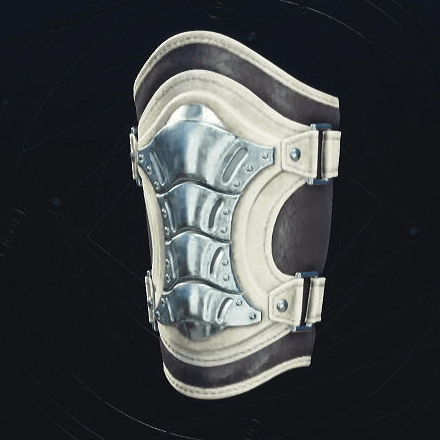 Full Throttle Wristguards Full Throttle Wristguards
|
Increases strength by 10%. Increases max HP by 500. |
After getting the Crystal Gloves in Chapter 11, you'll be able to deal magic damage with your basic attacks while also adding more stagger with each hit using Unfettered Fury. This makes the Magic Attack stat slightly as important as Tifa's Attack stat.
By following this build, you'll have a high amount of both Attack and Magic Attack stats while also improving Tifa's ability to stagger enemies.
Having the Opening ATB Bonus weapon skill and the First Strike materia equipped allows Tifa to use Unfettered Fury twice earlier. After setting up, you can cast Sonic Boom (Enemy Skill) for damage boosts and Haste so you can keep using the abilities you need.
Stagger Enemy with Unfettered Fury Before Switching to Unbridled Strength
While Unfettered Fury is active, Tifa's unique abilities will deal increased stagger damage but will increase the damage multiplier of staggered enemies less.
You can keep Unfettered Fury on while staggering the enemy then quickly change to Unbridled Strength upon filling the Stagger gauge.
Best Team Synergies
| Synergy Skills | |
|---|---|
| Soaring Flurry This skill allows Tifa to be launched at a hovering target and engage in aerial combat. Use this to reach flying enemies or when attacking discrete enemy parts that can't be hit while grounded. |
|
| Heavenly Ascent Very useful against smaller enemies as they can be stunlocked in midair with the right combo after the initial launch. |
|
| Slip and Slide Back up for when you have no ATB charge for dodging with Focused Strike. |
|
| Synergy Abilities | |
| United Refocus This ability gives both Tifa and Aerith an extra segment on the ATB gauge. With this build, Tifa can quickly fill all three charges and spam abilities that you need. |
|
| Divine Punishment Deals heavy damage and sets Tifa's Dolphin Flurry up the next time an enemy is staggered. |
|
| Relentless Rush / Cyclonic Kick Both Synergy Abilities are best reserved for when the target is staggered to maximize damage. |
|
Additional Build Notes
- Try to use Starshower first before using a Limit Break.
- Use Mind Blast (Enemy Skill) for a quick and easy fill on the enemies' Stagger gauges. Take note that this ability can only be used once per battle!
Tifa Mid Game Build
| Equipment | Materia |
|---|---|
 Kaiser Knuckles Kaiser Knuckles
|
|
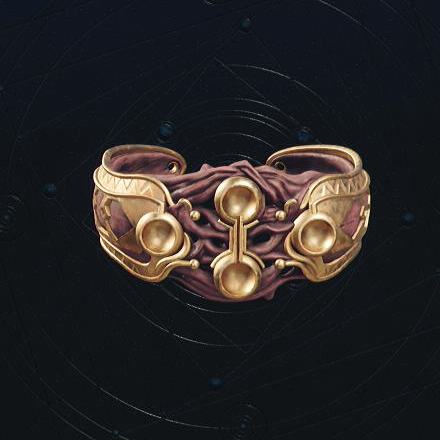 Gold Coral Armlet Gold Coral Armlet
|
|
| Weapon Skills |
| Accessory | Effect |
|---|---|
 Aureate Pinion Aureate Pinion
|
Increases speed by 10 |
| Alternative Accessories | |
We'll switch to a physical build at mid game with Kaiser Knuckles and enhance it with several Complete Materia. Replacing the Sylph Gloves means sacrificing the ATB charge rate weapon skill in exchange for higher physical attack and an extra materia slot.
Instead of spells, your source of elemental damage will be the Enemy Skill materia and the abilities from Tifa's Folio. The default ability from this materia is a 3-in-1 mix of Aero, Bravery, and Faith, all for just one ATB charge.
Be sure to complete the necessary Combat Simulator battles from Chadley to obtain more Enemy Skills!
Best Team Synergies
| Synergy Skills | |
|---|---|
|
|
Soaring Flurry This skill allows Tifa to be launched at a hovering target and engage in aerial combat. Use this to reach flying enemies or when attacking Jenova Emergent's weak spots. |
| Heavenly Ascent Very useful against smaller enemies as they can be stunlocked in midair with the right combo after the initial launch. |
|
| Synergy Abilities | |
| United Refocus This ability gives both Tifa and Aerith an extra segment on the ATB gauge. With this build, Tifa can quickly fill all three charges and spam abilities that you need. |
|
| Divine Punishment Deals heavy damage and sets Tifa's Dolphin Flurry up the next time an enemy is staggered. |
|
Additional Build Notes
- Enemy Skill's Plasma Discharge is a good ability on Tifa against enemies weak to Lightning as she can trigger the electric blast more frequently.
Tifa Early Game Build
| Equipment | Materia |
|---|---|
 Sylph Gloves Sylph Gloves
|
|
 Hunter's Bangle Hunter's Bangle
|
|
| Weapon Skills |
| Accessory | Effect |
|---|---|
 Aureate Pinion Aureate Pinion
|
Increases speed by 10 |
| Alternative Accessories | |
This is a balanced build for Tifa during the early game where she can play as a physical stacker and a spellcaster. Options are limited in the first chapters so Tifa can't specialize in physical damage yet.
Fire and Ice Materia will cover you for the majority of the journey as most enemies along the way are weak to either Fire or Ice attacks. For those weak to Wind attacks, the Reverse Gale ability from Sylph Gloves will answer to them.
Tifa will gain ATB charges fast as the active character, allowing you to reach max chi level with two uses of Unbridled Strength early before spamming other abilities.
Make the ATB gauge fill up even faster with ATB Charge Rate Up weapon skill along with the Aureate Pinion accessory.
Best Team Synergies
| Synergy Skills | |
|---|---|
|
|
Soaring Flurry This skill allows Tifa to be launched at a hovering target and engage in aerial combat. Use this to reach flying enemies or the Midgardsormr's head. |
| Heavenly Ascent Very useful against smaller enemies as they can be stunlocked in midair with the right combo after the initial launch. |
|
| Synergy Abilities | |
| United Refocus This ability gives both Tifa and Aerith an extra segment on the ATB gauge. With this build, Tifa can quickly fill all three charges and spam abilities that you need. |
|
| Avalanche Two-Step The Stagger buff from this ability is similar to Cloud and Tifa's. If you decided to bring Barret as the third party member, you can use both Synergy Abilities back-to-back to maximize the enemy's Staggered state. |
|
Additional Build Notes
- Lightning Materia can be replaced with Luck Up or Item Master upon reaching Gabe's Ranch in Junon.
- You can also replace Lightning Materia with Healing if Chakra's recovery isn't enough.
Red XIII Best Builds
Red XIII Endgame Build
| Equipment | Materia |
|---|---|
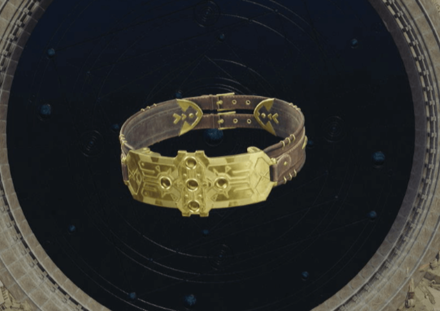 Golden Collar Golden Collar
Weapon Lv. 8 |
|
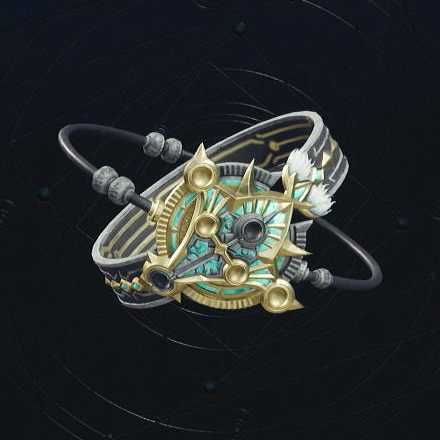 Celestial Bangle Celestial Bangle
|
|
| Alternative Armor | |
| Weapon Skills | |
| Accessory | Effect |
|---|---|
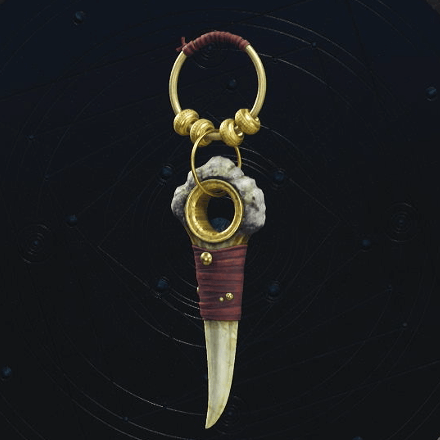 Gi Warrior's Charm Gi Warrior's Charm
|
Increases the limit gauge fill rate by 10%. |
| Alternative Accessories | |
Red XIII's best endgame build for Hard Mode focuses mainly on increasing his survivability so he can tank more hits for the Vengeance Gauge. This build works even if you're not actively controlling Red.
Start by casting Chilling Roar for the extra Vengeance Gauge buildup whenever Red is hit followed by Darkside to increase the damage of Sidewinder, Crescent Claw, and his other attack abilities.
The health Red loses due to Darkside's effect and tanking hits can be recovered using Cure, Siphon Fang, and his Lv1 Limit Break, Bloody Fang. You can also make use of the damage he received to empower Reaper Touch before you let Red heal.
Gi Warrior's Charm allows Red to frequently use any of his Limit Break depending on his needs. It can be Bloody Fang to recover HP and MP, Howling moon to instantly trigger a longer Vengeance Mode, or Wrath of the Land to deal devastating damage.
Best Team Synergies
| Synergy Skills | |
|---|---|
| Any | Wild Charge Lets Red XIII and an ally charge through attacks while closing gaps between their target. |
| Iron Defense More of a protection for Red's allies, as he can quickly move to a safe spot and "pull" an ally from harm with this Synergy Skill while also bracing for other incoming attacks. |
|
| Synergy Abilities | |
| Planetary Roar Increases both members' limit levels, giving Aerith access to Planet's Protection that adds a layer to Red's tanking capabilities. |
|
| Call of the Wild Extends the Stagger duration for Red's Vengeance Mode attacks. |
|
Additional Build Notes
- Alexander can be swapped with a summon of your choice.
- Try to unlock Retaliation in Red's folio skill tree for a more powerful counterattack than Sentinel Stance! Take note that using this ability immediately ends Vengeance Mode, so only use it when the Vengeance Gauge is about to be depleted.
Red XIII Late Game Build
| Equipment | Materia |
|---|---|
 Golden Collar Golden Collar
Weapon Lv. 5 |
|
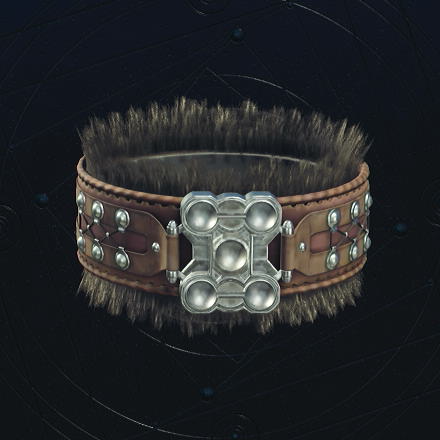 Garm Bangle Garm Bangle
|
|
| Weapon Skills |
| Accessory | Effect |
|---|---|
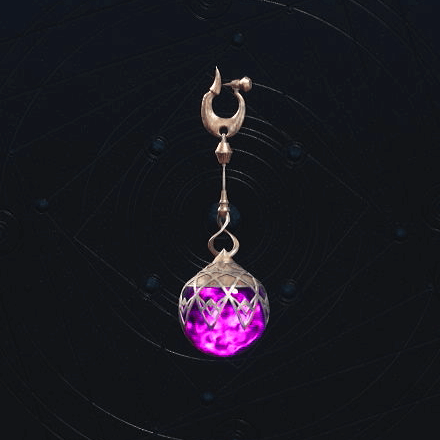 Precision Defense Focus Materia Earrings Precision Defense Focus Materia Earrings
|
Allows use of the highest level of precision defense focus materia, rendering enemies' binding attacks ineffective against perfectly timed blocks. |
| Alternative Accessories | |
This build for Red XIII can be followed during Chapter 11: The Long Shadow of Shinra onwards. Building up the Vengeance Gauge and having a reactive but speedy playstyle is still the priority for Red XIII.
Golden Collar provides a high attack damage for Red XIII. Garm Bangle is an easily accessible armor piece if you do not have access yet to equipment like the Valkyrian Bangle. When needed, Fire and Ice can be swapped out for any other element materia depending on the fight.
Best Team Synergies
| Synergy Skills | |
|---|---|
| Any | Wild Charge Allows Red XIII to damage and close the distance between enemies. It also guards against attacks, helping you build up the Vengeance gauge faster. |
| Synergy Abilities | |
| United Refocus Temporarily partitions both Red XIII's and Barret's ATB gauges into three segments, making it easier to save up on command usage. |
|
| Savage Assault Red XIII and Cloud pair up for a strong synergy attack. Raises Limit Levels. |
|
| Overfang Barret sends Red XIII flying at the enemy, doing big damage and raising their Limit Levels. |
|
Additional Build Notes
- Speed Up is rewarded from completing Gongaga Battle Intel: Rooted in the Planet.
- The Valkyrian Bangle is obtained at the Nidhogg Grotto in the Nibel Region (far southwest island). This needs a Chocobo capable of using Chocojet (Chocobo Intel found from the side quest Esoteric Secrets of the Elders).
Red XIII Mid Game Build
| Equipment | Materia |
|---|---|
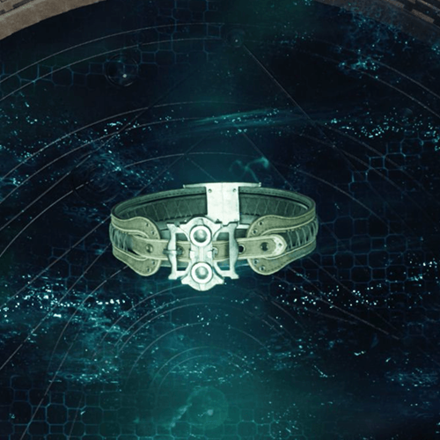 Renegade's Collar Renegade's Collar
|
|
 Abyssal Bangle Abyssal Bangle
|
|
| Weapon Skills |
| Accessory | Effect |
|---|---|
 Hi-Power Wristguards Hi-Power Wristguards
|
Increases strength by 5%. Increases max HP by 250. |
This build for Red XIII can be followed during Chapter 7: Those Left Behind onwards. We focused on augmenting Red XIII's Vengeance gauge buildup by giving him defense-based materia such as Precision Defense Focus.
Renegade's Collar is the choice weapon for Red XIII since it provides him a high attack power stat and the ATB Charge Rate Up weapon skill. HP Absorption and Enemy Skill are paired to grant him HP whenever he uses the Enemy Skill ability.
Best Team Synergies
| Synergy Skills | |
|---|---|
| Wild Charge Allows Red XIII to damage and close the distance between enemies. It also guards against attacks, helping you build up the Vengeance gauge faster. |
|
| Synergy Abilities | |
| United Refocus Temporarily partitions both Red XIII's and Barret's ATB gauges into three segments, making it easier to save up on command usage. |
|
| Overfang Barret sends Red XIII flying at the enemy, doing big damage and raising their Limit Levels. |
|
Additional Build Notes
- HP Absorption can be developed at Chadley's Research in the Corel Region. Gathering Data Points from that region becomes available starting at Chapter 7.
- Enemy Skill can be obtained as a reward from Biological Intel: Know Thine Enemy in Chadley's Combat Simulator.
- Hi-Power Wristguards can be unlocked for transmutation by completing Excavation Intel 2: Pipeline Depository (can be discovered by completing Expedition Intel) in the Grasslands.
Red XIII Early Game Build
| Equipment | Materia |
|---|---|
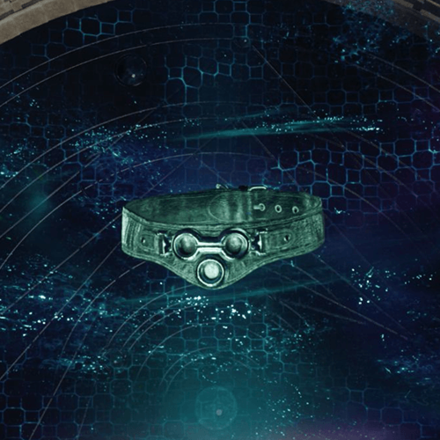 Mythril Collar Mythril Collar
|
|
 Hunter's Bangle Hunter's Bangle
|
|
| Weapon Skills |
| Accessory | Effect |
|---|---|
 Hi-Power Wristguards Hi-Power Wristguards
|
Increases strength by 5%. Increases max HP by 250. |
This is an early game build for Red XIII available before fighting Midgardsomr, the game's first open world boss in Chapter 2: A New Journey Begins.
Red XIII is exceptionally quick in battle, being able to cover lots of ground through both his dodges and attacks. Take advantage of Precision Defense Focus to make easier to time perfect blocks on enemies.
Best Team Synergies
| Synergy Skills | |
|---|---|
| Wild Charge Allows Red XIII to damage and close the distance between enemies. It also guards against attacks, helping you build up the Vengeance gauge faster. |
|
| Synergy Abilities | |
| United Refocus Temporarily partitions both Red XIII's and Barret's ATB gauges into three segments, making it easier to save up on command usage. |
|
| Overfang Barret sends Red XIII flying at the enemy, doing big damage and raising their Limit Levels. |
|
Additional Build Notes
- Precision Defense Focus Materia and HP Up Materia can be bought from the Vending Machine at Oliver's Farm.
- You can switch out the Lightning materia for another element when fighting a different enemy. Lightning when fighting the Mythril Golem boss alongside Barret in Chapter 3: Deeper into Darkness.
- Hi-Power Wristguards can be unlocked for transmutation by completing Excavation Intel 2: Pipeline Depository (can be discovered by completing Expedition Intel) in the Grasslands.
Red XIII Best Builds and Weapons
Barret Best Builds
Barret Endgame Build
| Equipment | Materia |
|---|---|
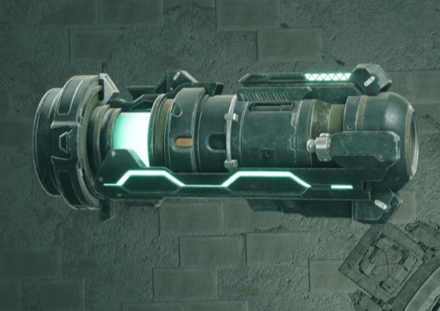 Battle Cry Battle Cry
Weapon Lv. 8 |
|
 Cetran Bracer Cetran Bracer
|
|
| Alternative Armor | |
| Weapon Skills | |
| Accessory | Effect |
|---|---|
 Whistlewind Scarf Whistlewind Scarf
|
Slightly fills the ATB gauge at the start of the battle. |
This is the best build for Barret in Hard Mode. The build revolves around spamming abilities and acting as a tank support for the team.
The Whistlewind Scarf and the First Strike materia will allow Barret to instantly use Turbulent Spirit to hasten his ATB charge rate, while ATB Assist and ATB Stagger will allow him and the rest of his team to build up materia faster.
HP Up, Vitality Up, and Spirit Up are slotted in for increased health and defense, paired with the Lifesaver and Steelskin abilities, this allows Barret to tank damage for his entire team.
Prayer, Reraise, and Healing are used for Barret to support his team, with a fast ATB charge rate, it's optimal to slot these Materia on him.
Best Team Synergies
| Synergy Skills | |
|---|---|
| Iron Defense Puts Barret and his partner in a defensive stance, reducing the damage taken. |
|
| Synergy Abilities | |
| United Refocus Temporarily partitions Barret's and his partner's ATB gauges into three segments, allowing for faster ability use. |
|
Additional Build Notes
- Depending on the enemy, players can swap Vitality Up and Spirit Up with Warding Materia paired with Poison and Petrify Materia.
Barret Late Game Build
| Equipment | Materia |
|---|---|
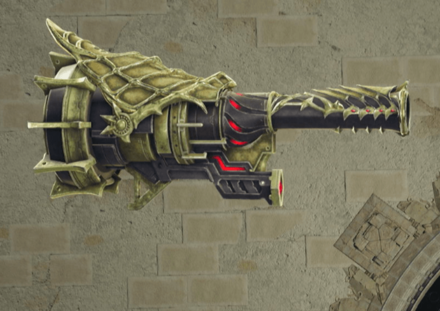 Calamitous Bazooka Calamitous Bazooka
Weapon Lv. 5 |
|
 Celestial Bangle Celestial Bangle
|
|
| Alternative Armor | |
| Weapon Skills | ・Massive Recharge
・Overcharge Stagger Siphon |
| Accessory | Effect |
|---|---|
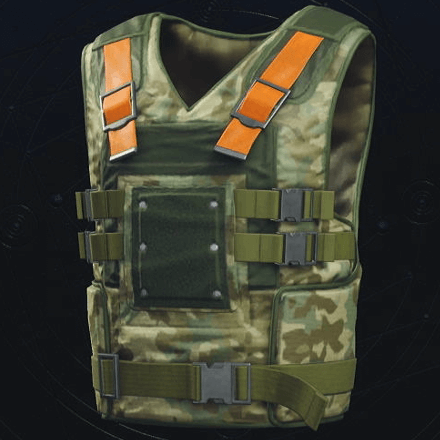 Survival Vest Survival Vest
|
Increases Vitality by +10% |
This build for Barret can be used in Chapter 11: The Long Shadow of Shinra onwards.
Barret excels at being a support tank in the late game, having Prayer and other defensive materia to enhance the party's defenses. He can build up his ATB relatively quick through ATB Stagger, ATB Boost, and fast recharges of his Overcharge weapon ability.
Since Barret can take a lot of punishment, he can combo his ability Steelskin and Lifesaver with Provoke to redirect large amounts of damage for the party.
Best Team Synergies
| Synergy Skills | |
|---|---|
| Iron Defense Puts Barret and his partner in a defensive stance, reducing the damage taken. |
|
| Synergy Abilities | |
| United Refocus Temporarily partitions Barret's and his partner's ATB gauges into three segments, making it easier to save up on command usage. |
|
| Avalanche Two-Step Will increase damage done to a staggered enemy and extend their stagger time. |
|
| Mayhem-Go-Round Fires two rotating lasers in all directions on the field. Best used when fighting groups and raises Limit Levels. |
|
Additional Build Notes
- Vitality Up is rewarded from completing Corel Battle Intel: Oh, Skewer It.
- Provoke is rewarded from completing Grasslands Battle Intel: Natural Order.
- Synergy Support is developed at Chadley's Research in the Gongaga Region.
Barret Mid Game Build
| Equipment | Materia |
|---|---|
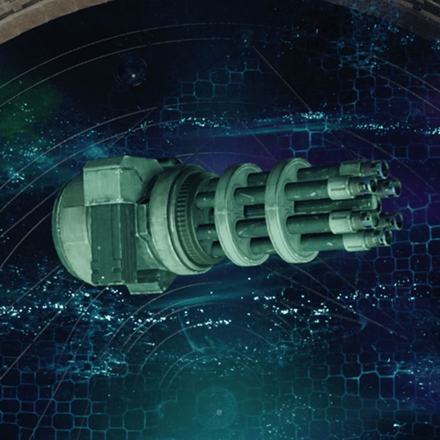 Gatling Gun Gatling Gun
|
|
 Abyssal Bangle Abyssal Bangle
|
|
| Weapon Skills |
| Accessory | Effect |
|---|---|
 Survival Vest Survival Vest
|
Increases Vitality by +10% |
This build for Barret can be used in Chapter 7: Those Left Behind onwards.
The Gatling Gun is the choice weapon for Barret since this gives him access to the weapon skill ATB Charge Rate Up. Paired with his rapid-firing attacks, he will be able to fill his ATB gauges quickly for more ability uses (especially Prayer which costs 2 ATB).
Elemental materia is useful for giving Barret's ranged attacks elemental properties. Exploiting elemental weakness increases damage dealt and stagger buildup!
Best Team Synergies
| Synergy Skills | |
|---|---|
| Iron Defense Puts Barret and his partner in a defensive stance, reducing the damage taken. |
|
| Synergy Abilities | |
| United Refocus Temporarily partitions Barret's and his partner's ATB gauges into three segments, making it easier to save up on command usage. |
|
| Avalanche Two-Step Will increase damage done to a staggered enemy and extend their stagger time. |
|
Additional Build Notes
- Elemental materia can be obtained from completing Junon Battle Intel: Conqueror of the Skies at Chadley's Research. Getting access to the Stormwing Fiend Sighting location requires completing the When Words Won't Do sidequest.
- ATB Stagger materia can be developed at Chadley's Research in Junon.
- Barret's other weapons such as the Hi-Caliber Rifle will have higher attack power. However, they will not have the ATB Charge Up skill.
Barret Early Game Build
| Equipment | Materia |
|---|---|
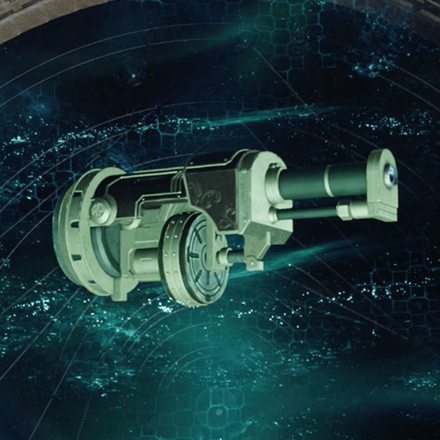 Hi-Caliber Rifle Hi-Caliber Rifle
|
|
 Hunter's Bangle Hunter's Bangle
|
|
| Weapon Skills |
| Accessory | Effect |
|---|---|
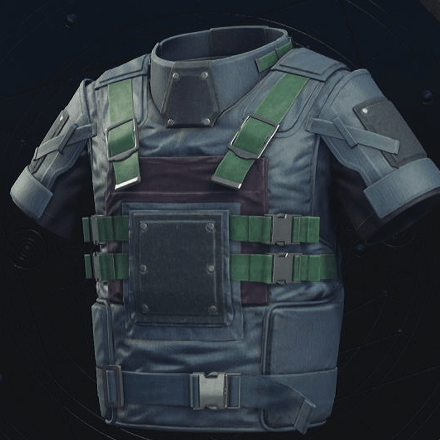 Bulletproof Vest Mk. II Bulletproof Vest Mk. II
|
Increases Vitality by +5%. Increases max HP by 250. |
This is a simple early game build for Barret available before fighting Midgardsomr, the game's first open world boss in Chapter 2: A New Journey Begins. This build should hold up to Junon in Chapter 4: Dawn of a New Era.
A good and reliable early build for Barret is building him like a support tank with healing abilities. With his Steelskin ability, he can serve as good crowd control by redirecting aggression from enemies and tanking hits.
Prayer is a good party heal that costs 2 ATB instead of MP. Thanks to Barret's ranged weapon, he can reliably build ATB from a distance. Should you wish to invest further into Prayer, you can increase AP gain for levelling it up through an AP Up materia.
Best Team Synergies
| Synergy Skills | |
|---|---|
| Iron Defense Puts Barret and a partner in a defensive stance, reducing the damage taken. |
|
| Synergy Abilities | |
| United Refocus Temporarily partitions both Red XIII's and Barret's ATB gauges into three segments, making it easier to save up on command usage. |
|
| Overfang Barret sends Red XIII flying at the enemy, doing big damage and raising their Limit Levels. |
|
Additional Build Notes
- The materia in Barret's early game kit can be bought at a Vending Machine at Oliver's Farm. Similarly, a Hunter's Bangle can also be bought there.
- Barret's Hi-Caliber Rifle can be obtained for free in a purple chest on the island where Cloud spots Sephiroth past the Abandoned Dock as part of the main quest (requires swimming via Chocobo).
- Bulletproof Vest Mk. II can be unlocked for transmutation by completing Excavation Intel 2: Pipeline Depository (can be discovered by completing Expedition Intel) in the Grasslands.
Barret Best Builds and Weapons
Yuffie Best Builds
Yuffie Endgame Build
| Equipment | Materia |
|---|---|
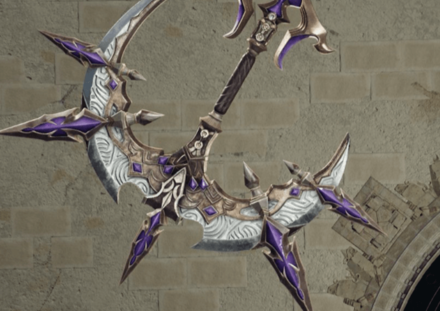 Crescent Sickle Crescent Sickle
Weapon Lv. 8 |
|
 Cetran Bracer Cetran Bracer
|
|
| Alternative Armor | |
| Weapon Skills | |
| Accessory | Effect |
|---|---|
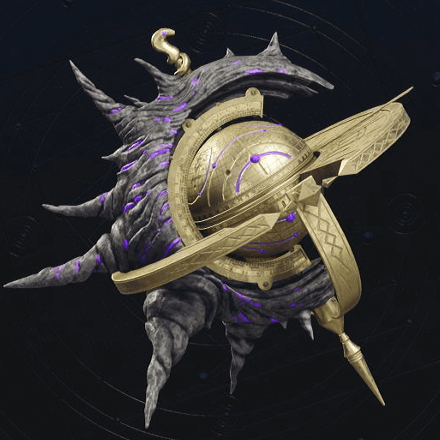 Corsair's Compass Corsair's Compass
|
Partitions ATB gauge into 3 segments for a short period after using 5 types of commands. |
| Alternative Accessories | |
Now that you have a higher weapon level and access to most of the equipment in the game, you can focus on increasing Yuffie's Magic Attack stat to maximize her Ninjutsu and Banishment damage for her endgame build. This setup can also be used in Hard Mode.
Her playstyle will still be the same: cast Haste on Yuffie at the start of the battle, activate Doppelganger and match the enemy's weakness with Ninjutsu, then spam ATB commands to enhance Banishment for a devastating attack.
It would be better if you keep Yuffie as the active character to spam abilities and quickly max out Banishment, so just equip ATB Assist to provide your allies ATB charges as you fight.
Take note that ATB Assist's effect triggers by repeating the same ATB command twice, which you can efficiently do with Blindside, Windstorm, and Art of War. The ATB boost effect won't be triggered by Brumal Form.
Use Corsair's Compass for Storm's Fury
We recommend getting the Corsair's Compass accessory for this build to easily access a 3-segment ATB gauge for Storm's Fury—Yuffie's ultimate ability unlocked through the Folio Skill tree.
Despite the description saying that it only works during United Refocus, partitioning the gauge by meeting Corsair's Compass' requirement also allows Yuffie to use Storm's Fury.
Below are examples of ability combos to trigger Corsair's Compass.
| Sample Ability Combos for Corsair's Compass | |
|---|---|
| Combo 1 | Haste → Doppelganger → Ninjutsu → Shooting Star → Blindside Suggested follow-up: Storm's Fury → Banishment III |
| Combo 2 | Art of War → Shooting Star → Windstorm → Blindside (spam until Banishment is maxed) → Banishment III |
Best Team Synergies
| Synergy Skills | |
|---|---|
| Any | Ninja Bazooka Alternative to Brumal Form when you don't have an ATB charge to spare. |
| Shuriken Sync Instead of a normal throw, you can mark a target to gang up on with your shuriken before using your magic attacks. Using this with Tifa's Unfettered Fury makes the stagger gauge build up faster! |
|
| Synergy Abilities | |
| Any | United Refocus Allows Yuffie to use abilities more frequently and give access to Storm's Fury, especially if she doesn't have the Corsair's Compass. |
| Cyclonic Kick / Halcyon Descent Extends the Stagger duration so Yuffie and her allies can maximize damage. Tifa can increase the multiplier even higher with Unbridled Strength techniques while Cloud can dish out heavy damage with his Prime Mode attacks. |
|
| Hack and Slash / Maelstrom Strike Allows access to stronger Limit Breaks. Especially useful if Limit Level 3 is already unlocked. |
|
Additional Build Notes
- It is safe to remove Prayer and Assess (or switch out for other materia like HP Up and Magic Up) if you already have a reliable healer in your party and/or the enemies were already assessed.
Yuffie Late Game Build
| Equipment | Materia |
|---|---|
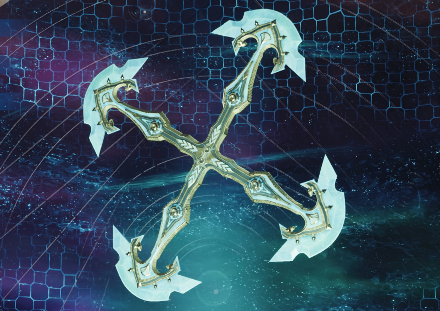 Crystalline Cross Crystalline Cross
Weapon Lv. 7 |
|
 Valkyrian Bangle Valkyrian Bangle
|
|
| Alternative Armor | |
| Weapon Skills | |
| Accessory | Effect |
|---|---|
 Sorcerer's Earrings Sorcerer's Earrings
|
Increases magic power by 10%. Increases max MP by 6. |
By late game, Yuffie can switch to a physical attack that can still deal decent magic damage with her Ninjutsu. Since Crystalline Cross provides higher Attack stat than Magic Attack, you can increase her magic damage through other sources.
First Strike materia allows Yuffie to use Doppelganger early in the fight, then quickly gain another ATB charge through attacks to change her Ninjutsu type to match the target's weakness.
Make sure to use Art of War twice while doing combos to increase the following combo, be it melee shuriken attacks or long-ranged Ninjutsu. Doing so will also trigger ATB Assist for your non-active allies to use.
With how fast Yuffie can expend ATB charges, don't forget to use Banishment III for a massive burst damage!
Best Team Synergies
| Synergy Skills | |
|---|---|
| Any | Ninja Bazooka Alternative to Brumal Form when you don't have an ATB charge to spare. |
| Shuriken Sync Instead of a normal throw, you can mark a target to gang up on with your shuriken before using your magic attacks. Using this with Tifa's Unfettered Fury makes the stagger gauge build up faster! |
|
| Synergy Abilities | |
| Cyclonic Kick / Halcyon Descent Extends the Stagger duration so Yuffie and her allies can maximize damage. Tifa can increase the multiplier even higher with Unbridled Strength techniques while Cloud can dish out heavy damage with his Prime Mode attacks. |
|
Additional Build Notes
- MP Up can be replaced with Strength Up if it's not equipped by anyone.
- HP Up can be replaced with Skill Master, but you'll have to make sure to not just spam the same abilities so you can activate its effect.
Yuffie Starter Build
| Equipment | Materia |
|---|---|
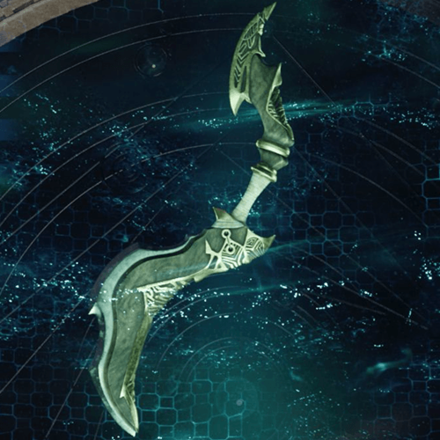 Savage Dagger Savage Dagger
|
|
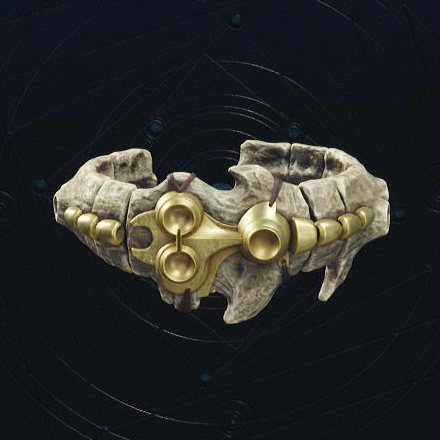 Oldebeast Bracelet Oldebeast Bracelet
|
|
| Weapon Skills |
| Accessory | Effect |
|---|---|
 Hi-Power Wristguards Hi-Power Wristguards
|
Increases strength by 5%. Increases max HP by 250. |
This is the ideal starting build for Yuffie after she joins your team at the end of Chapter 6. You can immediately switch the 4-Point Shuriken with Savage Dagger, not only to master the weapon ability but also for the Magic stat boost.
Equip Hi-Power Wristguards to regain some of the Attack stat lost from the weapon change, as both stats are important to Yuffie due to her ability to change attack types at will.
Yuffie can also Pressure and Stagger enemies easily by exploiting their elemental weaknesses through her Ninjutsu, making ATB Stagger materia a good choice so she can follow up immediately Art of War and other attack abilities.
Best Team Synergies
| Synergy Skills | |
|---|---|
| Any | Ninja Bazooka Alternative to Brumal Form when you don't have an ATB charge to spare. |
| Shuriken Sync Instead of a normal throw, you can mark a target to gang up on with your shuriken before using your magic attacks. |
|
| Synergy Abilities | |
| Cyclonic Kick After getting the buff from this ability, Tifa can increase the damage multiplier with her unique abilities before Yuffie attacks boosted through Art of War. |
|
Additional Build Notes
- Empowerment can be replaced with First Strike to quickly switch elements with Ninjutsu at the start of the battle.
- You can switch back to 4-Point Shuriken for the extra materia slot and Attack stat if needed.
Yuffie Best Builds and Weapons
Cait Sith Best Builds
Cait Sith Endgame Build
| Equipment | Materia |
|---|---|
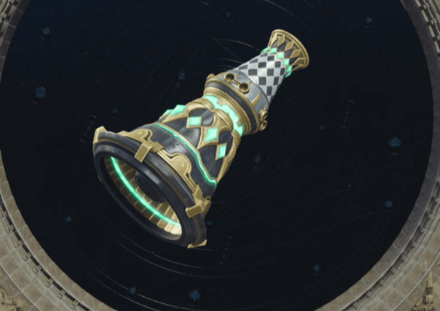 Gjallarhorn Gjallarhorn
|
|
 Valkyrian Bangle Valkyrian Bangle
|
|
| Alternative Armor | |
| Weapon Skills | |
| Accessory | Effect |
|---|---|
 Gotterdammerung Gotterdammerung
|
Completely fills the limit break gauge at the start of battle. Gradually fills the limit break gauge during battle. |
| Alternative Accessory | |
This build is focused on spamming Cait Sith's Limit Break as much as possible by taking advantage of Gotterdamerung's effects at the start of battle and expending ATB to build the limit gauge faster.
First Strike and Skill Master Materia paired with the Opening ATB Bonus weapon skill should allow Cait to use Let's Ride at the start of battle and immediately fire off one Limit Break.
Continue building ATB while riding the moogle and use Limit Siphon to take the limit gauge charges from your allies, with the ATB Limit weapon skill, you should be able to fire off another Limit Break in no time.
While building your limit gauge, use Moogle Magic or Lightning and Wind spells to take advantage of enemy weaknesses.
Best Team Synergies
| Synergy Skills | |
|---|---|
| Any | All-Out Assault This synergy skill is perfect for Cait Sith as it is a free ability that is available anytime since all party members can be partners. |
| Bodyguard Gives Cait Sith more survivability options by having another ally tank the damage for him. A tank-build Barret is the best partner for this skill. |
|
| Magic Megaphone .This synergy skill allows Cait Sith to attack targets from a distance with the use of other party members. This is extremely useful as Cait Sith has a hard time reaching ranged targets. |
|
| Synergy Abilities | |
| Mayhem-Go-Round This is the best synergy ability for Cait Sith as this attack is ranged and covers a wide area. The ability allows Cait Sith and Barret to attack multiple enemies that may be out of reach. |
|
| SOLDIER Moogle Class This ability is essential for this build as it increases the Limit Level for Cait Sith and Cloud. This allows Cait to use a higher-level limit break which revolves around the build. |
|
Additional Build Notes
- The Moogle Magic Ability from the Crystal Megaphone is essential to use Kujata's elemental abilities (Blazing Horn and Chilling Horn).
Cait Sith Late Game Build
| Equipment | Materia |
|---|---|
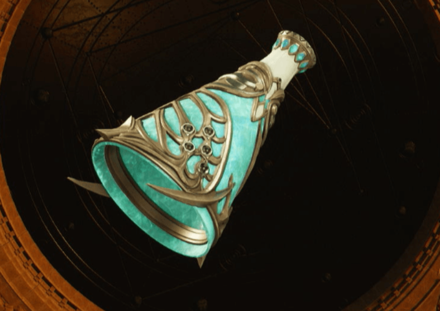 Crystal Megaphone Crystal Megaphone
Weapon Lv. 5 |
|
 Valkyrian Bangle Valkyrian Bangle
|
|
| Alternative Armor | |
| Weapon Skills | |
| Accessory | Effect |
|---|---|
 Speed Demon Keychain Speed Demon Keychain
|
Slightly replenishes ATB gauge when using a weapon ability. |
| Alternative Accessories | |
This build is focused on supporting other party members by spamming abilities through accumulating and spending ATB fast.
First Strike, ATB Boost, and ATB Stagger significantly help this build as it can allow you to summon Moogle early in the fight, ultimately allowing you to fill your ATB gauge faster through Moogle's flurry of attacks.
ATB Assist increases other party members' ATB when you repeat the same command 2 or more times. Since this build will allow you to fill your ATB gauge fast, we recommend spamming Roll o' the Dice or Fortune Telling to help your party members.
Best Team Synergies
| Synergy Skills | |
|---|---|
| Any | All-Out Assault This synergy skill is perfect for Cait Sith as it is a free ability that is available anytime since all party members can be partners. |
| Synergy Abilities | |
| Mayhem-Go-Round This is the best synergy ability for Cait Sith as this attack is ranged and covers a wide area. The ability allows Cait Sith and Barret to attack multiple enemies that may be out of reach. |
|
| Mega Moogle Mash This ability is most effective against staggered foes. This ability extends the stagger time and gives an attack power boost to Aerith and Cait Sith. |
|
Additional Build Notes
- The Odin summon materia can be changed to your preference.
- Haste from the Time Materia equipped on Aerith or Barret can help accumulate Cait Sith's ATB gauge faster.
Cait Sith Best Builds and Weapons
FF7 Rebirth Related Guides

Other Character Guides
| Character Guides | |
|---|---|
| Characters Tier List | Best Builds |
| Best Party Compositions | Best Abilities |
Comment
Cetran bracer on every character? What are you smoking? only usefull part of thits is the accessory. Please c hange what you think of a "guide" to actually guide instead of frustrate.
Author
Best Builds for Each Character
improvement survey
04/2026
improving Game8's site?

Your answers will help us to improve our website.
Note: Please be sure not to enter any kind of personal information into your response.

We hope you continue to make use of Game8.
Rankings
- We could not find the message board you were looking for.
Gaming News
Popular Games

Genshin Impact Walkthrough & Guides Wiki

Crimson Desert Walkthrough & Guides Wiki

Umamusume: Pretty Derby Walkthrough & Guides Wiki

Honkai: Star Rail Walkthrough & Guides Wiki

Monster Hunter Stories 3: Twisted Reflection Walkthrough & Guides Wiki

Wuthering Waves Walkthrough & Guides Wiki

The Seven Deadly Sins: Origin Walkthrough & Guides Wiki

Pokemon TCG Pocket (PTCGP) Strategies & Guides Wiki

Pokemon Pokopia Walkthrough & Guides Wiki

Zenless Zone Zero Walkthrough & Guides Wiki
Recommended Games

Monster Hunter World Walkthrough & Guides Wiki

Fire Emblem Heroes (FEH) Walkthrough & Guides Wiki

Pokemon Brilliant Diamond and Shining Pearl (BDSP) Walkthrough & Guides Wiki

Super Smash Bros. Ultimate Walkthrough & Guides Wiki

Diablo 4: Vessel of Hatred Walkthrough & Guides Wiki

Cyberpunk 2077: Ultimate Edition Walkthrough & Guides Wiki

Yu-Gi-Oh! Master Duel Walkthrough & Guides Wiki

Elden Ring Shadow of the Erdtree Walkthrough & Guides Wiki

The Legend of Zelda: Tears of the Kingdom Walkthrough & Guides Wiki

Persona 3 Reload Walkthrough & Guides Wiki
All rights reserved
© SQUARE ENIX CO., LTD. All Rights Reserved.
CHARACTER DESIGN: TETSUYA NOMURA/ROBERTO FERRARI
LOGO ILLUSTRATION: © 1997 YOSHITAKA AMANO
The copyrights of videos of games used in our content and other intellectual property rights belong to the provider of the game.
The contents we provide on this site were created personally by members of the Game8 editorial department.
We refuse the right to reuse or repost content taken without our permission such as data or images to other sites.


![Forza Horizon 6 Review [Preview] | Beautiful Roads With a Whole Lot of Oversteer](https://img.game8.co/4460981/a7254c24945c43fbdf6ad9bea52b5ce9.png/show)


![Forza Horizon 6 Review [Preview] | Beautiful Roads With a Whole Lot of Oversteer](https://img.game8.co/4460981/a7254c24945c43fbdf6ad9bea52b5ce9.png/thumb)


thanks a lot