Best Materia and Materia Combinations
This is a guide for the Best Materia and Materia Combinations in Final Fantasy 7 Rebirth (FF7 Rebirth). Read on for a list of the best materia, and the best materia combinations for each playable character in the game!
| Materia Guides | |
|---|---|
| All Materia | Best Materia |
List of Contents
List of Best Materia
Best Materia for Late Game
| Materia | Evaluation |
|---|---|
|
|
★★★★☆ ・Increases the attack power of magic attacks. ・Simple to use and best equipped on spellcasters or members depending on magic attack. ・Can also increase the recovery power of Healing spells. |
|
|
★★★★☆ ・Use at least 3 different commands to get a boost to ATB. ・Best for characters you can actively combo abilities with (such as Cloud). |
|
|
★★★★☆ ・Repeat a command 2 times to get a boost to each frontline member's ATB. ・Makes it easier to quickly activate multiple commands. ・Best for characters such as Tifa and Cait Sith who you can repeat certain commands with. |
|
|
★★★☆☆ ・Doubles the EXP points earned in battle. ・Make strategic use of this since it will take up a character's materia slot. |
|
|
★★★☆☆ ・MP recovered depends on the damage done through the equipped materia. ・Highly recommended for spellcasters such as Aerith. |
|
|
★★★☆☆ ・Spells are instantly casted at this materia's max level. ・Best used for Materia that takes a long time to cast such as Comet. ・Difficulty to obtain. |
|
|
★★★☆☆ ・AoE spells that cover a large area. Useful for dealing with multiple enemies. ・Damage may be lacking when only used on a single enemy. ・Long casting time and uses up a lot of MP. |
|
|
★★★☆☆ ・Still useful in the late game due to allowing you to revive allies. ・Highly useful when fighting the more difficulty enemies such as Summon Entities capable of party-wide one-hit KOs. |
|
|
★★★☆☆ ・Lets you become invincible for 10 seconds during the animation. ・Jump lets you deal damage safely thanks to its invincibility frames. ・Consumes 2 ATB bars, so make sure to plan in advance when using this. |
|
|
★★★☆☆ ・Increases the potency of abilities in exchange for HP. ・A significant 20% increase in ability potency at the materia's max level. ・Be careful when using this since it is a 5% decrease in HP for every ability use. ・HP recovery for this materia is recommended. |
Best Materia for Mid Game
| Materia | Evaluation |
|---|---|
|
|
★★★★☆ ・Boosts the damage of physical or magical spells ・Can be placed on any character |
|
|
★★★★☆ ・Allows for physical and magic damage reduction ・Best placed on tank due to the defense versatilities it allows |
|
|
★★★☆☆ ・Extremely useful during boss fights ・Best placed on Barret due to his tank capabilities |
|
|
★★★☆☆ ・Allows for use of Time Magic ・Haste is the most useful spell as it allows faster ATB gauge fill up. |
|
|
★★★☆☆ ・Increases the ATB when activated ・Has long cooldowns and may not be worth it during the later chapters of the game. |
|
|
★★☆☆☆ ・Used to temporarily reduce damage ・Best placed on any of your main attackers |
|
|
★★☆☆☆ ・Allows healing without actively using healing spells ・Must be paired with a damaging materia for it to work |
Best Materia for Early Game
| Materia | Evaluation |
|---|---|
|
|
★★★★★ ・Healing is essential throughout the entire game ・It's best to slot this Materia to your support character |
|
|
★★★★★ ・Allows you to assess enemies to unlock more battles in the Combat Simulator ・Essential when preparing for any fight ・Allows you to learn enemy weaknesses and drops |
|
|
★★★★★ ・Imbues your basic attacks with the same element as the linked elemental Magic Materia ・Must be linked with an elemental magic materia to activate |
| ★★★★☆ ・Refers to the Fire, Ice, Wind, and Lightning Materia ・Provides useful spells against enemies with elemental weaknesses |
|
|
|
★★★★☆ ・An extremely useful Materia for increasing Vitality ・We recommend equipping this to all characters whenever possible ・Should be leveled up from the start of the game to maximize its effects |
|
|
★★★★☆ ・Recommended for Characters that will use Magic ・This Materia is best for Aerith and Red XIII who have high proficiency in magic |
|
|
★★★★☆ ・Helps with ATB Build Up ・Reduces damage taken when blocking ・Best for Characters like Barret and Cloud who are proficient in blocking |
|
|
★★★☆☆ ・Increases the window for a precise block ・Synergizes well with Red XIII Vengeance Mode mechanic |
|
|
★★★☆☆ ・Increased ATB gauge at the start of battle ・Greatly increases the clear time for trash mobs ・Not the best Materia of choice when fighting bosses. |
|
|
★★★☆☆ ・Boosts Item effects during battle ・Extremely useful during tough battles like boss fights. ・Synergizes well with the Item Economizer Materia |
|
|
★★★☆☆ ・Best option for healing when saving MP ・Best to slot in characters who build ATB fast |
|
|
★★☆☆☆ ・Healing Option that uses ATB instead of MP ・Best used by attack characters like Tifa and Red XIII |
Equip Materia Even on Reserve Characters
Materia can level up when it is equipped in battle. Equip Materia even on reserve characters to gain AP and increase the level of the Materia.
Best Materia Combination
| Characters | |||
|---|---|---|---|
| Cloud | Tifa | Barret | Aerith |
| Red XIII | Yuffie | Cait Sith | - |
Best Materia Combinations for Cloud
Early Game Combination for Cloud
| Equipment | Materia |
|---|---|
 Sleek Saber Sleek Saber
|
|
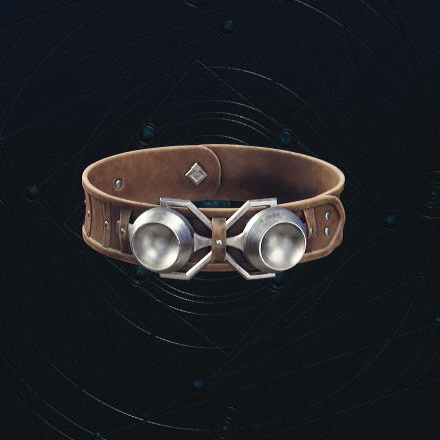 Hunter's Bangle Hunter's Bangle
|
|
This is the best Materia Combination for Cloud in chapters 2 to 4. It is important to increase Cloud's MP and HP, as the fight with Midgardsormr in chapter 2 and the Turks in Chapter 3 may be challenging.
The Sleek Saber is important for slotting in ATB Charge Rate Up to speed up getting access to Cloud's abilities and spells.
Mid Game Combination for Cloud
| Equipment | Materia |
|---|---|
 Sleek Saber Sleek Saber
|
|
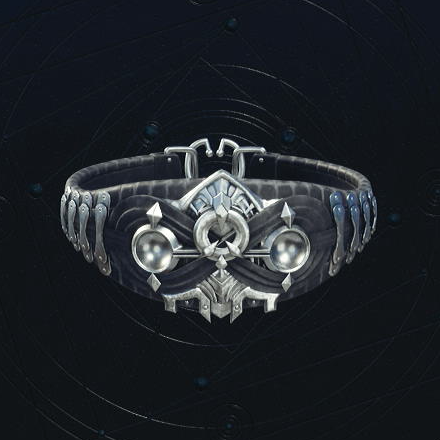 Abyssal Bangle Abyssal Bangle
|
This combination has Cloud taking advantage of the Enemy Skill and HP Absorption abilities.
Fire and Ice and Wind are the go-to elements since most enemies in the Corel Region are weak to this. In any case, feel free to swap them out for another combination like Lightning and Wind.
Late Game Combination for Cloud
| Equipment | Materia |
|---|---|
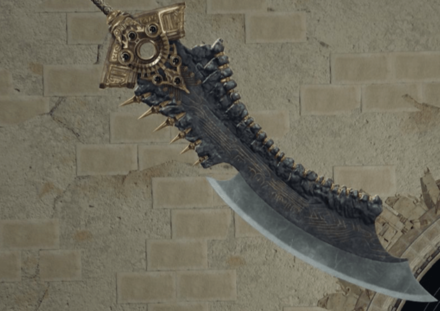 Igneous Saber Igneous Saber
|
|
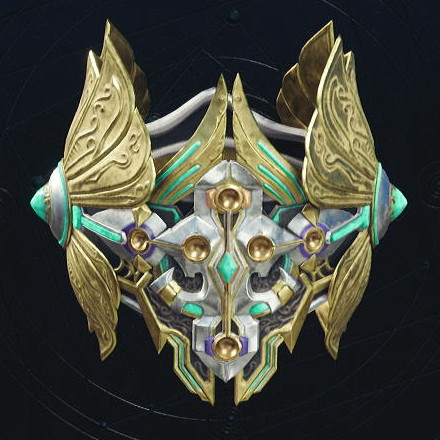 Valkyrian Bangle Valkyrian Bangle
|
|
| Alternative Armor | |
Cloud should have access to a strong set of weapon abilities like Prime Mode and Infinity's End. Make sure to master these abilities for utilizing bonus ATB from Skill Master.
If you wish to customize Cloud's kit to be more defensive or to make use of spells, the Valkyrian Bangle has 6 materia slots with 3 links. When not actively using Cloud, he is particularly strong when he has both Auto-Unique Ability and Auto-Weapon ability materia equipped.
Best Materia Combinations for Tifa
Early Game Combination for Tifa
| Equipment | Materia |
|---|---|
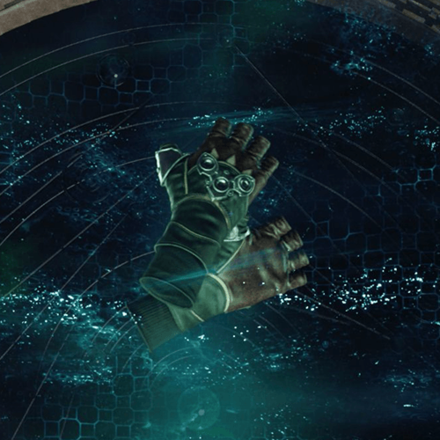 Sylph Gloves Sylph Gloves
|
|
 Hunter's Bangle Hunter's Bangle
|
This is the best early-game materia combination for Tifa. This composition allows Tifa to gain three elemental attacks, with Fire and Ice spells from the materia, while Sylph Gloves will have the Reverse Gale attack useful for enemies weak against Wind.
With ATB Charge Rate Up active, Tifa will gain ATB faster and she'll be able to achieve Chi level 3 in no time. This means she'll gain access to longer and more powerful combinations quickly. While HP Up and Chakra will contribute to her survivability.
Mid Game Combination for Tifa
| Equipment | Materia |
|---|---|
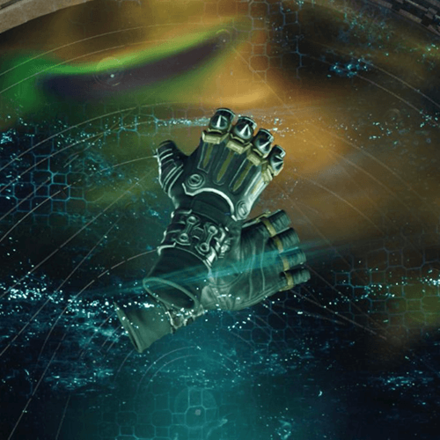 Kaiser Knuckles Kaiser Knuckles
|
|
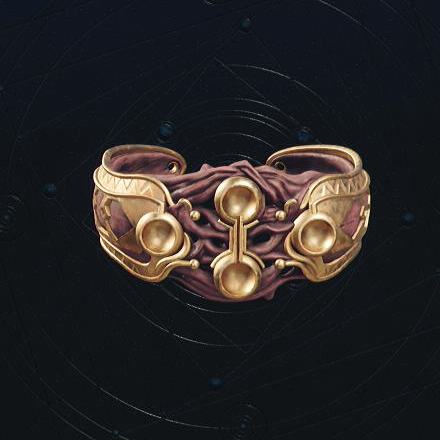 Gold Coral Armlet Gold Coral Armlet
|
Instead of spells, your source of elemental damage will be the Enemy Skill materia and the abilities from Tifa's Folio. The default ability from this materia is a 3-in-1 mix of Aero, Bravery, and Faith, all for just one ATB charge.
Late Game Combination for Tifa
| Equipment | Materia |
|---|---|
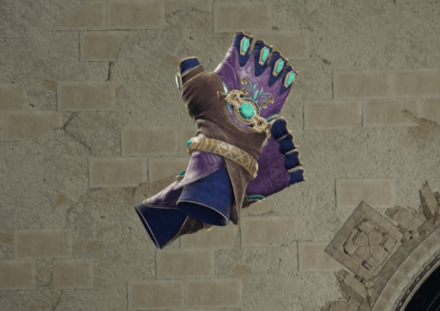 Crystal Gloves Crystal Gloves
|
|
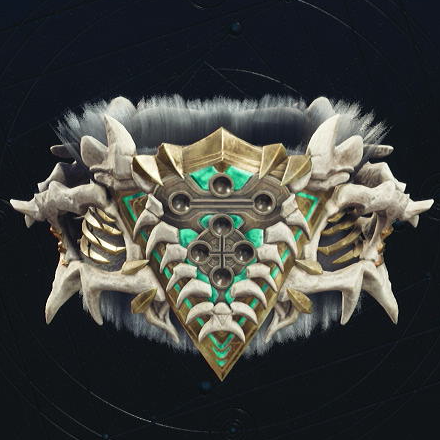 Hades Armlet Hades Armlet
|
|
| Alternative Armor | |
Having the Opening ATB Bonus weapon skill and the First Strike materia equipped allows Tifa to use Unfettered Fury twice earlier.
You can cast Sonic Boom from Enemy Skill for damage boosts and Haste from the Time so you can keep using the abilities you need.
Best Materia Combinations for Barret
Early Game Combination for Barret
| Equipment | Materia |
|---|---|
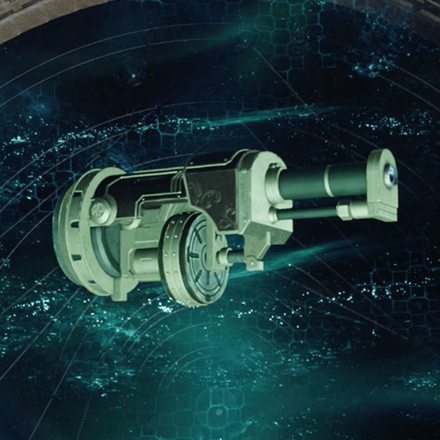 Hi-Caliber Rifle Hi-Caliber Rifle
|
|
 Hunter's Bangle Hunter's Bangle
|
During the early game, Barret is best built as a support tank with healing. With Steelskin ability, he can take enemy aggro away while still being able to protect himself.
Although Prayercosts 2 ATB, Barret's attack speed builds ATB fast, allowing him to heal the party whenever needed.
Mid Game Combination for Barret
| Equipment | Materia |
|---|---|
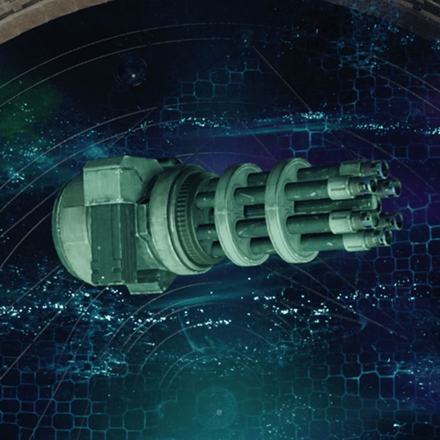 Gatling Gun Gatling Gun
|
|
 Abyssal Bangle Abyssal Bangle
|
|
The Gatling Gun is the choice weapon for Barret since this gives him access to the weapon skill ATB Charge Rate Up. Paired with his rapid-firing attacks, he will be able to fill his ATB gauges quickly for more ability uses (especially Prayer which costs 2 ATB).
Elemental materia is useful for giving Barret's ranged attacks elemental properties. Exploiting elemental weakness increases damage dealt and stagger buildup!
Late Game Combination for Barret
| Equipment | Materia |
|---|---|
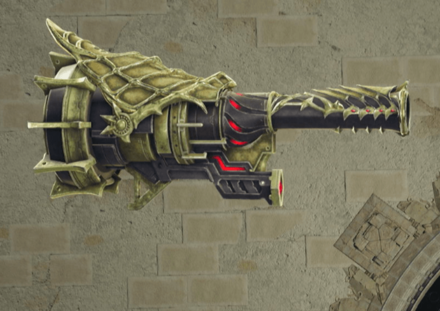 Calamitous Bazooka Calamitous Bazooka
|
|
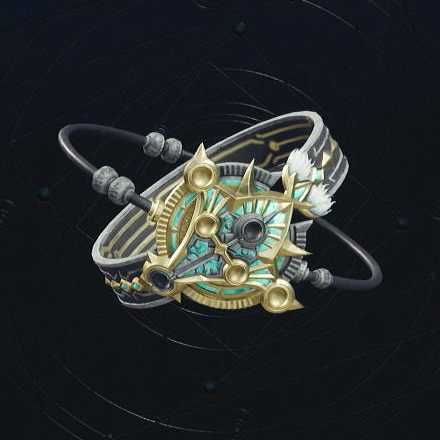 Celestial Bangle Celestial Bangle
|
|
| Alternative Armor | |
Barret excels at being a support tank in the late game, having Prayer and other defensive materia to enhance the party's defenses. He can build up his ATB relatively quick through ATB Stagger, ATB Boost, and fast recharges of his Overcharge weapon ability.
Since Barret can take a lot of punishment, he can combo his ability Steelskin and Lifesaver with Provoke to redirect large amounts of damage for the party.
Barret Best Builds and Weapons
Best Materia Combinations for Aerith
Early Game Combination for Aerith
| Accessory | Effect |
|---|---|
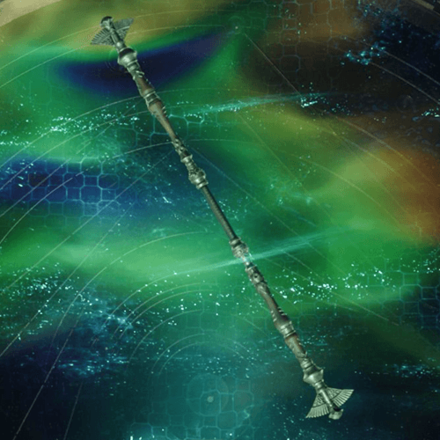 Timeless Rod Timeless Rod
|
|
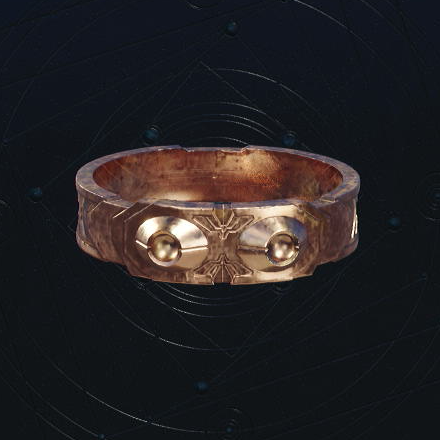 Copper Bracer Copper Bracer
|
|
This is the best Materia Combination for Cloud in chapters 2 to 4. It is best to capitalize on Aerith's spellcasting and support for the party when preparing to fight Midgardsormr in Chapter 2 or the Turks in Chapter 3.
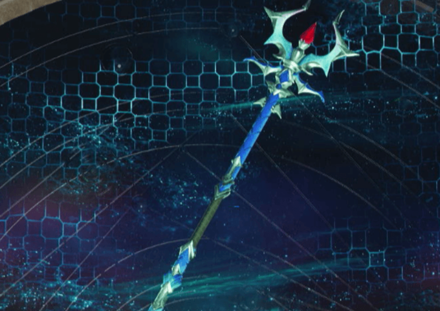
With Aerith's Fleeting Familiar, she can increase the damage of her spells from Fire, Ice, and Wind. Top it off with the Fire Damage increase from Timeless Rod and you'll not need to replace her if you're looking for magic damage.
Mid Game Combination for Aerith
| Accessory | Effect |
|---|---|
 Wizard's Rod Wizard's Rod
|
|
 Abyssal Bangle Abyssal Bangle
|
|
Slot in Fire and Ice and Lightning and Wind to cover all 4 elemental needs for your team. When using Healing materia, connect it with Magic Efficiency to reduce its MP cost.
With three available materia links, you can experiment with switching up Aerith's kit such as throwing in Elemental materia to imbue her basic attacks with elements (including attacks buffed by Radiant Ward), or having Auto-Cast if you are more actively using another character.
Late Game Combination for Aerith
| Accessory | Effect |
|---|---|
 Timeless Rod Timeless Rod
|
|
| Enhanced Yggdrasil Armlet |
|
Aerith maintains her role as a strong support and spellcaster able to exploit elemental weaknesses. Magnify is important since this allows any connected spell to apply to all enemies or allies. Time materia's Haste spell is useful for increasing ATB charge.
The Enhanced Yggrdasil Armlet provides 6 materia slots, enough for a wide variety of materia such as MP Absorption or Magic Focus. Feel free to switch out materia for any other linked materia or spells such as Gravity or Comet when needed.
Aerith Best Builds and Weapons
Best Materia Combinations for Red XIII
Early Game Combination for Red XIII
| Equipment | Materia |
|---|---|
 Mythril Collar Mythril Collar
|
|
 Hunter's Bangle Hunter's Bangle
|
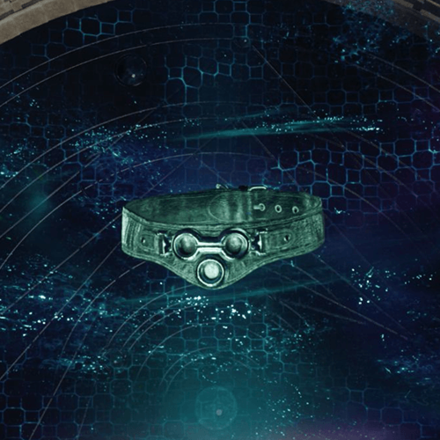
The core Materia for Red would be Precision Defense Focus. This is because the early game build for Red will capitalize on his Vengeance Mode, which requires precise blocking to fill up.
HP Up, and Chakra for healing will be the active mitigators for when you do not block on time.
Mid Game Combination for Red XIII
| Equipment | Materia |
|---|---|
 Renegade's Collar Renegade's Collar
|
|
 Abyssal Bangle Abyssal Bangle
|
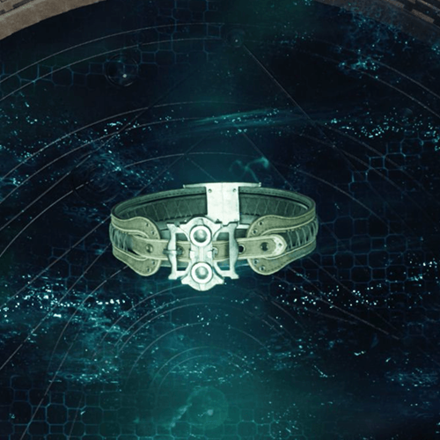
We focused on augmenting Red XIII's Vengeance gauge buildup by giving him defense-based materia such as Precision Defense Focus.
Renegade's Collar is the choice weapon for Red XIII since it provides him a high attack power stat and the ATB Charge Rate Up weapon skill. HP Absorption and Enemy Skill are paired to grant him HP whenever he uses the Enemy Skill ability.
Late Game Combination for Red XIII
| Equipment | Materia |
|---|---|
 Golden Collar Golden Collar
|
|
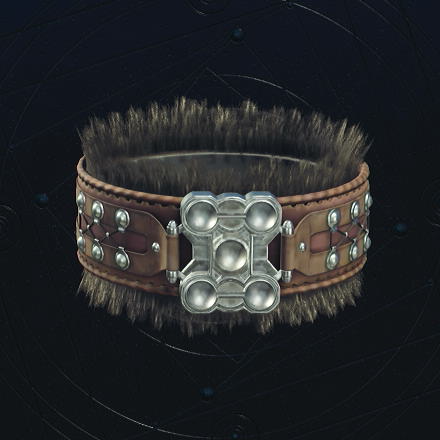 Garm Bangle Garm Bangle
|
|
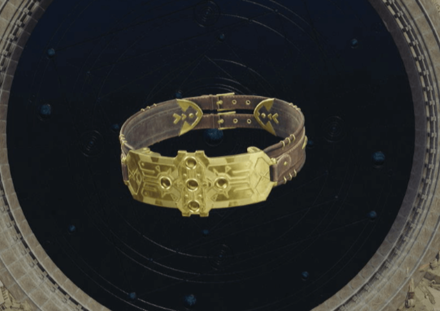
Building up the Vengeance Gauge and having a reactive but speedy playstyle is still the priority for Red XIII.
Golden Collar provides a high attack damage for Red XIII. Garm Bangle is an easily accessible armor piece if you do not have access yet to equipment like the Valkyrian Bangle. When needed, Fire and Ice can be swapped out for any other element materia depending on the fight.
Red XIII Best Builds and Weapons
Best Materia Combinations for Yuffie
Starter Combination for Yuffie
| Equipment | Materia |
|---|---|
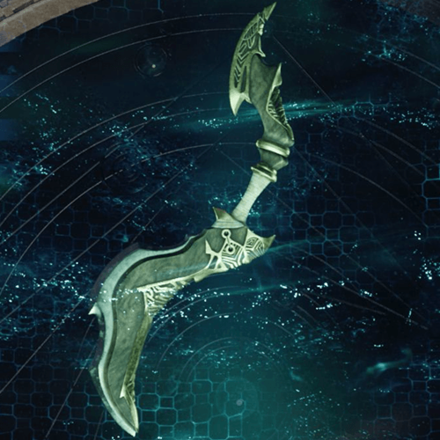 Savage Dagger Savage Dagger
|
|
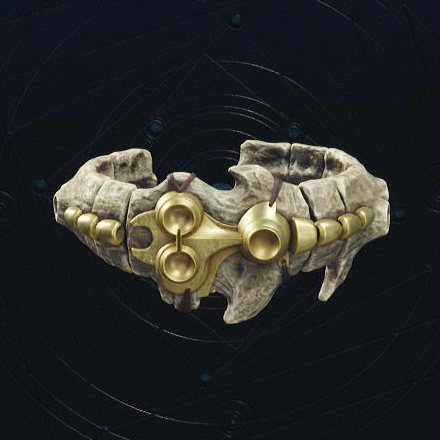 Oldebeast Bracelet Oldebeast Bracelet
|
You can immediately switch the 4-Point Shuriken with Savage Dagger, not only to master the weapon ability but also for the Magic stat boost.
Yuffie can Pressure and Stagger enemies easily by exploiting their elemental weaknesses through her Ninjutsu, making ATB Stagger materia a good choice so she can follow up immediately Art of War and other attack abilities.
Late Game Combination for Yuffie
| Equipment | Materia |
|---|---|
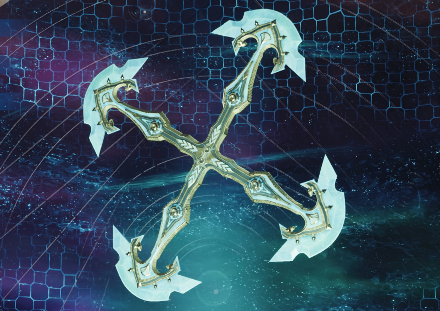 Crystalline Cross Crystalline Cross
|
|
 Valkyrian Bangle Valkyrian Bangle
|
|
| Alternative Armor | |
First Strike materia allows Yuffie to use Doppelganger early in the fight, then quickly gain another ATB charge through attacks to change her Ninjutsu type to match the target's weakness.
Make sure to use Art of War twice while doing combos to increase the following combo, be it melee shuriken attacks or long-ranged Ninjutsu. Doing so will also trigger ATB Assist for your non-active allies to use.
Yuffie Best Builds and Weapons
Best Materia Combinations for Cait Sith
Late Game Combination for Cait Sith
| Equipment | Materia |
|---|---|
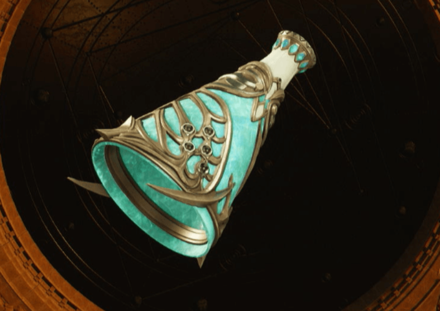 Crystal Megaphone Crystal Megaphone
|
|
 Valkyrian Bangle Valkyrian Bangle
|
|
| Alternative Armor | |
First Strike, ATB Boost, and ATB Stagger significantly help Cait Sith since it allows him to summon Moogle early in the fight, ultimately allowing him to fill his ATB gauge faster through Moogle's flurry of attacks.
ATB Assist increases other party members' ATB when the same command from Cait Sith is repeated 2 or more times. Since this build will his ATB gauge to be filled fast, we recommend spamming Roll o' the Dice or Fortune Telling to help your party members.
Cait Sith Best Builds and Weapons
FF7 Rebirth Related Guides

All Materia by Type
| All Materia Types | ||||
|---|---|---|---|---|
 Magic Magic |
 Command Command |
 Support Support |
 Complete Complete |
 Summon Summon |
Materia Guides
| Other Materia Guides | |
|---|---|
| Best Materia and Materia Combinations | - |
Author
Best Materia and Materia Combinations
Rankings
- We could not find the message board you were looking for.
Gaming News
Popular Games

Genshin Impact Walkthrough & Guides Wiki

Honkai: Star Rail Walkthrough & Guides Wiki

Arknights: Endfield Walkthrough & Guides Wiki

Umamusume: Pretty Derby Walkthrough & Guides Wiki

Wuthering Waves Walkthrough & Guides Wiki

Pokemon TCG Pocket (PTCGP) Strategies & Guides Wiki

Abyss Walkthrough & Guides Wiki

Zenless Zone Zero Walkthrough & Guides Wiki

Digimon Story: Time Stranger Walkthrough & Guides Wiki

Clair Obscur: Expedition 33 Walkthrough & Guides Wiki
Recommended Games

Fire Emblem Heroes (FEH) Walkthrough & Guides Wiki

Pokemon Brilliant Diamond and Shining Pearl (BDSP) Walkthrough & Guides Wiki

Diablo 4: Vessel of Hatred Walkthrough & Guides Wiki

Super Smash Bros. Ultimate Walkthrough & Guides Wiki

Yu-Gi-Oh! Master Duel Walkthrough & Guides Wiki

Elden Ring Shadow of the Erdtree Walkthrough & Guides Wiki

Monster Hunter World Walkthrough & Guides Wiki

The Legend of Zelda: Tears of the Kingdom Walkthrough & Guides Wiki

Persona 3 Reload Walkthrough & Guides Wiki

Cyberpunk 2077: Ultimate Edition Walkthrough & Guides Wiki
All rights reserved
© SQUARE ENIX CO., LTD. All Rights Reserved.
CHARACTER DESIGN: TETSUYA NOMURA/ROBERTO FERRARI
LOGO ILLUSTRATION: © 1997 YOSHITAKA AMANO
The copyrights of videos of games used in our content and other intellectual property rights belong to the provider of the game.
The contents we provide on this site were created personally by members of the Game8 editorial department.
We refuse the right to reuse or repost content taken without our permission such as data or images to other sites.


![Animal Crossing: New Horizons Review [Switch 2] | Needlessly Crossing Over to a New Generation](https://img.game8.co/4391759/47d0408b0b8a892e453a0b90f54beb8a.png/show)


If you’re looking at this page to have a good set up for material for your whole team look somewhere else. This guide suggests that you put material that you only get one of in the game on several characters. So it isn’t possible to follow this guide throughly. Go to Reddit.