Hard Mode Difficulty Guide
This is a guide to the Hard Mode difficulty setting available after you finish Final Fantasy 7 Rebirth (FF7 Rebirth) for the first time. Read on to learn strategies for completing Hard Mode, how to unlock Hard Mode, what you need to prepare for the increased difficulty.
| Hard Mode Guides | ||
|---|---|---|
| Hard Mode Guide | How to Recover MP in Hard Mode | Post-Game Content Guide |
List of Contents
How to Unlock Hard Mode
Complete the Story Once on Any Difficulty
To unlock Hard Mode, you will need to complete all available chapters in the game on any difficulty. When clearing the game for the first time, make sure to maximize your characters levels, equipment, and Materia since these will be much more difficult in Hard.
Walkthrough and List of Chapters
What to Expect in Hard Mode
Recover MP Using Cushions on Broken Rest Stops
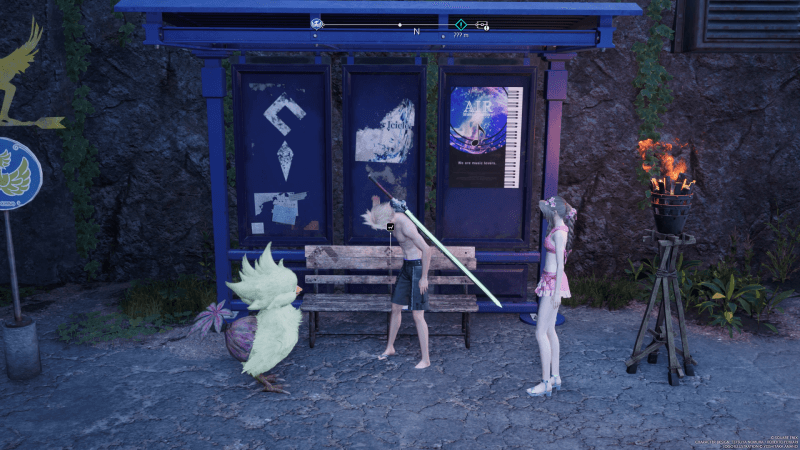
You can restore your MP by using a Broken Rest Stop found at Chocobo Stops and using a Cushion. This will fully restore both your HP and MP to prepare you for your next fight. However, it is advisable that you exercise caution when expending your MP, as it is a limited resource.
Using a regular Rest Stop will only replenish your HP; the remaining MP on all party members will remain unchanged.
List of All Chocobo Stop Locations
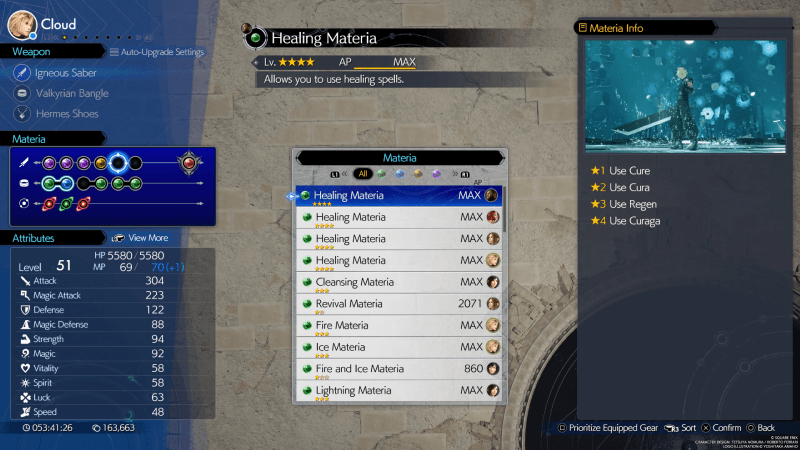
Use HP⬌MP Materia On One of Your Characters
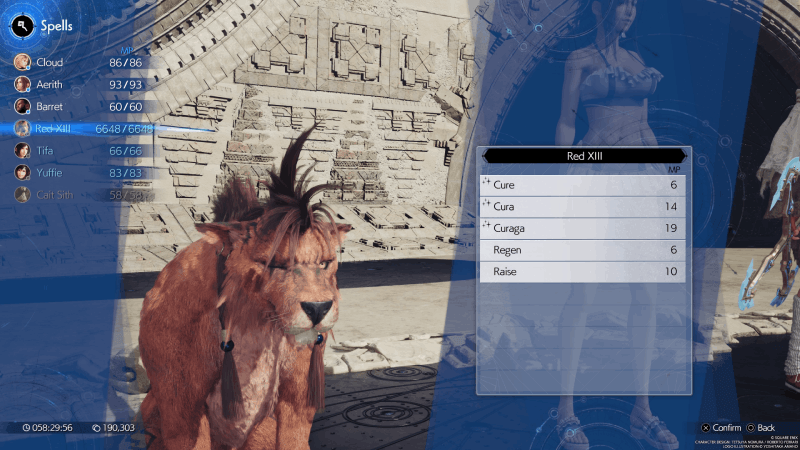
Assign a healer to your party and equip the HP⬌MP Materia to drastically boost their maximum MP. With this setup, one of your characters will have a sufficient MP pool to support the rest of the party by healing and reviving members outside of combat.
Do note that this character should be in the backline since they can die with a single shot due to their low HP pool.
Changing Materia Will Drain Your MP
Equipping or removing a Materia on the assigned healer will automatically adjust their current MP to match their max HP. Ensure that you are near a Chocobo Stop when changing the Materia to immediately restore their MP.
Items Are Now Disabled
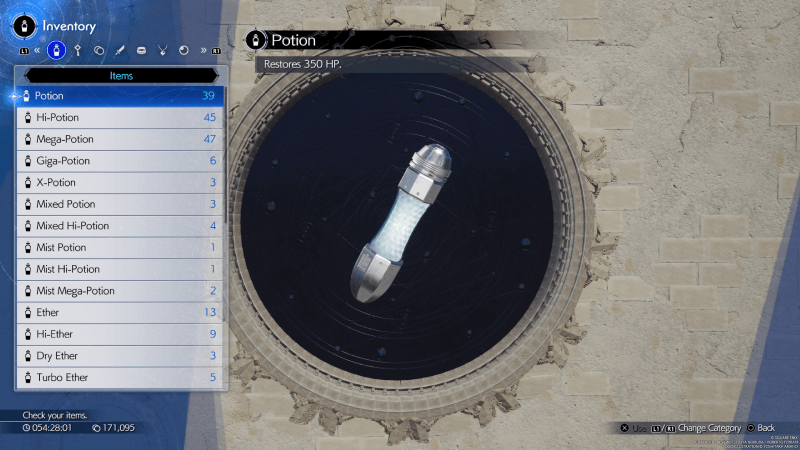
You will not be able to use any of the items in your inventory, forcing you to rely solely on your spells and expend MP as you progress.
Enemies Are Now Stronger
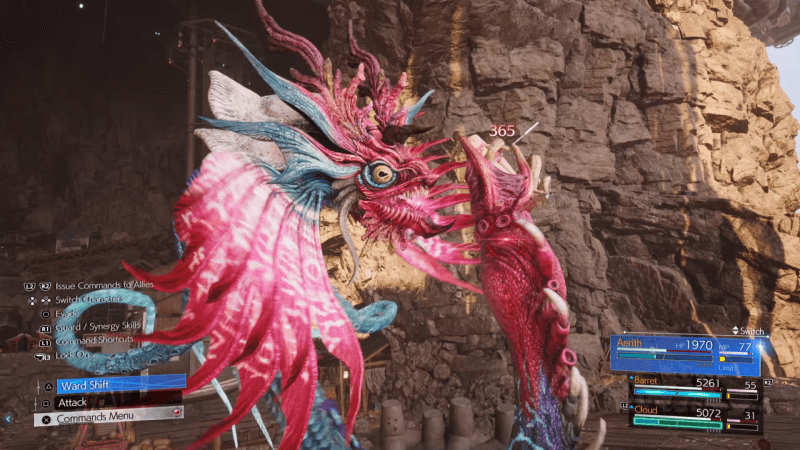
Enemies and bosses are now much stronger than Normal and Easy. They will deal significantly more damage while having much larger Health Pools (HP). All boss encounters in Hard mode have the potential of wiping out your entire party if you are not careful.
You Cannot Change Difficulty in Settings
Once you begin a Hard Mode run of a chapter, you won't be able to adjust the difficulty in the settings unless you restart the chapter by going to Chapter Select.
How to Prepare for Hard Mode
| Preparing for Hard Mode |
|---|
|
|
Max Out Your Character Levels
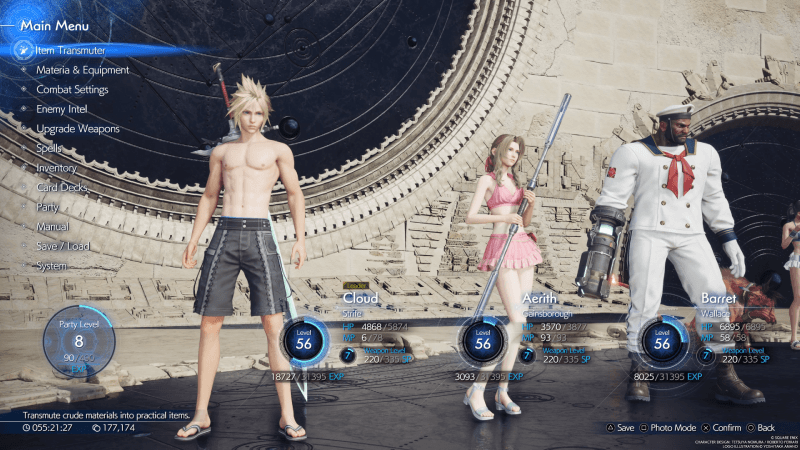
Level up your characters to at least 50 to increase their stats and survivability to make the fights more manageable.
EXP Farming Guide - How to Level Up Fast
Collect All the Best Materia and Level Them to Max
Look for Materia such as Auto-Cast, Auto-Weapon Ability, and Auto-Unique Ability so you do not have to constantly control the rest of your party during combat.
Additionally, Materia that can improve the effectiveness of your spells, like Magnify and Magic Up, are also extremely useful since they allow you to save MP.
Materia List and How to Get All Materia
Learn to Play All the Characters
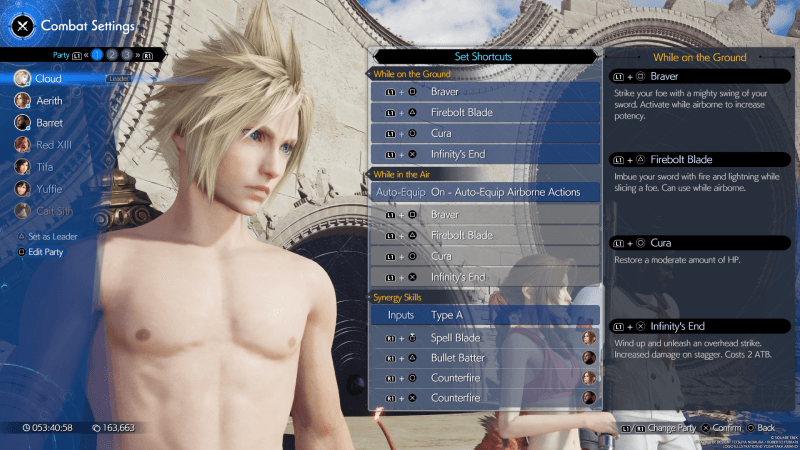
Throughout the game, you will be required to control different characters in your party during certain chapters. It is crucial to familiarize yourself with all of your characters' abilities and mechanics before progressing to Hard Mode.
Get All Weapon Abilities
By leveling up your weapon and getting its Proficiency Bonus, your character can learn that weapon's ability even when it is not equipped. This provides you with more options for skills to use during combat.
Best Weapons For Each Character and Locations
Equip Your Best Gear
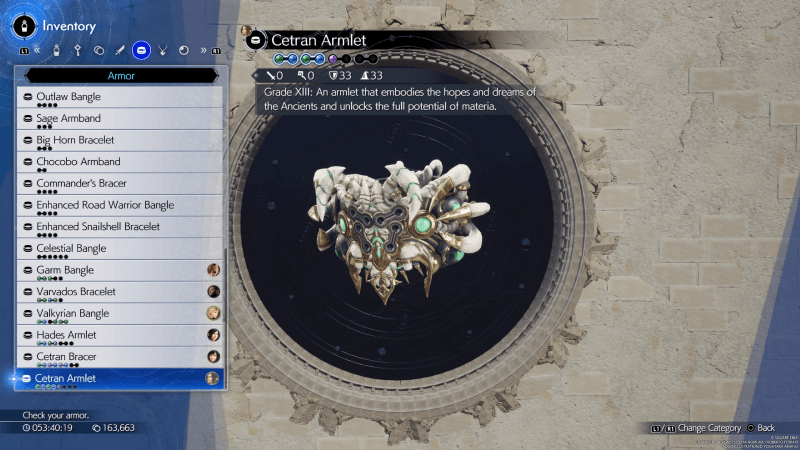
Having decent gear can drastically improve your Hard Mode run, as better gear provides additional Materia Slots and enhances survivability with Defense and Magic Defense stats.
| Best Armor and How to Get Them | Best Accessories and How to Get |
Use Barrier to Reduce Damage
Barrier is one of the most recommended materia to use in Hard Mode. With enemies dealing heavier damage in this mode, you can halve the damage you take from enemy attacks with this materia.
How to Get the Barrier Materia
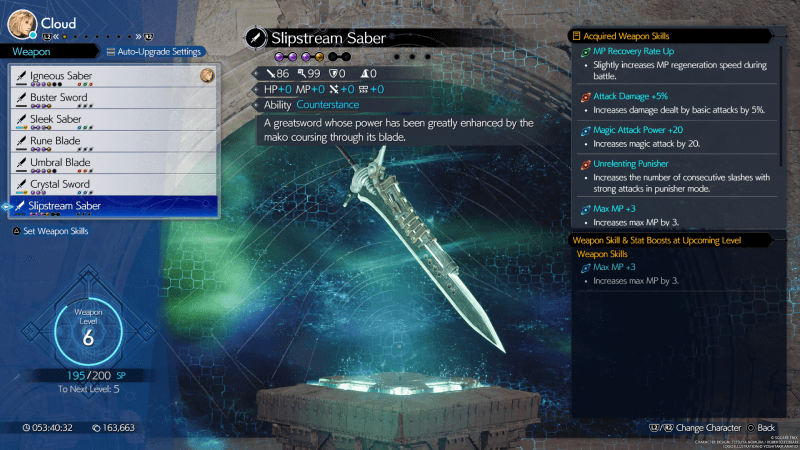
Use Weapons with Stagger Recovery and Trade-Off
Stagger Recovery can help you recover HP when staggering enemies, while Trade-Off can help you recover MP when taking damage. These two are very powerful weapon skills in Hard Mode, especially during boss fights where restoring HP and MP could become a problem.
List of Weapons with Stagger Recovery and Trade-Off
| Character | Weapon |
|---|---|
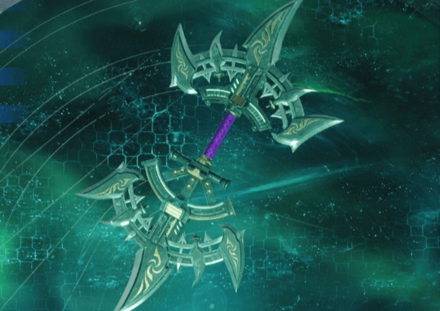
| ・
Rune Blade
・ Slipstream Saber |
|
| ・Aerith's Manuscript. | |
| ・
Fafnir Rifle
・ Barrage Blaster |
|
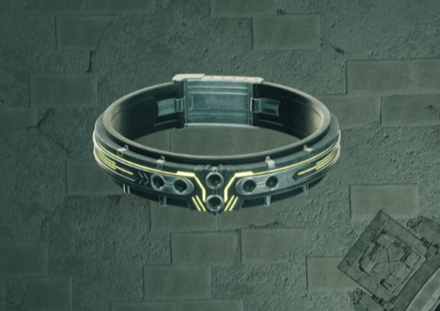
| ・
Amethyst Collar
・ Mystic Collar |
Best Materia for Hard Mode
Recommended Materia for Hard Mode
| Recommended Materia | Benefits of Use |
|---|---|
|
|
・Great healing coverage. ・Recommended for 1-2 party members. |
|
|
・Revies fallen allies. |
|
|
・Covers two weaknesses. ・Recommended for Magic Users. |
|
|
・Covers two weaknesses. ・Recommended for Magic Users. |
|
|
・Reduces damage while getting an ATB increase. ・ Recommended for all party members. |
|
|
・Boosts HP by 30%, increasing sruvival rates. ・ Recommended for all party members. |
|
|
・Increases ATB on Enemy Stagger. ・ Best equipped on an offensive party member due to limited availability. |
|
|
・Doubles ATB per minute. ・Best paired with First Strike Materia |
|
|
・Increases ATB for every three different commands. ・Best paired with ATB Boost as well. |
|
|
・Allows Healing to cure the entire party when paired. ・Also pairs well with Barrier and Time. |
|
|
・Reduced damage from incoming elemental attacks. ・Can lessen the difficulty of most bosses in Hard Mode. |
Other Recommended Materia
| Recommended Materia | Benefits of Use |
|---|---|
|
|
・Great for bosses with fire weakness. ・Replace when facing other bosses with no fire weakness. |
|
|
・Great for bosses with lightning weakness. ・Replace when facing other bosses with no lightning weakness. |
|
|
・Great for bosses with wind weakness. ・Replace when facing other bosses with no wind weakness. |
|
|
・Great for bosses with ice weakness. ・Replace when facing other bosses with no ice weakness. |
|
|
・Reduces damage of enemy attacks. |
|
|
・Increase ATB with Haste. ・Best paired with Magnify. |
|
|
・Improves damage output. ・Damage boost lasts long. |
|
|
・Heals HP and Cures Poison without using MP. ・Can help you save MP. |
|
|
・Heals HP without using MP. |
|
|
・Enhances ability potency, but suffer HP reduction. ・Best equipped to any physical party member. |
|
|
・Reduces debuff duration. |
|
|
・Allows the use of Ga-spells unlimitedly. ・Recommended materia for magic users. |
|
|
・Reduces the cast time of linked spells. |
|
|
・Increases MP gauge by 30%. ・Best equipped during boss battles. |
|
|
・Enhances physical moves. |
|
|
・Enhances magic spells. |
|
|
・Improves ATB charge rate. |
Best Equipment for Hard Mode
Cloud Recommended Equipment
| Equipment | Benefits of Use |
|---|---|
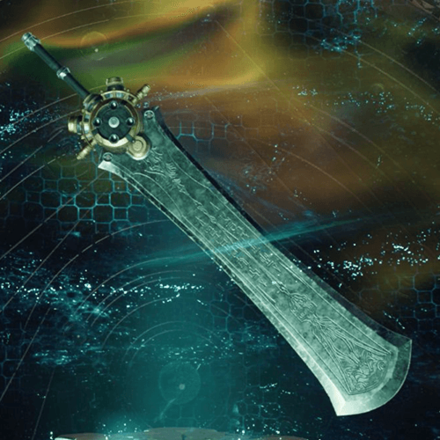 Rune Blade Rune Blade
|
・Provides ATB bonuses. ・Enhances magic spells. ・Increases Magic Power by 20. ・Has Stagger Recovery. |
|
|
・Provides several materia slots. |
 Enhanced Expeditionary Medal Enhanced Expeditionary Medal
|
・Increases level limit to maximum. |
Focus on Maximizing Cloud's Magical Abilities
Cloud has the second-highest magic stat after Aerith, making the Rune Blade an ideal choice of weapon to further enhance his magical abilities. This allows him to effectively cast Ga-spells with increased damage output. Additionally, the Rune Blade features Stagger Recovery, allowing Cloud to regain a percentage of his health upon successfully staggering enemies.
Aerith Recommended Equipment
| Equipment | Benefits of Use |
|---|---|
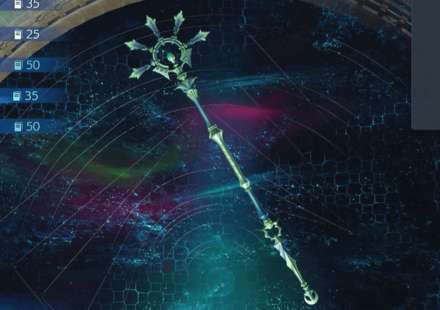 Plumose Rod Plumose Rod
|
・Ward Shift Mastery reduces Ward Shift cooldown. ・Improves Tempest Damage. ・Extends Ward Shift duration. ・Extends Fleeting Familiar duration. |
|
|
・Provides several materia slots. |
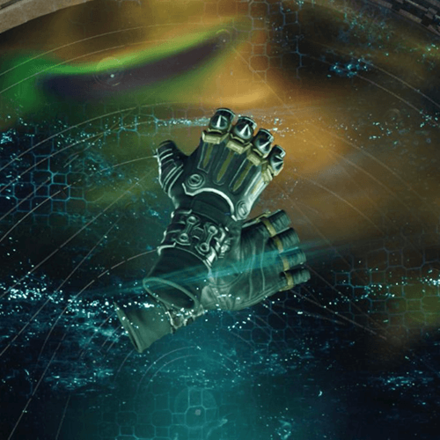
 Genji Gloves Genji Gloves
|
・Breaks the damage limit. |
Genji's Glove Helps Aerith Cast Powerful Magic
With Genji's Gloves, Aerith can unleash powerful magic attacks that exceed the damage limit, particularly when casting Ga-spells. This allows Aerith to take on an offensive role and inflict substantial magic damage, especially during boss fights.
Tifa Recommended Equipment
| Equipment | Benefits of Use |
|---|---|
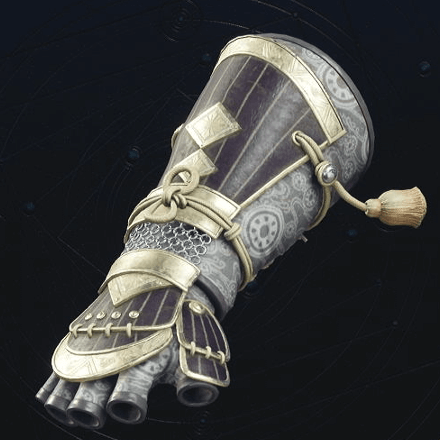
 Kaiser Knuckles Kaiser Knuckles
|
・Increases the chances of entering the battle with Unbridled Strength. ・Improves Unbridled Strength. ・Enhances Synergy Abilities damage output. ・Improves magic damage. |
|
|
・Provides several materia slots. |
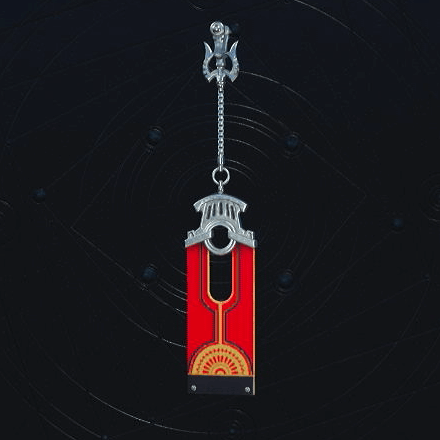 Genji Earrings Genji Earrings
|
・Enhances Tifa's damage output by 15%. |
Genji's Earrings Improves Tifa's Damage Output
Tifa's Unbridled Strength can help fill up her ATB gauge quickly as it allows her to hit enemies consecutively. Pairing it with Genji's Earrings grants her a 15% damage increase, allowing her to strike enemies multiple times with powerful blows.
Yuffie Recommended Equipment
| Equipment | Benefits of Use |
|---|---|
 Fuma Shuriken Fuma Shuriken
|
・Provides Fire and Ice damage boost. ・Has Shuriken Mastery. ・Improves magic damage. ・Provides ATB bonuses. |
|
|
・Provides several materia slots. |
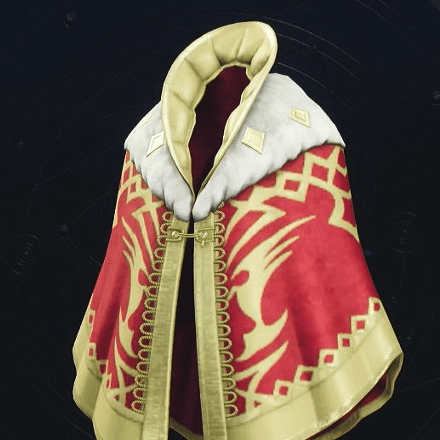 Chocoking's Cape Chocoking's Cape
|
・Increases ATB at the start of battle. |
Yuffie Can Fulfill Both Support and Offensive Roles
Yuffie's Fuma Shuriken provides both supportive and offensive capabilities thanks to its weapon skills tailored to enhance her magical abilities. Additionally, she can fill up her ATB gauge with Doppelganger, which you can immediately use when the Chocoking's Cape is equipped.
Barret Recommended Equipment
| Equipment | Benefits of Use |
|---|---|
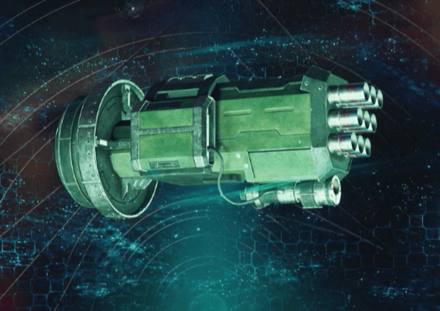 Barrage Blaster Barrage Blaster
|
・Protects Barret when using Overcharge. ・Has Trade-Off. ・Increases limit gauge fill when guarding. ・Reduces damage when guarding. |
|
|
・Provides several materia slots. |
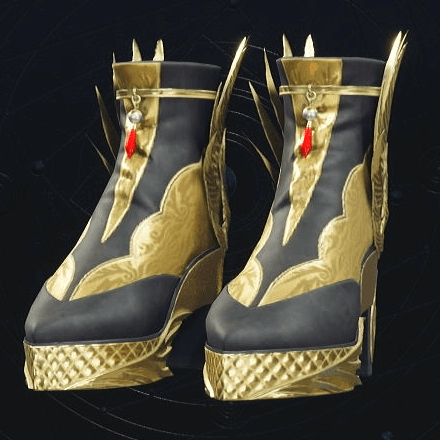 Hermes Shoes Hermes Shoes
|
・Grants Haste at the start of battle. |
Trade-Off to Provides Barret MP Recovery
Barret's Barrage Blaster has Trade-Off, a great weapon skill that allows him to gain MP when taking damage. It also includes several defensive weapon skills that can prove beneficial during boss battles.
Red XIII Recommended Equipment
| Equipment | Benefits of Use |
|---|---|
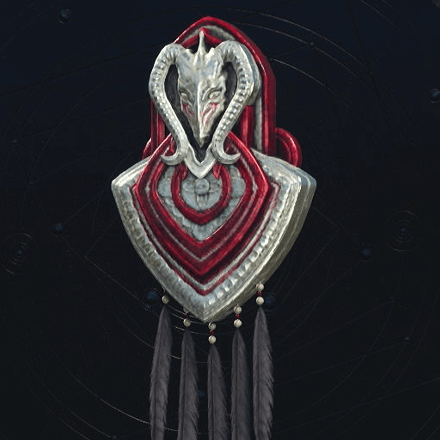
 Brisingamen Brisingamen
|
・Improves Vengeance gauge on successful blocks. ・Altruistic increases buff duations. ・Increases Counterspin potency. ・Enhances physical damage output. |
|
|
・Provides several materia slots. |
 Enchanted Ring Enchanted Ring
|
・Extends beneficial effects. |
Red XIII Can Take a Support Role with Increased Buff Durations.
Red XIII, with Brisingamen and Enchanted Ring, extends all beneficial effects applied to him, making him a great support. Offensively, Brisingamen is a great weapon to use as it allows him to focus on inflicting physical moves against enemies.
Cait Sith Recommended Equipment
| Equipment | Benefits of Use |
|---|---|
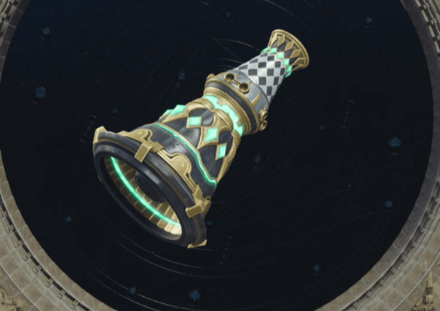 Gjallarhorn Gjallarhorn
|
・Lucky Jockey increases Luck when riding Moogle. ・Moogle Decoy lures enemies more. ・Increases Magic Attack by 20. ・Increases ATB and ATB Limit. |
|
|
・Provides several materia slots. |
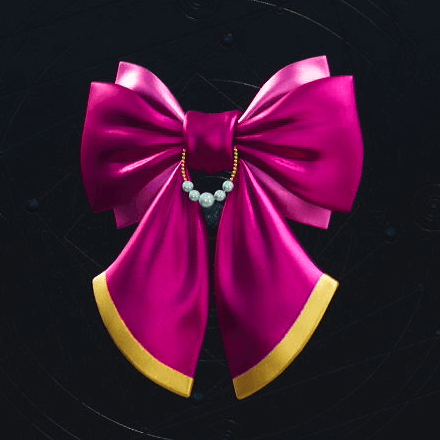 Ribbon Ribbon
|
・Prevents status effects. |
Gjallarhorn Improves Cait Sith's Attacks
Gjallarhorn greatly improves Cait Sith's physical attacks. It also boosts his Luck, which is beneficial since most of his attacks are based on Luck, such as Roll o' the Dice. You can further enhance this by equipping the Luck Up materia as well.
Why Play Hard Mode?
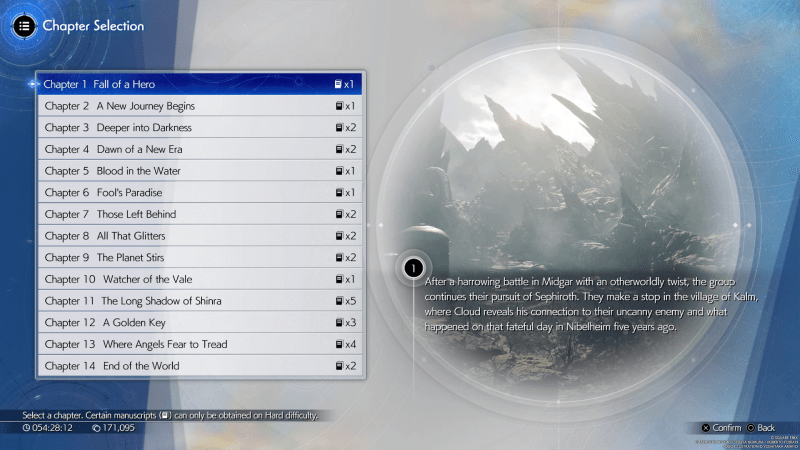
Collecting Endgame Manuscripts
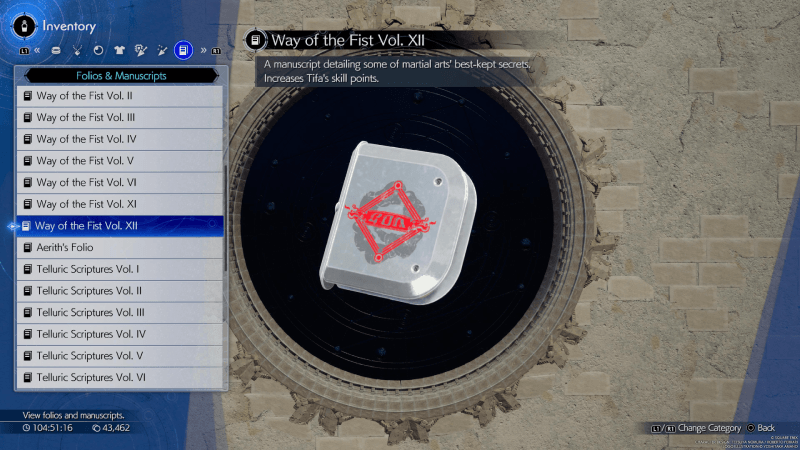
The manuscripts for Vol. 7 to 15 can only be acquired by completing Side quests and defeating Bosses in Hard Mode. These manuscripts are essential for increasing your character's SP (Skill Points), which are used to progress your character's Folio.
To Obtain Of Hardy Stock Trophy
 Silver Silver
|
Of Hardy Stock |
|---|---|
| Complete all chapters on Hard difficulty.
・List of Chapters |
The Of Hardy Stock Trophy is exclusively attainable by completing all chapters on Hard difficulty, which is one of the requirements for obtaining the Platinum Trophy, The Planet's Hope.
Final Fantasy 7 Rebirth Related Guides

All FF7 Rebirth Guides
 Story Walkthrough
 Bosses
 Side Quests
 Queen's Blood
 Minigames
 Characters
 Romance
 World Intel
 Materia
 Weapons
 Armor
Armor Accessories
 Limit Breaks
 Folio Skill Tree
 Chocobos
 Maps and Locations
 Combat Simulator
 Crafting Materials
 Enemies
 News and Game Info
 Demo Walkthrough
Beginner's Guide and Getting Started
Gameplay System Tips and Tricks
Character Stat Guides
Mount Guides
| Mount Guides | |
|---|---|
| All Mounts and How to Unlock | How to Get the Buggy |
| How to Get the Tiny Bronco | How to Get the Wheelie (Segway) |
Farming Guides
Post-Game Guides
Story Guides
Comment
Author

Hard Mode Difficulty Guide
Rankings
- We could not find the message board you were looking for.
Gaming News
![Animal Crossing: New Horizons Review [Switch 2] | Needlessly Crossing Over to a New Generation](https://img.game8.co/4391759/47d0408b0b8a892e453a0b90f54beb8a.png/show)


Popular Games

Genshin Impact Walkthrough & Guides Wiki
Honkai: Star Rail Walkthrough & Guides Wiki
Arknights: Endfield Walkthrough & Guides Wiki
Umamusume: Pretty Derby Walkthrough & Guides Wiki
Wuthering Waves Walkthrough & Guides Wiki
Pokemon TCG Pocket (PTCGP) Strategies & Guides Wiki
Abyss Walkthrough & Guides Wiki
Zenless Zone Zero Walkthrough & Guides Wiki
Digimon Story: Time Stranger Walkthrough & Guides Wiki
Clair Obscur: Expedition 33 Walkthrough & Guides Wiki


Recommended Games
Fire Emblem Heroes (FEH) Walkthrough & Guides Wiki
Pokemon Brilliant Diamond and Shining Pearl (BDSP) Walkthrough & Guides Wiki
Diablo 4: Vessel of Hatred Walkthrough & Guides Wiki
Super Smash Bros. Ultimate Walkthrough & Guides Wiki
Yu-Gi-Oh! Master Duel Walkthrough & Guides Wiki
Elden Ring Shadow of the Erdtree Walkthrough & Guides Wiki
Monster Hunter World Walkthrough & Guides Wiki
The Legend of Zelda: Tears of the Kingdom Walkthrough & Guides Wiki
Persona 3 Reload Walkthrough & Guides Wiki
Cyberpunk 2077: Ultimate Edition Walkthrough & Guides Wiki


All rights reserved
© SQUARE ENIX CO., LTD. All Rights Reserved.
CHARACTER DESIGN: TETSUYA NOMURA/ROBERTO FERRARI
LOGO ILLUSTRATION: © 1997 YOSHITAKA AMANO
The copyrights of videos of games used in our content and other intellectual property rights belong to the provider of the game.
The contents we provide on this site were created personally by members of the Game8 editorial department.
We refuse the right to reuse or repost content taken without our permission such as data or images to other sites.