
This survey will take about 1 minute.
Your answers will help us to improve our website.
Horizon Forbidden West (HFW)
All Brimshine Locations and Interactive Map
┣ Complete Quests → Quest Walkthroughs
┣ Learn the Best Skills → Best Skills
┣ Collect Gear → List of Weapons / Outfits
┣ Collect All Legendaries → All Legendary Weapons/Outfits
┗ Take Down Machines → List of Enemy Machines
★The Ver. 1.08 Patch is now Available!
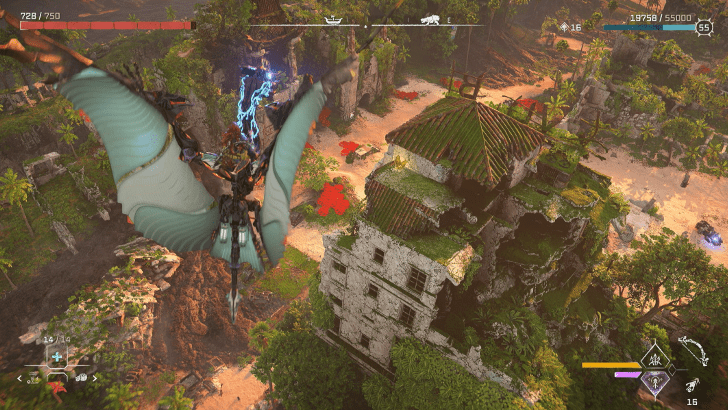
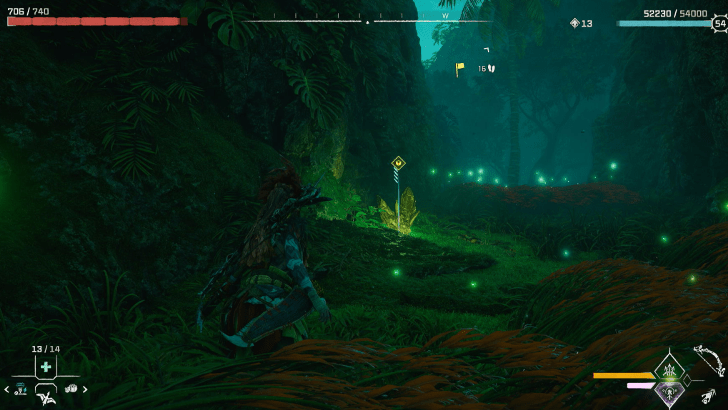
Brimshine is a special resource found at the Burning Shores, the setting of the Horizon Forbidden West DLC. Read on for a list of all Brimshine locations, what it is used for, as well as an interactive map and checklist feature to keep track of all Burning Shores Brimshine collected.
List of Contents
All Brimshine Interactive Map
| ・Click on the arrow in the upper left corner to access our sidebar to check all other pins and even search for individual pins. ・Pins checked off the map will reflect in the list below. ・For map pin suggestions, please list down as much information as you can including reward data or complex acquisition methods. ・For images, uploading a full rectangular screenshot with a resolution of at least 728 x 410 pixels will be highly appreciated. We encourage users to sign up and log in to save your progress with the map. |
All Brimshine Locations and Checklist
| ✔️ | World View |
|---|---|
|
Brimshine x1
|
 Location: In the building to the east of Fleet's End where the latter part of the Burning Shores Main Quest will take place. It's at the edge of the building near the campfire outside. |
|
Brimshine x1
|
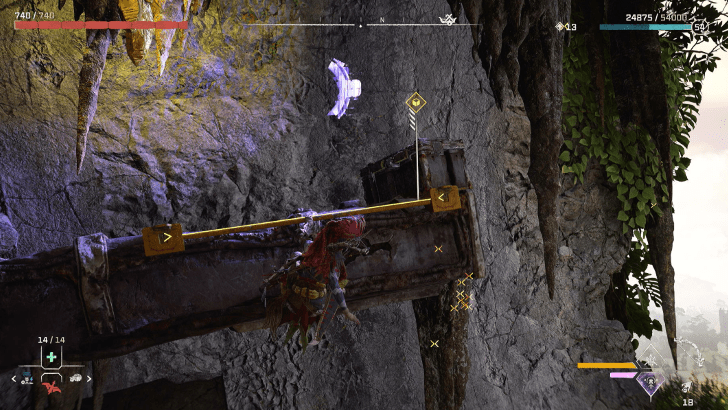
 Location: On top of a rusty van that is on the under side of a concrete structure, |
|
Brimshine x3
|
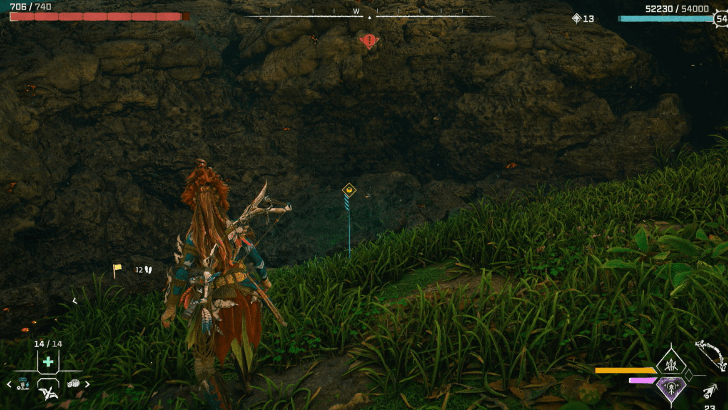
 Location: Right by a hole's edge that leads down into the water. |
|
Brimshine x1
|
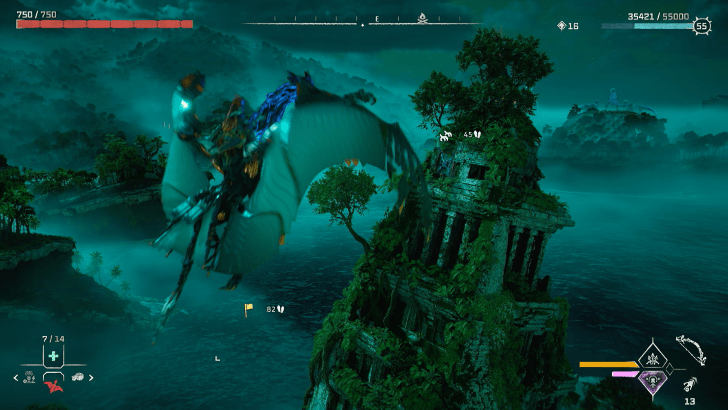
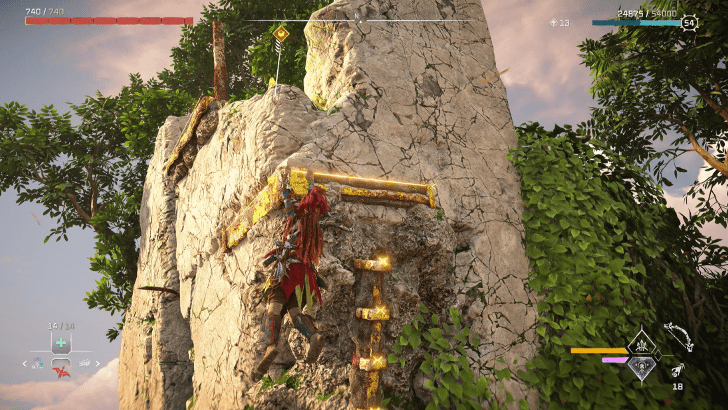 Location: On top of a building, right at the corner. Use the climbable spots to get there or fly up then glide. |
|
Brimshine x2
|
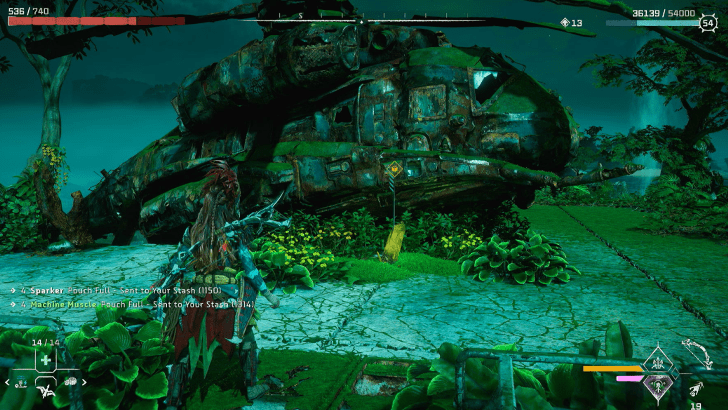 Location: Fly or Grapple and climb up the side of the building to the very top, then go up a set of stairs. The Brimshine should be beside a rusty helicopter. |
|
Brimshine x1
|
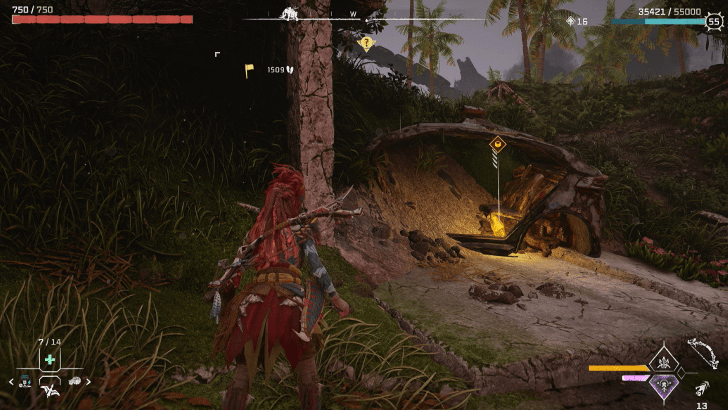 Location: South of the nearby shelter, inside a car frame. |
|
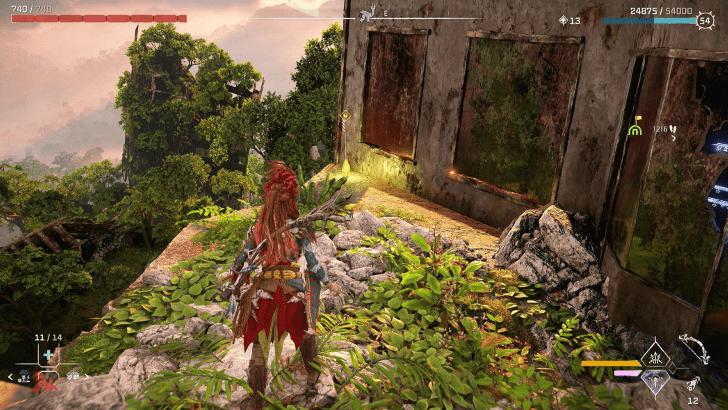
Brimshine x1
|
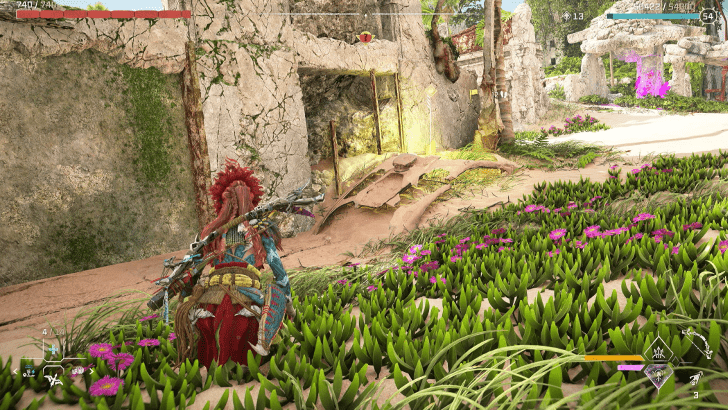
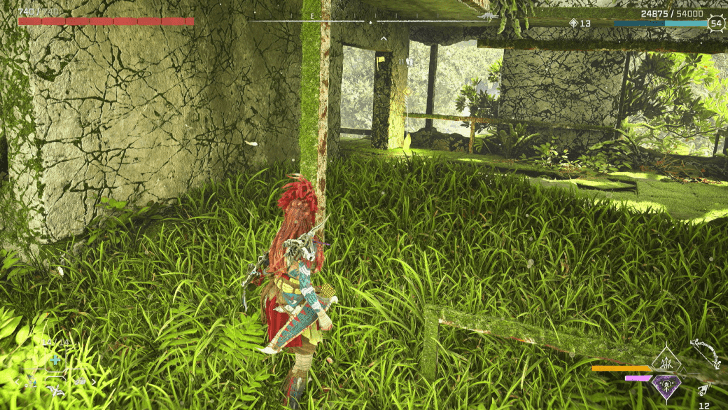 Location: Inside a dilapidated building on the north edge of the map. It will be near some mossy stairs. |
|
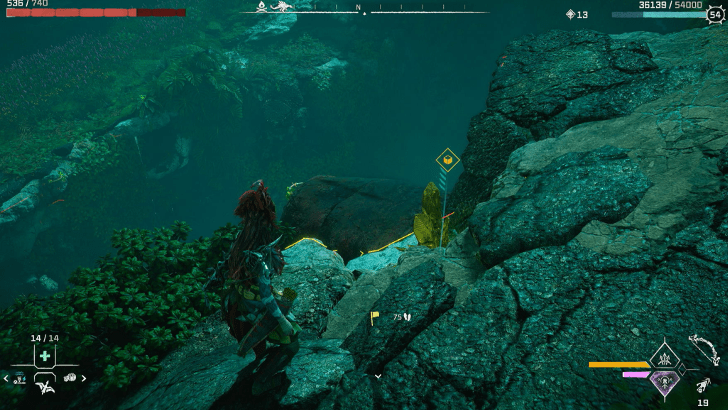
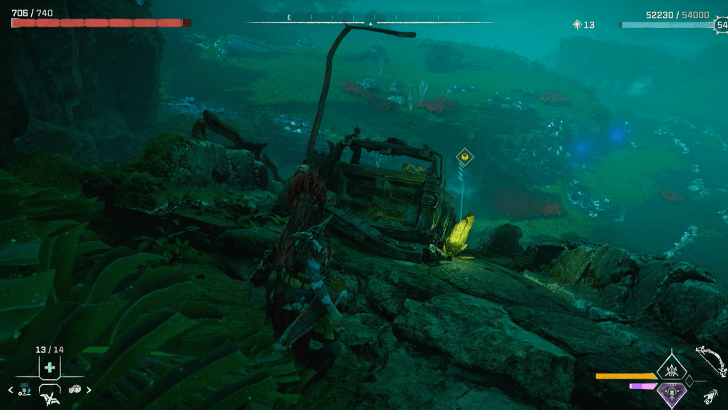
Brimshine x3
|
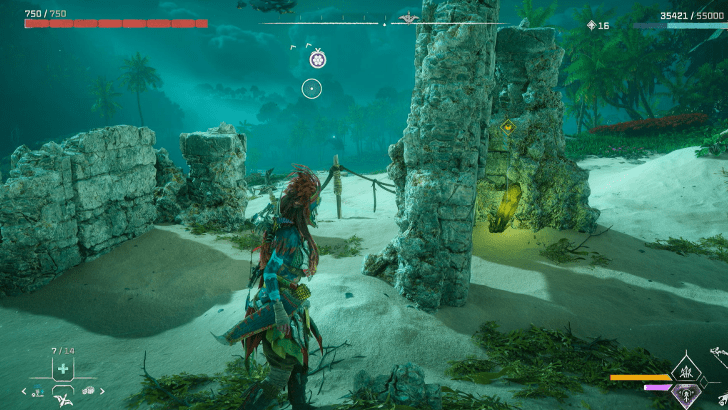
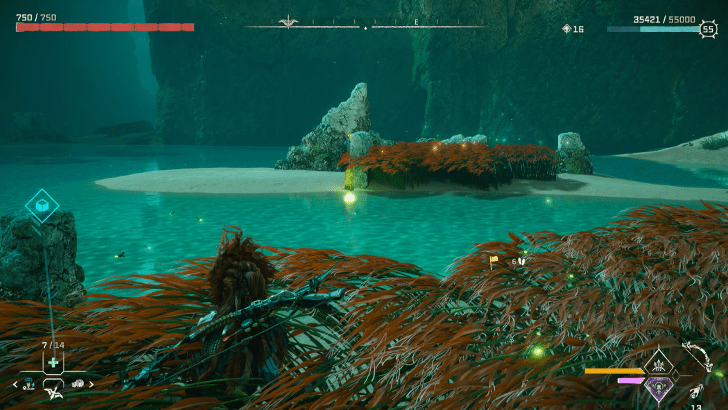
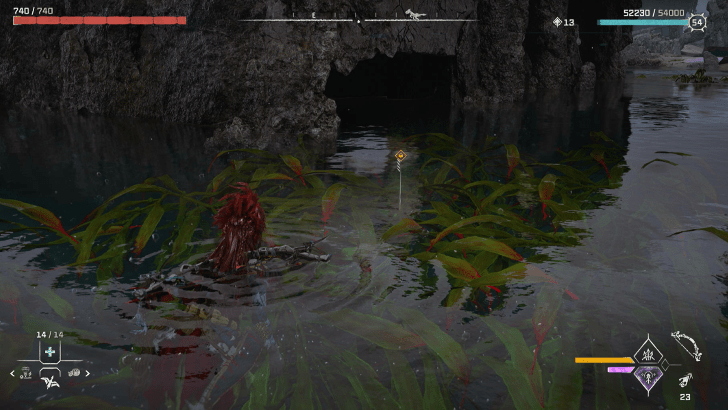
 Location: Found underwater all the way down to the sand, beside a shipwreck. There will be a broken boat directly on the surface of the water which players can use as a landmark of where to dive. |
|
Brimshine x 5
|
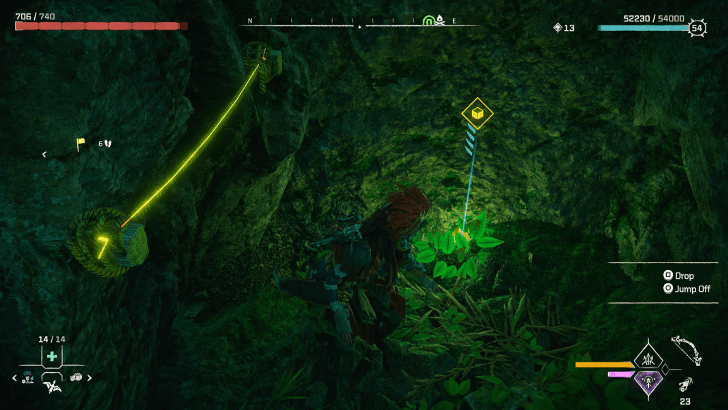
 Location: In front of the barred gates, drop the battery cell in the small opening of the floor then enter the other side through the hole at the top. Once there put the energy cell in the compartment then take the crate through to the door that opened. Use it to climb up and open the cache. |
|
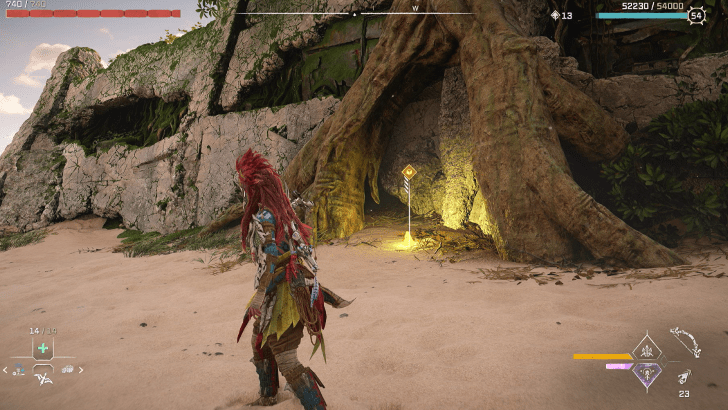
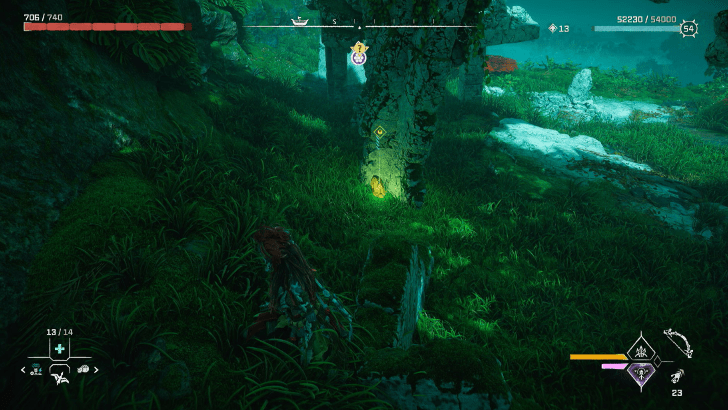
Brimshine x2
|
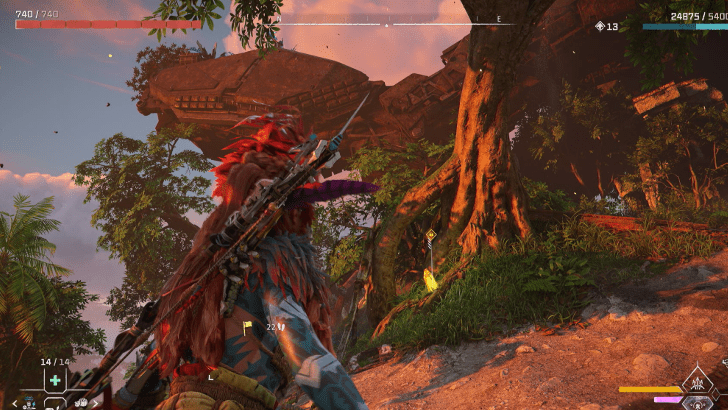 Location: At the base of a large tree. |
|
Brimshine x1
|
 Location: Underneath a collapsed metal frame of the roof. |
|
Brimshine x1
|
 Location: Grapple to the house right beside the road. The Brimshine should be on the lower level. |
|
Brimshine x3
|
 Location: In the building to the east of Fleet's End where the latter part of the Burning Shores Main Quest will take place. It's where the final boss takes place, at the back of the dilapidated building on the highest level. Use your Sunwing or Waterwing to get there. |
|
Brimshine x1
|
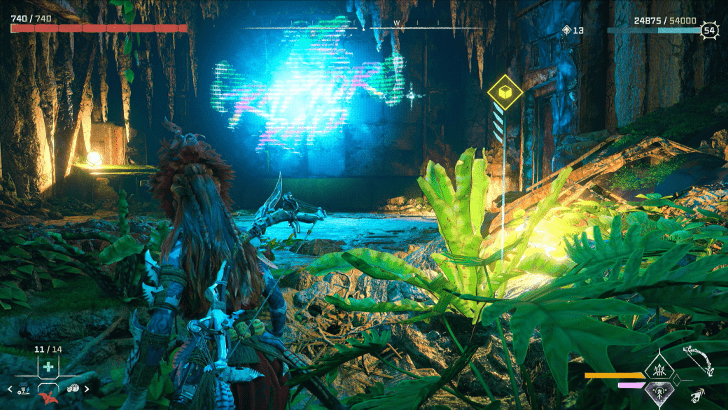 Location: On the island to the south east, which will be accessible only through completing the 2nd to the last main quest, enter the facility called Raptor Raid, the south most exit seen from the map. Then follow the path until you see a room with the spray paint logo for Raptor Raid. |
|
Brimshine x1
|
 Location: On the island to the south east of the map which will only be unlocked during the second to the last main quest. It is inside the area called The Armory. Head to the 1st lower level. It will be in a room right across from the stairs where you entered the lower level. |
|
Brimshine x2
|
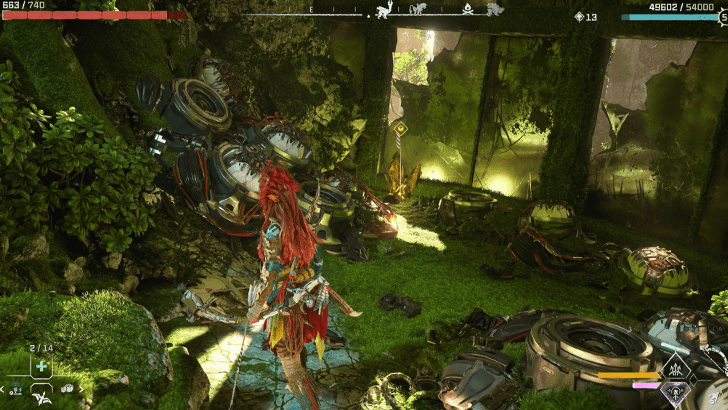
 Location: In the same facility as the main quest Heaven and Earth, in the room where you and Seyka interact with the large machine. It will be underneath it. |
|
Brimshine x3
|
 Location: In the same facility as the main quest Heaven and Earth, in the space where there is a large chasm and where Aloy needs the fire the Quen ballista. Use the Quen Ballista to make a path to the Brimshine. |
|
Brimshine x1
|
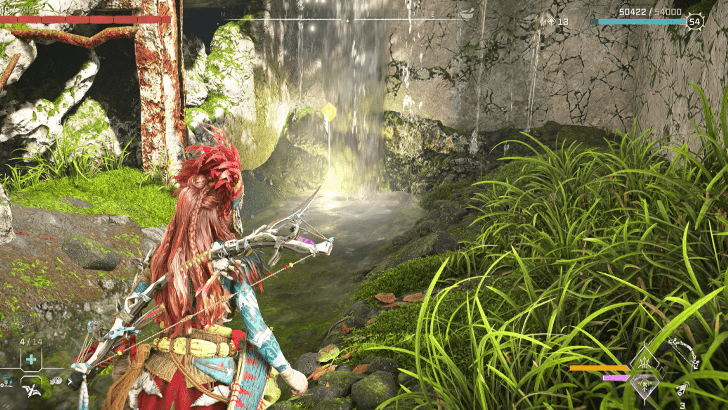
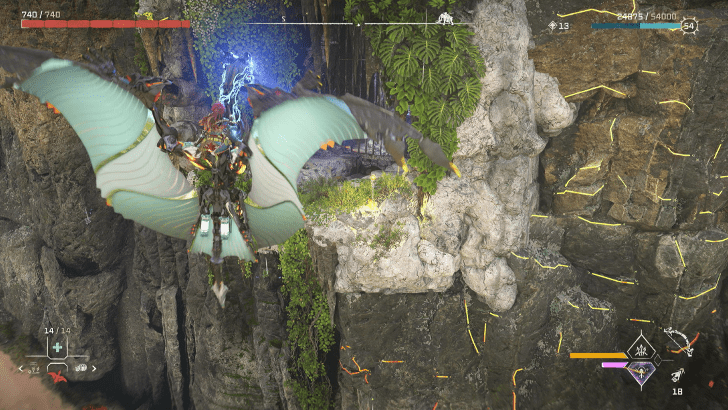
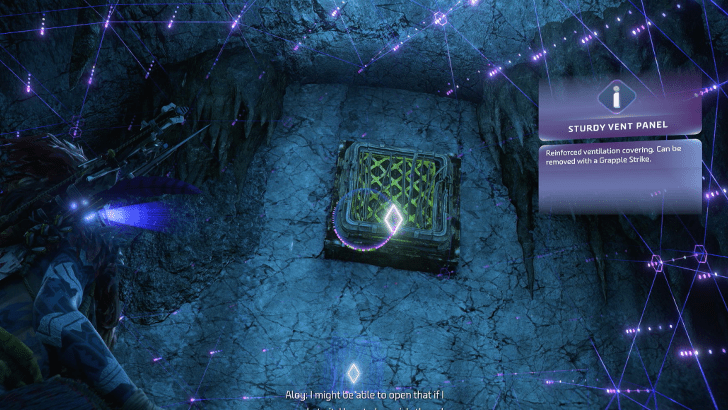 Location: Fly up to the top of the waterfall and grapple to get behind the barred gate. Grapple again to get through the vent. The Brimshine should be in the cave after getting out of the vent. |
|
Brimshine x5
|
 Location: Fly up to the top of the waterfall and grapple leap (grapple then press circle on the controller) to get behind the barred gate. Open the cache inside to get the Brimshine. |
|
Brimshine x2
|
 Location: On the sand, tucked in the corner of the ruins of a sinking doorway. |
|
Brimshine x3
|
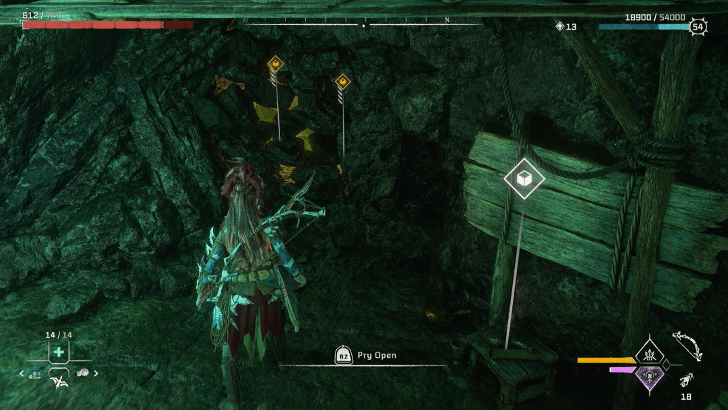 Location: Jump down into the water when looking at the map, to the left of the nearby campfire and head into the unmarked cave. Ignite the Firegleam at the top corner and grab and pull the crate until it is underneath a nearby wooden platform. Use it to climb up to where you can pry open rocks. |
|
Brimshine x1
|
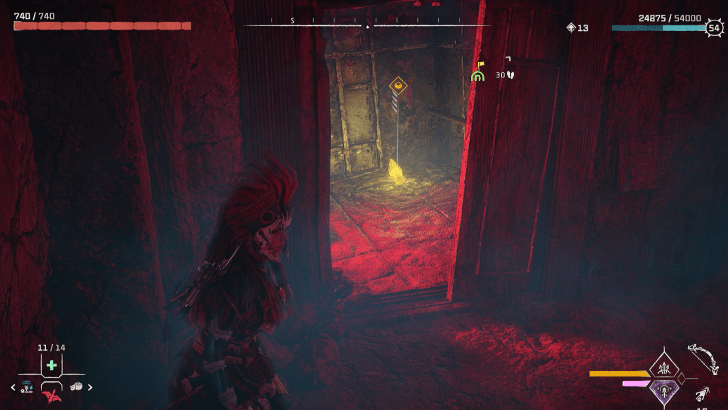
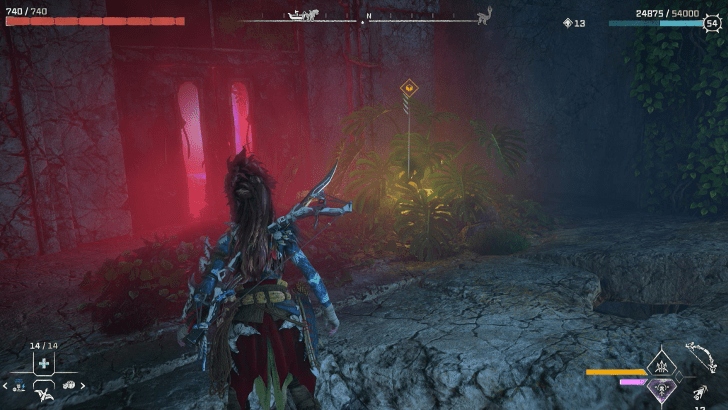
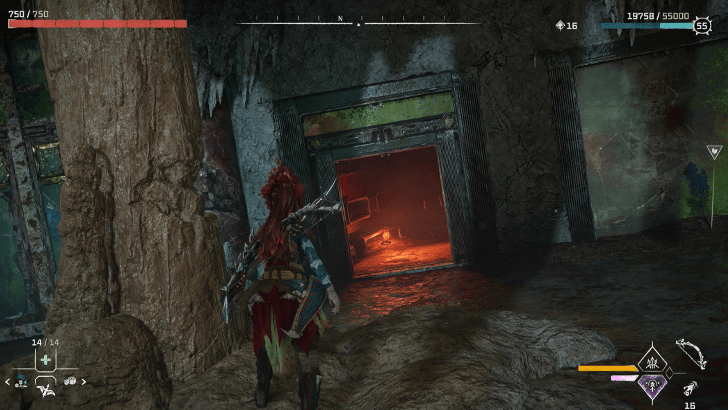 Location: Head inside the site of the Quen Excavation (which will be ulocked during the side quest In His Wake) and head to the central circular room. On the second floor, go to a red room pointing north east on the map. |
|
Brimshine x3
|
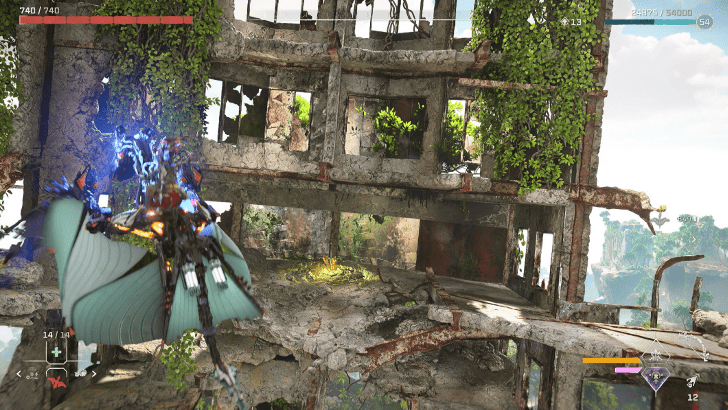
 Location: Fly up with the Sunwing or Waterwing to the top of the building. Grapple up to the tree then use the climbable points to get inside the building and find the Brimshine |
|
Brimshine x3
|
 Location: On top of an old building, in a corner by a roof. Use a Sunwing or Waterwing to get there easily. |
|
Brimshine x1
|
 Location: Across the shelter at the end of the path, right on top of the metal frame of an old building. |
|
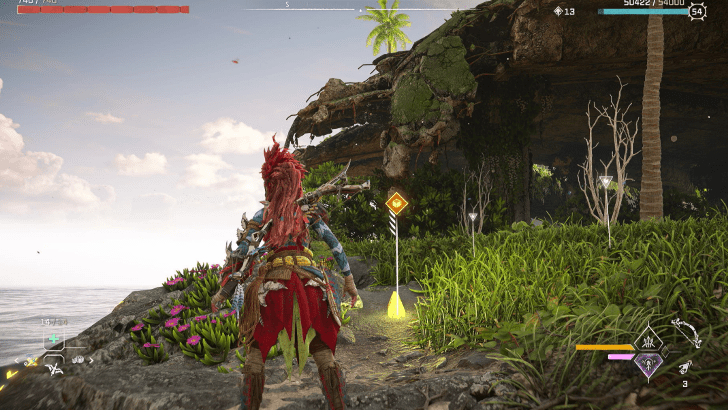
Brimshine x1
|
 Location: On the sand, near the roots of a large tree. |
|
Brimshine x1
|
 Location: Underwater and underneath the old concrete road. |
|
Brimshine x1
|
 Location: Underneath a trickling waterfall against a wall to the north of Fleet's End |
|
Brimshine x3
|
 Location: Find the Key Module for the door. Use the focus and follow the tracks, cross the wooden bridges. Climb the ruins on the left. Jump to the right, get on the concrete platorm and grapple to the nearby vent. The Key Module should be at the end of the vent. |
|
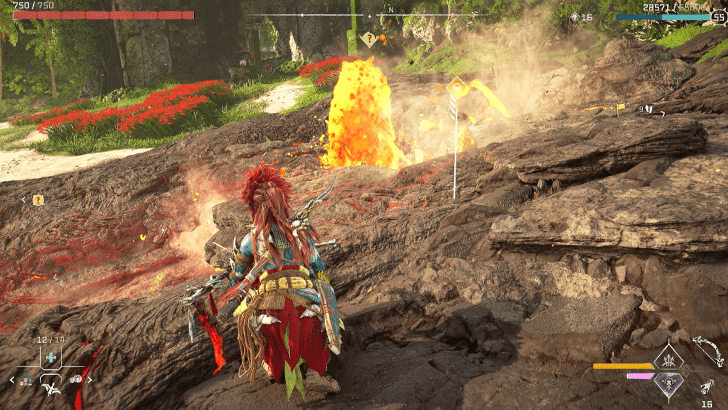
Brimshine x1
|
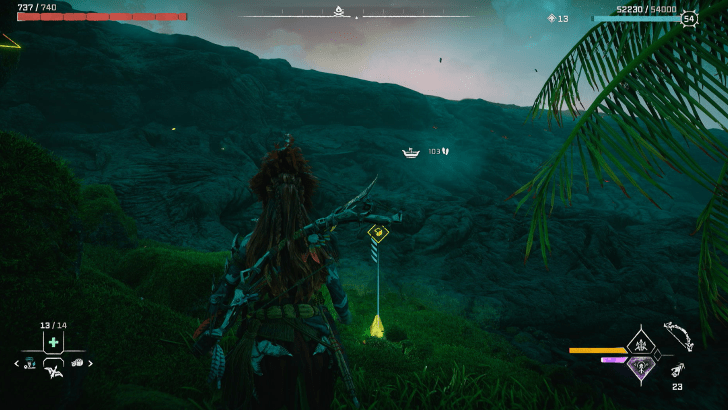 Location: From the map, on left side of the lava flow, near where it meets the shoreline. |
|
Brimshine x1
|
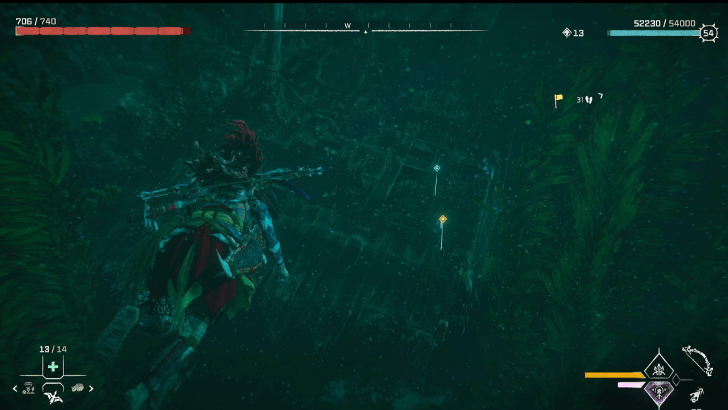 Location: Underwater to the south of Fleet's End. It will be on the seafloor, inside a shipwreck. |
|
Brimshine x2
|
 Location: From the map, it's in the clearing to the right of the cave in the north. It will be beside an old truck. |
|
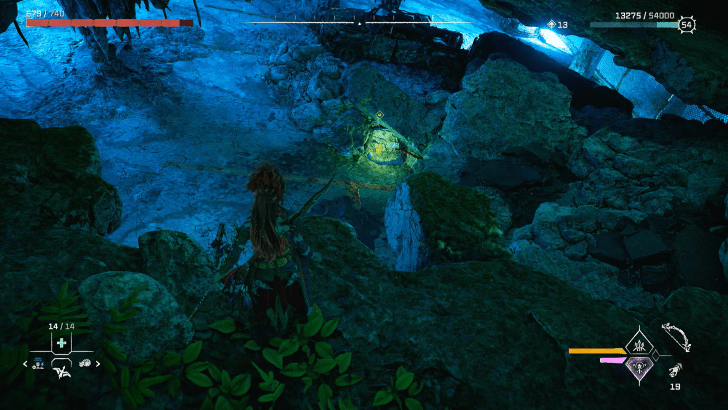
Brimshine x1
|
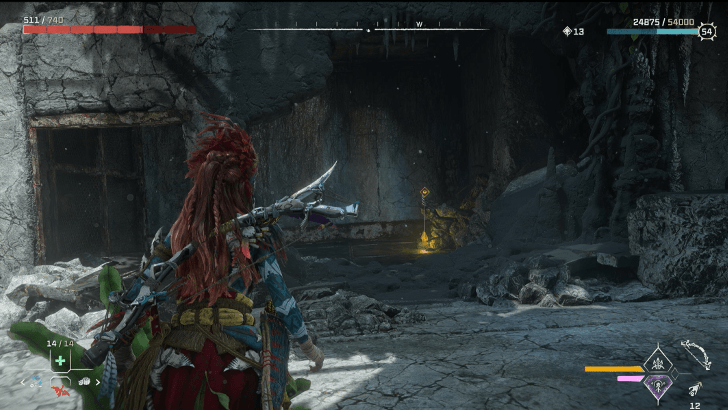 Location: During the side quest, A Friend in the Dark (Inside the Relic Ruin: Murmuring Hollows), when you reach the main open area, it is on the lowest level opposite the wall of wher you came down the stairs. It will be near some rocks in an opening. |
|
Brimshine x3
|
 Location: To the south east of Fleet's End, right at the tip of where the lava flow is coming from |
|
Brimshine x1
|
 Location: Jump down into the water when looking at the map, to the left of the nearby campfire and head into the unmarked cave. Ignite the Firegleam at the top corner and grab and pull the crate until it is underneath a nearby wooden platform. Use it to climb up to where you can pry open rocks. |
|
Brimshine x3
|
 Location: On the shore of the west most island, grapple and use the climbable points to get up the ferris wheel. It should be at the very top of one of the carriages. |
|
Brimshine x2
|
 Location: Inside the relic ruin: Murmuring Hollow that is also the place for the side quest, A Friend in the Dark. It will be in a corner to the left of where you enter on top of some rocks. |
|
Brimshine x1
|
 Location: During the side quest, A Friend in the Dark (Inside the Relic Ruin: Murmuring Hollows), when you reach the main open area and head to the second level, after you climb across the gap, it will be near one of the doorways on the other side. |
|
Brimshine x1
|
 Location: Found in a rocky concrete abandoned carpark area, in a hole in the ground next to the stalker site. |
|
Brimshine x2
|
 Location: Looking at it from the map, to the left of the cave entrance in the north and in an area to the left of the nearby campfire. It will be behind an incomplete rock wall. |
|
Brimshine x1
|
 Location: On the south west most island on the map, the Brimshine should be on a rock ledge by the shore. |
|
Brimshine x1
|
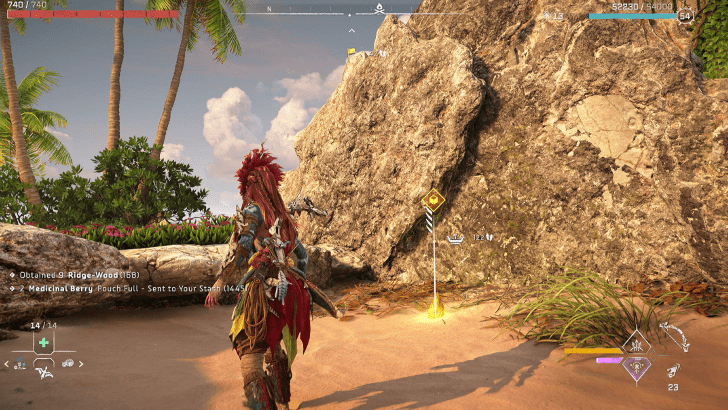 Location: On the sand, right beside a small rock ledge and old rock wall. |
|
Brimshine x1
|
 Location: Right on top of a rock right by the shore and some orange grass |
|
Brimshine x2
|
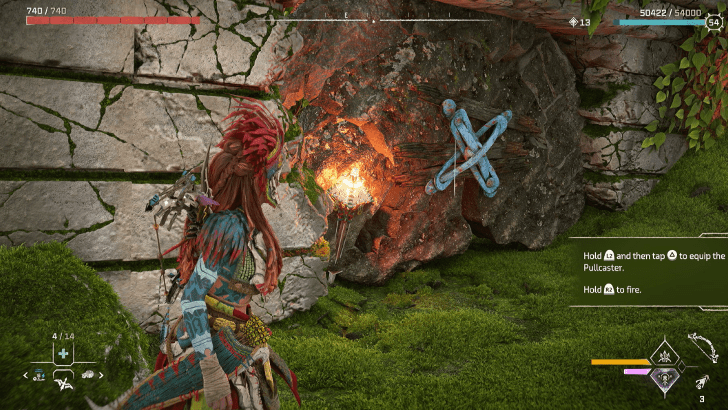 Location: Near the road to the north east of Fleet's End, there will be a spot you can use your pullcaster on the side of a concrete wall. |
|
Brimshine x2
|
 Location: At the border of the lava flow and near the cave in the north. From the map, it will be to the right of the lava flow. |
|
Brimshine x1
|
 Location: At the site of the lava flow in the north, jump down the ledge and face the wall. |
|
Brimshine x2
|
 Location: Head inside the site of the Quen Excavation (which will be ulocked during the side quest In His Wake) and head down the path nearer the exit point. It will be in one of the corners along the way. |
|
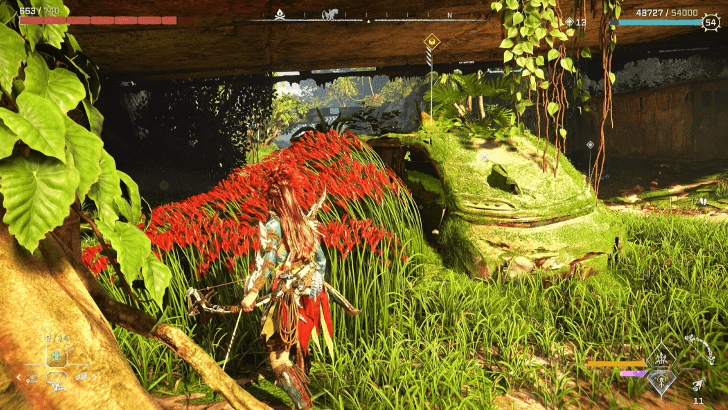
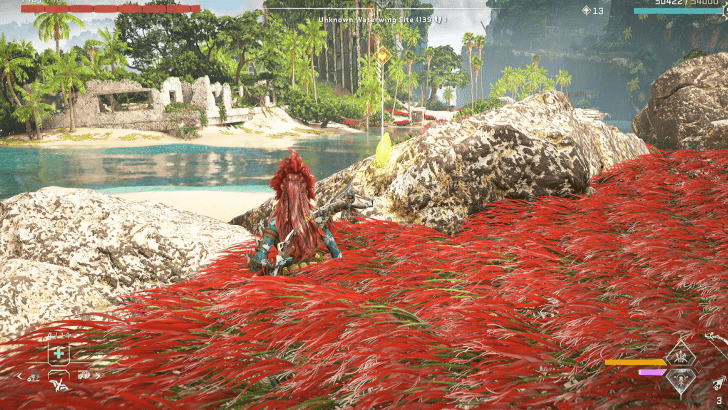
Brimshine x2
|
 Location: Next to a patch of red hideable grass, on the sand. |
|
Brimshine x3
|
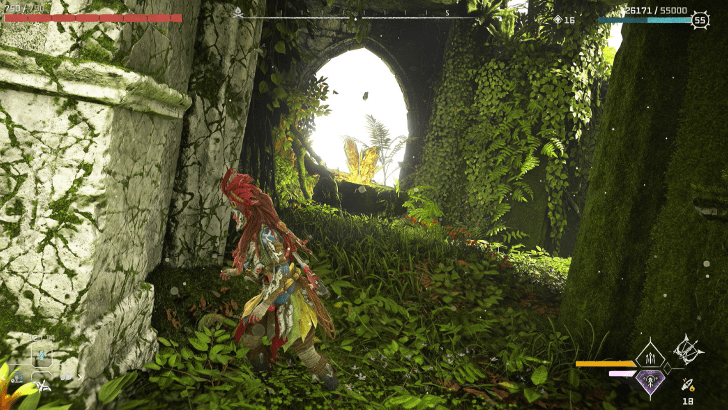
 Location: Fly up until you reach an opening in the side of the building. Then head to the right to a mossy section. Beware of the nearby Stingspawn Eggs. |
|
Brimshine x3
|
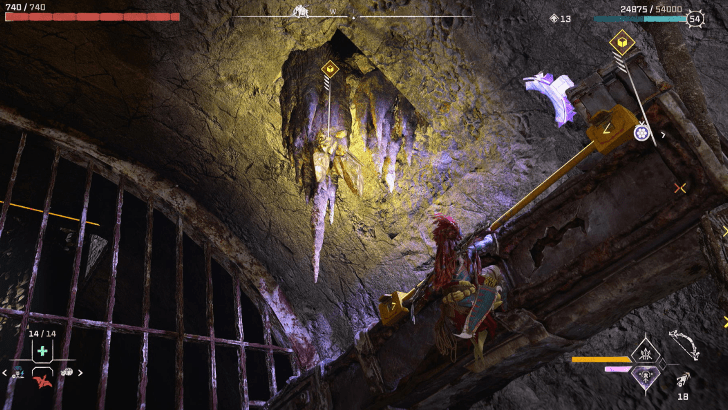 Location: In front of the barred gates, drop the battery cell in the small opening of the floor then enter the other side through the hole at the top. Once there put the energy cell in the compartment then take the crate through to the door that opened. Use it to climb up and get the Brimshine on the Stalactite. |
|
Brimshine x2
|
 Location: At the top level of a building with exposed levels. Use the climbable spots and grapple on the side to get there. |
|
Brimshine x1
|
 Location: Fly up until you reach an opening in the side of the building. The Brimshine should be right across the opening. |
|
Brimshine x2
|
 Location: Hidden in the corner of some concrete ruins. |
|
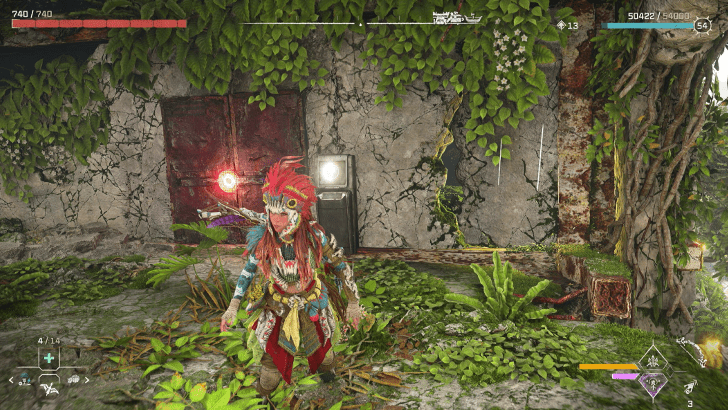
Brimshine x1
|
 Location: In the same facility as the main quest Heaven and Earth, in the same room where you see the large TV on the wall showing a logo for Heaven C, where you also find the cache containing the Skyhammer. The Brimshine will be in the corner of the room. |
|
Brimshine x1
|
 Location: Near the shelter, lower the ladder on the cliffside to get to the Brimshine on the wooden platform |
|
Brimshine x2
|
 Location: At the top of the building near the shelter. Fly to the top with a Sunwing or Waterwing then select the option to grab the metal clamp while still riding them. |
|
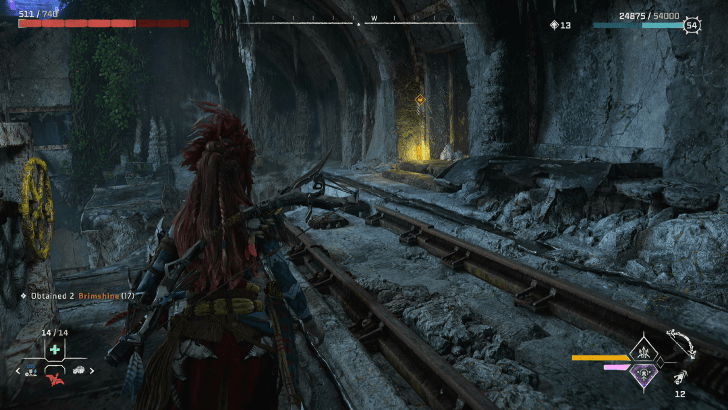
Brimshine x1
|
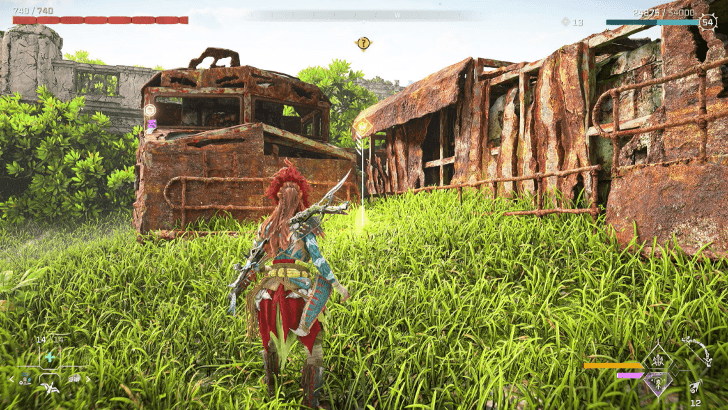 Location: In the corner of some old and very rusty trains. |
|
Brimshine x2
|
 Location: At the edge of the cliff, before the barred gated entrance that is high on the cliffside. |
|
Brimshine x15
|
 Location: During the Delver's Trove Errand Quest, found within the Oserams' Buried Trove at the End. |
|
Brimshine x2
|
 Location: In the building to the east of Fleet's End where the latter part of the Burning Shores Main Quest will take place. Inside the building there will be a part where you have to jump from climbable points on the wall to the ladder to head up. It will be on a floor where you can jump to the level behind you and the Brimshine will be there. |
|
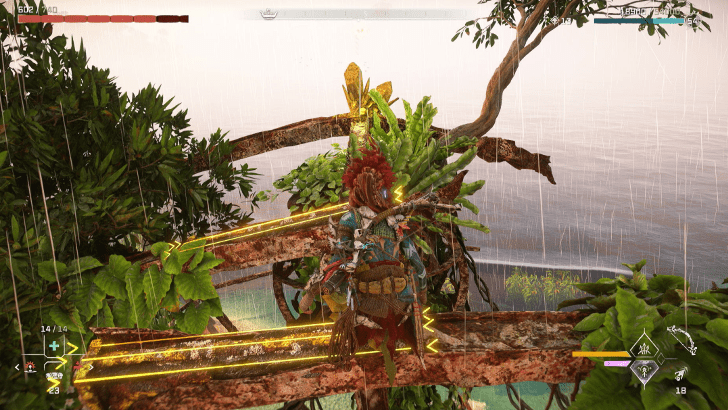
Brimshine x1
|
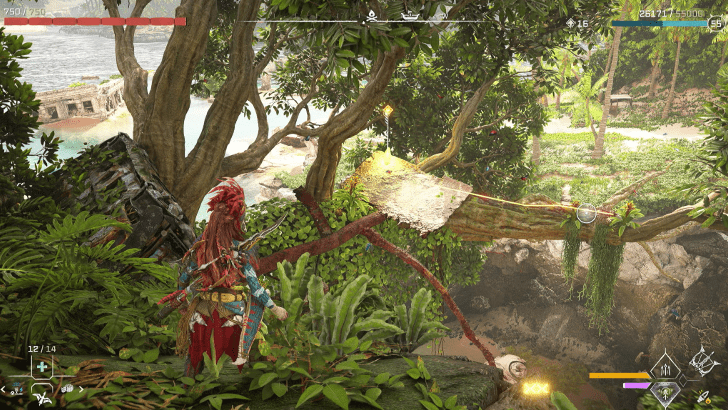 Location: Grapple to the tree that is near some rusty cars and climb across the branch to get the Brimshine. |
|
Brimshine x1
|
 Location: On the second level of an old building. Use the nearby stairs/escalator to get there. It will be beside a pushcart. |
|
Brimshine x2
|
 Location: During the side quest, A Friend in the Dark (Inside the Relic Ruin: Murmuring Hollows), when you reach the main open area and head to the second level, it will be in a back room after you climb across the gap. |
|
Brimshine x3
|
 Location: Shoot the barrels on the side of the building then zipline across to get inside the ruins of the building. The Brimshine chunk should be nearby after entering the spot where the barrels exploded then climbing up. |
|
Brimshine x1
|
 Location: Near the tip of where the lava flow is coming from in the north. It will be at the border (to the right when looking at the map) of the lavaflow. |
|
Brimshine x5
|
 Location: On the west most island, near the campfire, find a door you can open on the side of a half sunken building. Pry open the cache to reveal 5 pieces of Brimshine. |
|
Brimshine x1
|
 Location: On the cliff's ledge beside the path that leads to the cave in the north. Looking out from the cliff, it will be facing the lava flow. |
|
Brimshine x1
|
 Location: Found on the sand against a rock wall, inside an old car frame. |
|
Brimshine x1
|
 Location: Dive underneath the ruins of the old building. |
|
Brimshine x1
|
 Location: It will be at the bottom of two cliffs with climbable points. |
|
Brimshine x3
|
 Location: Near the cave entrance in the north. At the bottom of a chasm, it will be near a lot of hideable orange patches of grass. |
|
Brimshine x2
|
 Location: Inside an old carpark area, in the second lowest level. head to where the water is gathering from the leaky roof. Use your pullcaster and prepar to fight an enemy once you get through. The Brimshine should be just behind that wall. |
|
Brimshine x2
|
 Location: During the side quest, A Friend in the Dark (Inside the Relic Ruin: Murmuring Hollows), follow the path behind the door after you unlock and start the quest. it will be on the right side of the path. |
|
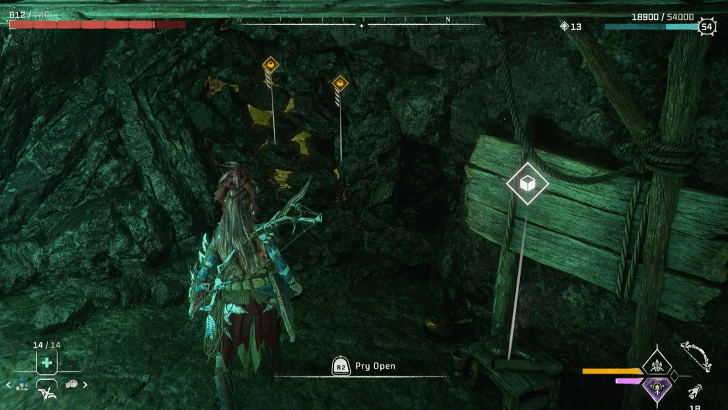
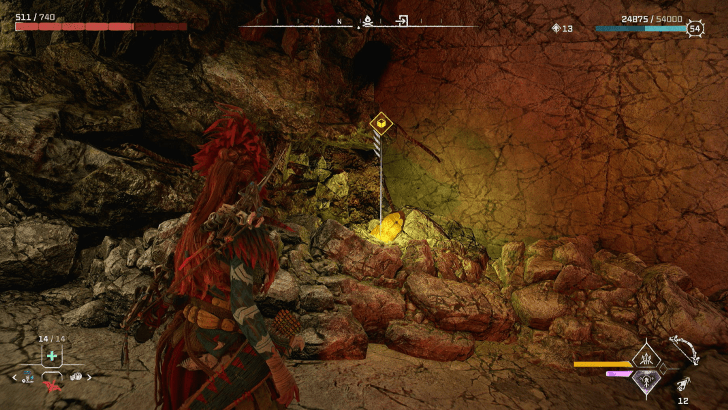
Brinshine x3
|
 Location: Inside a mining cave. It will be underneath a small awning. |
|
Brimshine x1
|
 Location: On top of one of the stairs beside the roller coaster. Glide or fly to get it. |
|
Brimshine x1
|
 Location: On the island to the south east which will be unlocked only during the second to the last main quest. It will be in an area called Reggie's Adventure, on top of one of the talle tree like structures. |
|
Brimshine x1
|
 Location: On top of a rock column above the lava. |
|
Brimshine x2
|
 Location: Inside a building at the corner of the room. Climb in from a square hole at the top |
|
Brimshine x2
|
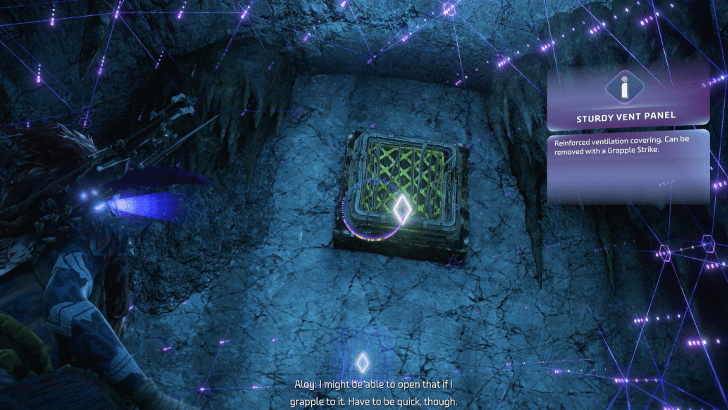 Location: Fly up to the top of the waterfall and grapple to get behind the barred gate. Grapple again to get through the vent. The Brimshine should be in the cave after getting out of the vent. |
|
Brimshine x5
|
 Location: Fly or Grapple and climb up the side of a building until you reach a gap in the side . The Brimshine should be nearby in a cache in one of the rooms. |
|
Brimshine x1
|
 Location: On the other side of the barred gates. Players can enter from an opening at the top of the cliff. |
|
Brimshine x1
|
 Location: Facing a wall of a dilapidated skyscraper, it will be on a small concrete ledge on the ground. |
How to Use Brimshine
Used to Upgrade and Purchase Weapons

Brimshine is a special resource exclusive to the Burning Shores area. 8 Brimshine alongside 3000 Metal Shards, are needed to purchase each Legendary Weapon at the Hunter's Goods in Fleet's End. On top of this, certain weapons need Brimshine as upgrade material, 6 in total for each weapon, alongside other kinds of resources.
Weapons to Purchase with Brimshine
 The Emperor's Reign The Emperor's Reign
|
 Eye of the Storm Eye of the Storm
|
 Gravesinger's Lament Gravesinger's Lament
|
 The Tie That Binds The Tie That Binds
|
 Eternal Vengeance Eternal Vengeance
|
 Distant Thunder Distant Thunder
|
Weapons that Need Brimshine as Upgrade Material
 Skyhammer Skyhammer
|
 Last Argument Last Argument
|
The Emperor's Reign
|
|
Eye of the Storm
|
Gravesinger's Lament
|
The Tie That Binds
|
|
Eternal Vengeance
|
Distant Thunder
|
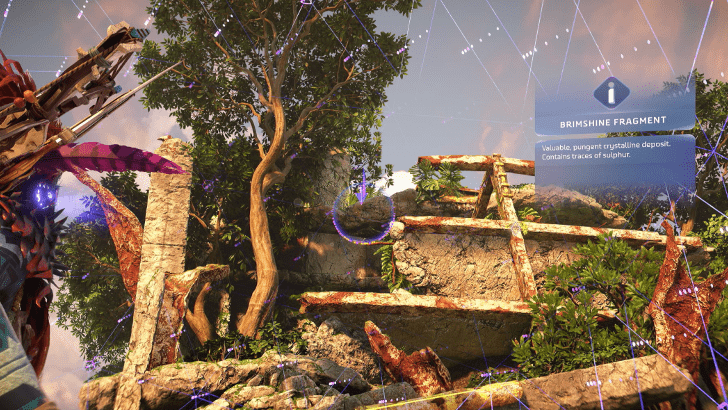
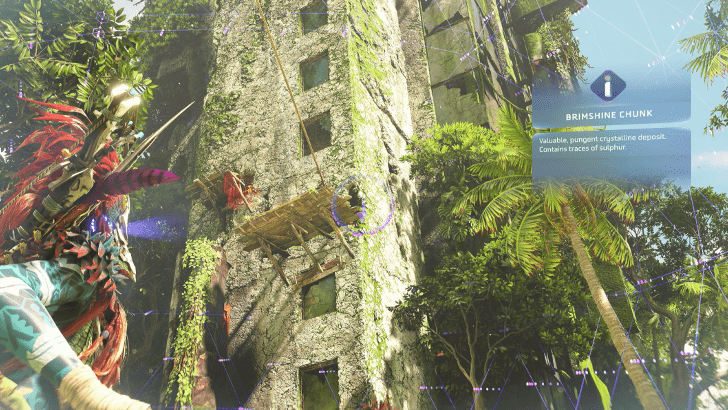
What is Brimshine?
Special Resource Exclusive to the DLC
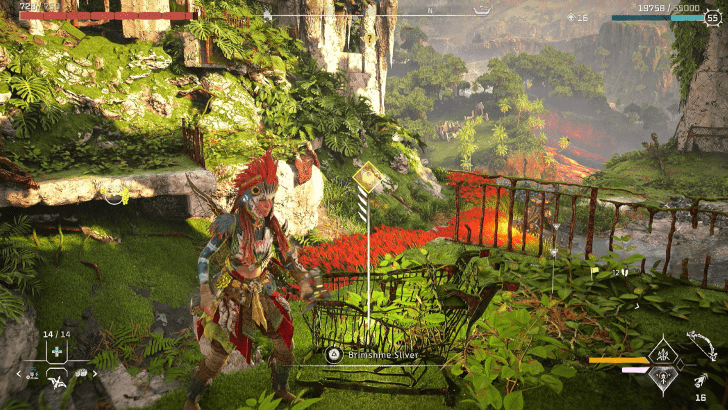
In Horizon Forbidden West: Burning Shores, Brimshine is a special resource that players can find all around the map. Some Brimshine locations are locked behind main quests or side quests.
Unlike Greenshine, their chunks or slivers do not differ as a resource but instead the quantity of Brimshine picked up can differ in a single spot. Players can make use of Brimshine to upgrade and buy certain weapons in the DLC.
Does Brimshine Respawn?
Brimshine does NOT respawn in-game
Similar to Greenshine, Brimshine does not respawn in-game once collected so make sure to prioritize which weapon to use it on first.
Horizon Forbidden West Related Guides
Tips and Tricks
Game Info and Settings
Gameplay Features
How-To Guides
Recommended Builds Guides
| Recommended Builds | ||
|---|---|---|
| Best Builds Guide | Best Weapons | Best Skills |
| Best Outfits and Armor | Valor Surge Tier List: What is the Best Valor Surge? | - |
Collectibles and Completion Guides
| Collectibles and Completion | ||
|---|---|---|
| Greenshine Interactive Map | Brimshine Interactive Map | Trophy List |
| 100% Completion Guide | List of All Machine Strike Player Locations | List of Machine Strike Pieces |
| Missables and Unrepeatable Events | All Datapoint Locations | All Delvers' Trinkets Locations |
Comment
Author

All Brimshine Locations and Interactive Map
Please participate in our site
improvement survey
03/2026
improvement survey
03/2026
Would you assist in
improving Game8's site?
improving Game8's site?

×
We are listening to our users' valuable opinions and discussing how to act on them.
The information collected through this survey will be used for the purpose of improving our services. In addition, the information will only be disclosed a part of a statistic in a format that will not allow identification of personal information.
Begin Survey
Not Now
×
Please rate each item regarding Game8.co's Advertisements.
Amount of Ads
Very Dissatisfied
Somewhat Dissatisfied
Fine
Somewhat Satisfied
Highly Satisfied
Placement of Ads
Timing of Ad Display
Ad Loading Speed
Safeness of Ads
Content of Ads
×
Please rate each item regarding Game8.co's Quality of Articles.
Amount of information
Very Dissatisfied
Somewhat Dissatisfied
Fine
Somewhat Satisfied
Highly Satisfied
Frequency of updates
Speed of new information
Accuracy of articles
Understandibility of articles
Readability of sentences
×
Please rate each item regarding Game8.co's Usability of the Site.
Ease of finding information
Very Dissatisfied
Somewhat Dissatisfied
Fine
Somewhat Satisfied
Highly Satisfied
Loading Speed
Use of Color
Font Size
Visibility of Images
Easy to Understand Layout
×
Please rate each item regarding Game8.co's Message Boards, Comments.
Ease of Writing
Very Dissatisfied
Somewhat Dissatisfied
Fine
Somewhat Satisfied
Highly Satisfied
Readability
Ease in Finding Information
Comment Quality
Comment Quantity
Admin Response
×
Please rate each item regarding Game8.co's Site's new design.
Please rate our site's new design
Very Dissatisfied
Somewhat Dissatisfied
Fine
Somewhat Satisfied
Highly Satisfied
Do you think that the website's design change makes the site easier to use?
Has the new design made it easier for you to find information on the site?
Has the new design improved the overall visual appeal of the site?
How would you rate your overall satisfaction with the new design of the site?
×
How likely are you to recommend Game8 to someone you know?
Very Unlikely
0
1
2
3
4
5
6
7
8
9
10
Very Likely
If you have other opinions regarding potential improvement to the website, please share them with us. We would appreciate your honest opinion.
Note: This is a free response section, so you can proceed without entering anything.
Note: Please be sure not to enter any kind of personal information into your response.
Note: Please be sure not to enter any kind of personal information into your response.
×
Thank You
×
Thank you for participating in our survey! Your answers will help us to improve the quality of our website and services.
We hope you continue to make use of Game8.
We hope you continue to make use of Game8.
Close
Rankings
- We could not find the message board you were looking for.
Gaming News


![Everwind Review [Early Access] | The Shaky First Step to A Very Long Journey](https://img.game8.co/4440226/ab079b1153298a042633dd1ef51e878e.png/thumb)

![Monster Hunter Stories 3 Review [First Impressions] | Simply Rejuvenating](https://img.game8.co/4438641/2a31b7702bd70e78ec8efd24661dacda.jpeg/thumb)
Popular Games

Genshin Impact Walkthrough & Guides Wiki
Honkai: Star Rail Walkthrough & Guides Wiki
Umamusume: Pretty Derby Walkthrough & Guides Wiki
Pokemon Pokopia Walkthrough & Guides Wiki
Resident Evil Requiem (RE9) Walkthrough & Guides Wiki
Monster Hunter Wilds Walkthrough & Guides Wiki
Wuthering Waves Walkthrough & Guides Wiki
Arknights: Endfield Walkthrough & Guides Wiki
Pokemon FireRed and LeafGreen (FRLG) Walkthrough & Guides Wiki
Pokemon TCG Pocket (PTCGP) Strategies & Guides Wiki


Recommended Games
Diablo 4: Vessel of Hatred Walkthrough & Guides Wiki
Cyberpunk 2077: Ultimate Edition Walkthrough & Guides Wiki
Fire Emblem Heroes (FEH) Walkthrough & Guides Wiki
Yu-Gi-Oh! Master Duel Walkthrough & Guides Wiki
Super Smash Bros. Ultimate Walkthrough & Guides Wiki
Pokemon Brilliant Diamond and Shining Pearl (BDSP) Walkthrough & Guides Wiki
Elden Ring Shadow of the Erdtree Walkthrough & Guides Wiki
Monster Hunter World Walkthrough & Guides Wiki
The Legend of Zelda: Tears of the Kingdom Walkthrough & Guides Wiki
Persona 3 Reload Walkthrough & Guides Wiki


All rights reserved
©2021 Sony Interactive Entertainment Europe. Developed by Guerrilla. Horizon Forbidden West is a trademark of Sony Interactive Entertainment LLC.
Sony Interactive Entertainment Privacy Policy & EULA
The copyrights of videos of games used in our content and other intellectual property rights belong to the provider of the game.
The contents we provide on this site were created personally by members of the Game8 editorial department.
We refuse the right to reuse or repost content taken without our permission such as data or images to other sites.