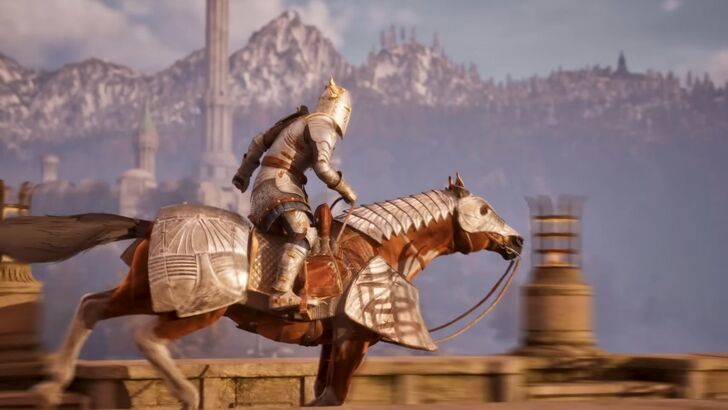
Full Walkthrough and Main Quest List
This is a list of all the Main Quests in The Elder Scrolls IV Oblivion Remastered. Read on for a complete story walkthrough, including detailed guides for each Main Quest in the game!
List of All Main Quests
All 19 Main Quests
The Elder Scrolls IV Oblivion Remastered has a total of 19 Main Quests. Select a Main Quest below to view its full guide and walkthrough:
- Tutorial
- Deliver the Amulet
- Find the Heir
- Breaking the Siege of Kvatch
- The Battle for Castle Kvatch (Optional)
- Weynon Priory
- The Path of Dawn
- Dagon Shrine
- Spies
- Blood of the Daedra
- Bruma Gate
- Allies for Bruma (Optional)
- Blood of the Divines
- Miscarcand
- Defense of Bruma
- Great Gate
- Paradise
- Light the Dragonfires
- Imperial Dragon Armor (Epilogue)
Story Walkthrough
1. Tutorial

| 1 | Wake Up in a Prison Cell |
|---|---|
 You'll wake up inside a prison cell. Shortly after, guards and Emperor Uriel Septim will enter. The Emperor will want to talk to you. |
|
| 2 | Follow the Emperor |
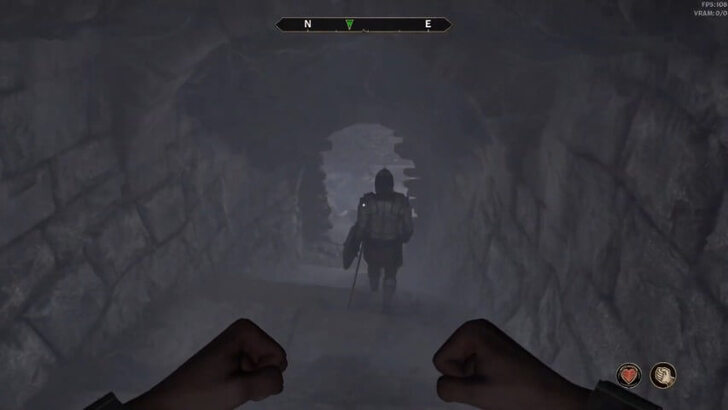 After speaking with the Emperor, follow him and his bodyguards through the newly opened secret passage. |
|
| 3 | Get Weapons and Clothes |
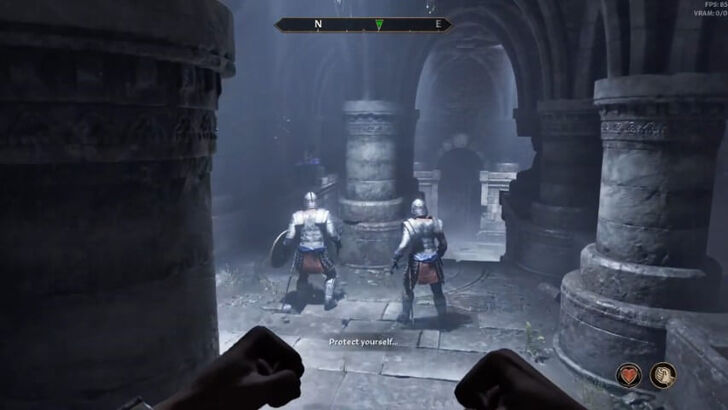 Continue following them until the Emperor's party is ambushed by Assassins. It’s best to let the guards handle the fight and avoid drawing attention. |
|
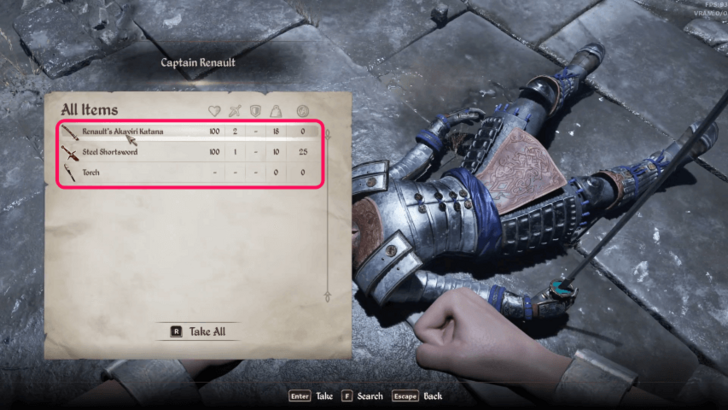 Once the fight is over, loot Captain Renault’s body for a weapon and one of the Assassins for clothing. Open the Menu and equip your weapon and gear in the Inventory tab. ▶ List of Controls |
|
| 4 | Learn How to Fight |
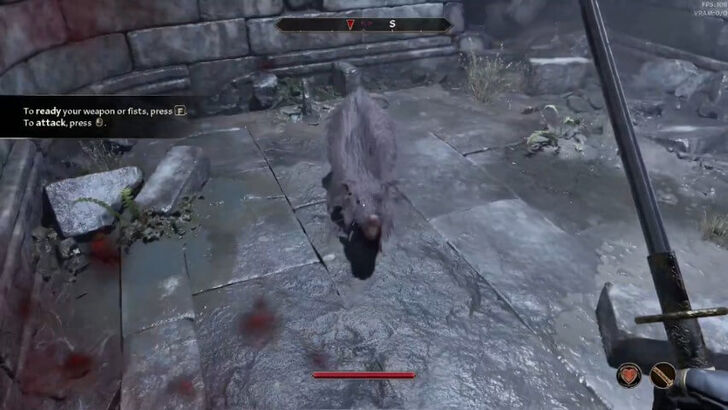 The Emperor's party will leave you behind. A section of the wall to the right will then crumble, and Rats will rush in to attack. This is where you'll learn basic combat, so pay attention to the on-screen tutorial prompts. |
|
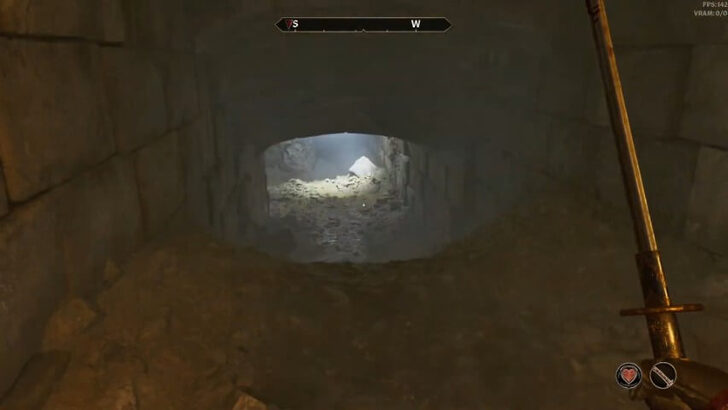 Enter through the hole in the wall. Explore the dungeon for valuable loot and be ready to encounter more enemies along the way! |
|
| 5 | Enter the Natural Caverns |
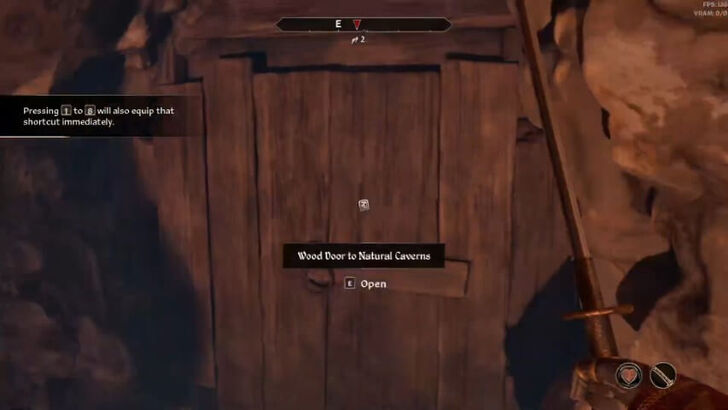 Continue forward until you reach the door to the Natural Caverns. If you’re feeling lost, you can use the Clairvoyance spell (new in the remaster) from the Magic tab in the Menu to guide you to your next objective. |
|
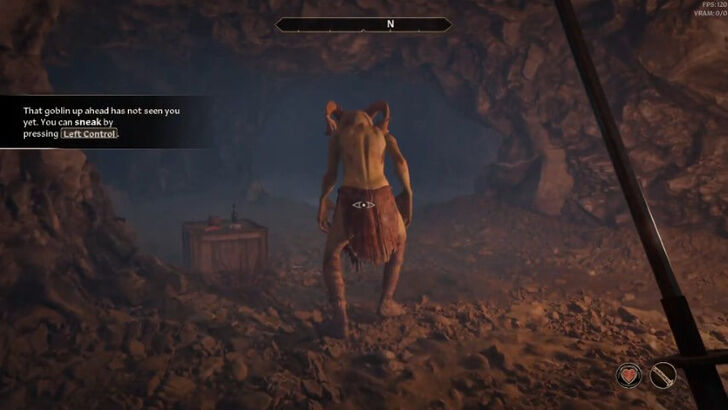 Once inside the Natural Caverns, head northwest while following tutorial instructions, including how to Sneak. You can also obtain a bow and arrows from a Goblin in the area. |
|
| 6 | Reunite with the Emperor |
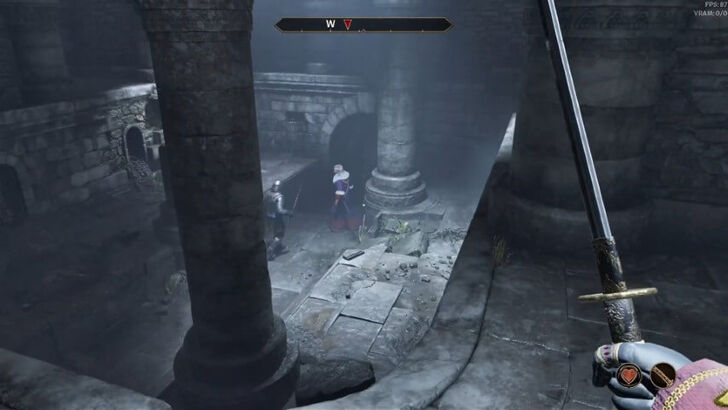 Enter the door to the Imperial Subterrane, where you'll find the Emperor and his guards under attack by Assassins again. Since you're now geared up, you can help fend off their attackers. |
|
| 7 | Select Your Birthsign |
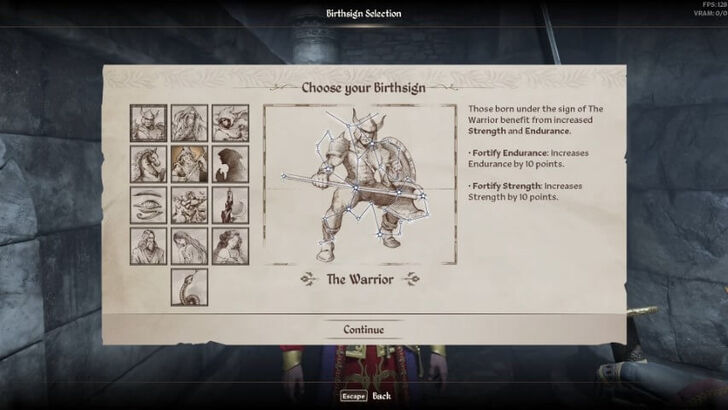 Speak to the Emperor afterward and you’ll be prompted to select your Birthsign, which represent the constellation your character was born under. Each Birthsign grants unique passive or active powers. You’ll have an opportunity to change it before leaving the sewers. ▶ Best Birthsigns Tier List |
|
| 8 | Protect the Emperor |
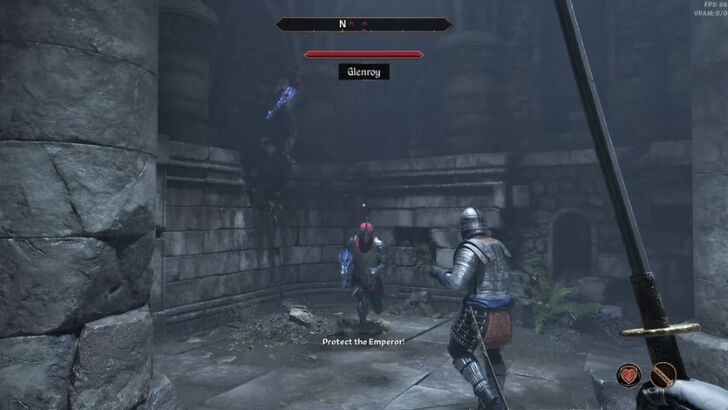 Continue following the Emperor and his guards through the cistern. Along the way, you’ll be ambushed by Assassins. Defeat them to proceed. |
|
| 9 | Enter the Sanctum |
 Enter the Sanctum and follow the guards to a dead end. Prepare to fend off another wave of Assassins! |
|
| 10 | Take the Amulet from the Emperor |
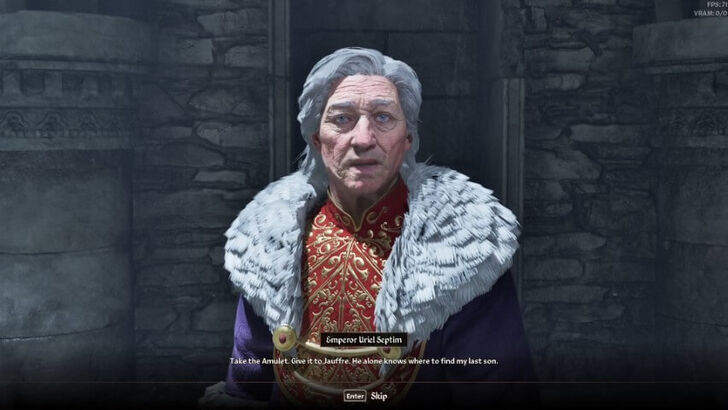 Talk to the Emperor, who will entrust you with the Amulet of Kings and ask you to deliver it to Jauffre. After speaking with him, he’ll be killed by an Assassin. |
|
| 11 | Select Your Class |
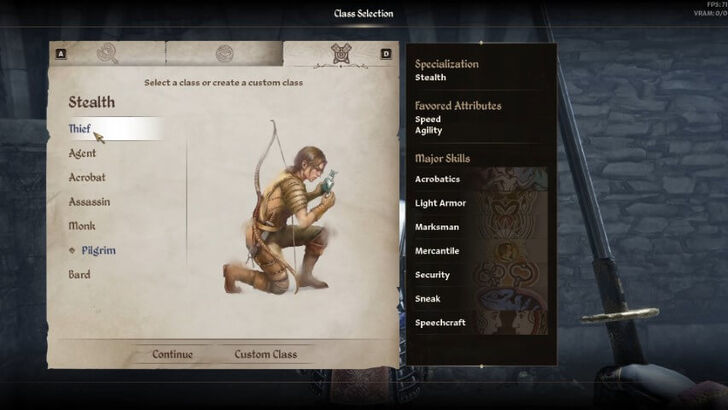 Talk to Baurus, who will give you the key to the sewers. You’ll then be prompted to select a Class, which are character archetypes that define your attributes, strengths, and weaknesses. You’ll also have an opportunity to change it before leaving the sewers. ▶ Best Class |
|
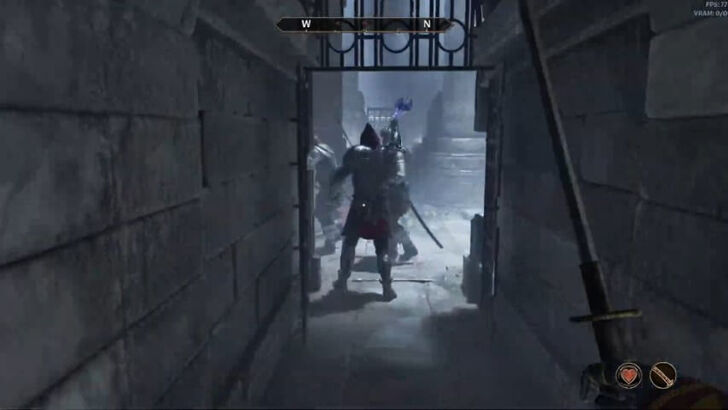
| 12 | Leave the Sewers |
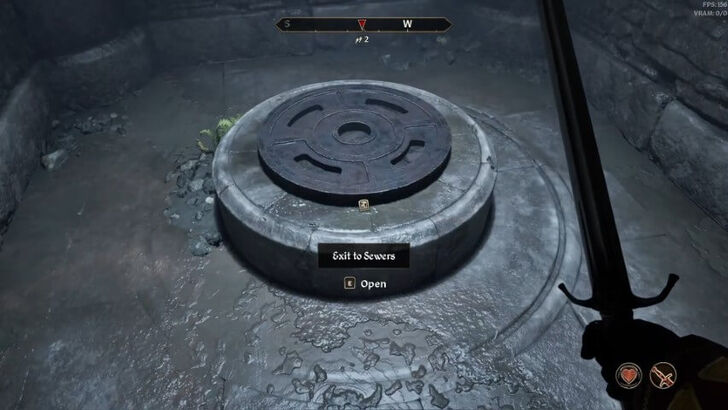 Use Baurus’s key to open the door on the right, and continue to the manhole cover to exit to the sewers. |
|
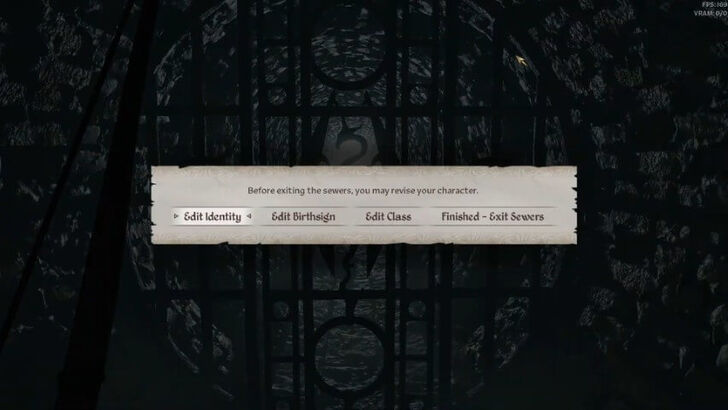 Make your way northeast through the sewers until you reach the gate to City Isle. This is your last chance to change your character’s Identity, Birthsign, and Class, so choose wisely. When you're ready, leave the sewers! |
2. Deliver the Amulet
Deliver the Amulet Walkthrough
| 1 | Head to Weynon Priory |
|---|---|
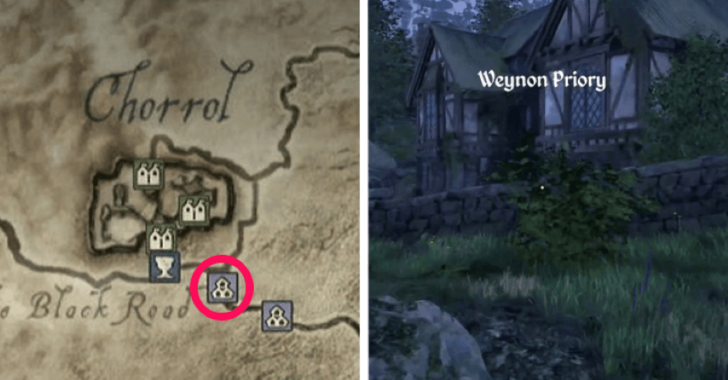 Travel to Weynon Priory, located southeast of Chorrol. You can fast travel there using the Map in the Menu. ▶ How to Fast Travel |
|
| 2 | Talk to Jauffre |
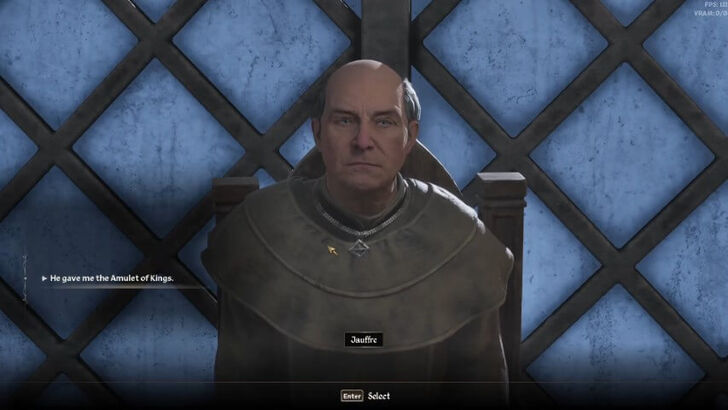 Enter Weynon Priory. You can either ask the priests about Jauffre or go directly upstairs to find him. Give him the Amulet of Kings, and he will task you with finding the Emperor’s illegitimate son, Martin, in Kvatch. |
|
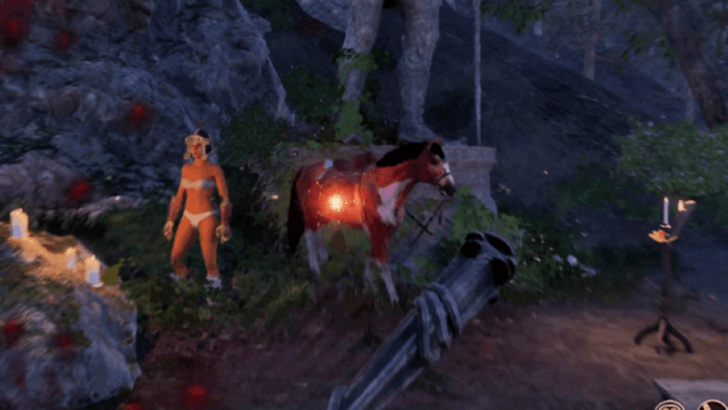
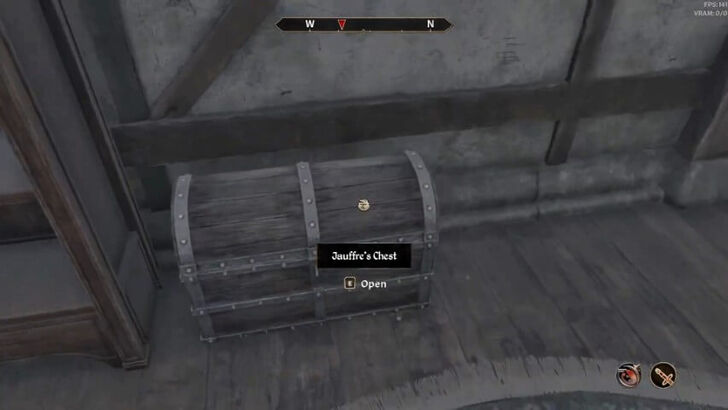 Speak to Jauffre about Assistance to receive helpful supplies. He will then unlock a nearby chest containing basic gear and potions. You can also talk to Prior Maborel and he will offer you his horse, which is located in the stables just outside. ▶ Best Horse |
3. Find the Heir

| 1 | Travel to Kvatch |
|---|---|
 Make your way to Kvatch, located southwest on the Map. You can fast travel there, which will spawn you in a refugee camp just outside the city. |
|
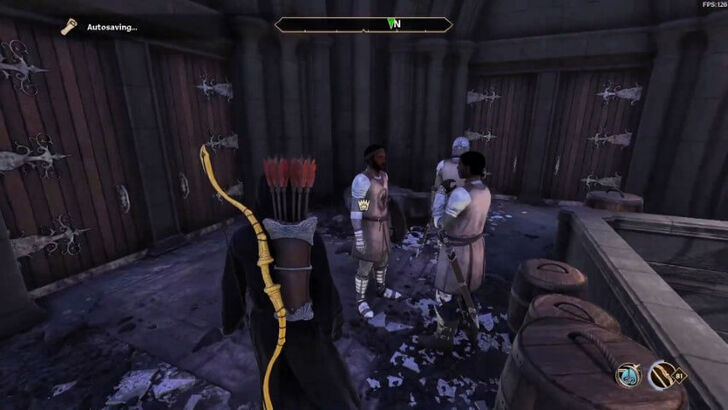
| 2 | Talk to Savlian Matius |
 From the refugee camp, head up the hill until you reach a group of soldiers near an Oblivion Gate. Talk to Savlian Matius, ask him about Martin, and offer to help close the gate. This will unlock the Breaking the Siege of Kvatch quest, which overlaps with the Find the Heir quest, as closing the Oblivion Gate is necessary in progressing the latter. |
4. Breaking the Siege of Kvatch

Breaking the Siege of Kvatch Walkthrough
| 1 | Enter the Oblivion Gate |
|---|---|
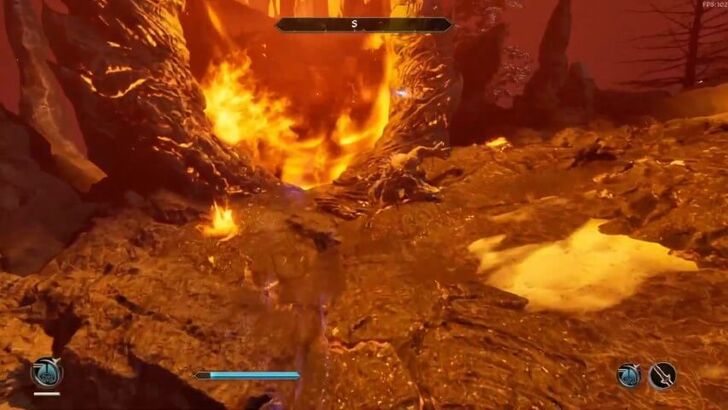
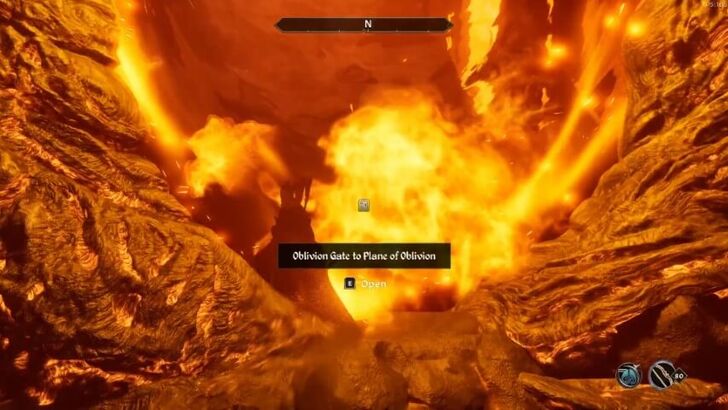 Make sure to prepare before entering the Oblivion Gate, as you'll face a lot of enemies inside. When you're ready, approach the gate to enter the Plane of Oblivion. |
|
| 2 | Reach the Blood Feast |
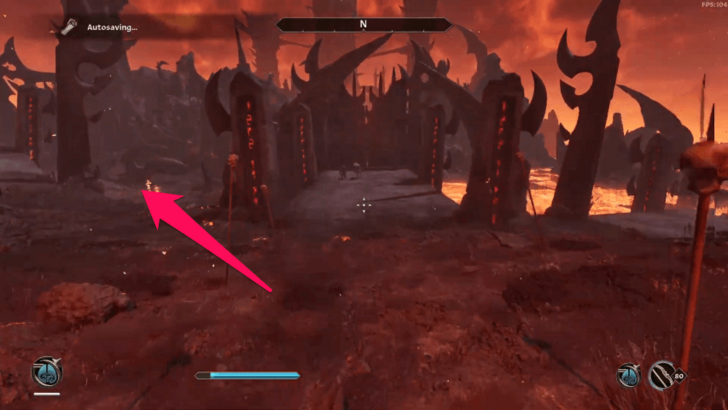 Once inside the Plane of Oblivion, head northwest. You can use the Clairvoyance spell to guide you to your next objective. Along the way, you may encounter Ilend Vonius under attack. Help him, and he’ll join you on your journey. |
|
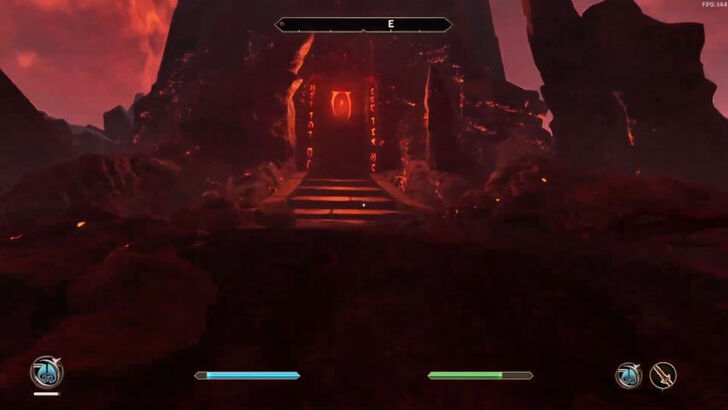
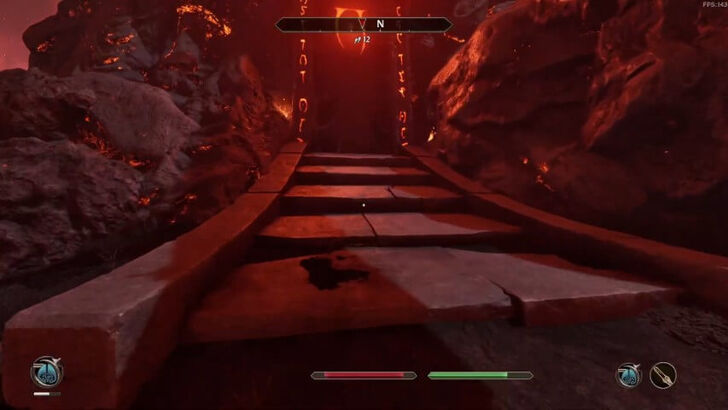 Continue uphill until you reach the Tower Portal to The Blood Feast. Inside, you'll find Magicka Essences that replenish your Magicka. Make good use of them, especially if you're playing as a Mage. |
|
| 3 | Head to the Repears Sprawl |
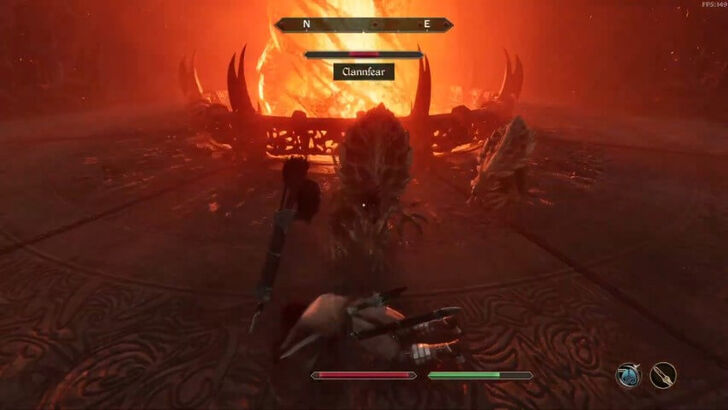 Climb your way up through The Blood Feast, fighting enemies along the way. Take the door on the west side to enter the Rending Halls. |
|
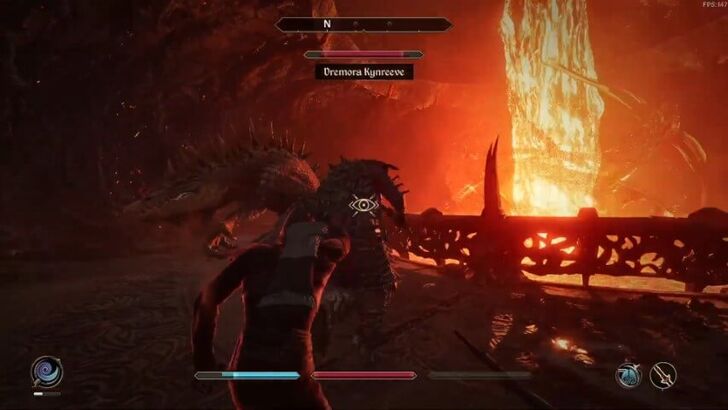
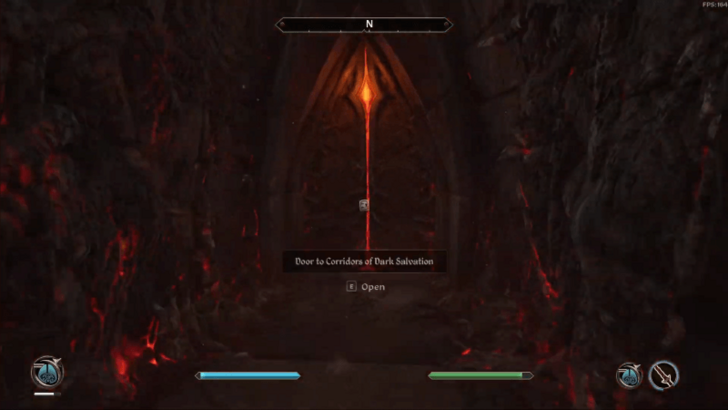
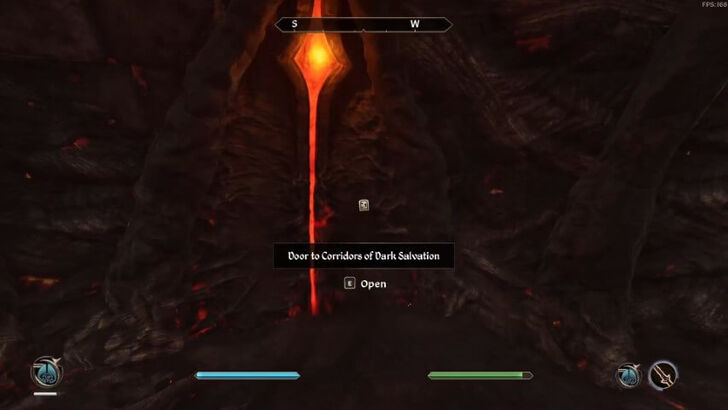
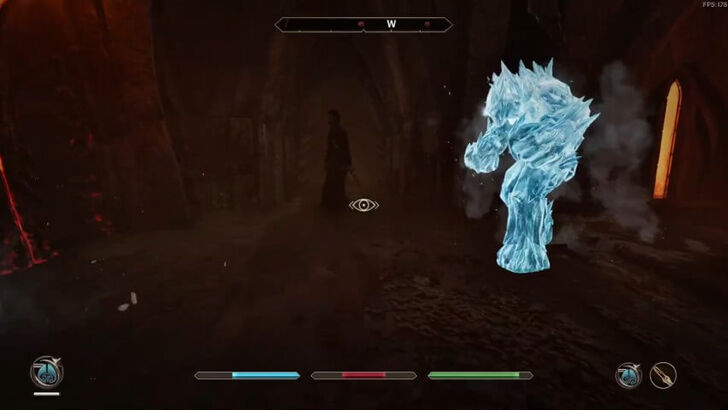 Navigate through the halls, avoiding or defeating the Frost Atronach and Kynreeves you encounter. Proceed forward until you reach a door leading back into The Blood Feast, then take the stairs and enter the Corridors of Dark Salvation on the south side. |
|
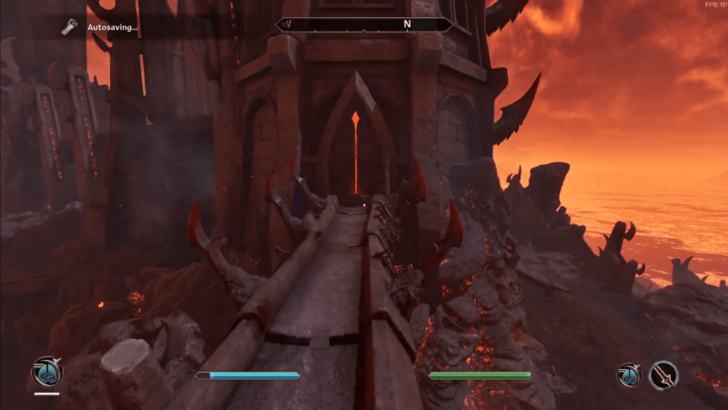
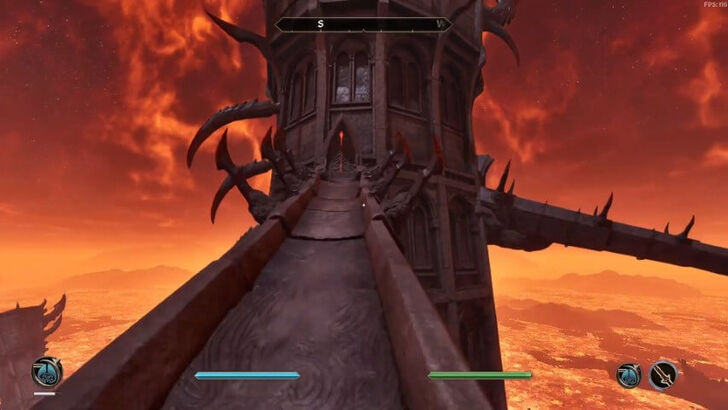
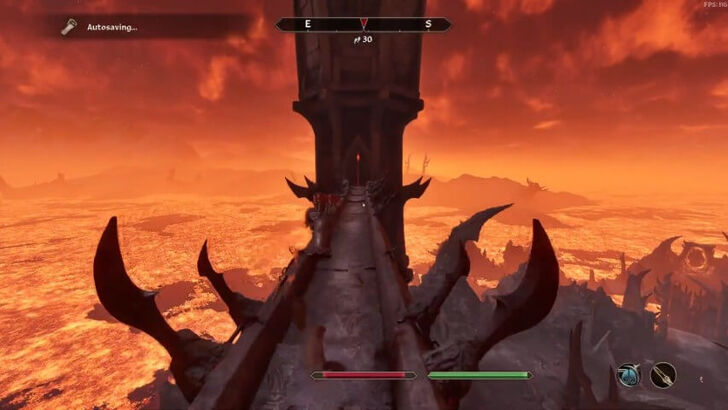 Keep moving forward, then head outside. Cross the walkway and enter the Reaper's Sprawl. |
|
| 4 | Take the Key from the Keeper |
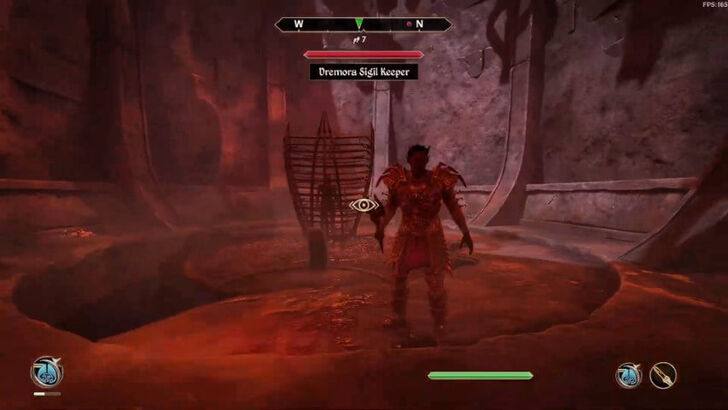 Inside the Reaper's Sprawl, defeat the Dremora Sigil Keeper. He’s a tough enemy, so watch out. |
|
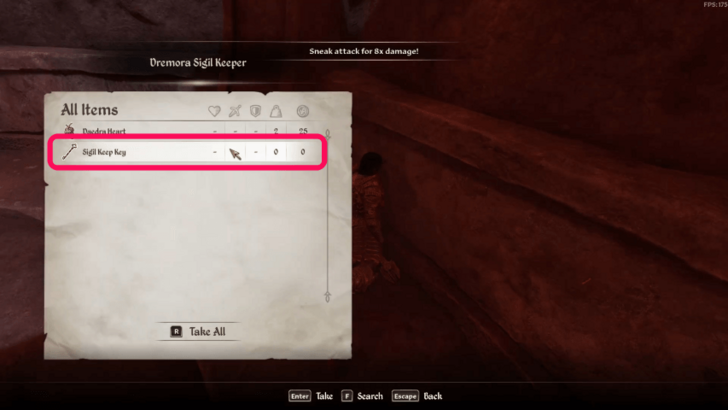 After defeating the Keeper, loot his body to obtain the Sigil Keep Key. |
|
| 5 | Speak to the Prisoner |
 Speak to Menien Goneld, who is imprisoned in a cage. He will tell you to go to the top of the Sigil Keep to close the Oblivion Gate. |
|
| 6 | Reach the Sigil Keep |
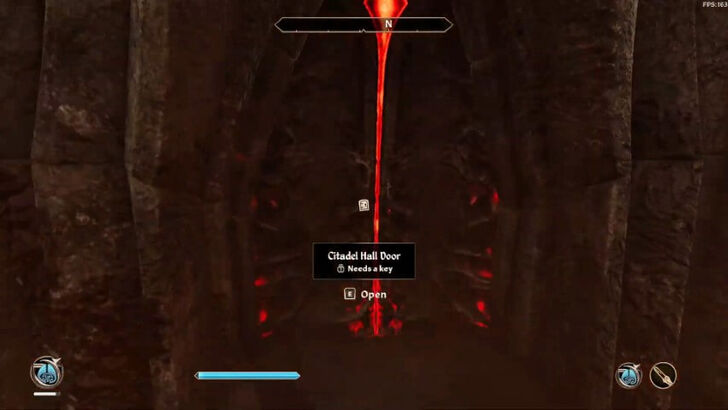 Head back to the Dark Salvation and use the key to open the Citadel Hall Door on the north side of the area. Take the stairs until you reach a door that leads back into The Blood Feast. |
|
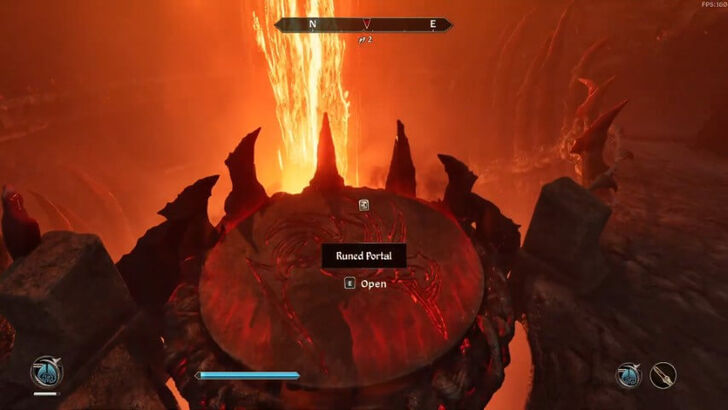 Make you way upstairs and interact with the Ruined Portal. This will teleport you to the other side of the area, closer to the Sigil Keep. |
|
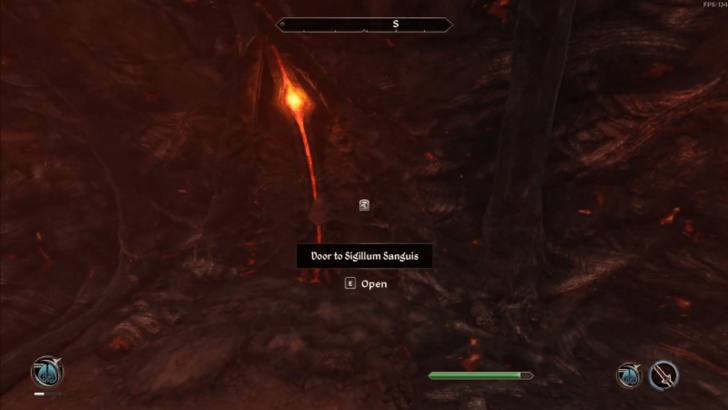
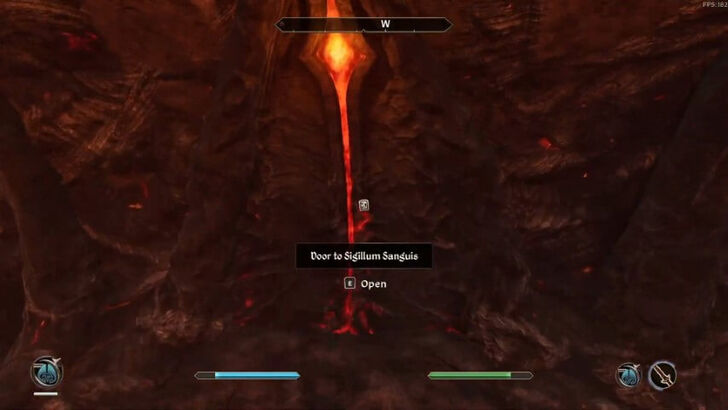
 Keep going up until you reach the door to Sigillum Sanguis. Use the key to open it and enter. Inside, you'll find a Blood Fountain that restores Health. Make sure to use it before proceeding. |
|
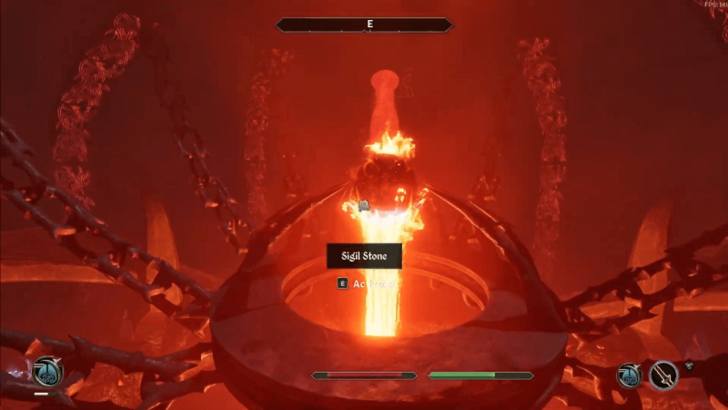
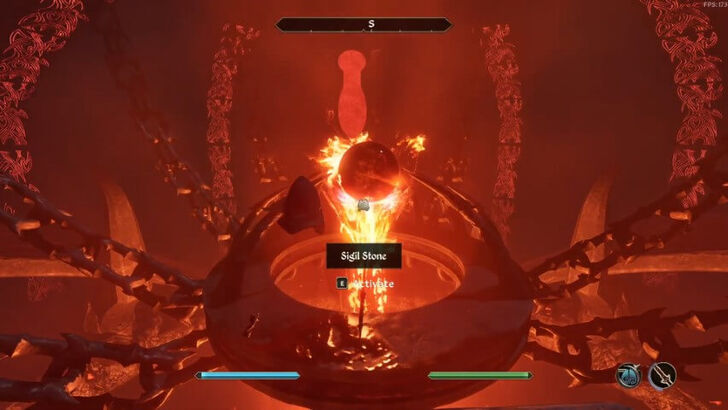
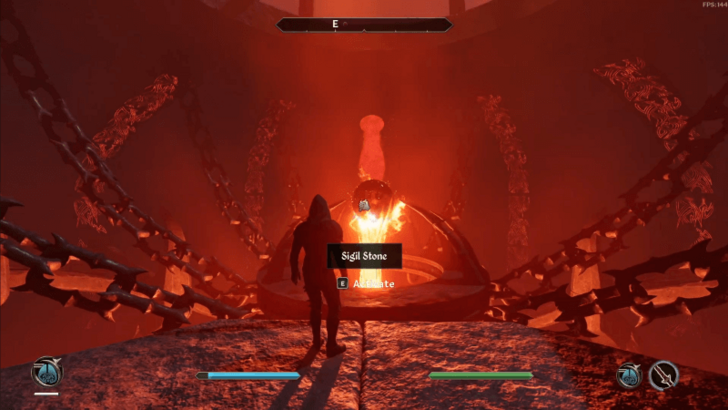
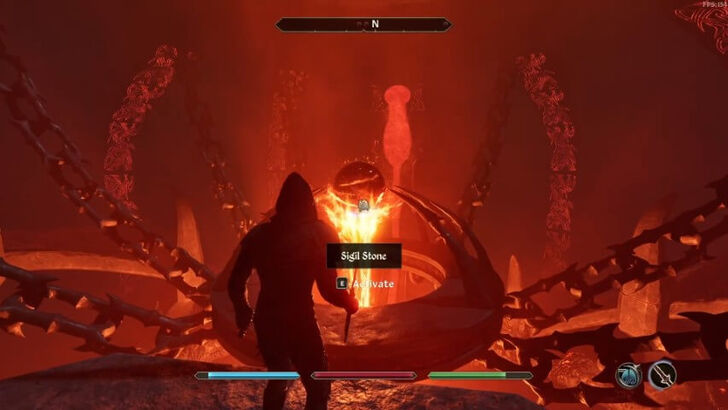
| 7 | Activate the Sigil Stone |
 Climb the ramps to reach the top, where you'll see a Sigil Stone in the center of the chamber. Watch out for the Dremora guarding it. Interact with the Sigil Stone to close the Oblivion Gate. The tower will then collapse, and you’ll be teleported back to Kvatch. |
|
| 8 | Return to Savlian |
 Now back in Kvatch, speak with Savlian and report that you’ve closed the Oblivion Gate. |
|
| 9 | Clear the Enemies in Kvatch |
 Join Savlian and his soldiers as they advance into Kvatch. Help them defeat the enemies in the area. |
|
 Once the area is cleared, enter the Chapel of Akatosh and talk to Savlian again. This completes the Breaking the Siege of Kvatch quest and unlocks the The Battle for Castle Kvatch side quest, which you can take on at any time. ▶ The Battle for Castle Kvatch Walkthrough |
|
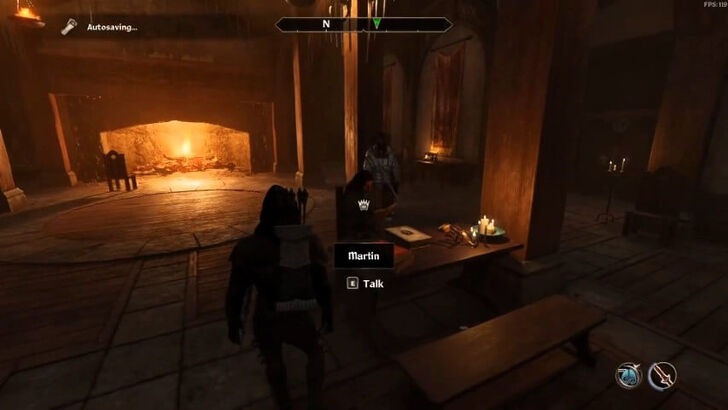
| 10 | Talk to Martin |
 Inside the Chapel of Akatosh, talk to Brother Martin and tell him to follow you to Weynon Priory. |
5. Optional: The Battle for Castle Kvatch

The Battle for Castle Kvatch Walkthrough
| 1 | Talk to Savlian |
|---|---|
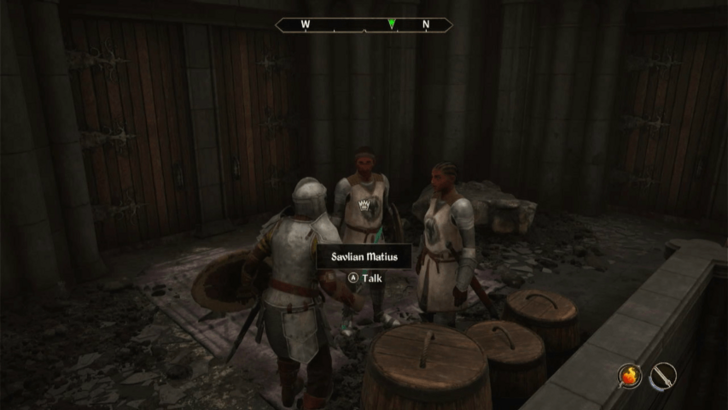 To start the quest, talk to Savlian Matius inside the Chapel of Akatosh in Kvatch. He will ask you to join the assault to reclaim Castle Kvatch. |
|
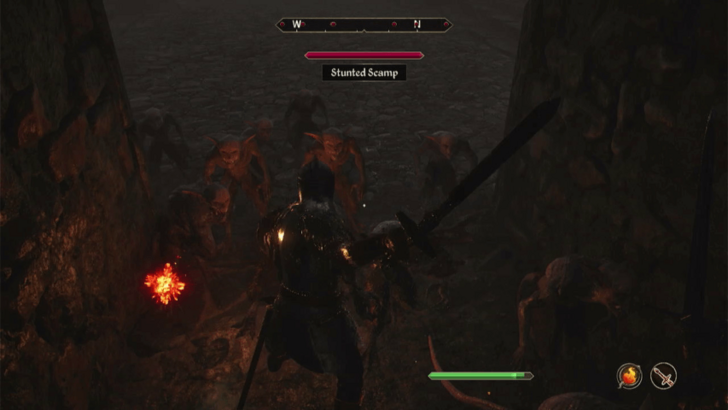
| 2 | Follow Savlian to the Castle Gates |
 After speaking to Savlian, follow him outside as he heads to the castle gates. Deal with Scamps along the way, only to find that the gates are locked. |
|
| 3 | Return to the Chapel and Talk to Berich |
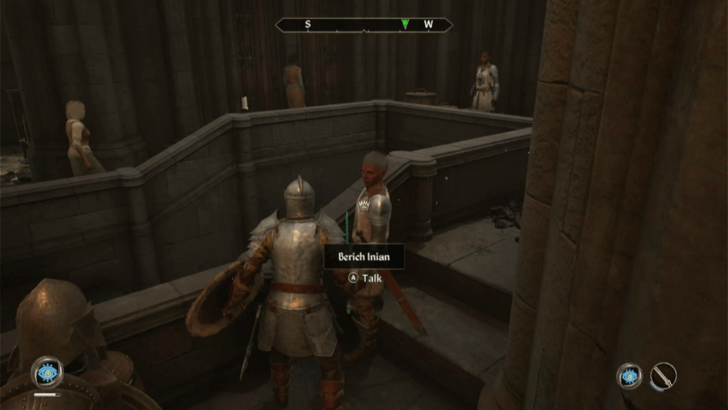 Return to the Chapel of Akatosh and speak to Berich Inlan. Ask him for help with the Guard House Key. |
|
| 4 | Head to the Guard House |
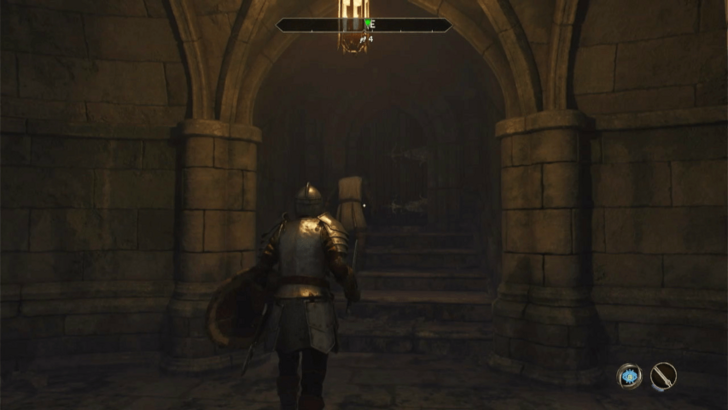 Berich, along with three Imperial Legion troopers, will accompany you to the Guard House. Head downstairs and enter through the Chapel Undercroft. Be careful, as you'll encounter enemies. If Berich dies en route, loot the Guard House Key from his body. |
|
 Once outside, head north through the rubble of Kvatch to the Guard House. If Berich is still alive, he'll use the Guard House Key to unlock the Trap Door to the Castle Kvatch Passageway. Otherwise, you'll need to unlock it yourself using the key from his corpse. |
|
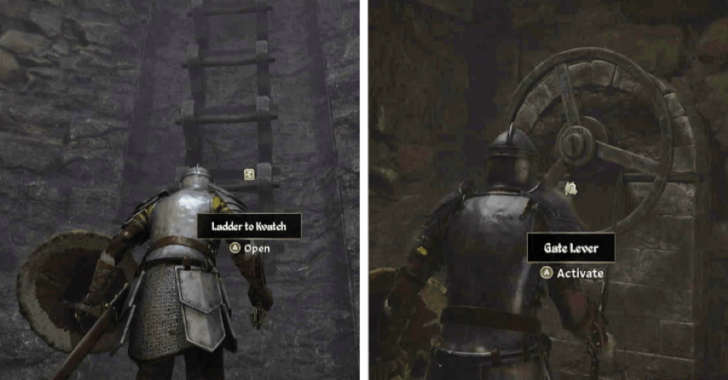 Proceed through the passageway until you reach the Ladder to Kvatch. At the surface, activate the nearby Gate Lever to open the castle gates and regroup with Savlian. |
|
| 5 | Clear the Castle Courtyard |
 Help Salvian and his men defeat the enemies in the castle courtyard. Note: As of this writing, there is a known bug that may prevent the quest objective from updating after clearing the area. Regardless, you can safely continue to the next step. |
|
| 6 | Find Ormellius Goldwine |
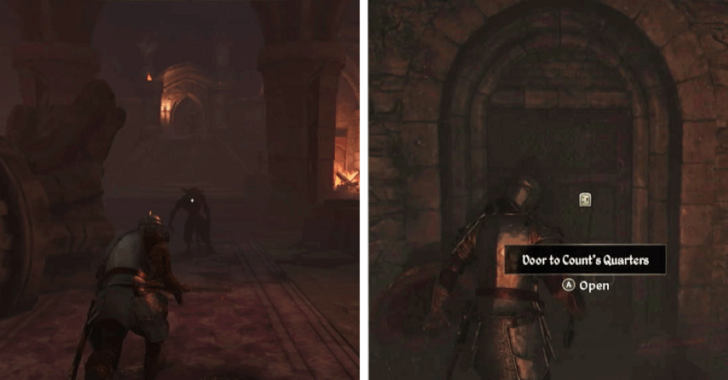 Head inside the Kvatch Castle Great Hall and proceed forward until you reach the far end. Turn right to enter the Count's Quarters. |
|
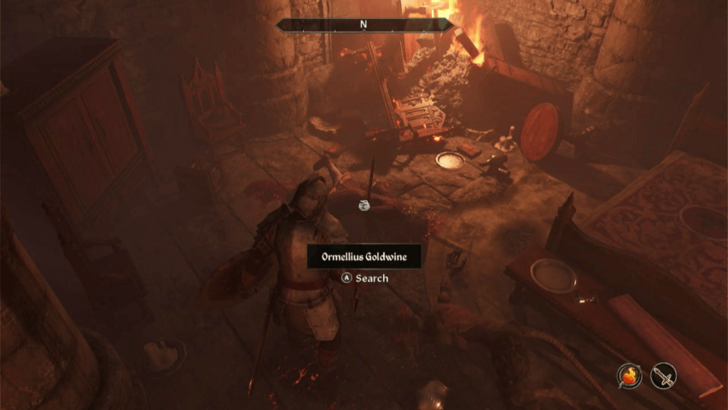 Defeat the enemies and search Ormellius Goldwine's body near the bed to retrieve the Colovian Signet Ring. |
|
| 7 | Deliver the Ring to Savlian |
 With the Colovian Signet Ring in hand, return to Savlian in the caste courtyard and give him the signet ring to complete the quest. |
6. Weynon Priory

| 1 | Escort Martin to Weynon Priory |
|---|---|
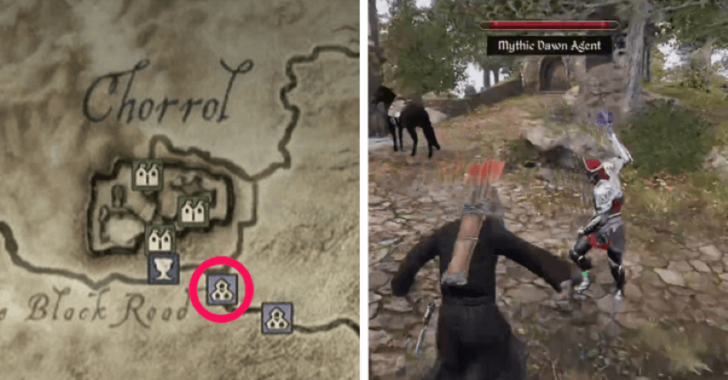 Escort Martin to Weynon Priory. Upon arrival, you’ll find that the settlement is under attack by Mythic Dawn Agents. Defeat the enemies to proceed. |
|
| 2 | Help Jauffre in the Chapel |
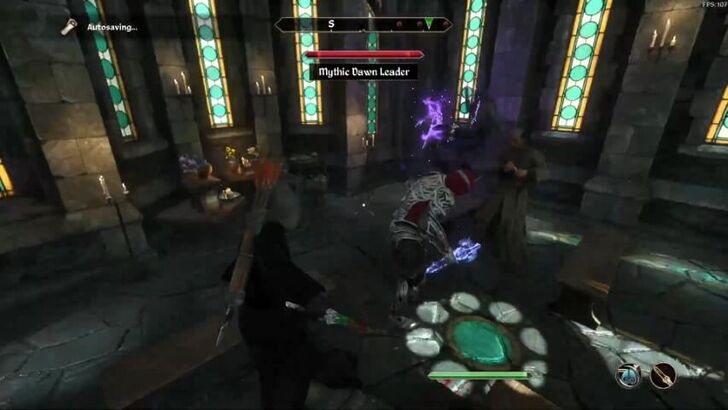 Head to the chapel on the eastern side of the area. Help Jauffre defeat the remaining Mythic Dawn Agents inside, then speak to him afterward. |
|
| 3 | Check on the Amulet |
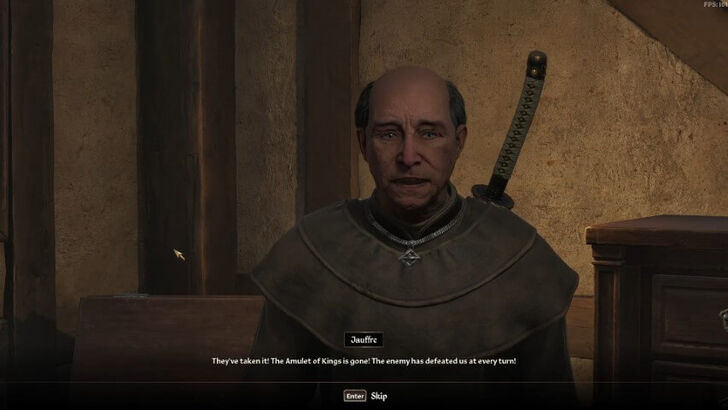 Follow Jauffre to the Weynon House and into the hidden room upstairs. He’ll reveal that the Amulet of Kings has been stolen. Jauffre will then ask you to bring Martin to Cloud Ruler Temple for his protection. |
|
| 4 | Travel to Cloud Ruler Temple |
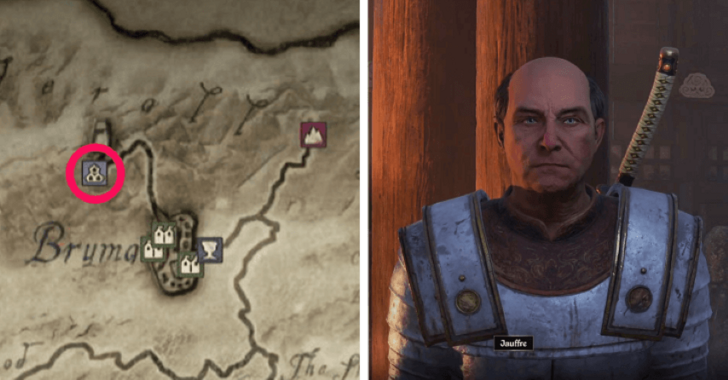
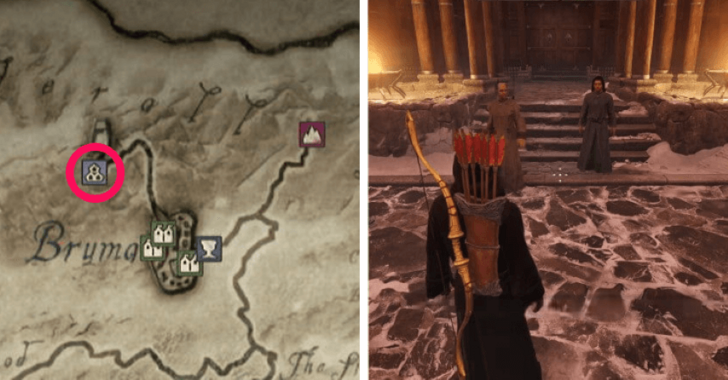 Travel to Cloud Ruler Temple, located northwest of Bruma. Follow Jauffre and Martin to the temple entrance and watch as the Blades welcome them. |
|
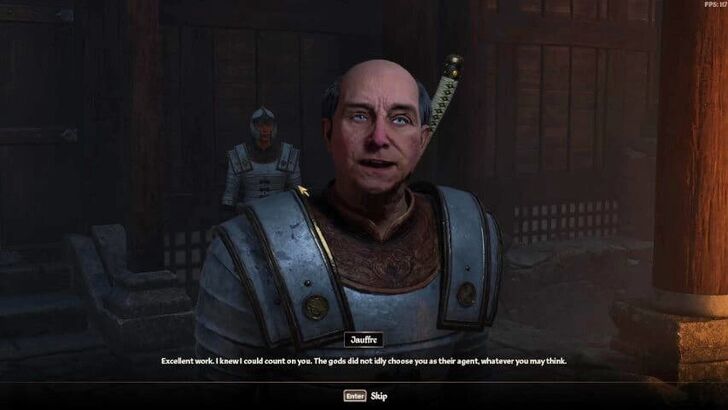
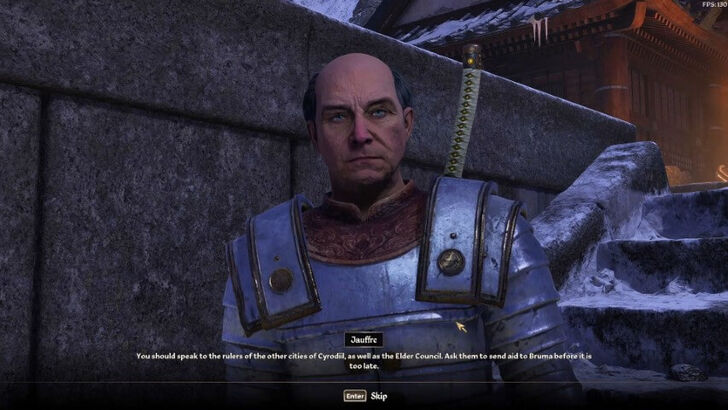
| 5 | Talk to Jauffre |
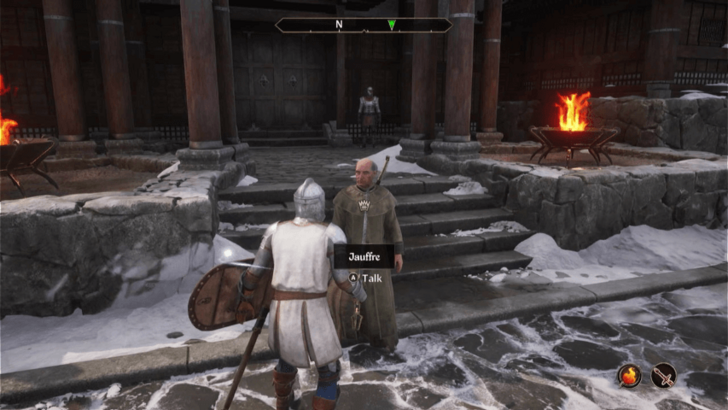 After Martin gives his speech, talk to Jauffre about recovering the amulet. This begins the next quest, The Path of Dawn. You can also talk to Martin afterward and he will invite you to join the Blades. While it's optional, we recommend joining the Blades since there are no downsides to doing so. ▶ Should You Join the Blades? |
7. The Path of Dawn

| 1 | Travel to the Imperial City |
|---|---|
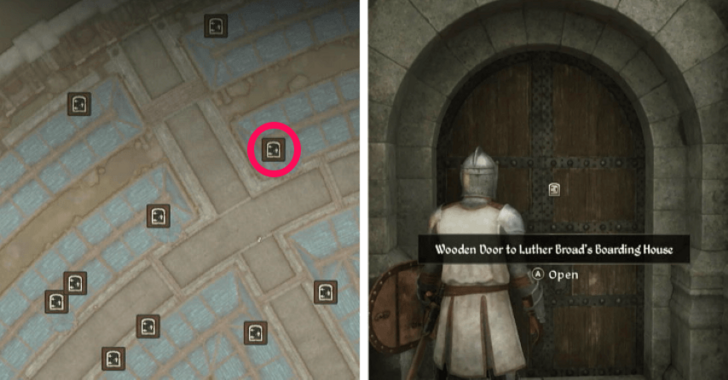 Jauffre has tasked you to look for Baurus. Make your way to the Imperial City, then head to the Elven Gardens District and enter Luther Broad’s Boarding House in the center of the district. |
|
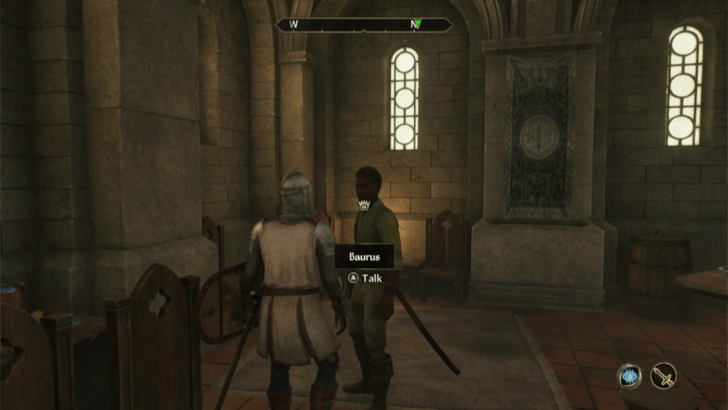
| 2 | Help Baurus |
 Sit next to Baurus at the bar. He’ll be wearing a green robe. Baurus will then tell you that a man named Astav Wirich, sitting behind him, is watching him. |
|
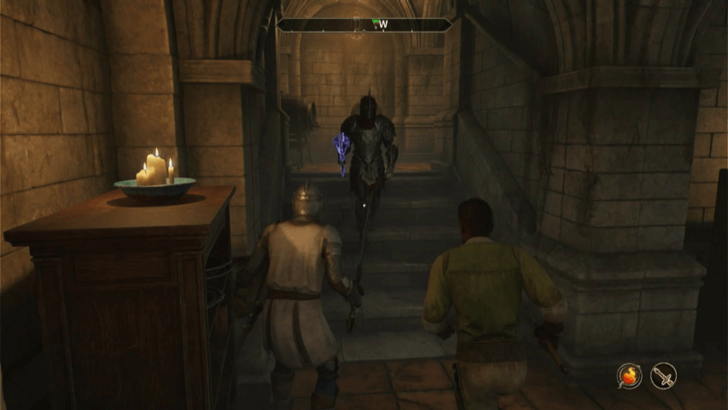 When Baurus stands up and heads to the basement, follow him, as Astav will follow as well. Once downstairs, Astav transforms into a Mythic Dawn assassin and attacks Baurus. Help him kill the assassin. |
|
| 3 | Obtain Mythic Dawn Book 1 |
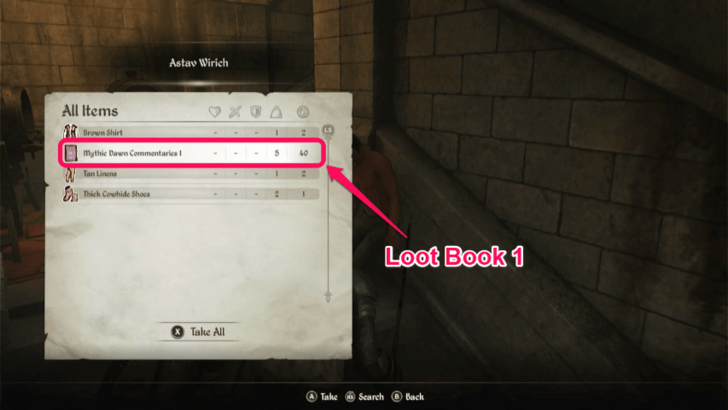 After killing Astav, loot Mythic Dawn Commentaries 1 (Book 1) from his body. Talk to Baurus, who will direct you to the Arcane University to look for a scholar named Tar-Meena. |
|
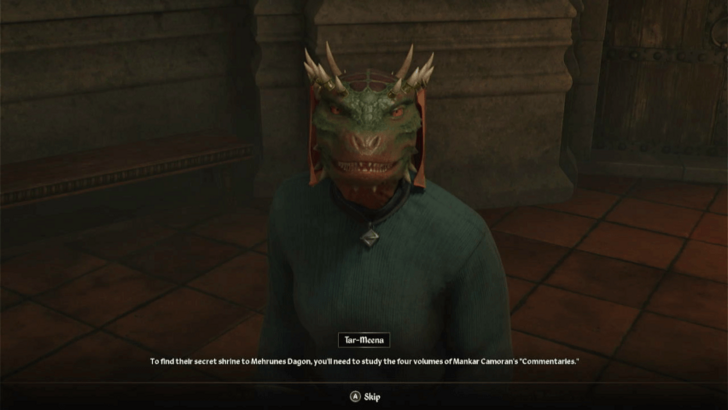
| 4 | Talk to Tar-Meena |
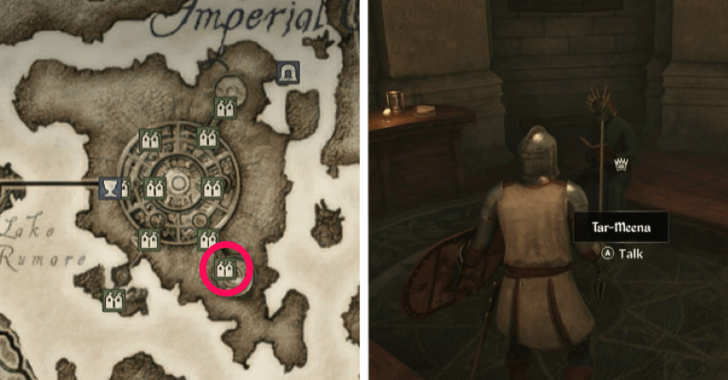 Head southeast to the Arcane University and speak to Tar-Meena in the Arch-Mage's Lobby. She will give you Book 2 of the Mythic Dawn Commentaries and ask you to find the third and fourth books. |
|
| 5 | Head to the First Edition |
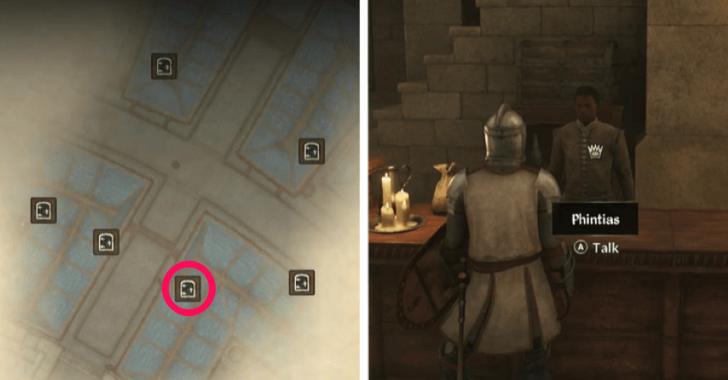 To find Book 3, go to First Edition in the Market District and talk to Phintias. Ask about the Mysterium Xarxes, and he will tell you he has a copy of Book 3. However, it’s already been purchased by a customer named Gwinas. |
|
| 6 | Obtain Mythic Dawn Book 3 |
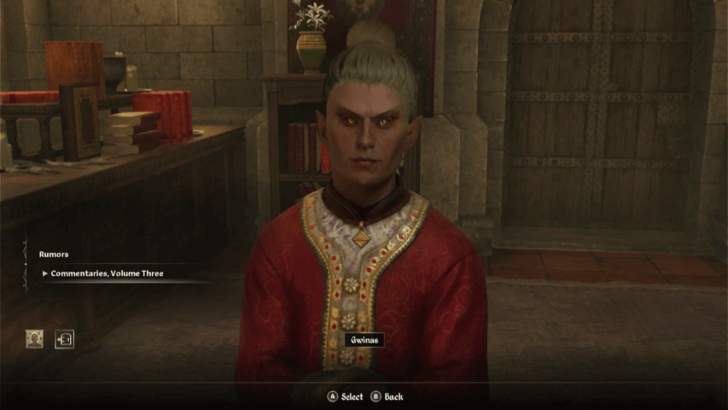 Wait for Gwinas to arrive in the store. After he receives the book, speak with him and reveal that the Mythic Dawn were behind the Emperor’s murder. Gwinas will then hand over Book 3, along with a note about meeting Sponsor for Book 4. |
|
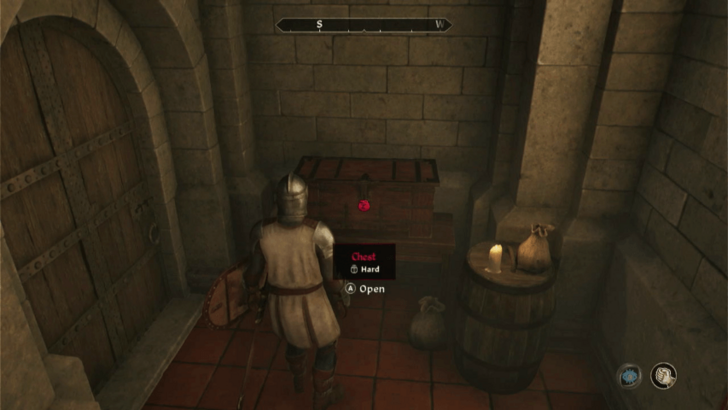 There are alternative ways to obtain Book 3: you can raise Phintias’ Disposition to 80 and buy the book for 100 Gold, lockpick the chest near the basement (though Phintias will likely be watching), or pickpocket or kill Gwinas after he receives the book. Despite the many creative ways, we recommend simply persuading Gwinas to give you Book 3. |
|
| 7 | Return to Baurus |
 Once you have Book 3 and Gwinas' note, report back to Baurus at the Luther Broad’s Boarding House. You will then have to go to the sewers to meet the Sponsor and get Book 4. |
|
| 8 | Enter the Sewers |
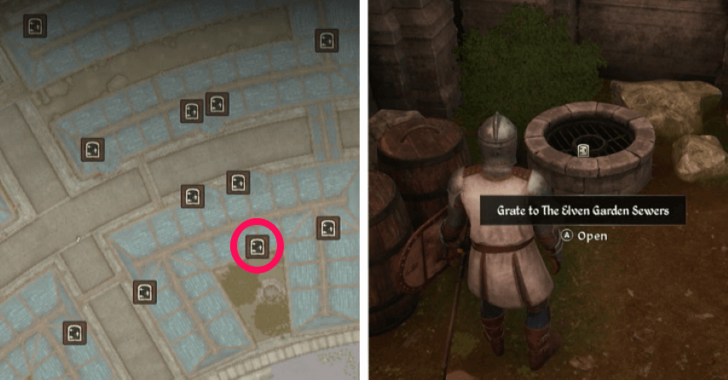 Follow Baurus into the alley across from the boarding house and enter the grate to the Elven Garden Sewers. |
|
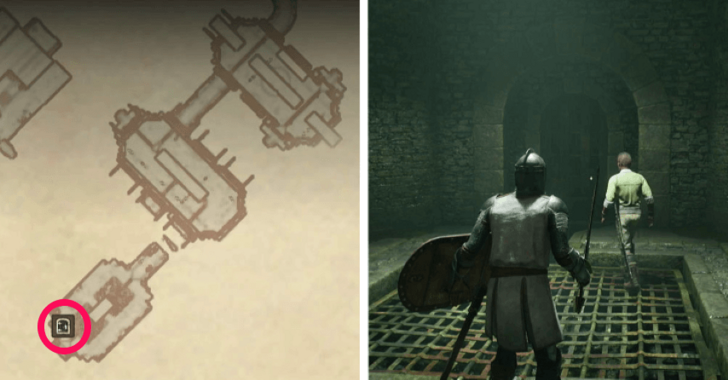 Once you're in the sewers, continue southwest through the tunnels while fighting enemies along the way. Baurus will then open a gate that leads to the Sewer Waterworks. |
|
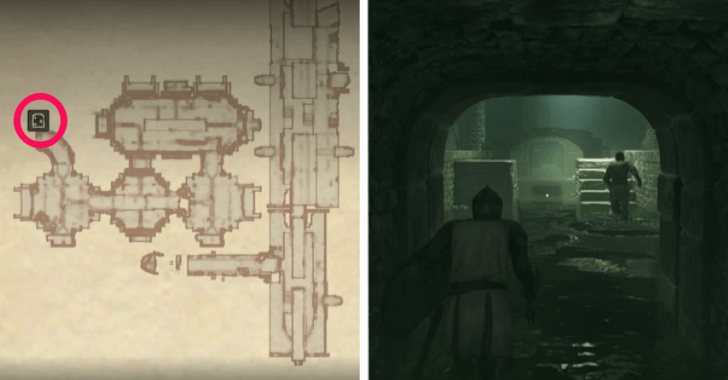 Keep heading southwest through the cistern and enter the door leading to the opposite side of the Elven Garden Sewers. |
|
| 9 | Meet the Sponsor |
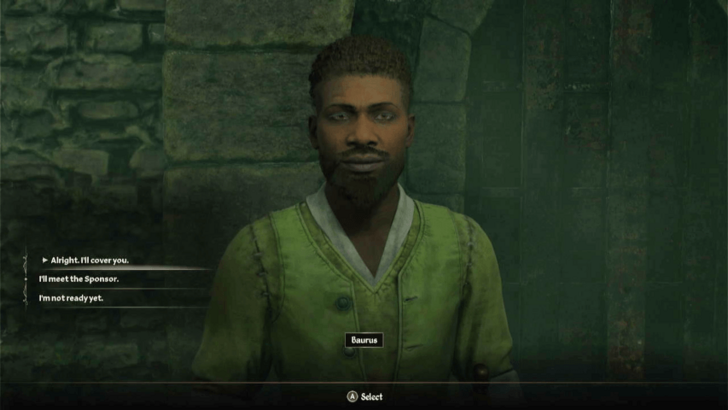 Go northeast and talk to Baurus before the door to the Sunken Sewers. You’ll need to decide who will meet the Sponsor and who will provide backup. Either choice leads to the same outcome. |
|
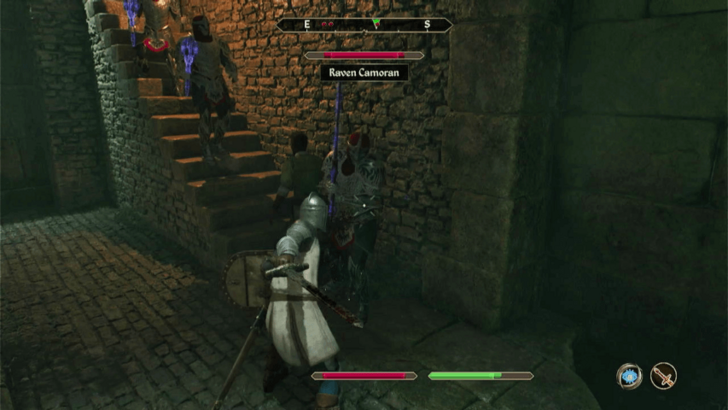 If you choose to be the backup, head upstairs to the vantage point and wait for Raven Camoran. If you choose to meet the Sponsor, enter the Sunken Sewers, sit at the table, and wait for him to appear. Regardless of your choice, the meeting will turn hostile. Raven and two Mythic Dawn guards will attack you. Kill Raven and the guards. |
|
| 10 | Obtain Mythic Dawn Book 4 |
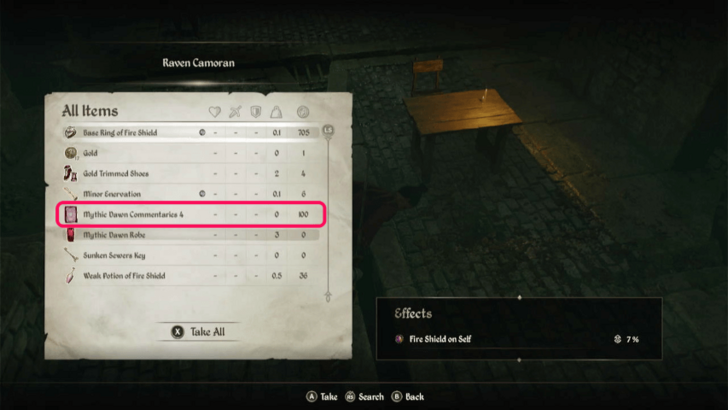 After killing Raven, loot his body to obtain Mythic Dawn Commentaries 4 (Book 4). |
|
| 11 | Solve the Book Riddle |
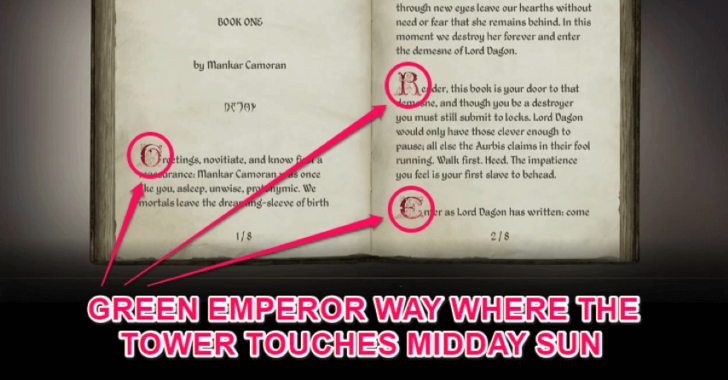 With all four books in hand, you must solve the riddle hidden within them. You can do this by reading them in order and taking note of the large red letter at the start of each paragraph. Reading the first letter of each paragraph in all four books spells the following message: GREEN EMPEROR WAY WHERE THE TOWER TOUCHES MIDDAY SUN. |
|
 Alternatively, you can ask Tar-Meena for help with the riddle, though it will take some time. Talk to her each in-game day, and she'll share what she's learned from the books. On the third day, she'll solve the riddle and mark the location on your map. |
|
| 12 | Find the Tomb of Prince Camarril |
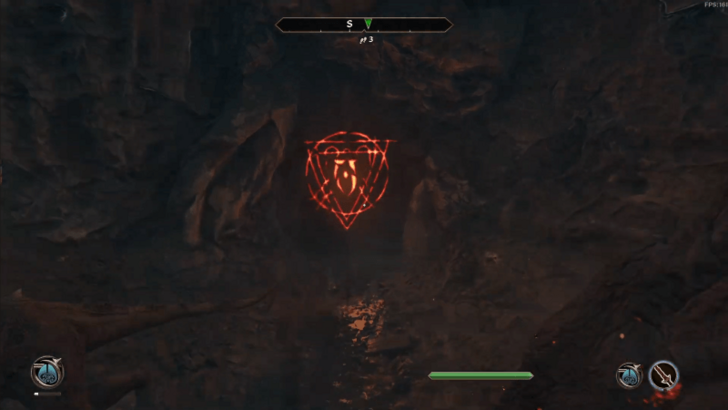
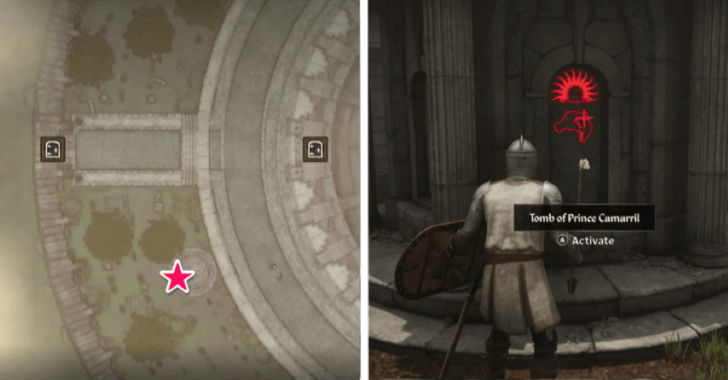 Whether you solve the riddle or not, head directly to the Imperial City Palace and look for the Tomb of Prince Camarril in the western part of the area. Wait until around 12:00 PM, and a red symbol will appear on the stone wall. Interact with the tomb to complete the quest. |
8. Dagon Shrine

| 1 | Travel to Lake Arrius Caverns |
|---|---|
 Make your way to Lake Arrius Caverns. You can fast travel to Cheydinhal and head north from there. ▶ How to Fast Travel |
|
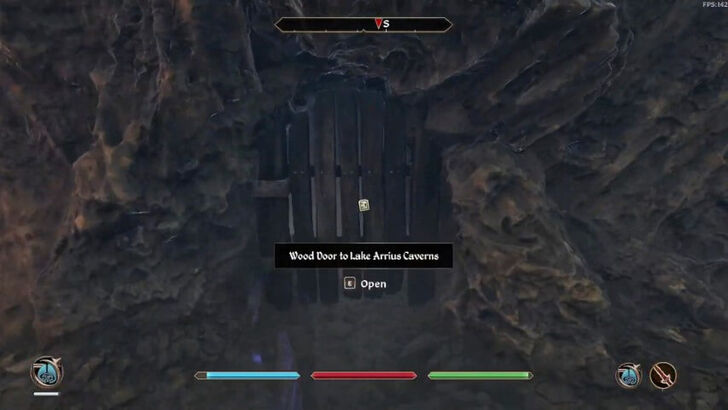
| 2 | Enter the Antechamber |
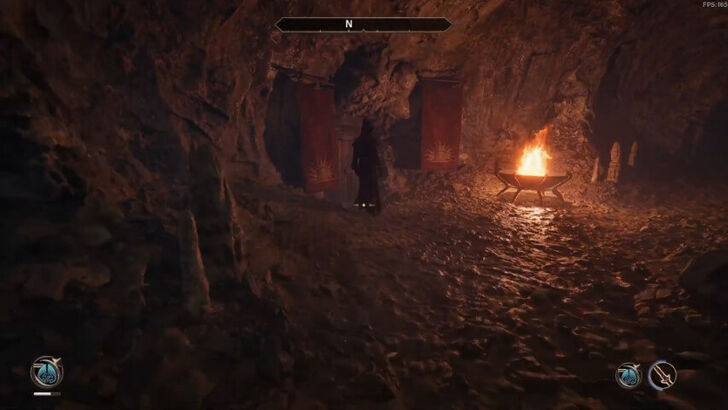 Once you're inside Lake Arrius Caverns, talk to the Doorkeeper by the door and he will let you pass through. You then have two options for the rest of the quest: go undercover or fight your way through the shrine. |
|
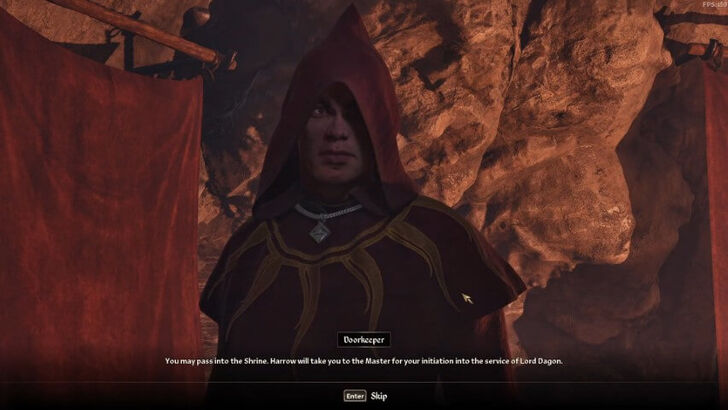 If you choose to go undercover, drop all your items before Harrow. He will allow you to proceed once you agree to his terms (though you can retrieve your items afterward). Follow Harrow into the Shrine Antechamber and then into the Dagon Shrine. |
|
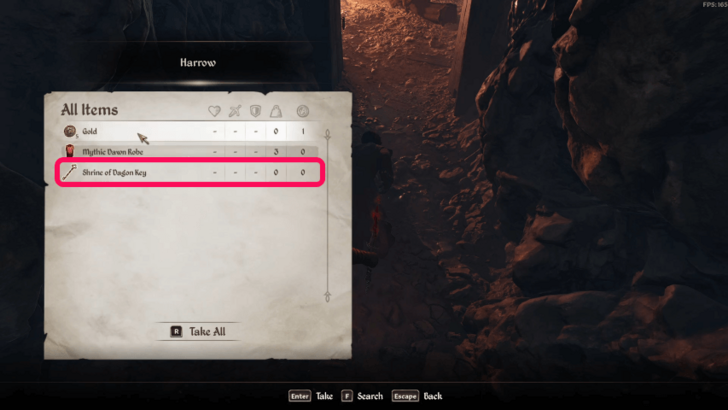 If you decide to fight, kill Harrow and take the Shrine of Dagon Key from his body. Use the key to unlock the door to the Shrine Antechamber just ahead. |
|
| 3 | Reach the Dagon Shrine |
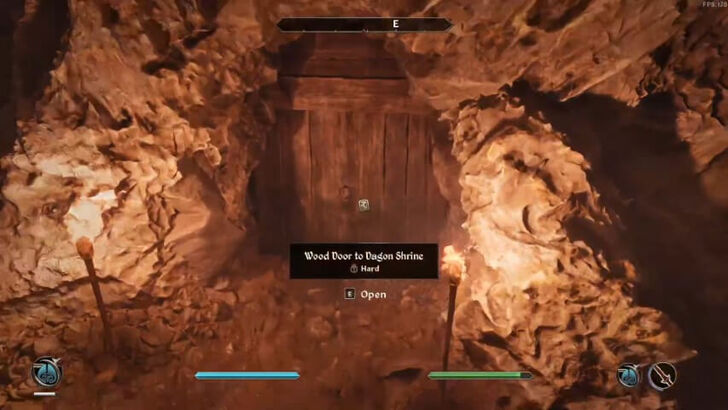 Regardless of how you entered the antechamber, head south and take the first door on the left to enter the Dagon Shrine. If you’re not with Harrow, use the key to unlock the door. |
|
| 4 | Grab the Mysterium Xarxes |
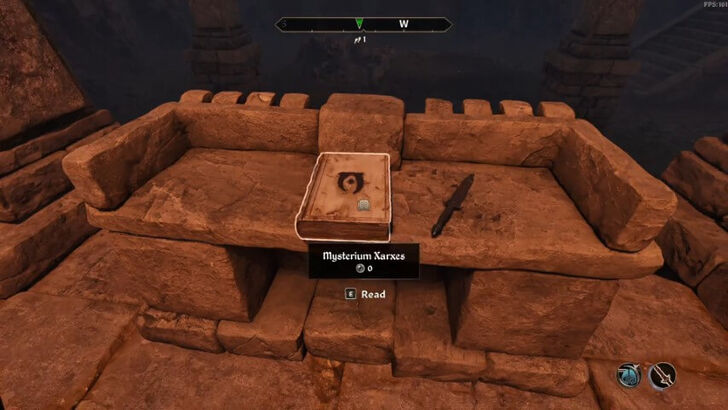 If you’ve gone undercover, speak with Ruma Camoran at the dais. She will ask you to kill Jeelius, who's lying on the altar, using the Sacrificial Dagger on the podium. Killing Jeelius makes escaping easier, as the Mythic Dawn won’t be after you. After completing the sacrifice, wait for the cultists to leave and then grab the Mysterium Xarxes from the podium. |
|
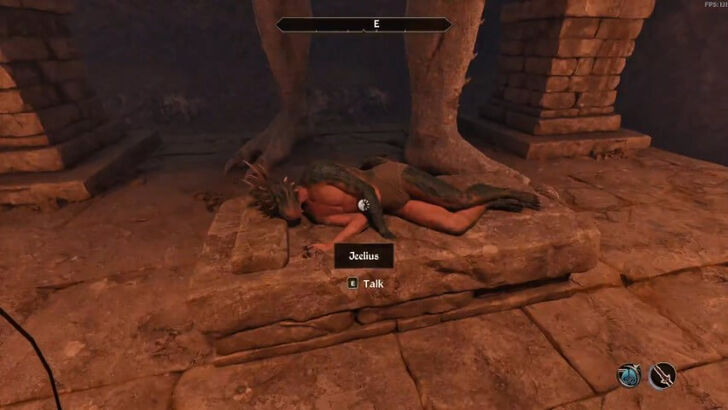 If you want to save Jeelius, or if you’ve already chosen to fight your way in, interact with him on the altar to release him. This will alert the Mythic Dawn. Grab the Mysterium Xarxes from the podium and escape the shrine. |
|
| 5 | Escape the Shrine |
 Whether you saved Jeelius or not, you can't leave the same way you came in. Take the stairs and go through the door on the left to enter the Shrine Living Quarters. |
|
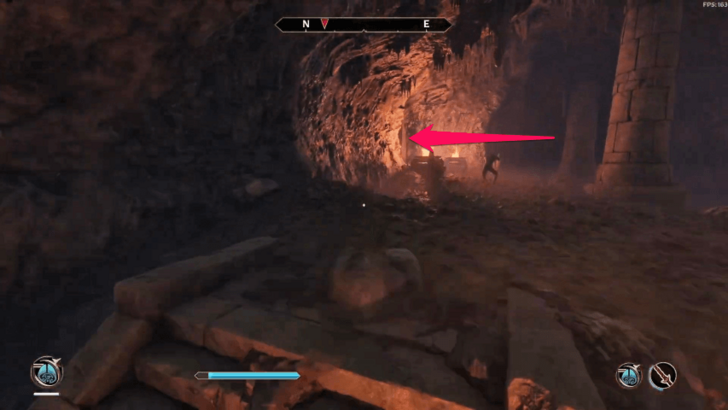
 Make your way south to the far end of the area to reach the other side of Lake Arrius Caverns. You may have to fight Mythic Dawn guards and acolytes along the way. |
|
| 6 | Open the Secret Door |
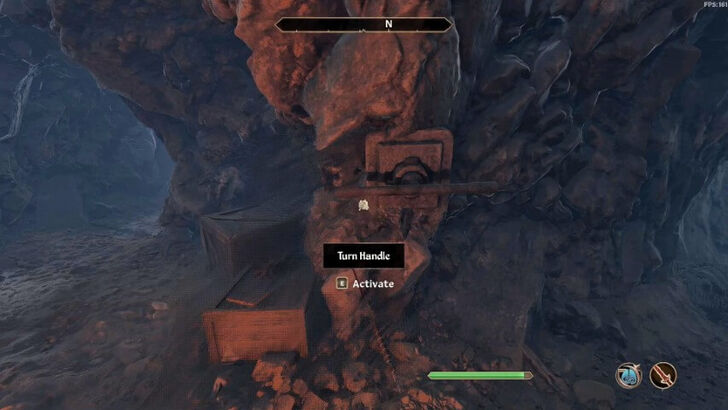 Interact with the nearby handle to open a secret door on your right, reconnecting you to the caverns' entrance. |
|
| 7 | Leave the Caverns |
 If you went undercover, you can return to Harrow to recover the items you surrendered earlier. Otherwise, just exit the way you came in. |
|
| 8 | Return to Cloud Ruler Temple |
 Head back to Cloud Ruler Temple and report to Jauffre. Let him know that while you didn’t recover the Amulet of Kings, you did obtain the Mysterium Xarxes. He will then direct you to Martin. |
|
 Talk to Martin and give him the Mysterium Xarxes, immediately unlocking the next quest, Spies. |
9. Spies

| 1 | Ask Jauffre About the Spies |
|---|---|
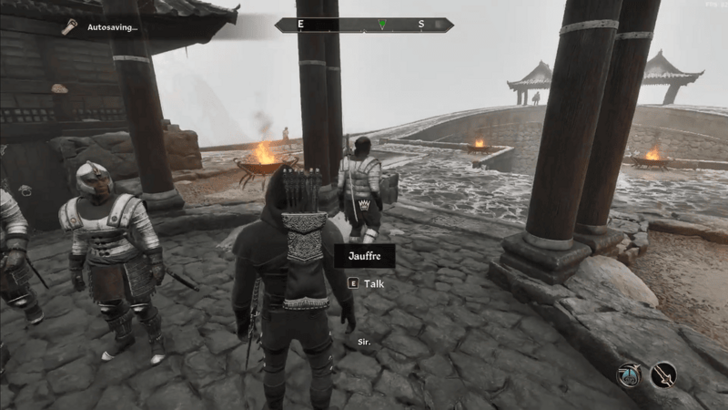 At Cloud Ruler Temple, speak with Jauffre and ask about the spies. He will then direct you to Captain Steffan, who is nearby. |
|
| 2 | Talk to Captain Steffan |
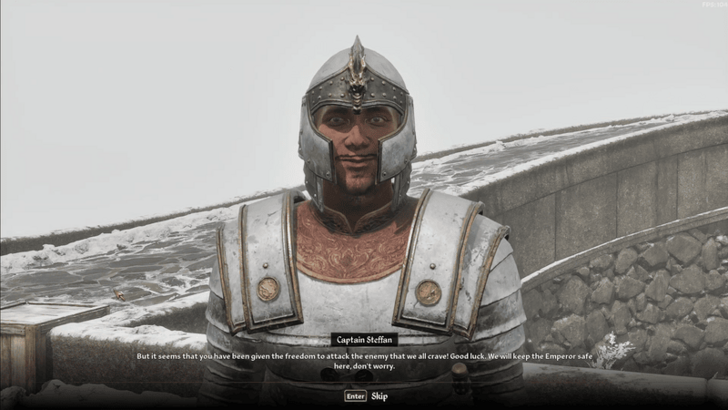 Talk to Captain Steffan and he will tell you that the spies are usually seen at dusk on the road to Cloud Ruler Temple, near the runestone. |
|
| 3 | Head to the Runestone |
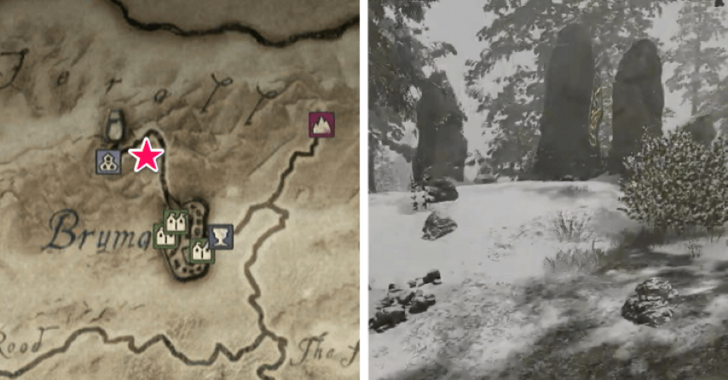 Head to the runestone near the temple and wait until around 5:00 PM for dusk. |
|
| 4 | Kill Jearl |
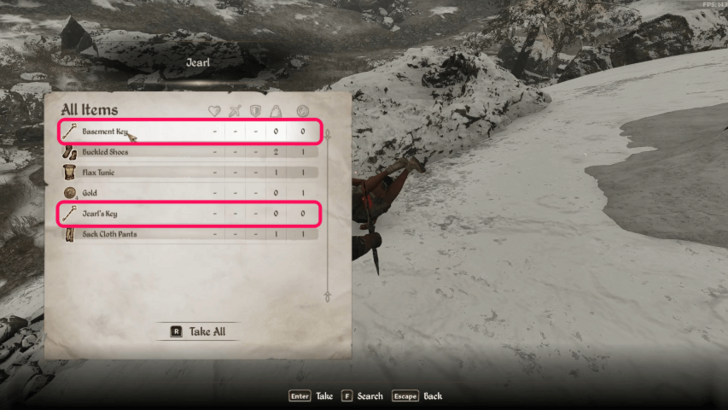 A Mythic Dawn agent named Jearl will appear. Kill her and loot the Basement Key and Jearl's Key from her body. |
|
| 5 | Travel to Castle Bruma |
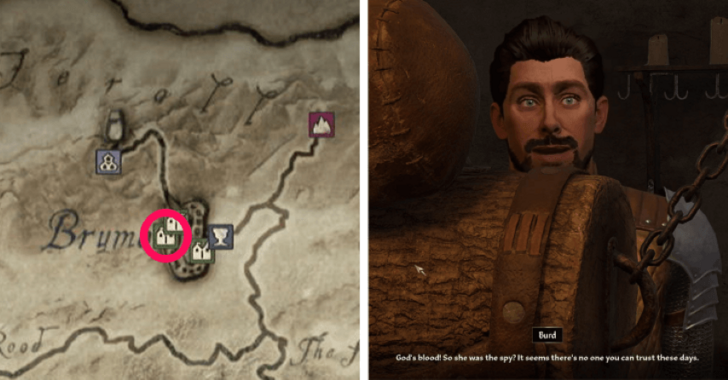 Travel Castle Bruma and talk to Burd inside. Share to him that Jearl is a spy and he will then give you permission to search inside Jearl's House to investigate further. |
|
| 6 | Investigate Jearl's House |
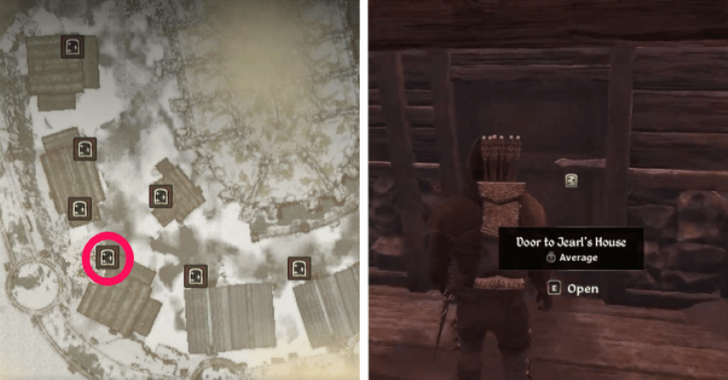 Head south to Jearl’s House in Bruma and use one of the keys to enter. Inside, look for a trapdoor on the floor leading to the basement, which can be unlocked with the Basement Key. |
|
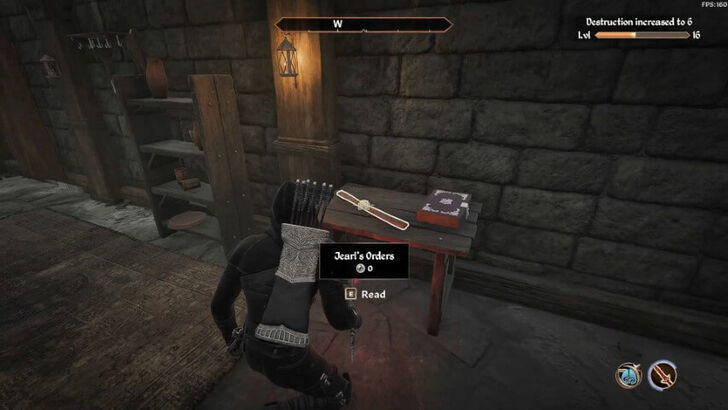 At the far end of the basement, interact with Jearl's Orders on the table to learn of her plans. |
|
| 7 | Report to Jauffre |
 Return to Cloud Ruler Temple and report your findings to Jauffre. He will then task you to kill the other Mythic Dawn agent, Saveri Faram, who is lurking around Bruma. |
|
| 8 | Hunt Down Saveri Faram |
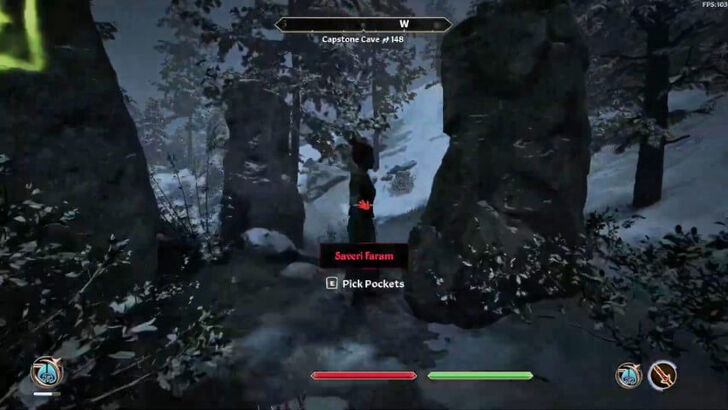 Find and kill Saveri in Bruma. You can find her at the runestone in the evening. |
|
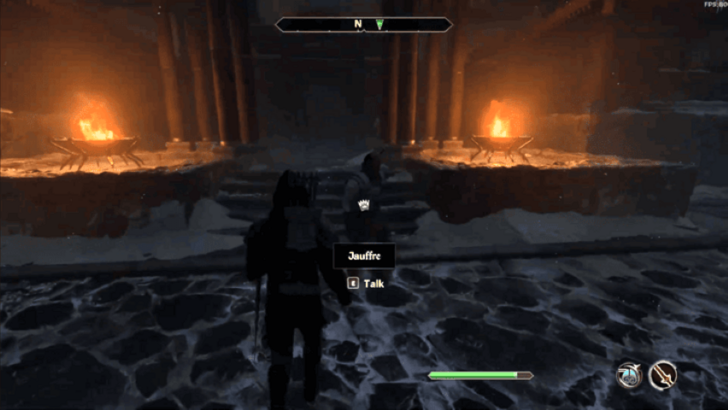
| 9 | Return to Cloud Ruler Temple |
 After killing Saveri, return to Cloud Ruler Temple and speak with Jauffre. He'll then tell you to go inside the temple and talk to Martin. |
|
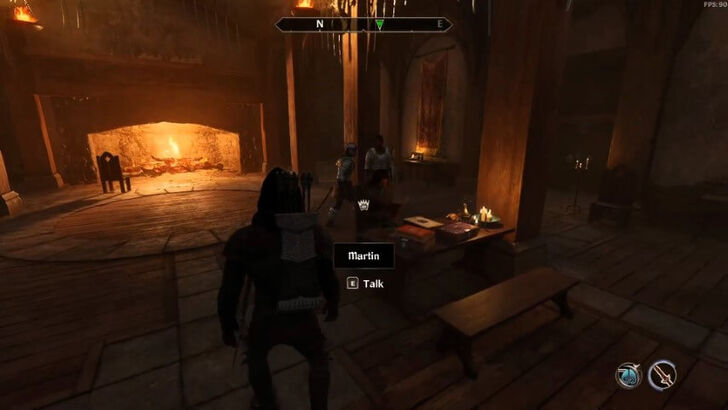 Enter the temple and talk to Martin. This will immediately begin the next quest, Blood of the Daedra. |
10. Blood of the Daedra
Blood of the Daedra Walkthrough
| 1 | Find a Daedric Artifact |
|---|---|
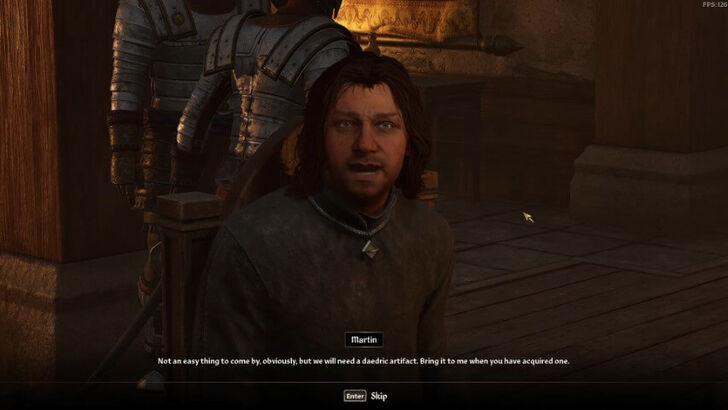 Martin will task you with finding a Daedric artifact—special items and weapons with unique effects that are obtained by completing Daedric quests. You can choose from any of the 15 Daedric quests (depending on your level) to obtain an artifact and give to Martin. For the purpose of this walkthrough, we'll be obtaining the Wabbajack as it is one of the more accessible Daedric quests for low-level players and the artifact is expendable enough to give it to Martin. ▶ Best Daedric Artifacts Tier List |
|
| 2 | Head to Sheogorath's Shrine |
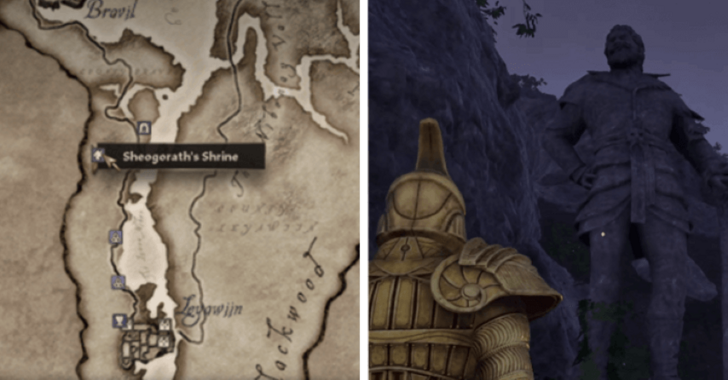 Head to Sheogorath's Shrine at Blackwood, between Leyamiin and Bravil. The easiest way to get there is to fast travel to Leyawiin and travel north. ▶ Sheogorath Daedric Quest Walkthrough |
|
| 3 | Offer Items to the Shrine |
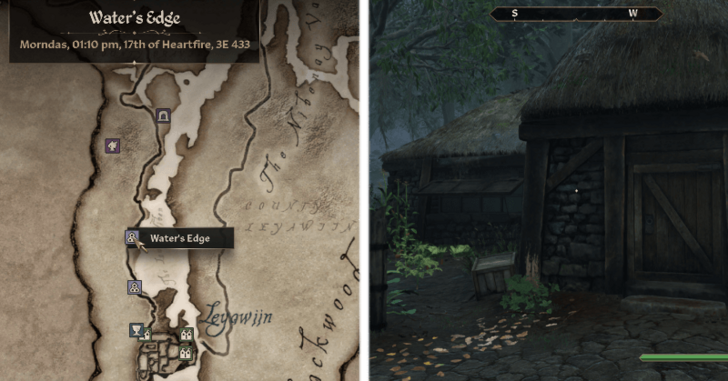 To start the quest, you need to have Cabbage, Yarn, and a Petty Soul Gem in your inventory. These items can be looted accross the map or purchased from merchants. If you don't have Cabbage or Yarn, go to Water's Edge, a settlement south of Sheogorath's Shrine. Cabbage can be harvested from the farm in front of the house. Yarn is inside the house in a crate to the right as you enter. |
|
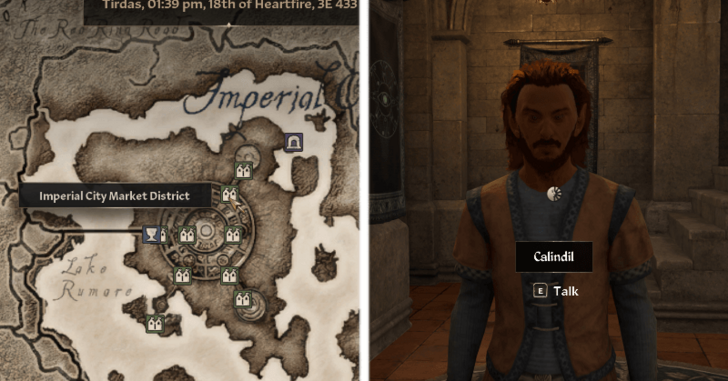 The quickest way to find a Petty Soul Gem is to purchase one from Calindil, at the Mystic Emporium within the Imperial City, Market District. |
|
| 4 | Travel to Border Watch |
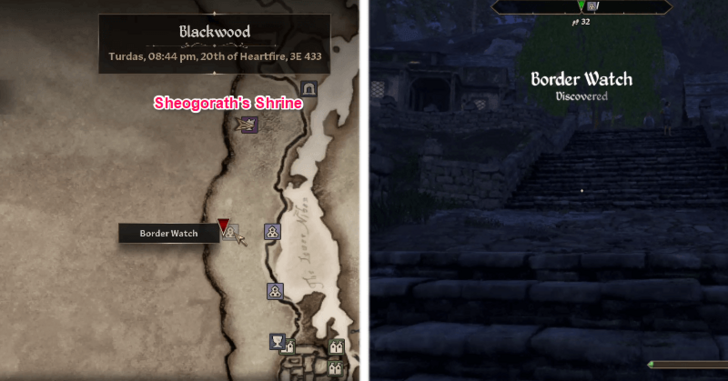 Once you have the quest unlocked, travel to Border Watch, located south of Sheogorath's Shrine and west of Water's Edge. |
|
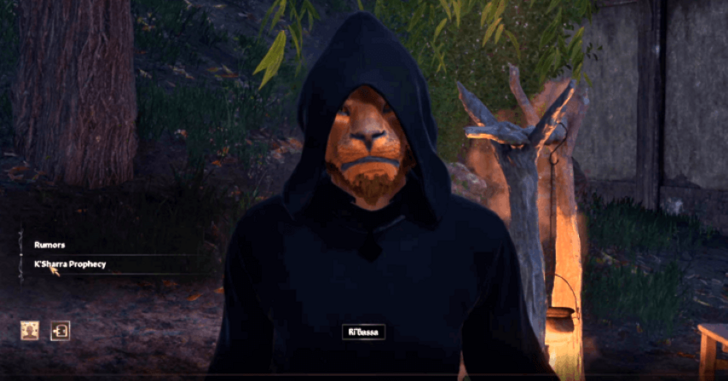 Talk to Ri'Bassa and ask about the K'Sharra prophecy. Note that you need to persuade him or bribe him in order to get more information. ▶ Persuasion Wheel Explained: How to Persuade |
|
| 5 | Steal the Cheese |
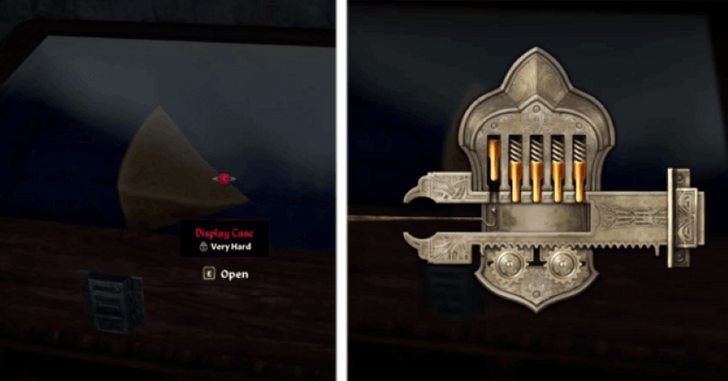 Enter the Border Watch Inn, which is just beside Ri'Bassa. Upon entering, lockpick the Display Case on the right and steal the Cheese inside. ▶ Where to Get Lockpicks |
|
| 6 | Complete the Prohecy |
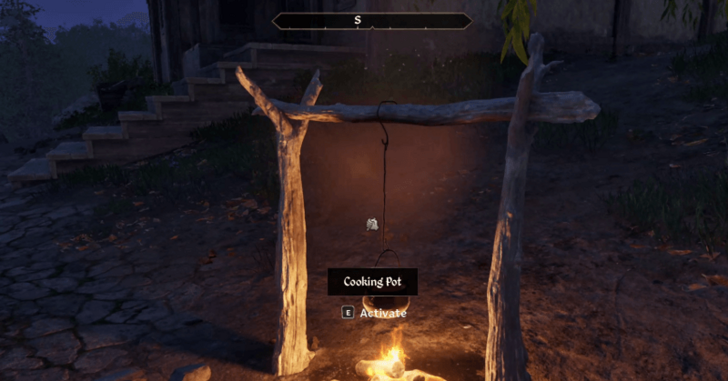 Head back outside and put the Cheese in the Cooking Pot in front of the Inn. Rats will then arrive, simulating the first part of the prophecy. |
|
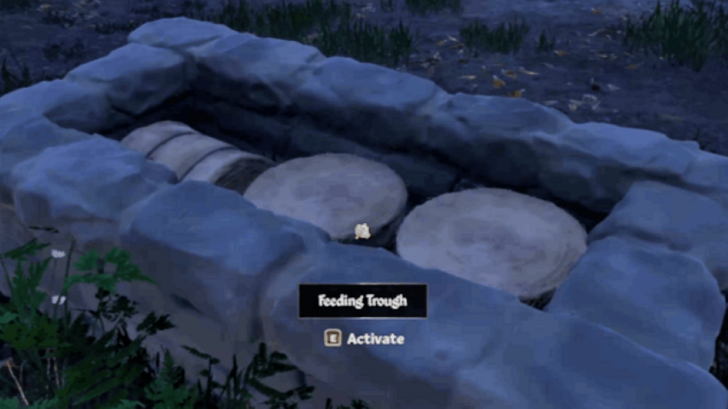 Ri'Bassa later shows up and lays Rat Poison on the ground. Take the Poison and go to the farm nearby. Place the Rat Poison on the Feeding Trough to continue the prohecy simulation. |
|
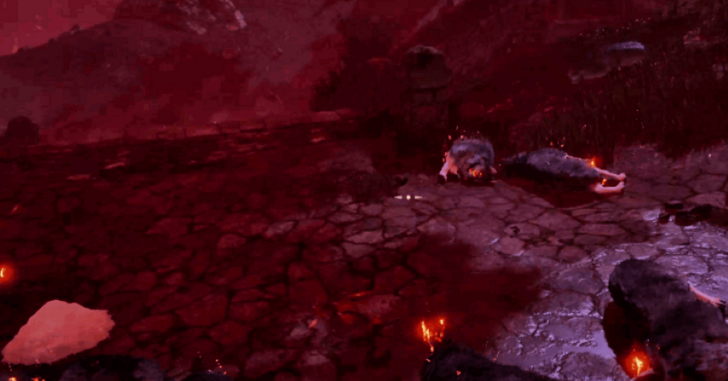 Head to the center of the village, and you will begin to see flaming wolves raining down, completing Sheogorath's prophecy. |
|
| 7 | Return to the Shrine |
 Return to Sheogorath's Shrine and interact with it to complete the Daedric quest. You will be rewarded with the Daedric artifact Wabbajack. |
|
| 8 | Give the Artifact to Martin |
 Once you have the artifact, return to Martin and give it to him to complete the quest. |
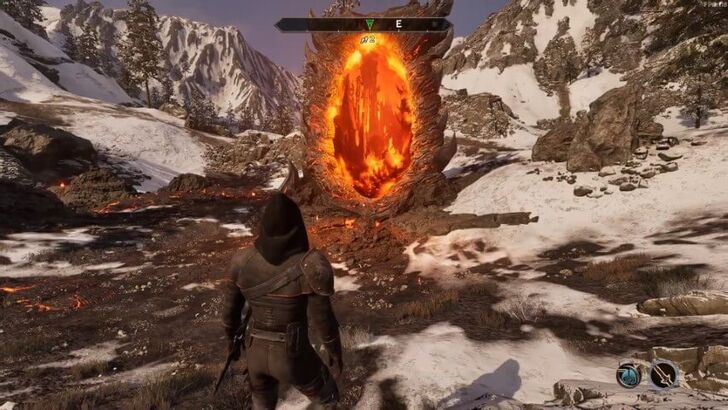
11. Bruma Gate

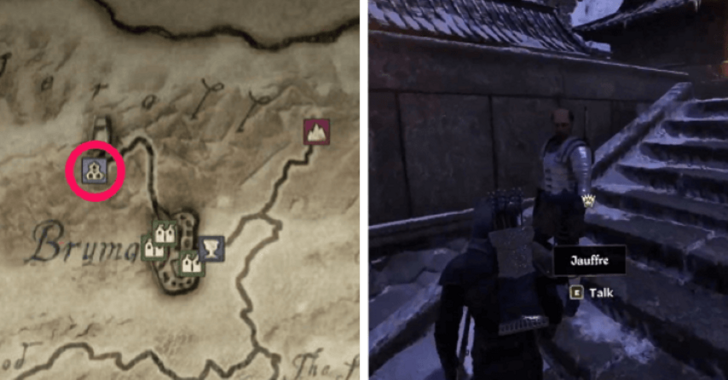
| 1 | Talk to Jauffre |
|---|---|
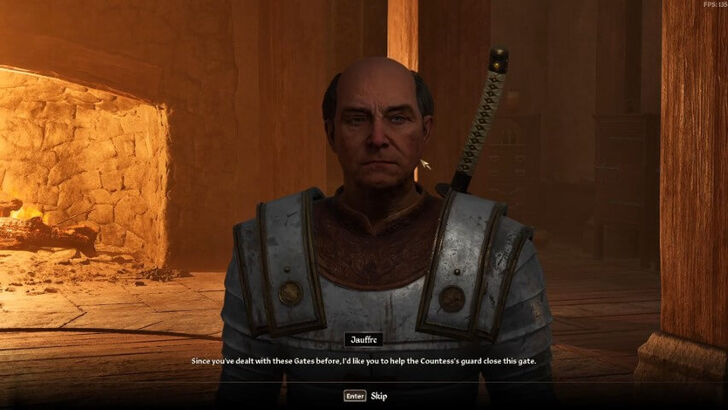 At Cloud Ruler Temple, talk to Jauffre. He will ask for your help in closing an Oblivion Gate just outside Bruma. |
|
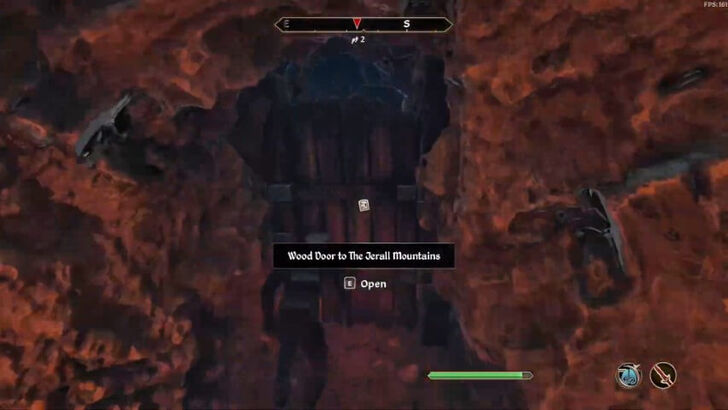
| 2 | Offer Help to Burd |
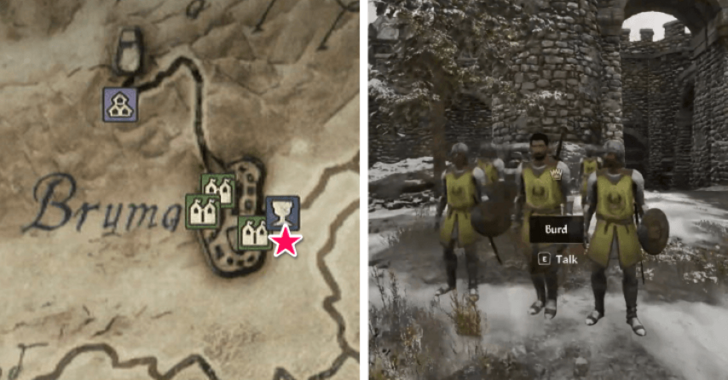 Head outside of Bruma and offer to help Burd in closing the nearby Oblivion Gate. You can fast travel to the Bruma East Gate and exit to the Jerall Mountains, where Burd is surrounded by soldiers. |
|
| 3 | Enter the Oblivion Gate |
 With you in charge, enter the Oblivion Gate and prepare to fight enemies that come out of it. |
|
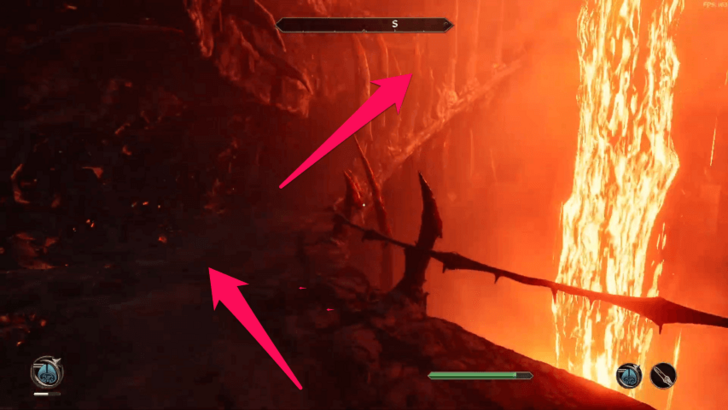
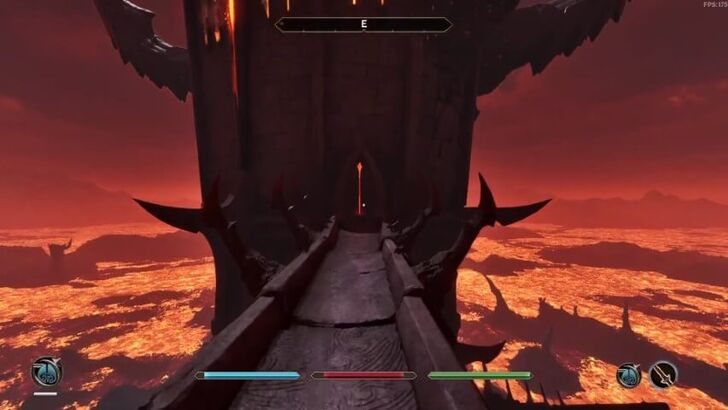
| 4 | Head to the Fury Spike |
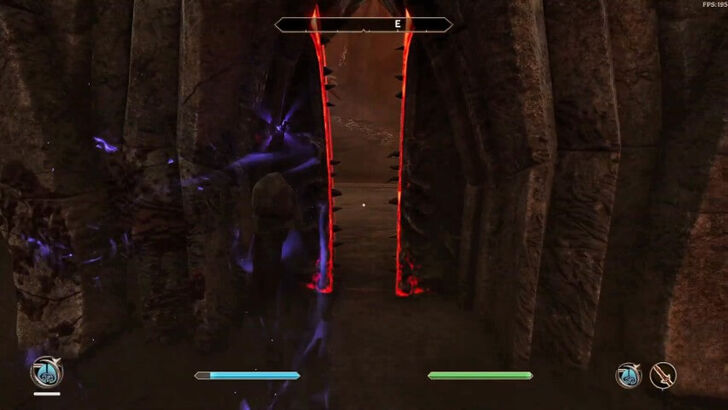
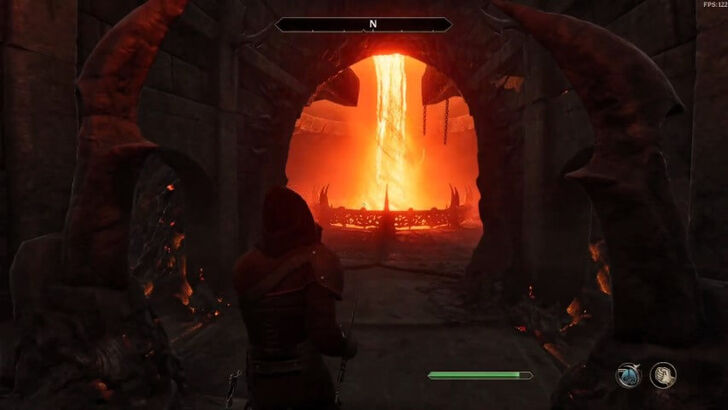
 Once you're inside the Plane of Oblivion, head east toward the Fury Spike. Besides enemies in the area, be careful of spike traps that emerge from the ground. |
|
| 5 | Reach the Sigil Keep |
 Enter the Fury Spike, proceed through the door to the Rending Halls. Be ready to fight enemies along the way! |
|
 Navigate through the halls, open the Citadel Hall Door on the right, then take the stairs to the door that leads to the upper level of the Fury Spike. |
|
 Climb further and enter the Corridors of Dark Salvation. Make your way southeast to return to the Fury Spike. |
|
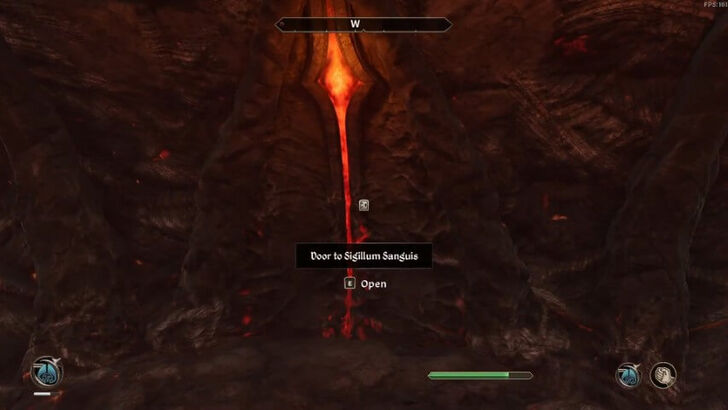
| 6 | Get the Sigil Key |
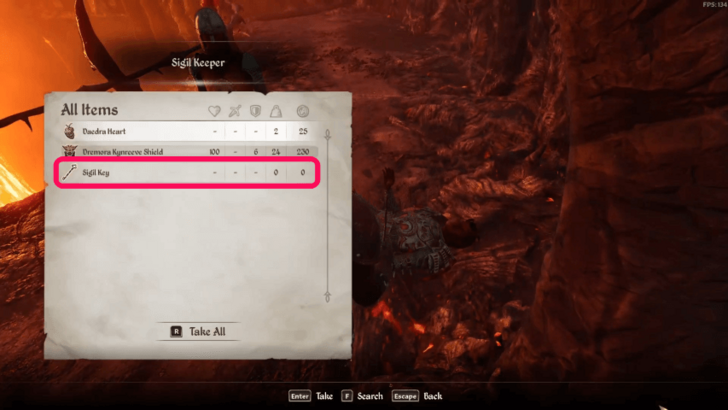 On the stairs, kill the Sigil Keeper and loot the Sigil Key from his body. Use the key to open the door to the Sigillum Sanguis on the left and enter. |
|
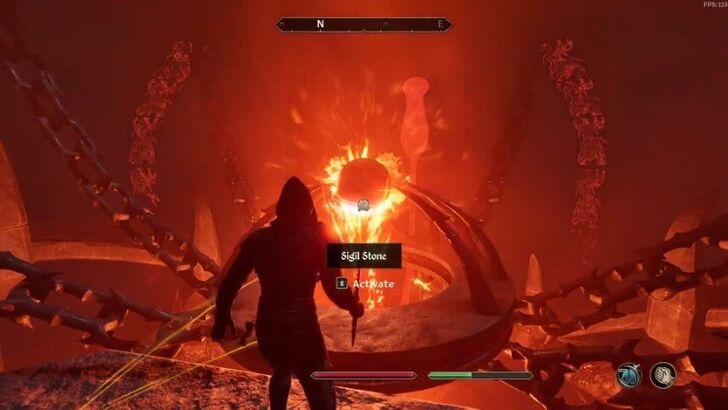
| 7 | Activate the Sigil Stone |
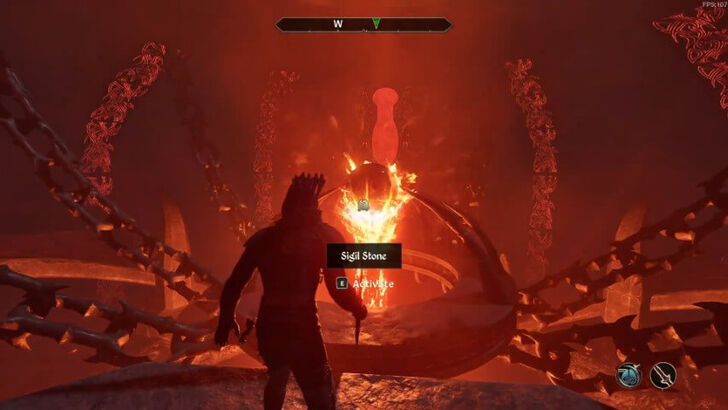 Climb the ramps to reach the top and interact with Sigil Stone in the center of the chamber to close the gate. You will then be teleported back Bruma. |
|
| 8 | Speak with Burd |
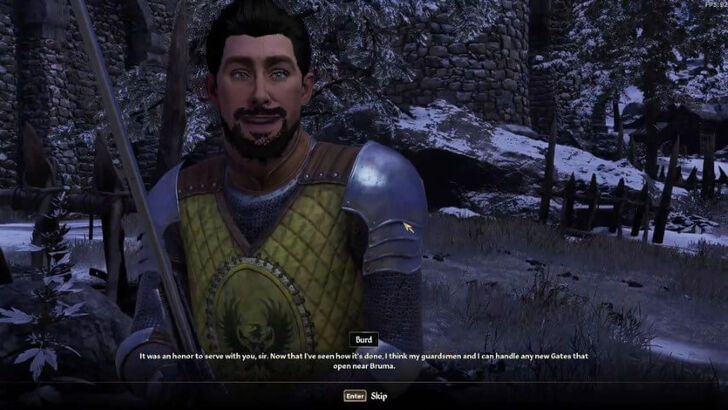 Once back in Bruma, speak with Burd, and he will thank you for your help. |
|
| 9 | Return to Cloud Ruler Temple |
 Head back to Cloud Ruler Temple and report to Jauffre that you’ve closed the Oblivion Gate in Bruma. From this point, you can either continue with the story in Blood of the Divines or take a detour to further assist the Bruma army in Allies for Bruma. |
12. Optional: Allies for Bruma

| 1 | Recruit Allies for Bruma |
|---|---|
 Jauffre asks you to request more troops for Burd. To do this, visit each marked city on your map, speak with the count or countess, and request Aid for Bruma. If you help them close their Oblivion Gate, they will send soldiers to Bruma. While you don't need to recruit every city in Cyrodiil, the number of cities you recruit will affect the difficulty of the upcoming main quest, Defense of Bruma. We recommend recruiting Anvil, Bravil, Chorrol, Leyawiin, and Skingrad, as they provide the strongest fighters to aid you against the Daedra. |
Recruting Anvil
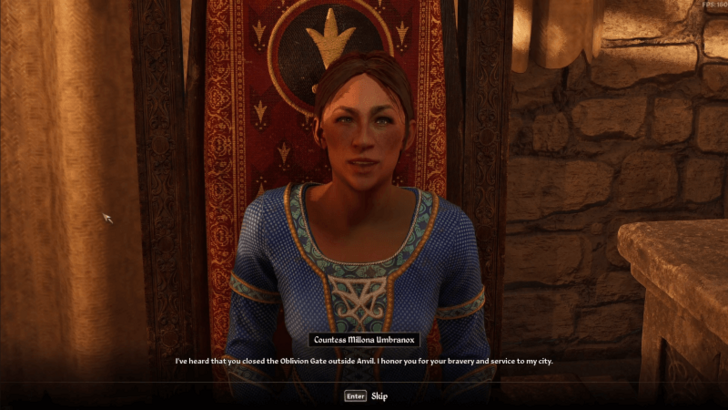
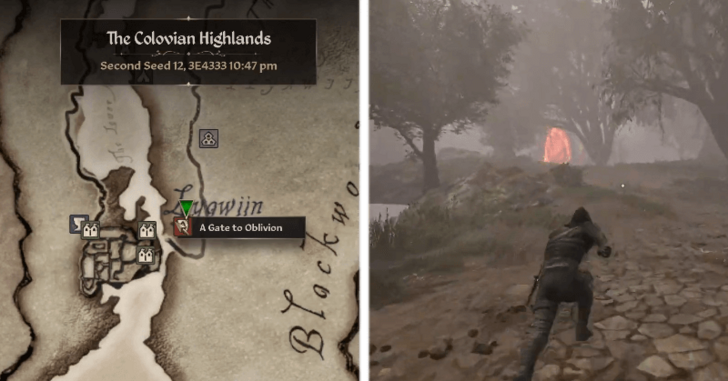
| 1 | Talk to Millona in Anvil |
|---|---|
 Head to Castle Anvil and talk to Countess Millona Umbranox. Ask for Aid for Bruma, and she will tell you that they need to deal with the Oblivion Gate nearby Anvil first before offering to help. This will be a recurring task for all cities as you recruit reinforcements, so get familiar with the process. |
|
| 2 | Enter the Oblivion Gate |
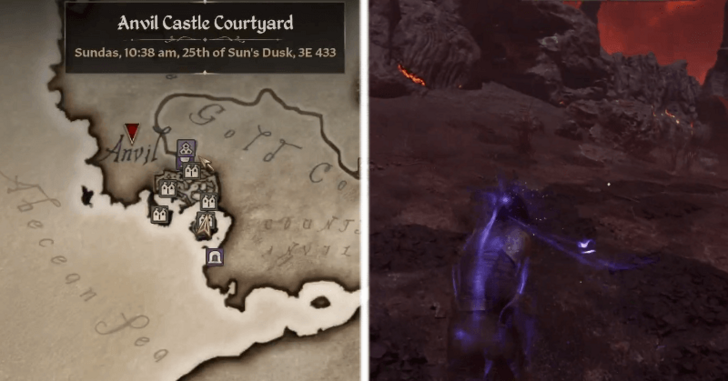 Enter the Oblivion Gate just northwest of the city and prepare to fight enemies that come out of it. |
|
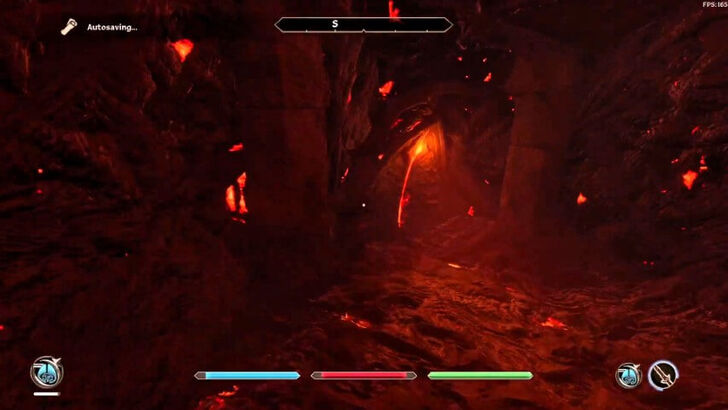
| 3 | Head to the Tower Portal |
 Once inside the Plane of Oblivion, make your way west and enter the Nether Tunnels. Be ready to fight enemies along the way! |
|
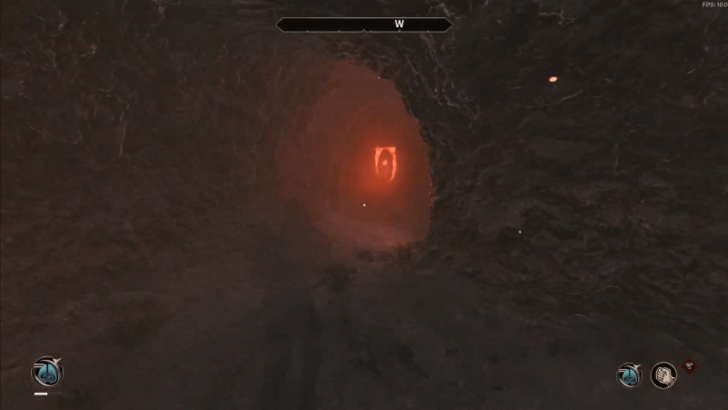 Jump down the second hole that you come across and head north to the Oblivion Cave. |
|
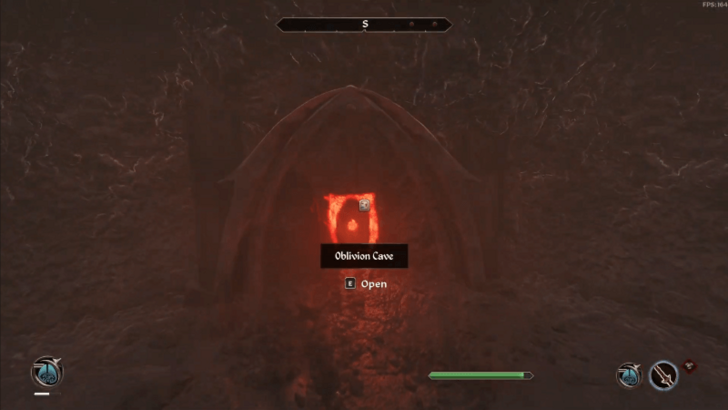 Continue through the cave to reach the exit. When you're outside again, go west until you reach The Red Gnash Channels. |
|
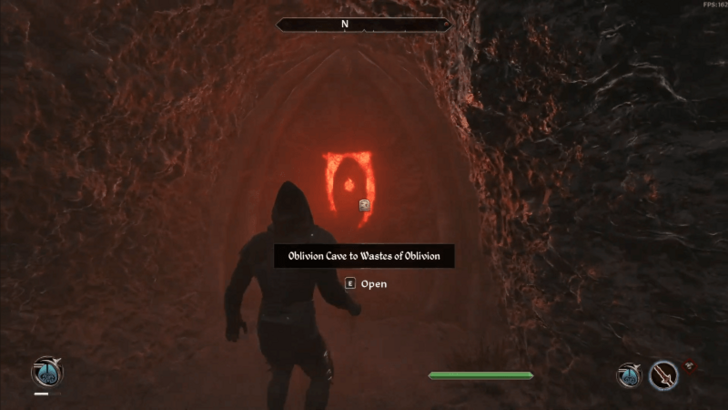 Inside, turn left and you will see a fork in the path. Take the right path, then left, and another right turn. This will lead you to the other side of the Wastes of Oblivion. |
|
| 4 | Enter the Tower Portal |
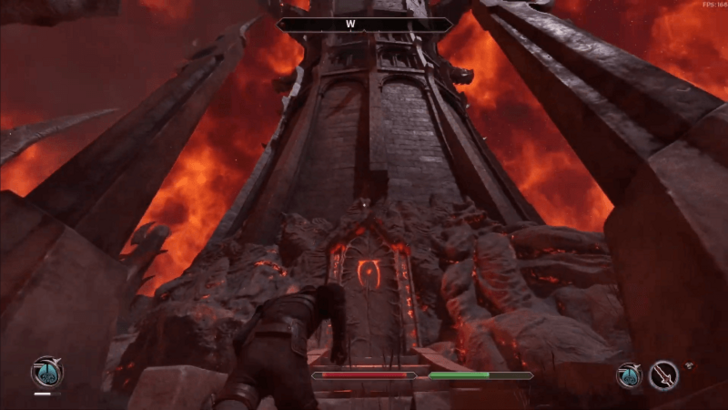 Now on the other side, head west and enter the Tower Portal. |
|
| 5 | Reach the Sigil Keep |
 Your goal is to reach the top of the Tower Portal and retrieve the Sigil Stone. You can sneak past or fight enemies on your way up. |
|
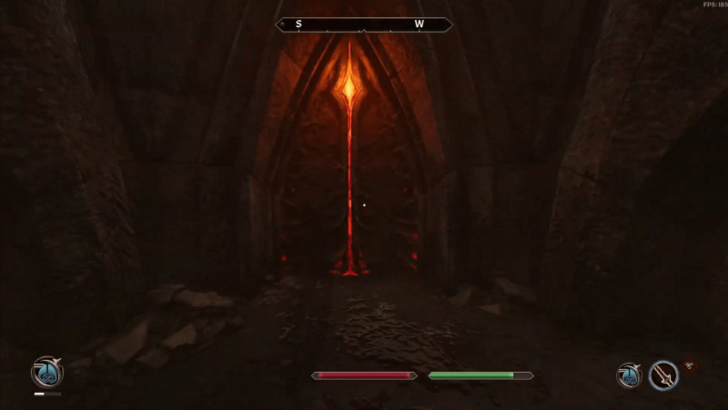 Take the door on the left to enter the Rending Halls, then continue forward and take the center path to reach the Lust Keep. |
|
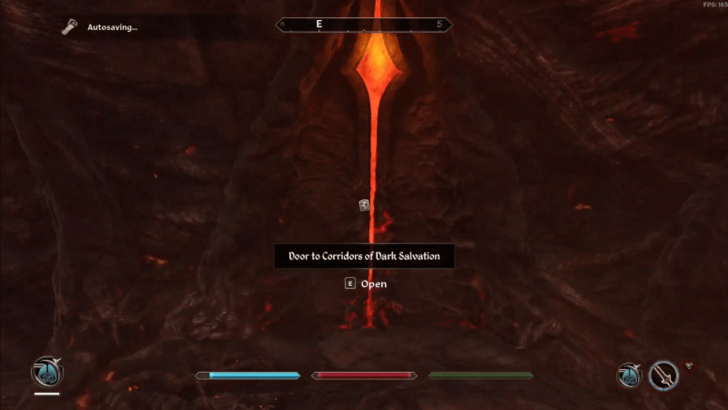 Enter the Corridors of Dark Salvation on the left. Navigate through the corridors to find and open the Citadel Hall Door. Enter and go to the right to take the door that will lead you to the upper level of the Lust Keep. |
|
 Take the stairs and enter the Portal to the Lust Keep. Go left and enter the door to the Sigillum Sanguis. |
|
| 6 | Activate the Sigil Stone |
 Climb the ramps to reach the top and interact with Sigil Stone in the center of the chamber to close the gate. You will then be teleported back to Anvil. |
|
| 7 | Return to Regulus |
 Report back to Millona that you’ve closed the Oblivion Gate in her city. She will thank you and send soldiers to help Bruma. |
Recruiting Bravil
| 1 | Talk to Regulus in Bravil |
|---|---|
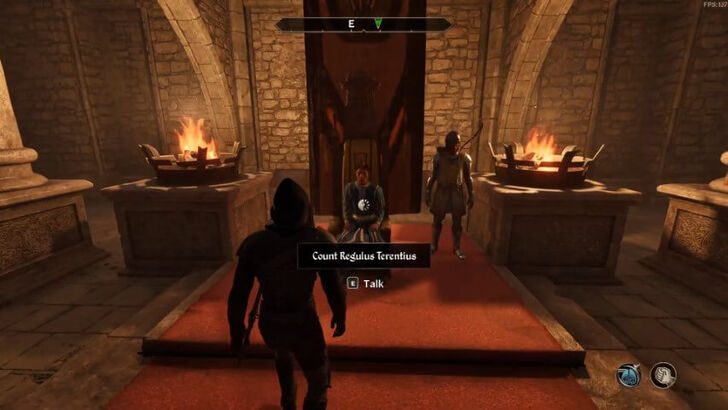 Travel to Bravil and speak with Count Regulus Terentius inside Castle Bravil. Ask for Aid for Bruma, and he will ask you to clear the Oblivion Gate just outside the city. |
|
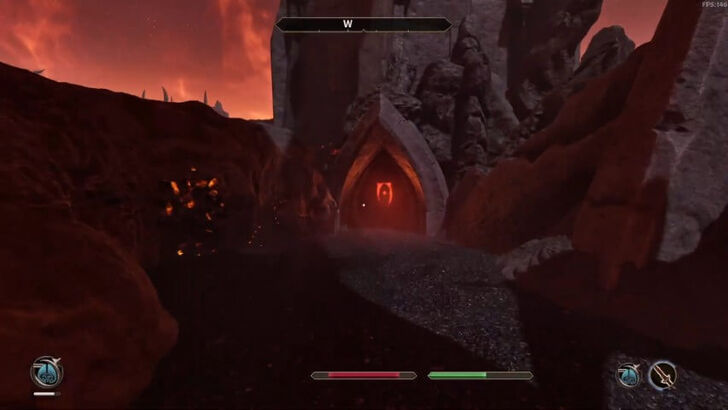
| 2 | Enter the Oblivion Gate |
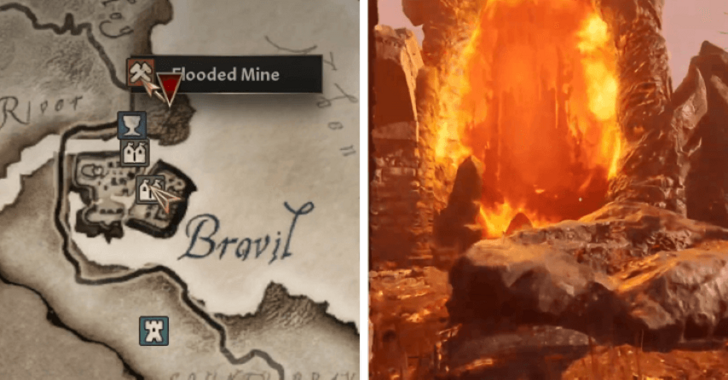 Head to the Flooded Mine, located just north of Bravil, and enter the nearby Oblivion Gate. |
|
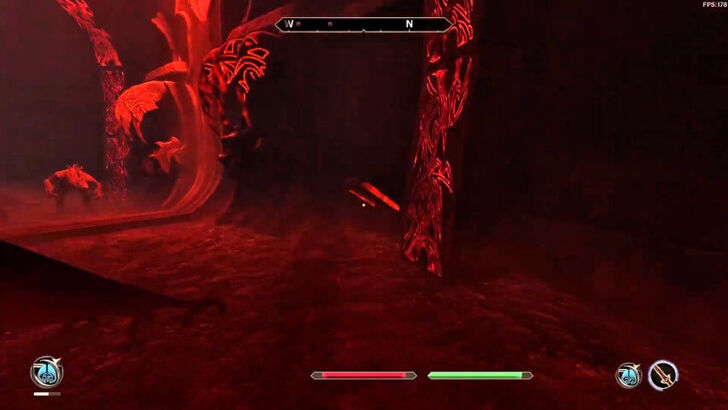
| 3 | Reach the Caverns of the Abused |
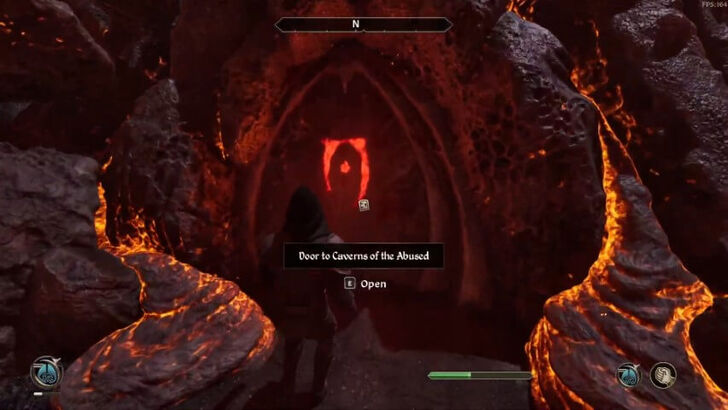 Once inside the Plane of Oblivion, head north toward the Caverns of the Abused. Be prepared to fight enemies along the way! |
|
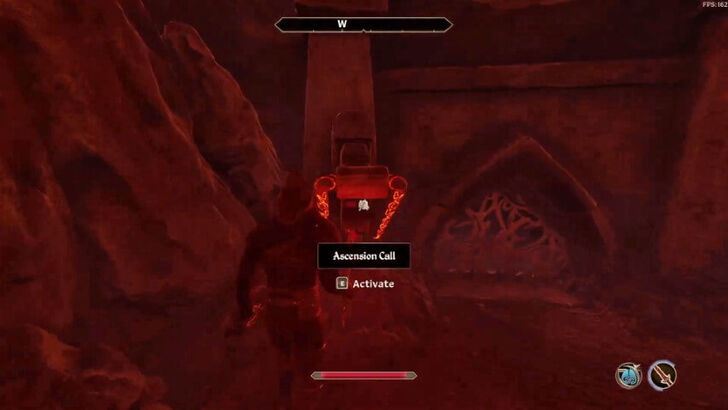
| 4 | Open the Tower Gate |
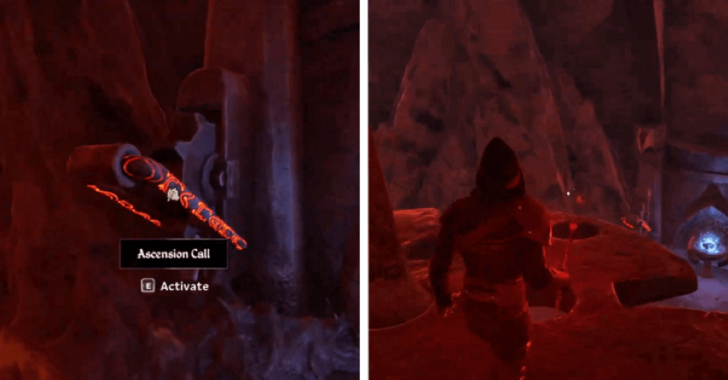 Proceed through the caverns until you reach the Blood Well. There, interact with the Ascension Call to raise the platform above. Jump onto the platform as soon as you activate the lever. |
|
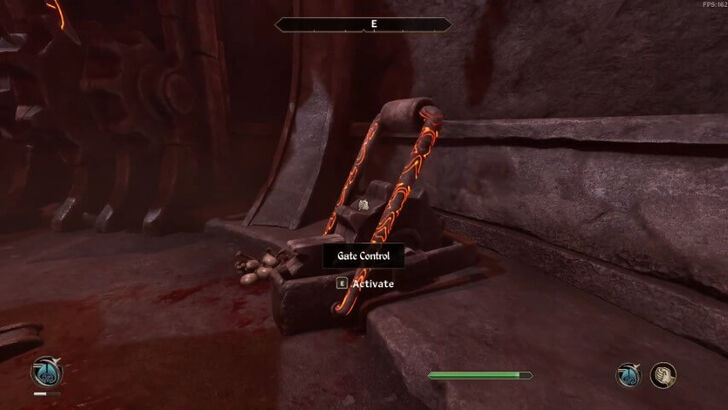 Once you're above, continue climbing to the top and interact with the Gate Control to open the door to the Tower Portal. Head down and exit to the Wastes of Oblivion. |
|
| 5 | Enter the Tower Portal |
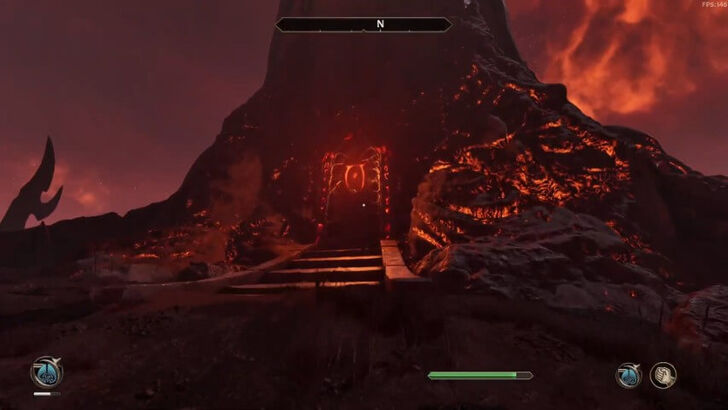 With the gate open, head to the Tower Portal to the north and enter. |
|
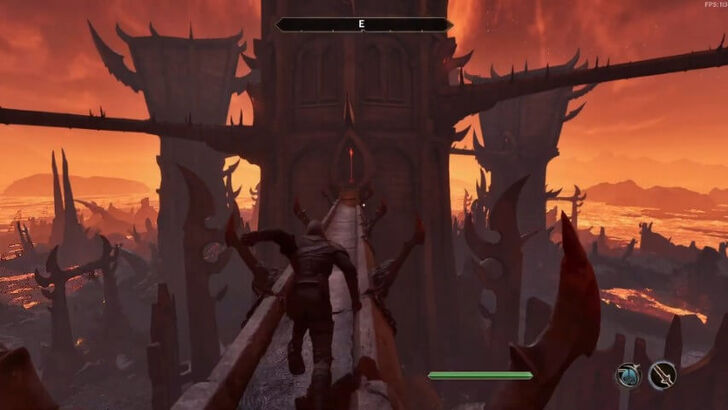
| 6 | Reach the Sigil Keep |
 As with any other Oblivion Gate, your goal is to reach the top of the Tower Portal and retrieve the Sigil Stone. Navigate through the towers, either sneaking past or fighting enemies on your way up. |
|
 Once you reach The Flesh Spire, take the ramps and enter the door to the Sigillum Sanguis on the left. |
|
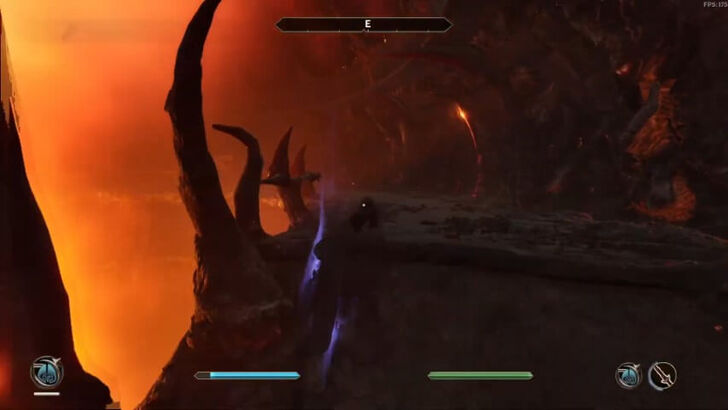
| 7 | Activate the Sigil Stone |
 Climb the ramps to reach the top and interact with Sigil Stone in the center of the chamber to close the gate. You will then be teleported back to Bravil. |
|
| 8 | Return to Regulus |
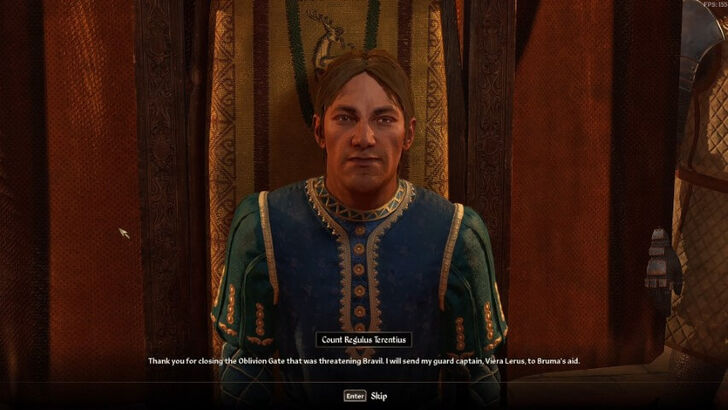 Report back to Regulus that you’ve closed the Oblivion Gate in his city. He will thank you and send his guard captain, Viera Lerus, to help Bruma. |
Recruiting Chorrol
| 1 | Talk to Arriana in Chorrol |
|---|---|
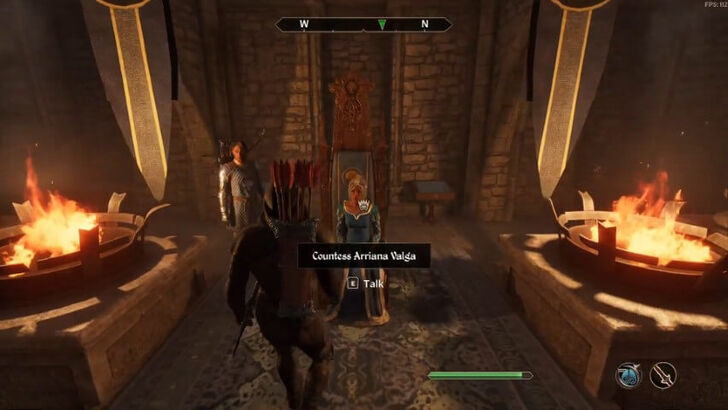 Travel to Chorrol and speak with Countess Arriana Valga inside Castle Chorrol. Ask for Aid for Bruma, and, like the others, she will ask you to clear the Oblivion Gate outside of the city. |
|
| 2 | Enter the Oblivion Gate |
 Exit through the South Chorrol Gate and head southeast to enter the Oblivion Gate. |
|
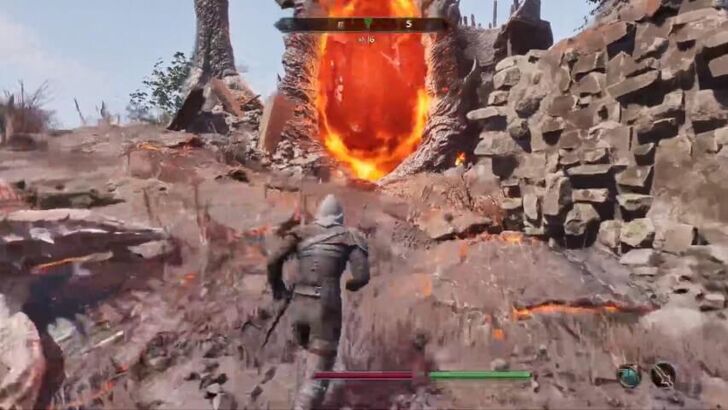
| 3 | Open the War Gate |
 Once inside the Plane of Oblivion, make your way west toward Landslide and enter it. Be prepared to fight enemies along the way! |
|
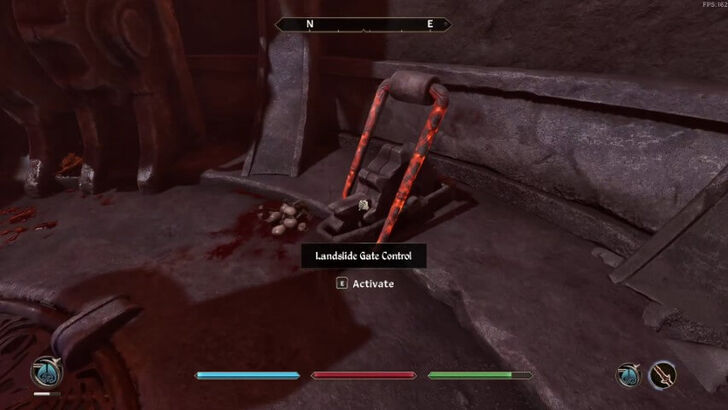 Climb the tower and interact with the Gate Control to open the War Gate, which leads to Hurricane. |
|
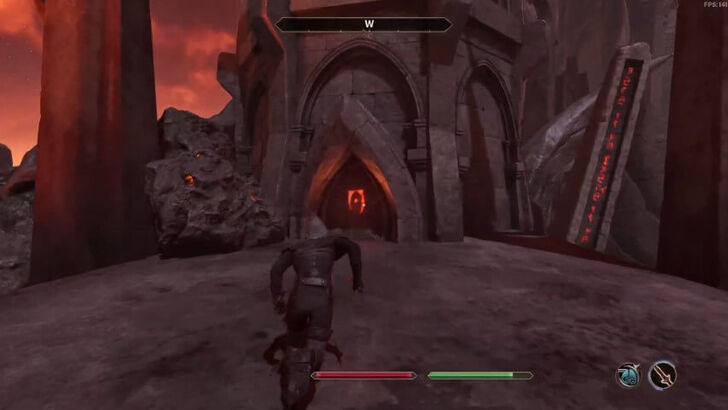
| 4 | Enter Hurricane |
 Exit Landslide and head southwest toward the newly opened War Gate. Enter Hurricane. |
|
 Once inside, interact with the Ascension Call to raise the platform above. Jump onto the platform as soon as you activate the lever. |
|
 Take the stairs and enter the first door you come across on the right. This will lead to a walkway that connects to the main tower. Cross the walkway and enter the Portal of Natural Disaster. |
|
| 5 | Reach the Sigil Keep |
 As usual, make your way to the Sigillum Sanguis at the top of the tower. Navigate through the towers, sneaking past or fighting enemies along the way. |
|
| 6 | Activate the Sigil Stone |
 Climb the ramps to reach the top and interact with Sigil Stone in the center of the chamber to close the gate. You will then be teleported back to Chorrol. |
|
| 7 | Return to Arriana |
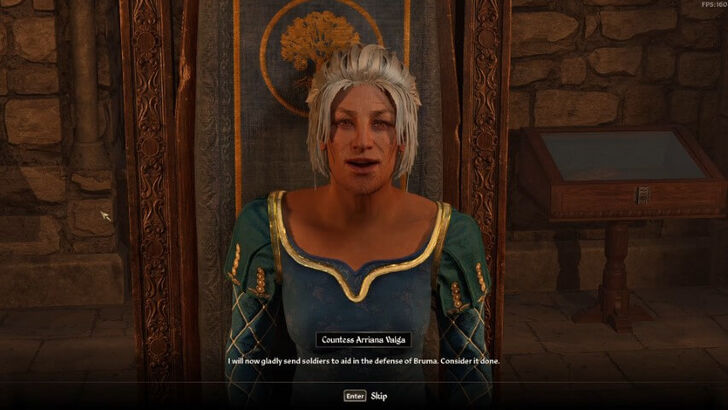 Report back to Arriana that you’ve closed the Oblivion Gate in her city. She will thank you and send soldiers to help Bruma. |
Recruiting Leyawiin
| 1 | Talk to Marius |
|---|---|
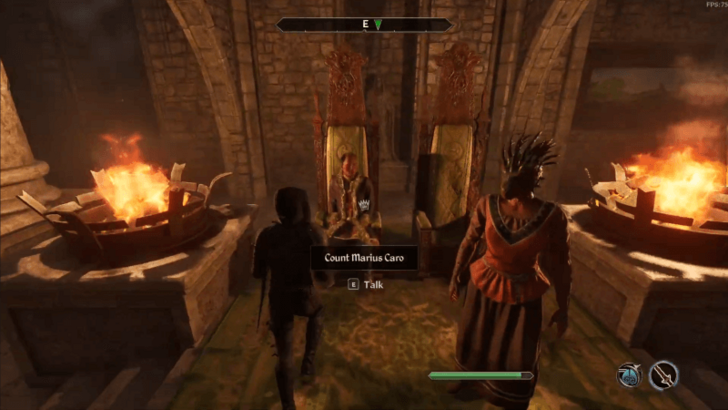 Enter the Castle Leyawiin County Hall and talk to Count Marius Caro about Aid for Bruma. He will ask for your help to close an Oblivion Gate nearby. |
|
| 2 | Enter the Oblivion Gate |
 Head toward the Oblivion Gate located at the east of Leyawiin. Enter the Oblivion Gate and prepare to fight enemies that emerge from the gate. |
|
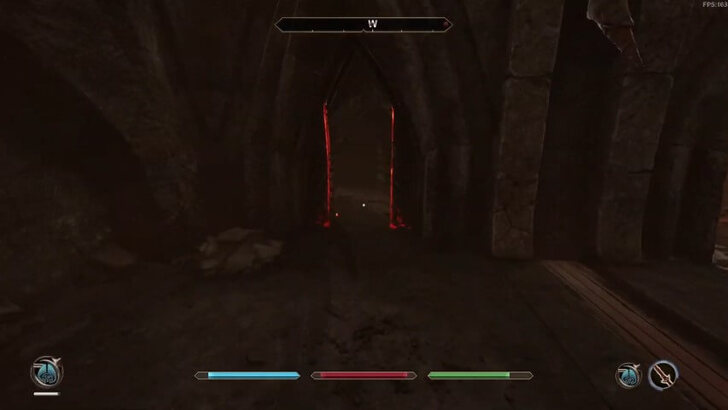
| 3 | Head to the Tower Portal |
 Once inside the Plane of Oblivion, head west to get inside the Nether Tunnels. Then, make your way to the right until you reach a door to the Oblivion Cave. Be ready to fight enemies along the way! |
|
 Make your way south until you stumble upon a Flame Atronach guarding the door to the Oblivion Cave. |
|
 Enter the cave and take the left path, then left, and turn right. This will lead you outside of the Oblivion Cave. |
|
 Proceed forward until you reach the Spindle Shrine. Inside, take the ramps and enter the door at the top, and continue through the area to the Blood Well. Inside the Blood Well, go up and then access the door to the right that will lead you back outside. |
|
| 4 | Reach the Sigil Keep |
 Once you're outside, head north towards the Tower Portal and enter it. As with the previous Oblivion Gates, your goal is to reach the top of the Tower Portal and retrieve the Sigil Stone. You can sneak past or fight enemies on your way up. |
|
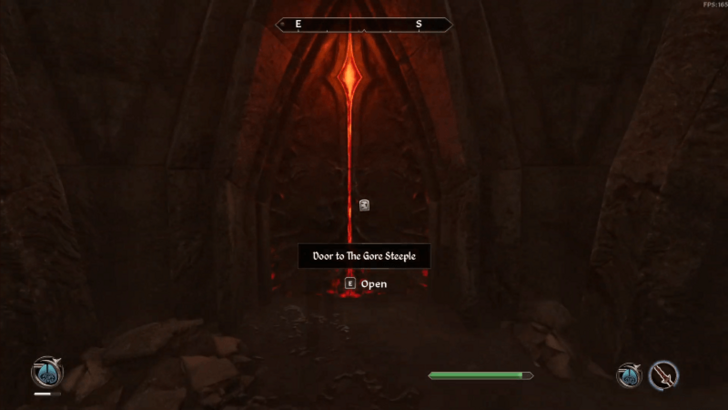 Enter the Corridors of Dark Salvation on the left, then go to the top until you reach the entrance to the Gore Steeple. |
|
 Keep going up until you reach the door to Sigillum Sanguis towards south. |
|
| 5 | Activate the Sigil Stone |
 Climb the ramps to reach the top and interact with Sigil Stone in the center of the chamber to close the gate. You will then be teleported back outside of Leyawiin where the Oblivion gate was. |
|
| 6 | Report Back to Marius |
 Report back to Marius and he will finally agree to helping Bruma. |
Recruiting Skingrad
| 1 | Talk to Mercator |
|---|---|
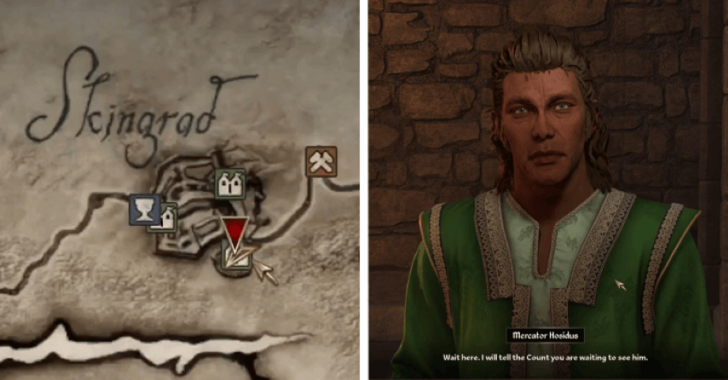 Travel to Skingrad and enter Castle Skingrad. Unlike the other cities, you must first speak with Mercator Hosidus inside the castle and ask for Aid for Bruma. He will then ask you to wait as he goes to get the count for you. |
|
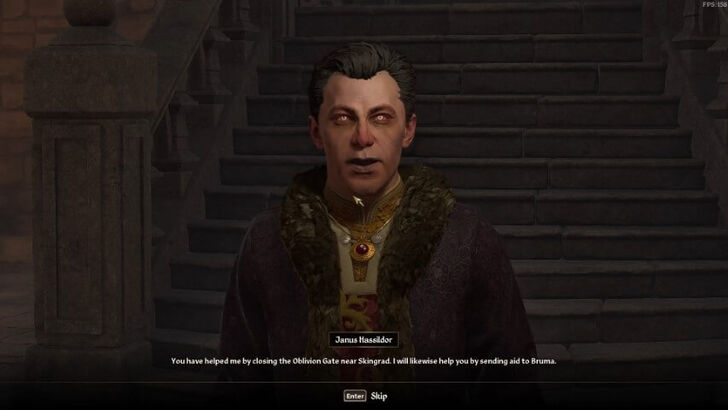
| 2 | Wait for Janus |
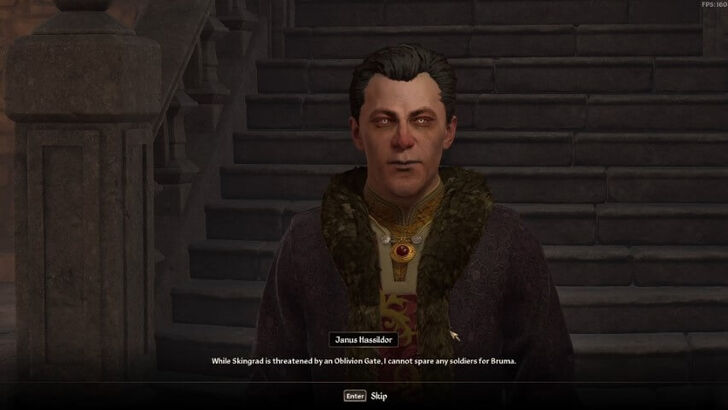 Wait a while for Janus Hassildor to come and speak with you. Once he does, ask for Aid for Bruma. As expected, he will only send help if you assist him in closing the Oblivion Gate outside of the city. |
|
| 3 | Enter the Oblivion Gate |
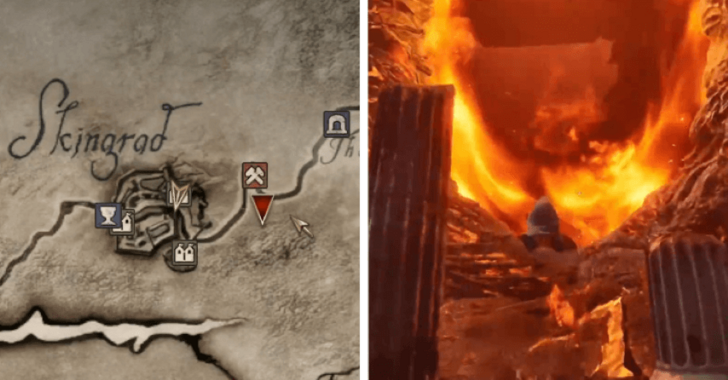 Head to the Derelict Mine, located east of Skingrad. From there, head south and enter the Oblivion Gate up the hill. |
|
| 4 | Release the First Lock |
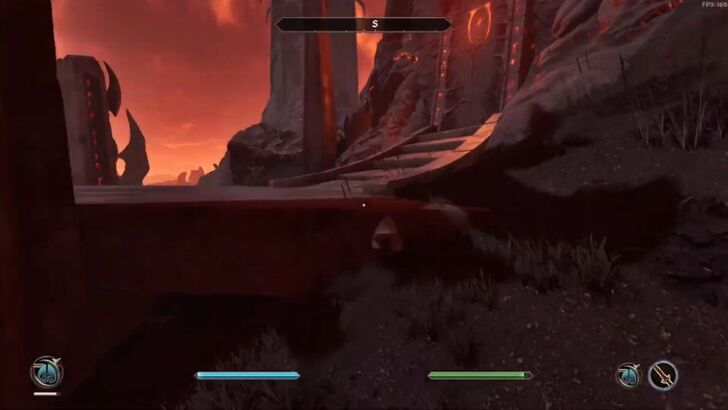 Once inside the Plane of Oblivion, head southwest to The Tower Portal to The Anguish Keep. Be prepared to fight enemies along the way! |
|
 Enter the Anguish Keep and turn left to the Halls of Eternal Twilight. Move forward through the area to reach the other side of Anguish Keep. You may need to lockpick the Citadel Hall Door to progress. ▶ Where to Get Lockpicks |
|
 At the far end of Anguish Keep, enter the door to the Halls of Shame. Navigate through the halls until you reach a door that leads to the upper level of Anguish Keep. |
|
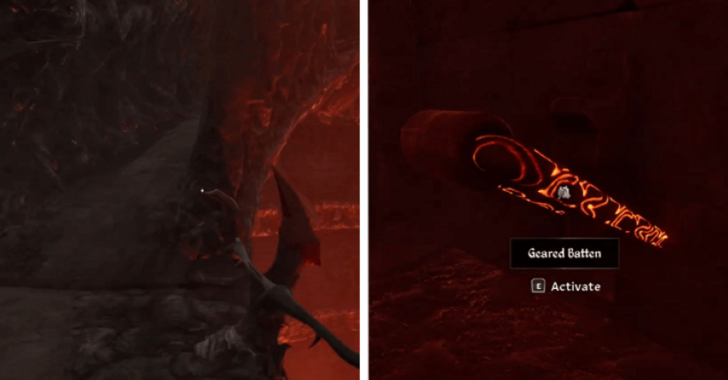 Climb the ramps and enter the door on the left, which leads to the Anguish Shrine. Inside, go to the center, just before the Door to Wastes of Oblivion, and take the ramps. Interact with the Geared Batten next to the gears to release the first of two locks. |
|
| 5 | Reelase the Second Lock |
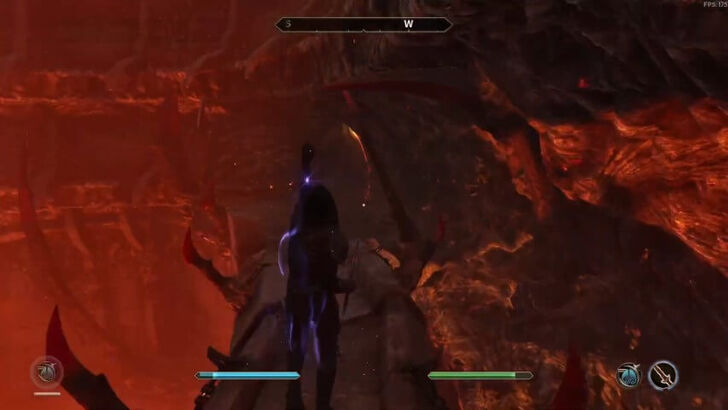
 Head downstairs and exit through the Door to Wastes of Oblivion, leading you to a walkway. |
|
 Cross the walkway and enter the Sorrow Shrine. Like the Anguish Shrine, climb the ramps and interact with the Geared Batten near the gears to release the second lock. |
|
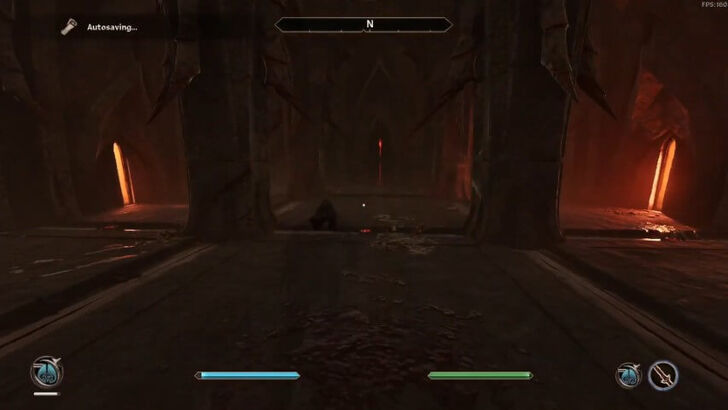
| 6 | Navigate Through Sorrow Keep |
 With the two locks released, head downstairs, then south to The Sorrow Keep, which is located to the right of the Door to Wastes of Oblivion. |
|
 Enter the Halls of Shame to the south, navigate through the halls back to The Sorrow Keep, and take the Door to Wastes of Oblivion at the far end, leading you to another walkway. |
|
 Cross the walkway and enter the Brooding Fortress. |
|
| 6 | Reach the Sigil Keep |
 Now that you’re in the main tower, your goal is to reach the top and retrieve the Sigil Stone. Inside the Brooding Fortress, take the ramps on the left and enter the Corridors of Dark Salvation. |
|
 Make your way to another door that leads to the upper level of the fortress. Take the ramps and enter the door to the Sigillum Sanguis on the left. |
|
| 7 | Activate the Sigil Stone |
 Climb the ramps to reach the top and interact with Sigil Stone in the center of the chamber to close the gate. You will then be teleported back to Skingrad. |
|
| 8 | Return to Janus |
 Once you're back, return to Regulus to report that you’ve closed the Oblivion Gate. He will thank you and agree to send aid to Bruma. |
|
| 9 | Continue the Main Quest |
 After recruiting the cities listed, continue the main quest with Blood of the Divines by talking to Martin inside Cloud Ruler Temple and watch your actions unfold later in Defense of Bruma. |
13. Blood of the Divines

Blood of the Divines Walkthrough
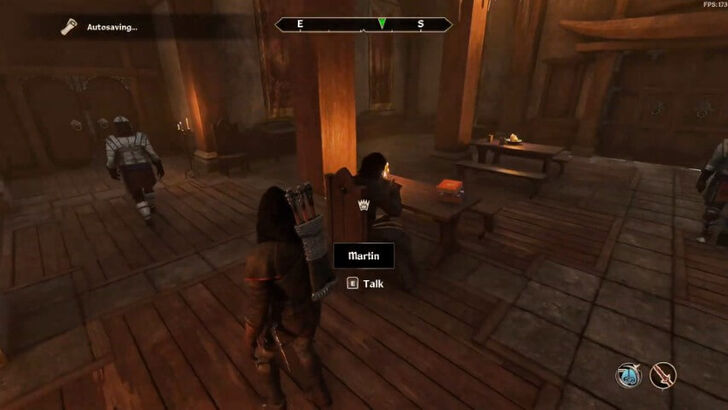
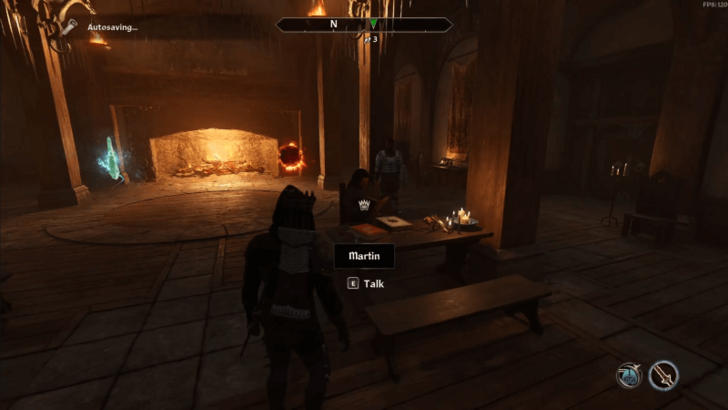
| 1 | Talk to Martin in Cloud Ruler Temple |
|---|---|
Talk to Martin inside the Cloud Ruler Temple Great Hall to start the quest. |
|
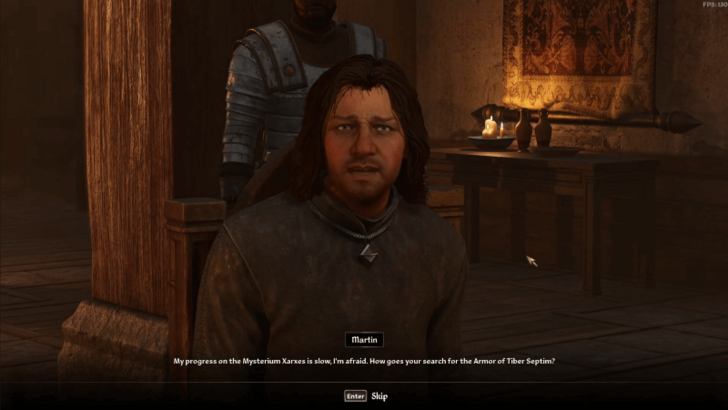
| 2 | Talk to Jauffre |
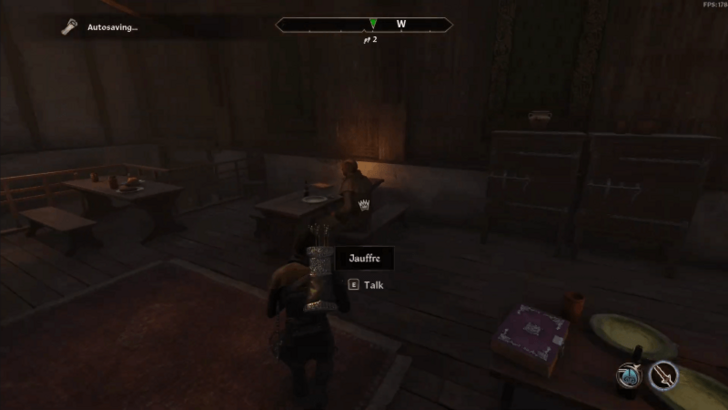 Head to the Cloud Ruler Temple East Wing and talk to Jauffre, who is sitting nearby. He will tell you the armor location, which is located in the Shrine of Tiber Septim in the catacombs under Sancre Tor. Jauffre will also give you the key to go inside Sancre Tor. |
|
| 3 | Head to Sancre Tor |
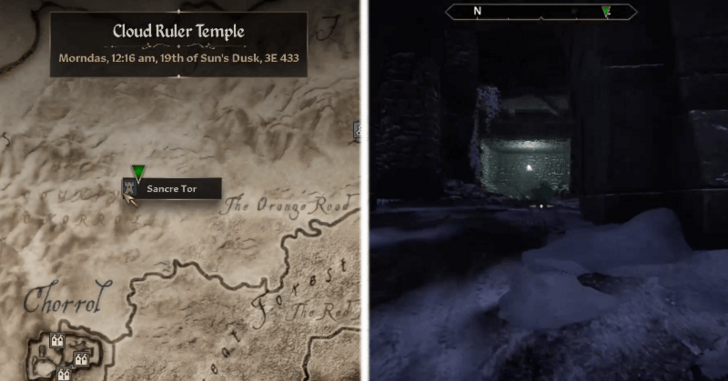 To get to Sancre Tor, you can fast travel to Chorrol and head up north from the city. Once inside, use the key on the catacombs door on the right to open it. |
|
| 4 | Enter the Catacombs |
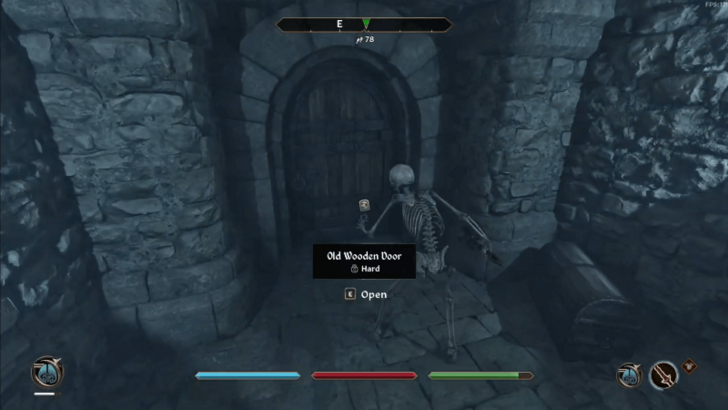
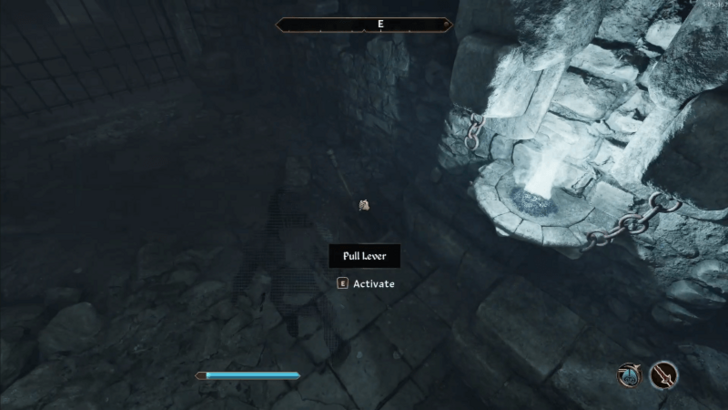 Head straight and open the Old Wooden Door to continue. Keep going forward and then go down then proceed through the opened door until you see a gate. Interact with lever nearby to open the gate. Note that the catacombs will be filled with enemies such as Wraiths and Ghosts. |
|
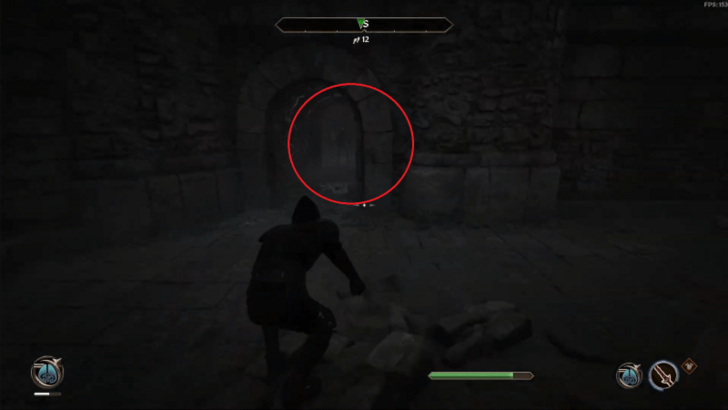
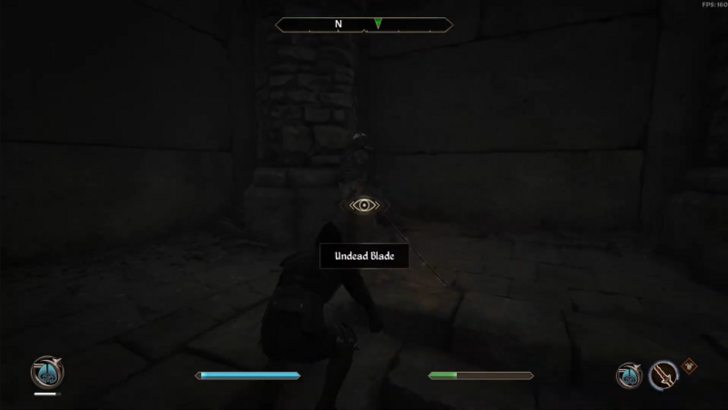
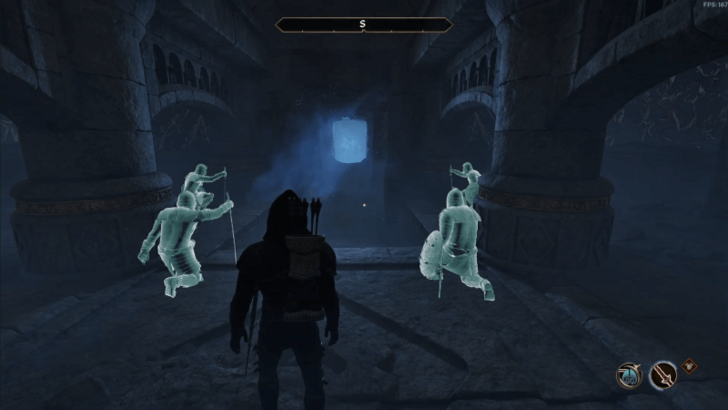
| 5 | Free the Ghost of Rielus |
 Move forward until you see an Undead Blade. Kill it to free the Ghost of Rielus. He will then ask you to free the other three Blades of Sancre Tor to help dispel the Underking's evil enchantment on the shrine. |
|
| 6 | Kill the Second Undead Blade |
 Enter the door to the Sanctre Tol Entry Hall up ahead. Follow the marker to get into the Hall of Judgement. From there, turn left until you reach the door to the Catacombs where the second Undead Blade is. Kill the undead to continue. |
|
| 7 | Enter the Prison |
 Return to the Entry Hall and follow the marker until it brings you to the Prison door. Once inside, go left and activate the lever to raise the gate. Continue forward until you see a skeleton named Warden Kastav. You may need to kill him, as he is guarding a locked door that you need to open with a lockpick. ▶ Where to Get Lockpicks |
|
| 8 | Kill the Third Undead Blade |
 Head south and take the stairs going down. Turn right to see the third Undead Blade that you need to kill. |
|
| 9 | Kill the Last Undead Blade |
 Return to the Entry Hall once again and then go back to Hall of Judgement. Take the right path this time and continue until you get to the room with the bluish white fire in the center. In this room, go downstairs and then advance to the left until you encounter the last Undead Blade named Casnar. |
|
| 10 | Follow the Ghost of Casnar |
 After killing all Undead Blades, follow the Ghost of Casnar to the Tomb of the Reman Emperors, located in the middle of the Entry Hall. |
|
| 11 | Retrieve the Armor of Tiber Septim |
 Wait for all the four ghosts to kneel in front of the shrine, so that they can dispel the evil enchantment blocking the entrance. Once dispelled, enter the shrine to retrieve the Armor of Tiber Septim. Note: There might be a bug where only be three ghosts appearing during this section which does not advance the quest. To solve this, try to advance the time by 1 hour and the fourth ghost should appear. |
|
| 12 | Give the Armor of Tiber Septim to Martin |
 Exit the area and then head back to Cloud Ruler Temple. Give the armor to Martin to finish the quest. |
14. Miscarcand

| 1 | Talk to Martin |
|---|---|
 To start the quest, talk to Martin inside the Cloud Ruler Temple Great Hall. He will tell you that the next item that he needs, Great Welkynd Stone, is located in the ruins of Ayleid City of Miscarcand. |
|
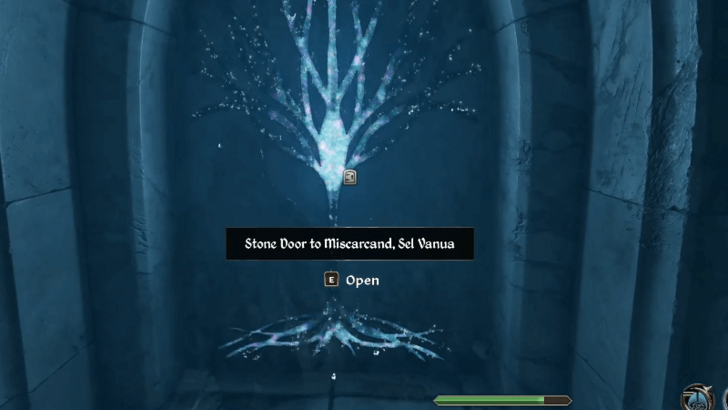
| 2 | Travel to Miscarcand |
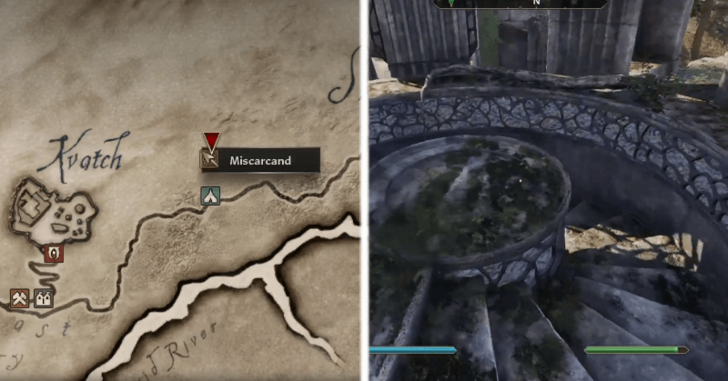 Your next objective is to go to Miscarcand which will be marked on the map. It is to the east of Kvatch so you can just fast travel to any location nearby or have a long walk from the Cloud Ruler Temple. Once you're in Miscarcand, take the stairs in the middle and this will lead you to a stone door to Miscarcand. |
|
| 3 | Enter the Ruin |
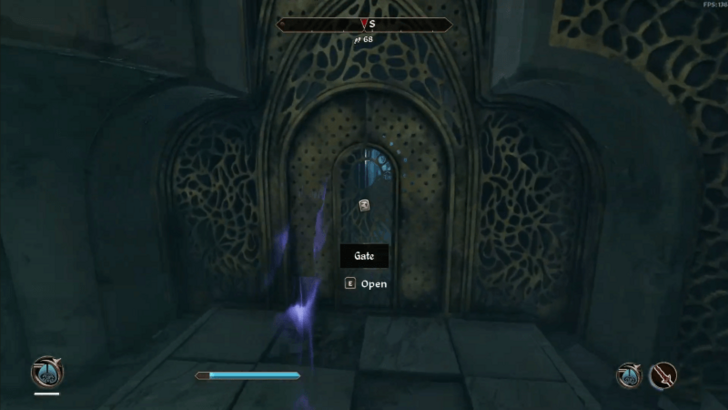 Once inside, make your way south until you reach a gate. Proceed forward until you reach the end where the quest marker is. Be prepared, as this place is infested with Goblins. |
|
| 4 | Push the Block |
 Drop to the right and then go forward then through the doorway to the left. Keep moving forward until you see a block that you need to push. |
|
| 5 | Head to Sel Vanua |
 Take the stairs to the left of the block then turn right to step on a pressure plate that will open the door. Continue south to enter into Sel Vanua. |
|
| 6 | Optional: Grab the Varla Stone |
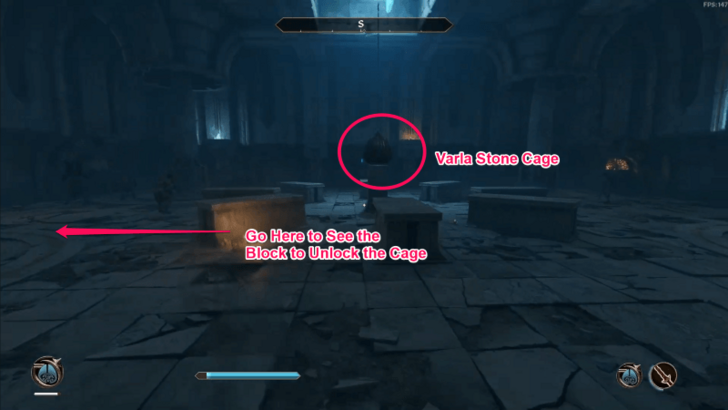 Proceed forward and you will see a Varla Stone Cage in the middle. You can unlock the cage by going to the left side of the room and push the block. Grab the Varla Stone after pushing the block. |
|
| 7 | Reach Morimath |
 From there, enter to the doorway on the left to continue. Proceed forward then drop down to an open space with pillars on the right. Once on the ground, turn right to reach a room with another block that you should press. Follow the quest marker to get enter Morimath. |
|
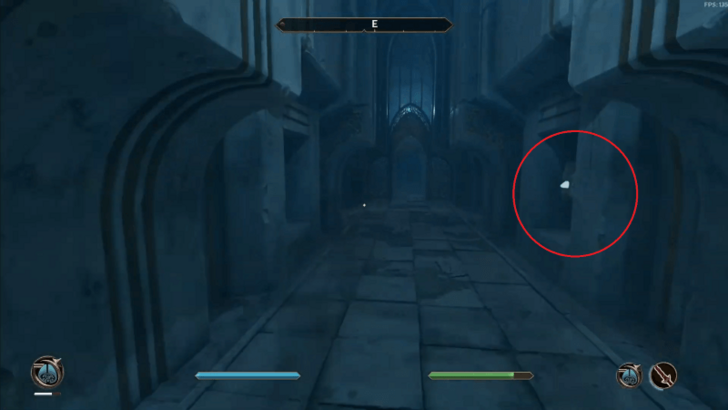
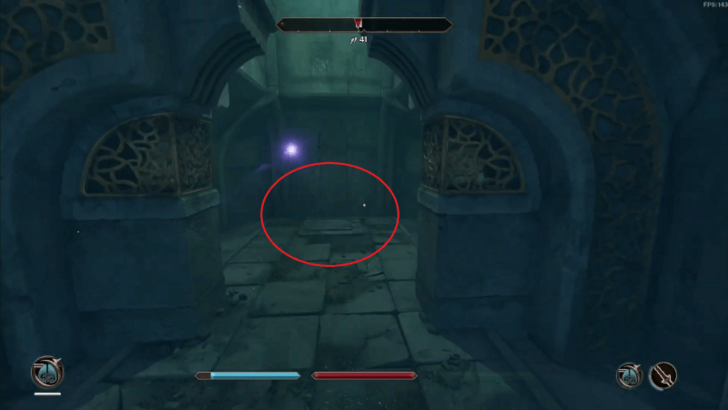
| 8 | Retrive the Great Welkynd Stone |
 From the Morimath entrance, head straight, then go left, and left again to see a gate. Enter the gate and continue forward and then head inside the left room to see the Great Welkynd Stone. |
|
| 9 | Kill the King of Miscarcand |
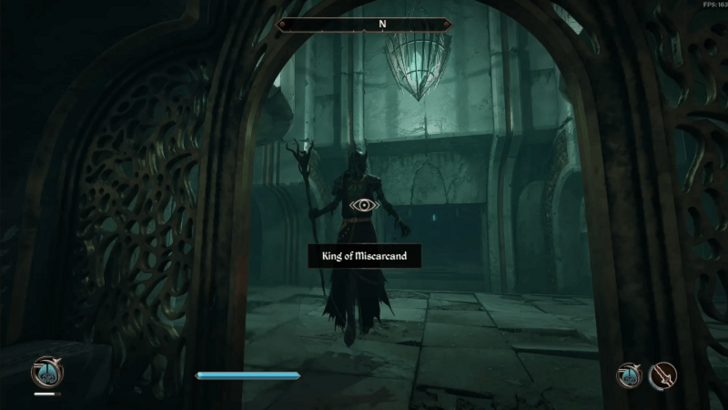 After getting the Great Welkynd Stone, the King of Miscarcand and his minions will spawn. Kill them and the King of Miscarcand to loot the Miscarcand Key and Staff of Conflagration from his body. |
|
| 10 | Exit Miscarcand |
 Enter the door across the room where the Great Welkynd Stone was placed and step on the pressure plate, opening a secret passage on the left. Go through the secret passage and then use the Miscarcand Key to open a locked gate. Proceed forward until you reach the exit. Press the pressure plate and then move forward to leave the area. |
|
| 11 | Give the Stone to Martin |
 Return to Cloud Ruler Temple and give the Great Welkynd Stone to Martin, completing the quest. |
15. Defense of Bruma

| 1 | Talk to Narina in Bruma |
|---|---|
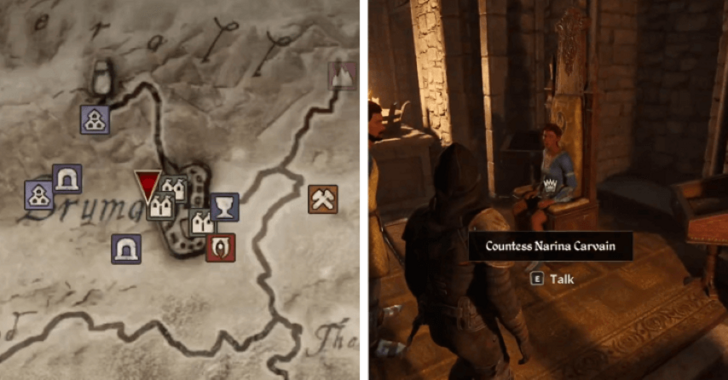 Travel to Bruma and enter Castle Bruma. Talk to Countess Narina Carvain and discuss the battle plans. Note that this is your last chance to complete the Allies for Bruma quest and recruit reinforcements for the upcoming battle. We recommend completing Allies for Bruma beforehand to make the battle easier. ▶︎ Allies for Bruma Walkthrough |
|
| 2 | Meet Martin at the Chapel |
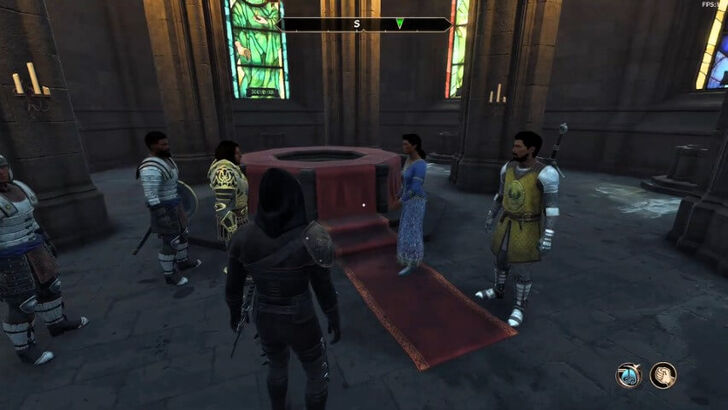 Follow Narina to the Great Chapel of Talos, located just southeast of the city. Enter the chapel and watch the conversation between Narina and Martin. |
|
| 3 | Head to the Oblivion Gate |
 When you're ready, talk to Narina to deploy the troops to the battlefield outside of Bruma. |
|
 Follow Martin outside the city and toward the Oblivion Gate northeast of Bruma. |
|
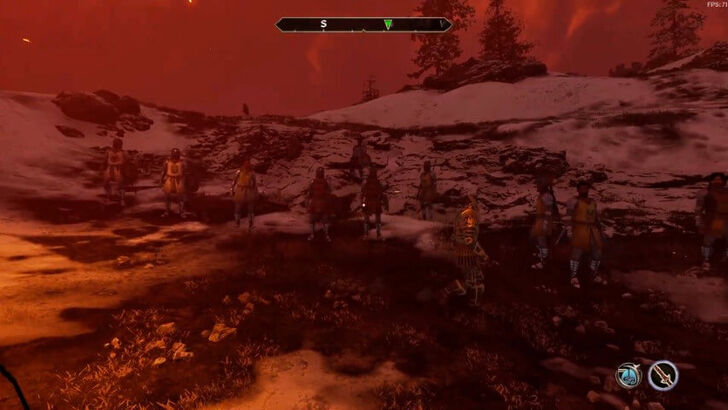 Once at the gate, wait for Martin to rally the troops. The number of reinforcements you recruited during Allies for Bruma will determine how many soldiers appear on the battlefield. If you didn't complete Allies for Bruma, you'll only have Martin, Jauffre, Burd, and a few Bruma soldiers. |
|
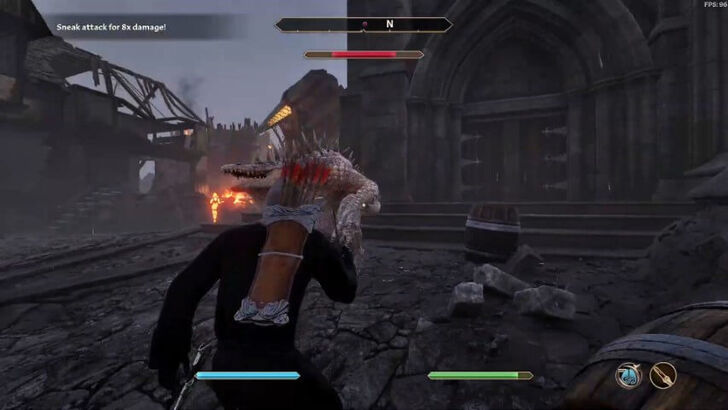
| 4 | Defeat the Advancing Daedra |
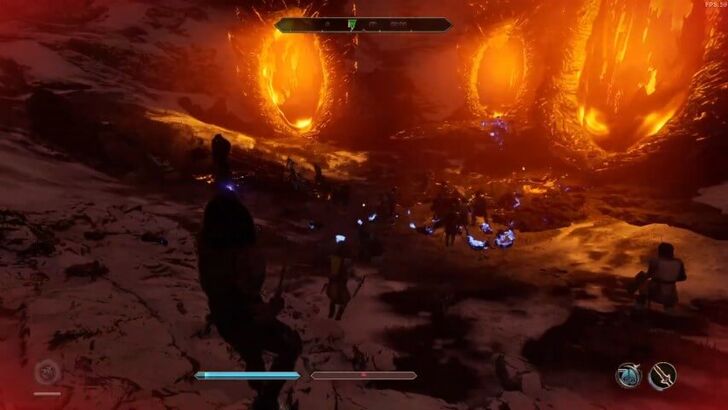 After Martin’s speech, waves of Daedra will begin emerging from the Oblivion Gate. Defeat all advancing enemies. This will continue until two more Oblivion Gates open. |
|
 When the third gate appears, the Great Gate will open, leading directly into the next quest, Great Gate. |
16. Great Gate

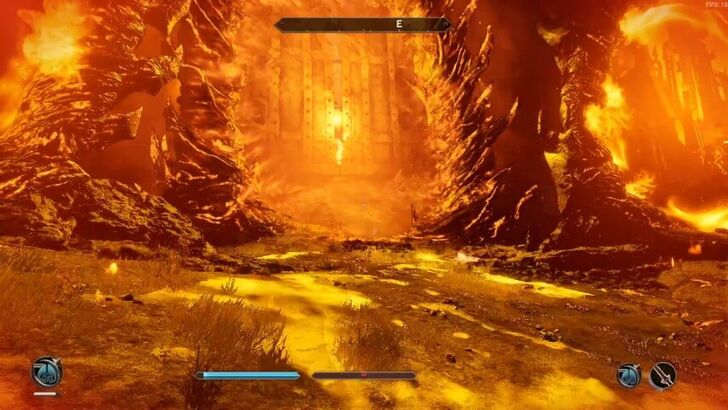
| 1 | Enter the Great Gate |
|---|---|
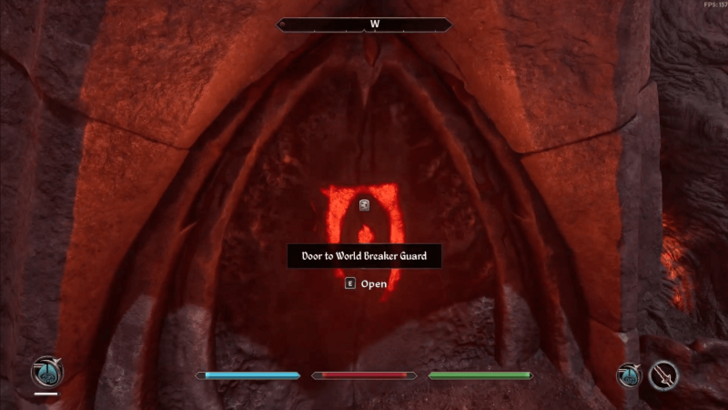 After Defense of Bruma, enter the Great Gate. Your goal is to get the Great Sigil Stone and stop the Daedric Siege Engine from going through the portal you came from. From there, enter World Breaker Guard on your left. |
|
| 2 | Reach the World Breaker |
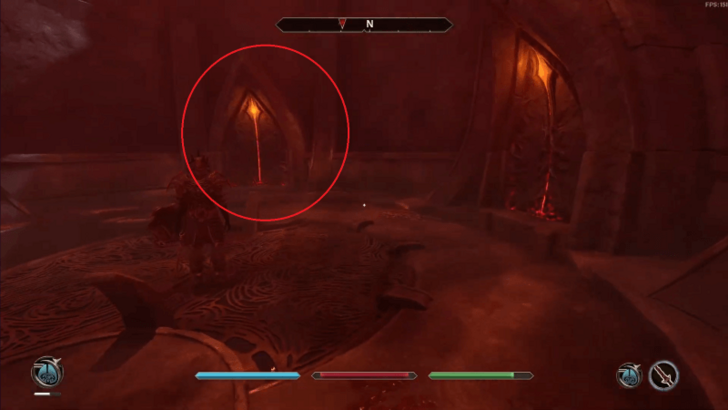 Activate the Ascension Call in the room and then ride the lift at the center (the one with spikes on them) to go up. Keep climbing up to the top then enter the second Planes of Oblivion door that you come across. Ccross to the other side to return to the World Breaker Guard. |
|
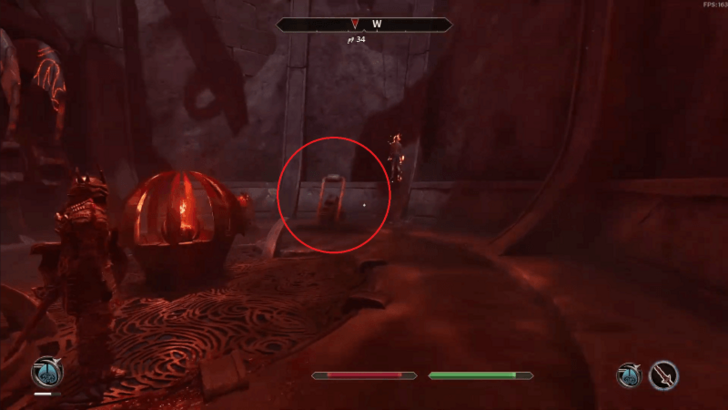 Keep following the quest marker until you come across a gate, blocking your progress. Head inside the World Breaker Guard in front of it then climb up to the top to activate the Gate Control, opening the gate. |
|
 Proceed through the path that was once blocked by the gate and enter the Tower Portal. Follow the objective which will lead you to Vaults of End Times. Open the Citadel Hall Door to the south and follow the path to the door to World Breaker. Be careful of traps in the area! |
|
| 3 | Activate the Great Sigil Stone |
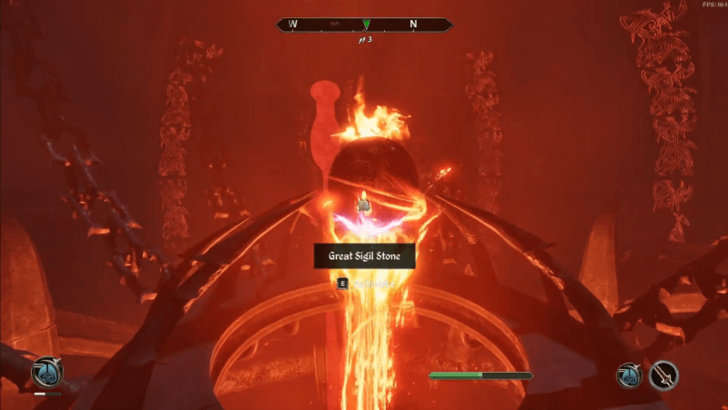 Climb to the top floor and you will see a locked Sigillum Sanguis door that needs to be unlocked by lockpicking. Once inside, take the ramps and interact with the Great Sigil Stone in the center of the chamber to close the Great Gate. |
|
| 4 | Talk to Martin |
 Now back outside, talk to Martin to complete the quest. |
17. Paradise

| 1 | Venture to Camoran's Paradise |
|---|---|
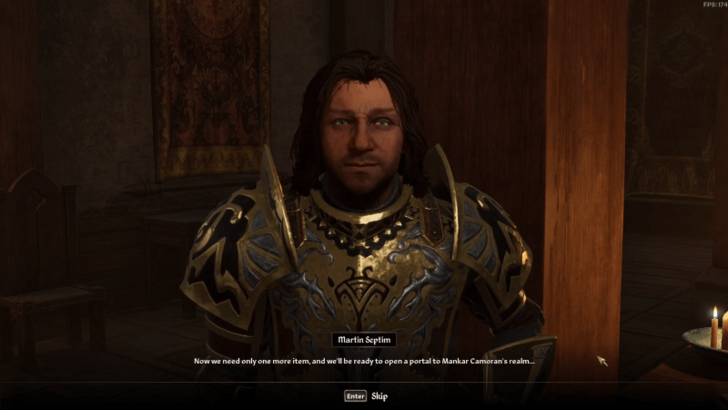
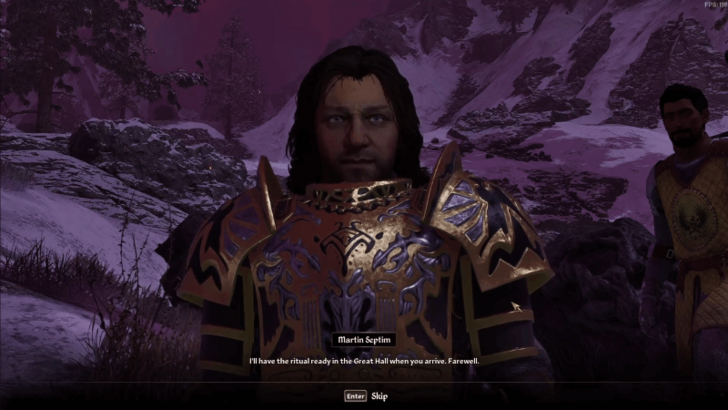
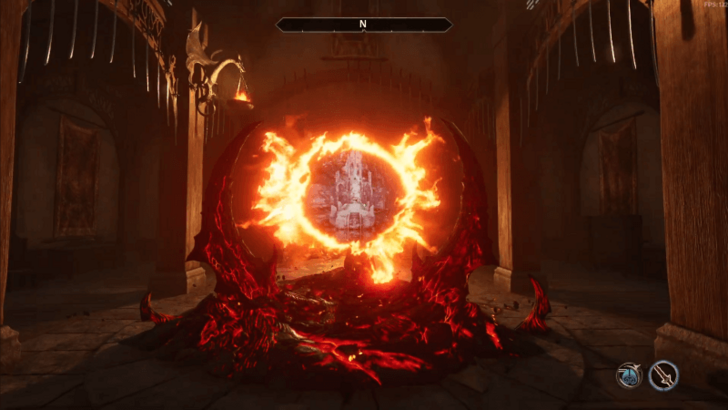 Talk to Martin inside the Cloud Ruler Temple and he will tell you that the ritual for the portal to Camoran's Paradise is ready. Your goal is to recover the Amulet of Kings from Mankar Camoran. When you're ready, tell Martin to open the portal to Paradise and then get inside the portal. |
|
| 2 | Enter Paradise |
 Once you're in Paradise, just follow the stone path in front of you. If you talk to the Immortals, you will learn that Paradise is called Gaiar Alata. Be prepared, as you will be encountering enemies along the way! |
|
| 3 | Defeat Kathutet |
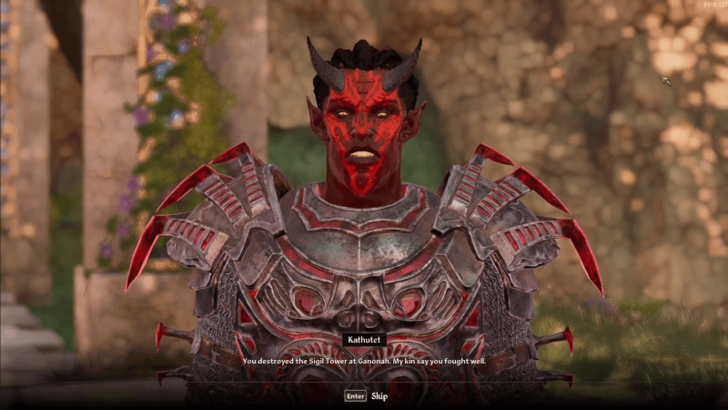 At the end of the path, you will come across a red Dremora named Kathutet. Defeat him and then loot the Bands of the Chosen from his body, which is needed to access the Forbidden Grotto. |
|
| 4 | Enter the Forbidden Grotto |
 Head right to the Forbidden Grotto. Once inside the narrow cavern, follow the path forward. You will encounter other Immortals and enemies on the way. You will eventually wind up on a door at a dead end. Equip the Bands of the Chosen to open the door. |
|
| 5 | Talk to Eldamil |
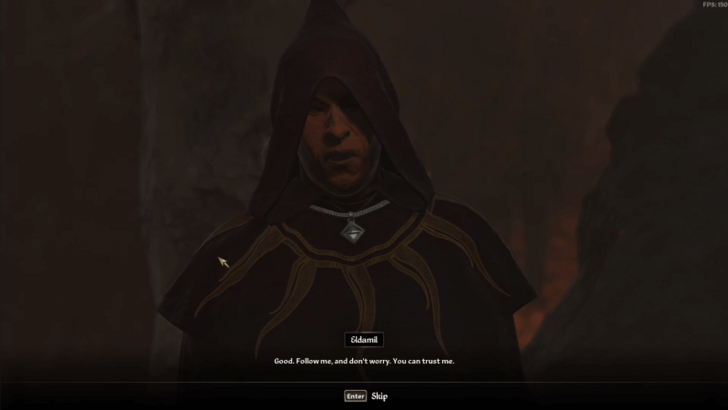 Inside the grotto, keep going forward until Eldamil stops you to talk. He will ask you to play along and act like a prisoner to escape. |
|
| 6 | Get Inside the Cage |
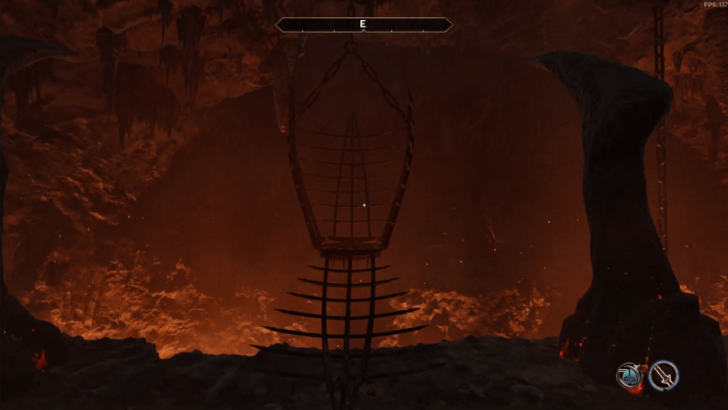 Follow Eldamil and wait for the Dremora overseer to arrive. Eldamil will make up excuses for you and will eventually tell you to go inside the cage nearby. When your cage drops into the lava, Eldamil will raise your cage, allowing you to escape. |
|
| 7 | Reunite with Eldamil |
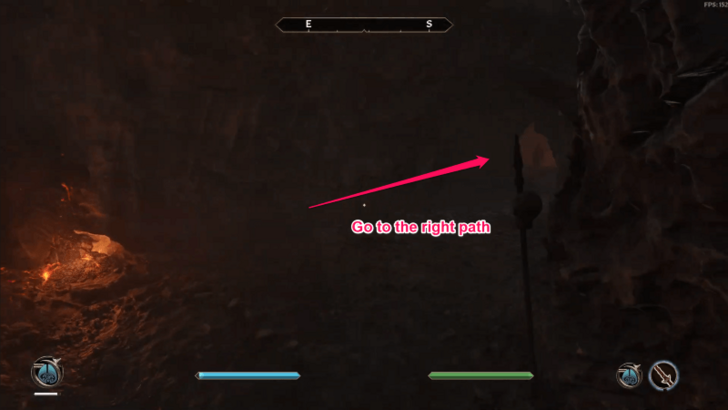 From the cage, keep going straight until you see a fork in the path. Take the right path and take down the enemies on the way. Continue forward through this path until you see another door. Enter it and advance forward where you will regroup with Eldamil. You can either accept or refuse his offer to help in killing Mankar Camoran. |
|
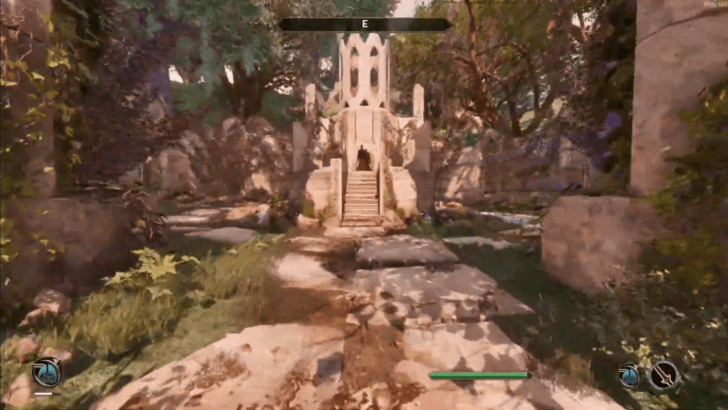
| 8 | Leave the Grotto |
 After talking to Eldamil, move forward the turn left to get across the lava area. Just keep following the path forward. Note that there are side paths that lead you to lava, but you can tell right away that they are dead ends so you don't need to worry about being lost. Keep moving forward until you reach a door that will lead you outside the grotto. |
|
| 9 | Confront the Camorans |
 Advance forward then turn right to see Ruma Camoran and Raven Camoran. They will warn you of her father's power and will invite you to Carac Agaialor located behind her to confront Mankar Camoran. |
|
| 10 | Kill Mankar Camoran |
 Enter Carac Agaialor and make your way to the throne room. Confront and kill Mankar Camoran, the final boss. Be ready, as he will be with many allies. Once you kill Mankar Camoran, loot the Amulet of Kings from his body, as well as his equipment if you desire. |
|
| 11 | Give the Amulet to Martin |
 Upon killing Mankar Camoran, the Paradise that he created will be destroyed, teleporting you back to the Cloud Ruler Temple. Return the Amulet of Kings to Martin and the quest will be completed. |
18. Light the Dragonfires

Light the Dragonfires Walkthrough
| 1 | Present Martin to High Chancellor Ocato |
|---|---|
 Travel to the Imperial City Palace and enter the Elder Council Chambers. Talk to High Chancellor Ocato to present Martin and his claim to the Imperial Throne. Note that if Martin isn't with you when you talk to the High Chancellor, you must adjust your time and wait until Martin is with you to advance the quest. |
|
| 2 | Escort Martin to the Temple of the One |
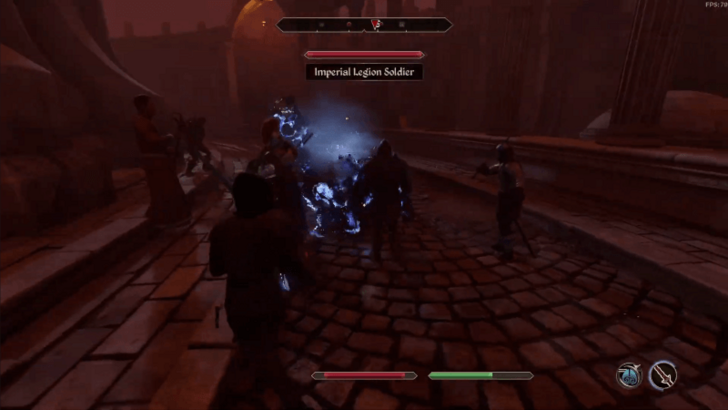 After the High Chancellor recognizes Martin's claim, a guard will come reporting that the Imperial City is under attack because of Oblivion Gates appearing throughout the city. From this point on, enemies will start appearing inside the council and outside, so defend yourself and Martin while escorting him. |
|
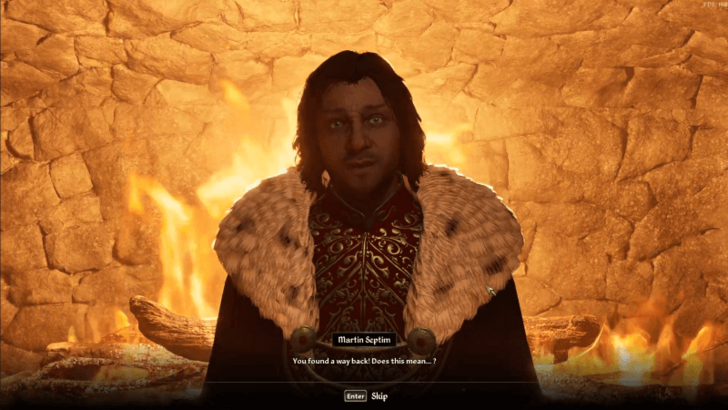
| 3 | Watch Mehrunes Dagon Appear |
 At the Temple District, a prompt will appear that Mehrunes Dagon has appeared and is attacking the city. Martin will tell you that there is still a way to deal with him by reaching the Dragonfires in the Temple of the One and using the Amulet of Kings. |
|
| 4 | Reach the Temple of the One |
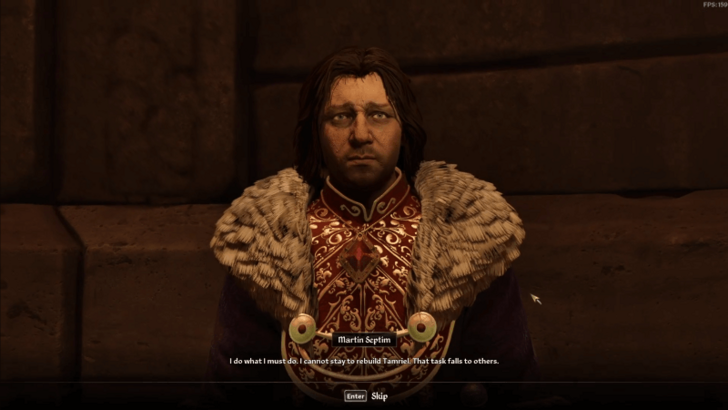 Let Martin follow you as you try to evade Mehrunes Dagon's wrath and go to the Temple of the One. Inside the temple, Martin will tell you that he needs to sacrifice himself in order to combat Mehrunes Dagon. He will say his farewell to you before becoming the Avatar of Akatosh after destroying the Amulet of Kings. |
|
| 5 | Witness the Final Battle |
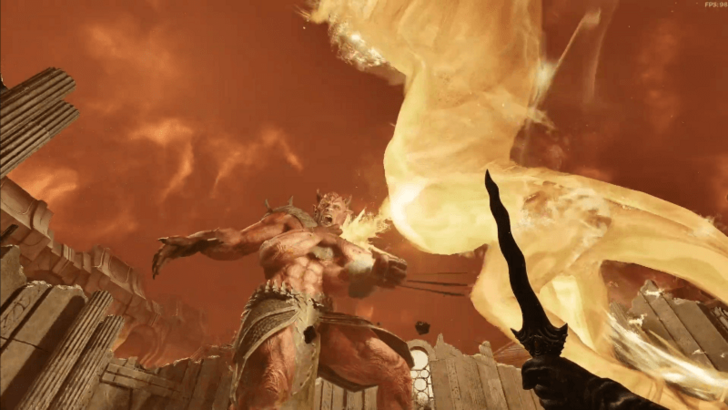 Watch as the epic fight between the Avatar of Akatosh and Mehrunes Dagon unfold. Avatar of Akatosh will emerge victorious, successfully banishing Mehrunes Dagon in the process. The Avatar will transform into a statue and a cutscene will play with Martin narrating that the Oblivion Crisis has ended and that the future is yours to write. |
|
| 6 | Talk to High Chancellor Ocato |
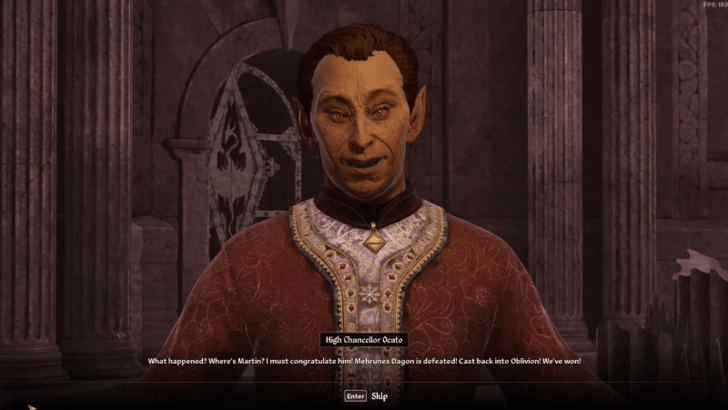 After the cutscene, Ocato will arrive asking of Martin's whereabouts. He will then tell you that they must first celebrate that the crisis has ended before worrying about the uncertain future of the Empire. This conversation will end the quest, completing the main story of The Elder Scrolls IV: Oblivion Remastered. However, you can experience the Epilogue by talking to High Chancellor again. |
19. Epilogue: Imperial Dragon Armor

Imperial Dragon Armor Walkthrough
| 1 | Talk to Ocato |
|---|---|
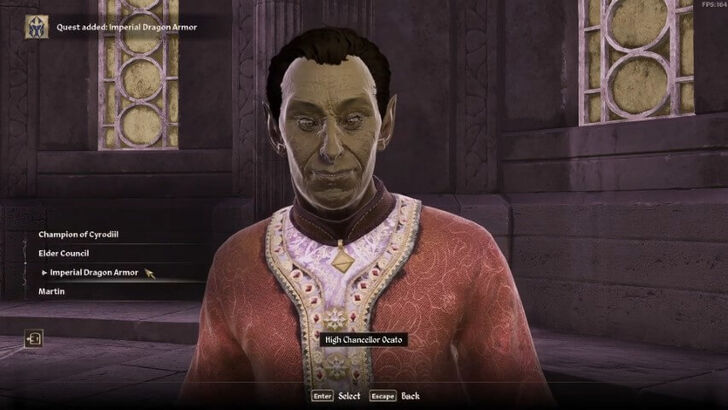 After completing the main quest Light the Dragonfires, head to the Temple District in the Imperial City and talk to High Chancellor Ocato. |
|
| 2 | Wait 2 In-Game Weeks |
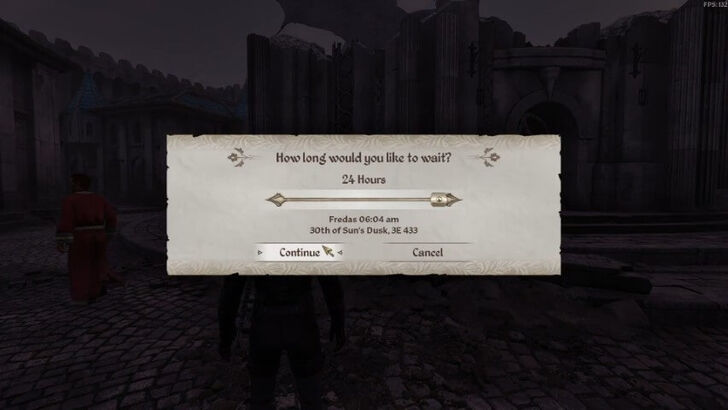 The Imperial Dragon Armor will take two in-game weeks to be forged. To speed up time, press the Wait button and set it to 24 hours about 14 times to reach two weeks. |
|
| 3 | Pick Up the Armor at the Compound |
 Once two in-game weeks have passed, go to the Imperial City Prison and head to the Armory in the southern part of the area. |
|
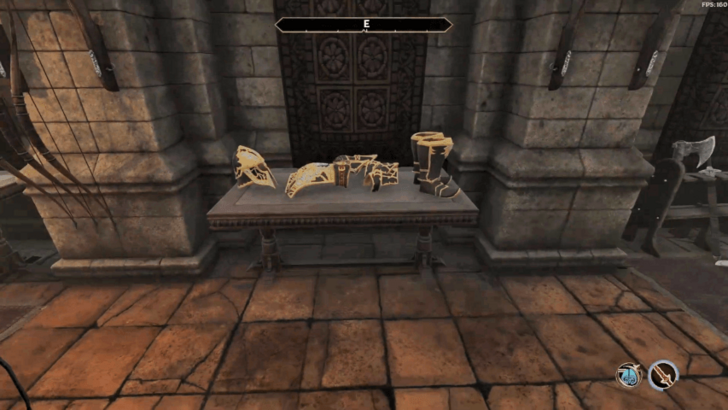 Inside, your Imperial Dragon Armor will be on the table opposite the door. Pick up your reward to complete the quest, concluding all main quests in The Elder Scrolls IV: Oblivion Remastered. |
How Long is the Story?
28 Hours to Complete the Story

Focusing only on the Main Quests, you can expect to complete the game in about 28 hours. This estimate assumes you're not aiming for full game completion.
Over 180 Hours for a Completionist Run
For those taking on Side Quests and exploring everything Oblivion has to offer, the completionist run will take over 180 hours.
Oblivion Remastered Related Guides
The Elder Scrolls IV Oblivion Wiki
Oblivion Remastered Wiki
| Oblivion Remastered Wiki Contents | |
|---|---|
 Main Quests Main Quests |
 Side Quests Side Quests |
 Factions Factions |
 Faction Quests Faction Quests |
 Daedric Quests Daedric Quests |
 Interactive Map Interactive Map |
 All Daedric Shrine Locations All Daedric Shrine Locations |
 Shivering Isles Quests Shivering Isles Quests |
 Knights of the Nine Quests Knights of the Nine Quests |
 Weapons Weapons |
 Armor Armor |
 Spells Spells |
 Tips and Tricks Tips and Tricks |
 Skills Skills |
 Classes Classes |
 Outfits & Clothing Outfits & Clothing |
 Items Items |
 Console Commands Console Commands |
 Choices Choices |
 Houses Houses |
 Dungeons Dungeons |
 NPCs NPCs |
 Trainers Trainers |
 Companions Companions |
 News News |
- |
Oblivion Remastered Recommended Guides
Comment
Author
Full Walkthrough and Main Quest List
Rankings
- We could not find the message board you were looking for.
Gaming News
![Animal Crossing: New Horizons Review [Switch 2] | Needlessly Crossing Over to a New Generation](https://img.game8.co/4391759/47d0408b0b8a892e453a0b90f54beb8a.png/show)


Popular Games

Genshin Impact Walkthrough & Guides Wiki
Honkai: Star Rail Walkthrough & Guides Wiki
Arknights: Endfield Walkthrough & Guides Wiki
Umamusume: Pretty Derby Walkthrough & Guides Wiki
Wuthering Waves Walkthrough & Guides Wiki
Pokemon TCG Pocket (PTCGP) Strategies & Guides Wiki
Abyss Walkthrough & Guides Wiki
Zenless Zone Zero Walkthrough & Guides Wiki
Digimon Story: Time Stranger Walkthrough & Guides Wiki
Clair Obscur: Expedition 33 Walkthrough & Guides Wiki


Recommended Games
Fire Emblem Heroes (FEH) Walkthrough & Guides Wiki
Pokemon Brilliant Diamond and Shining Pearl (BDSP) Walkthrough & Guides Wiki
Diablo 4: Vessel of Hatred Walkthrough & Guides Wiki
Super Smash Bros. Ultimate Walkthrough & Guides Wiki
Yu-Gi-Oh! Master Duel Walkthrough & Guides Wiki
Elden Ring Shadow of the Erdtree Walkthrough & Guides Wiki
Monster Hunter World Walkthrough & Guides Wiki
The Legend of Zelda: Tears of the Kingdom Walkthrough & Guides Wiki
Persona 3 Reload Walkthrough & Guides Wiki
Cyberpunk 2077: Ultimate Edition Walkthrough & Guides Wiki


All rights reserved
© 2025 ZeniMax Media Inc. All Rights Reserved.
The copyrights of videos of games used in our content and other intellectual property rights belong to the provider of the game.
The contents we provide on this site were created personally by members of the Game8 editorial department.
We refuse the right to reuse or repost content taken without our permission such as data or images to other sites.