This survey will take about 1 minute.
Your answers will help us to improve our website.
The Elder Scrolls IV Oblivion Remastered
Allies for Bruma Walkthrough: Best Cities to Recruit
Allies for Bruma is an optional main quest in The Elder Scrolls IV Oblivion Remastered. Read on for a complete walkthrough of Allies for Bruma, rewards, and the best cities to recruit.
| ◀ Previous Guide | Next Guide ▶ |
|---|---|
| Bruma Gate | Blood of the Divines |
List of Contents
Allies for Bruma Walkthrough
Recruit Allies for Bruma
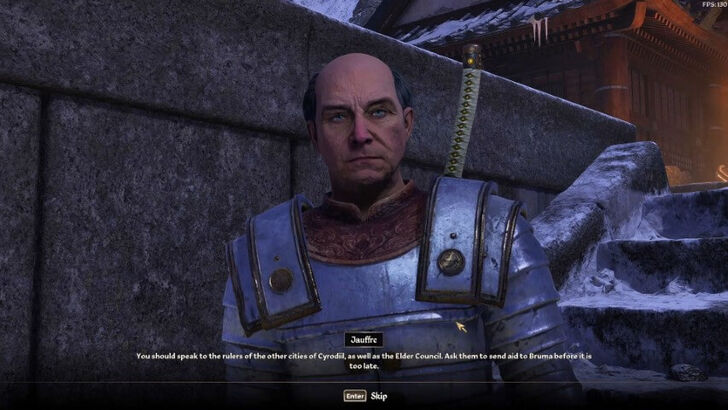
Jauffre asks you to request more troops for Burd. To do this, visit each marked city on your map, speak with the count or countess, and request Aid for Bruma. If you help them close their Oblivion Gate, they will send soldiers to Bruma.
While you don't need to recruit every city in Cyrodiil, the number of cities you recruit will affect the difficulty of the upcoming main quest, Defense of Bruma. We recommend recruiting Anvil, Bravil, Chorrol, Leyawiin, and Skingrad, as they provide the strongest fighters to aid you against the Daedra.
Recruiting Anvil
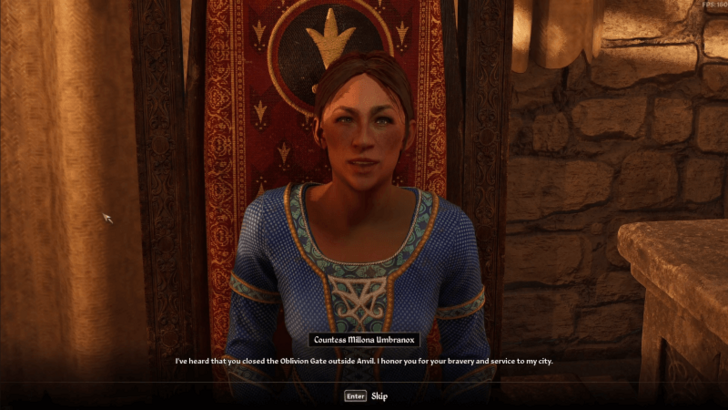
| 1 | Talk to Millona in Anvil |
|---|---|
 Head to Castle Anvil and talk to Countess Millona Umbranox. Ask for Aid for Bruma, and she will tell you that they need to deal with the Oblivion Gate nearby Anvil first before offering to help. This will be a recurring task for all cities as you recruit reinforcements, so get familiar with the process. |
|
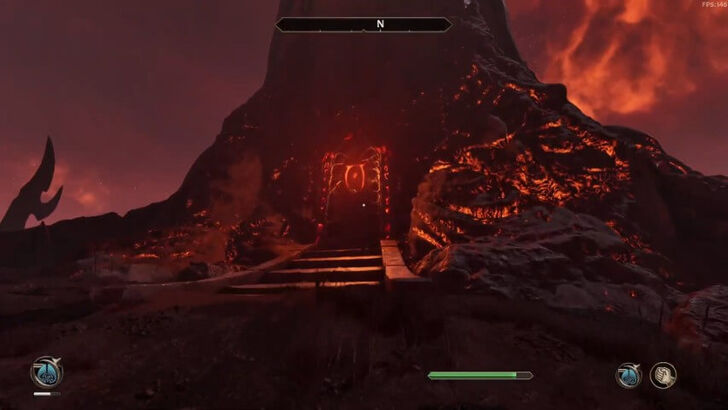
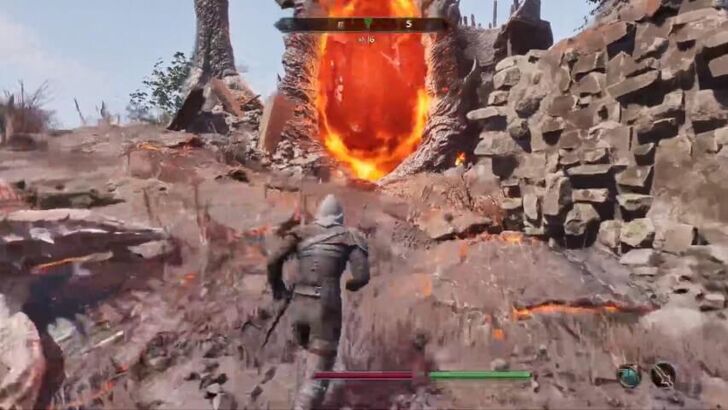
| 2 | Enter the Oblivion Gate |
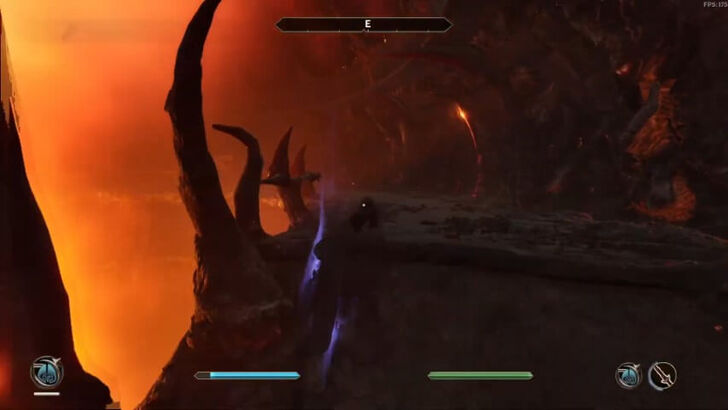
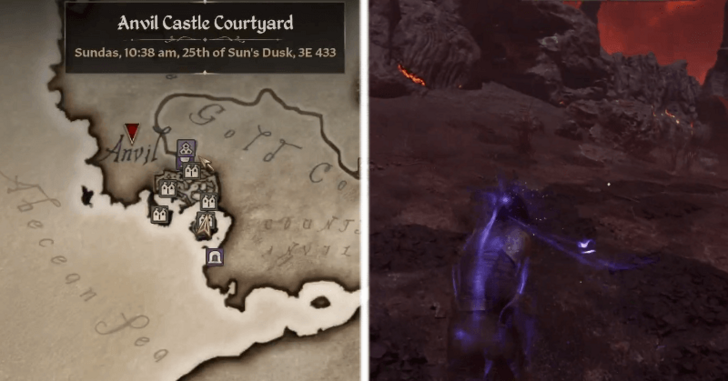 Enter the Oblivion Gate just northwest of the city and prepare to fight enemies that come out of it. |
|
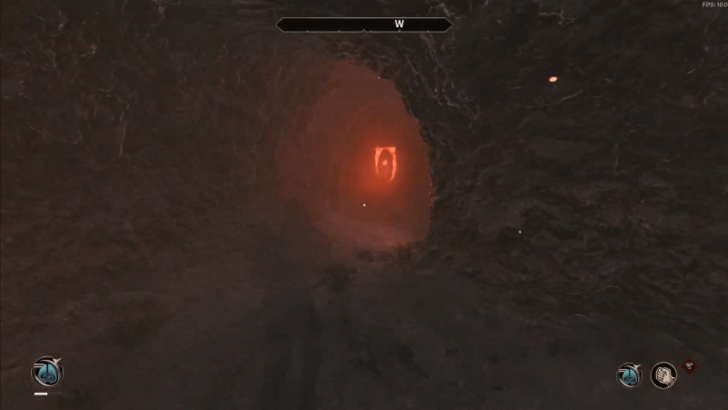
| 3 | Head to the Tower Portal |
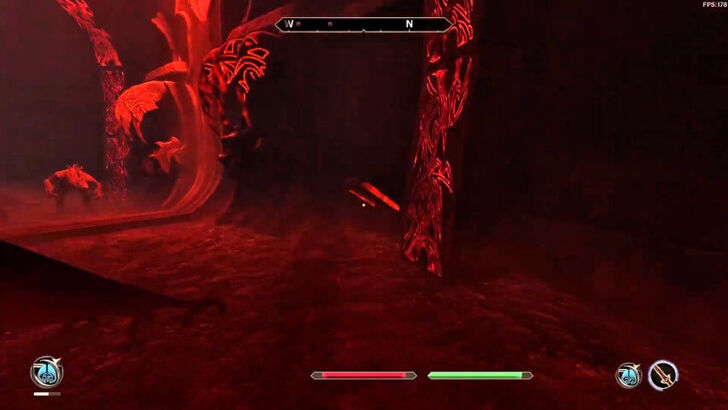
 Once inside the Plane of Oblivion, make your way west and enter the Nether Tunnels. Be ready to fight enemies along the way! |
|
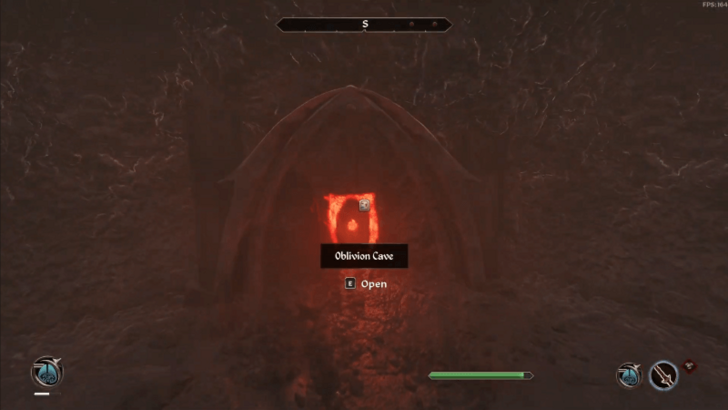
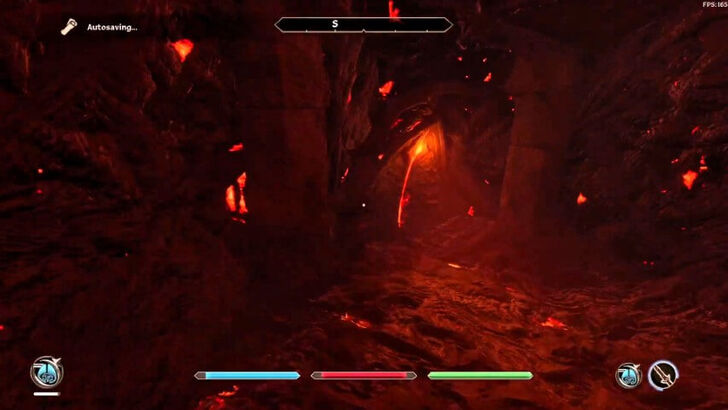
 Jump down the second hole that you come across and head north to the Oblivion Cave. |
|
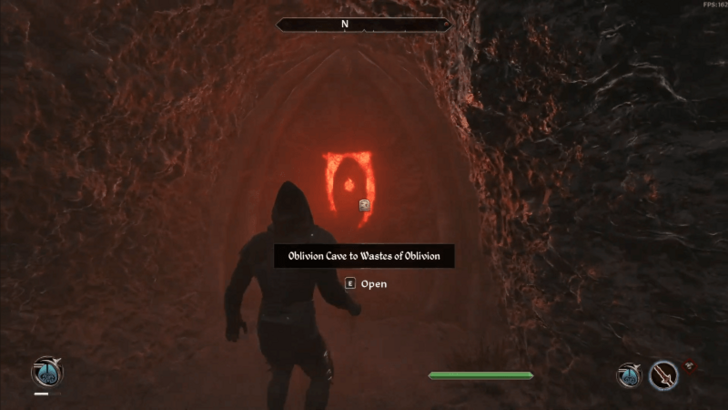
 Continue through the cave to reach the exit. When you're outside again, go west until you reach The Red Gnash Channels. |
|
 Inside, turn left and you will see a fork in the path. Take the right path, then left, and another right turn. This will lead you to the other side of the Wastes of Oblivion. |
|
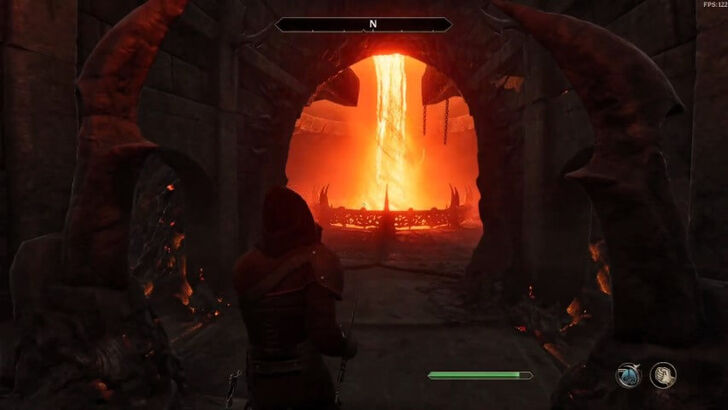
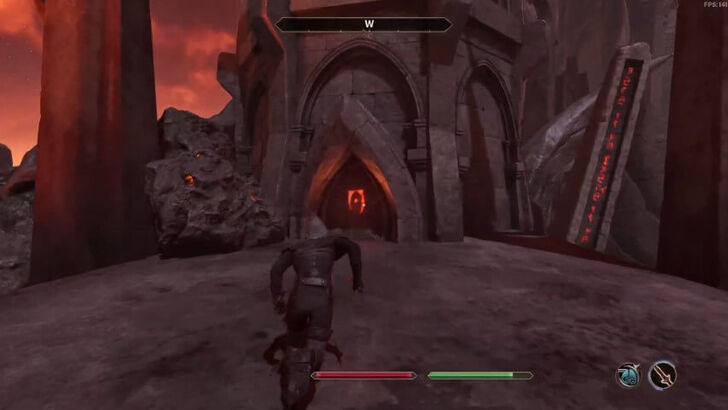
| 4 | Enter the Tower Portal |
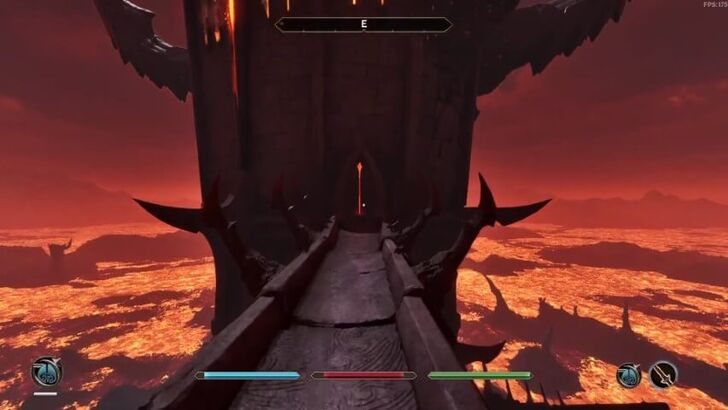
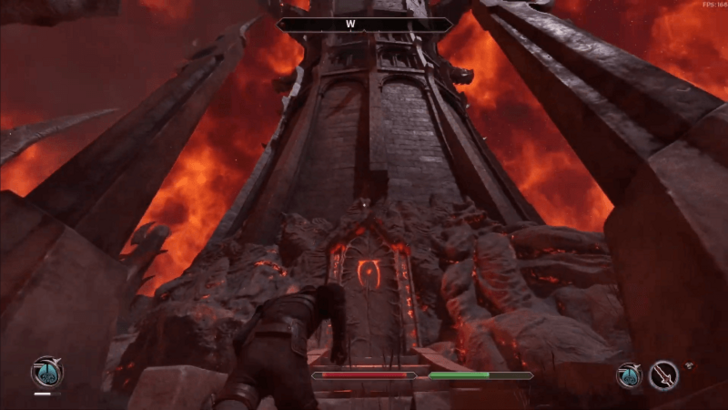 Now on the other side, head west and enter the Tower Portal. |
|
| 5 | Reach the Sigil Keep |
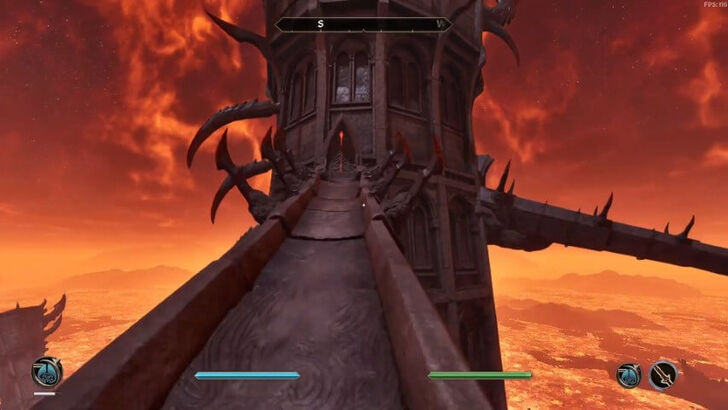
 Your goal is to reach the top of the Tower Portal and retrieve the Sigil Stone. You can sneak past or fight enemies on your way up. |
|
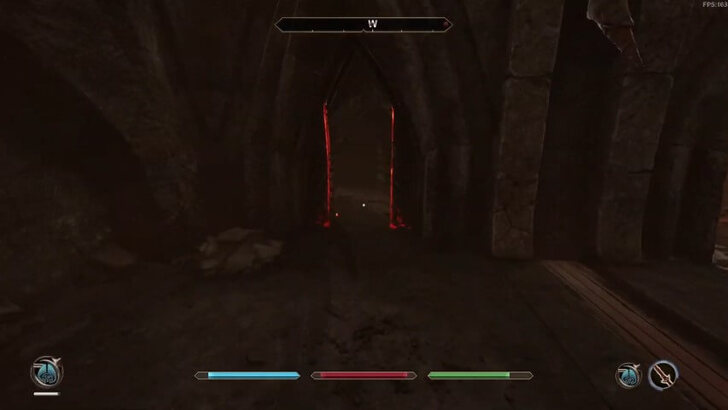
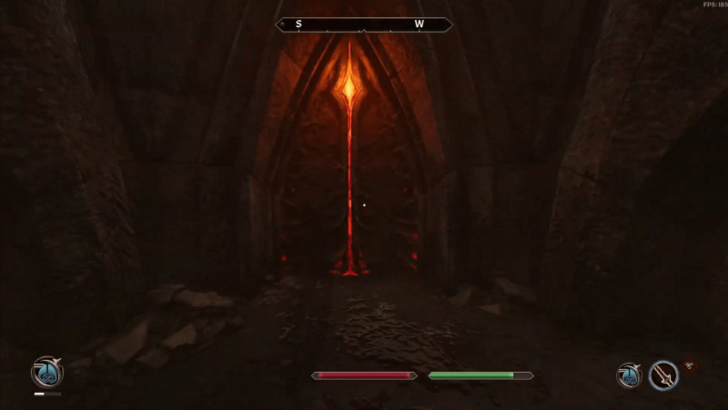 Take the door on the left to enter the Rending Halls, then continue forward and take the center path to reach the Lust Keep. |
|
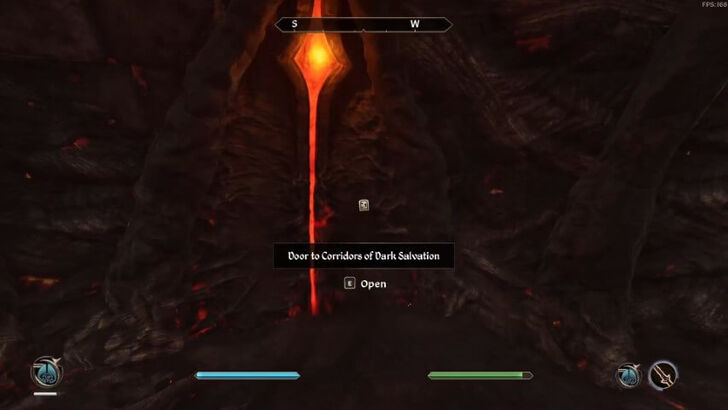
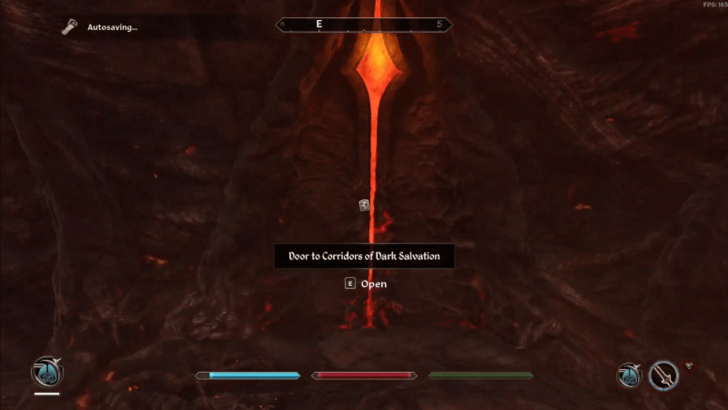 Enter the Corridors of Dark Salvation on the left. Navigate through the corridors to find and open the Citadel Hall Door. Enter and go to the right to take the door that will lead you to the upper level of the Lust Keep. |
|
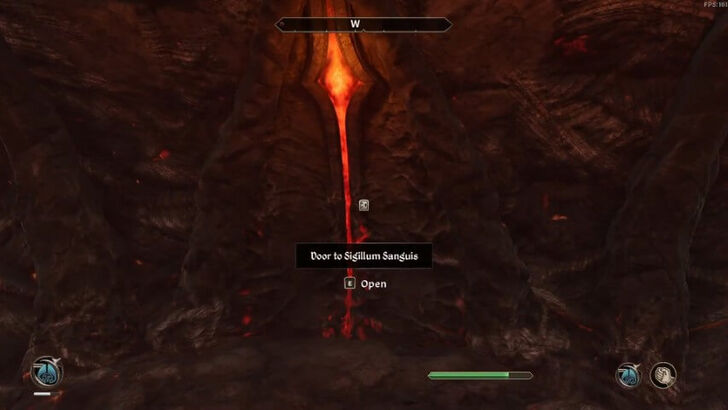
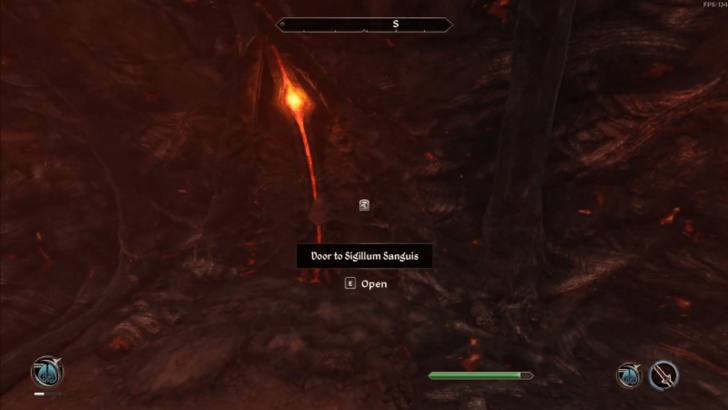
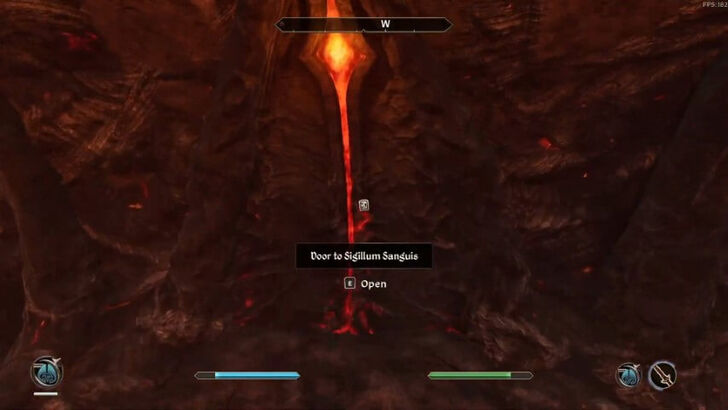
 Take the stairs and enter the Portal to the Lust Keep. Go left and enter the door to the Sigillum Sanguis. |
|
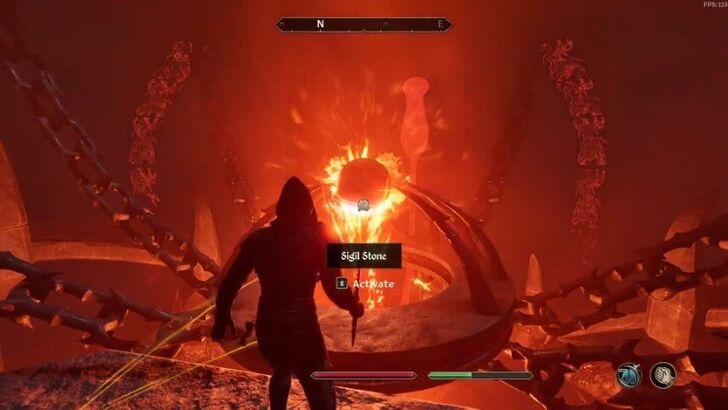
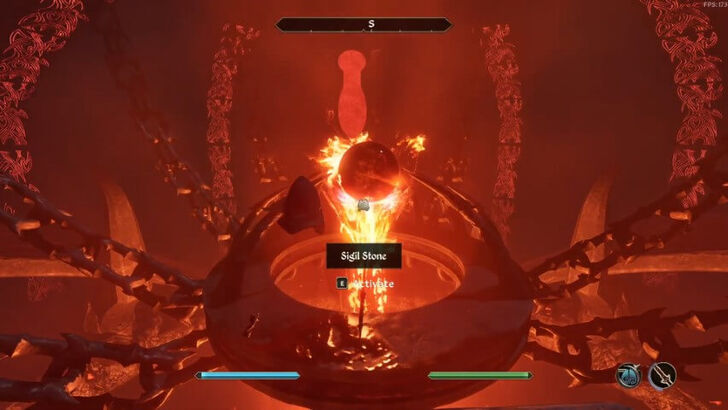
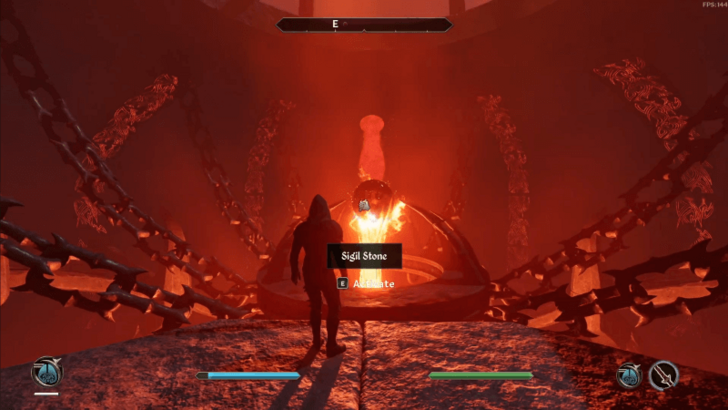
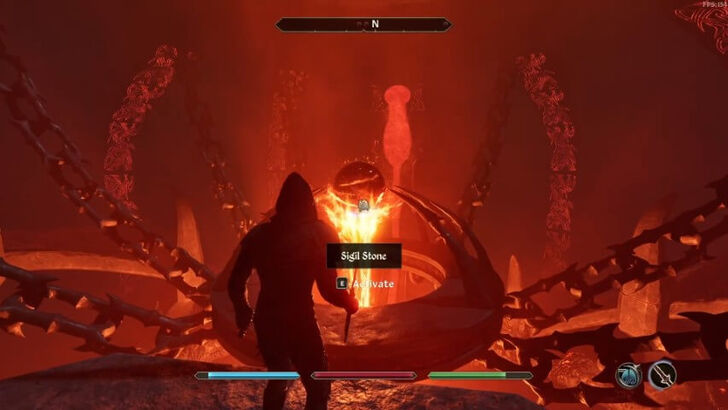
| 6 | Activate the Sigil Stone |
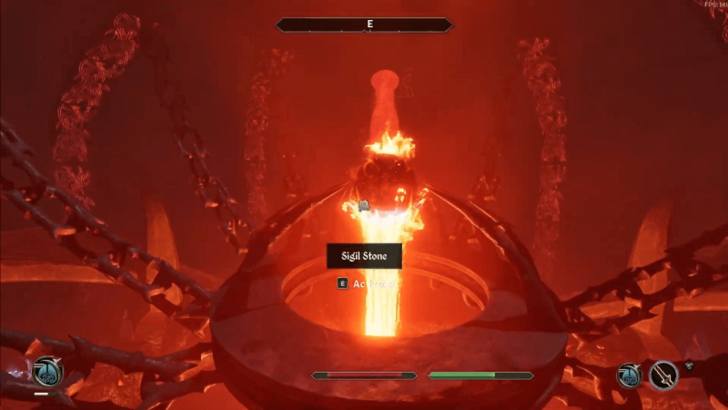 Climb the ramps to reach the top and interact with Sigil Stone in the center of the chamber to close the gate. You will then be teleported back to Anvil. |
|
| 7 | Return to Regulus |
 Report back to Millona that you’ve closed the Oblivion Gate in her city. She will thank you and send soldiers to help Bruma. |
Recruiting Bravil
| 1 | Talk to Regulus in Bravil |
|---|---|
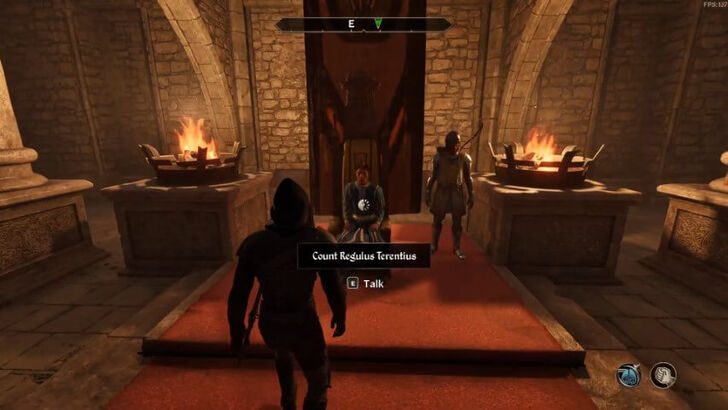 Travel to Bravil and speak with Count Regulus Terentius inside Castle Bravil. Ask for Aid for Bruma, and he will ask you to clear the Oblivion Gate just outside the city. |
|
| 2 | Enter the Oblivion Gate |
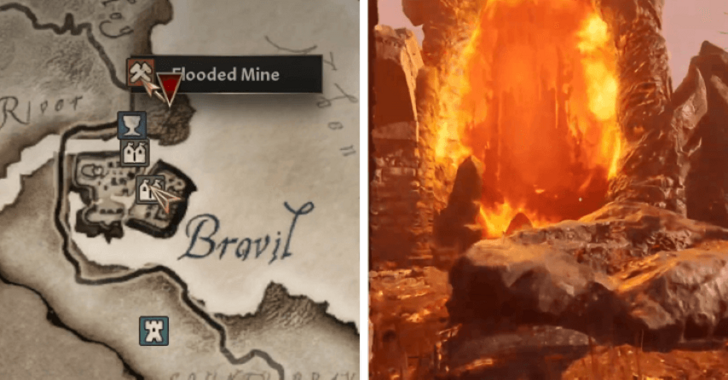 Head to the Flooded Mine, located just north of Bravil, and enter the nearby Oblivion Gate. |
|
| 3 | Reach the Caverns of the Abused |
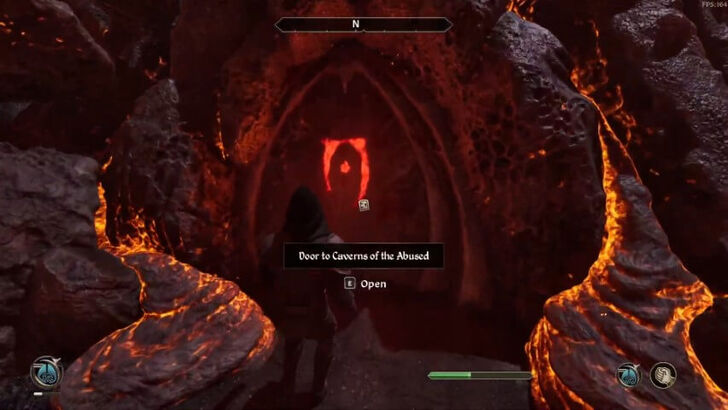 Once inside the Plane of Oblivion, head north toward the Caverns of the Abused. Be prepared to fight enemies along the way! |
|
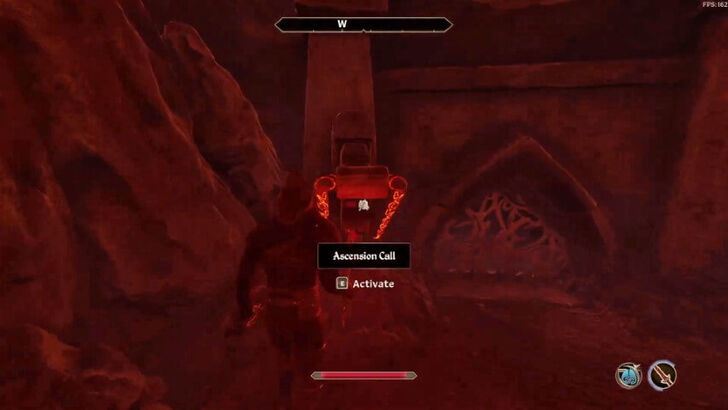
| 4 | Open the Tower Gate |
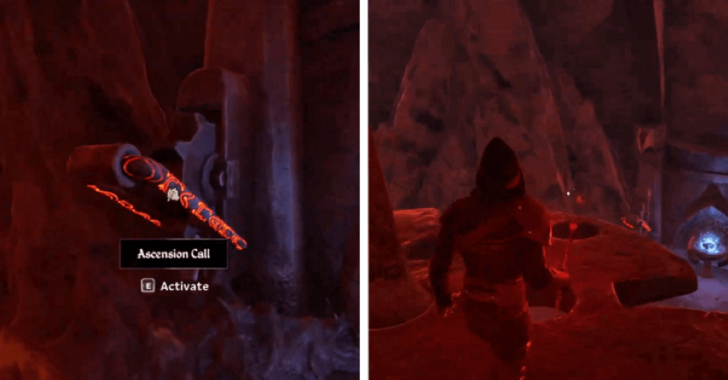 Proceed through the caverns until you reach the Blood Well. There, interact with the Ascension Call to raise the platform above. Jump onto the platform as soon as you activate the lever. |
|
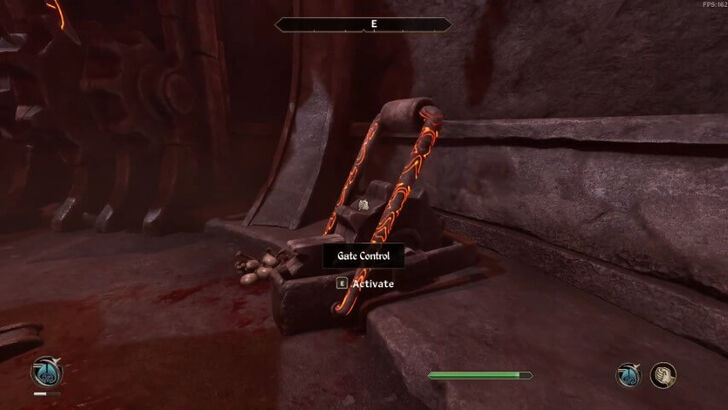 Once you're above, continue climbing to the top and interact with the Gate Control to open the door to the Tower Portal. Head down and exit to the Wastes of Oblivion. |
|
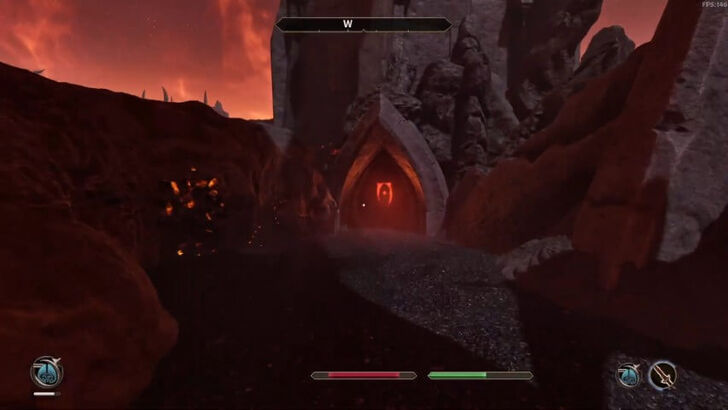
| 5 | Enter the Tower Portal |
 With the gate open, head to the Tower Portal to the north and enter. |
|
| 6 | Reach the Sigil Keep |
 As with any other Oblivion Gate, your goal is to reach the top of the Tower Portal and retrieve the Sigil Stone. Navigate through the towers, either sneaking past or fighting enemies on your way up. |
|
 Once you reach The Flesh Spire, take the ramps and enter the door to the Sigillum Sanguis on the left. |
|
| 7 | Activate the Sigil Stone |
 Climb the ramps to reach the top and interact with Sigil Stone in the center of the chamber to close the gate. You will then be teleported back to Bravil. |
|
| 8 | Return to Regulus |
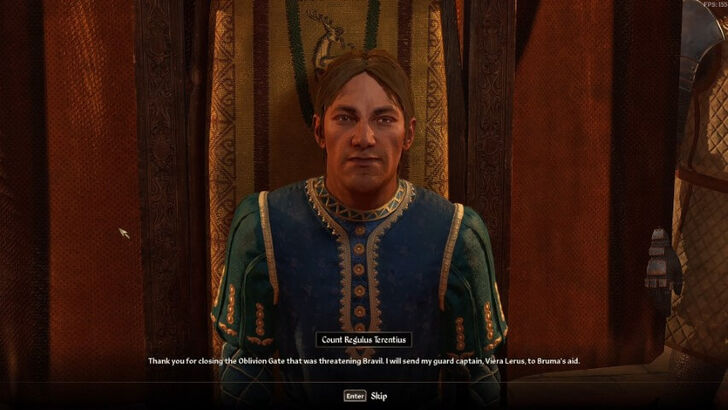 Report back to Regulus that you’ve closed the Oblivion Gate in his city. He will thank you and send his guard captain, Viera Lerus, to help Bruma. |
Recruiting Chorrol
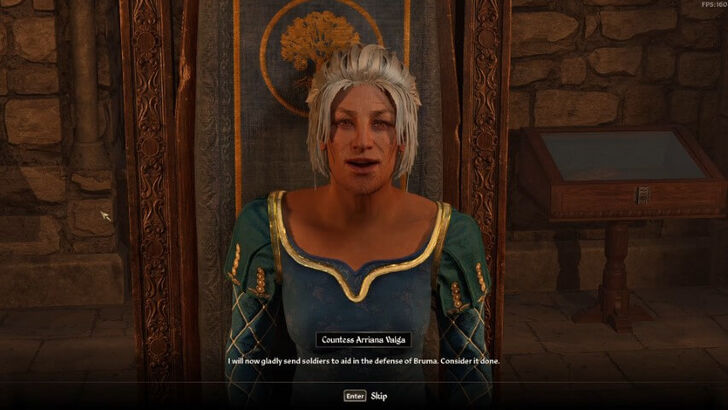
| 1 | Talk to Arriana in Chorrol |
|---|---|
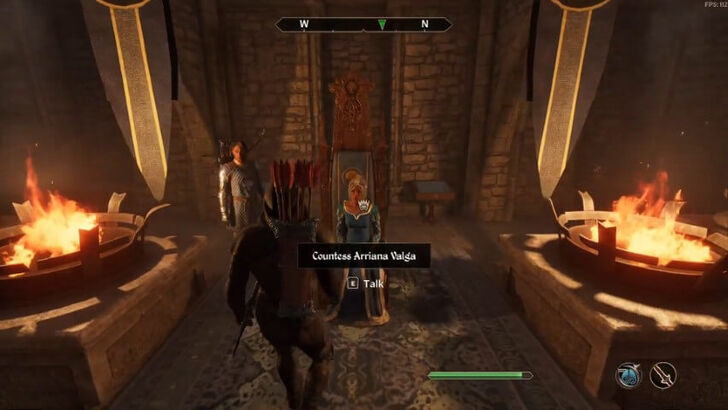 Travel to Chorrol and speak with Countess Arriana Valga inside Castle Chorrol. Ask for Aid for Bruma, and, like the others, she will ask you to clear the Oblivion Gate outside of the city. |
|
| 2 | Enter the Oblivion Gate |
 Exit through the South Chorrol Gate and head southeast to enter the Oblivion Gate. |
|
| 3 | Open the War Gate |
 Once inside the Plane of Oblivion, make your way west toward Landslide and enter it. Be prepared to fight enemies along the way! |
|
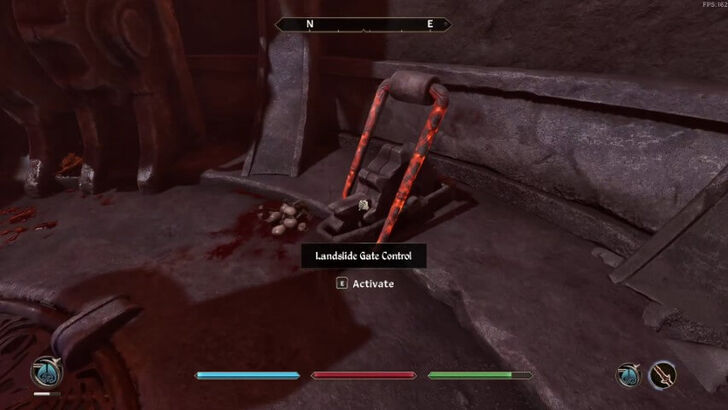 Climb the tower and interact with the Gate Control to open the War Gate, which leads to Hurricane. |
|
| 4 | Enter Hurricane |
 Exit Landslide and head southwest toward the newly opened War Gate. Enter Hurricane. |
|
 Once inside, interact with the Ascension Call to raise the platform above. Jump onto the platform as soon as you activate the lever. |
|
 Take the stairs and enter the first door you come across on the right. This will lead to a walkway that connects to the main tower. Cross the walkway and enter the Portal of Natural Disaster. |
|
| 5 | Reach the Sigil Keep |
 As usual, make your way to the Sigillum Sanguis at the top of the tower. Navigate through the towers, sneaking past or fighting enemies along the way. |
|
| 6 | Activate the Sigil Stone |
 Climb the ramps to reach the top and interact with Sigil Stone in the center of the chamber to close the gate. You will then be teleported back to Chorrol. |
|
| 7 | Return to Arriana |
 Report back to Arriana that you’ve closed the Oblivion Gate in her city. She will thank you and send soldiers to help Bruma. |
Recruiting Leyawiin
| 1 | Talk to Marius |
|---|---|
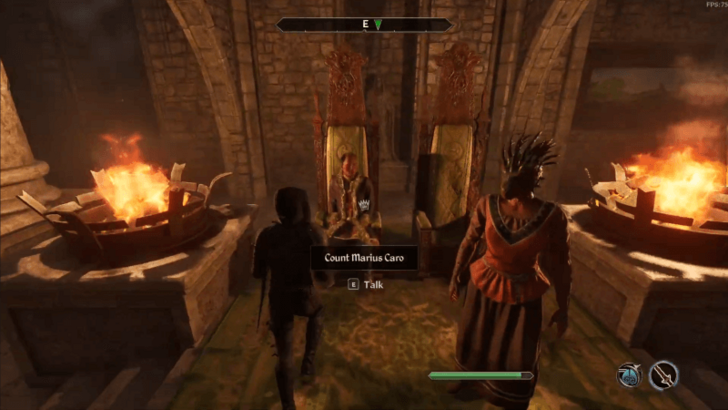 Enter the Castle Leyawiin County Hall and talk to Count Marius Caro about Aid for Bruma. He will ask for your help to close an Oblivion Gate nearby. |
|
| 2 | Enter the Oblivion Gate |
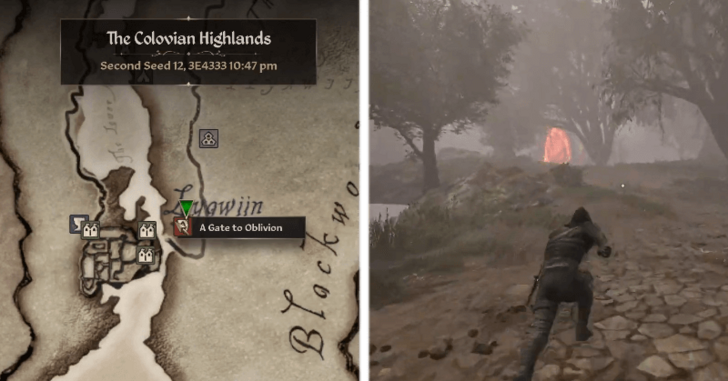 Head toward the Oblivion Gate located at the east of Leyawiin. Enter the Oblivion Gate and prepare to fight enemies that emerge from the gate. |
|
| 3 | Head to the Tower Portal |
 Once inside the Plane of Oblivion, head west to get inside the Nether Tunnels. Then, make your way to the right until you reach a door to the Oblivion Cave. Be ready to fight enemies along the way! |
|
 Make your way south until you stumble upon a Flame Atronach guarding the door to the Oblivion Cave. |
|
 Enter the cave and take the left path, then left, and turn right. This will lead you outside of the Oblivion Cave. |
|
 Proceed forward until you reach the Spindle Shrine. Inside, take the ramps and enter the door at the top, and continue through the area to the Blood Well. Inside the Blood Well, go up and then access the door to the right that will lead you back outside. |
|
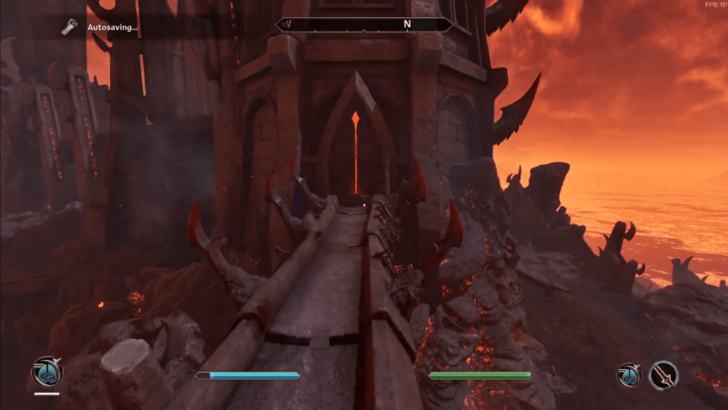
| 4 | Reach the Sigil Keep |
 Once you're outside, head north towards the Tower Portal and enter it. As with the previous Oblivion Gates, your goal is to reach the top of the Tower Portal and retrieve the Sigil Stone. You can sneak past or fight enemies on your way up. |
|
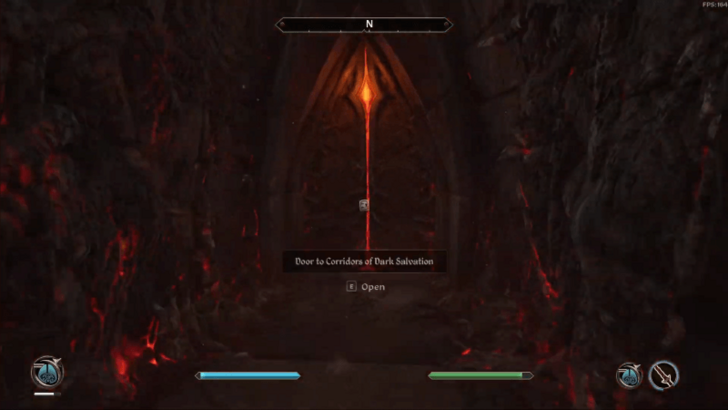
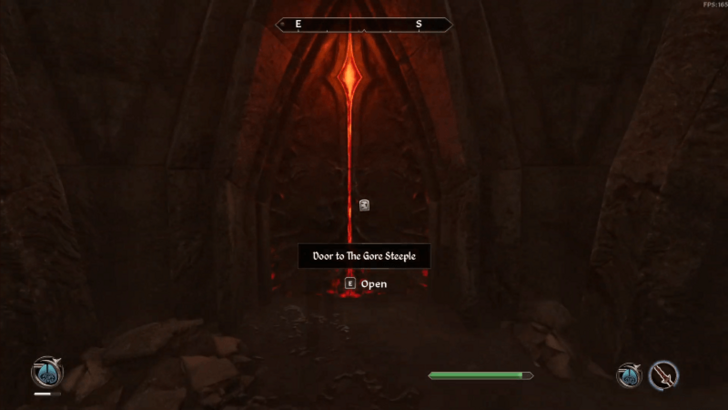 Enter the Corridors of Dark Salvation on the left, then go to the top until you reach the entrance to the Gore Steeple. |
|
 Keep going up until you reach the door to Sigillum Sanguis towards south. |
|
| 5 | Activate the Sigil Stone |
 Climb the ramps to reach the top and interact with Sigil Stone in the center of the chamber to close the gate. You will then be teleported back outside of Leyawiin where the Oblivion gate was. |
|
| 6 | Report Back to Marius |
 Report back to Marius and he will finally agree to helping Bruma. |
Recruiting Skingrad
| 1 | Talk to Mercator |
|---|---|
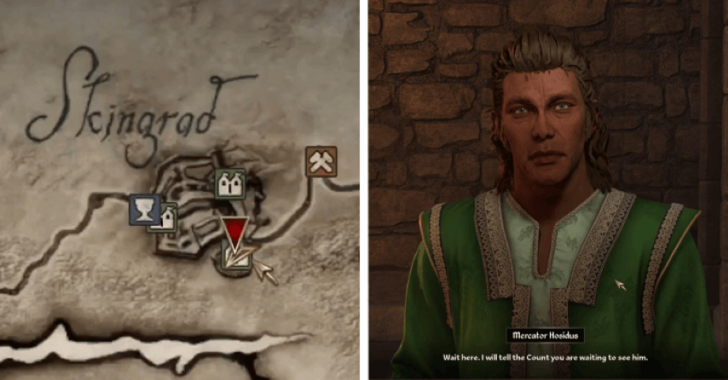 Travel to Skingrad and enter Castle Skingrad. Unlike the other cities, you must first speak with Mercator Hosidus inside the castle and ask for Aid for Bruma. He will then ask you to wait as he goes to get the count for you. |
|
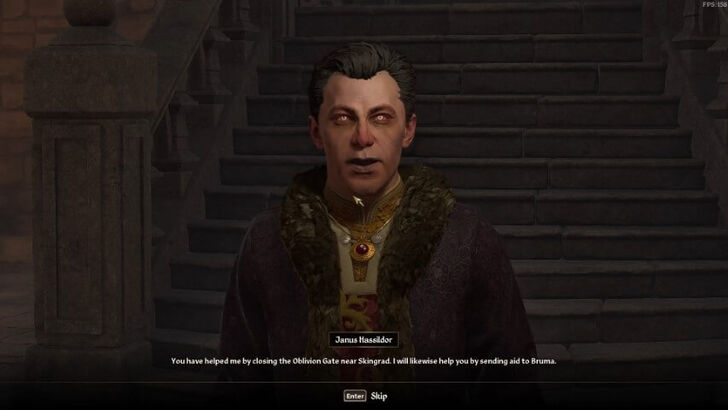
| 2 | Wait for Janus |
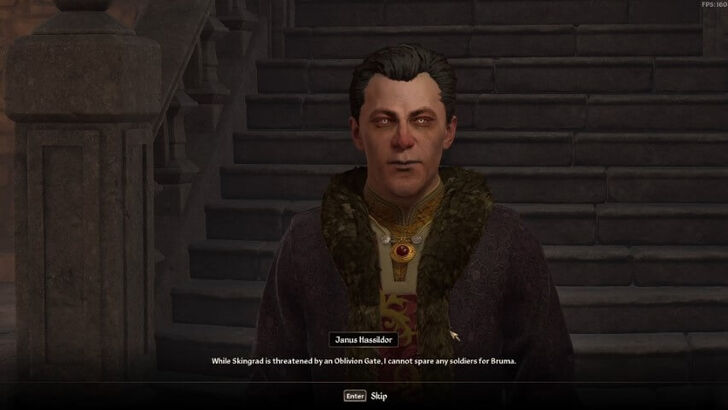 Wait a while for Janus Hassildor to come and speak with you. Once he does, ask for Aid for Bruma. As expected, he will only send help if you assist him in closing the Oblivion Gate outside of the city. |
|
| 3 | Enter the Oblivion Gate |
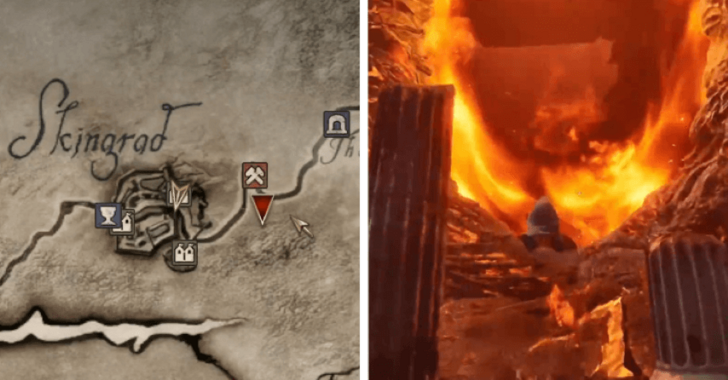 Head to the Derelict Mine, located east of Skingrad. From there, head south and enter the Oblivion Gate up the hill. |
|
| 4 | Release the First Lock |
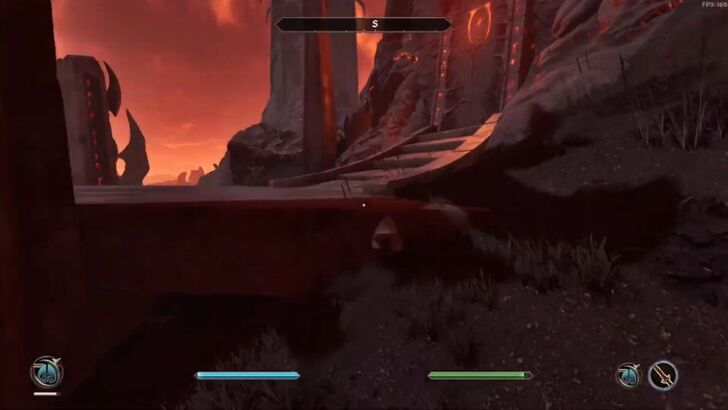 Once inside the Plane of Oblivion, head southwest to The Tower Portal to The Anguish Keep. Be prepared to fight enemies along the way! |
|
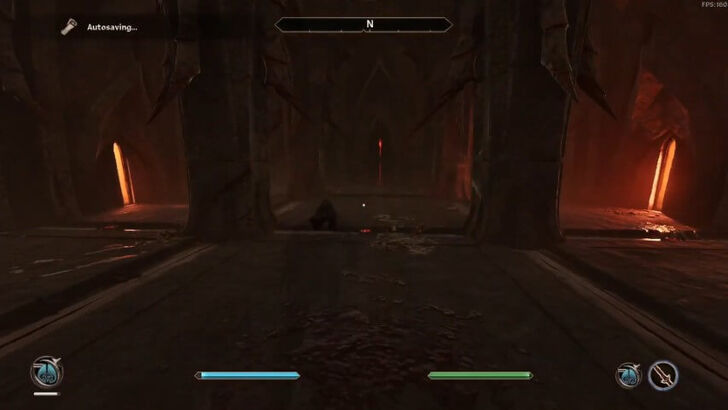 Enter the Anguish Keep and turn left to the Halls of Eternal Twilight. Move forward through the area to reach the other side of Anguish Keep. You may need to lockpick the Citadel Hall Door to progress. ▶ Where to Get Lockpicks |
|
 At the far end of Anguish Keep, enter the door to the Halls of Shame. Navigate through the halls until you reach a door that leads to the upper level of Anguish Keep. |
|
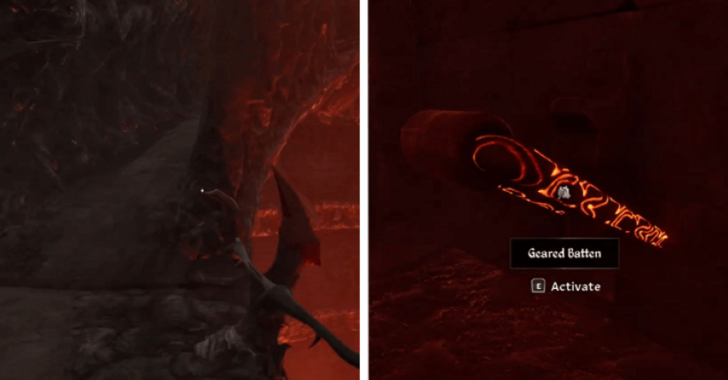 Climb the ramps and enter the door on the left, which leads to the Anguish Shrine. Inside, go to the center, just before the Door to Wastes of Oblivion, and take the ramps. Interact with the Geared Batten next to the gears to release the first of two locks. |
|
| 5 | Reelase the Second Lock |
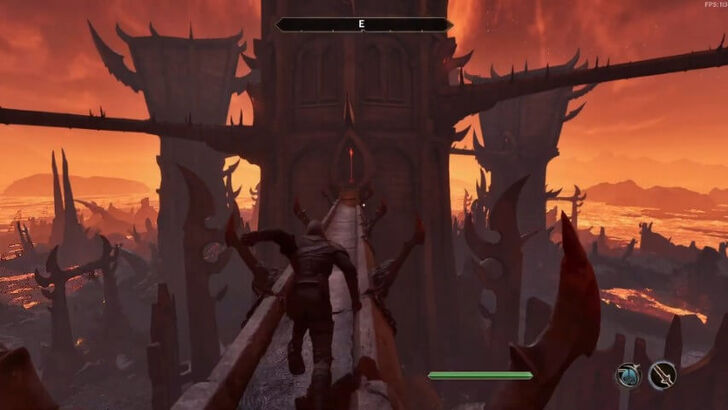
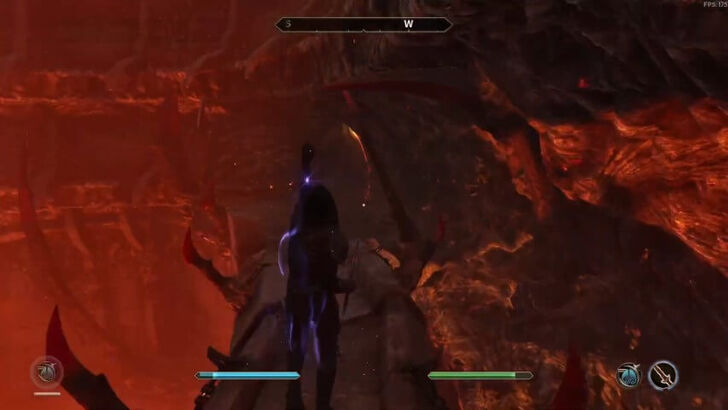
 Head downstairs and exit through the Door to Wastes of Oblivion, leading you to a walkway. |
|
 Cross the walkway and enter the Sorrow Shrine. Like the Anguish Shrine, climb the ramps and interact with the Geared Batten near the gears to release the second lock. |
|
| 6 | Navigate Through Sorrow Keep |
 With the two locks released, head downstairs, then south to The Sorrow Keep, which is located to the right of the Door to Wastes of Oblivion. |
|
 Enter the Halls of Shame to the south, navigate through the halls back to The Sorrow Keep, and take the Door to Wastes of Oblivion at the far end, leading you to another walkway. |
|
 Cross the walkway and enter the Brooding Fortress. |
|
| 6 | Reach the Sigil Keep |
 Now that you’re in the main tower, your goal is to reach the top and retrieve the Sigil Stone. Inside the Brooding Fortress, take the ramps on the left and enter the Corridors of Dark Salvation. |
|
 Make your way to another door that leads to the upper level of the fortress. Take the ramps and enter the door to the Sigillum Sanguis on the left. |
|
| 7 | Activate the Sigil Stone |
 Climb the ramps to reach the top and interact with Sigil Stone in the center of the chamber to close the gate. You will then be teleported back to Skingrad. |
|
| 8 | Return to Janus |
 Once you're back, return to Regulus to report that you’ve closed the Oblivion Gate. He will thank you and agree to send aid to Bruma. |
Continue the Main Quest
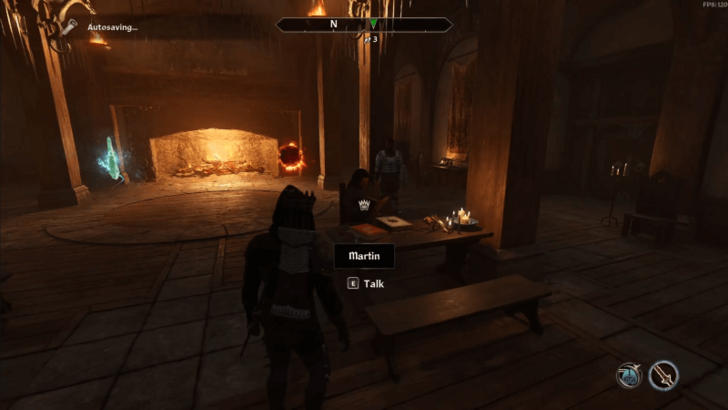
After recruiting the cities listed, continue the main quest with Blood of the Divines by talking to Martin inside Cloud Ruler Temple and watch your actions unfold later in Defense of Bruma.
Should You Recruit All Cities?
Recruit at Least 5 Cities

The number of cities you recruit will determine the difficulty of the main quest, Defense of Bruma. The more reinforcements you gather, the easier the battle will be, as you will have more soldiers fighting alongside you.
While you can recruit all of the marked cities on the map, we recommend securing support from at least five of them, namely, Anvil, Bravil, Chorrol, Leyawiin, and Skingrad. These cities provide the strongest fighters to aid you against the Daedra.
Oblivion Remastered Related Guides

Full Walkthrough and Main Quest List
All Main Quests
| 1 | Tutorial |
|---|---|
| 2 | Delivering the Amulet |
| 3 | Find the Heir |
| 4 | Breaking the Siege of Kvatch |
| 5 | The Battle for Castle Kvatch (Optional) |
| 6 | Weynon Priory |
| 7 | The Path of Dawn |
| 8 | Dagon Shrine |
| 9 | Spies |
| 10 | Blood of the Daedra |
| 11 | Bruma Gate |
| 12 | Allies for Bruma (Optional) |
| 13 | Blood of the Divines |
| 14 | Miscarcand |
| 15 | Defense of Bruma |
| 16 | Great Gate |
| 17 | Paradise |
| 18 | Light the Dragonfires |
| 19 | Imperial Dragon Armor (Epilogue) |
Comment
Author
Allies for Bruma Walkthrough: Best Cities to Recruit
Please participate in our site
improvement survey
03/2026
improvement survey
03/2026
Would you assist in
improving Game8's site?
improving Game8's site?

×
We are listening to our users' valuable opinions and discussing how to act on them.
The information collected through this survey will be used for the purpose of improving our services. In addition, the information will only be disclosed a part of a statistic in a format that will not allow identification of personal information.
Begin Survey
Not Now
×
Please rate each item regarding Game8.co's Advertisements.
Amount of Ads
Very Dissatisfied
Somewhat Dissatisfied
Fine
Somewhat Satisfied
Highly Satisfied
Placement of Ads
Timing of Ad Display
Ad Loading Speed
Safeness of Ads
Content of Ads
×
Please rate each item regarding Game8.co's Quality of Articles.
Amount of information
Very Dissatisfied
Somewhat Dissatisfied
Fine
Somewhat Satisfied
Highly Satisfied
Frequency of updates
Speed of new information
Accuracy of articles
Understandibility of articles
Readability of sentences
×
Please rate each item regarding Game8.co's Usability of the Site.
Ease of finding information
Very Dissatisfied
Somewhat Dissatisfied
Fine
Somewhat Satisfied
Highly Satisfied
Loading Speed
Use of Color
Font Size
Visibility of Images
Easy to Understand Layout
×
Please rate each item regarding Game8.co's Message Boards, Comments.
Ease of Writing
Very Dissatisfied
Somewhat Dissatisfied
Fine
Somewhat Satisfied
Highly Satisfied
Readability
Ease in Finding Information
Comment Quality
Comment Quantity
Admin Response
×
Please rate each item regarding Game8.co's Site's new design.
Please rate our site's new design
Very Dissatisfied
Somewhat Dissatisfied
Fine
Somewhat Satisfied
Highly Satisfied
Do you think that the website's design change makes the site easier to use?
Has the new design made it easier for you to find information on the site?
Has the new design improved the overall visual appeal of the site?
How would you rate your overall satisfaction with the new design of the site?
×
How likely are you to recommend Game8 to someone you know?
Very Unlikely
0
1
2
3
4
5
6
7
8
9
10
Very Likely
If you have other opinions regarding potential improvement to the website, please share them with us. We would appreciate your honest opinion.
Note: This is a free response section, so you can proceed without entering anything.
Note: Please be sure not to enter any kind of personal information into your response.
Note: Please be sure not to enter any kind of personal information into your response.
×
Thank You
×
Thank you for participating in our survey! Your answers will help us to improve the quality of our website and services.
We hope you continue to make use of Game8.
We hope you continue to make use of Game8.
Close
Rankings
- We could not find the message board you were looking for.
Gaming News


![Everwind Review [Early Access] | The Shaky First Step to A Very Long Journey](https://img.game8.co/4440226/ab079b1153298a042633dd1ef51e878e.png/thumb)

![Monster Hunter Stories 3 Review [First Impressions] | Simply Rejuvenating](https://img.game8.co/4438641/2a31b7702bd70e78ec8efd24661dacda.jpeg/thumb)
Popular Games

Genshin Impact Walkthrough & Guides Wiki
Honkai: Star Rail Walkthrough & Guides Wiki
Umamusume: Pretty Derby Walkthrough & Guides Wiki
Pokemon Pokopia Walkthrough & Guides Wiki
Resident Evil Requiem (RE9) Walkthrough & Guides Wiki
Monster Hunter Wilds Walkthrough & Guides Wiki
Wuthering Waves Walkthrough & Guides Wiki
Arknights: Endfield Walkthrough & Guides Wiki
Pokemon FireRed and LeafGreen (FRLG) Walkthrough & Guides Wiki
Pokemon TCG Pocket (PTCGP) Strategies & Guides Wiki


Recommended Games
Diablo 4: Vessel of Hatred Walkthrough & Guides Wiki
Fire Emblem Heroes (FEH) Walkthrough & Guides Wiki
Yu-Gi-Oh! Master Duel Walkthrough & Guides Wiki
Super Smash Bros. Ultimate Walkthrough & Guides Wiki
Pokemon Brilliant Diamond and Shining Pearl (BDSP) Walkthrough & Guides Wiki
Elden Ring Shadow of the Erdtree Walkthrough & Guides Wiki
Monster Hunter World Walkthrough & Guides Wiki
The Legend of Zelda: Tears of the Kingdom Walkthrough & Guides Wiki
Persona 3 Reload Walkthrough & Guides Wiki
Cyberpunk 2077: Ultimate Edition Walkthrough & Guides Wiki


All rights reserved
© 2025 ZeniMax Media Inc. All Rights Reserved.
The copyrights of videos of games used in our content and other intellectual property rights belong to the provider of the game.
The contents we provide on this site were created personally by members of the Game8 editorial department.
We refuse the right to reuse or repost content taken without our permission such as data or images to other sites.