The Ultimate Heist Walkthrough and Rewards
This is a The Ultimate Heist walkthrough for The Elder Scrolls IV Oblivion Remastered. Learn The Ultimate Heist's starting location, rewards, and how to start the quest.
List of Contents
The Ultimate Heist Location
Othrelos' House, Imperial City
The Ultimate Heist is located in Othrelos' house in the Imperial City. Speak with Gray Fox to start the quest.
The quest only activates once you have fenced at least 1000 gold in stolen items.
The Ultimate Heist Walkthrough
Speak with Gray Fox in Othrelos' House
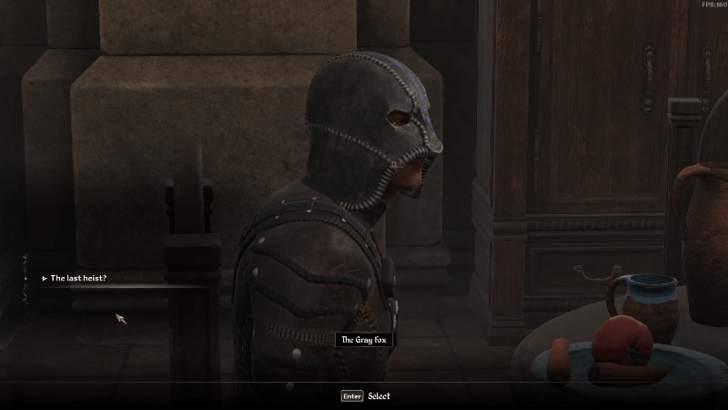
Amusei will tell you to see Gray Fox at Othrelos' house in the Imperial City. He will tell you the details of the last heist: to retrieve an Elder Scroll from the Imperial Palace.
Activate the Glass of Time
| Map View | World View |
|---|---|
 |
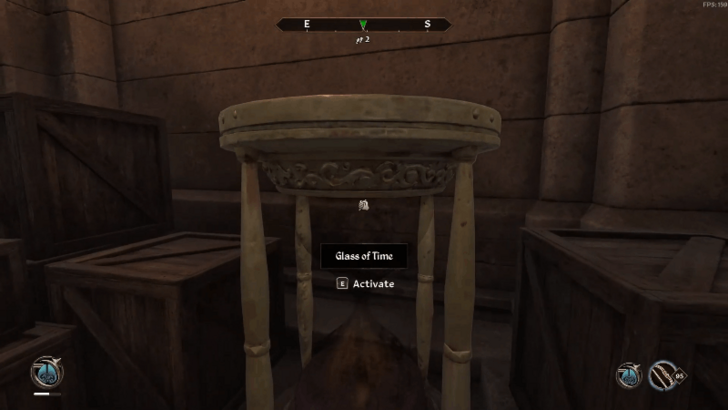 |
Head to the Elder Council Chambers and sneak into the Palace Basement. Head to the right side from the door and activate the giant hourglass lying amongst the boxes.
Enter the Grate to the South East Tunnel
| Map View | World View |
|---|---|
 |
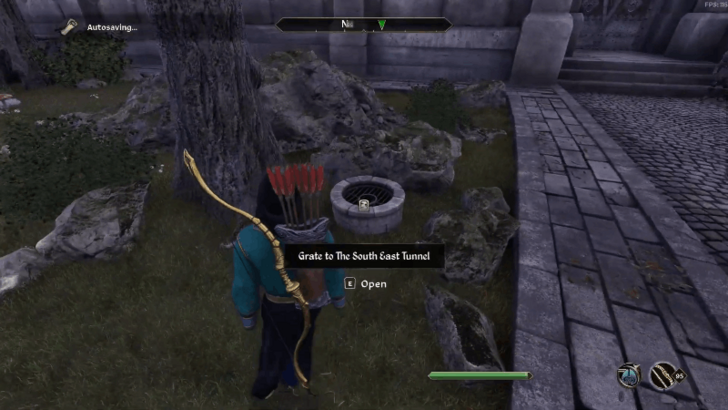 |
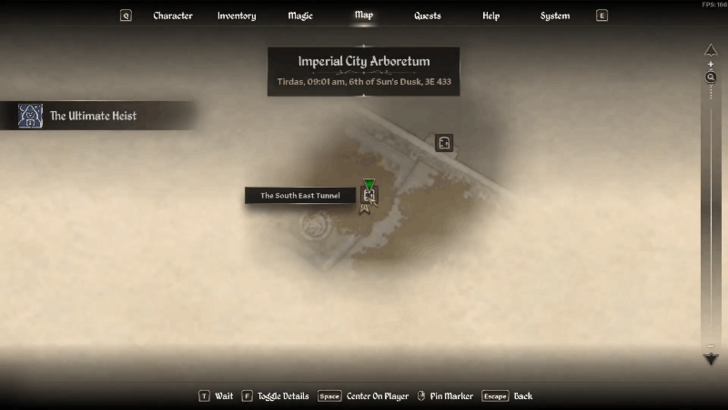
Head to the Imperial City Arboretum and enter the Grate to the South East Tunnel. Make sure to have enough lockpicks and a bow when entering the dungeon. If you do not have a bow, you can loot one from the Skeleton Archer in the dungeon.
Use the Imperial Sewer Key to head into the Palace Sewers. Make your way through The Old Way and The Lost Catacombs.
Equip the Boots of Springheel Jak to Jump the Gap
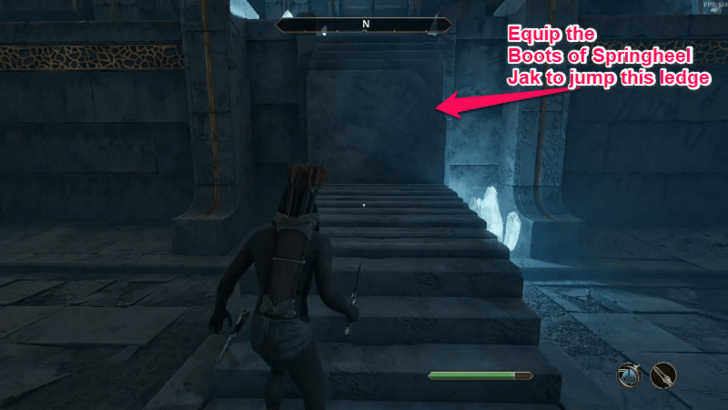
Once you reach the last room of The Lost Catacombs, you will find a set of stairs and a ledge that is too high to jump. Equip the Boots of Springheel Jak to reach the high ledge.
Push the blocks on the two sides to unlock the locked door that leads to the Hall of Epochs.
Fire the Arrow of Extrication on the Statue
| Pressure Plate | 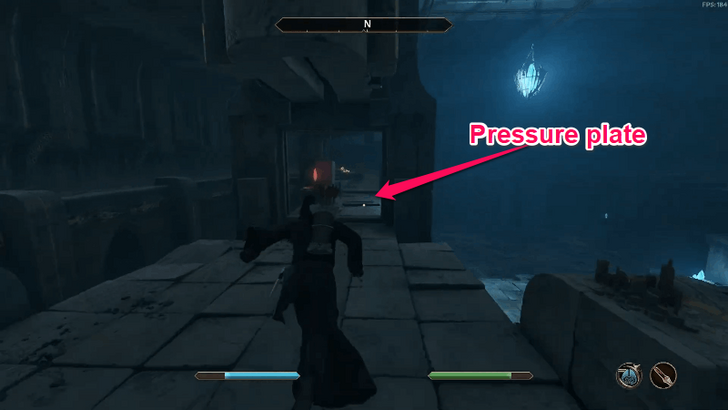 |
|---|---|
| Firing the Arrow of Extrication | 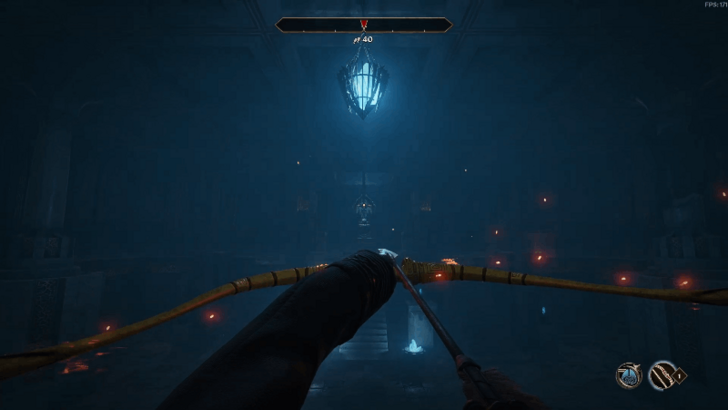 |
Head to the large statue in the room. Your quest log will update indicating that this is where you will fire the Arrow of Extrication but requires stepping on a pressure plate to activate the keyhole.
Head to the walls of the room to find a door that you can lockpick. Go through the rooms to reach the top floor of the main chamber.
Find and step on the pressure plate next to the floating red crystal. Equip the Arrow of Extrication and fire it at the statue. This activates a hidden door leading to the Imperial Guard Quarters.
Sneak Your Way to the Elder Scrolls Library
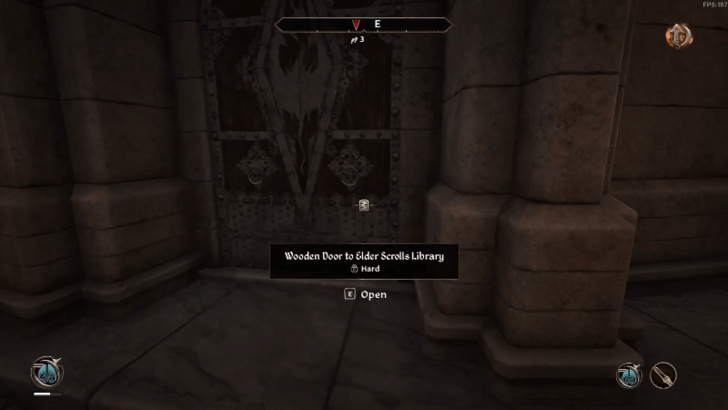
Follow the quest marker and sneak past the guard to reach the door leading to the Elder Scrolls Library.
Alternatively, you can wait until 1am and enter this area as the guards are sleeping at that time.
Retrieve the Elder Scroll
| Switch Location | 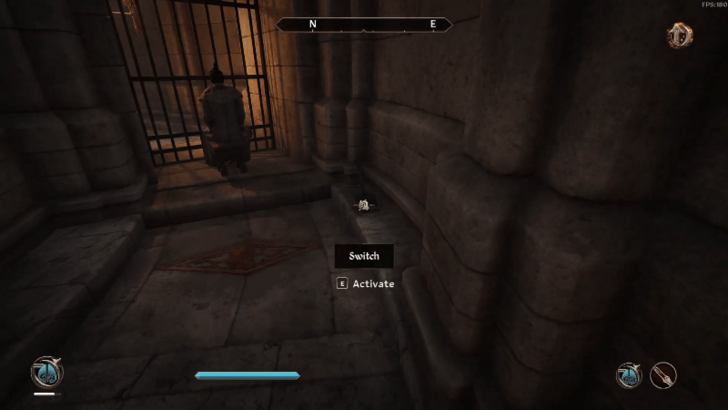 |
|---|---|
| Reading Chair Location | 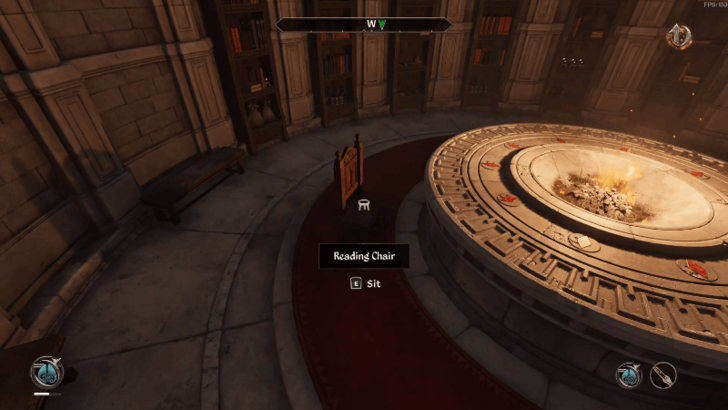 |
Follow the corridor on the right and hit the switch on the ground. Head to the left side of the corridor to reach the library.
Sit on the Reading Chair and wait for the priest to bring you the Elder Scroll. Pick it up the progress the quest.
Escape via the Imperial Battlemage's Chambers
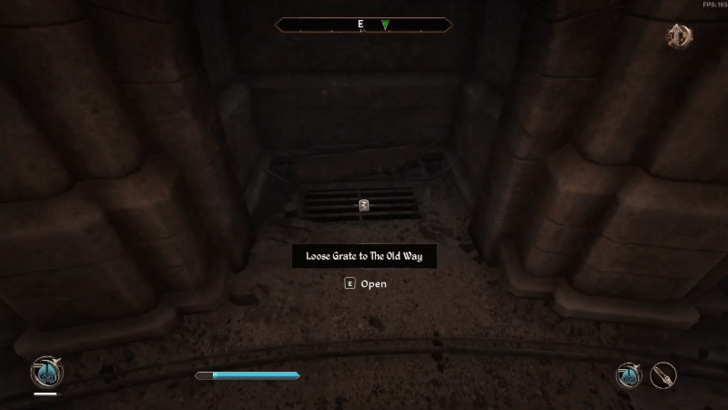
Head up the spiral staircase and follow the compass to sneak your way through the Moth Priest's Quarters and the Imperial Battlemage's Chambers.
Once you reach the Imperial Battlemage's Chambers, unlock the two Wooden Doors to reach the Loose Grate to The Old Way.
Equip the Boots of Springheel Jak before entering the Loose Grate as you will fall down from a great height once the game loads the next area. Exit The Old Way via the The Palace Sewers to make your way back to the surface.
Return to Gray Fox
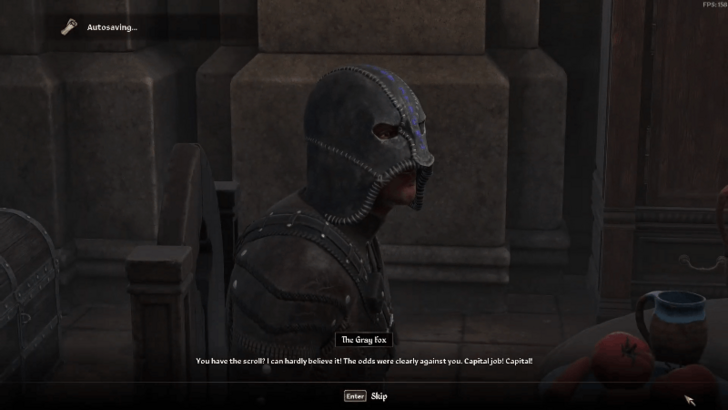
Return to Gray Fox with the Elder Scroll. He will ask you to give his ring to Millona Umbranox, the Countess of Anvil.
Give Gray Fox's Ring to Millona Umbranox
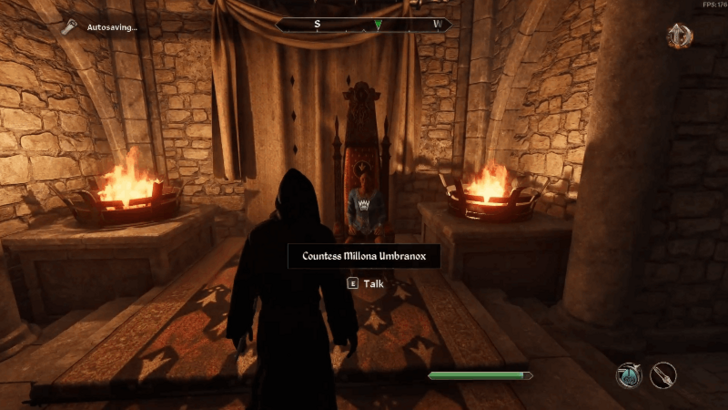
Travel to Anvil and speak with Countess Millona Umbranox. Make sure she is sitting on the throne in the Great Hall when you show her Gray Fox's ring to complete the quest.
The Ultimate Heist Rewards
Gray Cowl of Nocturnal
You will receive the Gray Cowl of Nocturnal upon completing this quest.
Equipping the mask allows you to commit consequence-free crimes as all fame, infamy, and bounty will be attributed with the Gray Fox instead of your character.
Gray Cowl of Nocturnal ID and Stats
Become the Guildmaster of the Thieves Guild
You will become the new Guildmaster and Gray Fox of the Thieves Guild after completing this quest.
In addition, Dareloth's home becomes the Thieves Guild Hall and its top floor doubles as a home and the Guildmaster's Quarters.
The Elder Scrolls IV Oblivion Remastered Related Guides

Quests by Faction
| Quests by Faction | |
|---|---|
| Fighters Guild | Mages Guild |
| Thieves Guild | Dark Brotherhood |
Thieves Guild Quests
| Thieves Guild Quests | |
|---|---|
| 1 | May the Best Thief Win |
| 2 | Independent Thievery |
| 3 | Untaxing the Poor |
| 4 | The Elven Maiden |
| 5 | Ahdarji's Heirloom |
| 6 | Misdirection |
| 7 | Lost Histories |
| 8 | Taking Care of Lex |
| 9 | Turn a Blind Eye |
| 10 | Arrow of Extrication |
| 11 | Boots of Springheel Jak |
| 12 | The Ultimate Heist |
Comment
Author
The Ultimate Heist Walkthrough and Rewards
improvement survey
03/2026
improving Game8's site?

Your answers will help us to improve our website.
Note: Please be sure not to enter any kind of personal information into your response.

We hope you continue to make use of Game8.
Rankings
- We could not find the message board you were looking for.
Gaming News
Popular Games

Genshin Impact Walkthrough & Guides Wiki

Honkai: Star Rail Walkthrough & Guides Wiki

Umamusume: Pretty Derby Walkthrough & Guides Wiki

Pokemon Pokopia Walkthrough & Guides Wiki

Resident Evil Requiem (RE9) Walkthrough & Guides Wiki

Monster Hunter Wilds Walkthrough & Guides Wiki

Wuthering Waves Walkthrough & Guides Wiki

Arknights: Endfield Walkthrough & Guides Wiki

Pokemon FireRed and LeafGreen (FRLG) Walkthrough & Guides Wiki

Pokemon TCG Pocket (PTCGP) Strategies & Guides Wiki
Recommended Games

Fire Emblem Heroes (FEH) Walkthrough & Guides Wiki

Diablo 4: Vessel of Hatred Walkthrough & Guides Wiki

Yu-Gi-Oh! Master Duel Walkthrough & Guides Wiki

Super Smash Bros. Ultimate Walkthrough & Guides Wiki

Pokemon Brilliant Diamond and Shining Pearl (BDSP) Walkthrough & Guides Wiki

Elden Ring Shadow of the Erdtree Walkthrough & Guides Wiki

Monster Hunter World Walkthrough & Guides Wiki

The Legend of Zelda: Tears of the Kingdom Walkthrough & Guides Wiki

Persona 3 Reload Walkthrough & Guides Wiki

Cyberpunk 2077: Ultimate Edition Walkthrough & Guides Wiki
All rights reserved
© 2025 ZeniMax Media Inc. All Rights Reserved.
The copyrights of videos of games used in our content and other intellectual property rights belong to the provider of the game.
The contents we provide on this site were created personally by members of the Game8 editorial department.
We refuse the right to reuse or repost content taken without our permission such as data or images to other sites.





![Slay the Spire 2 Review [Early Access] | Still the Deckbuilder to Beat](https://img.game8.co/4433115/44e19e1fb0b4755466b9e516ec7ffb1e.png/thumb)

![Resident Evil Village Review [Switch 2] | Almost Flawless Port](https://img.game8.co/4432790/e1859f64830960ce4248d898f8cd38d9.jpeg/thumb)


