Bravil Recommendation Walkthrough and Rewards

This is a Bravil Recommendation walkthrough for The Elder Scrolls IV Oblivion Remastered. Learn Bravil Recommendation's starting location, rewards, and how to start the quest.
List of Contents
Bravil Recommendation Location
Bravil Mages Guild
Bravil Recommendation is located in Bravil Mages Guild. Speak with Kud-Ei to start the quest.
Bravil Recommendation Walkthrough
| List of Objectives | ||
|---|---|---|
| 1 | Speak with Kud-Ei at Bravil Mages Guild | |
| 2 | Speak wih Varon Vamori | |
| 3 | Find Soris in the Imperial City | |
| 4 | Return to Kud-Ei | |
Speak with Kud-Ei at Bravil Mages Guild
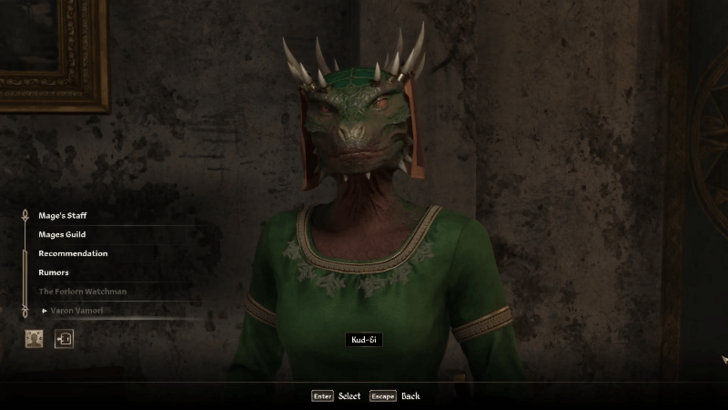
Speak with Kud-Ei at the Bravil Mages Guild and choose the following dialogue options: I'm ready, Ardaline, Varon Vamori, and Mage's Staff. You will receive the quest in your Quest Log and the Beguile Scroll.
Speak wih Varon Vamori
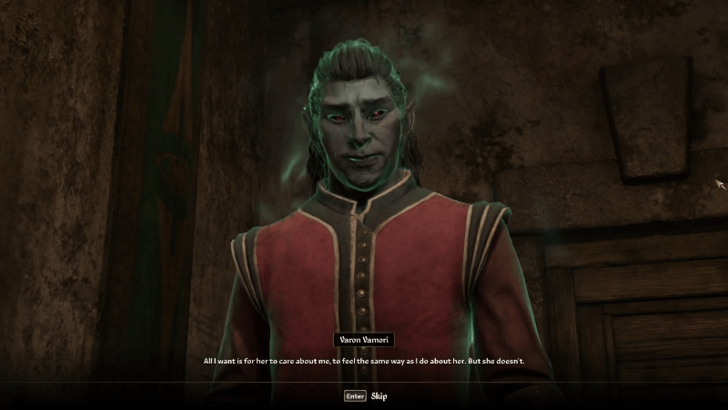
Find Varon Vamori and choose the Ardaline and Mage's Staff dialogue option. If Varon is not cooperative, you can use the Charm spell on him to raise his disposition. He will admit that he took Ardaline's staff and sold it to Soris Arenim.
Return to Kud-Ei and choose the Varon Vamori dialogue option.
Find Soris in the Imperial City
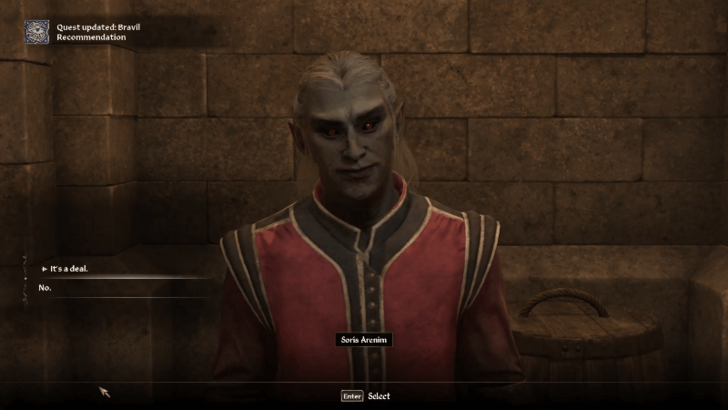
Travel to the Imperial City and find Soris in his house. Raise his disposition to around 70 or more by bribing him or by using the Charm spell so he will hand over the staff in exchange for 200 gold.
Return to Kud-Ei
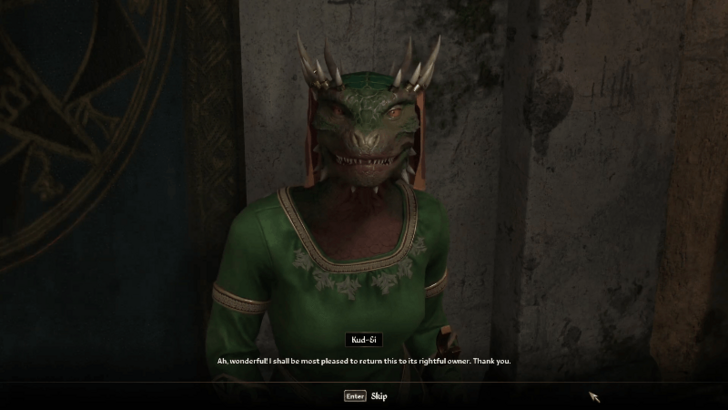
Head back to the Bravil Mages Guild and speak with Kud-Ei. Choose the Mage's Staff dialogue option to complete the quest.
Bravil Recommendation Rewards
Kud-Ei's Recommendation and Captive Spell
Carahil will agree to send a recommendation to Raminus Polus upon completion of this quest. You also obtain the Captive spell as an additional reward.
The Elder Scrolls IV Oblivion Remastered Related Guides
Quests by Faction
| Quests by Faction | |
|---|---|
| Fighters Guild | Mages Guild |
| Thieves Guild | Dark Brotherhood |
Mages Guild Quests
| Mages Guild Quests | |
|---|---|
| 1 | Cheydinhal Recommendation |
| 2 | Bruma Recommendation |
| 3 | Bravil Recommendation |
| 4 | Leyawiin Recommendation |
| 5 | Skingrad Recommendation |
| 6 | Anvil Recommendation |
| 7 | Chorrol Recommendation |
| 8 | Fingers of the Mountain, Part II |
| 9 | A Mage's Staff |
| 10 | Ulterior Motives |
| 11 | Vahtacen's Secret |
| 12 | Necromancer's Moon |
| 13 | Liberation or Apprehension? |
| 14 | Information at a Price |
| 15 | A Plot Revealed |
| 16 | The Bloodworm Helm |
| 17 | The Necromancer's Amulet |
| 18 | Ambush |
| 19 | Confront the King |
| 20 | Alchemy Acquisitions |
Comment
Author
Bravil Recommendation Walkthrough and Rewards
Rankings
- We could not find the message board you were looking for.
Gaming News
![Animal Crossing: New Horizons Review [Switch 2] | Needlessly Crossing Over to a New Generation](https://img.game8.co/4391759/47d0408b0b8a892e453a0b90f54beb8a.png/show)


Popular Games

Genshin Impact Walkthrough & Guides Wiki
Honkai: Star Rail Walkthrough & Guides Wiki
Arknights: Endfield Walkthrough & Guides Wiki
Umamusume: Pretty Derby Walkthrough & Guides Wiki
Wuthering Waves Walkthrough & Guides Wiki
Pokemon TCG Pocket (PTCGP) Strategies & Guides Wiki
Abyss Walkthrough & Guides Wiki
Zenless Zone Zero Walkthrough & Guides Wiki
Digimon Story: Time Stranger Walkthrough & Guides Wiki
Clair Obscur: Expedition 33 Walkthrough & Guides Wiki


Recommended Games
Fire Emblem Heroes (FEH) Walkthrough & Guides Wiki
Pokemon Brilliant Diamond and Shining Pearl (BDSP) Walkthrough & Guides Wiki
Diablo 4: Vessel of Hatred Walkthrough & Guides Wiki
Super Smash Bros. Ultimate Walkthrough & Guides Wiki
Yu-Gi-Oh! Master Duel Walkthrough & Guides Wiki
Elden Ring Shadow of the Erdtree Walkthrough & Guides Wiki
Monster Hunter World Walkthrough & Guides Wiki
The Legend of Zelda: Tears of the Kingdom Walkthrough & Guides Wiki
Persona 3 Reload Walkthrough & Guides Wiki
Cyberpunk 2077: Ultimate Edition Walkthrough & Guides Wiki


All rights reserved
© 2025 ZeniMax Media Inc. All Rights Reserved.
The copyrights of videos of games used in our content and other intellectual property rights belong to the provider of the game.
The contents we provide on this site were created personally by members of the Game8 editorial department.
We refuse the right to reuse or repost content taken without our permission such as data or images to other sites.