Liberation or Apprehension? Walkthrough and Rewards
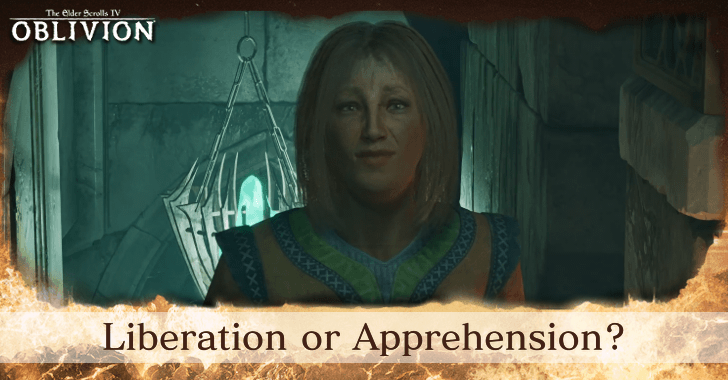
This is a Liberation or Apprehension walkthrough for The Elder Scrolls IV Oblivion Remastered. Learn Liberation or Apprehension?'s starting location, rewards, and how to start the quest.
List of Contents
Liberation or Apprehension? Location
Arcane University
The Liberation or Apprehension? is located at the Arcane University. Speak with Hannibal Travern to start the quest.
Liberation or Apprehension? Walkthrough
Speak with Hannibal Travern at the Arcane University
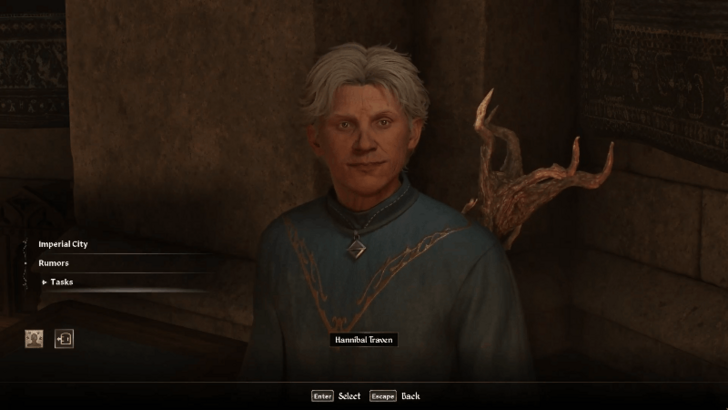
Speak with Hannibal Travern at the Arcane University. Choose the Tasks dialogue option and exhaust the rest of the dialogue options to add the quest to your Quest Log.
Head to Nenyond Twyll
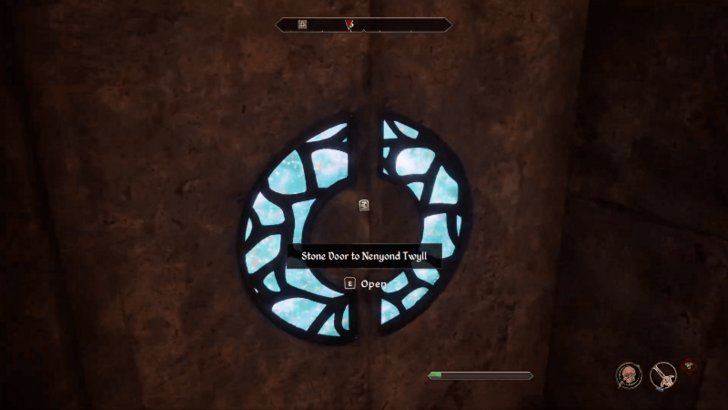
Head to Nenyond Twyll south of the Imperial City. Descend down the stairs and open the door to head inside.
Find Mucianus Allias
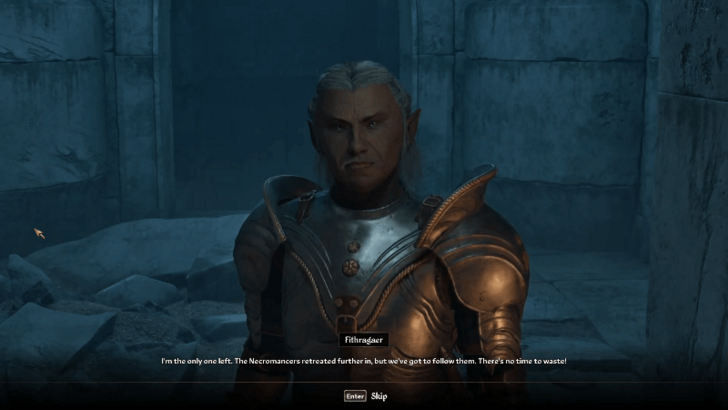
When you enter the ruins, a Bosmer battlemage named Fithragaer will approach you. Follow him until he gets crushed by the platform that rises up in the air. Jump on the sides to avoid the platform on the center and proceed to the next corridor.
The next corridors and rooms contain necromancers and undead enemies. Kill them to proceed until you reach the Stone Door to Nenyond Twyll Riellesel.
Defeat Mariette Rielle
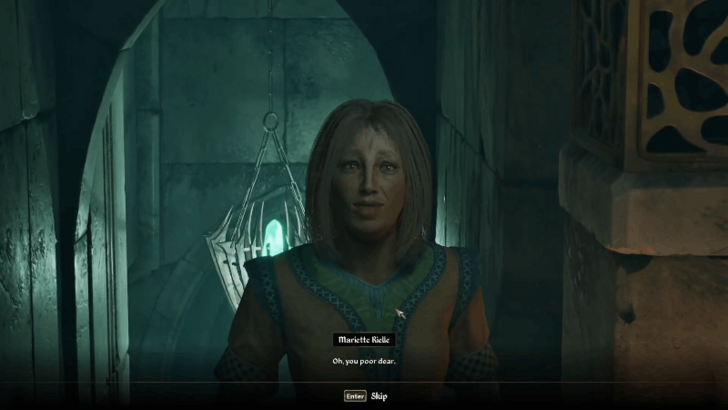
Inside the room is a necromancer named Mariette Rielle. Speak with her to learn that Mucianus Allias has transformed into a Worm Thrall. Kill her once she becomes hostile.
Push the Block in the Next Room
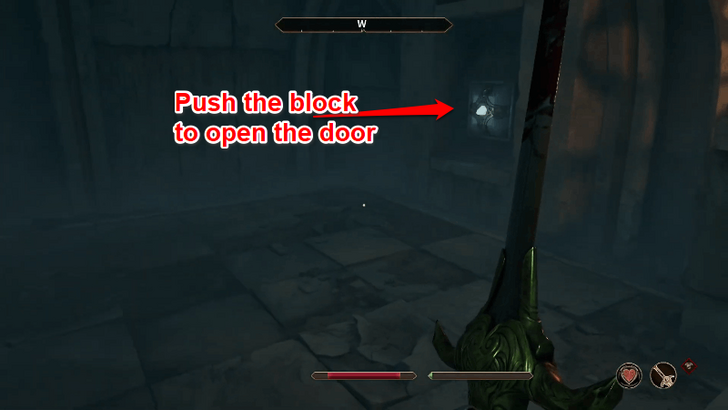
Open the gate that leads to a large room with necromancers and zombies. Kill them and press the block on the northwest wall to open the nearby door.
The nearby door contains Mucianus Allias who has turned into a zombie. Kill him to progress the quest.
Return to Hannibal Travern
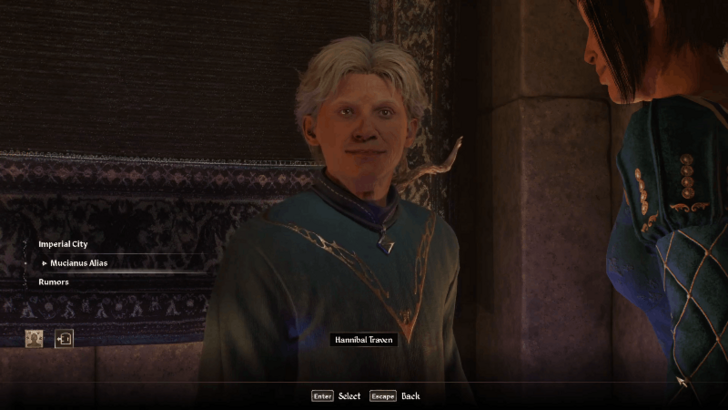
Head back to the Arcane University and speak with Hannibal Travern. Choose the Mucianus Allias dialogue option to complete the quest.
Liberation or Apprehension? Rewards
Warlock Rank
After completing this quest, speak with Raminus to get promoted as a Warlock and gain access to the Council Chamber.
The Elder Scrolls IV Oblivion Remastered Related Guides

Quests by Faction
| Quests by Faction | |
|---|---|
| Fighters Guild | Mages Guild |
| Thieves Guild | Dark Brotherhood |
Mages Guild Questline
| Mages Guild Quests | |
|---|---|
| 1 | Cheydinhal Recommendation |
| 2 | Bruma Recommendation |
| 3 | Bravil Recommendation |
| 4 | Leyawiin Recommendation |
| 5 | Skingrad Recommendation |
| 6 | Anvil Recommendation |
| 7 | Chorrol Recommendation |
| 8 | Fingers of the Mountain, Part II |
| 9 | A Mage's Staff |
| 10 | Ulterior Motives |
| 11 | Vahtacen's Secret |
| 12 | Necromancer's Moon |
| 13 | Liberation or Apprehension? |
| 14 | Information at a Price |
| 15 | A Plot Revealed |
| 16 | The Bloodworm Helm |
| 17 | The Necromancer's Amulet |
| 18 | Ambush |
| 19 | Confront the King |
| 20 | Alchemy Acquisitions |
Comment
Author
Liberation or Apprehension? Walkthrough and Rewards
improvement survey
03/2026
improving Game8's site?

Your answers will help us to improve our website.
Note: Please be sure not to enter any kind of personal information into your response.

We hope you continue to make use of Game8.
Rankings
- We could not find the message board you were looking for.
Gaming News
Popular Games

Genshin Impact Walkthrough & Guides Wiki

Honkai: Star Rail Walkthrough & Guides Wiki

Umamusume: Pretty Derby Walkthrough & Guides Wiki

Pokemon Pokopia Walkthrough & Guides Wiki

Resident Evil Requiem (RE9) Walkthrough & Guides Wiki

Monster Hunter Wilds Walkthrough & Guides Wiki

Wuthering Waves Walkthrough & Guides Wiki

Arknights: Endfield Walkthrough & Guides Wiki

Pokemon FireRed and LeafGreen (FRLG) Walkthrough & Guides Wiki

Pokemon TCG Pocket (PTCGP) Strategies & Guides Wiki
Recommended Games

Diablo 4: Vessel of Hatred Walkthrough & Guides Wiki

Fire Emblem Heroes (FEH) Walkthrough & Guides Wiki

Yu-Gi-Oh! Master Duel Walkthrough & Guides Wiki

Super Smash Bros. Ultimate Walkthrough & Guides Wiki

Pokemon Brilliant Diamond and Shining Pearl (BDSP) Walkthrough & Guides Wiki

Elden Ring Shadow of the Erdtree Walkthrough & Guides Wiki

Monster Hunter World Walkthrough & Guides Wiki

The Legend of Zelda: Tears of the Kingdom Walkthrough & Guides Wiki

Persona 3 Reload Walkthrough & Guides Wiki

Cyberpunk 2077: Ultimate Edition Walkthrough & Guides Wiki
All rights reserved
© 2025 ZeniMax Media Inc. All Rights Reserved.
The copyrights of videos of games used in our content and other intellectual property rights belong to the provider of the game.
The contents we provide on this site were created personally by members of the Game8 editorial department.
We refuse the right to reuse or repost content taken without our permission such as data or images to other sites.





![Everwind Review [Early Access] | The Shaky First Step to A Very Long Journey](https://img.game8.co/4440226/ab079b1153298a042633dd1ef51e878e.png/thumb)

![Monster Hunter Stories 3 Review [First Impressions] | Simply Rejuvenating](https://img.game8.co/4438641/2a31b7702bd70e78ec8efd24661dacda.jpeg/thumb)


