Bruma Recommendation Walkthrough and Rewards
This is a Bruma Recommendation walkthrough for The Elder Scrolls IV Oblivion Remastered. Learn Bruma Recommendation's starting location, rewards, and how to start the quest.
List of Contents
Bruma Recommendation Location
Bruma Mages Guild
Bruma Recommendation is located in Bruma Mages Guild. Talk to Jeanne Frasoric to start the quest.
Bruma Recommendation Walkthrough
Talk to Jeanne Frasoric in Bruma Mages Guild
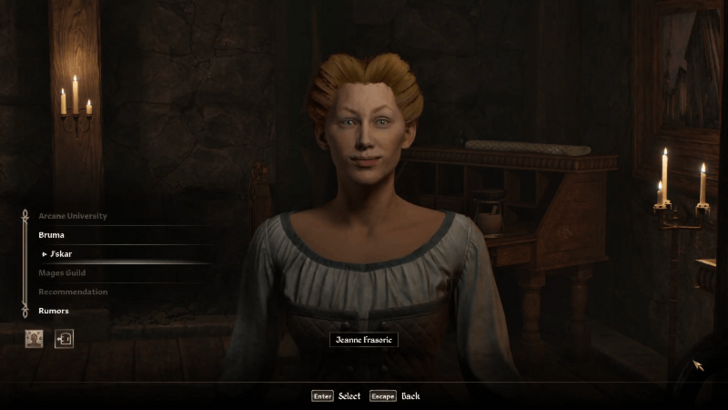
Enter the Bruma Mages Guild and speak with Jeanne Frasoric. Choose the Recommendation and J'skar dialogue options to add the quest in your Quest Log. She will ask you to talk to the mages to find J'skar's location.
Speak with Volanaro
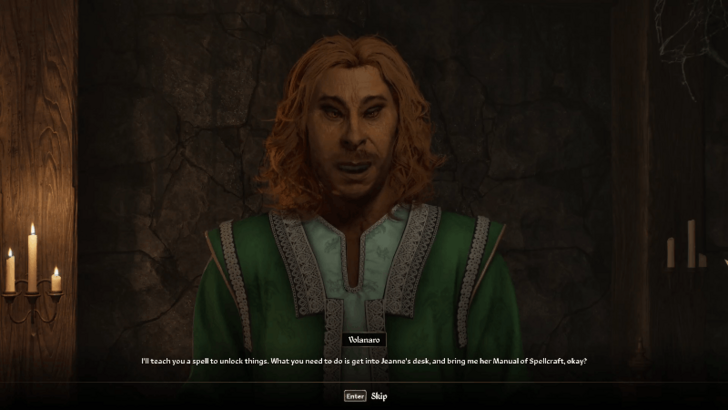
Speak with Volanaro and choose the J'skar dialogue option. Agree to help Volanaro to pull a prank on Jeanne Frasoric by stealing her Manual of Spellcraft from her desk upstairs. You will be given the Minor Latch Crack spell afterward.
Steal the Manual of Spellcraft in Jeanne's Desk
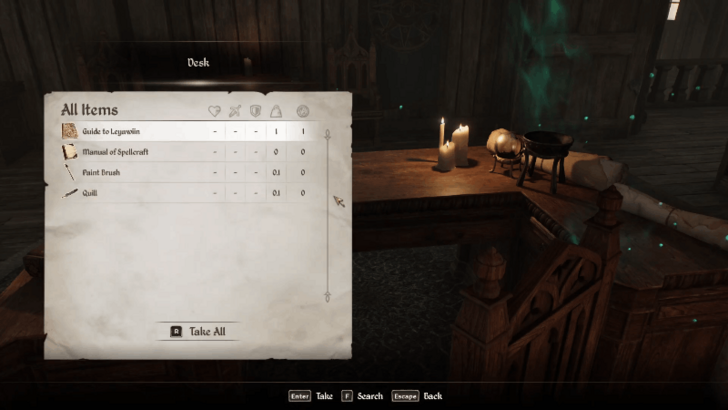
Go to the topmost floor of the guild and unlock the door to Jeanne's room. If Jeanne is there, you can wait until 8:00 AM so she moves out of the room.
Use the Minor Latch Crack spell on the Desk to skip the lockpicking minigame. Open the Desk and take the Manual of Spellcraft.
Bring the Manual of Spellcraft to Volanaro
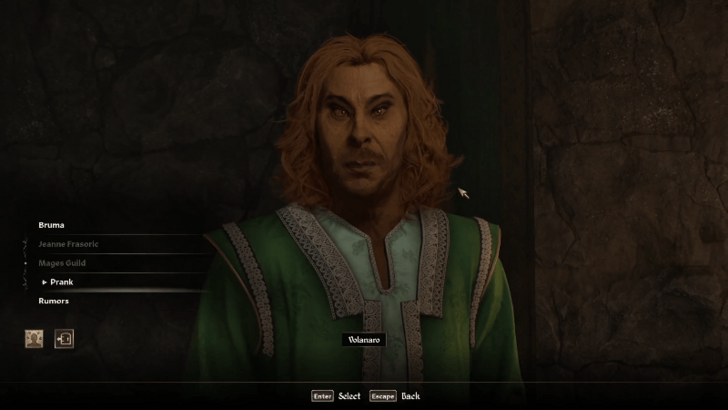
After taking the Manual of Spellcraft, speak with Volanaro again and choose the Prank dialogue option.
Wait until 10PM and head to the living quarters. Talk to Volanaro and choose the J'skar dialogue option. Volanaro will use a spell to reveal that J'skar is invisible all along. You may speak with J'skar but this step is optional.
Talk to Jeanne Frasoric
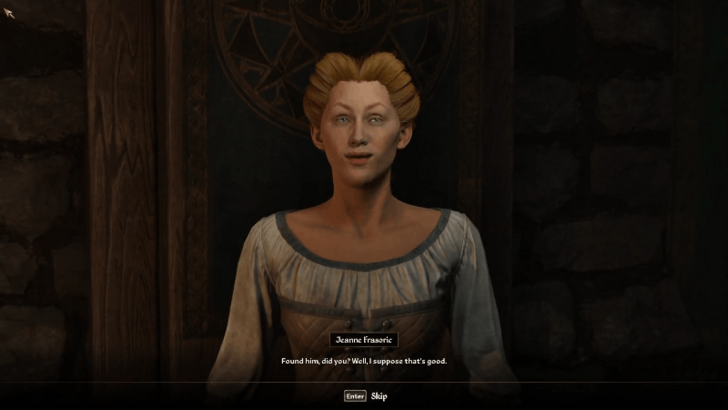
Return to Jeanne Frasoric and choose the J'skar dialogue option to complete the quest.
Bruma Recommendation Rewards
Jeanne's Recommendation
Jeanne Frasoric will agree to send a recommendation to Raminus Polus upon completion of this quest.
The Elder Scrolls IV Oblivion Remastered Related Guides

Quests by Faction
| Quests by Faction | |
|---|---|
| Fighters Guild | Mages Guild |
| Thieves Guild | Dark Brotherhood |
Mages Guild Quests
| Mages Guild Quests | |
|---|---|
| 1 | Cheydinhal Recommendation |
| 2 | Bruma Recommendation |
| 3 | Bravil Recommendation |
| 4 | Leyawiin Recommendation |
| 5 | Skingrad Recommendation |
| 6 | Anvil Recommendation |
| 7 | Chorrol Recommendation |
| 8 | Fingers of the Mountain, Part II |
| 9 | A Mage's Staff |
| 10 | Ulterior Motives |
| 11 | Vahtacen's Secret |
| 12 | Necromancer's Moon |
| 13 | Liberation or Apprehension? |
| 14 | Information at a Price |
| 15 | A Plot Revealed |
| 16 | The Bloodworm Helm |
| 17 | The Necromancer's Amulet |
| 18 | Ambush |
| 19 | Confront the King |
| 20 | Alchemy Acquisitions |
Comment
Author
Bruma Recommendation Walkthrough and Rewards
improvement survey
03/2026
improving Game8's site?

Your answers will help us to improve our website.
Note: Please be sure not to enter any kind of personal information into your response.

We hope you continue to make use of Game8.
Rankings
- We could not find the message board you were looking for.
Gaming News
Popular Games

Genshin Impact Walkthrough & Guides Wiki

Honkai: Star Rail Walkthrough & Guides Wiki

Umamusume: Pretty Derby Walkthrough & Guides Wiki

Pokemon Pokopia Walkthrough & Guides Wiki

Resident Evil Requiem (RE9) Walkthrough & Guides Wiki

Monster Hunter Wilds Walkthrough & Guides Wiki

Wuthering Waves Walkthrough & Guides Wiki

Arknights: Endfield Walkthrough & Guides Wiki

Pokemon FireRed and LeafGreen (FRLG) Walkthrough & Guides Wiki

Pokemon TCG Pocket (PTCGP) Strategies & Guides Wiki
Recommended Games

Diablo 4: Vessel of Hatred Walkthrough & Guides Wiki

Fire Emblem Heroes (FEH) Walkthrough & Guides Wiki

Yu-Gi-Oh! Master Duel Walkthrough & Guides Wiki

Super Smash Bros. Ultimate Walkthrough & Guides Wiki

Pokemon Brilliant Diamond and Shining Pearl (BDSP) Walkthrough & Guides Wiki

Elden Ring Shadow of the Erdtree Walkthrough & Guides Wiki

Monster Hunter World Walkthrough & Guides Wiki

The Legend of Zelda: Tears of the Kingdom Walkthrough & Guides Wiki

Persona 3 Reload Walkthrough & Guides Wiki

Cyberpunk 2077: Ultimate Edition Walkthrough & Guides Wiki
All rights reserved
© 2025 ZeniMax Media Inc. All Rights Reserved.
The copyrights of videos of games used in our content and other intellectual property rights belong to the provider of the game.
The contents we provide on this site were created personally by members of the Game8 editorial department.
We refuse the right to reuse or repost content taken without our permission such as data or images to other sites.





![Everwind Review [Early Access] | The Shaky First Step to A Very Long Journey](https://img.game8.co/4440226/ab079b1153298a042633dd1ef51e878e.png/thumb)

![Monster Hunter Stories 3 Review [First Impressions] | Simply Rejuvenating](https://img.game8.co/4438641/2a31b7702bd70e78ec8efd24661dacda.jpeg/thumb)


