Cheydinhal Recommendation Walkthrough and Rewards
This is a Cheydinhal Recommendation walkthrough for The Elder Scrolls IV Oblivion Remastered. Learn Cheydinhal Recommendation's starting location, rewards, and how to start the quest.
List of Contents
Cheydinhal Recommendation Location
| Map View | 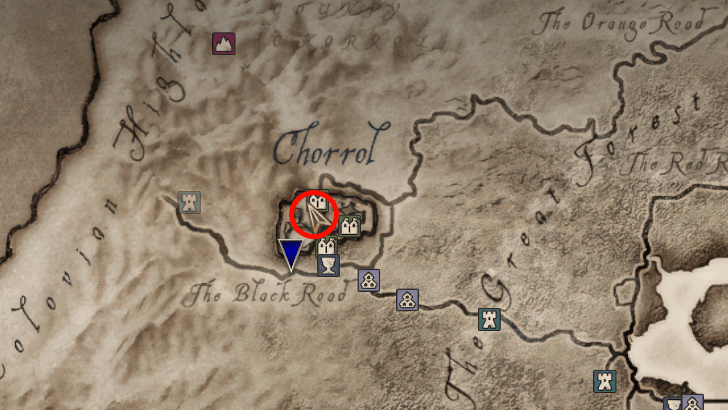 |
|---|---|
| Overworld | 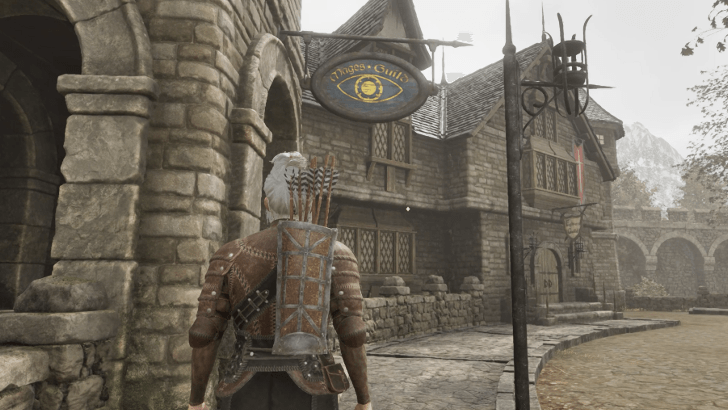 |
Cheydinhal Recommendation is located in Cheydinhal's Mages Guild. Look for Falcar to start the quest.
Cheydinhal Recommendation Walkthrough
| List of Objectives | ||
|---|---|---|
| 1 | Talk to Falcar | |
| 2 | Look for Deetsan and Get the Well Key | |
| 3 | Retrieve the Ring | |
| 4 | Search Falcar's Room | |
| 5 | Report Your Findings to Deeetsan | |
Talk to Falcar
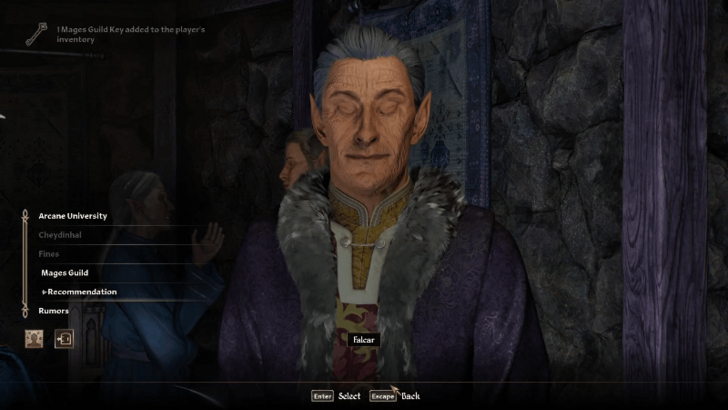
Talk to Falcar at the Cheydinhal Mages Guild and choose the Recommendation and Yes, I'm ready dialogue options to add the quest in your Quest Log.
Falcar requests you to find a Ring of Burden that was thrown down the guild well.
Look for Deetsan and Get the Well Key
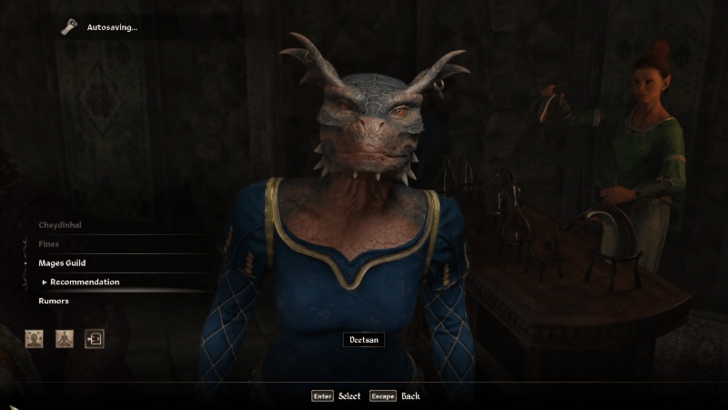
Speak with Deetsan between 1pm and 6pm to get the Well Key and Buoyancy spell. Make sure to speak with her in between those times as she refuses to talk about your assignment.
Retrieve the Ring
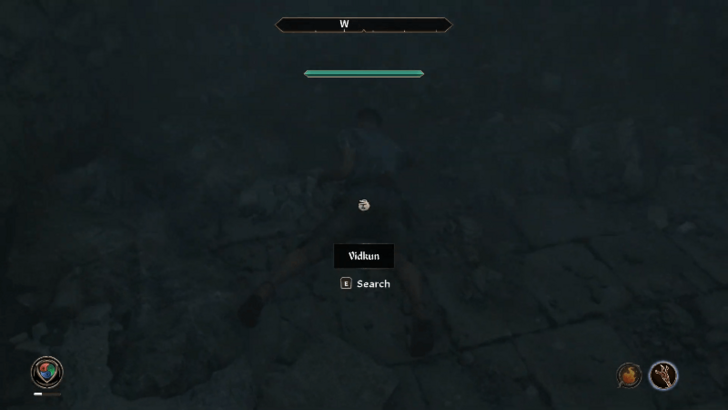
Enter the Mages Guild Well using the Well Key. Swim to the right side to find the body of Vidkun. Retrieve the Ring of Burden from his body and exit the well.
Return to Deetsan and choose the Recommendation and Ring of Burden dialogue options to report your findings.
Search Falcar's Room
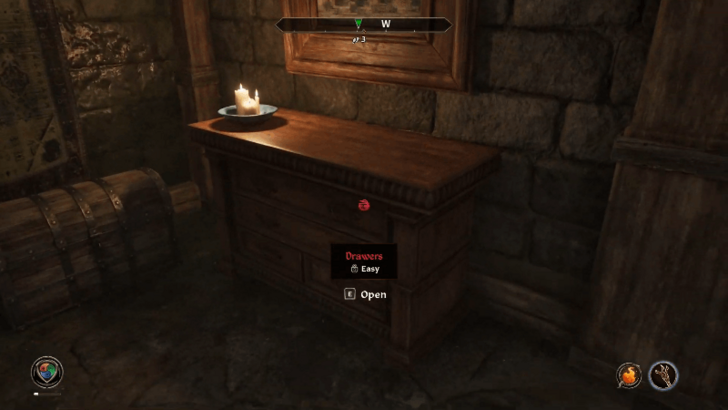
Head to the basement and enter Falcar's room. Go to the bedroom and open the locked drawer to find two Black Soul Gems. Take the two Black Soul Gems to progress the quest.
If the quest does not progress after taking the Black Soul Gems, you may need to open all the drawers and the urn in the room for the notification to appear.
Report Your Findings to Deetsan
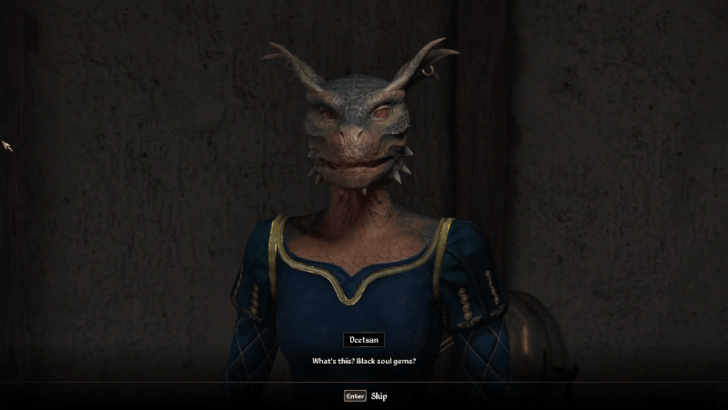
Return to Deetsan to inform her about the Black Soul Gems in Falcar's Room. She will write the recommendation herself, completing the quest.
Cheydinhal Recommendation Rewards
Deetsan's Recommendation
Deetsan will agree to send a recommendation to Raminus Polus upon completion of this quest.
The Elder Scrolls IV Oblivion Remastered Related Guides

Quests by Faction
| Quests by Faction | |
|---|---|
| Fighters Guild | Mages Guild |
| Thieves Guild | Dark Brotherhood |
Mages Guild Questline
| Mages Guild Quests | |
|---|---|
| 1 | Cheydinhal Recommendation |
| 2 | Bruma Recommendation |
| 3 | Bravil Recommendation |
| 4 | Leyawiin Recommendation |
| 5 | Skingrad Recommendation |
| 6 | Anvil Recommendation |
| 7 | Chorrol Recommendation |
| 8 | Fingers of the Mountain, Part II |
| 9 | A Mage's Staff |
| 10 | Ulterior Motives |
| 11 | Vahtacen's Secret |
| 12 | Necromancer's Moon |
| 13 | Liberation or Apprehension? |
| 14 | Information at a Price |
| 15 | A Plot Revealed |
| 16 | The Bloodworm Helm |
| 17 | The Necromancer's Amulet |
| 18 | Ambush |
| 19 | Confront the King |
| 20 | Alchemy Acquisitions |
Comment
Author
Cheydinhal Recommendation Walkthrough and Rewards
improvement survey
03/2026
improving Game8's site?

Your answers will help us to improve our website.
Note: Please be sure not to enter any kind of personal information into your response.

We hope you continue to make use of Game8.
Rankings
- We could not find the message board you were looking for.
Gaming News
Popular Games

Genshin Impact Walkthrough & Guides Wiki

Honkai: Star Rail Walkthrough & Guides Wiki

Umamusume: Pretty Derby Walkthrough & Guides Wiki

Pokemon Pokopia Walkthrough & Guides Wiki

Resident Evil Requiem (RE9) Walkthrough & Guides Wiki

Monster Hunter Wilds Walkthrough & Guides Wiki

Wuthering Waves Walkthrough & Guides Wiki

Arknights: Endfield Walkthrough & Guides Wiki

Pokemon FireRed and LeafGreen (FRLG) Walkthrough & Guides Wiki

Pokemon TCG Pocket (PTCGP) Strategies & Guides Wiki
Recommended Games

Diablo 4: Vessel of Hatred Walkthrough & Guides Wiki

Fire Emblem Heroes (FEH) Walkthrough & Guides Wiki

Yu-Gi-Oh! Master Duel Walkthrough & Guides Wiki

Super Smash Bros. Ultimate Walkthrough & Guides Wiki

Pokemon Brilliant Diamond and Shining Pearl (BDSP) Walkthrough & Guides Wiki

Elden Ring Shadow of the Erdtree Walkthrough & Guides Wiki

Monster Hunter World Walkthrough & Guides Wiki

The Legend of Zelda: Tears of the Kingdom Walkthrough & Guides Wiki

Persona 3 Reload Walkthrough & Guides Wiki

Cyberpunk 2077: Ultimate Edition Walkthrough & Guides Wiki
All rights reserved
© 2025 ZeniMax Media Inc. All Rights Reserved.
The copyrights of videos of games used in our content and other intellectual property rights belong to the provider of the game.
The contents we provide on this site were created personally by members of the Game8 editorial department.
We refuse the right to reuse or repost content taken without our permission such as data or images to other sites.





![Everwind Review [Early Access] | The Shaky First Step to A Very Long Journey](https://img.game8.co/4440226/ab079b1153298a042633dd1ef51e878e.png/thumb)

![Monster Hunter Stories 3 Review [First Impressions] | Simply Rejuvenating](https://img.game8.co/4438641/2a31b7702bd70e78ec8efd24661dacda.jpeg/thumb)


