Hammerhead Bridge Map and Stage Tips
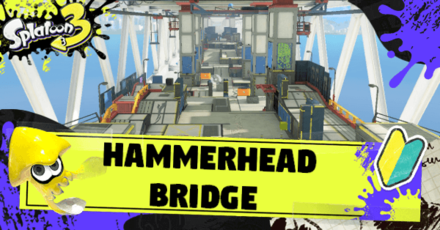
Hammerhead Bridge is a returning stage in Splatoon 3. Read on to learn more about this stage, as well as some tips, the best spots, and the best weapons to use when playing on this map.
List of Contents
Hammerhead Bridge Map
Hammerhead Bridge Map Layouts
| Hammerhead Bridge Map Layouts | |
|---|---|
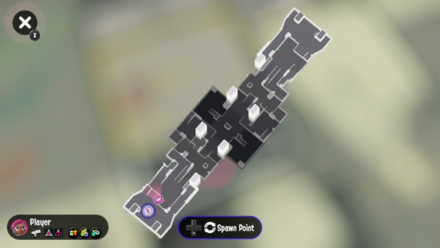 Enlarge EnlargeTurf War (View Full Stage Layout) |
|
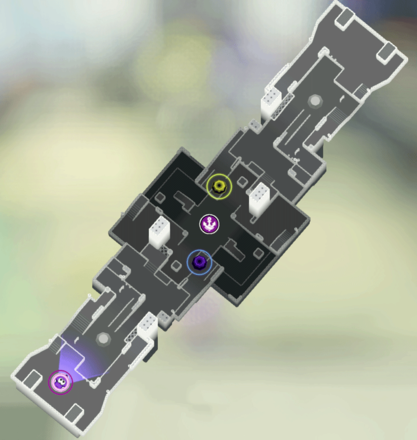
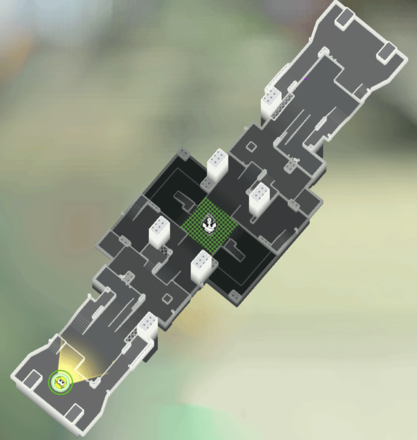 Enlarge EnlargeSplat Zones |
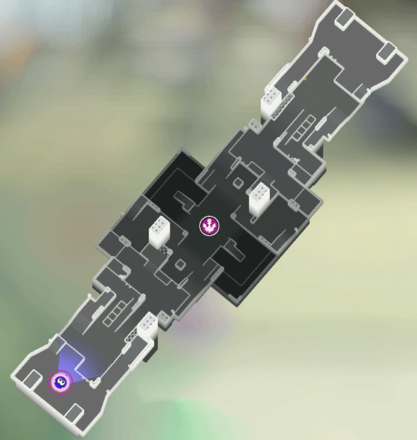 Enlarge EnlargeTower Control |
 Rainmaker |
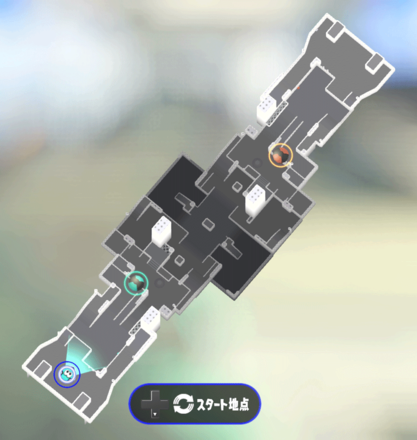 Enlarge EnlargeClam Blitz |
Hammerhead Bridge is a returning stage in Splatoon 3. It is a long and narrow bridge with slopes on both sides. It doesn't have a lot of high ground but the path to the each team's base is a bit steep, allowing players to splat their opponents from above.
Hammerhead Bridge Tips and Best Spots
| Hammerhead Bridge Tips |
|---|
|
|
Secure the Central Area
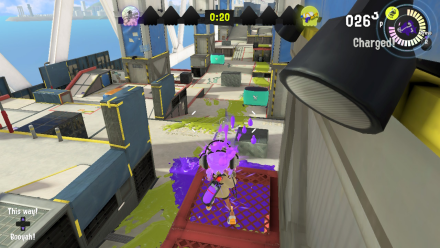
The central area of the stage is the only path to the enemy's base so it is important for your team to secure it. There is a single block in the area that you can use as a hiding spot but if you're using a long-ranged weapon, we suggest splatting enemies from the grates near the entrance of your base.
Once the area is secured, your team can continue forward and start inking the enemy's base. When in a pich, you can retreat safely knowing that the central area is covered in your team's ink
Don't Forget to Ink the Sides
The two areas beside the central part of the stage is a good place to ambush enemies so don't forget to ink them too! Remember that enemies can ambush you this way as well so watch out for surprise attacks from your opponents.
Super Jump to Teammates
Since the map is big, it will take you time to travel from your team's base to areas that are farther away.
Because of this, we recommend doing a Super Jump to a teammate every time you respawn so you can get back to inking turf right away!
Hammerhead Bridge Best Weapons
Rollers, Curling Bombs, and Reefsliders
| Main | Sub | Special | Lv. Required |
|---|---|---|---|
 Splat Roller Splat Roller
|
 Curling Bomb Curling Bomb
|
 Big Bubbler Big Bubbler
|
2 |
 Aerospray MG Aerospray MG
|
 Fizzy Bomb Fizzy Bomb
|
 Reefslider Reefslider
|
5 |
 Carbon Roller Carbon Roller
|
 Autobomb Autobomb
|
 Zipcaster Zipcaster
|
6 |
 Sploosh-o-matic Sploosh-o-matic
|
 Curling Bomb Curling Bomb
|
 Ultra Stamp Ultra Stamp
|
9 |
 Dynamo Roller Dynamo Roller
|
 Sprinkler Sprinkler
|
 Tacticooler Tacticooler
|
12 |
 Dark Tetra Dualies Dark Tetra Dualies
|
 Autobomb Autobomb
|
 Reefslider Reefslider
|
17 |
 Flingza Roller Flingza Roller
|
 Ink Mine Ink Mine
|
 Tenta Missiles Tenta Missiles
|
20 |
The Reefslider is great for this stage because of its ability to charge forward and ink turf while splatting enemies on its way. With this special weapon, you can easily enter the enemy's base and have a good headstart because of the explosion the Reefslider will make.
If you're not really feeling the Reefslider, you can opt for the curling bomb instead.
Rollers are also a good choice because of their amazing inking potential. There are many horizontal spaces to cover in this stage and everyone knows rollers are just great for this kind of job!
Splatoon 3 Related Guides

List of All New Stages
| All New Stages | |
|---|---|
 Scorch Gorge |
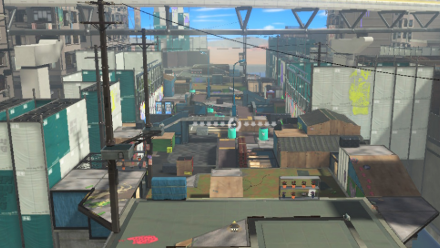 Eeltail Alley |
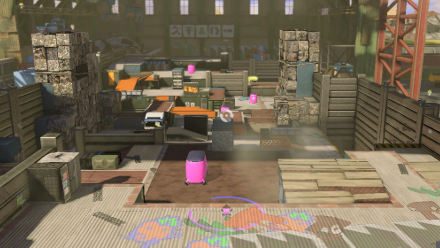 Mincemeat Metalworks |
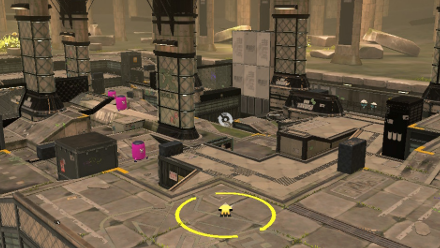 Undertow Spillway |
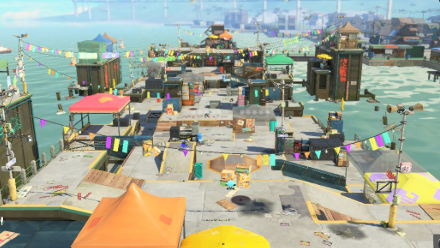 Hagglefish Market |
|
List of All Returning Stages
| All Returning Stages | |
|---|---|
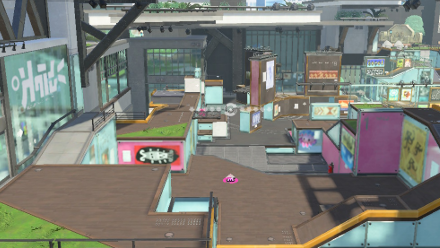 Museum D'Alfonsino |
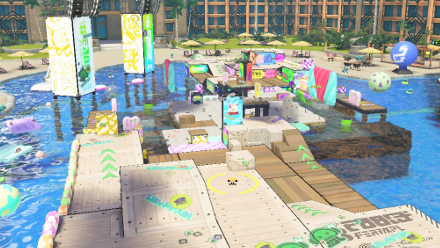 Mahi-Mahi Resort |
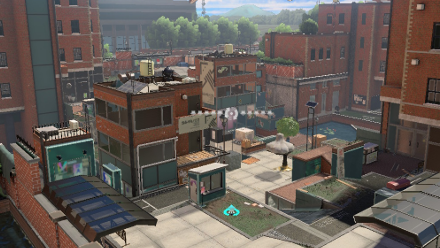 Inkblot Art Academy |
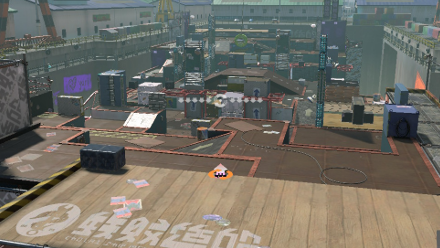 Sturgeon Shipyard |
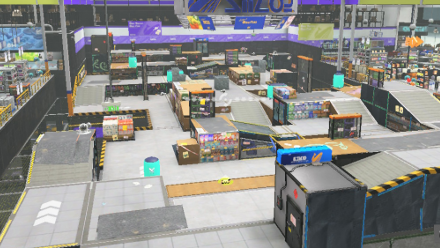 Makomart |
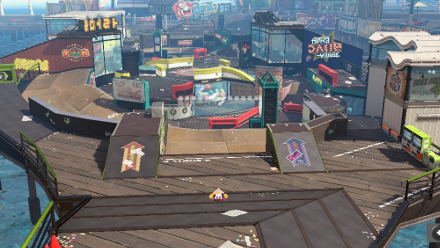 Wahoo World |
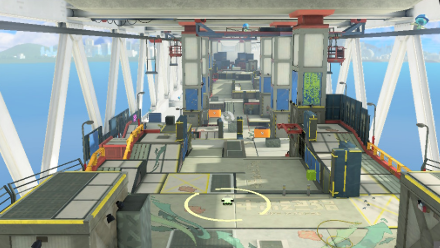 Hammerhead Bridge |
- |
Author
Hammerhead Bridge Map and Stage Tips
improvement survey
04/2026
improving Game8's site?

Your answers will help us to improve our website.
Note: Please be sure not to enter any kind of personal information into your response.

We hope you continue to make use of Game8.
Rankings
- We could not find the message board you were looking for.
Gaming News
Popular Games

Genshin Impact Walkthrough & Guides Wiki

Crimson Desert Walkthrough & Guides Wiki

Umamusume: Pretty Derby Walkthrough & Guides Wiki

Honkai: Star Rail Walkthrough & Guides Wiki

Monster Hunter Stories 3: Twisted Reflection Walkthrough & Guides Wiki

Wuthering Waves Walkthrough & Guides Wiki

The Seven Deadly Sins: Origin Walkthrough & Guides Wiki

Pokemon TCG Pocket (PTCGP) Strategies & Guides Wiki

Pokemon Pokopia Walkthrough & Guides Wiki

Zenless Zone Zero Walkthrough & Guides Wiki
Recommended Games

Fire Emblem Heroes (FEH) Walkthrough & Guides Wiki

Pokemon Brilliant Diamond and Shining Pearl (BDSP) Walkthrough & Guides Wiki

Super Smash Bros. Ultimate Walkthrough & Guides Wiki

Diablo 4: Vessel of Hatred Walkthrough & Guides Wiki

Cyberpunk 2077: Ultimate Edition Walkthrough & Guides Wiki

Yu-Gi-Oh! Master Duel Walkthrough & Guides Wiki

Elden Ring Shadow of the Erdtree Walkthrough & Guides Wiki

Monster Hunter World Walkthrough & Guides Wiki

The Legend of Zelda: Tears of the Kingdom Walkthrough & Guides Wiki

Persona 3 Reload Walkthrough & Guides Wiki
All rights reserved
© Nintendo
The copyrights of videos of games used in our content and other intellectual property rights belong to the provider of the game.
The contents we provide on this site were created personally by members of the Game8 editorial department.
We refuse the right to reuse or repost content taken without our permission such as data or images to other sites.


![Forza Horizon 6 Review [Preview] | Beautiful Roads With a Whole Lot of Oversteer](https://img.game8.co/4460981/a7254c24945c43fbdf6ad9bea52b5ce9.png/show)

![Forza Horizon 6 Review [Preview] | Beautiful Roads With a Whole Lot of Oversteer](https://img.game8.co/4460981/a7254c24945c43fbdf6ad9bea52b5ce9.png/thumb)
![Borderlands Mobile Review [Playtest] | The Same Borderlands Made Easy](https://img.game8.co/4465500/aac0c880a39ec5cd46073e49d18f3ed5.png/thumb)


