This survey will take about 1 minute.
Your answers will help us to improve our website.
Splatoon 3
Water Levels: How to Tell if It's Low or High Tide?

Changes in Water Levels are a Known Occurrence in Splatoon 3's Salmon Run Next Wave where the stage expands or shrinks depending on changes in the tide. Read on to learn how to tell if it's low or high tide during this special wave, strategies for each water level change, as well as a list of maps for stages during low and high tide.
List of Contents
How to Tell if It's Low or High Tide
Water Level Known Occurrence
 Water Levels Water Levels |
|
| How to Get Golden Eggs | |
|---|---|
| Special Wave Information | |
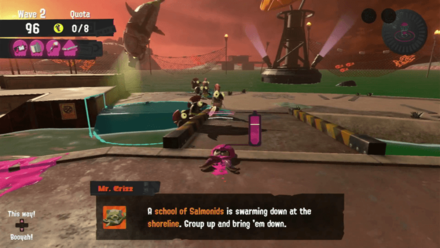
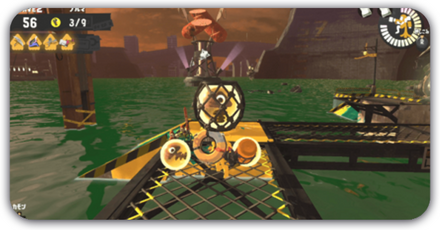
Tide Rises or Recedes at the Start of the Wave
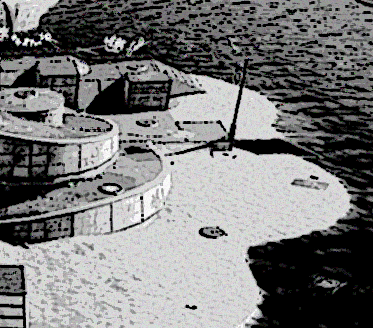
A wave effect will appear at the start of the wave indicating the current water levels, with the wave going up or down depending if it's High or Low Tide.
Once the 3 Seconds Until the Wave Starts is displayed, then the transition of the tide is complete. Make sure to check the edges of the map, especially during High Tide, to avoid accidentally falling into the sea once the water level rises.
List of Wave Changes at the Start of the Wave
| Low Tide | Normal | High Tide |
|---|---|---|
 |
 |
 |
Keep in mind that tide changes occur during the countdown, so you'll want to retreat to a safe spot - especially during High Tide!
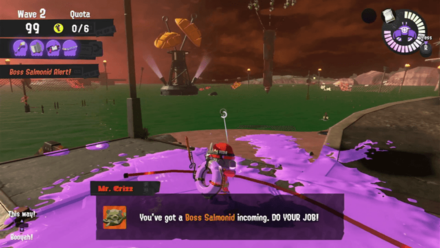
Water Levels Overlap with Other Special Waves
Water Levels are the only known occurrence that overlaps with other special waves, with certain occurrences becoming easier or more challenging. Conversely, there are special waves that are restricted to certain water levels.
The Rush and Fog known occurrences become more difficult during high tide, while The Mothership special wave becomes easier to do during low tide when there's more room to navigate.
Special Waves that Overlap with Any Water Level
 Rush Rush |
 Fog Fog |
 The Griller The Griller |
 Goldie Seeking Goldie Seeking |
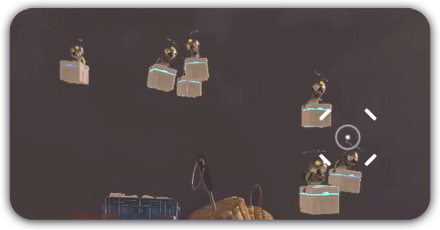 The Mothership The Mothership |
 Mudmouth Eruption Mudmouth Eruption |
Special Waves Restricted to Low Tide
 Cohok Charge Cohok Charge |
 Giant Tornado Giant Tornado |
Low Tide Strategies
| Strategies for Low Tide |
|---|
| |
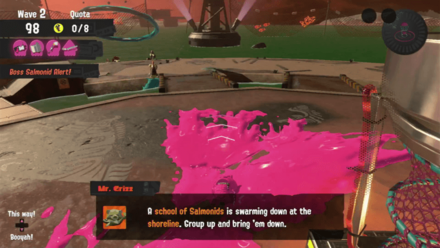
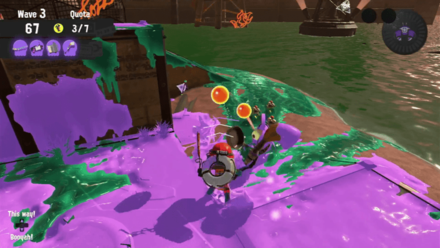
Ink the Coastline Immediately
As soon as the water recedes, ink the coastline especially around the Egg Container so you and your teammates have plenty of space is swim and refill. More Lesser Salmonids appear during low tides, so inking a large area of turf can help even the odds!
It's also a good idea to ink the scaffolding and piers near the Salmonids' spawn points as these are very narrow and it's easy to get pushed into the sea by the Salmonids.
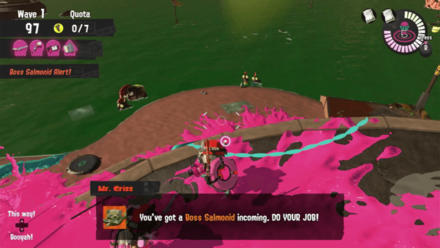
Take Advantage of the Open Space
In many maps during Low Tide, the expanded coastline has little to no walls or platforms where you can retreat to when the Salmonids are swarming.
You can use the open space to your advantage though as you have more room to lure out dangerous Boss Salmonids. The Steel Eel, in particular, is very vulnerable in open areas since it has no choke points to trap players in.
Avoid Venturing Near the Spawn Points Alone
It's not a good idea in general to hang out near Salmonid spawn points alone. During Low Tide, the Salmonids tend to spawn in greater numbers and their spawn points are located in narrow spots where it's easy to fall into the ocean.
If you're planning to camp the Salmonid spawn points, it's best to go with another player or call your team's attention with by pressing the Up D-Pad Button!
High Tide Strategies
| Strategies for High Tide |
|---|
| |
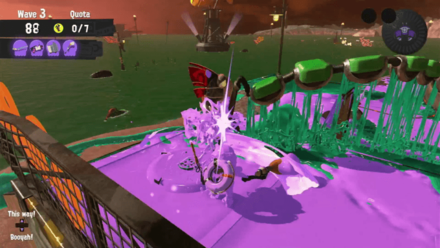
Ink the Walls of Platforms
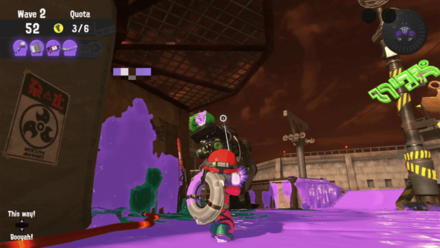
Once the water levels go up, ink the walls of the stage! The Salmonids tend to spawn on the ground and it's easy to get trapped with no way out.
By inking the walls, you have an emergency exit to higher ground and can escape troublesome Boss Salmonids such as Maws with little difficulty.
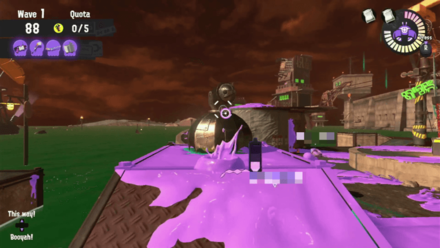
Head Up Higher Ground
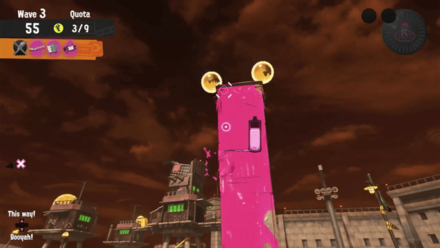
Always head up higher ground during High Tide as the limited ground can prove troublesome if the Salmonids manage to ink a large area of land.
Watch out for Fish Sticks since defeating them leaves tall pillars that you can use as vantage points, especially if you have a Splat Charger equipped!
Avoid Swimming on Wire Meshes
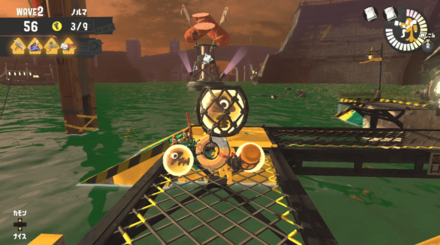
Many maps with wire mesh pathways have water underneath during High Tide. While it's safe to run across it, avoid swimming on the wire mesh or else you'll fall into the water!
Low and High Tide Map List
Sockeye Station Low and High Tide Maps
| Low Tide | High Tide |
|---|---|
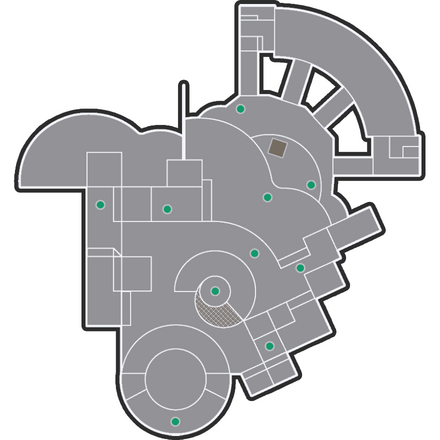 |
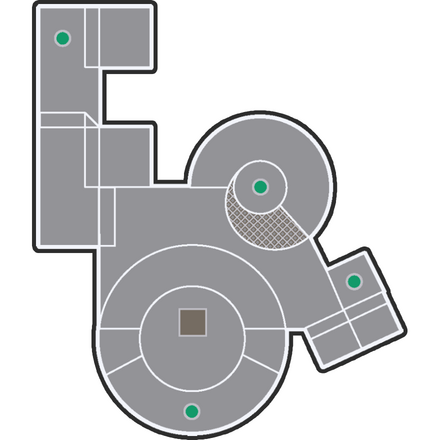 |
| Map Features | |
Gone Fission Hydroplant Low and High Tide Maps
| Low Tide | High Tide |
|---|---|
 |
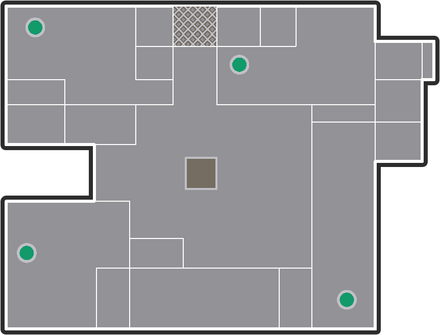 |
| Map Features | |
Spawning Grounds Low and High Tide Maps
| Low Tide | High Tide |
|---|---|
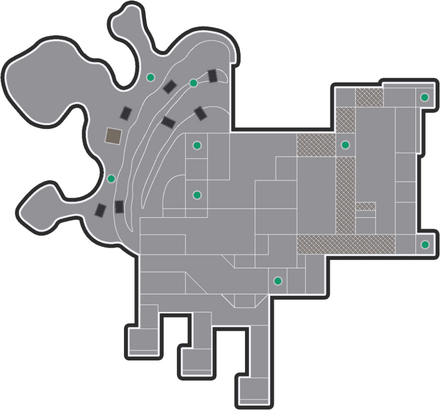 |
 |
| Map Features | |
Splatoon 3 Related Guides
All Known Occurrences (Special Waves)
List of Known Occurrences
 Water Levels Water Levels |
Rush |
Fog |
| The Griller |
Cohok Charge |
Goldie Seeking |
| The Mothership |
Mudmouth Eruption |
Giant Tornado |
Author

Water Levels: How to Tell if It's Low or High Tide?
Please participate in our site
improvement survey
04/2026
improvement survey
04/2026
Would you assist in
improving Game8's site?
improving Game8's site?

×
We are listening to our users' valuable opinions and discussing how to act on them.
The information collected through this survey will be used for the purpose of improving our services. In addition, the information will only be disclosed a part of a statistic in a format that will not allow identification of personal information.
Begin Survey
Not Now
×
Please rate each item regarding Game8.co's Advertisements.
Amount of Ads
Very Dissatisfied
Somewhat Dissatisfied
Fine
Somewhat Satisfied
Highly Satisfied
Placement of Ads
Timing of Ad Display
Ad Loading Speed
Safeness of Ads
Content of Ads
×
Please rate each item regarding Game8.co's Quality of Articles.
Amount of information
Very Dissatisfied
Somewhat Dissatisfied
Fine
Somewhat Satisfied
Highly Satisfied
Frequency of updates
Speed of new information
Accuracy of articles
Understandibility of articles
Readability of sentences
×
Please rate each item regarding Game8.co's Usability of the Site.
Ease of finding information
Very Dissatisfied
Somewhat Dissatisfied
Fine
Somewhat Satisfied
Highly Satisfied
Loading Speed
Use of Color
Font Size
Visibility of Images
Easy to Understand Layout
×
Please rate each item regarding Game8.co's Message Boards, Comments.
Ease of Writing
Very Dissatisfied
Somewhat Dissatisfied
Fine
Somewhat Satisfied
Highly Satisfied
Readability
Ease in Finding Information
Comment Quality
Comment Quantity
Admin Response
×
Please rate each item regarding Game8.co's Site's new design.
Please rate our site's new design
Very Dissatisfied
Somewhat Dissatisfied
Fine
Somewhat Satisfied
Highly Satisfied
Do you think that the website's design change makes the site easier to use?
Has the new design made it easier for you to find information on the site?
Has the new design improved the overall visual appeal of the site?
How would you rate your overall satisfaction with the new design of the site?
×
How likely are you to recommend Game8 to someone you know?
Very Unlikely
0
1
2
3
4
5
6
7
8
9
10
Very Likely
If you have other opinions regarding potential improvement to the website, please share them with us. We would appreciate your honest opinion.
Note: This is a free response section, so you can proceed without entering anything.
Note: Please be sure not to enter any kind of personal information into your response.
Note: Please be sure not to enter any kind of personal information into your response.
×
Thank You
×
Thank you for participating in our survey! Your answers will help us to improve the quality of our website and services.
We hope you continue to make use of Game8.
We hope you continue to make use of Game8.
Close
Rankings
- We could not find the message board you were looking for.
Gaming News

![Forza Horizon 6 Review [Preview] | Beautiful Roads With a Whole Lot of Oversteer](https://img.game8.co/4460981/a7254c24945c43fbdf6ad9bea52b5ce9.png/show)

![Forza Horizon 6 Review [Preview] | Beautiful Roads With a Whole Lot of Oversteer](https://img.game8.co/4460981/a7254c24945c43fbdf6ad9bea52b5ce9.png/thumb)
![Borderlands Mobile Review [Playtest] | The Same Borderlands Made Easy](https://img.game8.co/4465500/aac0c880a39ec5cd46073e49d18f3ed5.png/thumb)
Popular Games

Genshin Impact Walkthrough & Guides Wiki
Crimson Desert Walkthrough & Guides Wiki
Umamusume: Pretty Derby Walkthrough & Guides Wiki
Honkai: Star Rail Walkthrough & Guides Wiki
Monster Hunter Stories 3: Twisted Reflection Walkthrough & Guides Wiki
Wuthering Waves Walkthrough & Guides Wiki
The Seven Deadly Sins: Origin Walkthrough & Guides Wiki
Pokemon TCG Pocket (PTCGP) Strategies & Guides Wiki
Pokemon Pokopia Walkthrough & Guides Wiki
Zenless Zone Zero Walkthrough & Guides Wiki


Recommended Games
Fire Emblem Heroes (FEH) Walkthrough & Guides Wiki
Pokemon Brilliant Diamond and Shining Pearl (BDSP) Walkthrough & Guides Wiki
Super Smash Bros. Ultimate Walkthrough & Guides Wiki
Diablo 4: Vessel of Hatred Walkthrough & Guides Wiki
Cyberpunk 2077: Ultimate Edition Walkthrough & Guides Wiki
Yu-Gi-Oh! Master Duel Walkthrough & Guides Wiki
Elden Ring Shadow of the Erdtree Walkthrough & Guides Wiki
Monster Hunter World Walkthrough & Guides Wiki
The Legend of Zelda: Tears of the Kingdom Walkthrough & Guides Wiki
Persona 3 Reload Walkthrough & Guides Wiki


All rights reserved
© Nintendo
The copyrights of videos of games used in our content and other intellectual property rights belong to the provider of the game.
The contents we provide on this site were created personally by members of the Game8 editorial department.
We refuse the right to reuse or repost content taken without our permission such as data or images to other sites.