
This survey will take about 1 minute.
Your answers will help us to improve our website.
Bravely Default 2 (Bravely Default II)
Crystal's Resting Place Dungeon Map and Treasure Chest Locations
This is the complete guide to the Crystal's Resting Place, a dungeon in Bravely Default 2 for the Nintendo Switch. We have everything you need to know including treasure chest locations, a map of the area, which enemies appear, and more!
| Nearby Areas |
|---|
| Musa |
List of Contents
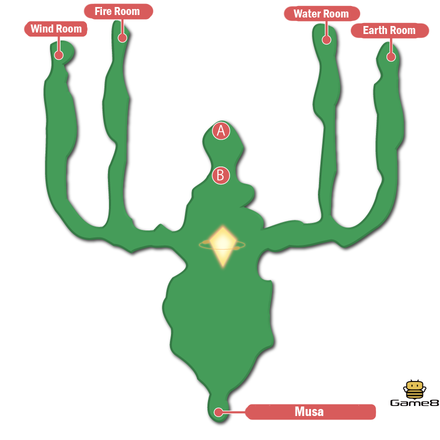
Crystal's Resting Place Dungeon Map
 |
 |
|---|---|
 |
 |
 |
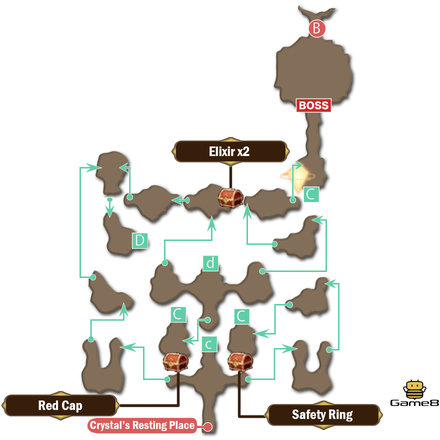 |
Treasure Chest Locations
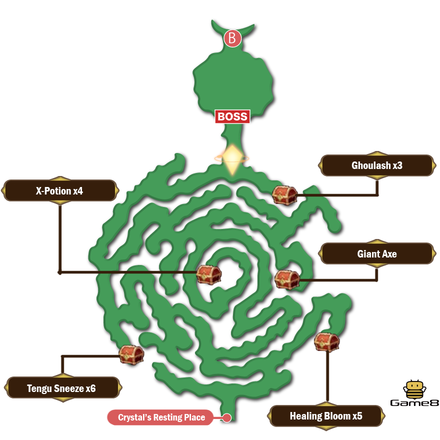
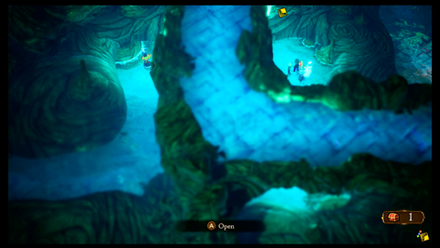
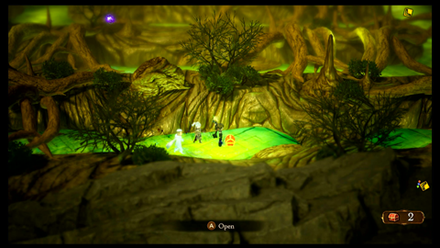
Wind Room
| # Type |
Location and Description | Loot |
|---|---|---|
| 1 Normal Chest |
 From the entrance, follow the path northeast and it will lead to this chest. |
5x Healing Bloom |
| 2 Normal Chest |
 Follow the winding path that spirals into itself on the west side of the map. |
4x X-Potion |
| 3 Mimic Chest |
 East of the map. Face against 4 Unicronies. |
Giant Axe |
| 4 Normal Chest |
 In the southwest-most corner of the map. |
6x Tengu Sneeze |
| 5 Normal Chest |
 On the path east of the save point. |
3x Ghoulash |
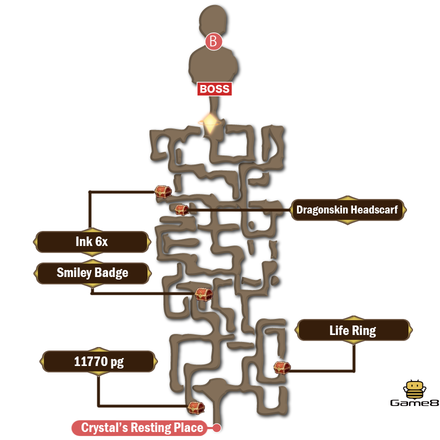
Water Room
| # Type |
Location and Description | Loot |
|---|---|---|
| 1 Normal Chest |
 In a raised platform near the northwest part of the map. |
6x Ink |
| 2 Normal Chest |
 In the raised platform near the southwest part of the map. |
11770 pg |
| 3 Mimic Chest |
 In the raised platform near the southeast part of the map. Face against 3 Umbra Elements. |
Life Ring |
| 4 Normal Chest |
 In the lower pathway near the northwest part of the map. |
Dragonskin Headscarf |
| 5 Normal Chest |
 Navigate the lower pathways near the west side of the map. |
Smiley Badge |
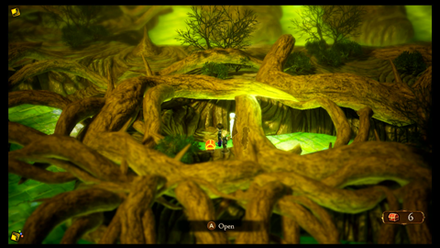
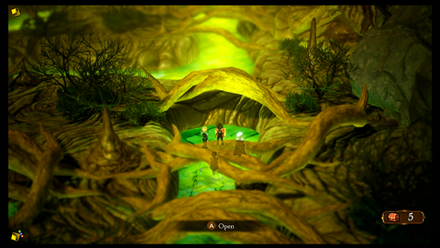
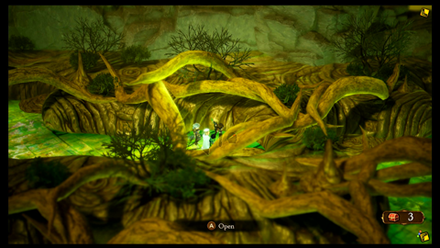
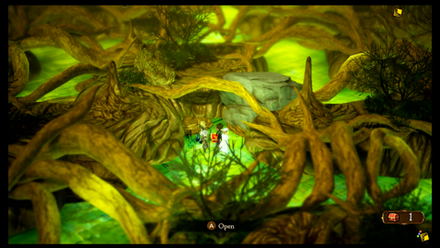
Earth Room
| # Type |
Location and Description | Loot |
|---|---|---|
| 1 Normal Chest |
 Navigate the mazes towards the east of the room. |
Soul of Thamasa |
| 2 Normal Chest |
 On the east side of the room. |
4x Hush Pollen |
| 3 Mimic Chest |
 Navigate the mazes on the west side of the room and move towards the middle. Face against 4 Umbra Elements. |
Giant's Gloves |
| 4 Normal Chest |
 On the northwest part of the room. |
Large JP Orb |
| 5 Normal Chest |
 In the southwest-most part of the room. |
Snappy Sash |
| 6 Normal Chest |
 Navigate the mazes towards the west of the room. |
6210 pg |
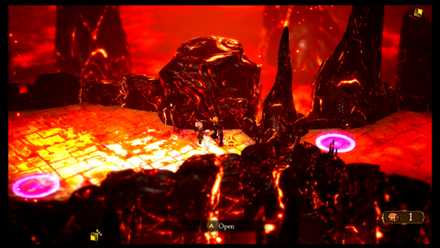
Fire Room
| # Type |
Location and Description | Loot |
|---|---|---|
| 1 Normal Chest |
 Take the following order of teleporters upon entering the room. Right, right, left. |
Safety Ring |
| 2 Normal Chest |
 From the previous chest, take the top teleporter, then follow this sequence of teleporters: Left, left, top left, bottom, bottom right, bottom. You'll end up in the room with the second chest. |
Red Cap |
| 3 Normal Chest |
 From the second chest, take the top teleporter, then follow this sequence of teleporters: Left, left, top left, bottom, bottom right, left,. The third chest will be on your right. |
2x Elixir |
Monsters Found in the Crystal's Resting Place
Bosses
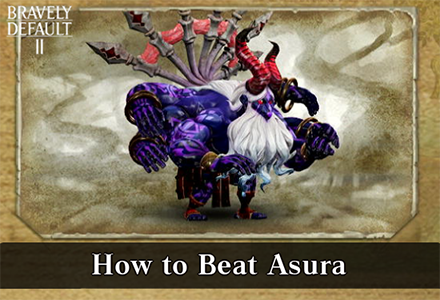 Asura Asura
|
Recommended Level: 50+ Weaknesses :
・Asura's multi-hit attacks can be blocked by Shieldmasters ・Doesn't counter magic attacks. |
|---|---|
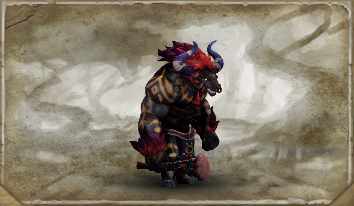
 Catoblepas Catoblepas
|
Recommended Level: 50+ Weaknesses:
・Can be paralyzed by the Phantom ・3 Brave moves can be lethal. Don't let it move! ・Counters all damage types. |
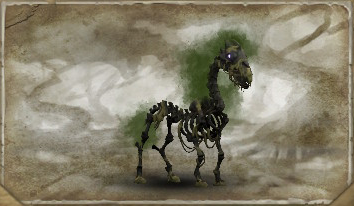
 Genbu Genbu
|
Recommended Level: 50+ Weaknesses :
・Physical damage gets reflected. ・Can deal heavy single target physical damage. |
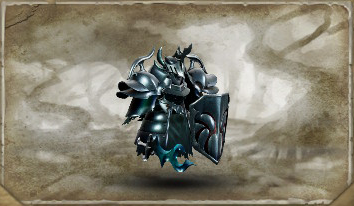
 Immortal Immortal
|
Recommended Level: 50+ Weaknesses:
・Easily defeated by a Vanguard. ・Can be paralyzed. |
 Edna Edna
|
Recommended Level: 55+ Weaknesses:
・She can run out of MP via Contagion! ・Slot in +3 Wind Resist Gear |
Normal Monsters
| Enemy | Basic Info | |
|---|---|---|
 Tejas Tejas |
||
| Vulnerable | Immune | |
| Half DMG | Absorbs | |
 Sekhret Sekhret |
||
| Vulnerable | Immune | |
No Immunities |
||
| Half DMG | Absorbs | |
No Damage Type Absorbed |
||
 Xanthos Xanthos |
||
| Vulnerable | Immune | |
| Half DMG | Absorbs | |
 Midnight Wizzy Midnight Wizzy |
||
| Vulnerable | Immune | |
| Half DMG | Absorbs | |
No Damage Type Absorbed |
||
Bravely Default 2 Related Guides
Bravely Default 2 Location Guides
| Towns | |
|---|---|
 Halcyonia Halcyonia |
 Savalon Savalon |
 Wiswald Wiswald |
 Rimedhal Rimedhal |
 Enderno Enderno |
 Holograd Holograd |
 Musa Musa |
 Mag Mell Mag Mell |
Maps
| Overworld Maps | |
|---|---|
| Near Halcyonia | Near Savalon |
| Near Wiswald | Near Rimedhal |
| Near Holograd | Near Musa |
| Dungeon Maps | |
|---|---|
| Prologue | |
| Outlaw's Hideout | Hydrangea Hills |
| Vale of Sighs | - |
| Chapter 1 | |
| Sandswept Ruins | Underground Reservoir |
| Abandoned Mansion | Bernard's Mansion |
| Savalon Dungeon | - |
| Chapter 2 | |
| Wiswald Woods | Sewers |
| Institute | Treetop Tower |
| Secret Studio | Wayward Woods |
| Miasma Woods | - |
| Chapter 3 | |
| Serpent's Grotto | Jaws of Judgement |
| Hall of High Holies | Frosty Forest |
| Crystalcap Mountain | - |
| Chapter 4 | |
| Holograd Army HQ | Flying Fortress |
| Wrecked Institute | - |
| Chapter 5 | |
| Waterfall Path | Magma Mountain |
| Crystal's Resting Place | Chromatite Mines |
| Chapter 6 | |
| Fount of Knowledge | |
| Chapter 7 | |
| Isle of Nothingness | |
Author

Crystal's Resting Place Dungeon Map and Treasure Chest Locations
Please participate in our site
improvement survey
03/2026
improvement survey
03/2026
Would you assist in
improving Game8's site?
improving Game8's site?

×
We are listening to our users' valuable opinions and discussing how to act on them.
The information collected through this survey will be used for the purpose of improving our services. In addition, the information will only be disclosed a part of a statistic in a format that will not allow identification of personal information.
Begin Survey
Not Now
×
Please rate each item regarding Game8.co's Advertisements.
Amount of Ads
Very Dissatisfied
Somewhat Dissatisfied
Fine
Somewhat Satisfied
Highly Satisfied
Placement of Ads
Timing of Ad Display
Ad Loading Speed
Safeness of Ads
Content of Ads
×
Please rate each item regarding Game8.co's Quality of Articles.
Amount of information
Very Dissatisfied
Somewhat Dissatisfied
Fine
Somewhat Satisfied
Highly Satisfied
Frequency of updates
Speed of new information
Accuracy of articles
Understandibility of articles
Readability of sentences
×
Please rate each item regarding Game8.co's Usability of the Site.
Ease of finding information
Very Dissatisfied
Somewhat Dissatisfied
Fine
Somewhat Satisfied
Highly Satisfied
Loading Speed
Use of Color
Font Size
Visibility of Images
Easy to Understand Layout
×
Please rate each item regarding Game8.co's Message Boards, Comments.
Ease of Writing
Very Dissatisfied
Somewhat Dissatisfied
Fine
Somewhat Satisfied
Highly Satisfied
Readability
Ease in Finding Information
Comment Quality
Comment Quantity
Admin Response
×
Please rate each item regarding Game8.co's Site's new design.
Please rate our site's new design
Very Dissatisfied
Somewhat Dissatisfied
Fine
Somewhat Satisfied
Highly Satisfied
Do you think that the website's design change makes the site easier to use?
Has the new design made it easier for you to find information on the site?
Has the new design improved the overall visual appeal of the site?
How would you rate your overall satisfaction with the new design of the site?
×
How likely are you to recommend Game8 to someone you know?
Very Unlikely
0
1
2
3
4
5
6
7
8
9
10
Very Likely
If you have other opinions regarding potential improvement to the website, please share them with us. We would appreciate your honest opinion.
Note: This is a free response section, so you can proceed without entering anything.
Note: Please be sure not to enter any kind of personal information into your response.
Note: Please be sure not to enter any kind of personal information into your response.
×
Thank You
×
Thank you for participating in our survey! Your answers will help us to improve the quality of our website and services.
We hope you continue to make use of Game8.
We hope you continue to make use of Game8.
Close
Rankings
- We could not find the message board you were looking for.
Gaming News


![Slay the Spire 2 Review [Early Access] | Still the Deckbuilder to Beat](https://img.game8.co/4433115/44e19e1fb0b4755466b9e516ec7ffb1e.png/thumb)

![Resident Evil Village Review [Switch 2] | Almost Flawless Port](https://img.game8.co/4432790/e1859f64830960ce4248d898f8cd38d9.jpeg/thumb)
Popular Games

Genshin Impact Walkthrough & Guides Wiki
Honkai: Star Rail Walkthrough & Guides Wiki
Umamusume: Pretty Derby Walkthrough & Guides Wiki
Pokemon Pokopia Walkthrough & Guides Wiki
Resident Evil Requiem (RE9) Walkthrough & Guides Wiki
Monster Hunter Wilds Walkthrough & Guides Wiki
Wuthering Waves Walkthrough & Guides Wiki
Arknights: Endfield Walkthrough & Guides Wiki
Pokemon FireRed and LeafGreen (FRLG) Walkthrough & Guides Wiki
Pokemon TCG Pocket (PTCGP) Strategies & Guides Wiki


Recommended Games
Fire Emblem Heroes (FEH) Walkthrough & Guides Wiki
Diablo 4: Vessel of Hatred Walkthrough & Guides Wiki
Yu-Gi-Oh! Master Duel Walkthrough & Guides Wiki
Super Smash Bros. Ultimate Walkthrough & Guides Wiki
Pokemon Brilliant Diamond and Shining Pearl (BDSP) Walkthrough & Guides Wiki
Elden Ring Shadow of the Erdtree Walkthrough & Guides Wiki
Monster Hunter World Walkthrough & Guides Wiki
The Legend of Zelda: Tears of the Kingdom Walkthrough & Guides Wiki
Persona 3 Reload Walkthrough & Guides Wiki
Cyberpunk 2077: Ultimate Edition Walkthrough & Guides Wiki


All rights reserved
© 2021 SQUARE ENIX CO., LTD. All Rights Reserved.
The copyrights of videos of games used in our content and other intellectual property rights belong to the provider of the game.
The contents we provide on this site were created personally by members of the Game8 editorial department.
We refuse the right to reuse or repost content taken without our permission such as data or images to other sites.