Outlaw's Hideout Dungeon Map and Treasure Chest Locations
This is the complete guide to the Outlaw's Hideout, a dungeon in Bravely Default 2 for the Nintendo Switch. We have everything you need to know including treasure chest locations, a map of the area, which enemies appear, and more!
| Nearby Areas |
|---|
| Near Halcyonia |
List of Contents
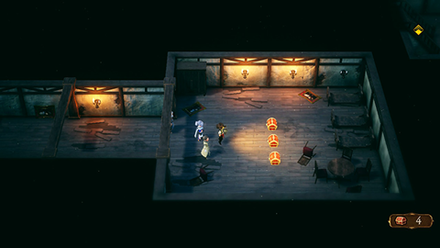
Outlaw's Hideout Dungeon Map
 |
 |
 |
Treasure Chest Locations
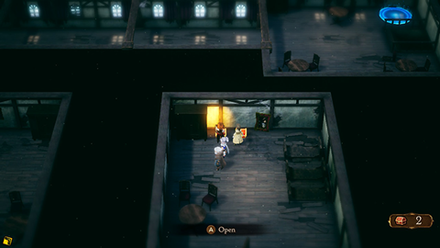
1F Chests
| # Type |
Location and Description | Loot |
|---|---|---|
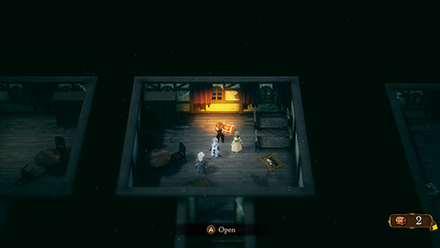
| 1 Normal Chest |
 In the room closest to the entrance. |
Teleport Stone |
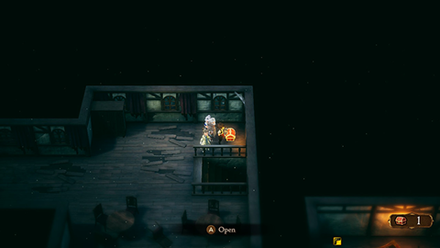
| 2 Normal Chest |
 In the second room from the left in the back row of rooms. |
320 pg |
| 3 Normal Chest |
 Beside the second staircase leading to the basement. In the same room as the Ghost Knight. |
2x Mini Ether |
B1 Chests
| # Type |
Location and Description | Loot |
|---|---|---|
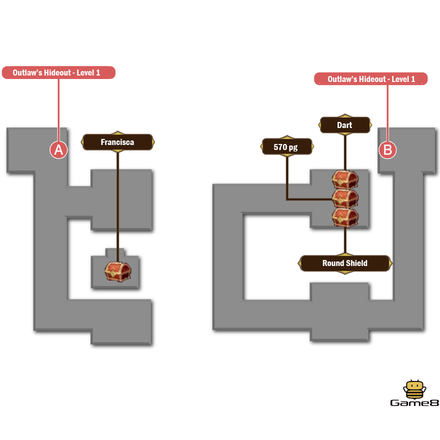
| 1 Normal Chest |
 At the end of a hallway with three other chests. Top chest among three chests |
Dart |
| 2 Normal Chest |
 At the end of a hallway with three other chests. Middle chest among three chests |
570 pg |
| 3 Normal Chest |
 At the end of a hallway with three other chests. Bottom chest among three chests |
Round Shield |
| 4 Mimic Chest |
 In a side room when entering the basement from the left stairwell. Face against two Bronzegoyles. |
Francisca |
2F Chests
| # Type |
Location and Description | Loot |
|---|---|---|
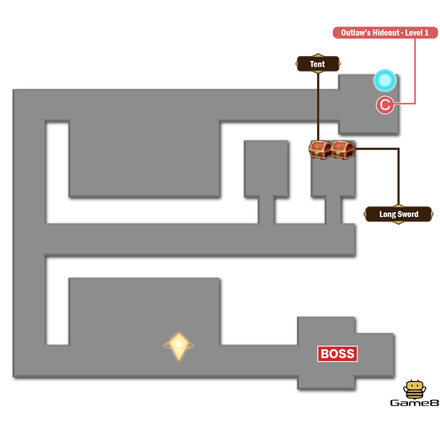
| 1 Normal Chest |
 On the third room, middle row of Outlaws Hideout. |
Tent |
| 2 Normal Chest |
 On the third room, middle row of Outlaws Hideout. |
Long Sword |
Monsters Found in the Outlaw's Hideout
Bosses
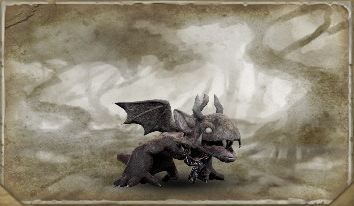
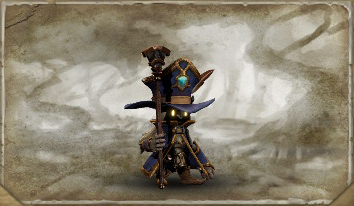
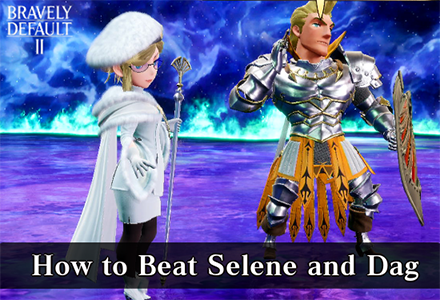 Selene and Dag Selene and Dag |
Recommended Level: 3-5 Weaknesseses:Selene- Weaknesseses:Dag-
・ Just Defaulting can work thanks to Sir Sloan's high damage |
|---|
Normal Monsters
| Enemy | Basic Info | |
|---|---|---|
 Ghost Knight Ghost Knight |
||
| Vulnerable | Immune | |
No Immunities |
||
| Half DMG | Absorbs | |
No Resistances |
||
 Goblin Chopper Goblin Chopper |
||
| Vulnerable | Immune | |
No Immunities |
||
| Half DMG | Absorbs | |
No Resistances |
No Damage Type Absorbed |
|
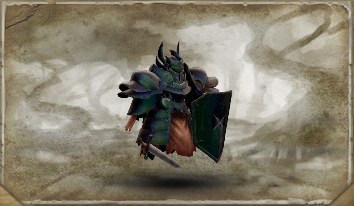
 Bronzegoyle Bronzegoyle |
||
| Vulnerable | Immune | |
No Immunities |
||
| Half DMG | Absorbs | |
No Damage Type Absorbed |
||
 Mageling Mageling |
||
| Vulnerable | Immune | |
No Immunities |
||
| Half DMG | Absorbs | |
No Resistances |
No Damage Type Absorbed |
|
 Freyr Freyr |
||
| Vulnerable | Immune | |
No Immunities |
||
| Half DMG | Absorbs | |
No Resistances |
||
Bravely Default 2 Related Guides
Bravely Default 2 Location Guides

| Towns | |
|---|---|
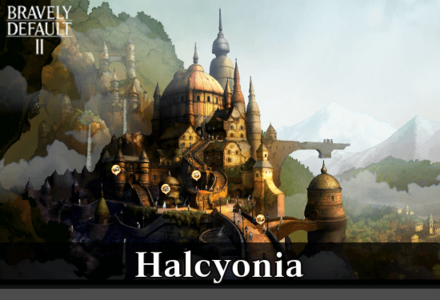 Halcyonia Halcyonia |
 Savalon Savalon |
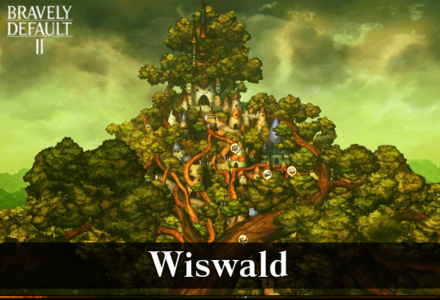 Wiswald Wiswald |
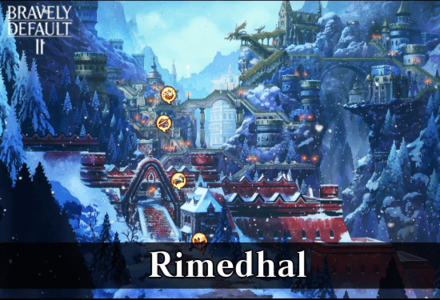 Rimedhal Rimedhal |
 Enderno Enderno |
 Holograd Holograd |
 Musa Musa |
 Mag Mell Mag Mell |
Maps
| Overworld Maps | |
|---|---|
| Near Halcyonia | Near Savalon |
| Near Wiswald | Near Rimedhal |
| Near Holograd | Near Musa |
| Dungeon Maps | |
|---|---|
| Prologue | |
| Outlaw's Hideout | Hydrangea Hills |
| Vale of Sighs | - |
| Chapter 1 | |
| Sandswept Ruins | Underground Reservoir |
| Abandoned Mansion | Bernard's Mansion |
| Savalon Dungeon | - |
| Chapter 2 | |
| Wiswald Woods | Sewers |
| Institute | Treetop Tower |
| Secret Studio | Wayward Woods |
| Miasma Woods | - |
| Chapter 3 | |
| Serpent's Grotto | Jaws of Judgement |
| Hall of High Holies | Frosty Forest |
| Crystalcap Mountain | - |
| Chapter 4 | |
| Holograd Army HQ | Flying Fortress |
| Wrecked Institute | - |
| Chapter 5 | |
| Waterfall Path | Magma Mountain |
| Crystal's Resting Place | Chromatite Mines |
| Chapter 6 | |
| Fount of Knowledge | |
| Chapter 7 | |
| Isle of Nothingness | |
Author
Outlaw's Hideout Dungeon Map and Treasure Chest Locations
Rankings
- We could not find the message board you were looking for.
Gaming News

![Star Savior Review [First Impressions] | Engaging, Entertaining, and Expensive](https://img.game8.co/4447603/8f500e9bf666bdb8adb1af478e9dfdbd.png/show)


Popular Games

Genshin Impact Walkthrough & Guides Wiki
Umamusume: Pretty Derby Walkthrough & Guides Wiki
Crimson Desert Walkthrough & Guides Wiki
Monster Hunter Stories 3: Twisted Reflection Walkthrough & Guides Wiki
Honkai: Star Rail Walkthrough & Guides Wiki
Pokemon Pokopia Walkthrough & Guides Wiki
The Seven Deadly Sins: Origin Walkthrough & Guides Wiki
Wuthering Waves Walkthrough & Guides Wiki
Zenless Zone Zero Walkthrough & Guides Wiki
Arknights: Endfield Walkthrough & Guides Wiki


Recommended Games
Fire Emblem Heroes (FEH) Walkthrough & Guides Wiki
Diablo 4: Vessel of Hatred Walkthrough & Guides Wiki
Cyberpunk 2077: Ultimate Edition Walkthrough & Guides Wiki
Yu-Gi-Oh! Master Duel Walkthrough & Guides Wiki
Super Smash Bros. Ultimate Walkthrough & Guides Wiki
Pokemon Brilliant Diamond and Shining Pearl (BDSP) Walkthrough & Guides Wiki
Elden Ring Shadow of the Erdtree Walkthrough & Guides Wiki
Monster Hunter World Walkthrough & Guides Wiki
The Legend of Zelda: Tears of the Kingdom Walkthrough & Guides Wiki
Persona 3 Reload Walkthrough & Guides Wiki


All rights reserved
© 2021 SQUARE ENIX CO., LTD. All Rights Reserved.
The copyrights of videos of games used in our content and other intellectual property rights belong to the provider of the game.
The contents we provide on this site were created personally by members of the Game8 editorial department.
We refuse the right to reuse or repost content taken without our permission such as data or images to other sites.