Best Armor Sets
As of December 2025, Game8 has ended coverage of Once Human. Thank you very much for your understanding and we hope you continue to enjoy Game8's guides.
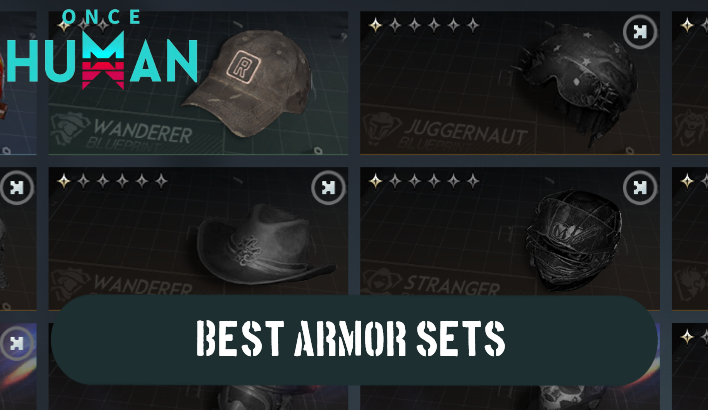
This page details all the best armor sets like the Lonewolf Set, Agent Set and Shelterer Set in Once Human. Find out the best armor set that you can equip and their set effects that will fit your playstyle!
| All Armor Guides | |||
|---|---|---|---|
| All Armor List | All Armor Set Locations | Best Armor Sets | List of All Armor Mods |
List of Contents
Best Armor Set in Once Human
Lonewolf Set
| Best Armor Sets | |||
|---|---|---|---|
| Lonewolf Set | Agent Set | Shelterer Set | Heavy Duty Clothing |
| Falcon Set | Bastille Set | Renegade Set | - |
| Lonewolf Set Armor | ||
|---|---|---|
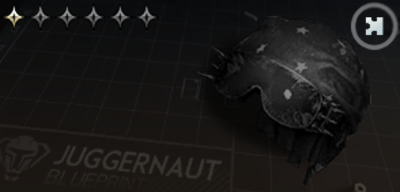 Lonewolf Hood Lonewolf Hood
|
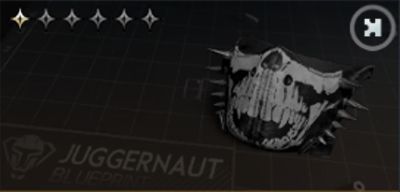 Lonewolf Mask Lonewolf Mask
|
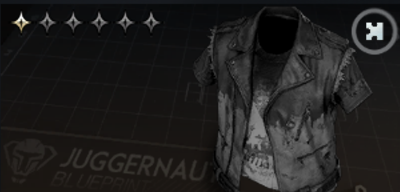 Lonewolf Jacket Lonewolf Jacket
|
 Lonewolf Pants Lonewolf Pants
|
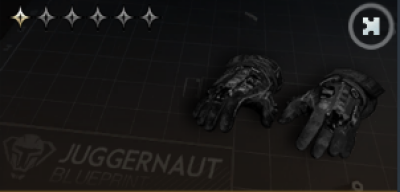 Lonewolf Gloves Lonewolf Gloves
|
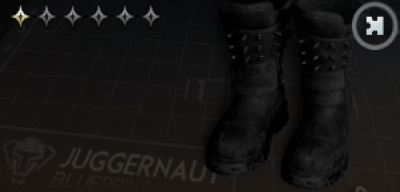 Lonewolf Shoes Lonewolf Shoes
|
| Lonewolf Set Effects | ||
Set Effect 1: Magazine Capacity +10.0% Set Effect 2: Crit Rate +5.0% Set Effect 3: Get 1 stacks of Lone Shadow with every 2 weapon crit hit(s). Lone Shadow: Crit DMG + 6% for 30s. The effect can stack up to 8 times. Set Effect 4: Increase max Lone Shadow stacks to 10. After a kill, Crit Rate +8% for 2s. |
||
The Lonewolf Set is like a jackpot for any crit-happy build! With its +10% magazine capacity, you're ready to unleash longer bursts of shrapnel or explosives without constantly reloading. Plus, that sweet +5% crit rate ensures you're landing more critical hits, which is perfect for fast-paced builds like Shrapnel, Unstable Bomber, and Doombringer Builds. Think of it as giving your bullets and bombs a little extra love tap!
Now, here's where it gets spicy: every two crits stack Lone Shadow, boosting your crit damage by 6% per stack, up to 10 times. That's 60% more crit damage! And after a kill, you get an 8% crit rate boost for 2 seconds to keep the mayhem rolling!
Agent Set
| Best Armor Sets | |||
|---|---|---|---|
| Lonewolf Set | Agent Set | Shelterer Set | Heavy Duty Clothing |
| Falcon Set | Bastille Set | Renegade Set | - |
| Agent Set Armor | ||
|---|---|---|
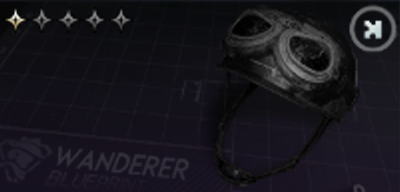 Agent Helmet Agent Helmet
|
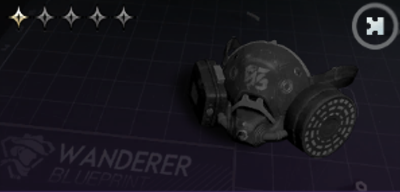 Agent Mask Agent Mask
|
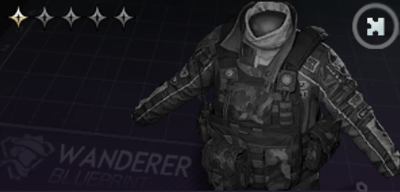 Agent Top Agent Top
|
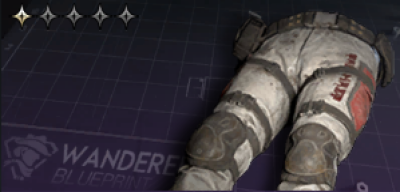 Agent Pants Agent Pants
|
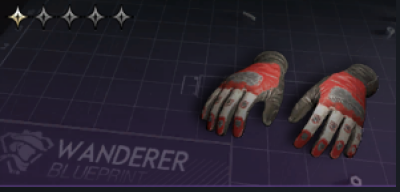 Agent Gloves Agent Gloves
|
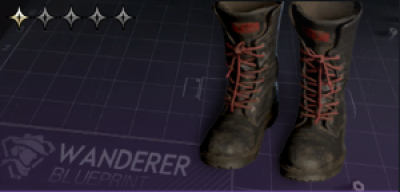 Agent Shoes Agent Shoes
|
| Agent Set Effects | ||
Set Effect 1: Head DMG Reduction +10.0% Set Effect 2: Weakspot DMG +10.0% Set Effect 3: Get Bullet Saver effect with every precise kill, Weakspot DMG +15% for 8s. Effect can stack up to 3 times. Set Effect 4: Increase Reload Speed by 20% after killing an enemy; Fire Rate +10% when killing with a Weakspot hit. Effect removed when reloading or switching weapons. |
||
As one of the early game armor that you can acquire in the game, Agent Set is an absolute gem, especially if you love landing precise shots. The Head DMG Reduction (+10%) keeps you safer from pesky headshots, while the Weakspot DMG (+10%) encourages you to aim for those sweet spots. Perfect for snipers and sharpshooters, this set rewards accuracy by boosting your damage and giving you more survivability in the heat of battle.
But the real fun kicks in with the Bullet Saver buff—after a precise kill, you gain a whopping 15% Weakspot DMG boost for 8 seconds, stackable up to 3 times. That's 45% more Weakspot DMG if you chain your shots like a pro! Combine that with the 20% faster reload and 10% increased fire rate after a Weakspot kill, and you'll be a relentless, rapid-firing machine until your next reload. Perfect for the Bounce Build!
Shelterer Set
| Best Armor Sets | |||
|---|---|---|---|
| Lonewolf Set | Agent Set | Shelterer Set | Heavy Duty Clothing |
| Falcon Set | Bastille Set | Renegade Set | - |
| Shelterer Set Armor | ||
|---|---|---|
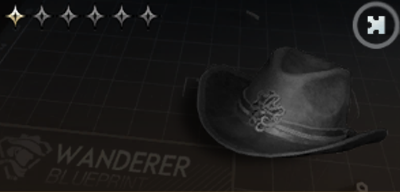 Shelterer Hood Shelterer Hood
|
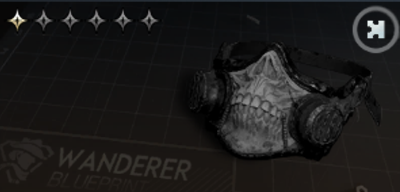 Shelterer Mask Shelterer Mask
|
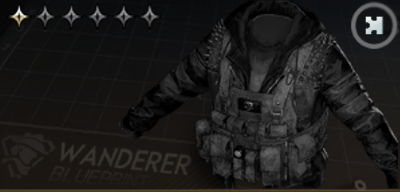 Shelterer Jacket Shelterer Jacket
|
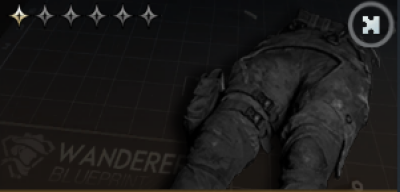 Shelterer Pants Shelterer Pants
|
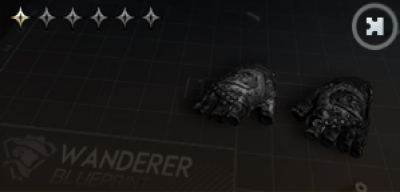 Shelterer Gloves Shelterer Gloves
|
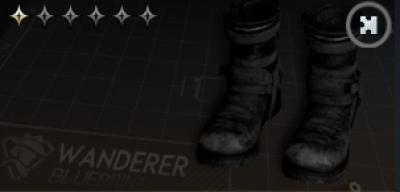 Shelterer Shoes Shelterer Shoes
|
| Shelterer Set Effects | ||
Set Effect 1: Status DMG Reduction +15.0% Set Effect 2: Element DMG (Blaze, Frost, Shock, Blast) + 8% Set Effect 3: Each weapon hit grants 1 stack of Deviant Energy. Every stack of Deviant Energy grants 1% Elemental DMG (Blaze, Frost, Shock, Blast). Effect can stack up to 20 times. Reloading removes half of the total stacks. Set Effect 4: Increase max Deviant Energy stack by 10. Grant 2 additional stacks when hitting a weakspot. |
||
The Shelterer Set is a powerhouse for elemental damage builds like Power Surge, Burn, and Frost Vortex, making it perfect if you're all about harnessing the power of fire, frost, shock, or explosions. With 15% Status DMG Reduction, you'll shrug off those pesky debuffs while dishing out +8% Elemental DMG to enemies. This combo lets you endure status effects while boosting your elemental attacks for maximum carnage.
The real kicker is the Deviant Energy stacking mechanic, which grants up to 20% Elemental DMG as you keep landing hits. And with an additional +10 stacks and 2 extra stacks for Weakspot hits, your elemental power skyrockets. Sure, reloading drops half of your stacks, but the damage boost you'll build up before then is worth it.
Heavy Duty Clothing Set
| Best Armor Sets | |||
|---|---|---|---|
| Lonewolf Set | Agent Set | Shelterer Set | Heavy Duty Clothing(#hm_4) |
| Falcon Set | Bastille Set | Renegade Set | - |
| Heavy Duty Clothing Set Armor | ||
|---|---|---|
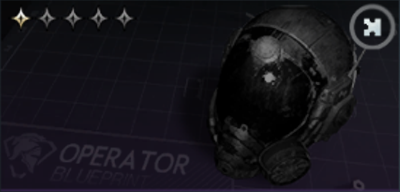 Heavy Duty Clothing Helmet Heavy Duty Clothing Helmet
|
 Heavy Duty Clothing Mask Heavy Duty Clothing Mask
|
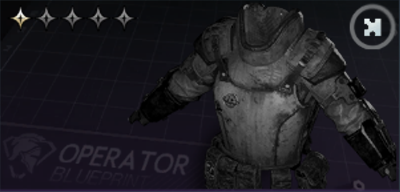 Heavy Duty Clothing Top Heavy Duty Clothing Top
|
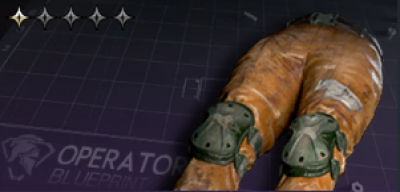 Heavy Duty Clothing Pants Heavy Duty Clothing Pants
|
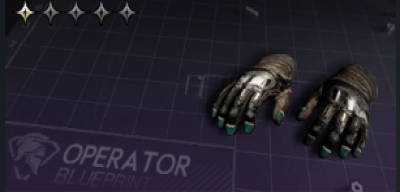 Heavy Duty Clothing Gloves Heavy Duty Clothing Gloves
|
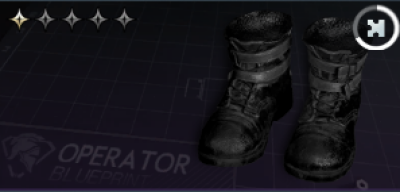 Heavy Duty Clothing Boots Heavy Duty Clothing Boots
|
| Heavy Duty Clothing Set Effects | ||
Set Effect 1: Max HP +10.0% Set Effect 2: Element DMG (Blaze, Frost, Shock, Blast) + 8% Set Effect 3: After killing an enemy, increase Movement Speed by 20% for 2s and Elemental DMG (Blaze, Frost, Shock, Blast) by 40%, decay over 8s. Set Effect 4: Within 5m, each enemy grants you DMG Reduction +4%. Effect can stack up to 4 times. |
||
The Heavy Duty Clothing Set offers a tankier alternative to the Shelterer Set while still packing a punch for Power Surge, Burn, and Frost Vortex, builds. With +10% Max HP, you're tougher to bring down, giving you more room to dish out your elemental attacks. Add in +8% Element DMG for Blaze, Frost, Shock, and Blast, and you’re not sacrificing firepower for durability—it’s the best of both worlds.
What really sets this armor apart is its ability to boost survivability and mobility. After each kill, you gain +20% Movement Speed for 2 seconds and a massive 40% Elemental DMG boost that decays over 8 seconds, allowing you to quickly reposition and chain kills with explosive elemental damage. On top of that, the 4% DMG Reduction per nearby enemy (stacking up to 16%) makes this set ideal for wading into the thick of battle without fear, making it perfect for tanky, close-quarters elemental builds.
Falcon Set
| Best Armor Sets | |||
|---|---|---|---|
| Lonewolf Set | Agent Set | Shelterer Set | Heavy Duty Clothing |
| Falcon Set | Bastille Set | Renegade Set | - |
| Falcon Set Armor | ||
|---|---|---|
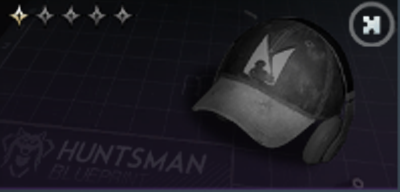 Falcon Helmet Falcon Helmet
|
 Falcon Mask Falcon Mask
|
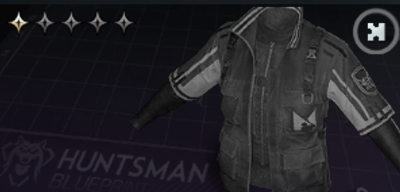 Falcon Jacket Falcon Jacket
|
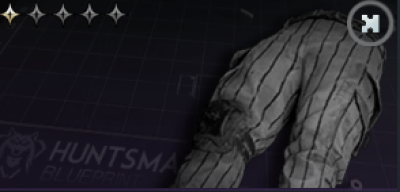 Falcon Pants Falcon Pants
|
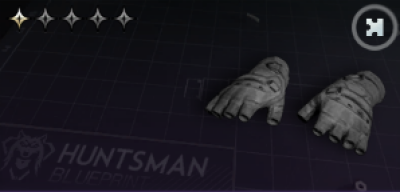 Falcon Gloves Falcon Gloves
|
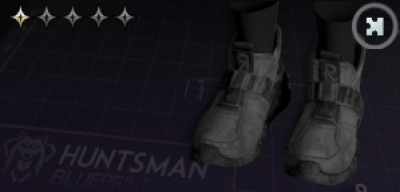 Falcon Shoes Falcon Shoes
|
| Falcon Set Effects | ||
Set Effect 1: Rolling Stamina cost -20%. Set Effect 2: Crit DMG +12.0% Set Effect 3: When Stamina is over 90%, increase Crit Rate by 5% and Crit DMG by 20%. Set Effect 4: Max Stamina +25. Recover 30 Stamina instantly with a kill. |
||
The Falcon Set is a dream for fast, agile, and high-damage players who love to zip around the battlefield while landing critical hits. The -20% Rolling Stamina cost lets you dodge and weave more efficiently, giving you the mobility needed to avoid damage and stay in the fight longer. Plus, the juicy +12% Crit DMG adds a significant boost to your damage output, making every crit hit sting even more.
What makes this set especially lethal is its synergy with stamina. When your stamina is over 90%, you gain a 5% Crit Rate and 20% Crit DMG boost, turning you into a crit-hitting machine when you're full of energy. And with +25 Max Stamina and 30 Stamina restored after each kill, you’ll stay in that sweet high-stamina zone for longer. This set is perfect for fast-paced, hit-and-run builds where dodging and crits are key to overwhelming your enemies!
Bastille Set
| Best Armor Sets | |||
|---|---|---|---|
| Lonewolf Set | Agent Set | Shelterer Set | Heavy Duty Clothing |
| Falcon Set | Bastille Set | Renegade Set | - |
| Bastille Set Armor | ||
|---|---|---|
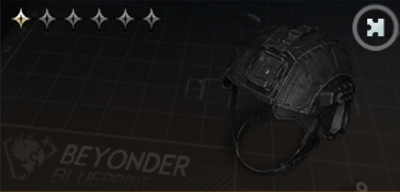 Bastille Hood Bastille Hood
|
 Bastille Mask Bastille Mask
|
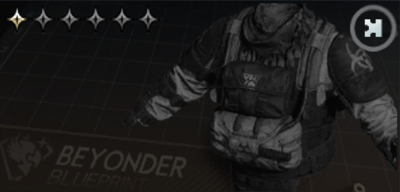 Bastille Jacket Bastille Jacket
|
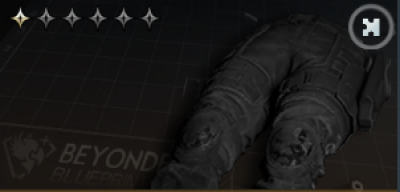 Bastille Pants Bastille Pants
|
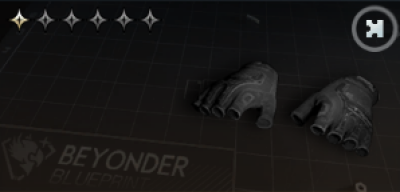 Bastille Gloves Bastille Gloves
|
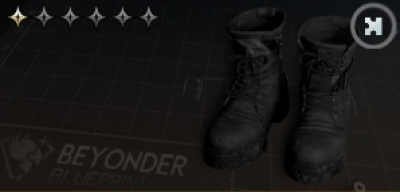 Bastille Shoes Bastille Shoes
|
| Bastille Set Effects | ||
Set Effect 1: When HP is above 70%, Weapon DMG +10% Set Effect 2: Reload Speed +20.0% Set Effect 3: Stay crouched and immobile for 0.5 seconds to enter Bastille state, which grants +40% Weapon DMG. Upon exiting Bastille state, sprinting is disabled for 3 seconds and C stamina consumption is increased by 100%. Set Effect 4: 3s after exiting Bastille state, gain 1 stack of Armor per second, up to 60 stacks. While in Bastille state, each stack of Armor provides a Shield equal to 1% of max HP. If the shield drops to 0 during Bastille state, you gain a 30% Vulnerability effect. |
||
The Bastille Set is perfect for players who like to hunker down and hold their ground with style! If you prefer a more strategic approach over darting around like a Falcon Set user, this set rewards you for staying put and staying healthy. With a +10% Weapon DMG boost when your HP is above 70%, you’ll be dishing out solid damage while maintaining a strong position.
And the Bastille state? It’s like having a damage amplifier and a personal shield generator rolled into one. Just crouch for a quick 0.5 seconds, and you’ll activate a +40% Weapon DMG boost. While you’ll be briefly stuck in place afterward and stamina will cost more, you gain a sweet armor stacking bonus that gives you a shield based on your max HP. This set is fantastic for builds like Bull's Eye, Fast Gunner, Bounce, and Burn, as it lets you stay effective and defensive in the heat of battle.
The set’s flexibility, with even just one piece being useful across so many builds, makes it a must-have for players looking to dominate without breaking a sweat!
Renegade Set
| Best Armor Sets | |||
|---|---|---|---|
| Lonewolf Set | Agent Set | Shelterer Set | Heavy Duty Clothing |
| Falcon Set | Bastille Set | Renegade Set | - |
| Renegade Set Armor | ||
|---|---|---|
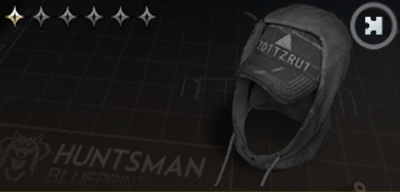 Renegade Hood Renegade Hood
|
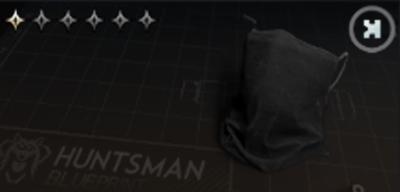 Renegade Mask Renegade Mask
|
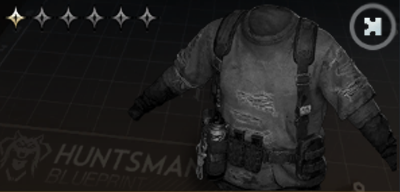 Renegade Jacket Renegade Jacket
|
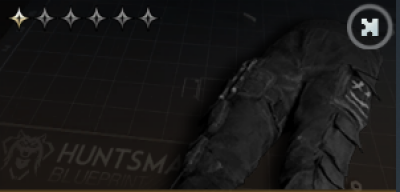 Renegade Pants Renegade Pants
|
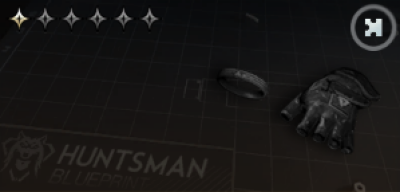 Renegade Gloves Renegade Gloves
|
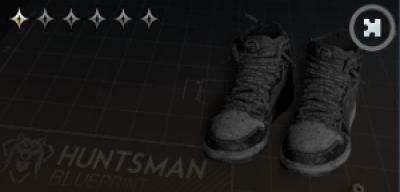 Renegade Shoes Renegade Shoes
|
| Renegade Set Effects | ||
Set Effect 1: Reload Speed +15.0% Set Effect 2: Weakspot DMG +10.0% Set Effect 3: Hitting the same enemy consecutively grants 1 stack of Archer's Focus, increasing Weakspot DMG by 4%, up to 10 stacks. Archer's Focus stacks are halved when the target is changed. Set Effect 4: When reloading, for every 1% of weakspot hit from the previous magazine, load an extra 0.6% bullets, up to 30%. |
||
The Renegade Set is a dynamo for anyone looking to maximize their precision and reload efficiency. With its +15% Reload Speed, you’ll keep the bullets flying with less downtime, perfect for keeping up the pressure in any fight. The +10% Weakspot DMG means your shots to those vulnerable spots hit harder, enhancing your overall damage output.
The Archer's Focus effect is where this set starts to really shine. Hitting the same enemy consecutively grants 1 stack of Archer's Focus, boosting Weakspot DMG by 4% per stack, up to 10 stacks. This encourages sustained fire on the same target, making it ideal for precision builds. Additionally, when reloading, the set rewards you by loading 0.6% extra bullets for each percentage of weakspot hits from the previous magazine, up to a bonus of 30%. This synergy makes the Renegade Set perfect for Bull's Eye and Fast Gunner builds.
Once Human Related Guides

Tips and Tricks: Beginner's Guide
All Tips and Tricks
Comment
Author
Best Armor Sets
improvement survey
03/2026
improving Game8's site?

Your answers will help us to improve our website.
Note: Please be sure not to enter any kind of personal information into your response.

We hope you continue to make use of Game8.
Rankings
- We could not find the message board you were looking for.
Gaming News
Popular Games

Genshin Impact Walkthrough & Guides Wiki

Honkai: Star Rail Walkthrough & Guides Wiki

Umamusume: Pretty Derby Walkthrough & Guides Wiki

Pokemon Pokopia Walkthrough & Guides Wiki

Resident Evil Requiem (RE9) Walkthrough & Guides Wiki

Monster Hunter Wilds Walkthrough & Guides Wiki

Wuthering Waves Walkthrough & Guides Wiki

Arknights: Endfield Walkthrough & Guides Wiki

Pokemon FireRed and LeafGreen (FRLG) Walkthrough & Guides Wiki

Pokemon TCG Pocket (PTCGP) Strategies & Guides Wiki
Recommended Games

Diablo 4: Vessel of Hatred Walkthrough & Guides Wiki

Fire Emblem Heroes (FEH) Walkthrough & Guides Wiki

Yu-Gi-Oh! Master Duel Walkthrough & Guides Wiki

Super Smash Bros. Ultimate Walkthrough & Guides Wiki

Pokemon Brilliant Diamond and Shining Pearl (BDSP) Walkthrough & Guides Wiki

Elden Ring Shadow of the Erdtree Walkthrough & Guides Wiki

Monster Hunter World Walkthrough & Guides Wiki

The Legend of Zelda: Tears of the Kingdom Walkthrough & Guides Wiki

Persona 3 Reload Walkthrough & Guides Wiki

Cyberpunk 2077: Ultimate Edition Walkthrough & Guides Wiki
All rights reserved
Privacy Policy, Terms of Use 2024 NetEase, Inc.All Rights Reserved
The copyrights of videos of games used in our content and other intellectual property rights belong to the provider of the game.
The contents we provide on this site were created personally by members of the Game8 editorial department.
We refuse the right to reuse or repost content taken without our permission such as data or images to other sites.


![Everwind Review [Early Access] | The Shaky First Step to A Very Long Journey](https://img.game8.co/4440226/ab079b1153298a042633dd1ef51e878e.png/thumb)

![Monster Hunter Stories 3 Review [First Impressions] | Simply Rejuvenating](https://img.game8.co/4438641/2a31b7702bd70e78ec8efd24661dacda.jpeg/thumb)


