Goblin Camp Maps and Points and Interest
★ All Updates for Patch 5
☆ Beginner Guides for All Starter Players
★ Simple Character Creation Guide for beginners
☆ A Full Guide to Multiclassing
★ All Side Quests and Event Points
☆ All Races and Subraces
In Baldur's Gate (BG3), the Goblin Camp is a gated area home to goblins and drow elves who worship the Absolute. Read on to view the maps of the Goblin Camp, and to find out all the locations and other points of interest in the Emerald Grove area.
List of Contents
Goblin Camp Maps
| Goblin Camp Outer Area | Shattered Sanctum |
| Defiled Temple | Worg Pens |
Goblin Camp Outer Map
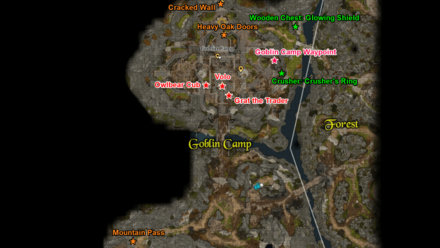
This map shows the outside part of the Goblin Camp area, connected to the Forest location in the Wilderness area.
There are a few different ways to enter the camp; the front entrance has goblins guarding it and will let you pass if you choose the correct dialogue and pass the checks, or if you have rescued Sazza in the Emerald Grove.
You can also fight your way inside, or sneak through the other entrances; these entrances will likely be full of traps, though.
Shattered Sanctum Map
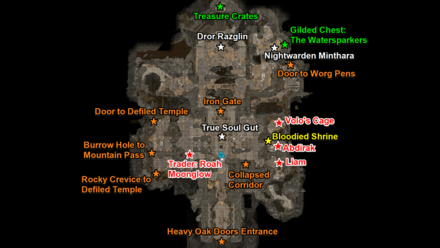
North of the Goblin Camp area, you'll find the doors to the Shattered Sanctum. The three goblin leaders are inside this area, which you can kill for completion of the Defeat the Goblins quest.
To enter the sanctum, there's an entrance at the center of the Goblin Camp, but there's also a destructible wall north of it that you can use to sneak in.
How to Infiltrate the Shattered Sanctum
Defiled Temple Map
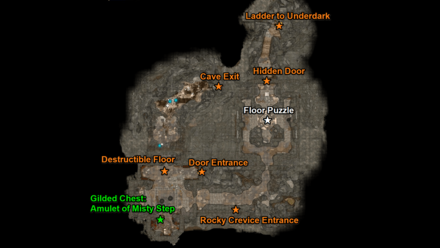
Underneath the Shattered Sanctum, behind Gut's room, you'll find the Defiled Temple. This area contains one of the entrances to the Underdark.
Worg Pens Map
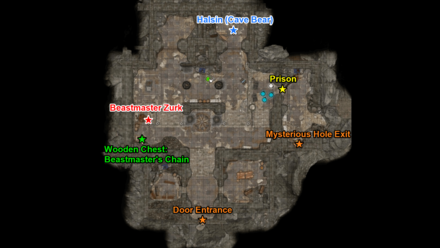
The entrance to the Worg Pens is located deep inside the Shattered Sanctum and contains the prison of the Goblin Camp. The druid Halsin, in his Cave Bear form, is imprisoned here.
Goblin Camp Points of Interest
| Goblin Camp Outer Area Points of Interest |
|---|
|
・Volo
|
Goblin Camp Waypoint
| Goblin Camp Waypoint |
|---|
 |
| Coordinates: (-73, 445) |
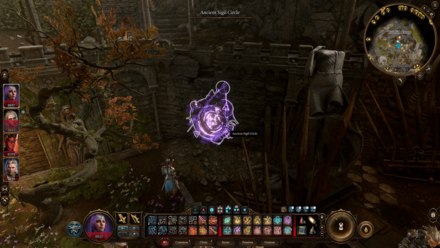
The Goblin Camp Waypoint is located in the northeast part of the outer Goblin Camp area.
Mountain Pass Passage
| Mountain Pass Passage |
|---|
 |
| Coordinates: (-161, 334) |
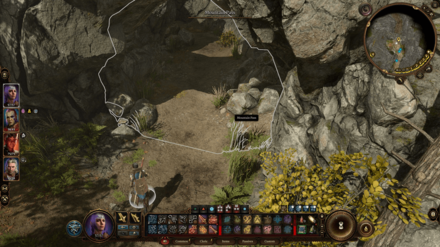
Southwest of the Goblin Camp, you'll find one of the passages to the Mountain Pass region. If you try to go through the passage the first time, there will be a warning message to tie up your loose ends. Don't worry about this; you can still go back to the previous areas and finish your quests even if you enter this passage.
Owlbear Cub
| Owlbear Cub |
|---|
 |
| Coordinates: (-114, 431) |
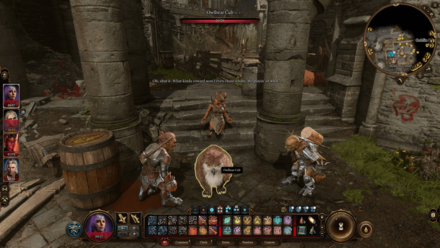
If you encountered the Owlbear Cub in the Owlbear Nest and spared it, you'll next find it in the Goblin Camp, being tortured by the goblins for sport.
You can rescue it by talking to its handler, Krolla, and playing the game, or picking the correct dialogue choices and succeeding the checks. The cub will show up in your camp a few Long Rests after.
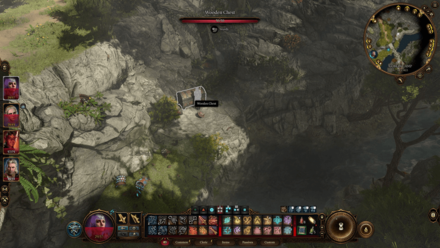
Wooden Chest: Glowing Shield
| Wooden Chest: Glowing Shield |
|---|
 |
| Coordinates: (-54, 465) |
In the northeasternmost part of the area, beside the river east of the camp, you'll find a locked Wooden Chest surrounded by traps. Inside, you'll find the uncommon Glowing Shield and some gold.
How to Get Glowing Shield
Entrances
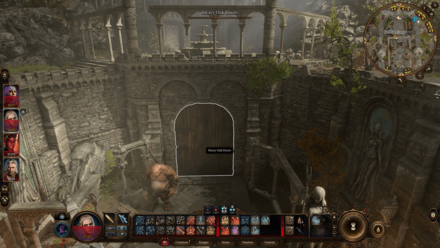
Heavy Oak Doors
| Heavy Oak Doors |
|---|
 |
| Coordinates: (-104, 447) |
In the north part of the central area, guarded by an ogre, you'll find the Heavy Oak Doors, which leads to the Shattered Sanctum.
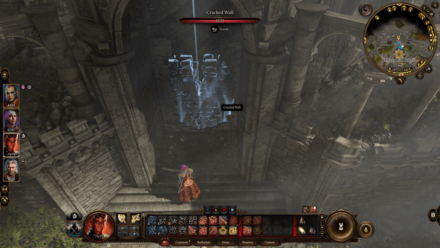
Cracked Wall (Collapsed Corridor)
| Cracked Wall (Collapsed Corridor) |
|---|
 |
| Coordinates: (-104, 481) |
The Cracked Wall is the alternative entrance to the Shattered Sanctum, located on the upper floor further north from the Heavy Oak Doors. Destroy the wall to reveal the Collapsed Corridor passage.
You can use this entrance if you are looking to sneak in, as the other entrance is heavily guarded outside and inside.
People of Interest
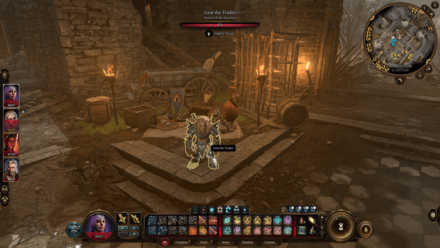
Grat the Trader
| Grat the Trader |
|---|
 |
| Coordinates: (-102, 426) |
Grat is a goblin trader you'll find near the camp center's entrance. If you haven't turned hostile against the goblins yet, he'll trade with you; he has a few uncommon and rare items in stock.
Volo
| Volo |
|---|
 |
| Coordinates: (-105, 429) |
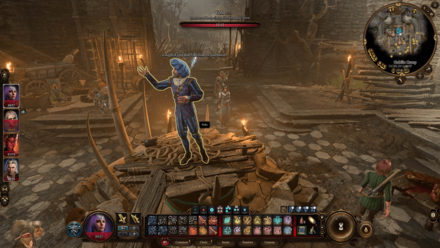
Volo is a human that will only appear in the center area of the Goblin Camp if you have already interacted with him in the Emerald Grove. Interact with him in this outer part of the camp, and he'll be sent back to his cage in the Shattered Sanctum.
Crusher
| Crusher |
|---|
 |
| Coordinates: (-73, 438) |
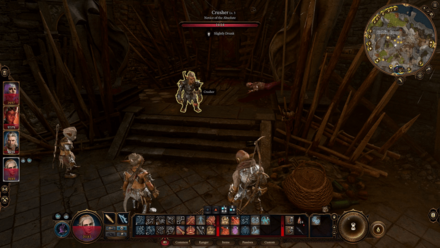
Crusher is a goblin located near the waypoint and will be found boasting to his peers. When defeated, you can loot the uncommon Crusher's Ring accessory from him.
How to Get Crusher's Ring
Shattered Sanctum Points of Interest
| Shattered Sanctum Points of Interest |
|---|
|
・Liam
・Volo |
Goblin Leaders
True Soul Gut
| True Soul Gut |
|---|
 |
| Coordinates: (297, -17) |
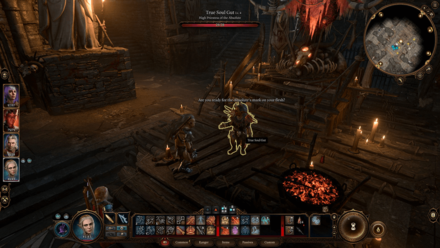
The first goblin leader that you'll likely encounter is True Soul Gut, the Goblin Priestess. She'll be found branding some goblins with the Mark of the Absolute. There's no downside to refusing this brand, but it is recommended to get it, since having the Mark of the Absolute has a lot of advantages, such as making Absolute territories easier to enter.
After you talk to her in the central area, she'll invite you to her room, located in the west area of the Shattered Sanctum. Here, you'll either get poisoned by her and get imprisoned in the Defiled Temple, or get into a battle with her.
If you kill her, you'll be able to loot the Priestess' Key, which you can use to open the door to the Defiled Temple behind her. She also drops the Absolute's Warboard, the Absolute's Talisman, and a Mind Flayer Parasite Specimen.
Ask the Goblin Priestess For Help
Dror Ragzlin
| Dror Ragzlin |
|---|
 |
| Coordinates: (298, 40) |
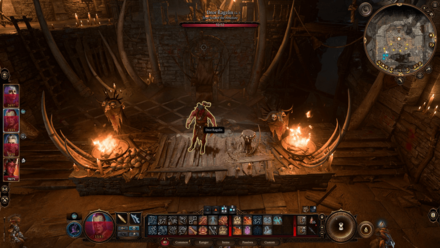
Dror Ragzlin is the boss of the goblins and can be found in the northern part of the Shattered Sanctum. You'll encounter him trying to communicate with a mind flayer.
You can influence his questions to the mind flayer to get information by passing the checks. If it doesn't end up with a confrontation, he'll order you to go to Minthara.
If you kill him, you'll be able to loot Dror Ragzlin's Key, which you can use to open the gate at the back of the room. He also carries the uncommon Faithbreaker weapon, and a Mind Flayer Parasite Specimen.
How to Get Faithbreaker Weapon Guide and
Nightwarden Minthara
| Nightwarden Minthara |
|---|
 |
| Coordinates: (336, 43) |
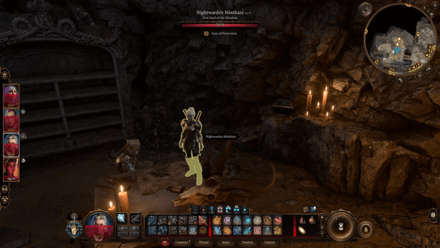
Nightwarden Minthara is the drow leading all the goblins in the camp. She is a potential companion, but you'll need to finish raiding the Emerald Grove for her to join you.
If you brought Sazza with you to the camp, you'll get the Assassin's Touch weapon if you choose to save her in the dialogue with Minthara.
If you decide to kill her, you'll be able to loot a Xyanyde weapon, a Spidersilk Armour, a Boots of Striding, as well as a Mind Flayer Parasite Specimen.
Bloodied Shrine
| Bloodied Shrine |
|---|
 |
| Coordinates: (338, -22) |
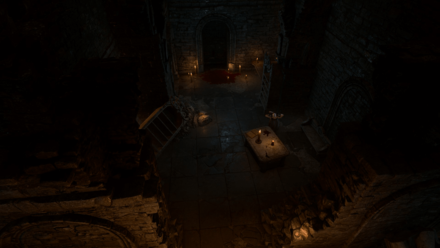
The Bloodied Shrine is a tiny location located inside the Shattered Sanctum, in one of the rooms in the east area.
You'll find Abdirak in this location. You'll also find a Ritual Dagger and a Ritual Axe in this area.
Entrances
Door to Defiled Temple
| Door to Defiled Temple |
|---|
 |
| Coordinates: (253, -6) |
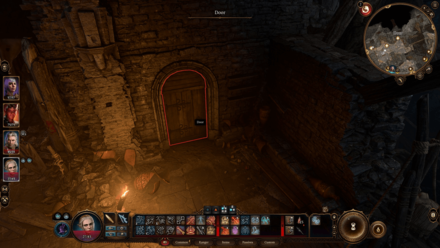
The Door to the Defiled Temple is the locked door in Gut's room. You can loot the Priestess' Key from her to open the door, but it can also be lockpicked.
Rocky Crevice to Defiled Temple
| Rocky Crevice to Defiled Temple |
|---|
 |
| Coordinates: (256, -42) |
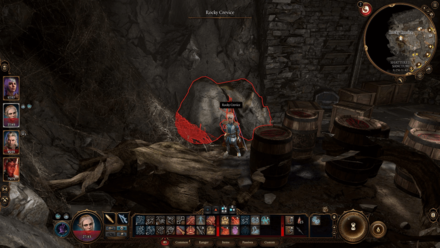
There's a Rocky Crevice to the Defiled Temple, located inside the room beside Gut's room. You'll need to be of a smaller size to enter through this passage, such as being of a tiny race like a gnome.
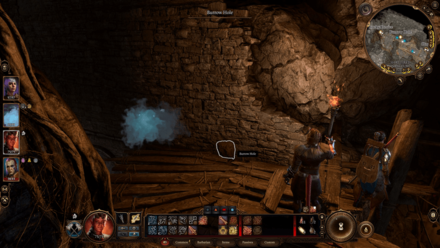
Burrow Hole to Mountain Pass
| Burrow Hole to Mountain Pass |
|---|
 |
| Coordinates: (253, -27) |
There's a Burrow Hole that you can find in the higher ground beside Gut's room; this hole leads to the Mountain Pass. You'll need to be very tiny to go through this passage, such as being in a Gaseous Form.
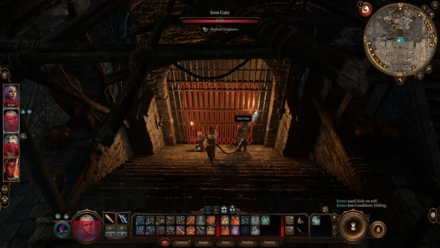
Iron Gate
| Iron Gate |
|---|
 |
| Coordinates: (297, -1) |
Behind Gut's initial position, there's an Iron Gate with a lever beside it to open it. There are a couple of giant spiders here; they'll be hostile against you unless you can convince them with a spell to attack the goblins instead.
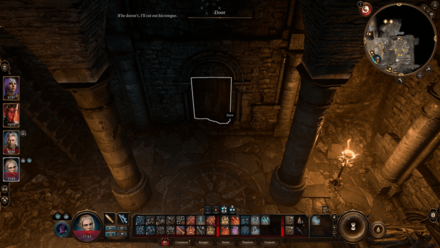
Door to Worg Pens
| Door to Worg Pens |
|---|
 |
| Coordinates: (342, 31) |
In the northeastern part of the area, you'll find the Door to Worg Pens. You'll find the prison containing Halsin behind this door.
People of Interest
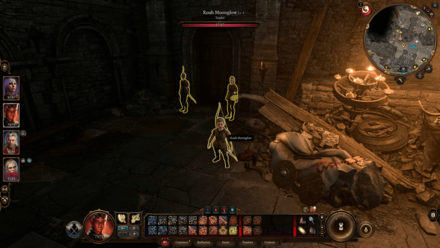
Roah Moonglow
| Roah Moonglow |
|---|
 |
| Coordinates: (273, -32) |
Roah Moonglow is a trader located in the southwestern part of the Shattered Sanctum. If you have turned hostile against the goblins, she'll be hostile as well and will not be available for trading.
She'll have a bunch of rare equipment and weapons for sale, and you'll be able to loot some of these when you kill her. She also drops two keys, which opens the door behind her and the Heavy Chest inside the room.
Liam
| Liam |
|---|
 |
| Coordinates: (336, -36) |
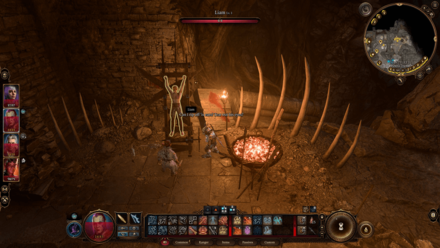
Liam is a druid being tortured in the southwestern part of the Shattered Sanctum. You can get information from him by torturing or freeing him; it doesn't matter what you do with him.
Abdirak
| Abdirak |
|---|
 |
| Coordinates: (338, -22) |
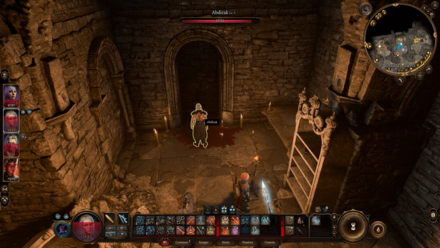
Abdirak is a human that can be found in the Bloodied Shrine area. You can get the permanent Loviatar's Love buff once on your characters by agreeing to be tortured.
He won't be hostile if you attack the goblins in the area. However, killing him will allow you to loot the uncommon Loviatar's Scourge weapon.
How to Get Loviatar's Scourge
Volo
| Volo in the Shattered Sanctum |
|---|
 |
| Coordinates: (334, -7) |
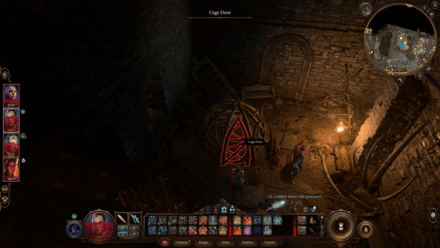
After you have talked to Volo in the Goblin Camp square, he'll be imprisoned in a cage in the eastern part of the Shattered Sanctum. Talk to Gribbo, his slaver, and succeed in the checks to get the Cage Key to Volo's cage.
You'll find Volo next in your camp, where he'll be available to put the Volo's Ersatz Eye to your character.
Valuables
Gilded Chest: The Watersparkers
| Gilded Chest: The Watersparkers |
|---|
 |
| Coordinates: (338, 42) |
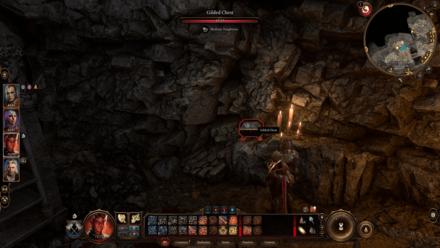
In Minthara's room, you'll find a Gilded Chest behind Minthara, which contains the rare The Watersparkers armor.
Treasure Crates
| Treasure Crates |
|---|
 |
| Coordinates: (295, 69) |
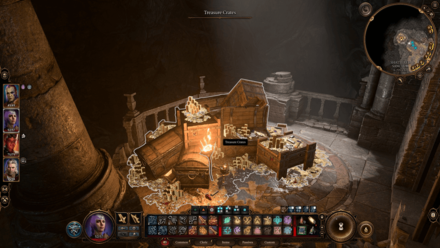
Behind Dror Ragzlin, you'll find an Iron Gate, with a bunch of Treasure Crates behind it. You can lockpick the gate, or loot Dror Ragzlin for the key.
In these Treasure Crates, you'll find a ton of gold and valuables, including an Infernal Iron, an Amulet of Selune's Chosen, a Gloves of the Growling Underdog, and a Springstep Boots.
Defiled Temple Points of Interest
| Defiled Temple Points of Interest |
|---|
|
|
Floor Puzzle
| Floor Puzzle |
|---|
 |
| Coordinates: (437, 55) |
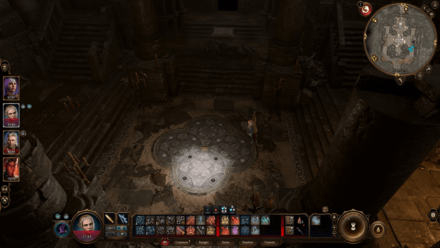
In the Defiled Temple, you'll find a Floor Puzzle, which opens a hidden door nearby.
You can find the solution to the puzzle in the Selunite Journal in the southwest part of the area, but you can also just refer to the image above for the formation that the pieces need to be in.
Ladder to Underdark
| Ladder to Underdark |
|---|
 |
| Coordinates: (443, 96) |
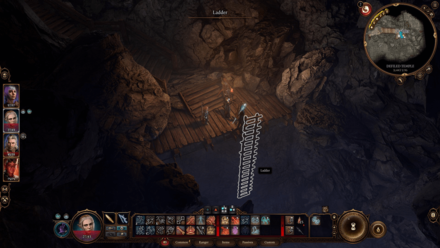
After solving the floor puzzle, the hidden door will open. Go through this passage until you find the ladder; this ladder is one of the ways to enter the Underdark.
Underdark Maps and Points of Interest
Cracked Stones
| Cracked Stones |
|---|
 |
| Coordinates: (390, 43) |
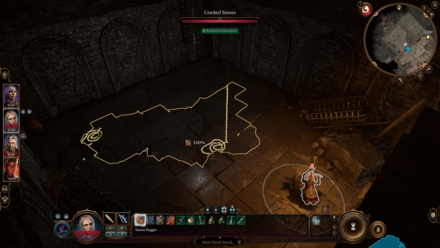
In the southwest room in the area, you'll find some chains. Attack the Cracked Stone floor below this to find a passage that leads to the Cave Exit, leading to the spider den in the Shattered Sanctum.
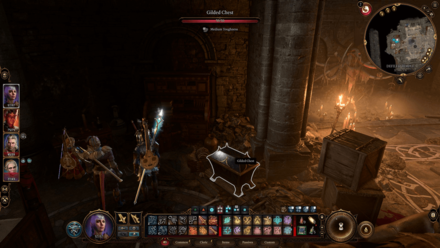
Gilded Chest: Amulet of Misty Step
| Gilded Chest: Amulet of Misty Step |
|---|
 |
| Coordinates: (386, 8) |
There's a Gilded Chest in the southwest room, containing the uncommon Amulet of Misty Step accessory.
How to Get Amulet of Misty Step
Worg Pens Points of Interest
| Worg Pens Points of Interest |
|---|
|
|
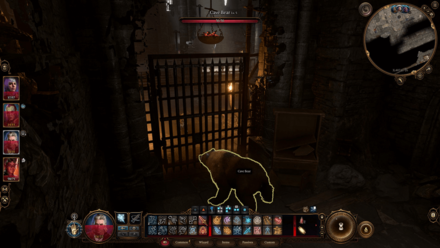
Halsin (Cave Bear)
| Halsin (Cave Bear) |
|---|
 |
| Coordinates: (402, 16) |
At the northeastern prison, you'll find a Cave Bear being harassed by some goblins. This is Halsin in his bear form.
If you rescue him, he'll be available as a temporary companion for now; if you choose to have him in your party, all goblins in the whole camp will be instantly hostile if they see you with the bear.
How to Save the First Druid Halsin
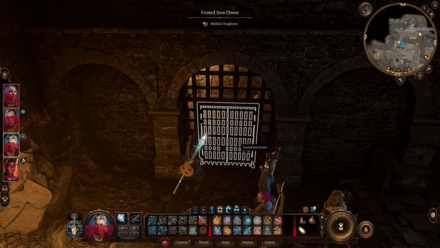
Prison
| Prison |
|---|
 |
| Coordinates: (412, -32) |
If you get imprisoned at any point in the Goblin Camp, you'll find yourself in the prison area in the Worg Pens. There's a Mysterious Hole that you can exit through at the south part of the cell.
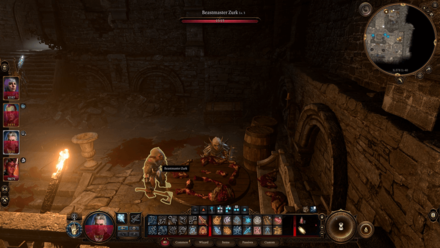
Beastmaster Zurk
| Beastmaster Zurk |
|---|
 |
| Coordinates: (378, -40) |
Beastmaster Zurk is one of the goblins in the Worg Pens. You can kill and loot him to get the rare Linebreaker Boots equipment.
Wooden Chest: Beastmaster's Chain
| Wooden Chest: Beastmaster's Chain |
|---|
 |
| Coordinates: (377, -43) |
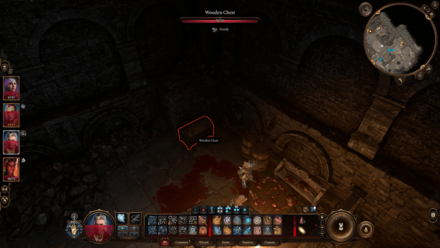
In the Wooden Chest behind Zurk, you'll find the uncommon Beastmaster's Chain accessory.
How to Get Beastmaster's Chain
Baldur's Gate 3 Related Guides
Faerûn All Locations
| Prologue Locations | |
|---|---|
| Nautiloid | |
| Act 1 Locations | |
| Wilderness | Chapel Ruins |
| Emerald Grove | Owlbear Nest |
| Blighted Village | Whispering Depths |
| Putrid Bog (Sunlit Wetlands) | Overgrown Tunnel |
| The Risen Road | Zhentarim Basement |
| Goblin Camp | Mountain Pass: Rosymorn Monastery |
| Creche Y'llek | Underdark |
| Arcane Tower | Grymforge |
| Act 2 Locations | |
| Shadow-Cursed Lands | Reithwin Town |
Comment
Author
Goblin Camp Maps and Points and Interest
Rankings
- We could not find the message board you were looking for.
Gaming News
Popular Games

Genshin Impact Walkthrough & Guides Wiki

Honkai: Star Rail Walkthrough & Guides Wiki

Umamusume: Pretty Derby Walkthrough & Guides Wiki

Pokemon Pokopia Walkthrough & Guides Wiki

Resident Evil Requiem (RE9) Walkthrough & Guides Wiki

Monster Hunter Wilds Walkthrough & Guides Wiki

Wuthering Waves Walkthrough & Guides Wiki

Arknights: Endfield Walkthrough & Guides Wiki

Pokemon FireRed and LeafGreen (FRLG) Walkthrough & Guides Wiki

Pokemon TCG Pocket (PTCGP) Strategies & Guides Wiki
Recommended Games

Diablo 4: Vessel of Hatred Walkthrough & Guides Wiki

Cyberpunk 2077: Ultimate Edition Walkthrough & Guides Wiki

Fire Emblem Heroes (FEH) Walkthrough & Guides Wiki

Yu-Gi-Oh! Master Duel Walkthrough & Guides Wiki

Super Smash Bros. Ultimate Walkthrough & Guides Wiki

Pokemon Brilliant Diamond and Shining Pearl (BDSP) Walkthrough & Guides Wiki

Elden Ring Shadow of the Erdtree Walkthrough & Guides Wiki

Monster Hunter World Walkthrough & Guides Wiki

The Legend of Zelda: Tears of the Kingdom Walkthrough & Guides Wiki

Persona 3 Reload Walkthrough & Guides Wiki
All rights reserved
© 2023 Larian Studios. All rights reserved. Larian Studios is a registered trademark of arrakis nv, affiliate of Larian Studios Games ltd. All company names, brand names, trademarks and logos are the property of their respective owners. © 2020 Wizards of the coast. All rights reserved. Wizards of the coast, Baldur’s Gate, Dungeons & Dragons, D&D, and their respective logos. Are registered trademarks of wizards of the coast LLC
The copyrights of videos of games used in our content and other intellectual property rights belong to the provider of the game.
The contents we provide on this site were created personally by members of the Game8 editorial department.
We refuse the right to reuse or repost content taken without our permission such as data or images to other sites.


![Monster Hunter Stories 3 Review [First Impressions] | Simply Rejuvenating](https://img.game8.co/4438641/2a31b7702bd70e78ec8efd24661dacda.jpeg/thumb)


