Chapel Ruins: Refectory and Dank Crypt Maps and Points of Interest
★ All Updates for Patch 5
☆ Beginner Guides for All Starter Players
★ Simple Character Creation Guide for beginners
☆ A Full Guide to Multiclassing
★ All Side Quests and Event Points
☆ All Races and Subraces
In Baldur's Gate 3 (BG3), the Chapel Ruins is a dungeon that consists of the Refectory and Dank Crypt areas. Read on to view the maps of the Chapel Refectory and Dank Crypt and to find out all the points of interest in these areas.
List of Contents
Chapel Ruins Maps
| Refectory | Dank Crypt |
Refectory Map
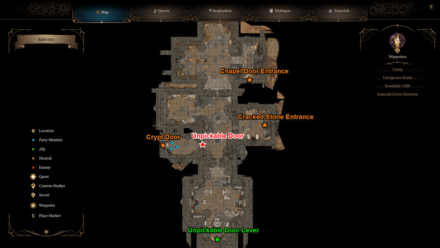
The Refectory is the first area of the Chapel Ruins, and is full of bandits hoping to get to the treasure in the crypt. There's nothing much of value in this area.
You can enter this by going through the chapel's front door, or through the hole that appears from the Cracked Stone, in the Chapel Entrance area of the Wilderness.
Dank Crypt Map
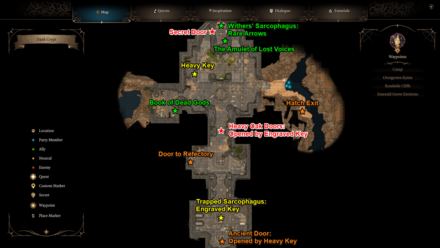
The Dank Crypt is an area located deeper into the Chapel Ruins, with lots of traps, locked doors, and valuable items.
You can enter this area through the Hatch in the Chapel Entrance area, or the Ancient Door in the Ravaged Beach area of the Wilderness. Note that you'll need the Thieves' Tools item and to roll a 20 for the lockpick check to enter through these entrances.
Refectory Points of Interest
Unpickable Locked Door
| Locked Refectory Door |
|---|
 |
| Coordinates: (-293, -283) |
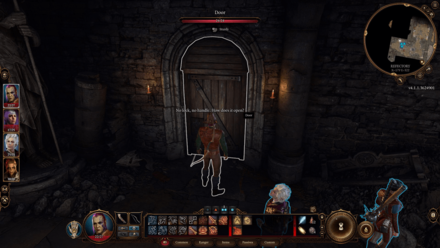
As you're exploring around the refectory, you'll encounter a locked door that can't be lockpicked. You'll have to look for another way to unlock this door.
You can also encounter this door if you go from the Dank Crypt, through the other side. There are two different ways to unlock this door, one from each side.
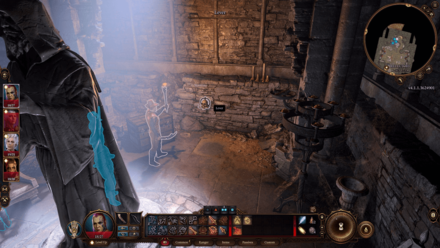
Refectory Side: Lever
| Refectory Side: Lever |
|---|
 |
| Coordinates: (-174, -360) |
To open this unpickable door from the Refectory side, go to the room at the south of the refectory. There are bandits here that you have to defeat.
After defeating all the bandits, go to the back part of the room, behind the big statue. If you pass the perception check, you'll find the lever and be able to interact with it. Pull it to open the door. Proceed to the next door to enter the Dank Crypt.
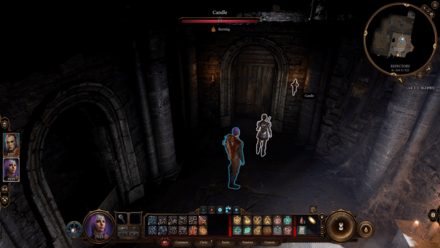
Dank Crypt Side: Two Candles
| Dank Crypt Side: Two Candles |
|---|
 |
| Coordinates: (-184, -322) |
If you encountered this door from the Dank Crypt side, you can open this door by lighting the two candles beside the door.
Dank Crypt Points of Interest
| Dank Crypt Points of Interest |
|---|
|
|
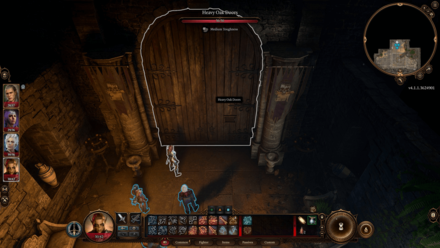
Heavy Oak Doors
| Heavy Oak Doors |
|---|
 |
| Coordinates: (-293, -281) |
In the middle of the Dank Crypt stands the Heavy Oak Doors, which are locked. It's possible to lockpick this door, but note that it has a key that opens it: the Engraved Key, hidden somewhere else in the crypt.
If you came from the Refectory, this door leads to the north room of the crypt, which contains the most valuable points of interest in the Chapel.
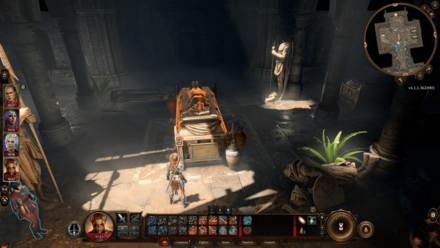
Trapped Sarcophagus: Heavy Oak Doors Key
| Trapped Sarcophagus Containing the Engraved Key |
|---|
 |
| Coordinates: (-294, -327) |
At the southmost room of the Dank Crypt, you'll find a room with a bunch of sarcophagi inside. Note that this room is full of traps (which your party you should detect with Perception checks), that will get triggered when you examine the sarcophagus in the middle of the room.
This sarcophagus has the Engraved Key inside, which open the Heavy Oak Doors.
How to Disable the Traps
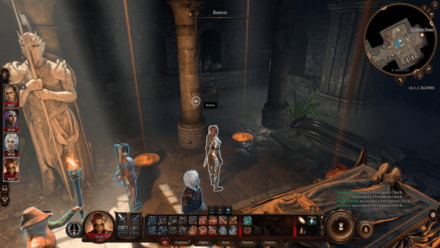
| Button that Disables the Dank Crypt Traps |
|---|
 |
| Coordinates: (-287, -328) |
If you have a Trap Disarm Toolkit, you can simply use it on the Sarcophagus to avoid triggering the trap.
You can also find the button on a pillar near the trapped sarcophagus. Ungroup your team, have one of your team members stand near the button, then open the sarcophagus. As the trap activates, quickly press the button to deactivate the trap.
Another way, which is a time-consuming one, is to block each one of the traps with items.
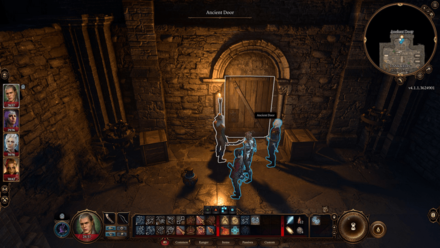
Ancient Door
| Ancient Door |
|---|
 |
| Coordinates: (-294, -343) |
One of the entrances/exits to the Chapel is the Ancient Door, which you'll likely encounter early on in the Ravaged Beach. You can lockpick this door, but if you chose not to, this door has a key that opens it: the Heavy Key, hidden somewhere else in the crypt.
Ancient Door Key
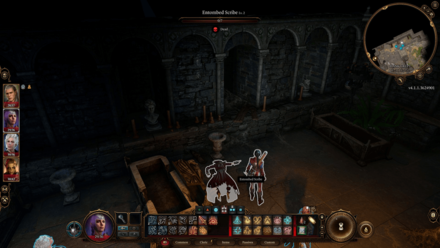
| Heavy Key |
|---|
 |
| Coordinates: (-310, 252) |
The Heavy Key that unlocks the Ancient Door is located at the north room of the crypt, held by the Entombed Scribe at the west part of the room.
Hatch
| Hatch |
|---|
 |
| Coordinates: (-252, -273) |
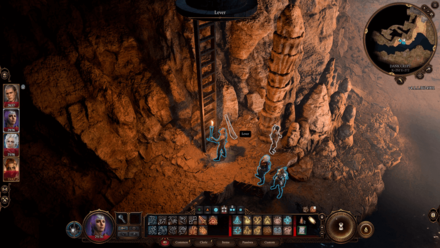
At the north room of the crypt, go to the east room leading to the outside of the river. You'll find a lever there; pull the lever to bring down the ladder that leads to the Hatch to exit the chapel.
Alternatively, you can enter the chapel from the outside through this entrance, located at the narrow path east of the Chapel Entrance area. This is not a bad idea, as there's not much good loot in the chapel except for the room where the Hatch is. Note that you'll need a Thieves' Tools and to roll a 20 to pick the Hatch lock, though.
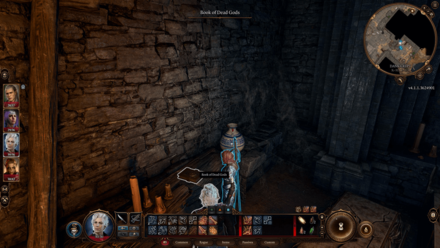
Book of Dead Gods
| Book of Dead Gods |
|---|
 |
| Coordinates: (-315, -273) |
At the west part of the north room, you'll find a door. Enter the door and you'll find the Book of Dead Gods at the south of the room.
Succeed the rolls and you'll unlock the Divinity Undone Inspirational Event. If you have Shadowheart in your party, this event will inspire her.
Secret Room: Withers
| Secret Room: Withers |
|---|
 |
| Coordinates: (-298, -231) |
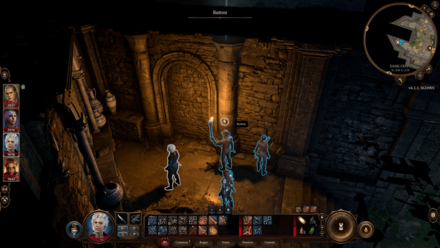
Withers is an important NPC, and the most valuable point of interest in the whole chapel. You'll find him at the secret room at the north part of the north room.
As you approach the hidden room, you'll need to pass a Perception check to find the button. Once you press it (or attack any of the Entombed Scribes lying down), a trap will get revealed: all the Entombed Scribes in the room will reanimate and attack you.
It's recommended to loot the weapons of the Entombed Scribes before you trigger the trap, so that they will not have items equipped in battle. Before the trap, you can also ungroup your party and put them near the scribes to quickly eliminate them.
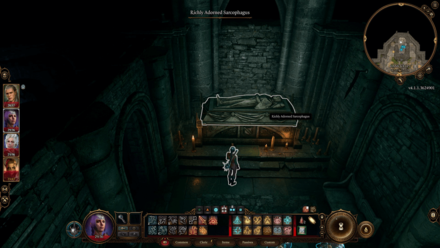
Withers's Sarcophagus
| Withers's Sarcophagus |
|---|
 |
| Coordinates: (-293, -227) |
After the battle, enter the secret room. Examine the sarcophagus inside to unlock Withers, a friendly NPC who has a lot of useful gameplay features for you in camp.
After talking to Withers, examine the sarcophagus again. There's a bunch of good loot inside, including a couple of good Arrows.
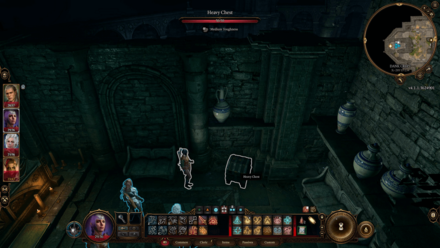
The Amulet of Lost Voices
| The Amulet of Lost Voices |
|---|
 |
| Coordinates: (-290, -235) |
In the same secret room, you'll find a Heavy Chest. Included in the loot inside is The Amulet of Lost Voices, a rare item that allows the wearer to speak to the dead.
The Amulet of Lost Voices Accessory Guide
Baldur's Gate 3 Related Guides
Faerûn All Locations
| Prologue Locations | |
|---|---|
| Nautiloid | |
| Act 1 Locations | |
| Wilderness | Chapel Ruins |
| Emerald Grove | Owlbear Nest |
| Blighted Village | Whispering Depths |
| Putrid Bog (Sunlit Wetlands) | Overgrown Tunnel |
| The Risen Road | Zhentarim Basement |
| Goblin Camp | Mountain Pass: Rosymorn Monastery |
| Creche Y'llek | Underdark |
| Arcane Tower | Grymforge |
| Act 2 Locations | |
| Shadow-Cursed Lands | Reithwin Town |
Comment
Author
Chapel Ruins: Refectory and Dank Crypt Maps and Points of Interest
improvement survey
03/2026
improving Game8's site?

Your answers will help us to improve our website.
Note: Please be sure not to enter any kind of personal information into your response.

We hope you continue to make use of Game8.
Rankings
- We could not find the message board you were looking for.
Gaming News
Popular Games

Genshin Impact Walkthrough & Guides Wiki

Honkai: Star Rail Walkthrough & Guides Wiki

Umamusume: Pretty Derby Walkthrough & Guides Wiki

Pokemon Pokopia Walkthrough & Guides Wiki

Resident Evil Requiem (RE9) Walkthrough & Guides Wiki

Monster Hunter Wilds Walkthrough & Guides Wiki

Wuthering Waves Walkthrough & Guides Wiki

Arknights: Endfield Walkthrough & Guides Wiki

Pokemon FireRed and LeafGreen (FRLG) Walkthrough & Guides Wiki

Pokemon TCG Pocket (PTCGP) Strategies & Guides Wiki
Recommended Games

Diablo 4: Vessel of Hatred Walkthrough & Guides Wiki

Cyberpunk 2077: Ultimate Edition Walkthrough & Guides Wiki

Fire Emblem Heroes (FEH) Walkthrough & Guides Wiki

Yu-Gi-Oh! Master Duel Walkthrough & Guides Wiki

Super Smash Bros. Ultimate Walkthrough & Guides Wiki

Pokemon Brilliant Diamond and Shining Pearl (BDSP) Walkthrough & Guides Wiki

Elden Ring Shadow of the Erdtree Walkthrough & Guides Wiki

Monster Hunter World Walkthrough & Guides Wiki

The Legend of Zelda: Tears of the Kingdom Walkthrough & Guides Wiki

Persona 3 Reload Walkthrough & Guides Wiki
All rights reserved
© 2023 Larian Studios. All rights reserved. Larian Studios is a registered trademark of arrakis nv, affiliate of Larian Studios Games ltd. All company names, brand names, trademarks and logos are the property of their respective owners. © 2020 Wizards of the coast. All rights reserved. Wizards of the coast, Baldur’s Gate, Dungeons & Dragons, D&D, and their respective logos. Are registered trademarks of wizards of the coast LLC
The copyrights of videos of games used in our content and other intellectual property rights belong to the provider of the game.
The contents we provide on this site were created personally by members of the Game8 editorial department.
We refuse the right to reuse or repost content taken without our permission such as data or images to other sites.


![Monster Hunter Stories 3 Review [First Impressions] | Simply Rejuvenating](https://img.game8.co/4438641/2a31b7702bd70e78ec8efd24661dacda.jpeg/thumb)


