Koboh Part 3 Walkthrough
★ Find out what gets carried over to New Game Plus!
☆ Learn how to get Beskar Steel and all weapon materials!
★ Make sure to get all the BD-1 Upgrades to help in combat!
☆ Get Map Upgrades to make hunting Collectibles easier!
This is a walkthrough of the third visit to Koboh in Star Wars Jedi Survivor. Learn how to rescue Zee from the Lucrehulk and how to get through the Loading Gantry, Lucrehulk Core, Yurt Barracks, and Forward Control Tower areas!
| ◄ Previous Planet | Next Planet ▶ |
|---|---|
| Jedha Part 2 | Shattered Moon Part 2 |
| Planet Walkthrough | Planet Collectibles |
| Koboh Part 3 Walkthrough | Koboh Collectibles |
List of Contents
Koboh Part 3 Walkthrough
Koboh Part 3 Objectives
| Koboh Part 2 Objectives | |
|---|---|
| 1 | Rescue Zee from the Lucrehulk |
Rescue Zee from the Lucrehulk
Travel to the Viscid Bog
| How to Travel to the Viscid Bog | |
|---|---|
| 1 | 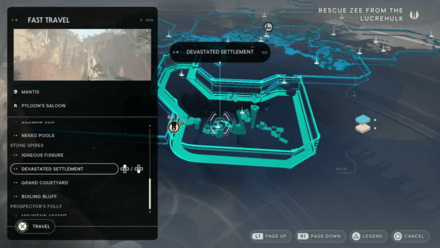 Upon landing on Koboh, you'll be assigned the objective to Rescue Zee from the Lucrehulk. Fast travel to the meditation point near the objective in the Devastated Settlement. |
| 2 | 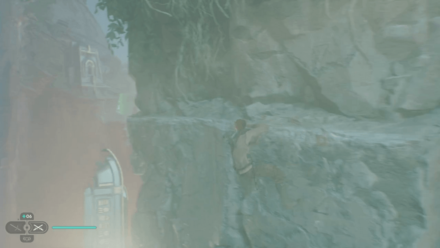 You'll need to cross the ravine to the objective's direction. Climb the rock pillar beside the meditation point. |
| 3 | 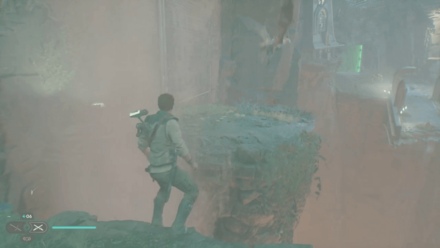 Jump through the rock platforms to reach the Relter. Cross the ravine by riding the Relter. |
| 4 | 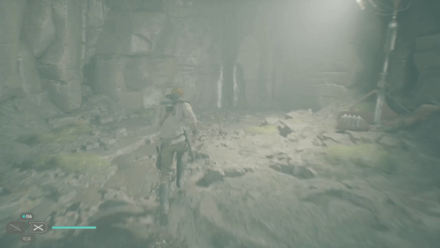 Cross the green laser gate. Then, in the cave, find the narrow gap and cross it. Outside, you'll encounter Bode. |
| 5 | 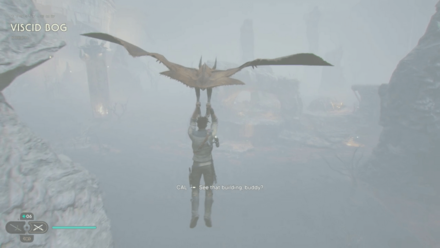 Ride the Relter nearby to cross the swamp and reach the next area, the Viscid Bog. |
Cross the Swamps of Viscid Bog
| How to Get Through the the Viscid Bog | |
|---|---|
| 1 | 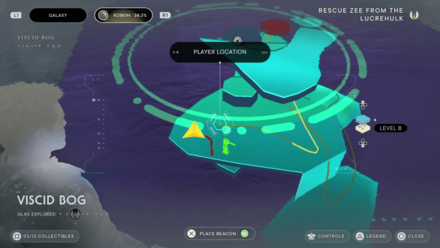 In this swamp island in the Viscid Bog, you need to find the activatable zipline that starts from a cave below the island. Check the map to find where to go down. Make sure not to fall into the swamp; you'll sink and die in a few seconds if you do. |
| 2 | 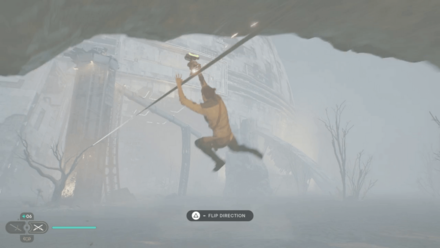 Activate the zipline and cross to the pillar across the swamp. |
| 3 | 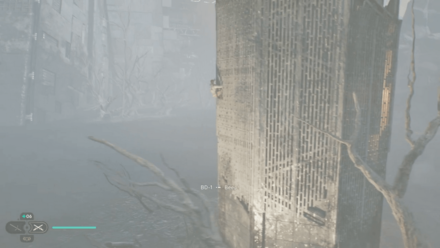 Climb the pillar, then cross through the three ziplines and land on a rock island. There are some enemies here and an activatable zipline that will lead back to a previous area. |
| 4 | 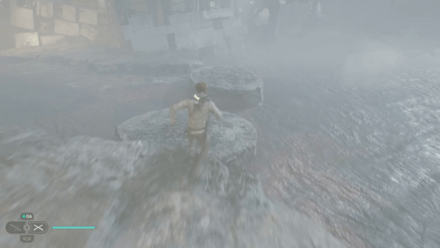 Cross the rock islands towards the destination. You'll reach the Loading Gantry area and get reunited with Bode. The meditation point for the area will be nearby. |
Enter the Lucrehulk Through the Loading Gantry
| How to Get Through the Loading Gantry | |
|---|---|
| 1 | 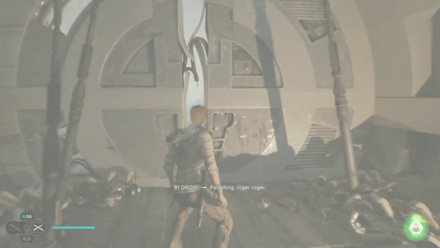 From the Loading Gantry meditation point, enter the next area through the narrow gap. |
| 2 | 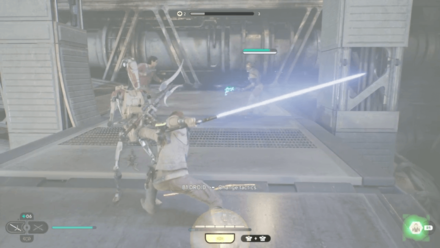 Proceed through the path, defeating the droids along the way with Bode's help. |
| 3 | 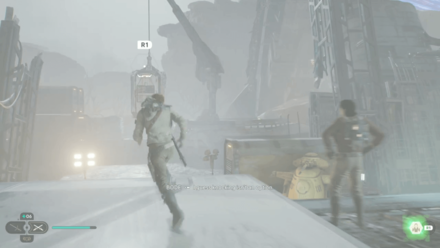 Keep climbing and jumping over all the wreckage. Your direction should be upwards, so always look for areas where you can reach higher. |
| 4 | 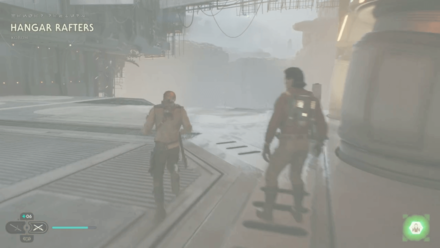 At the end of all the jumping and climbing, you should arrive in the Hangar Rafters meditation point. |
| 5 | 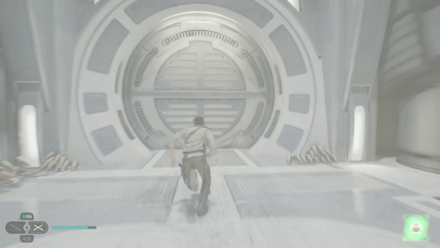 Enter the Lucrehulk through the door near the meditation point. |
Traverse the Hangar Rafters
| How to Get Through the Hangar Rafters | |
|---|---|
| 1 | 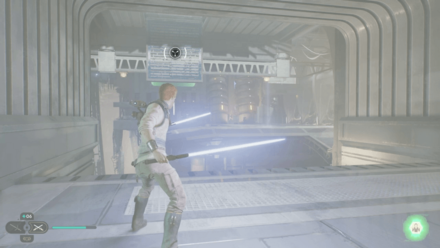 Upon entering the Hangar Rafters, you'll fight some raiders with Bode. After Bode leaves you, cross to the other side into the green laser gate. |
| 2 | 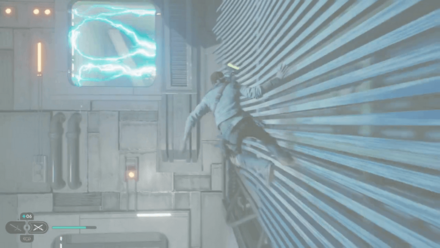 Inside, continue to the other green laser gate blocked with the pulsing electric current. Watch out for the timing and jump when the current is inactive; if you touch the electric currents; you'll get paralyzed and fall! |
| 3 | 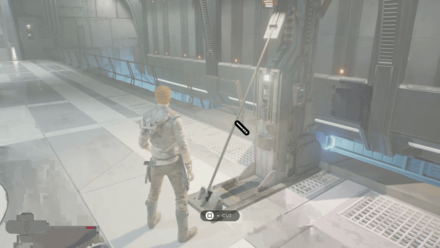 Continue climbing and jumping up the path. At some point, you'll encounter a shortcut that you can activate. Near this shortcut, there's a powerful Magnaguard guarding a door. |
| 4 | 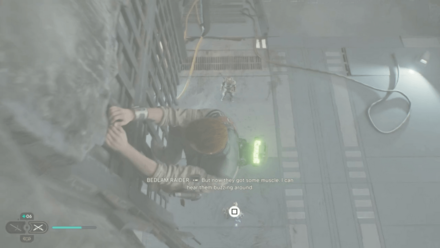 Proceed to the hanging machinery to the left of the door. Climb and jump through all the hanging machinery and continue until you find an area where you can drop down and land by some raiders. |
| 5 | 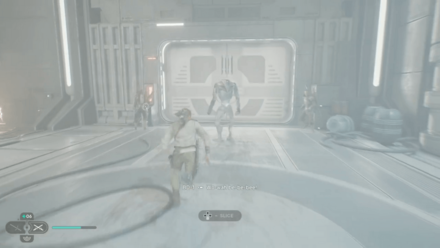 Defeat the raiders and continue on to the path; look out for the green laser gate, where there are some more raiders guarding a door. |
| 6 | 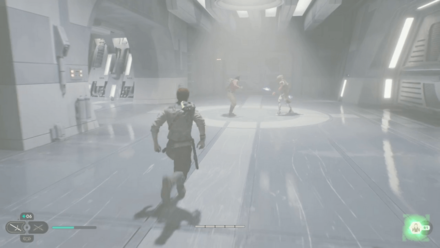 Enter this door to get reunited with Bode; defeat the Magnaguard attacking him. |
| 7 | 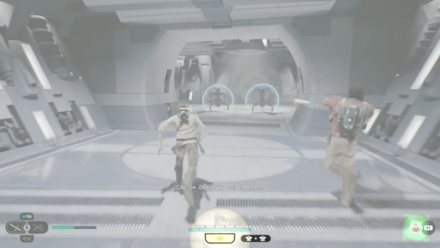 Continue on the path with Bode, fighting a lot of enemies along the way. At the end of the path, you'll reach the Lucrehulk Core area. |
Get Across the Lucrehulk Core
| How to Get Through the Lucrehulk Core | |
|---|---|
| 1 | 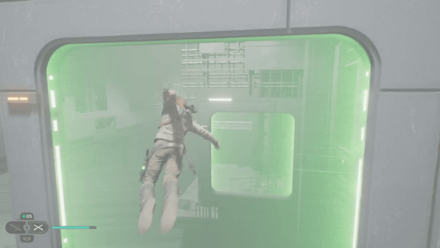 From the Lucrehulk Core area, your next destination is the Yurt Barracks. After examining the area with Bode, proceed to the door in the area and continue on to the hanging green gates. |
| 2 | 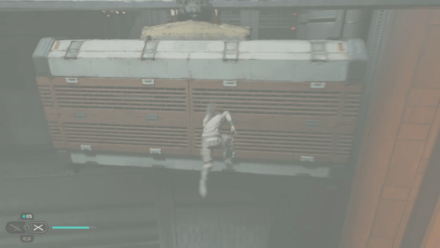 You'll see some moving cargo in the area. When one is near you, jump and climb towards it, then land on the next area. |
| 3 | 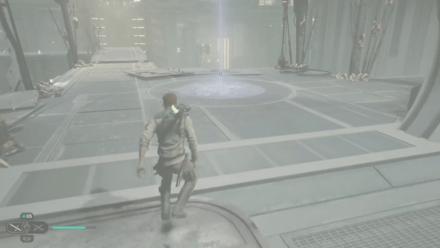 Proceed to the path and go down an elevator to reach the Lucrehulk Core meditation point. |
| 4 | 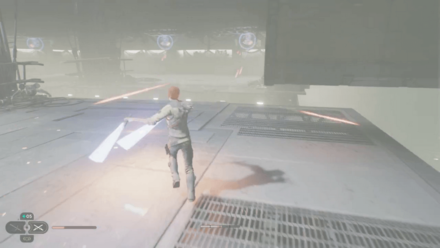 Proceed further to the path; there will be a lot of shielded drones in the ceilings, so watch out! |
| 5 | 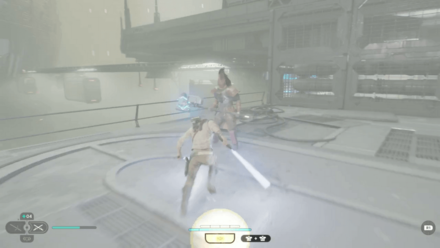 Along the way, you'll encounter a powerful Raider with a hammer weapon guarding a door. Defeat it to get reunited with Bode. |
| 6 | 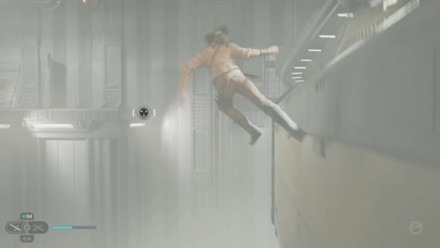 Enter the door, where you'll see some moving cargo. Jump trick on one when it is near, then use the grappling hook to the next area. |
| 7 | 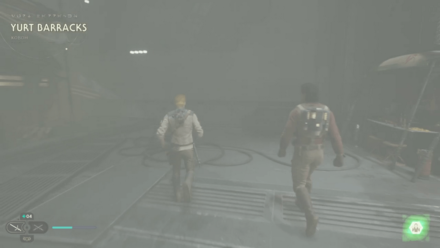 Proceed to the path and keep following Bode until you reach the Yurt Barracks. |
Fight Through the Yurt Barracks
| How to Get Through the Yurt Barracks | |
|---|---|
| 1 | 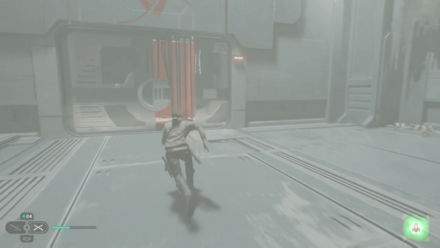 Upon arriving in the Yurt Barracks, you'll discover a lot of enemies. Fight through them with Bode, then proceed to the half open door in the area. |
| 2 | 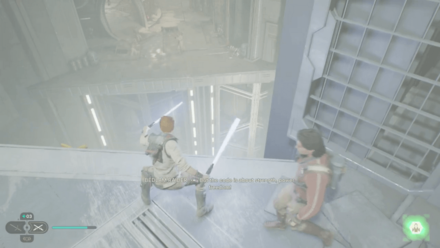 Explore the area; your next destination will be jumping across to some more barracks at a lower part of the ship. Defeat the enemies in this area, then climb to the next area with a cable. |
| 3 | 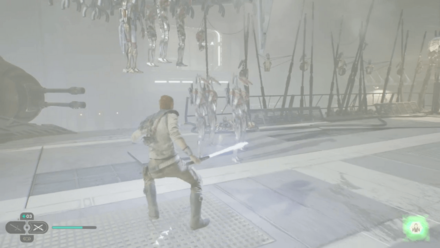 You'll encounter an army of droids and a hammer-wielding raider in this next area. Defeat them to proceed. Enter the next few doors, where a cutscene will play and you'll get split from Bode again. |
| 4 | 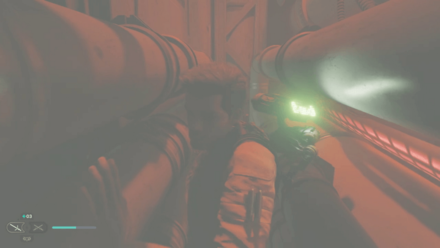 Proceed through the path. You'll have to squeeze through many narrow gaps and areas along the way. Find your way until you trigger a cutscene where you'll get ambushed. |
| 5 | 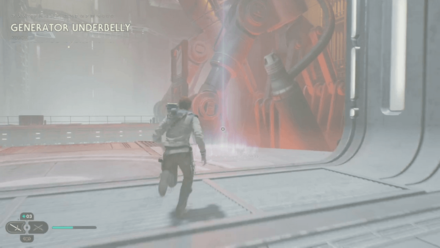 After the cutscenes, you'll learn the Lift and Slam ability, which you can use to destroy those shielded drones in the ceilings. Proceed through the door to reach the Generator Underbelly. |
Climb the Generator Underbelly
| How to Get Through the Generator Underbelly | |
|---|---|
| 1 | 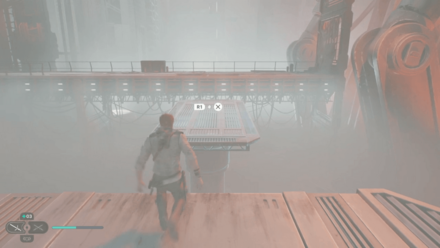 Proceed to the path from the Generator Underbelly meditation point. You'll be using your newly learned skill a lot to lift or drop platforms; some of them will reset to their original position after a time, so be quick. |
| 2 | 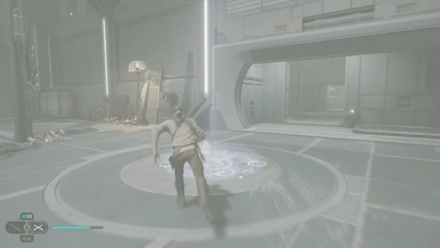 Keep looking around for force prompts to progress. Your general direction will be to keep moving up to higher floors. Keep moving up until you return to the Lucrehulk Core meditation point. |
| 3 | 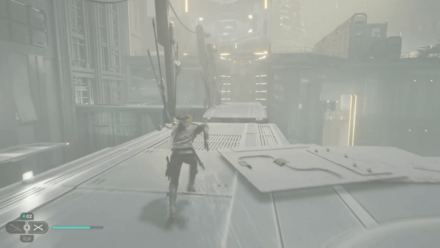 In the area by the meditation point, cross the broken bridge and force pull the lift so you can ride it up. |
| 4 | 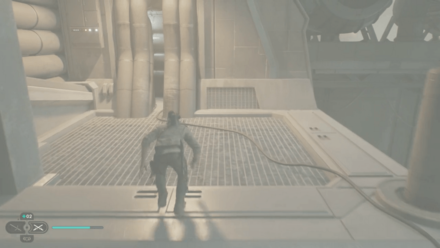 Go up, enter the narrow gap and you'll trigger a cutscene. You'll arrive at the Forward Control Tower area. Proceed through the path until you reach the meditation point. |
Rescue Zee in the Forward Control Tower
| How to Rescue Zee in the Forward Control Tower | |
|---|---|
| 1 | 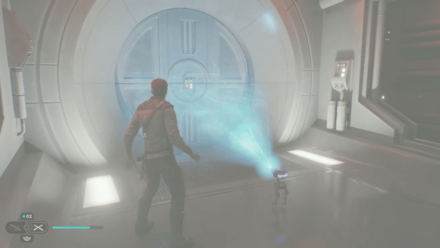 In a door not far from the Forward Control Tower meditation point, you'll finally find Zee. Talk with Zee to trigger the cutscene with Dagan Gera. |
| 2 | 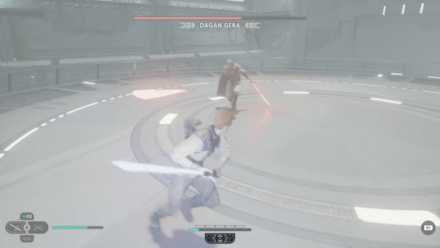 Defeat Dagan Gera in a boss fight after the cutscene. |
| 3 | 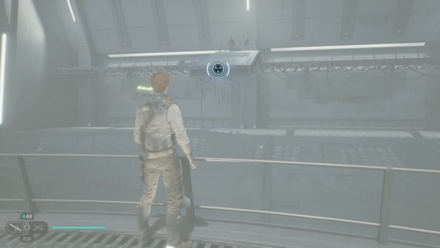 After defeating Dagan Gera, go up to where Bode and Zee are and follow them into the escape pods. Your objective to Rescue Zee from the Lucrehulk is now complete. |
Star Wars Jedi: Survivor Related Guides

All Planet Walkthroughs
| # | Story Chapter | Unlockables |
|---|---|---|
| 1 | Coruscant Walkthrough | ・Double-Bladed Stance ・Dual Wield Stance |
| 2 | Koboh Walkthrough | ・Rumors ・Shops ・Jedi Chambers ・Bounties ・Mounts |
| 3 | Jedha Walkthrough | ・Blaster Stance ・The Archive |
| 4 | Shattered Moon Walkthrough | ・Crossguard Stance |
| 5 | Koboh Part 2 Walkthrough | ・Koboh Grinder |
| 6 | Jedha Part 2 Walkthrough | ・Dash Ability |
| 7 | Koboh Part 3 Walkthrough | ・Lift and Slam Ability |
| 8 | Shattered Moon Part 2 Walkthrough | ・Upgraded Ascension Cable |
| 9 | Koboh Part 4 Walkthrough | ・Electro Dart |
| 10 | Jedha Part 3 Walkthrough | - |
| 11 | Nova Garon Walkthrough | ・Dark Side Ability |
| 12 | Koboh Part 5 Walkthrough | - |
| 13 | Tanalorr Walkthrough | - |
Comment
Author
Koboh Part 3 Walkthrough
improvement survey
03/2026
improving Game8's site?

Your answers will help us to improve our website.
Note: Please be sure not to enter any kind of personal information into your response.

We hope you continue to make use of Game8.
Rankings
- We could not find the message board you were looking for.
Gaming News
Popular Games

Genshin Impact Walkthrough & Guides Wiki

Honkai: Star Rail Walkthrough & Guides Wiki

Umamusume: Pretty Derby Walkthrough & Guides Wiki

Pokemon Pokopia Walkthrough & Guides Wiki

Resident Evil Requiem (RE9) Walkthrough & Guides Wiki

Monster Hunter Wilds Walkthrough & Guides Wiki

Wuthering Waves Walkthrough & Guides Wiki

Arknights: Endfield Walkthrough & Guides Wiki

Pokemon FireRed and LeafGreen (FRLG) Walkthrough & Guides Wiki

Pokemon TCG Pocket (PTCGP) Strategies & Guides Wiki
Recommended Games

Diablo 4: Vessel of Hatred Walkthrough & Guides Wiki

Fire Emblem Heroes (FEH) Walkthrough & Guides Wiki

Yu-Gi-Oh! Master Duel Walkthrough & Guides Wiki

Super Smash Bros. Ultimate Walkthrough & Guides Wiki

Pokemon Brilliant Diamond and Shining Pearl (BDSP) Walkthrough & Guides Wiki

Elden Ring Shadow of the Erdtree Walkthrough & Guides Wiki

Monster Hunter World Walkthrough & Guides Wiki

The Legend of Zelda: Tears of the Kingdom Walkthrough & Guides Wiki

Persona 3 Reload Walkthrough & Guides Wiki

Cyberpunk 2077: Ultimate Edition Walkthrough & Guides Wiki
All rights reserved
© 2023 Electronic Arts Inc.
The copyrights of videos of games used in our content and other intellectual property rights belong to the provider of the game.
The contents we provide on this site were created personally by members of the Game8 editorial department.
We refuse the right to reuse or repost content taken without our permission such as data or images to other sites.


![Everwind Review [Early Access] | The Shaky First Step to A Very Long Journey](https://img.game8.co/4440226/ab079b1153298a042633dd1ef51e878e.png/thumb)

![Monster Hunter Stories 3 Review [First Impressions] | Simply Rejuvenating](https://img.game8.co/4438641/2a31b7702bd70e78ec8efd24661dacda.jpeg/thumb)


