Koboh Part 2 Walkthrough
★ Find out what gets carried over to New Game Plus!
☆ Learn how to get Beskar Steel and all weapon materials!
★ Make sure to get all the BD-1 Upgrades to help in combat!
☆ Get Map Upgrades to make hunting Collectibles easier!
This is a walkthrough of the second visit to Koboh in Star Wars Jedi Survivor. Learn how to research Tanalorr via the Stone Spires in Koboh, how to reach the Igneous Fissure area, how to solve the Devastated Settlement puzzles, and location maps and walkthroughs for Koboh part 2 objectives!
| ◄ Previous or Next Planets ▶ | |||
|---|---|---|---|
| Jedha | Koboh Part 2 | Shattered Moon | Jedha Part 2 |
| Planet Walkthrough | Planet Collectibles |
|---|---|
| Koboh Part 2 Walkthrough | Koboh Collectibles |
List of Contents
Koboh Part 2 Walkthrough
Koboh Part 2 Objectives
| Koboh Part 2 Objectives | |
|---|---|
| 1 | Research Tanalorr on Koboh Via the Stone Spires |
Research Tanalorr on Koboh Via the Stone Spires
| How to Research Tanalorr on Koboh | |
|---|---|
| 1 | Travel to Igneous Fissure |
| 2 | Reach the Devastated Settlement |
| 3 | Solve the Devastated Settlement Puzzles |
| 4 | Fight Tague Louesh in the Grand Courtyard |
Travel to Igneous Fissure
| How to Travel to Igneous Fissure | |
|---|---|
| 1 | 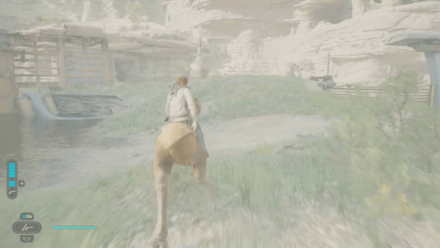 Your goal is to travel from the Outpost, pass through Southern Reach and Riverbed Watch, and finally reach the Igneous Fissure area. Check the map and make your way to Riverbed Watch. |
| 2 | 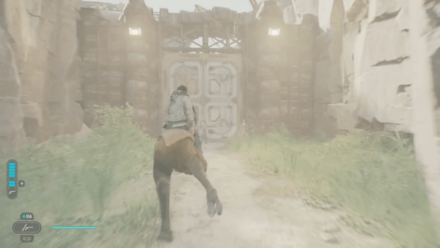 When you reach the Riverbed Watch area, you'll see a giant door guarded by droids. You won't be able to open this door, so continue on the path to the left. |
| 3 | 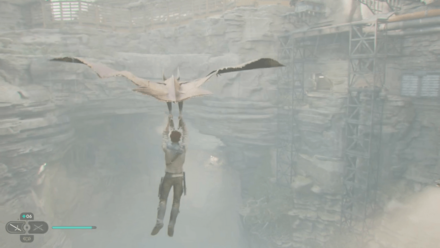 At the end of this path, there will be a waterfall, where there is a Relter nearby. Fly with the Relter to the other side to reach the Igneous Fissure Area. Climb the vines to reach the Igneous Fissure meditation point. |
Reach the Devastated Settlement
| How to Reach the Devastated Settlement | |
|---|---|
| 1 | 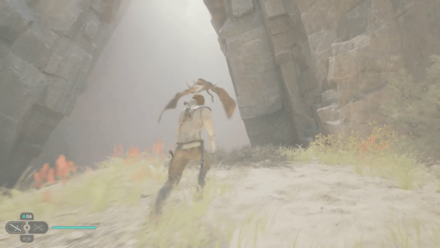 Continue on the path, where you'll ride another Relter through the ravine. You'll arrive in the Devastated Settlement area. |
| 2 | 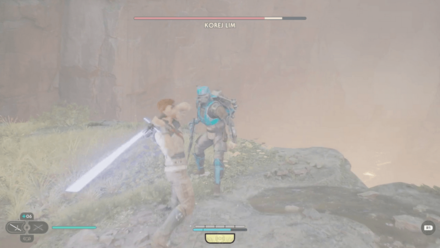 While riding the Relter, you'll get attacked by Korej Lim. After defeating him, a cutscene will play with Caij, which unlocks Bounty Hunting. |
| 3 | 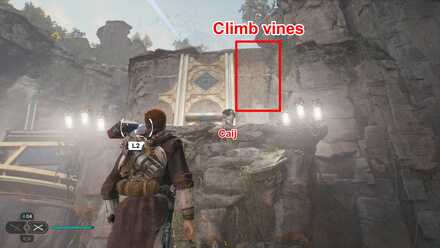 Go up to where Caij is, then climb to the vines behind her, where you'll encounter some enemies. |
| 4 | 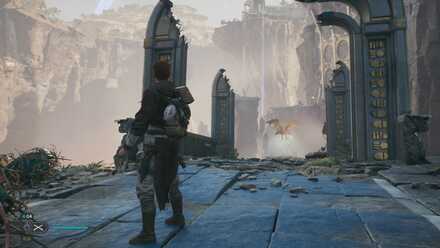 Defeat the enemies here, then find the Relter in the area and fly to the other side of the ravine to reach the Devastated Settlement meditation point. |
| 5 | 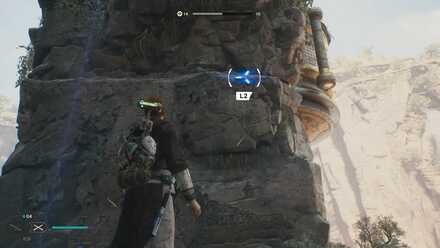 After crossing with the Relter, grapple to the ledge to your left, then climb around to the top to pull yourself onto the platform. |
| 6 | 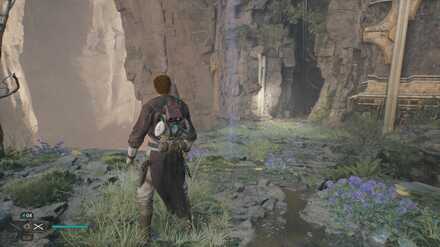 Upon climbing to the platform and after Cal remarks about the destination, head to the adjacent platform to your right, where you'll be solving three laser puzzles to progress. |
Solve the Devastated Settlement Puzzles
| Devastated Settlement Puzzle Solutions | ||
|---|---|---|
| First Laser | Second Laser | Third Laser |
Devastated Settlement Puzzle Solution
Devastated Settlement First Laser Puzzle
| First Laser Puzzle Solution | |
|---|---|
| 1 |  Use Force Push twice to spin the contraption in the middle of the room. This will move the laser on the other side. |
| 2 | 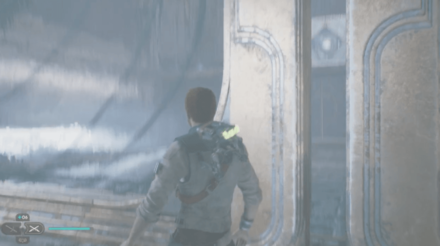 Go to the other room by squeezing through the small gap at the center. |
| 3 | 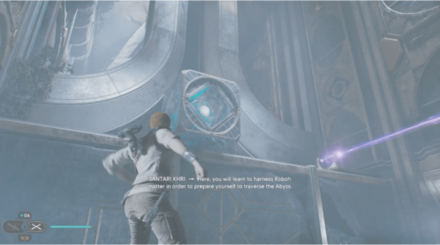 Use Force Pull to bring down the large cube. (Note that there is a bug here wherein you will not be able to pull the large cube down. You can fix this by loading a previous save file) |
| 4 | 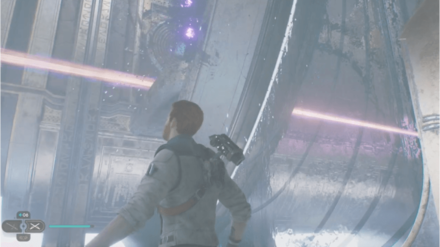 Head back to the other side of the small gap and Force Push the contraption again to make the laser go all the way and destroy the vines blocking the orb slot. |
| 5 |  Head back to the other side again, then Force Pull the orb from the laser slot and throw it to the new orb slot. |
| 6 |  Head to the outer room again and use Force Pull to grab the orb from the slot, then bring it outside. |
| 7 | 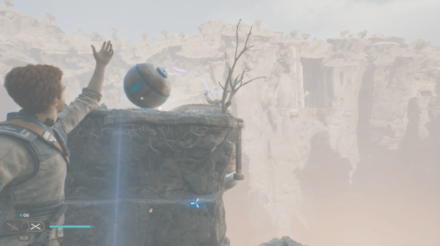 Force Push/throw the orb towards the laser contraption outside on the ledge across the room you just exited from. |
| 8 | 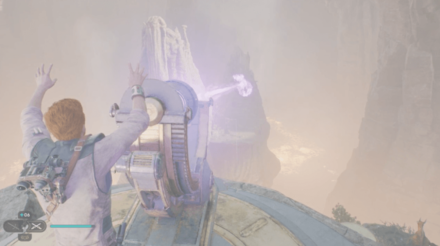 Aim the laser at the vines on your lower left to open the geyser. This will release an updraft that can lift you higher when mounted. |
Devastated Settlement Second Laser Puzzle
| Second Laser Puzzle Solution | |
|---|---|
| 1 | 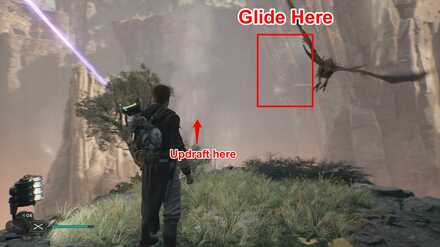 Using the vent updraft, you can now glide toward the ledge behind it. |
| 2 | 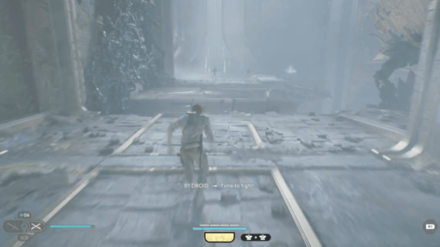 Head to the new accessible room/chamber then jump on the platform to trigger its collapse. Fight the Gorocco enemies below. |
| 3 | 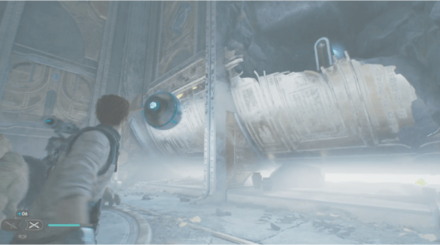 After defeating all of the enemies, grab the purple orb. |
| 4 |  Throw the purple orb into the slot inside the destroyed wall. This will open up a gate right beside it. |
| 5 | 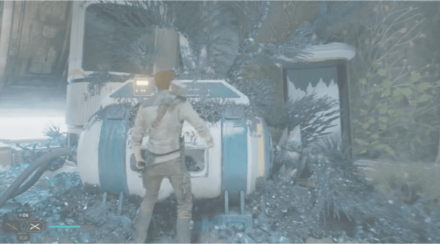 Head to the new path and drop down. Here, you will be able to find the BD-1 upgrade Koboh Grinder. |
| 6 |  Using the Koboh Grinder, draw a line from the laser toward the vines on your right to destroy them. |
| 7 | 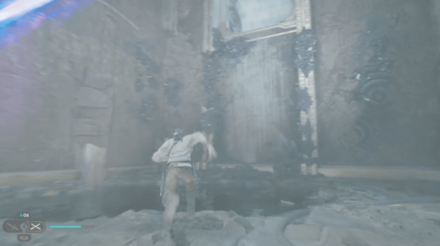 Head back to the previous room and pick up the purple orb from the slot inside the destroyed wall. |
| 8 | 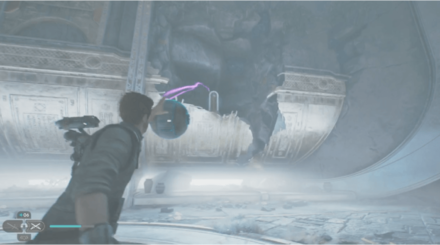 Return the purple orb to its original slot to fire up the laser. |
| 9 | 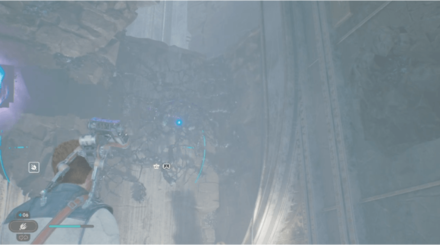 Draw a line from the laser to the vines on your right to open a new path. |
| 10 | 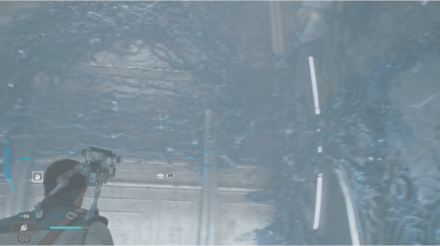 Draw another line from the laser to the vines on your left to remove them from the wall. |
| 11 | 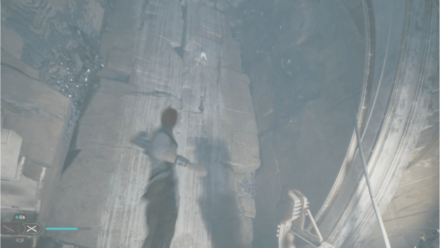 Use the grappling hook to your right and climb the ledge. |
| 12 |  Pick up the purple orb below you and throw it in the slot on the second floor. |
| 13 | 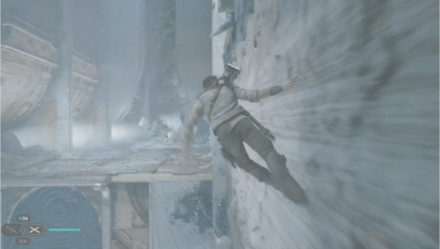 Head back to the opposite side by performing a wall run. |
| 14 |  Pick up the orb again. Head outside and place it on the slot. |
| 15 | 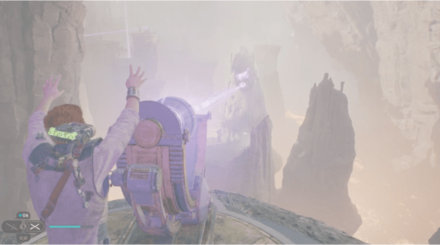 Aim the laser at the other geyser covered in vines to release more updraft. |
Devastated Settlement Third Laser Puzzle
| Third Laser Puzzle Solution | |
|---|---|
| 1 | 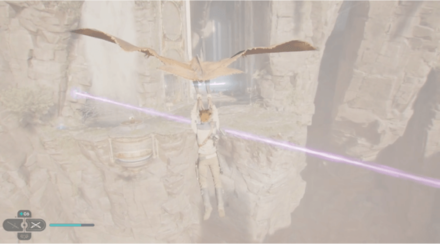 Ride your mount again and use the updraft to reach the final section. |
| 2 | 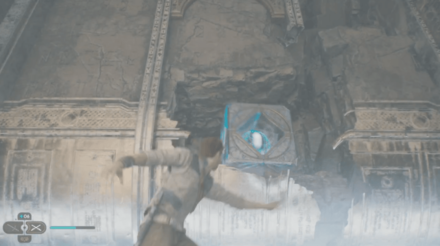 Head inside and explore the area. Pull the large cube inside the main room. |
| 3 | 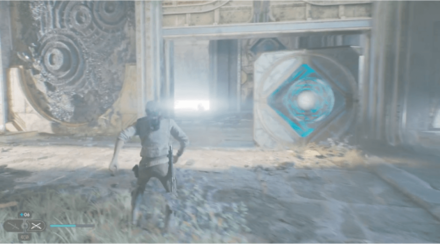 Place the large cube on the opening to prevent it from closing. |
| 4 | 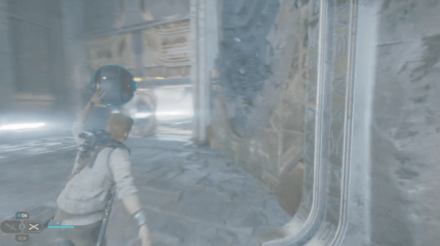 Get the purple orb inside and bring it back to the main room. |
| 5 | 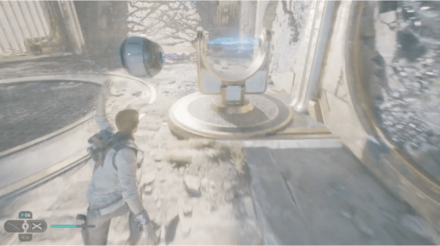 Place the purple orb in the slot in the main room. |
| 6 | 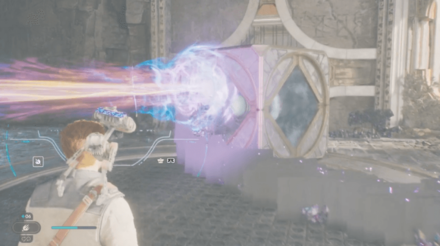 Pull the large cube and block the laser from shooting outside. |
| 7 | 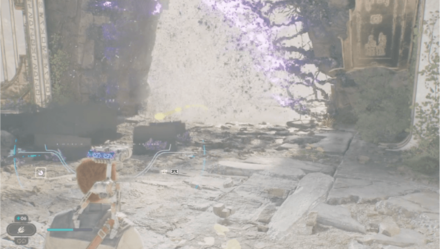 Draw a line from the large cube to the vines on your right. |
| 8 | 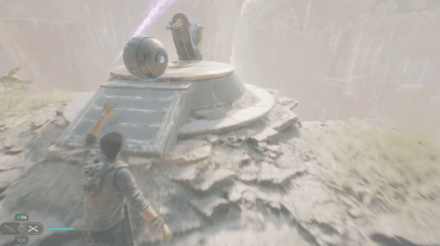 Grab the purple orb again and place it on the slot outside. |
| 9 | 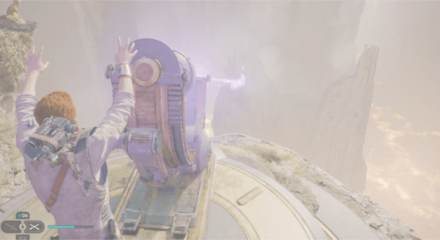 Point the final laser on the geyser right below you. |
Fight Tague Louesh in the Grand Courtyard
| How to Get to the Grand Courtyard | |
|---|---|
| 1 | 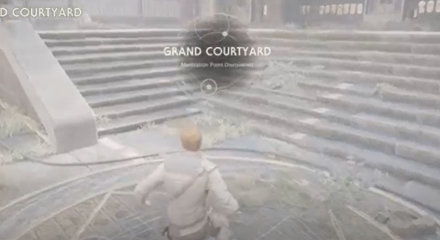 Use the steam exhaust to climb up to the very top and onto the Grand Courtyard. Save up on the meditation spot before going inside. |
| 2 | 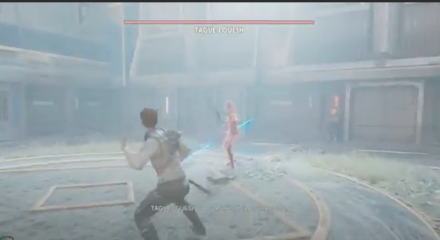 Go inside the building to face Tague Louesh. This boss uses a double-bladed lightsaber but can easily be overwhelmed by a flurry of attacks. |
| 3 | 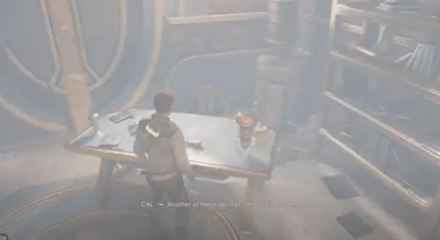 After beating Tague Louesh go into one of the rooms and interact with the desk to find out what happened in the courtyard. After seeing the fate of the Jedi, Cal can exit through the roof and ride the Relter to the starting point. |
Star Wars Jedi: Survivor Related Guides

All Planet Walkthroughs
| # | Story Chapter | Unlockables |
|---|---|---|
| 1 | Coruscant Walkthrough | ・Double-Bladed Stance ・Dual Wield Stance |
| 2 | Koboh Walkthrough | ・Rumors ・Shops ・Jedi Chambers ・Bounties ・Mounts |
| 3 | Jedha Walkthrough | ・Blaster Stance ・The Archive |
| 4 | Shattered Moon Walkthrough | ・Crossguard Stance |
| 5 | Koboh Part 2 Walkthrough | ・Koboh Grinder |
| 6 | Jedha Part 2 Walkthrough | ・Dash Ability |
| 7 | Koboh Part 3 Walkthrough | ・Lift and Slam Ability |
| 8 | Shattered Moon Part 2 Walkthrough | ・Upgraded Ascension Cable |
| 9 | Koboh Part 4 Walkthrough | ・Electro Dart |
| 10 | Jedha Part 3 Walkthrough | - |
| 11 | Nova Garon Walkthrough | ・Dark Side Ability |
| 12 | Koboh Part 5 Walkthrough | - |
| 13 | Tanalorr Walkthrough | - |
Comment
Author
Koboh Part 2 Walkthrough
improvement survey
03/2026
improving Game8's site?

Your answers will help us to improve our website.
Note: Please be sure not to enter any kind of personal information into your response.

We hope you continue to make use of Game8.
Rankings
- We could not find the message board you were looking for.
Gaming News
Popular Games

Genshin Impact Walkthrough & Guides Wiki

Honkai: Star Rail Walkthrough & Guides Wiki

Umamusume: Pretty Derby Walkthrough & Guides Wiki

Pokemon Pokopia Walkthrough & Guides Wiki

Resident Evil Requiem (RE9) Walkthrough & Guides Wiki

Monster Hunter Wilds Walkthrough & Guides Wiki

Wuthering Waves Walkthrough & Guides Wiki

Arknights: Endfield Walkthrough & Guides Wiki

Pokemon FireRed and LeafGreen (FRLG) Walkthrough & Guides Wiki

Pokemon TCG Pocket (PTCGP) Strategies & Guides Wiki
Recommended Games

Diablo 4: Vessel of Hatred Walkthrough & Guides Wiki

Fire Emblem Heroes (FEH) Walkthrough & Guides Wiki

Yu-Gi-Oh! Master Duel Walkthrough & Guides Wiki

Super Smash Bros. Ultimate Walkthrough & Guides Wiki

Pokemon Brilliant Diamond and Shining Pearl (BDSP) Walkthrough & Guides Wiki

Elden Ring Shadow of the Erdtree Walkthrough & Guides Wiki

Monster Hunter World Walkthrough & Guides Wiki

The Legend of Zelda: Tears of the Kingdom Walkthrough & Guides Wiki

Persona 3 Reload Walkthrough & Guides Wiki

Cyberpunk 2077: Ultimate Edition Walkthrough & Guides Wiki
All rights reserved
© 2023 Electronic Arts Inc.
The copyrights of videos of games used in our content and other intellectual property rights belong to the provider of the game.
The contents we provide on this site were created personally by members of the Game8 editorial department.
We refuse the right to reuse or repost content taken without our permission such as data or images to other sites.


![Everwind Review [Early Access] | The Shaky First Step to A Very Long Journey](https://img.game8.co/4440226/ab079b1153298a042633dd1ef51e878e.png/thumb)

![Monster Hunter Stories 3 Review [First Impressions] | Simply Rejuvenating](https://img.game8.co/4438641/2a31b7702bd70e78ec8efd24661dacda.jpeg/thumb)


