This survey will take about 1 minute.
Your answers will help us to improve our website.
Star Wars Jedi Survivor
Koboh Walkthrough
★ Find out what gets carried over to New Game Plus!
☆ Learn how to get Beskar Steel and all weapon materials!
★ Make sure to get all the BD-1 Upgrades to help in combat!
☆ Get Map Upgrades to make hunting Collectibles easier!
This is a walkthrough of planet Koboh in Star Wars Jedi Survivor. Read on to learn how to break the breakable structures in Koboh, location maps and walkthroughs for Koboh objectives, and tips and strategies on how get past Koboh!
| Planet Walkthrough | Planet Collectibles |
|---|---|
| Koboh Walkthrough | Koboh Collectibles |
List of Contents
Koboh Walkthrough
Koboh Objectives
| Objectives | |
|---|---|
| 1 | Find Greez |
| 2 | Find Gyro Module |
| 3 | Bring Gyro Module to Greez |
| 4 | Open the Forest Gate |
| 5 | Reach the Forest Array |
| 6 | Leave the Forest Array |
| 7 | Check on the Mantis |
Find Greez
| Where to Find Greez | |
|---|---|
| 1 | 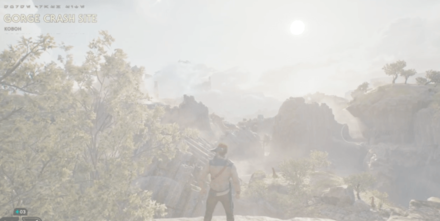 Upon receiving the first objective, you will need to enter the BD-Visor and open up the BD-Noculars. This will allow you to place a beacon on the Trontoshell to learn where to go next. Follow the path on your right until you reach the elevator. |
| 2 | 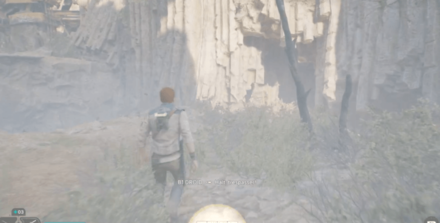 After going down the elevator, there is a platform on your left where you can use your grappling hook to go up to the chest where you can obtain the Photoreceptors - Scrapyard. Jump back down and follow the path below you. From here, you will need to perform a wall run to reach the other side where you will fight the B1 Droids. |
| 3 | 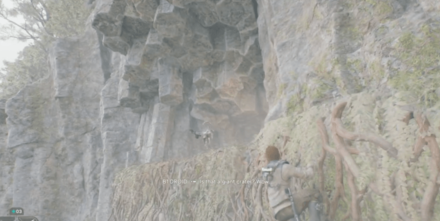 Continue following the path and eliminate all the enemies that you will encounter. After exiting the cave, you will need to jump off the cliff and grab on to the vines. Continue moving forward until you can reach the tar pit. While in this area, make sure that you stand on the metal platform to avoid sinking. |
Use the Roller Mine to break the wall in the tar pit
| Gorge Crash Site Puzzle Solution | |
|---|---|
| 1 | Step onto the platform and turn to the right to aim at the Roller Mine. Hold the Pull Force button (default L2 on the controller) and face the crack in the dam. To release the mine tap the Push Force button (default R2 on the controller). This will raise the platform and allow players to cross to the other side. Take note of this method as there will be other puzzles moving forward that need this same process to be solved. |
Head to Derelict Dam
| Where to Find Greez | |
|---|---|
| 1 |  Follow the path on your left and circle the crashed ship until you reach the Derelict Dam. After defeating the Bedlam Raiders, you will be able to reach the second tar pit if you go straight. You need to jump down and use the grappling hook to climb the vines on your left. |
| 2 | 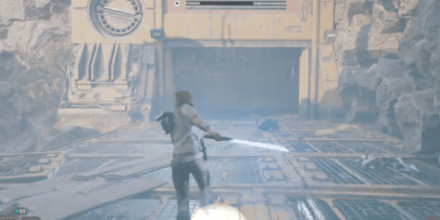 Continue heading towards the large gate where you will see more Roller Mines. Here you will encounter more droids as you progress further. Eliminate all of the enemies and continue moving forward until you reach the cracked wall. |
Use a Roller Mine on the Cracked Wall in Derelict Dam
| Derelict Dam Puzzle Solution | |
|---|---|
| 1 | 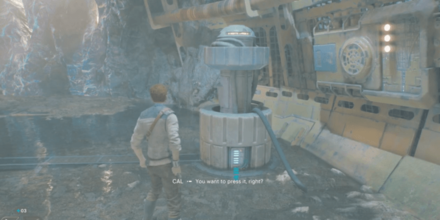 Approach the panel near the dead end and BD-1 use it to spawn Roller Mines. |
| 2 |  Pick up the Roller Mine at the center. |
| 3 |  Use Force Push and throw the Roller Mine on the cracked wall. |
| 4 | 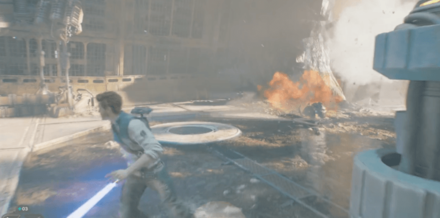 This will open up a new path that you can take to progress further. |
Once you open up the cracked wall, wait for another Roller Mine to spawn and lure it. You will need to solve another Roller Mine puzzle to progress further.
| Derelict Dam 2nd Wall Puzzle Solution | |
|---|---|
| 1 |  Wait for another Roller Mine to spawn and lure it/make it chase you towards the bridge. If you use Force Pull on it to bring it to the breakable wall, it may explode prematurely. |
| 2 |  Use the Roller Mine and throw it to the bridge to lower it. |
| 3 | 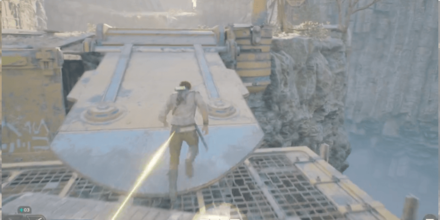 Lure another Roller Mine and bring it towards the tar pit. |
| 4 |  Throw the Roller Mine on the breakable structure to the left to raise the platforms. |
Head for Rambler's Reach Outpost
| Where to Find Greez | |
|---|---|
| 6 |  After the cutscene, continue following the path until you reach the area where you will have to fight multiple droids, you will have to force-push the large crate and bring it towards the yellow wall with blue markings. Once you've done this, you will be able to wall-run your way toward the platform above you and cut the rope. |
| 7 | 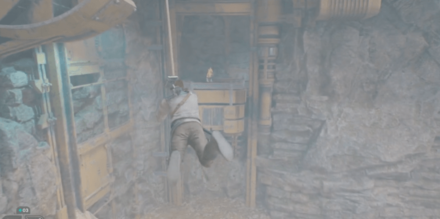 Jump down and use the rope to swing towards the small opening where you will see the Boglings. Follow the path until you reach Southern Reach. |
| 8 |  Continue following the path and pass through Riverbed Watch until you reach the Rambler's Reach Outpost. Head to Pylon's Saloon to the north, where you will have to fight Zeik. |
Find Gyro Module
| Where to Find Gyro Module | |
|---|---|
| 1 | 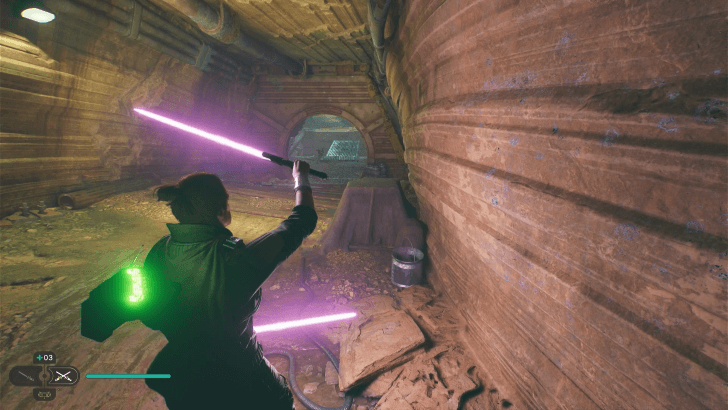 Exit Pyloon's Saloon and head towards the Smuggler's Tunnels. |
| 2 | 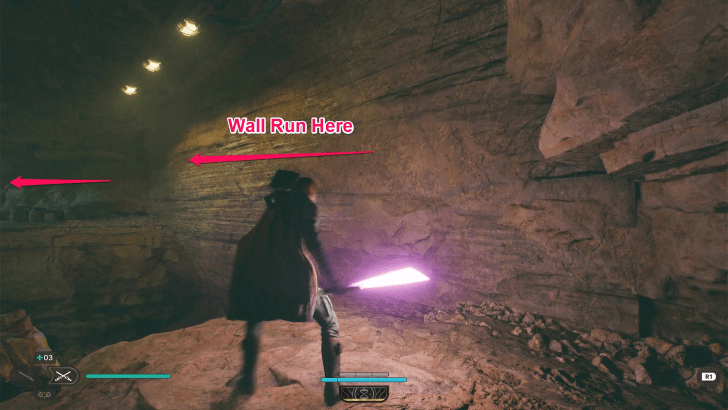 After heading through the crack to the right, use wall runs and jumps to keep to the elevated level. |
| 3 | 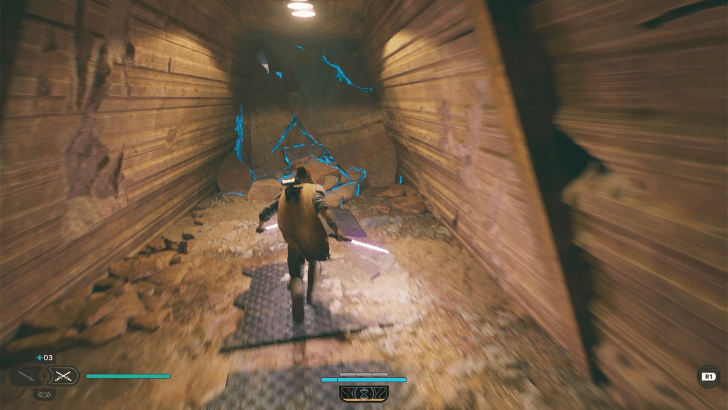 You will eventually see a bunch of rocks you will have to Force-Push to open the breakable wall. |
| 4 | 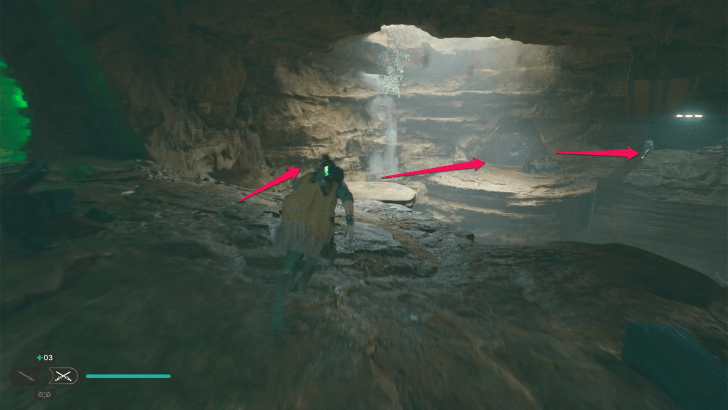 Keep to the path on the left near the green wall and jump across to head to the cave with the orange tent. If you fall in the water, just grapple to the steel grate on one of the walls. |
| 5 | 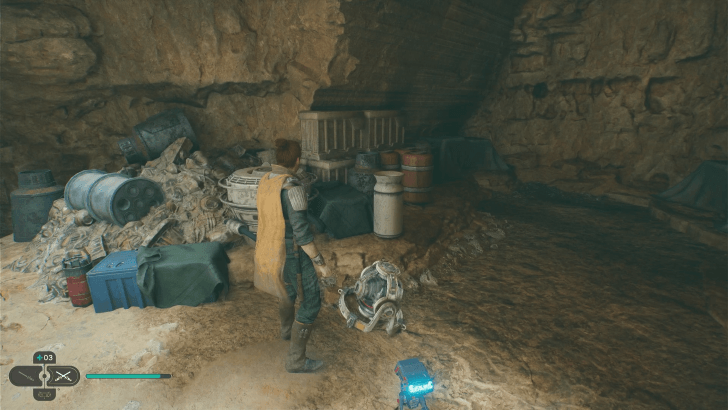 Pick up the Gyro Module. |
Bring Gyro Module to Greez
| How to Leave the Tunnel | |
|---|---|
| 1 | 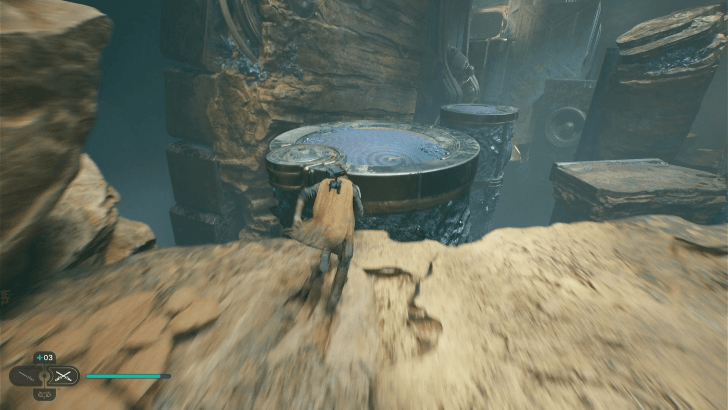 Jump on the pillars and follow the path by performing wall runs. |
| 2 | 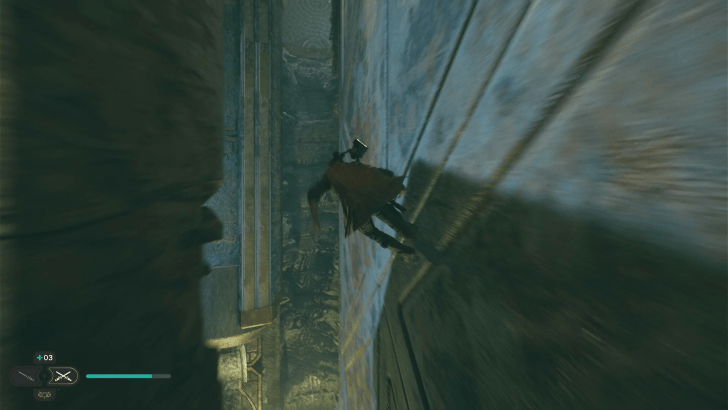 Near the end, you will have to perform a wall run into a wall-to-wall jump to pass this area. |
| 3 |  After that, you have to squeeze through a small gap to reach the Chamber of Duality. |
Chamber of Duality Puzzle
| Chamber of Duality Puzzle Solution | |
|---|---|
| 1 | 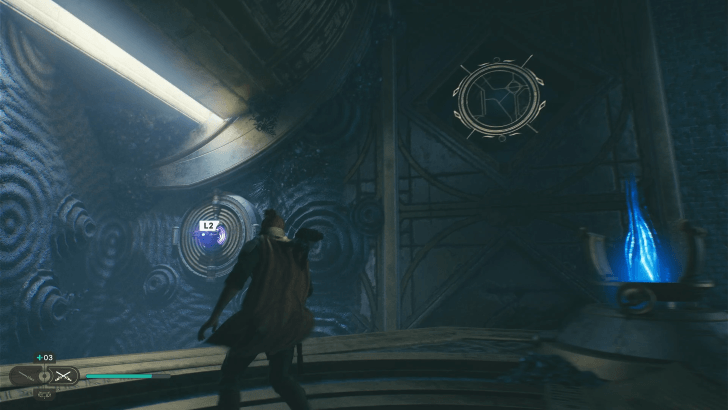 Pull the purple orb and place it on the glowing blue slot to create a bridge that leads to the central area. |
| 2 | 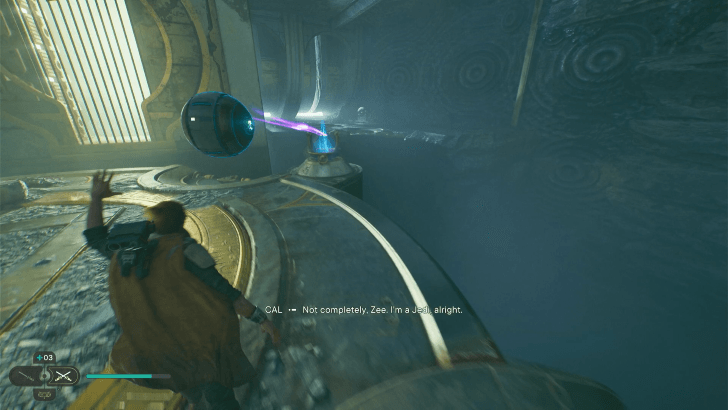 After crossing the bridge, pull the purple orb again and place it in the slot on your right. |
| 3 | 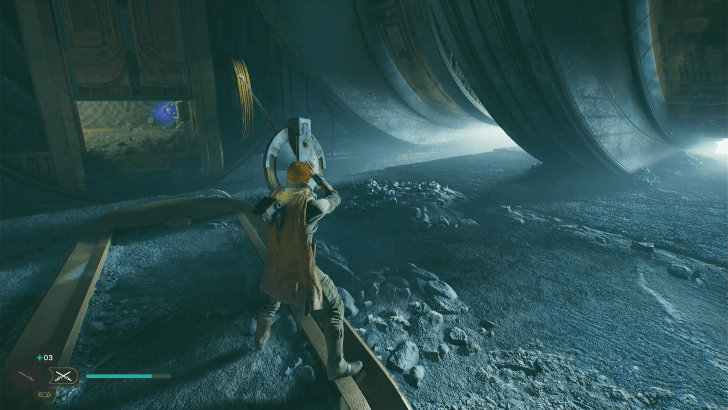 Cross the second bridge and then use your Force-Pull to grab the rope. |
| 4 | 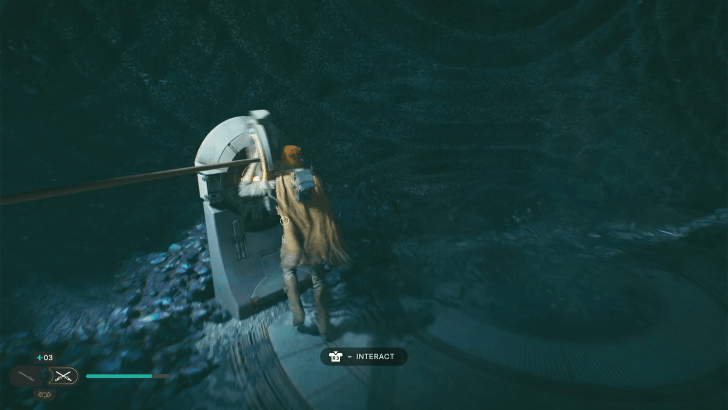 While holding the rope, you can interact with the panel and attach it. This will hold the door open for you. |
| 5 | 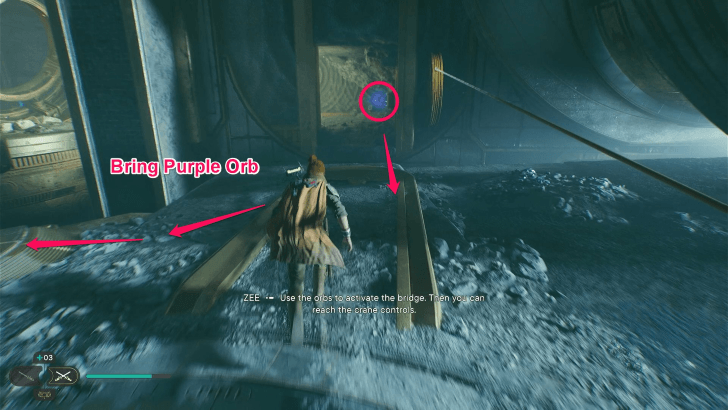 Pull the purple orb inside the room and return to the central area. |
| 6 | 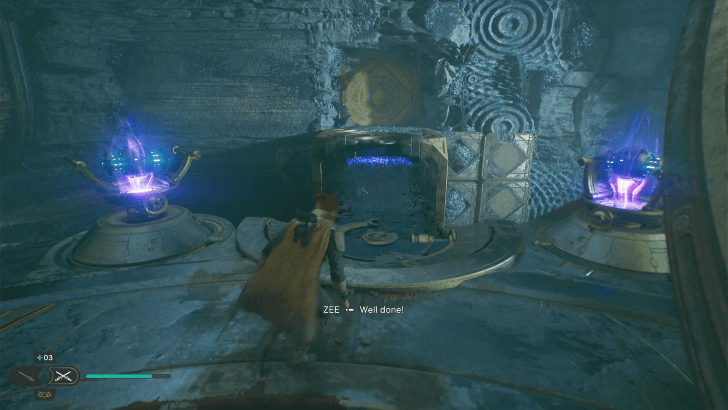 You can now use the two purple orbs that you have to open the central bridge has two slots. |
| 7 | 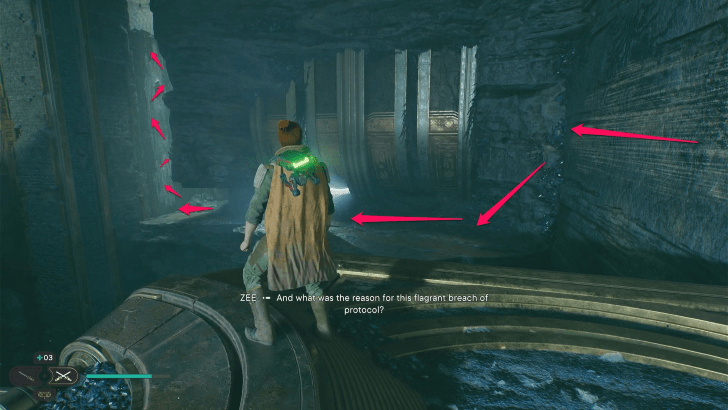 Jump down the cliff on your left and head towards the end. There you will have to perform a wall-to-wall jump again to reach the top. |
| 8 | 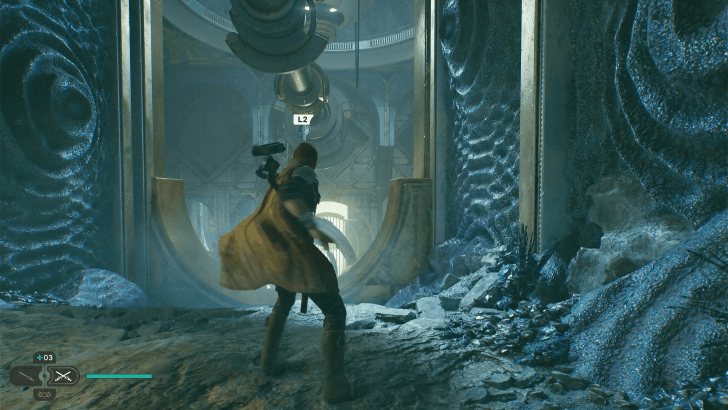 Use Force-Pull to grab the second rope and attach it to the panel. |
| 9 | 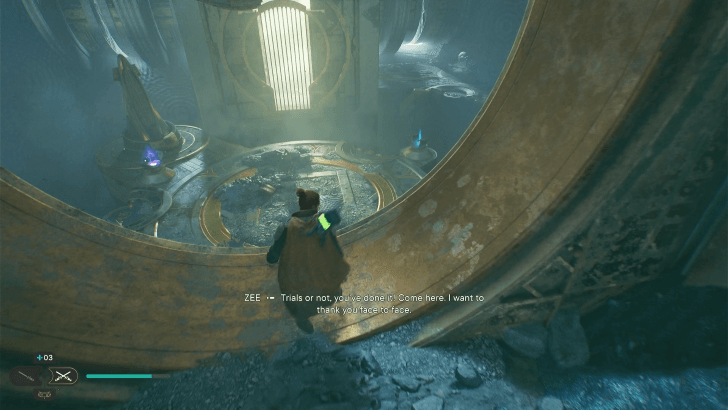 Jump back down to the central area and help ZEE. |
| 10 |  Wait for ZEE to open up the door that leads to the elevator. |
Chamber of Duality Walkthrough
Return to the Pyloon's Saloon
| How to Return the Gyro Module | |
|---|---|
| 1 |  After using the elevator with ZEE, you can now return to the Pyloon's Saloon. |
| 2 | 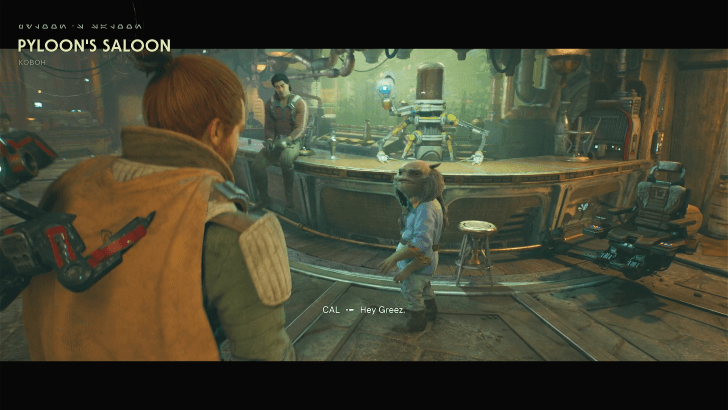 Upon entering the Pyloon's Saloon, a cutscene will trigger and it will automatically finish the objective. |
Open the Forest Gate
| How to Reach Forest Gate | |
|---|---|
| 1 | 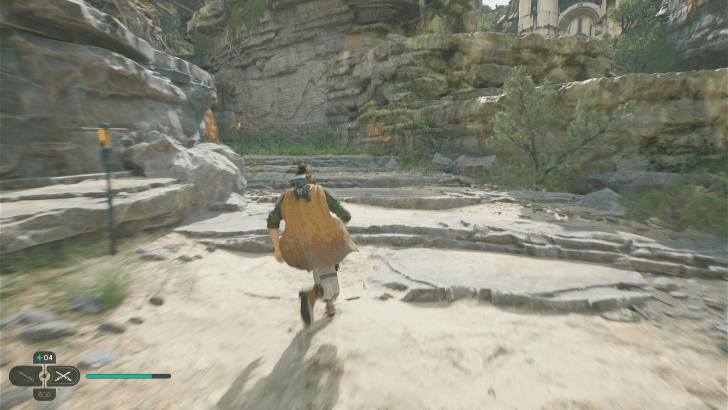 Get out of the Pyloon's Saloon and head to the Swindler's Wash. This area can be located adjacent to Rambler's Reach Outpost. |
| 2 | 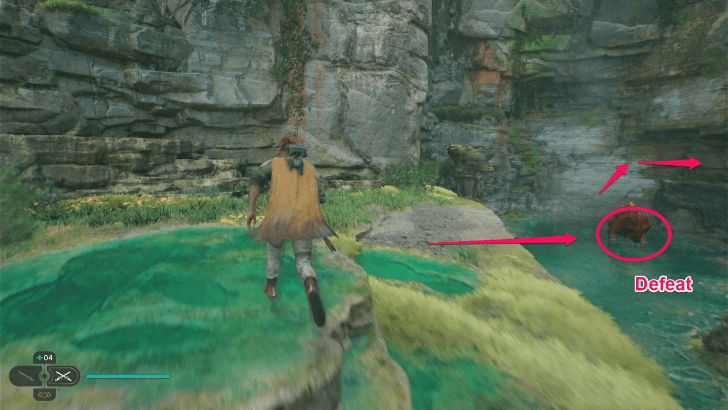 Head to the end of Swindler's Wash, where the waterfall is. There, you will encounter the Bilemaw. Jump down and fight the Bilemaw. Afterward, run up the wall behind the waterfall and make your way to the top. |
| 3 | 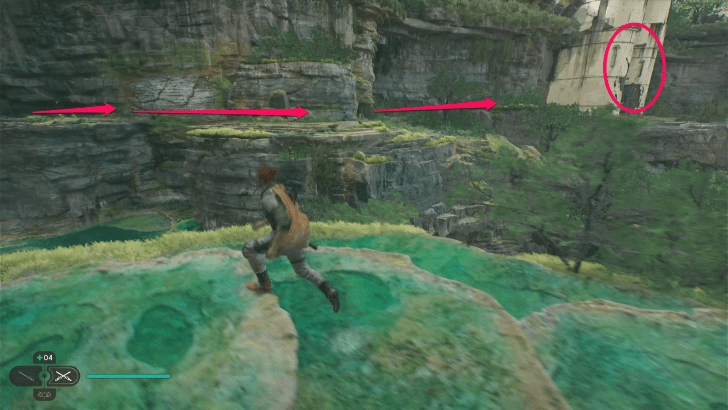 Upon reaching the top, you can open the Forest Gate door using the Gyro Module that you got earlier. |
Reach the Forest Array
| How to Reach Forest Gate | |
|---|---|
| 1 | 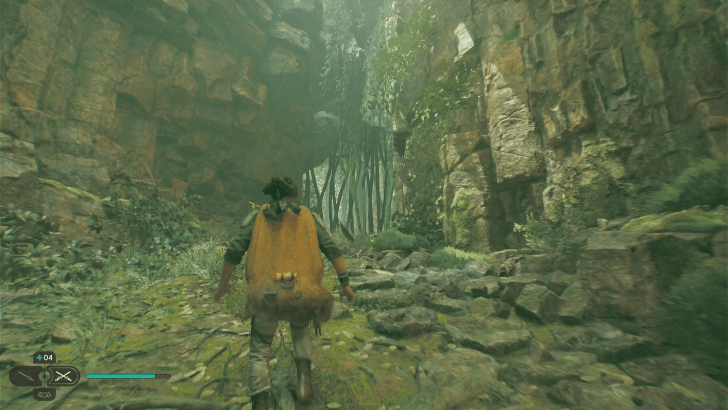 Continue moving forward and cut the vines using your lightsaber. |
| 2 | 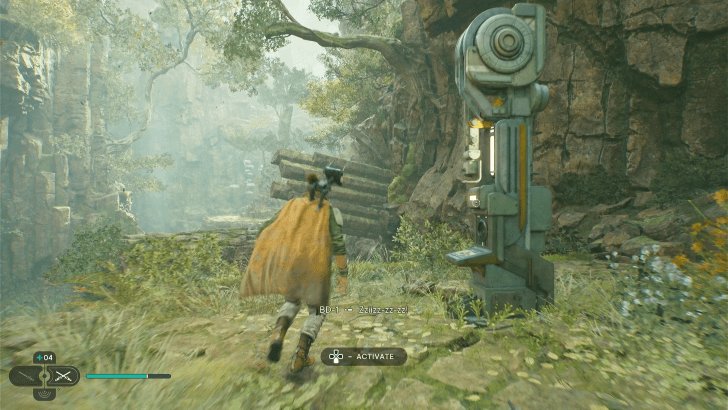 There is a mechanism that launches a cable to help you cross. Unfortunately, the launch trajectory is blocked by a pillar of rocks. |
| 3 | 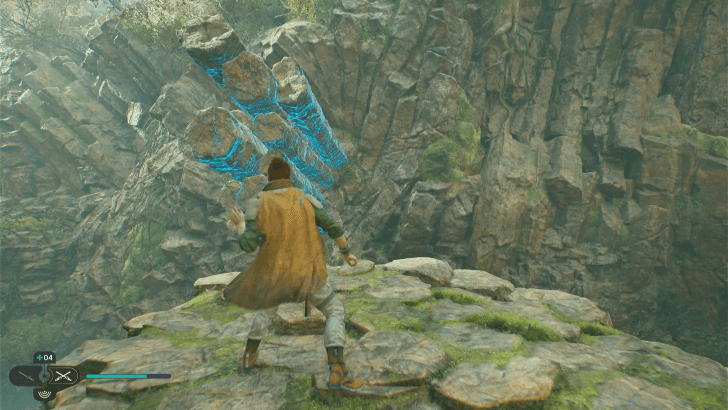 Proceed towards the path that would lead you to the pillar of rocks. Trigger the command prompt to force push the rocks backward. |
| 4 | 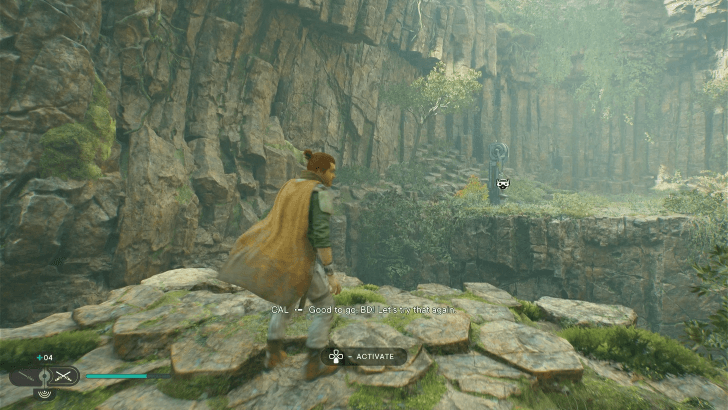 Come back to the mechanism and launch the cable that would enable you to cross onto another area. |
| 5 | 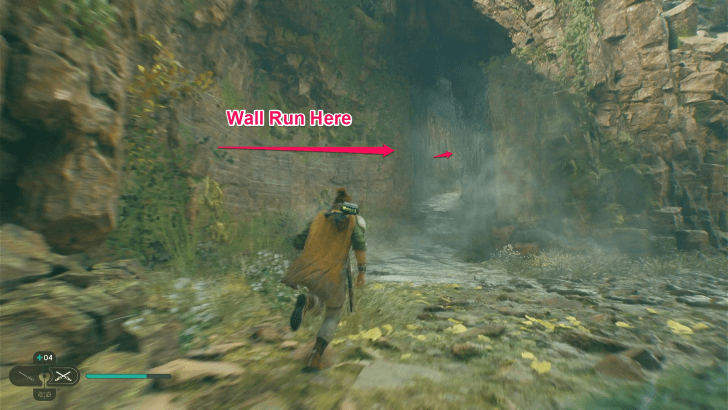 The path will lead you towards a slippery slope that renders walking or running futile. To proceed, run across the walls beside the slope and use your ascension cable to reach the next area. |
| 6 | 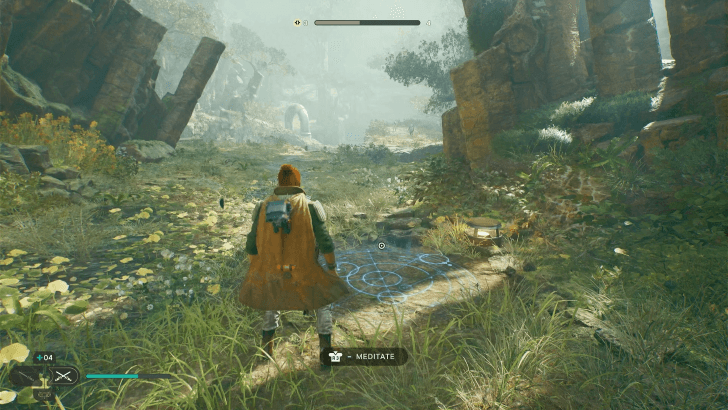 Continue towards the path and you will reach a meditation circle. Dispose the enemies you find along the way and move onwards. |
| 7 |  Proceed down the area and you will encounter a Bilemaw. Kill it, and make your way towards a wooden platform built at the edge of the cliff. Trigger the command prompt to force pull a sizeable rock that can serve as a means of traversal. |
| 8 | 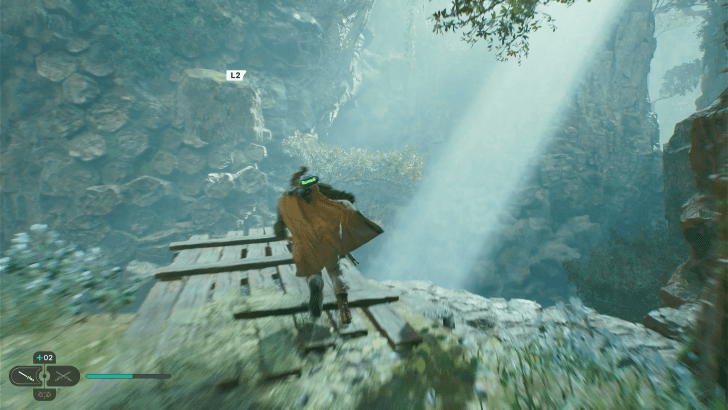 You will be prompted to force pull two additional chunks of rock that would enable you to reach the next area. After landing on the third erected rock, jump towards the rock wall and run across it until you reach a grassy surface you can climb on. |
| 9 | 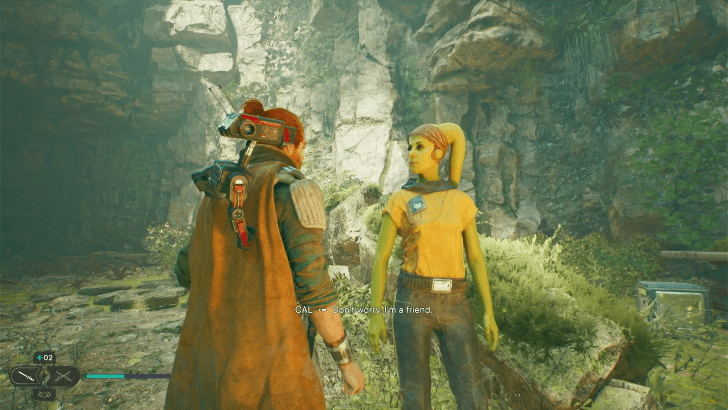 Proceed towards the path and you will encounter Toa. You can choose to interact with her and warn Toa about the Empire. This will unlock the Rumor Explore the High Republic Chamber in the Forest. |
| 10 | 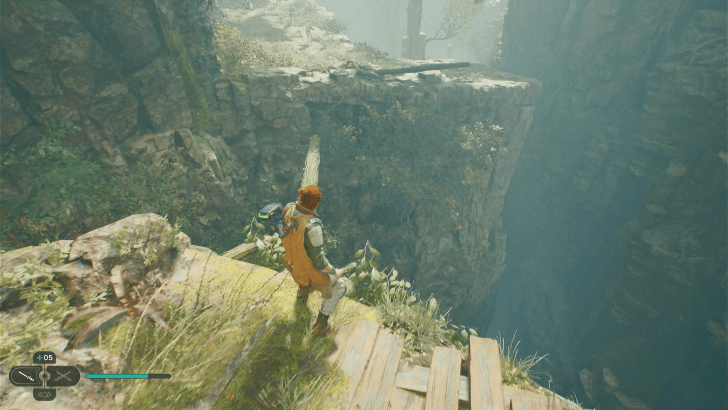 After your interaction with Toa, proceed towards left and you will find a metallic arc. As you proceed, rocks will suddenly fall and block your path. Continue down the right path instead and keep descending till you reach another Bilemaw. |
| 11 | 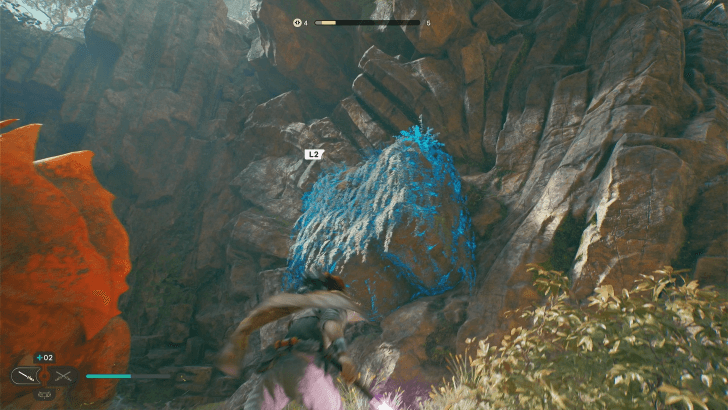 Continue further down and you will encounter another Bilemaw. Slay the beast to move along. There are two command prompts that will enable you to force pull pillars of rock. Trigger the lowest one and force pull that pillar of rock to climb on top of it. |
| 12 | 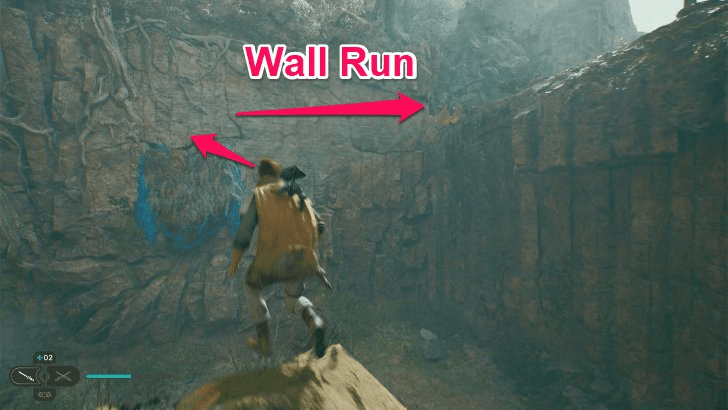 As the pillar of rock begins to descend, trigger the other command prompt and force pull the other pillar of rock towards you so that you may be able to jump across it. Jump on the other pillar then wall run to the other platform |
| 13 |  Proceed down the area and avoid the black floating matter you see along the way. As you proceed, you will see an area directly below you filled with black matter. Do not descend to this area. Instead, head towards right and climb the surface covered with roots above you. |
| 14 |  Climb the roots until you reach a metal pipe that would lead you to another area. |
| 15 | 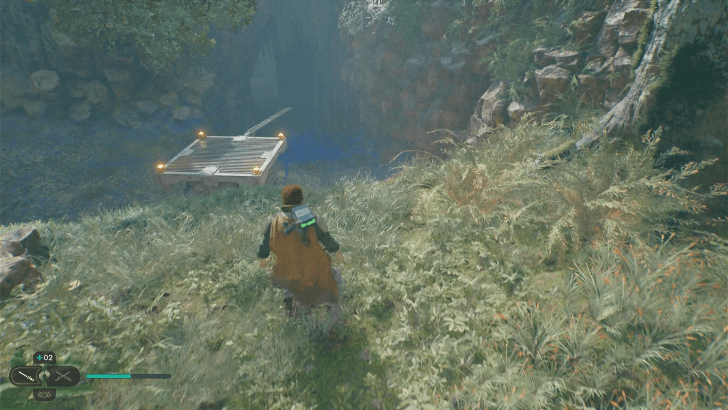 Explore the area and you will see a metal platform with a metal ledge sticking out from above it. Wall run to the next area to avoid contact with the black floating matter. |
| 16 | 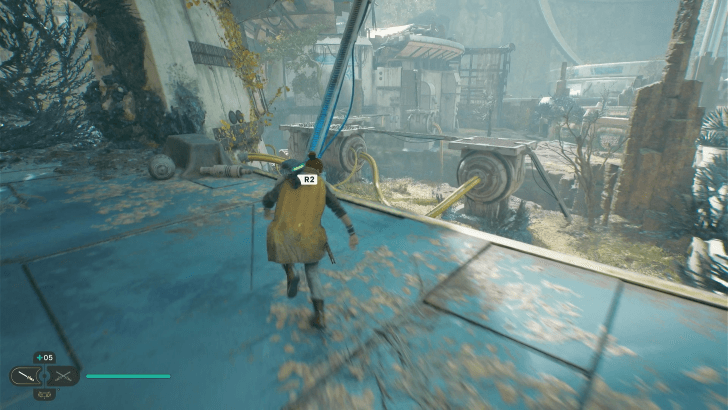 Once you reach the Forest Array, descend down the large metal platform below you. Head left, and you will see a command prompt that enables you to force push a metal ledge that leads into another metal platform. |
| 17 |  Navigate the area until you see a mechanism that launches a cable. Disregard the mechanism and continue down that area to see a door locked from the other side. On its right, you will see a vented surface that you can climb on. As you climb, you will be stopped in your tracks by a gigantic avian creature. |
| 18 |  When you fall from the vented surface, quickly climb back up to avoid contact with the black floating matter. Continue towards your path and you will encounter a large bipedal beast. Slay it, and continue towards the path. |
| 19 |  Proceed towards the path, and you will see an Orb Amplifier located below a circular platform. The orb for the mechanism can be found inside a compartment near you. Look for a bluish light around your vicinity, and force pull the orb from the container. |
| 20 | 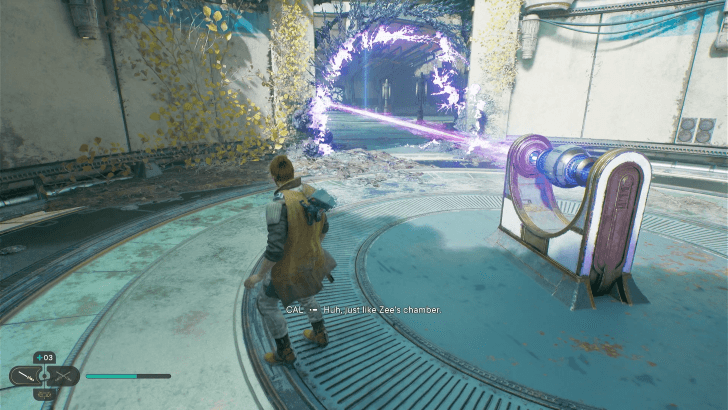 When you place the orb in the Orb Amplifier, the mechanism will shoot out a ray of energy that opens up the gate near you. The ray of energy will also open up a gate from across your area. Head towards the newly-opened gate. |
| 21 | 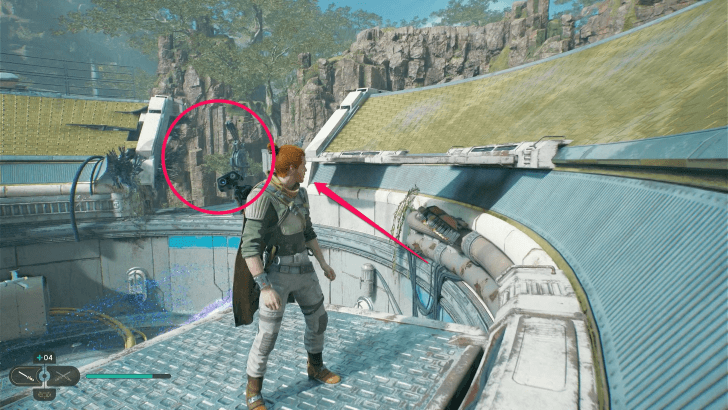 Dispose some enemies you find along the way, and explore the area to reach the elevated platform above you. |
| 22 | 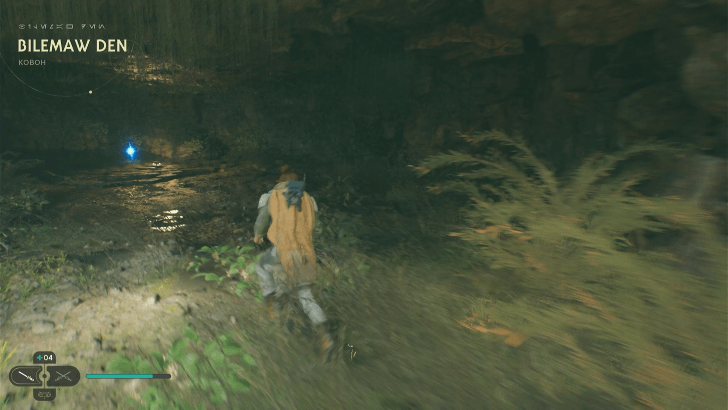 Continue towards the path so you could reach Bilemaw Den below. Grab the nearby essence to learn Confusion: Major Fauna. You will also see a meditation circle near the area. Move forward, and you will encounter stormtroopers along with a Bilemaw. Dispose the enemies, and explore the area for a wooden branch sticking out of a cliff. You'll need to lower yourself and climb the branch from underneath to reach the next area. |
| 23 | 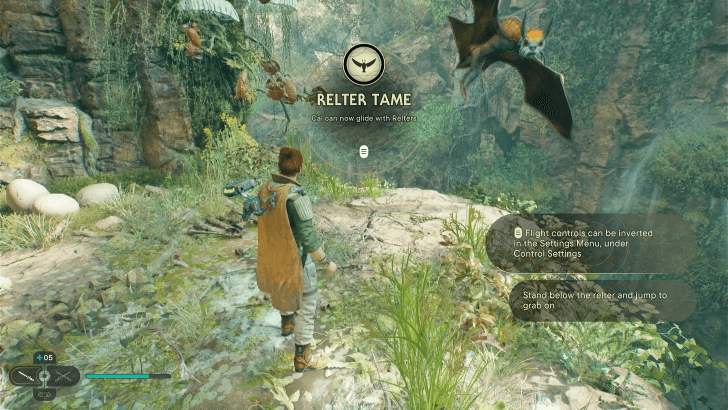 Use the wooden branch to traverse and climbable vines that reach the next area. As you progress, you will encounter a winged creature called a Relter. Tame it, and you can use the creature to glide from one area to another. Once you see a vented surface, head towards it to reach the next area. |
| 24 | 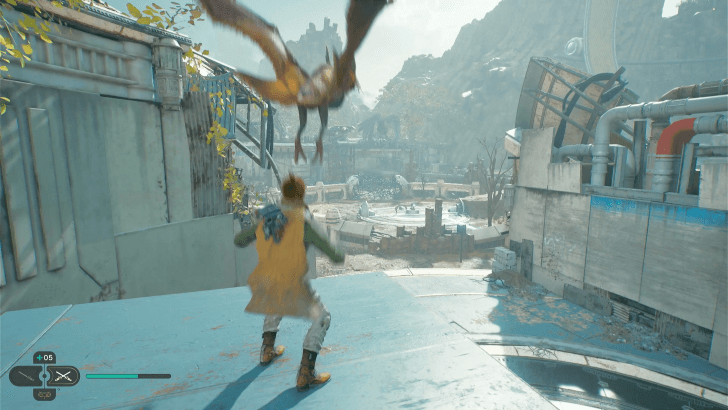 Navigate the area to reach the Relter and proceed towards the circular platform with the Orb Amplifier mechanism at the center. The objective is to point the ray of energy towards the entrance blocked by blackish roots. |
| 25 | 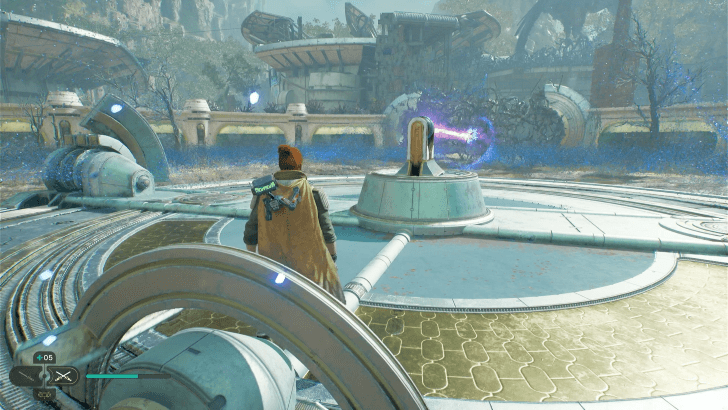 In order to change the trajectory of the light ray, check the pedestal behind the Orb Amplifier that would enable you to move the platform based on your preferred direction. Force Pull the pedestal two times and direct the ray of energy towards the black-infested entrance under the gigantic avian creature. ▶︎ Purple Orb and Blue Socket Puzzle Solution |
| 26 | 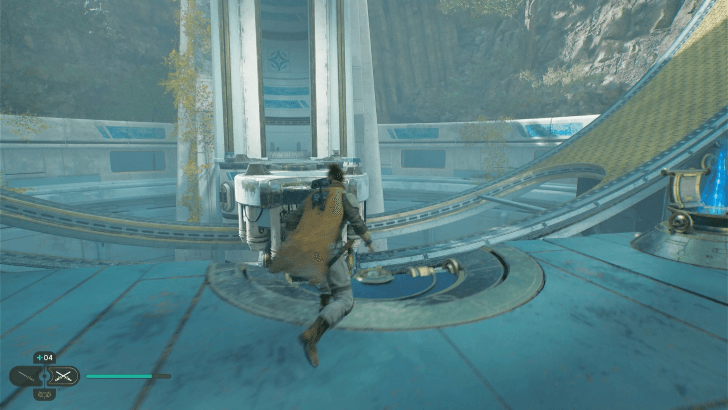 Proceed towards the path and dispose some enemies along the way. You will see a towering structure as you progress. To cross it, you will need an orb to place on a mechanism that forms a bridge towards the structure. |
| 27 | 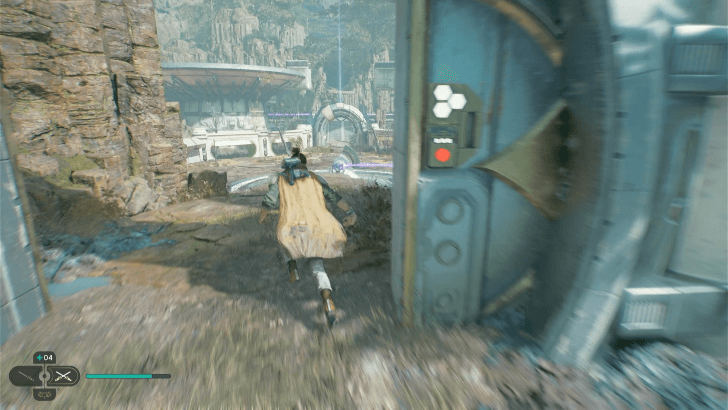 Facing opposite the towering structure is a gate. Open it, and it will lead to the area with the movable pedestal. Take the orb from the Orb Amplifier, and bring it to the mechanism that forms the bridge. |
| 28 | 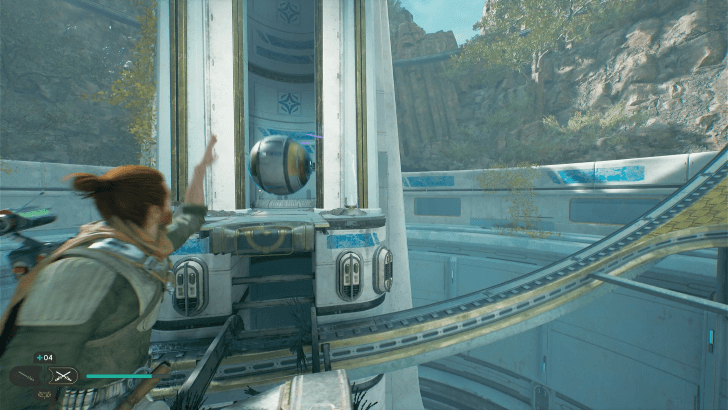 Once you reach the platform across, force pull the orb from the mechanism currently encasing it. You will need to place the pedestal on another mechanism located on the next platform. This will form a bridge that will enable you to cross it. |
| 29 |  Proceed towards the path, and you will reach the Rehabilitation Wing. You will see a mediatation cicle in the area. |
| 30 | 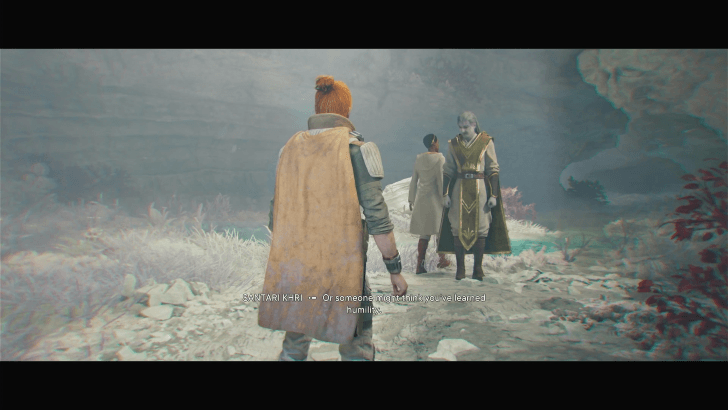 As you explore the area, you will suddenly see visions of a faraway land. Navigate through these lands, and you will encounter two High Republic Jedi. They cannot be interacted with. Simply let their conversations play out. |
| 31 | 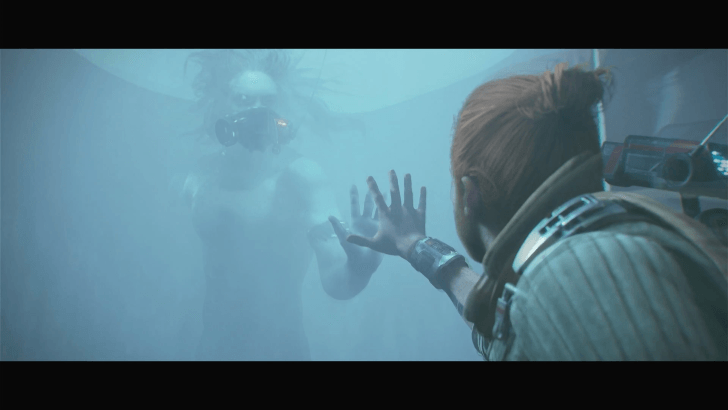 Moments later, a cutscene will ensue. As it concludes, it reveals that Cal has reached the Bacta Tank of Dagan Gera, one of the High Republic Jedi you have encountered earlier. |
| 32 | 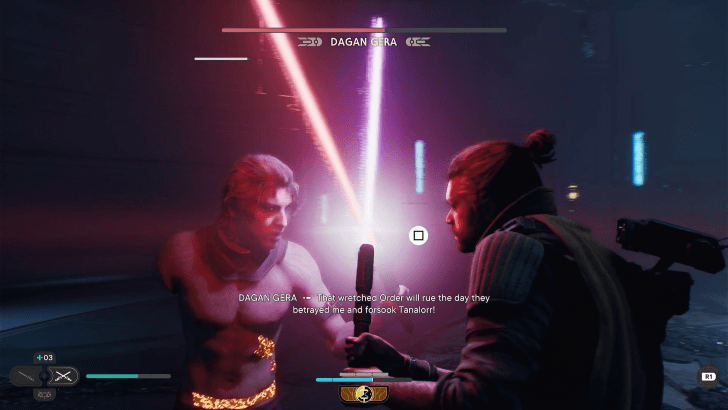 Defeat him, and leave the area. |
Leave the Forest Array
| Leaving the Forest Array | |
|---|---|
| 1 | 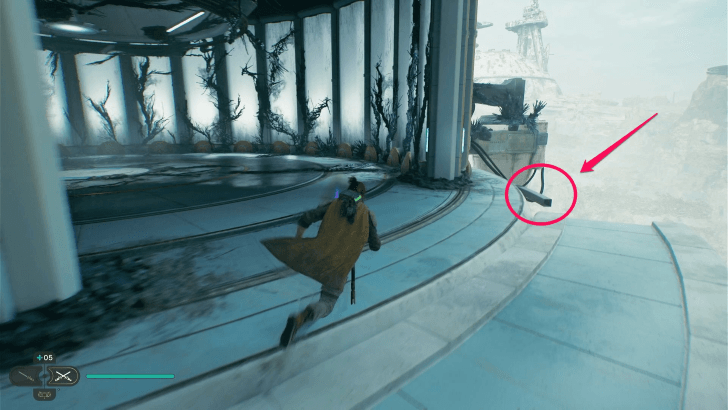 Leave the current area and head outside. You will see a metal ledge that can be used to traverse. As you proceed, you will see a cable that connects to another area. Use it to reach your next destination. |
| 2 |  You will encounter another Relter after you land from the cable. Use the relter, and glide towards Nekko Pools. |
Check on the Mantis
| Checking on the Mantis | |
|---|---|
| 1 | 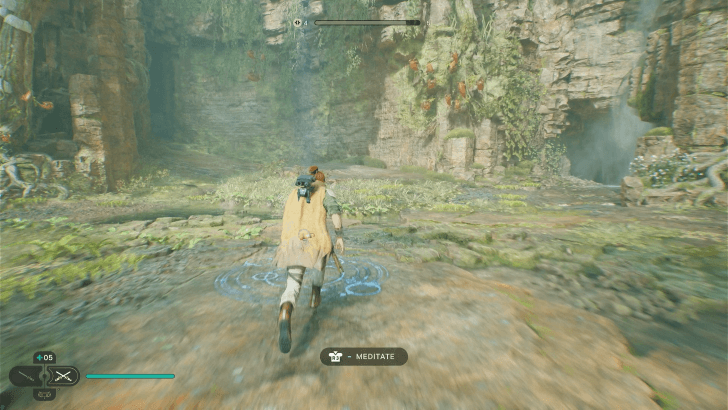 When you land after the long glide from the Relter, you will see a mediation circle in the area. |
| 2 |  To your left, run up the walls beside the muddy slope. Running up the walls is the only way to get to the upper area. |
| 3 | 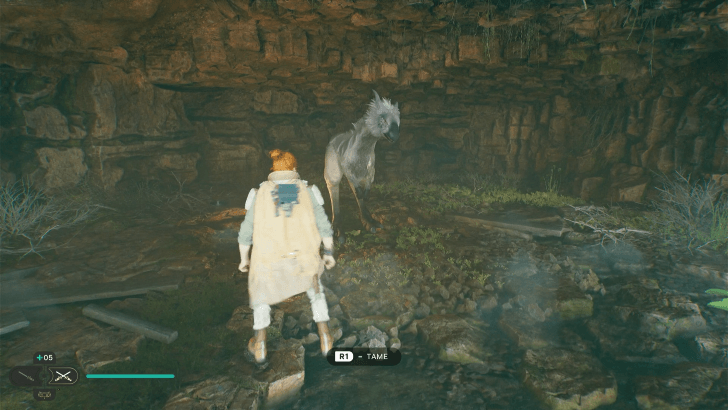 In the upper area, you will be able to access the Nekko Mount. Use it to walk on slippery slopes and reach the next area. Following the rather straightforward path will lead you to the Bygone Settlement. |
| 4 | 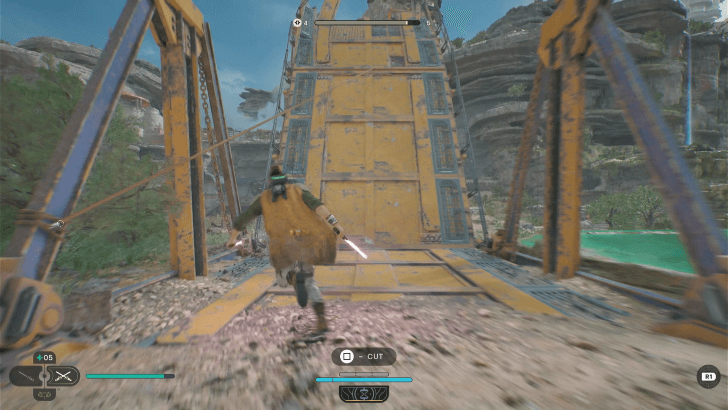 Chop down the rope holding up the yellow bridge and head to the Mantis. Talk to Zee to complete the objective. |
Previous and Next Walkthrough
| ◄ Previous Planet | Next Planet ▶ |
|---|---|
| Coruscant Walkthrough | Jedha Walkthrough |
Star Wars Jedi: Survivor Related Guides

All Planet Walkthroughs
| # | Story Chapter | Unlockables |
|---|---|---|
| 1 | Coruscant Walkthrough | ・Double-Bladed Stance ・Dual Wield Stance |
| 2 | Koboh Walkthrough | ・Rumors ・Shops ・Jedi Chambers ・Bounties ・Mounts |
| 3 | Jedha Walkthrough | ・Blaster Stance ・The Archive |
| 4 | Shattered Moon Walkthrough | ・Crossguard Stance |
| 5 | Koboh Part 2 Walkthrough | ・Koboh Grinder |
| 6 | Jedha Part 2 Walkthrough | ・Dash Ability |
| 7 | Koboh Part 3 Walkthrough | ・Lift and Slam Ability |
| 8 | Shattered Moon Part 2 Walkthrough | ・Upgraded Ascension Cable |
| 9 | Koboh Part 4 Walkthrough | ・Electro Dart |
| 10 | Jedha Part 3 Walkthrough | - |
| 11 | Nova Garon Walkthrough | ・Dark Side Ability |
| 12 | Koboh Part 5 Walkthrough | - |
| 13 | Tanalorr Walkthrough | - |
Comment
Author

Koboh Walkthrough
Please participate in our site
improvement survey
03/2026
improvement survey
03/2026
Would you assist in
improving Game8's site?
improving Game8's site?

×
We are listening to our users' valuable opinions and discussing how to act on them.
The information collected through this survey will be used for the purpose of improving our services. In addition, the information will only be disclosed a part of a statistic in a format that will not allow identification of personal information.
Begin Survey
Not Now
×
Please rate each item regarding Game8.co's Advertisements.
Amount of Ads
Very Dissatisfied
Somewhat Dissatisfied
Fine
Somewhat Satisfied
Highly Satisfied
Placement of Ads
Timing of Ad Display
Ad Loading Speed
Safeness of Ads
Content of Ads
×
Please rate each item regarding Game8.co's Quality of Articles.
Amount of information
Very Dissatisfied
Somewhat Dissatisfied
Fine
Somewhat Satisfied
Highly Satisfied
Frequency of updates
Speed of new information
Accuracy of articles
Understandibility of articles
Readability of sentences
×
Please rate each item regarding Game8.co's Usability of the Site.
Ease of finding information
Very Dissatisfied
Somewhat Dissatisfied
Fine
Somewhat Satisfied
Highly Satisfied
Loading Speed
Use of Color
Font Size
Visibility of Images
Easy to Understand Layout
×
Please rate each item regarding Game8.co's Message Boards, Comments.
Ease of Writing
Very Dissatisfied
Somewhat Dissatisfied
Fine
Somewhat Satisfied
Highly Satisfied
Readability
Ease in Finding Information
Comment Quality
Comment Quantity
Admin Response
×
Please rate each item regarding Game8.co's Site's new design.
Please rate our site's new design
Very Dissatisfied
Somewhat Dissatisfied
Fine
Somewhat Satisfied
Highly Satisfied
Do you think that the website's design change makes the site easier to use?
Has the new design made it easier for you to find information on the site?
Has the new design improved the overall visual appeal of the site?
How would you rate your overall satisfaction with the new design of the site?
×
How likely are you to recommend Game8 to someone you know?
Very Unlikely
0
1
2
3
4
5
6
7
8
9
10
Very Likely
If you have other opinions regarding potential improvement to the website, please share them with us. We would appreciate your honest opinion.
Note: This is a free response section, so you can proceed without entering anything.
Note: Please be sure not to enter any kind of personal information into your response.
Note: Please be sure not to enter any kind of personal information into your response.
×
Thank You
×
Thank you for participating in our survey! Your answers will help us to improve the quality of our website and services.
We hope you continue to make use of Game8.
We hope you continue to make use of Game8.
Close
Rankings
- We could not find the message board you were looking for.
Gaming News


![Monster Hunter Stories 3 Review [First Impressions] | Simply Rejuvenating](https://img.game8.co/4438641/2a31b7702bd70e78ec8efd24661dacda.jpeg/thumb)
Popular Games

Genshin Impact Walkthrough & Guides Wiki
Honkai: Star Rail Walkthrough & Guides Wiki
Umamusume: Pretty Derby Walkthrough & Guides Wiki
Pokemon Pokopia Walkthrough & Guides Wiki
Resident Evil Requiem (RE9) Walkthrough & Guides Wiki
Monster Hunter Wilds Walkthrough & Guides Wiki
Wuthering Waves Walkthrough & Guides Wiki
Arknights: Endfield Walkthrough & Guides Wiki
Pokemon FireRed and LeafGreen (FRLG) Walkthrough & Guides Wiki
Pokemon TCG Pocket (PTCGP) Strategies & Guides Wiki


Recommended Games
Diablo 4: Vessel of Hatred Walkthrough & Guides Wiki
Cyberpunk 2077: Ultimate Edition Walkthrough & Guides Wiki
Fire Emblem Heroes (FEH) Walkthrough & Guides Wiki
Yu-Gi-Oh! Master Duel Walkthrough & Guides Wiki
Super Smash Bros. Ultimate Walkthrough & Guides Wiki
Pokemon Brilliant Diamond and Shining Pearl (BDSP) Walkthrough & Guides Wiki
Elden Ring Shadow of the Erdtree Walkthrough & Guides Wiki
Monster Hunter World Walkthrough & Guides Wiki
The Legend of Zelda: Tears of the Kingdom Walkthrough & Guides Wiki
Persona 3 Reload Walkthrough & Guides Wiki


All rights reserved
© 2023 Electronic Arts Inc.
The copyrights of videos of games used in our content and other intellectual property rights belong to the provider of the game.
The contents we provide on this site were created personally by members of the Game8 editorial department.
We refuse the right to reuse or repost content taken without our permission such as data or images to other sites.