This survey will take about 1 minute.
Your answers will help us to improve our website.
Star Wars Jedi Survivor
How to Reach Pilgrim's Sanctuary Walkthrough
★ Find out what gets carried over to New Game Plus!
☆ Learn how to get Beskar Steel and all weapon materials!
★ Make sure to get all the BD-1 Upgrades to help in combat!
☆ Get Map Upgrades to make hunting Collectibles easier!
This is a walkthrough for the Reach Pilgrim's Sanctuary objective during the second visit to Jedha in Star Wars Jedi Survivor. Read on to learn how to reach Pilgrim's Sanctuary, how to solve the Whistling Drop Wind Puzzle, and how to get through the Trailhead Pantheon!
List of Contents
Reach Pilgrim's Sanctuary Walkthrough
| How to Reach Pilgrim's Sanctuary | |
|---|---|
| 1 | Cross the Arid Flats |
| 2 | Traverse the Trailhead Pantheon |
| 3 | Solve the Whistling Drop Wind Puzzle |
| 4 | Back to the Trailhead Pantheon |
| 5 | Pass by the Timeworn Bridge |
| 6 | Go Through the Singing Ruins |
| 7 | Cross the Timeworn Bridge |
Cross the Arid Flats
| Crossing the Arid Flats | |
|---|---|
| 1 |  Head towards the path until you reach Anchorite Base. Take down the enemies you see along the way. You will have Merrin as a companion for your travels. |
| 2 | 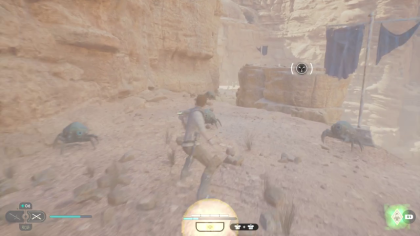 Head towards Arid Flats using the spamel. In the Arid Flats area, ascend through the latch that you can use the grappling hook on. From there, traverse towards the next area. |
| 3 |  After climbing the cliffside, enter the cavern. You will encounter a large boulder on your left. Force Push the boulder to place it back to the rock wall. Then, Force Push both balls to activate the mechanism that opens the door. Afterwards, Force Pull the boulder out so you can jump on it to cross the gap. |
| 4 |  You will encounter a Skriton on your progress. Slay it, then proceed to the next area, Trailhead Pantheon. |
Traverse the Trailhead Pantheon
| Traversing the Trailhead Pantheon | |
|---|---|
| 1 |
 Continue along the path of Trailhead Pantheon and slay the Sutaban you find inside the structure. |
| 2 |  You will notice a movable box inside the confines of a steel gate. |
| 3 |  To open the gate, return to the elevated circular platform at the center of the area. Climb it and find the metal hatch. Force Pull on it, which reveals a lever. Force Pull again on the lever to open the steel gate. |
| 4 |  Quickly Force Pull the movable box away from inside the gate. Move it to under the area where you gain access to the lever. Climb the box and then climb the wall, then proceed through the dark path until you reach the other side. |
| 5 | Quickly Force Pull the movable box away from inside the gate. Move it to the spot below to the lever. Climb the box then climb the wall, then proceed through the dark path until you reach the other side. |
| 6 |  After getting out of the dark path, swing towards the nearby wall, wall run, and swing again until you land on one of the elevated platforms. |
| 7 |  Jump towards the other elevated platform, then jump towards the building. Climb towards the opening of the building. |
| 8 |  Go upstairs and exit the building to reach the Whistling Drop area. You will encounter an area with a large gust of wind pushing you backwards. |
Trailhead Pantheon Puzzle Solution
Solve the Whistling Drop Wind Puzzle
| Solving the Whistling Drop Wind Puzzles | |
|---|---|
| 1 |  Look to the left of the entrance and climb the wall upwards. Progress through this area to reach a gap that you could double jump across, if there was no gust. |
| 2 |  From the gap, look to your left and you'll see a small crevice in the cliffside. Pass through it to a reach a new area. |
| 3 |  In this new area, Force Pull the metal object across from you to block the gust of wind blowing outward. This will allow you to cross the previous gap. |
| 4 | 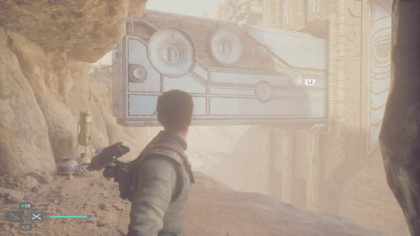 After pulling the metal structure, you'll now be able to double jump across the gap in the previous area. Head down there and jump across, where you'll find the Whistling Drop meditation point to your right. |
| 5 |  Follow the path to the next area where there are a couple of Stormtroopers. After beating them, head down the path to the right. |
| 6 |  Heading down the path to the right leads to a windy section below where you can climb across the gap. |
| 7 |  At the end of the first climbable wall, drop down to grab the metal bar and climb across to the second climbable wall. |
| 8 |  At the end of the second climbable wall, drop down to the climbable wall below it. Due to the wind, you have to drop down from the leftmost point of the wall, otherwise you'll be blown away. |
| 9 |  Grapple to the grappling point then slide down towards the metal bar below. |
| 10 | 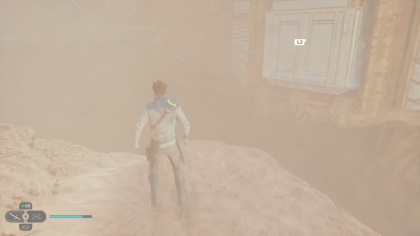 Follow the climbable wall to the ledge where you can Force Pull another metallic structure to block the wind current. |
| 11 |  After Force Pulling the metallic structure, jump down to the ledge below it. |
| 12 |  Jump towards the climbable wall in front of you. The lower wind current will boost you to make the wide jump possible. |
| 13 | 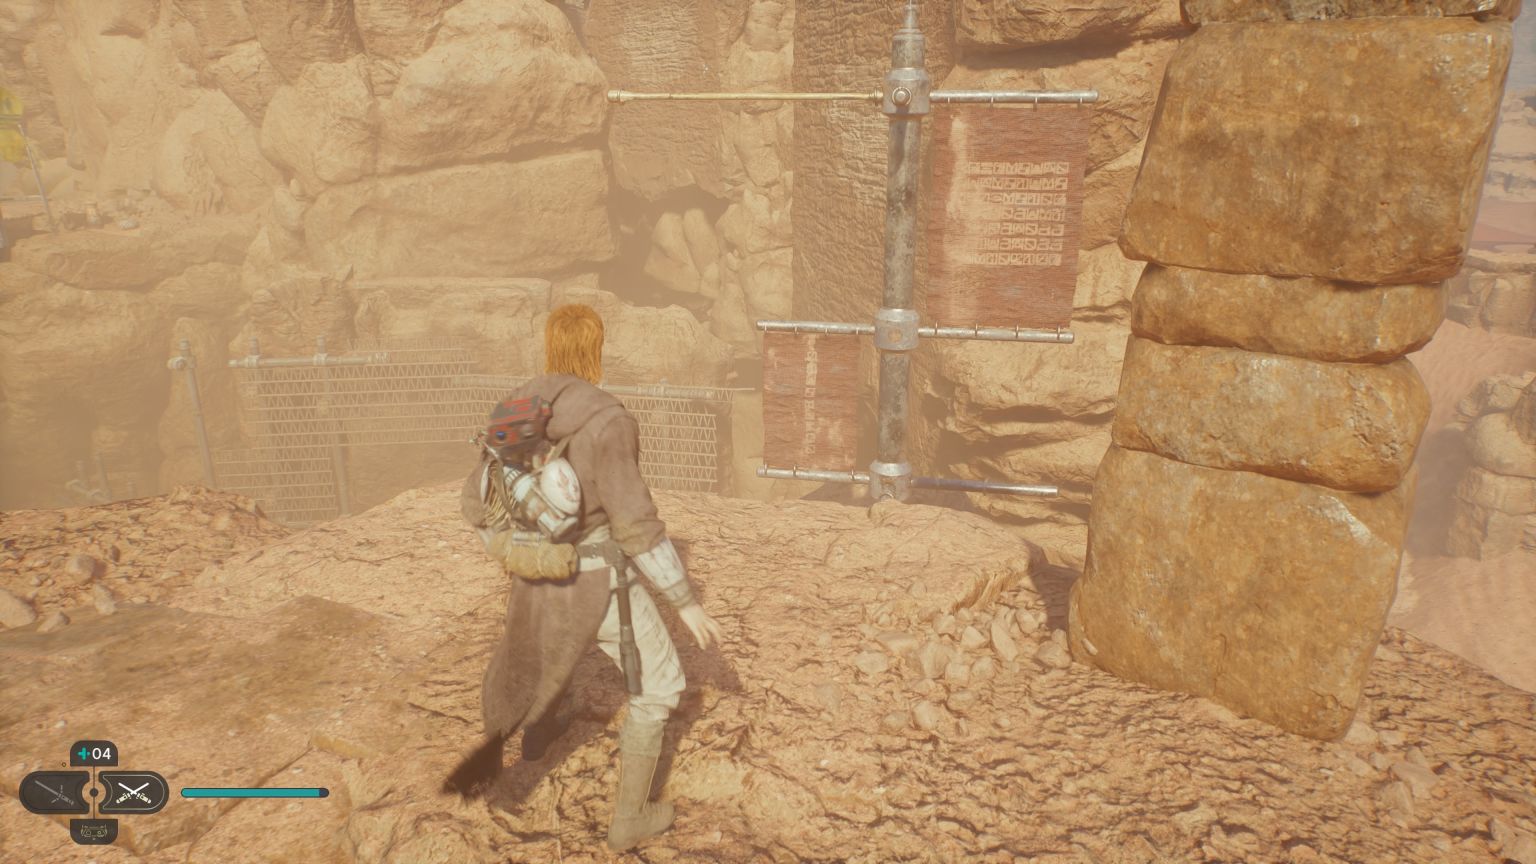 Come back to the spinning contraption. It is now immobile, which enables you to use the metal bar to swing across. Wall run towards the next area. |
Whistling Drop Wind Puzzle Solution
Back to the Trailhead Pantheon
| Traversing the Trailhead Pantheon | |
|---|---|
| 1 |  Dispatch some Stormtroopers, then zipline upwards to continue through Whistling Drop. Head through the straightforward path until you reach an area with a crashed fighter. |
| 2 |  Defeat the Skriton and the Stormtroopers in the area, then zipline and climb the rocks to get to the ledge above the crashed fighter. Follow this path back to the Trailhead Pantheon. |
| 3 |  Head back inside the Trailhead Pantheon chamber you were in earlier, but you'll be on the second floor. Jump to the metal platform then wall run to the other side. |
| 4 |  Head outside to the Crypt of Uhrma meditation point and rest up. Head inside the next chamber then to the room on the left. |
| 5 | 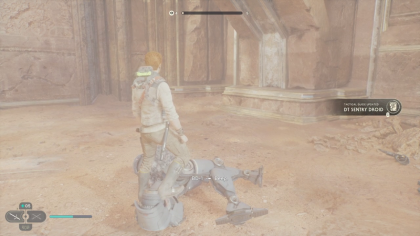 You will encounter a DT Sentry Droid; defeat it. |
| 6 |  Climb to the top of the hall via the 2 pillars on the right. |
| 7 |  Wall run then grapple to the metal bars you can hang from. Climb to the other side of the hall. |
| 8 |  Wall run on the wall to the left, then double jump to swing on the pole that'll bring you to the next area, Blustery Mesa, past the sandy slope. |
| 9 |  Head right through the Blustery Mesa wind area until you reach a sandy slope that'll lead to a death drop. Keep double-jumping forward through the sandy slope to reach the grappling point of the wall you can run on at the end. |
| 10 |  Head through that straightforward path until the area with the Stormtroopers. Defeat them all, then push the box backwards to trigger the wind current. |
| 11 |  With the new wind current, you can jump across the gap to the climbable wall. Head through the path with the trinkets, then take the upper path before the Crypt of Uhrma. |
| 12 |  You will encounter another metal structure across a gap. Force Pull it to reveal a path that you can climb. |
| 13 |  Wall run to reach the ceiling you can climb. From there, jump and use the wind current to reach the other runnable wall to the right. |
| 14 |  Proceed through this path until you encounter Pili. You can talk to her to begin the Check in With Pili Rumor and unlock the Rooftop Garden upgrade on Koboh. |
| 15 |  Zipline across to an area where the wind blows upward. Head towards the cliff near the surging wind, and jump to its direction so that you could use the wind to propel yourself upwards. |
| 16 |  Defeat the Stormtroopers here, then head to the right and take the climbable wall to the next area. Going down the elevator to the left leads back to the Crypt of Uhrma. Solving the Crypt of Uhrma Puzzle gives you access to a Stim Canister and a Force Echo. |
| 17 |  You will spot a large hole on a rock wall across you. You will land by the Timeworn Bridge meditation point. |
Pass by the Timeworn Bridge
| Passing by the Timeworn Bridge Area | |
|---|---|
| 1 |  Here in the area by the Timeworn Bridge meditation point, find the loose gate and Force Push it. Then, head up the ramp to the right and through the path until you meet up with Merrin. |
| 2 |  Fight off the Stormtroopers in the next area, then order Merrin to fix the stone entrance. |
| 3 |  Proceed and activate the zipline shortcut to your right. Here, you won't be able to cross to the other side of the bridge yet. Force Pull the metallic structure across the gap to your left to open an entrance to your right, then jump towards it (you'll reach the gap because of the wind). |
Go Through the Singing Ruins
| Going Through the Singing Ruins | |
|---|---|
| 1 |  You will land in the Singing Ruins area. Head to the right and squeeze through the wall. Follow the path until you reach a wind area. |
| 2 |  First, Force Pull the metallic structure to your upper left. |
| 3 |  Head the opposite way and Force Pull the metallic structure across the runnable wall, on the same level as you. Run across the wall and onto the platform. |
| 4 |  Head a bit forward, then Force Pull the next metallic structure above you. Turn around and back in the direction from where you came. You can now grapple up to the higher runnable wall. |
| 5 |  Wall run towards the next platform, climb through the climbable ceiling. At the end of the ceiling path, you'll see a rope; jump towards it and swing to the central wall, then slide down with your lightsaber. |
| 6 |  Force Pull the door to your left, then jump towards it. This will trigger a cutscene where you learn Dash. |
| 7 | 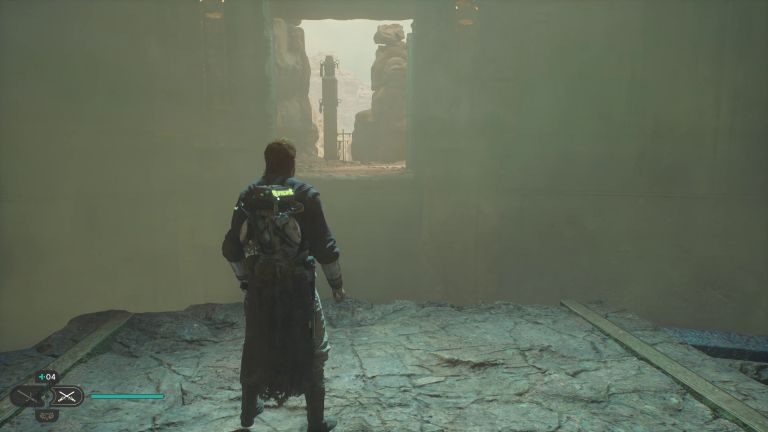 After learning Dash, proceed through the Dash tutorial. You can follow Merrin through this area after reuniting with her. |
| 8 |  After separating from Merrin, head left and swing on the pole to the next climbable wall. This will lead you back to Timeworn Bridge. |
Cross Timeworn Bridge to Reach Sanctuary Temple
| Reaching the Sanctuary Temple | |
|---|---|
| 1 |  From the Timeworn Bridge meditation point, head out, and go back to the top of the bridge (use the zipline shortcut to the left if you have unlocked it). You can now Dash across the other side of the gap. |
| 2 | 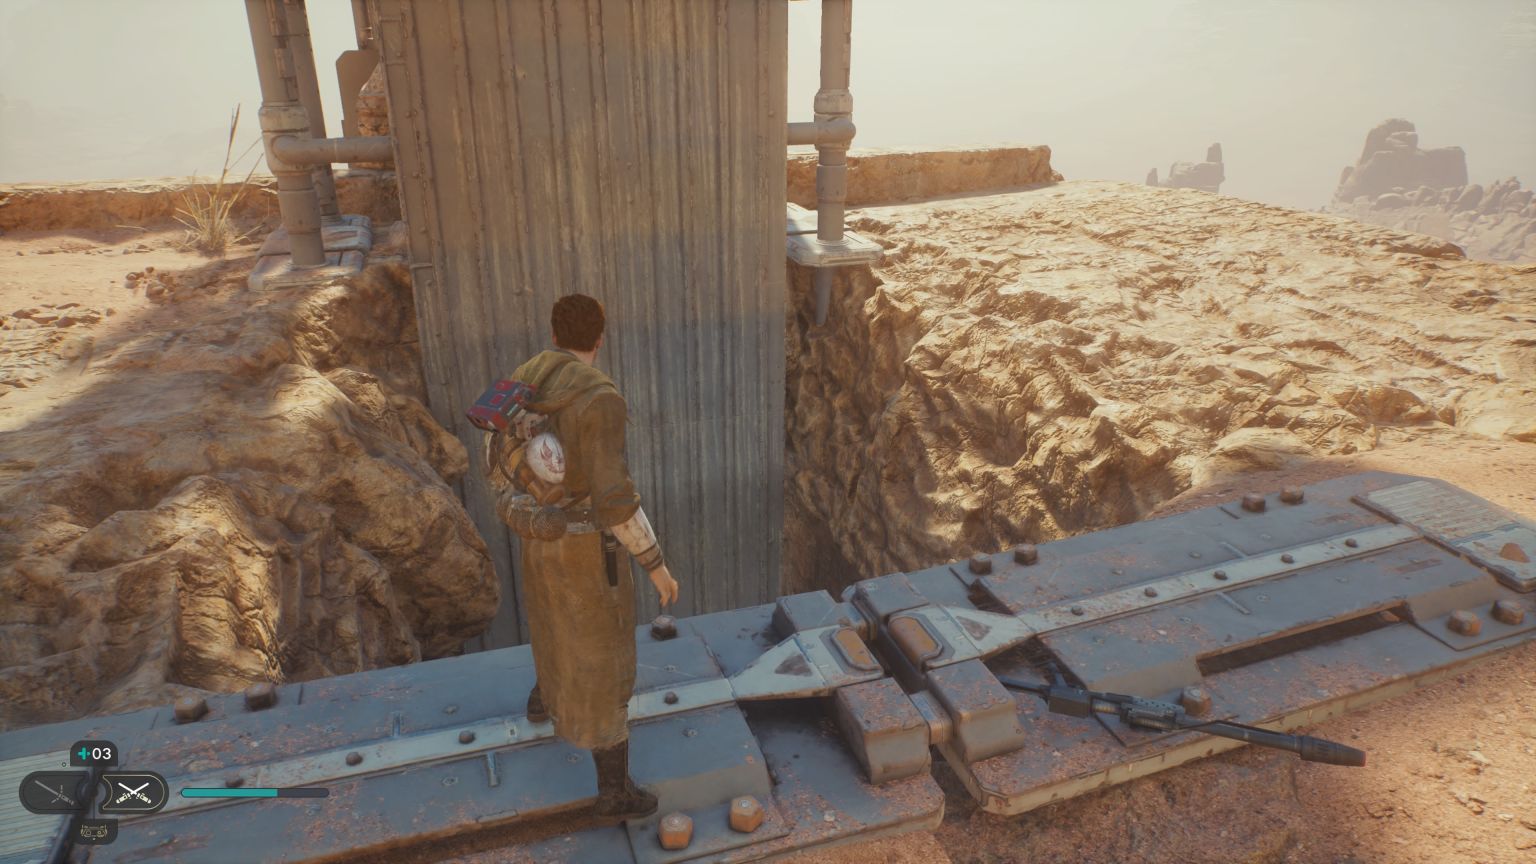 Use your lightsaber to drop down to the bottom level of the bridge, then climb around the side of the bridge using wall runs, Dash, and the climbable walls. |
| 3 |  After sliding to the next section of the bridge, use the Dash with the climbable walls to cross the unwalkable platform. |
| 4 |  Use Dash and the climbable walls to finally get to the other side of the bridge. |
| 5 | 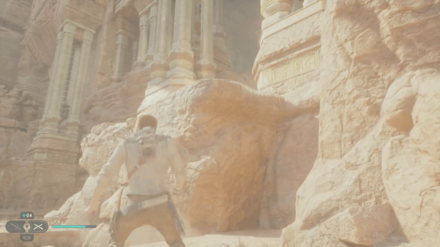 Make your way through the platforms on the right and use the wall to get to the upper level entrance. |
| 6 |  Dispose of the Stormtroopers then squeeze through the crack in the rubble. |
| 7 |  Head through the path inside until you reach the Sanctuary Temple meditation point; the Reach Pilgrim's Sanctuary objective is now complete. Your next objective is now to Locate Brother Armias. |
Star Wars Jedi Survivor Related Guides

Tips and Tricks
Comment
Author

How to Reach Pilgrim's Sanctuary Walkthrough
Please participate in our site
improvement survey
03/2026
improvement survey
03/2026
Would you assist in
improving Game8's site?
improving Game8's site?

×
We are listening to our users' valuable opinions and discussing how to act on them.
The information collected through this survey will be used for the purpose of improving our services. In addition, the information will only be disclosed a part of a statistic in a format that will not allow identification of personal information.
Begin Survey
Not Now
×
Please rate each item regarding Game8.co's Advertisements.
Amount of Ads
Very Dissatisfied
Somewhat Dissatisfied
Fine
Somewhat Satisfied
Highly Satisfied
Placement of Ads
Timing of Ad Display
Ad Loading Speed
Safeness of Ads
Content of Ads
×
Please rate each item regarding Game8.co's Quality of Articles.
Amount of information
Very Dissatisfied
Somewhat Dissatisfied
Fine
Somewhat Satisfied
Highly Satisfied
Frequency of updates
Speed of new information
Accuracy of articles
Understandibility of articles
Readability of sentences
×
Please rate each item regarding Game8.co's Usability of the Site.
Ease of finding information
Very Dissatisfied
Somewhat Dissatisfied
Fine
Somewhat Satisfied
Highly Satisfied
Loading Speed
Use of Color
Font Size
Visibility of Images
Easy to Understand Layout
×
Please rate each item regarding Game8.co's Message Boards, Comments.
Ease of Writing
Very Dissatisfied
Somewhat Dissatisfied
Fine
Somewhat Satisfied
Highly Satisfied
Readability
Ease in Finding Information
Comment Quality
Comment Quantity
Admin Response
×
Please rate each item regarding Game8.co's Site's new design.
Please rate our site's new design
Very Dissatisfied
Somewhat Dissatisfied
Fine
Somewhat Satisfied
Highly Satisfied
Do you think that the website's design change makes the site easier to use?
Has the new design made it easier for you to find information on the site?
Has the new design improved the overall visual appeal of the site?
How would you rate your overall satisfaction with the new design of the site?
×
How likely are you to recommend Game8 to someone you know?
Very Unlikely
0
1
2
3
4
5
6
7
8
9
10
Very Likely
If you have other opinions regarding potential improvement to the website, please share them with us. We would appreciate your honest opinion.
Note: This is a free response section, so you can proceed without entering anything.
Note: Please be sure not to enter any kind of personal information into your response.
Note: Please be sure not to enter any kind of personal information into your response.
×
Thank You
×
Thank you for participating in our survey! Your answers will help us to improve the quality of our website and services.
We hope you continue to make use of Game8.
We hope you continue to make use of Game8.
Close
Rankings
- We could not find the message board you were looking for.
Gaming News


![Everwind Review [Early Access] | The Shaky First Step to A Very Long Journey](https://img.game8.co/4440226/ab079b1153298a042633dd1ef51e878e.png/thumb)

![Monster Hunter Stories 3 Review [First Impressions] | Simply Rejuvenating](https://img.game8.co/4438641/2a31b7702bd70e78ec8efd24661dacda.jpeg/thumb)
Popular Games

Genshin Impact Walkthrough & Guides Wiki
Honkai: Star Rail Walkthrough & Guides Wiki
Umamusume: Pretty Derby Walkthrough & Guides Wiki
Pokemon Pokopia Walkthrough & Guides Wiki
Resident Evil Requiem (RE9) Walkthrough & Guides Wiki
Monster Hunter Wilds Walkthrough & Guides Wiki
Wuthering Waves Walkthrough & Guides Wiki
Arknights: Endfield Walkthrough & Guides Wiki
Pokemon FireRed and LeafGreen (FRLG) Walkthrough & Guides Wiki
Pokemon TCG Pocket (PTCGP) Strategies & Guides Wiki


Recommended Games
Diablo 4: Vessel of Hatred Walkthrough & Guides Wiki
Fire Emblem Heroes (FEH) Walkthrough & Guides Wiki
Yu-Gi-Oh! Master Duel Walkthrough & Guides Wiki
Super Smash Bros. Ultimate Walkthrough & Guides Wiki
Pokemon Brilliant Diamond and Shining Pearl (BDSP) Walkthrough & Guides Wiki
Elden Ring Shadow of the Erdtree Walkthrough & Guides Wiki
Monster Hunter World Walkthrough & Guides Wiki
The Legend of Zelda: Tears of the Kingdom Walkthrough & Guides Wiki
Persona 3 Reload Walkthrough & Guides Wiki
Cyberpunk 2077: Ultimate Edition Walkthrough & Guides Wiki


All rights reserved
© 2023 Electronic Arts Inc.
The copyrights of videos of games used in our content and other intellectual property rights belong to the provider of the game.
The contents we provide on this site were created personally by members of the Game8 editorial department.
We refuse the right to reuse or repost content taken without our permission such as data or images to other sites.