All Jedi Chamber Locations and Solutions
★ Find out what gets carried over to New Game Plus!
☆ Learn how to get Beskar Steel and all weapon materials!
★ Make sure to get all the BD-1 Upgrades to help in combat!
☆ Get Map Upgrades to make hunting Collectibles easier!
Jedi Meditation Chambers are optional tomb puzzles you can solve for perk rewards in Star Wars Jedi Survivor. Learn all 7 Jedi Chamber locations, how to solve each Jedi Chamber, and each Jedi Chamber reward!
List of Contents
All Jedi Chambers
All 7 Jedi Chambers on Koboh
| Jedi Chamber | Location | Solution |
|---|---|---|
| Chamber of Duality | 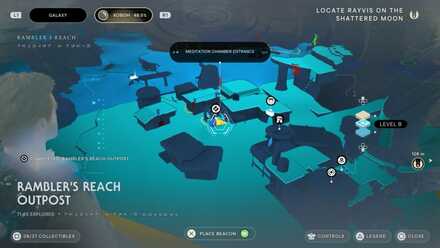 |
Use the Purple Orbs and pull the rope to help Zee escape. |
| Chamber of Connection | 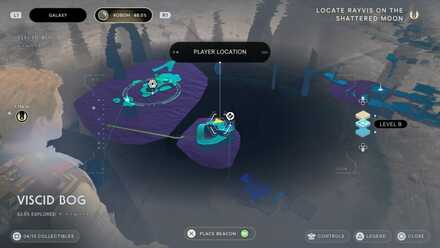 |
Step on the Pressure Plates and destroy the vines using BD-1's Koboh Grinder. |
| Chamber of Detachment |  |
Place the Cube on the platform before raising it to reach the top. |
| Chamber of Reason |  |
Move the Purple Orbs and place them on the correct Blue Slots to create bridges. |
| Chamber of Fortitude | 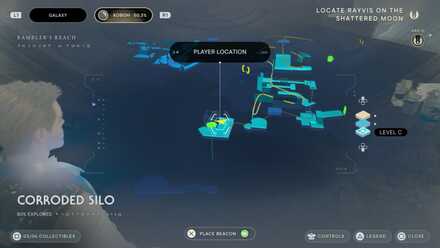 |
Defeat Anoth Estra. |
| Chamber of Clarity | 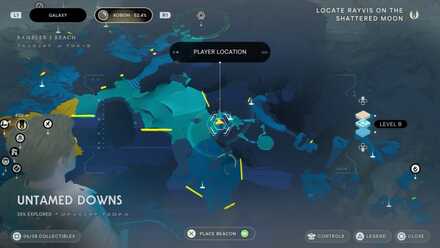 |
Move the Cubes to navigate around hard to reach places. |
| Final Jedi Chamber | 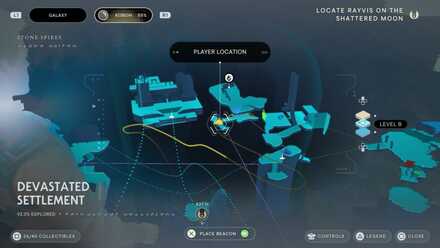 |
Point the laser near the hidden ledge to remove the vines inside the chamber. |
Jedi Chamber Locations
| Jedi Chamber Locations | ||
|---|---|---|
| Chamber of Duality | Chamber of Connection | Chamber of Detachment |
| Chamber of Reason | Chamber of Fortitude | Chamber of Clarity |
| Final Jedi Chamber | - | - |
Where to Find Chamber of Duality
| Map Location | In-Game Location |
|---|---|
 |
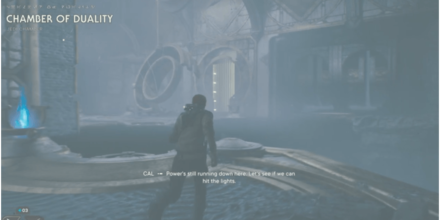 |
| Koboh - Rambler's Reach | |
How to Reach Chamber of Duality
| How to Get to the Chamber of Duality | |
|---|---|
| 1 | 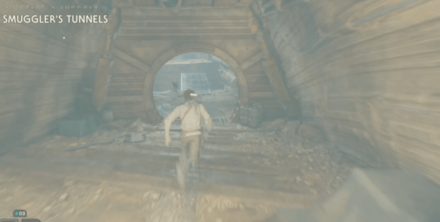 After receiving the Find the Gyro Module objective, head towards the Smuggler's Tunnels in Rambler's Reach. |
| 2 | 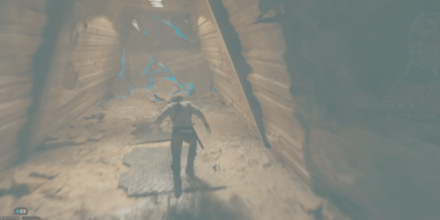 Continue following the path and use your Force-Push to open the breakable wall. |
| 3 | 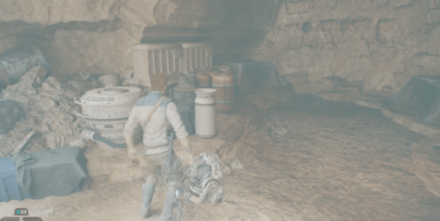 At the end of the tunnel, grab the Gyro Module and a cutscene will play where you will fall to the Chamber of Duality. |
Where to Find Chamber of Connection
| Map Location | In-Game Location |
|---|---|
 |
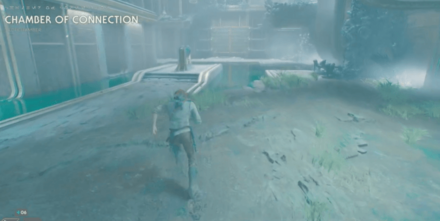 |
| Koboh - Viscid Bog | |
How to Reach Chamber of Connection
| How to Get to the Chamber of Connection | |
|---|---|
| 1 | 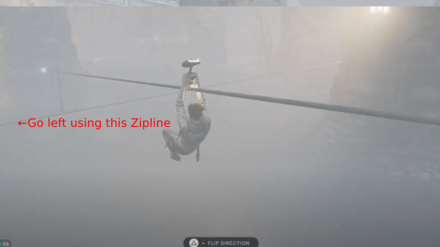 In Viscid Bog, use the zipline to go down. You will see another zipline intersecting the one that you are currently on. Switch to that zipline and go left. |
| 2 |  Upon reaching the bottom, go through the stone arch and use your grappling hook to go up the ledge. |
| 3 | 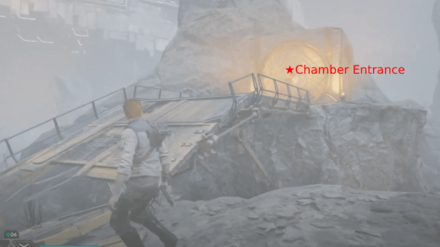 From there, you just need to look up and you will be able to see the Chamber of Connection entrance. |
Where to Find Chamber of Detachment
| Map Location | In-Game Location |
|---|---|
 |
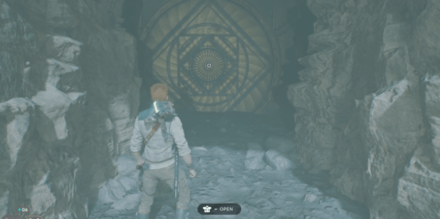 |
| Koboh - Mountain Ascent | |
How to Reach Chamber of Detachment
| How to Get to the Chamber of Detachment | |
|---|---|
| 1 | 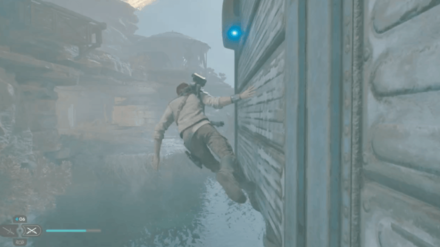 In Mountain Ascent, you will have to perform a wall run to reach the other side of the ledge. |
| 2 |  From there, you will be able to see the Green Laser Gate. You will need to pass this area to reach the Chamber of Detachment. |
| 3 |  Head towards the Green Laser Gate and go through it using your Dash ability. Continue moving forward until you see a Skoova's ship below you. |
| 4 |  Jump down and talk to Skoova to receive the Mee Fish. |
| 5 |  While youre here, you can also pick up the Bomber pants inside the chest behind the bushes. |
| 6 | 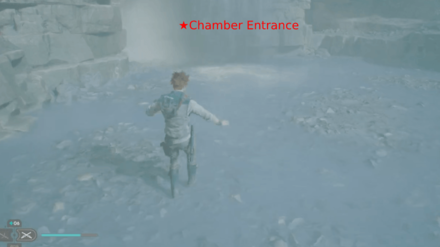 There is a nearby waterfall in the area. Pass through it and you will be able to see the Chamber of Detachment. |
Where to Find Chamber of Reason
| Chamber of Reason Location | |
|---|---|
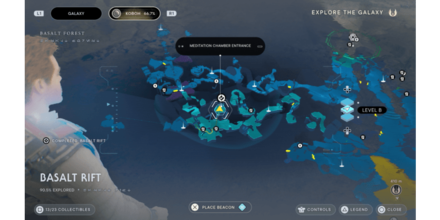 |
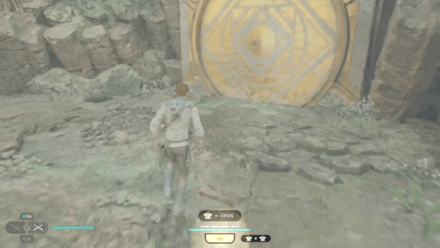 |
| Koboh - Basalt Forest | |
How to Reach Chamber of Reason
| How to Get to the Chamber of Reason | |
|---|---|
| 1a | 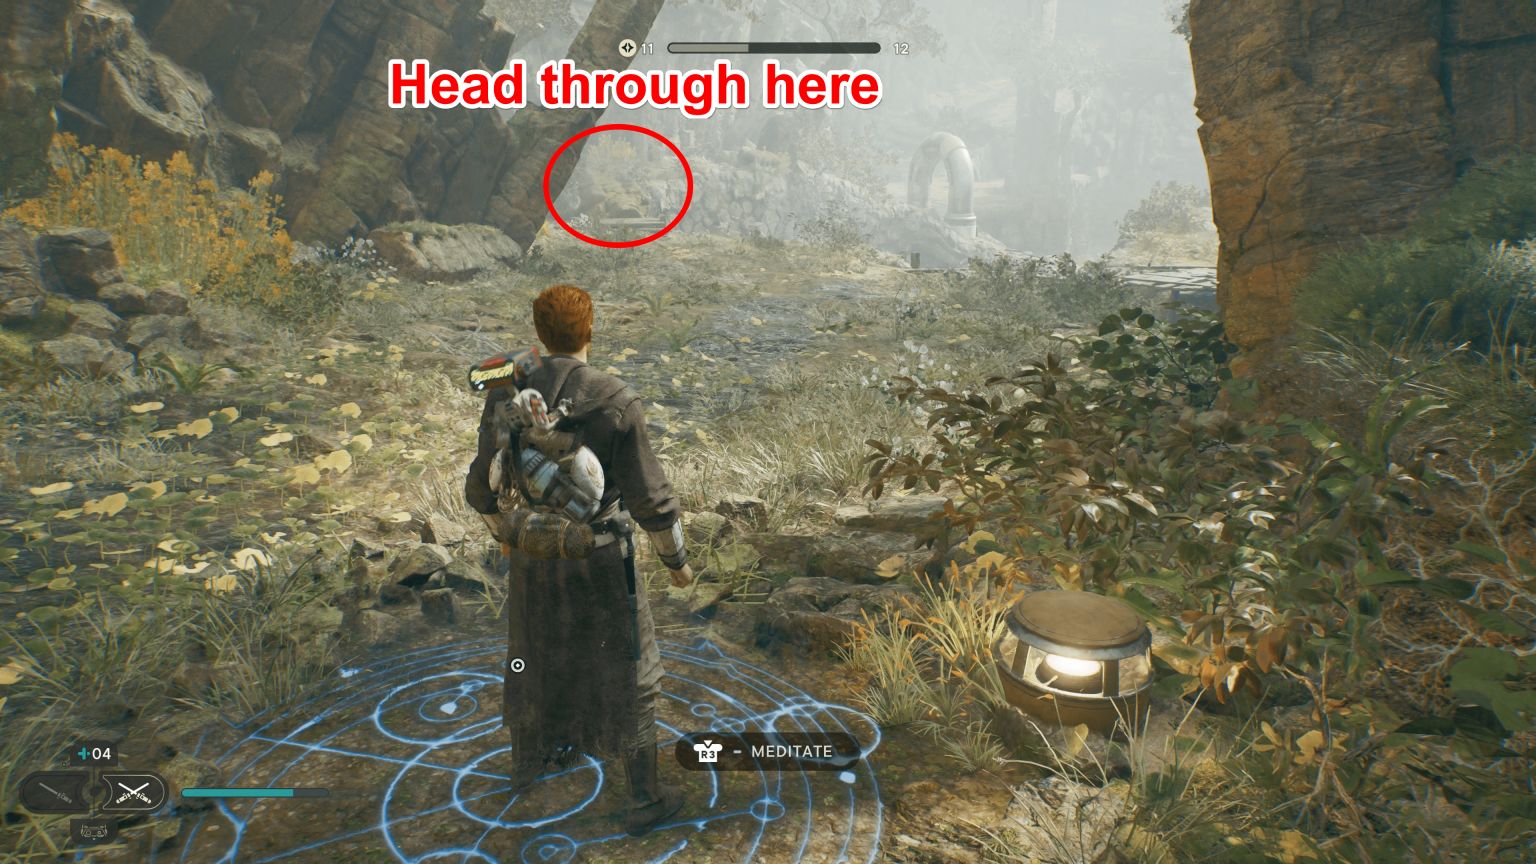 If progressing from the Basalt Forest meditation circle, head straight towards the area past the collapsed tree trunk (not the area with Stormtroopers). |
| 1b | 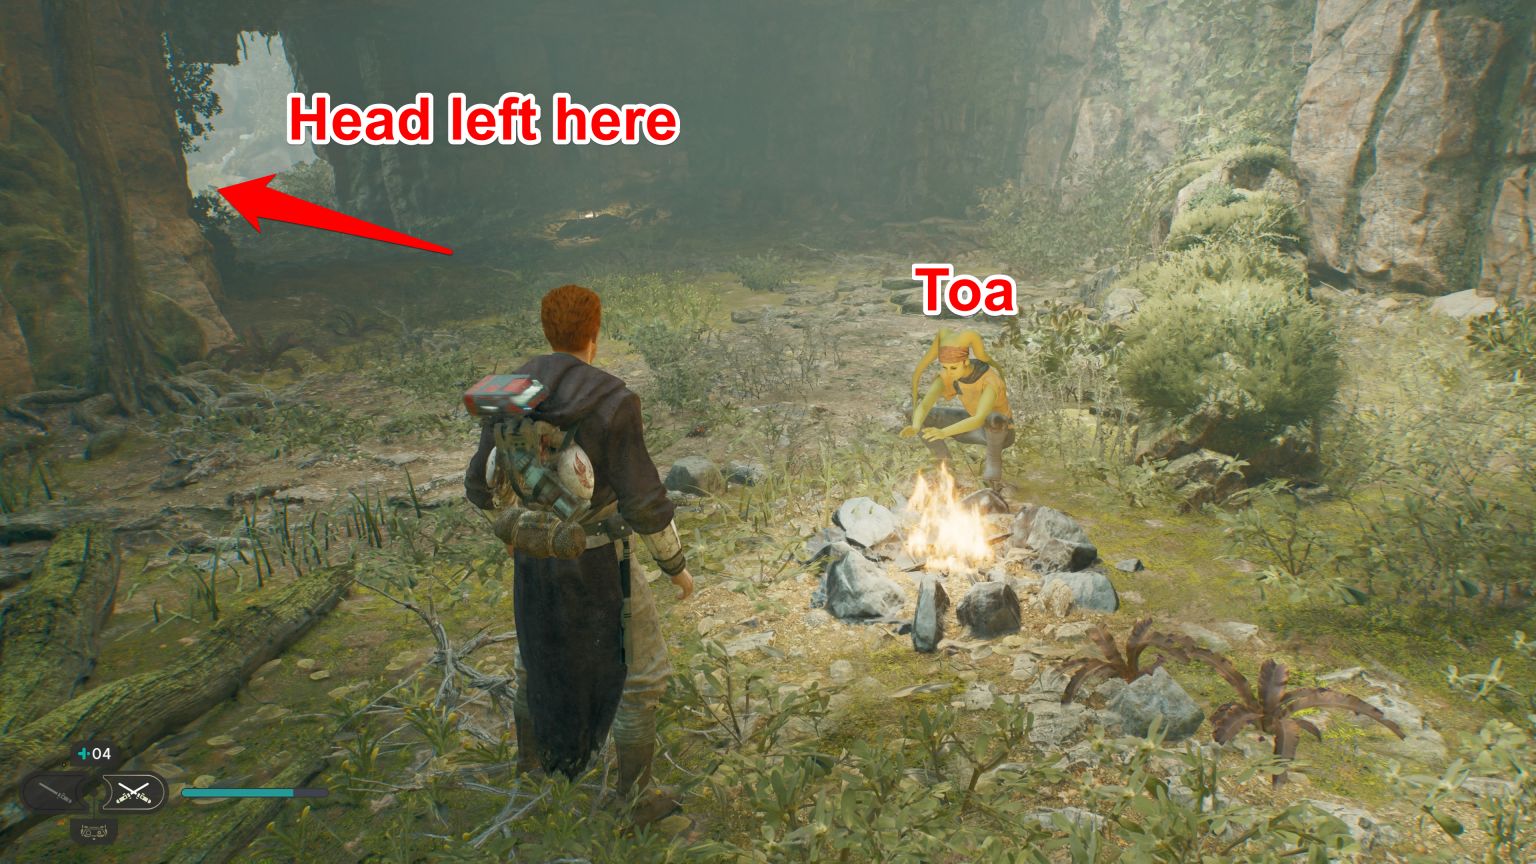 If progressing through the Basalt Forest for the first time, you'll encounter Toa at a campsite in the forest. Speaking to Toa triggers the Explore the High Republic Chamber in the Forest Rumor, which has you complete the Chamber of Reason. |
| 2 | 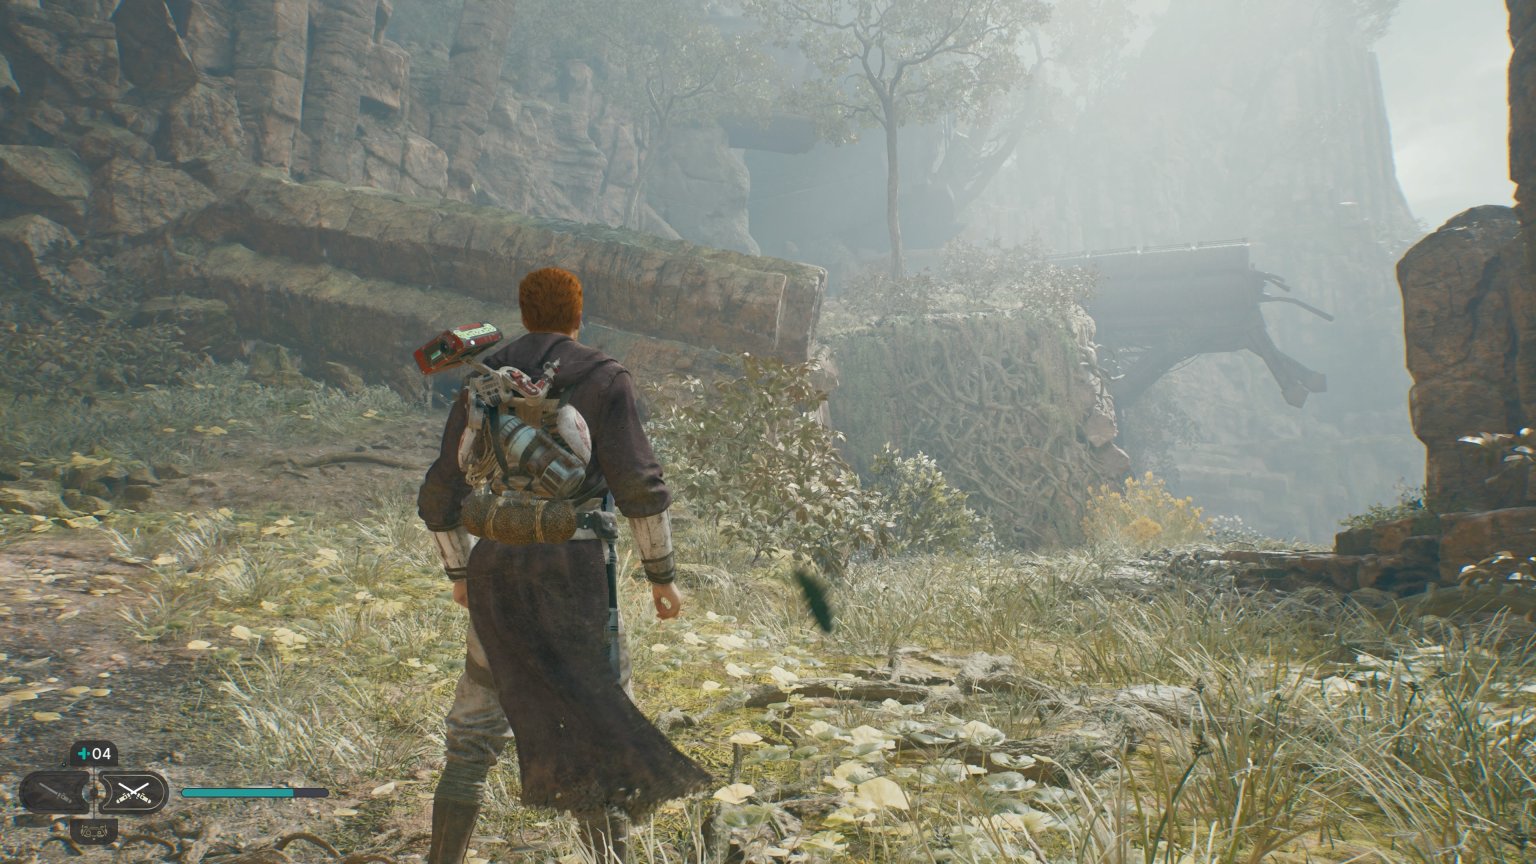 Turn left upon entering the area after her campsite, then head up the slope (past the fallen debris). |
| 3 | 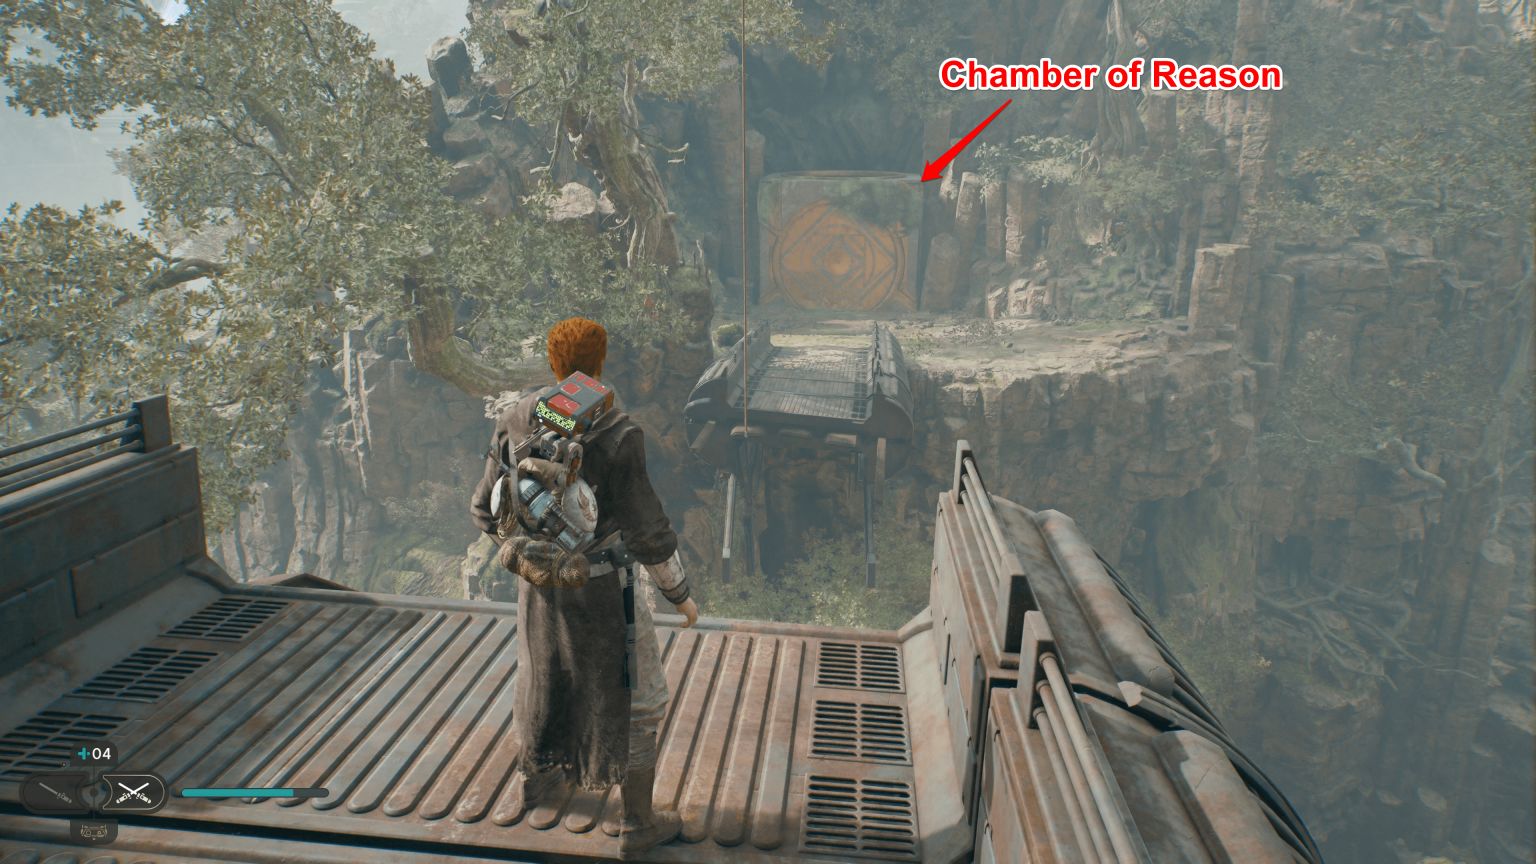 You'll find the Chamber of Reason across the gap in front of the Mogu enemy spawn. You'll need to Force Pull the vine to swing towards it. |
Where to Find Chamber of Fortitude
| Map Location | In-Game Location |
|---|---|
 |
 |
| Koboh - Corroded Silo | |
How to Reach Chamber of Fortitude
| How to Get to Chamber of Fortitude | |
|---|---|
| 1 |  The Chamber of Fortitude is hidden inside the Corroded Silo which can be found in Southern Reach. |
| 2 | 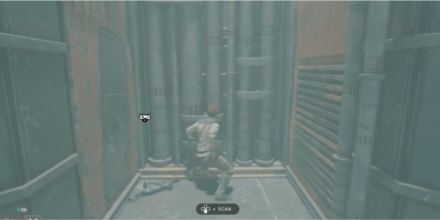 Perform a wall-to-wall jump and climb the roof. Here, you will encounter two enemies waiting for you. |
| 3 | 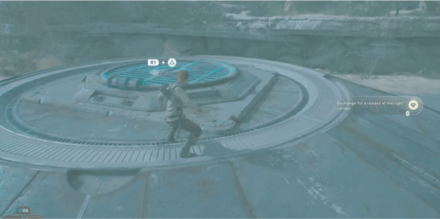 After defeating the enemies, you can open up the silo door by using the Force. |
| 4 |  Head deeper inside the Corroded Silo. |
| 5 | 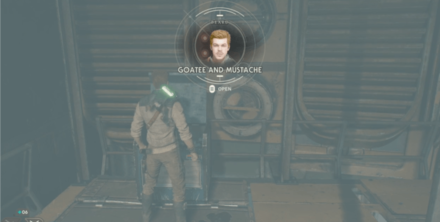 Pick up the Goatee and Mustache from the chest. |
| 6 | 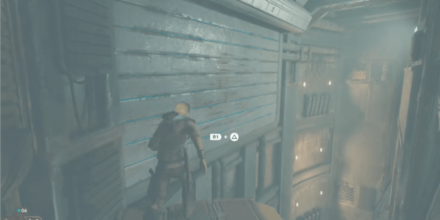 Use Force-Pull to lower the gate and perform a wall run. After doing this, climb down to the lower floor. |
| 7 | 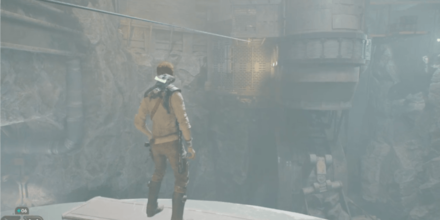 There is a zipline that you can use to get across the other side and defeat the enemies in the area. |
| 8 | 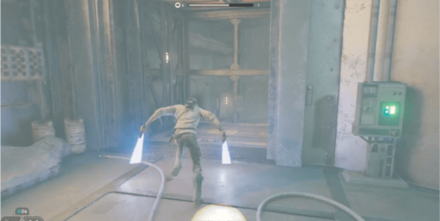 Go down the elevator at the end of the room to reach the final step. |
| 9 | 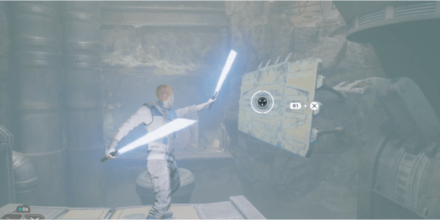 Force-Pull the contraption to set it up. Use the grappling hook and perform a wall run to reach the Chamber of Fortitude entrance. |
Where to Find Chamber of Clarity
| Map Location | In-Game Location |
|---|---|
 |
 |
| Koboh - Untamed Downs | |
How to Reach Chamber of Clarity
| How to Get to the Chamber of Clarity | |
|---|---|
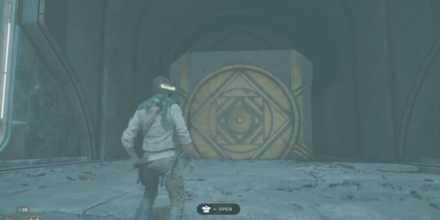
| 1 | 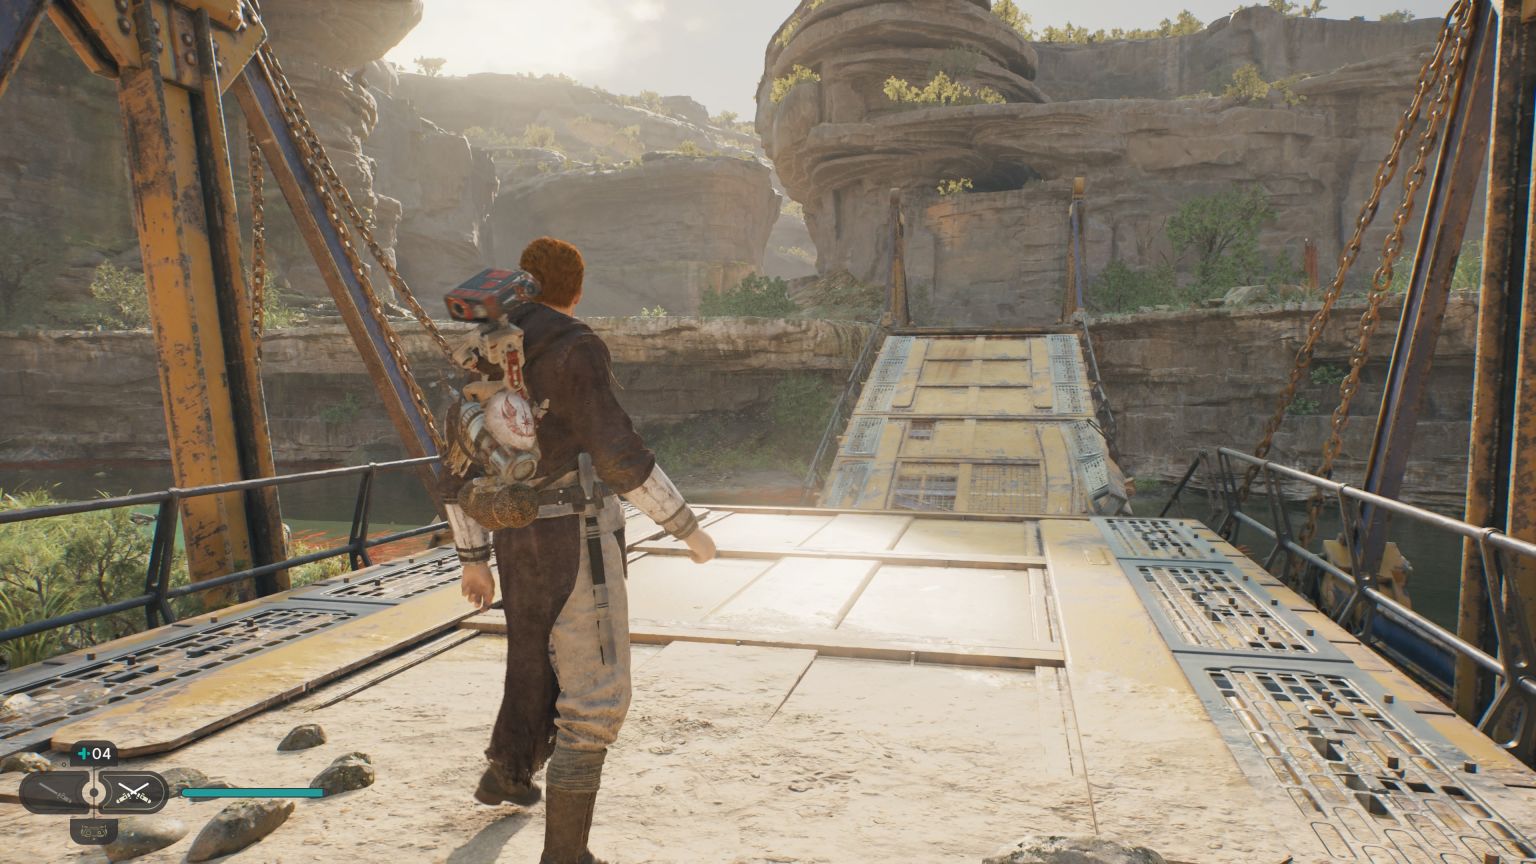 When coming from Rambler's Reach Outpost, pass over the yellow bridge to get to the Untamed Downs. (You lower this bridge when returning from the Forest Array.) |
| 2 | 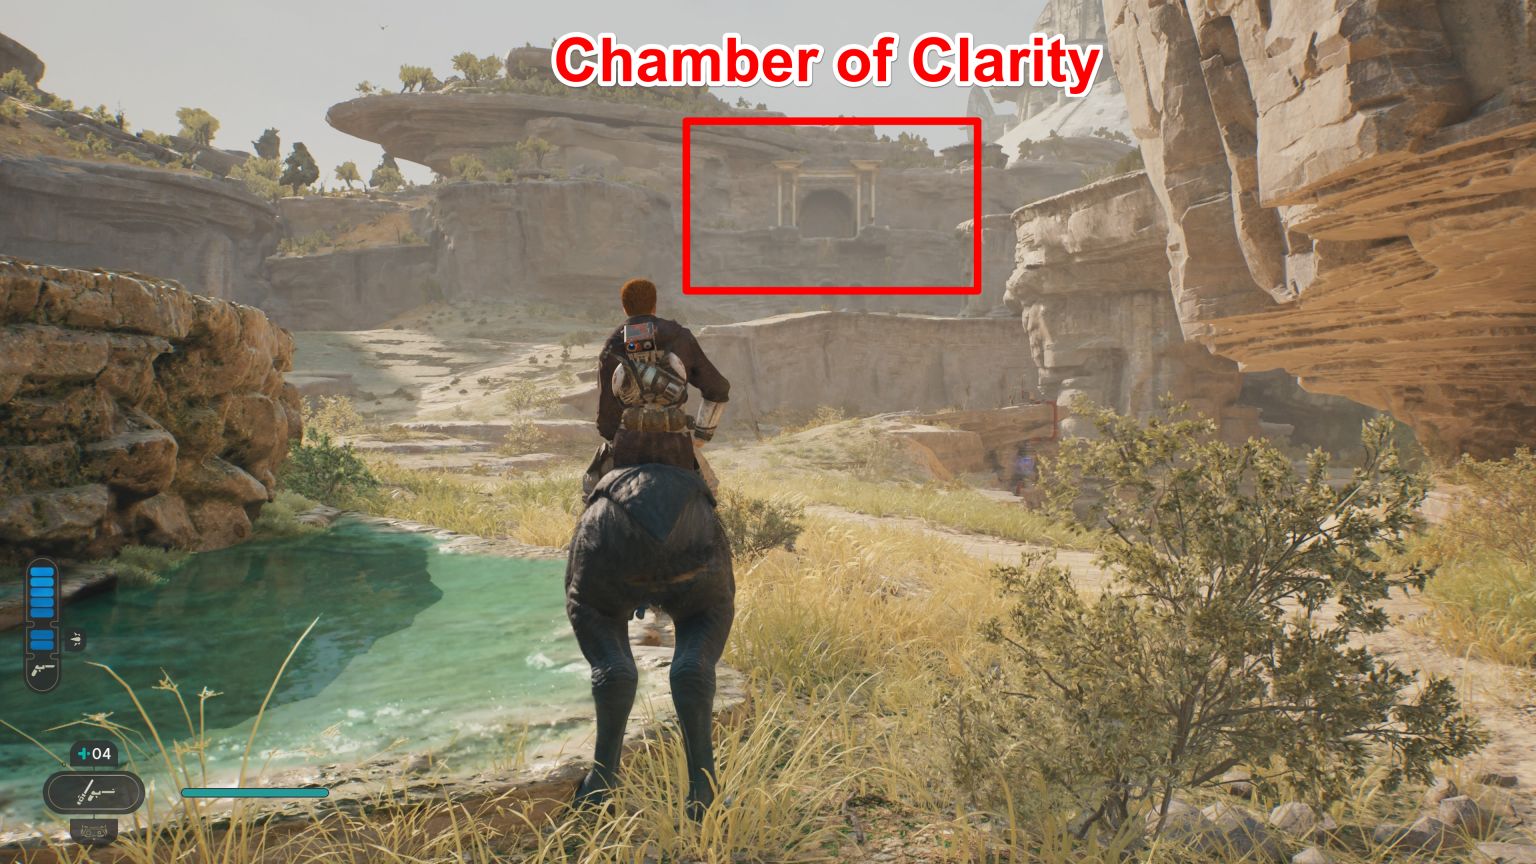 Get a Nekko Mount then ride it towards the Chamber of Clarity, which is located on top of a cliff. It's easy to spot upon entering the Untamed Downs. |
| 3 | 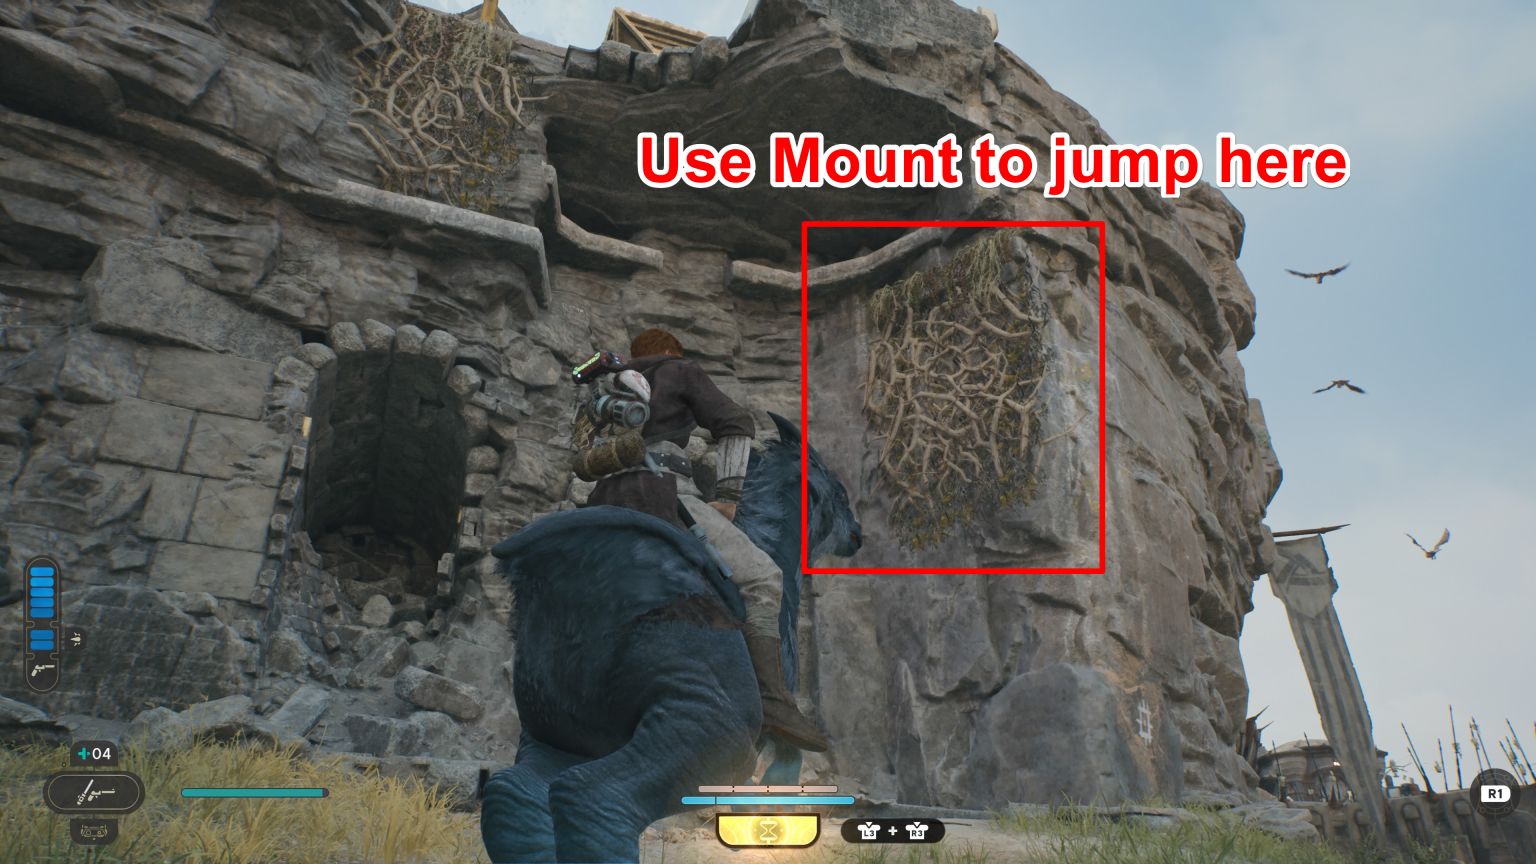 Head up to the cliff side and use the mount to double jump higher and reach the vines. |
| 4 | 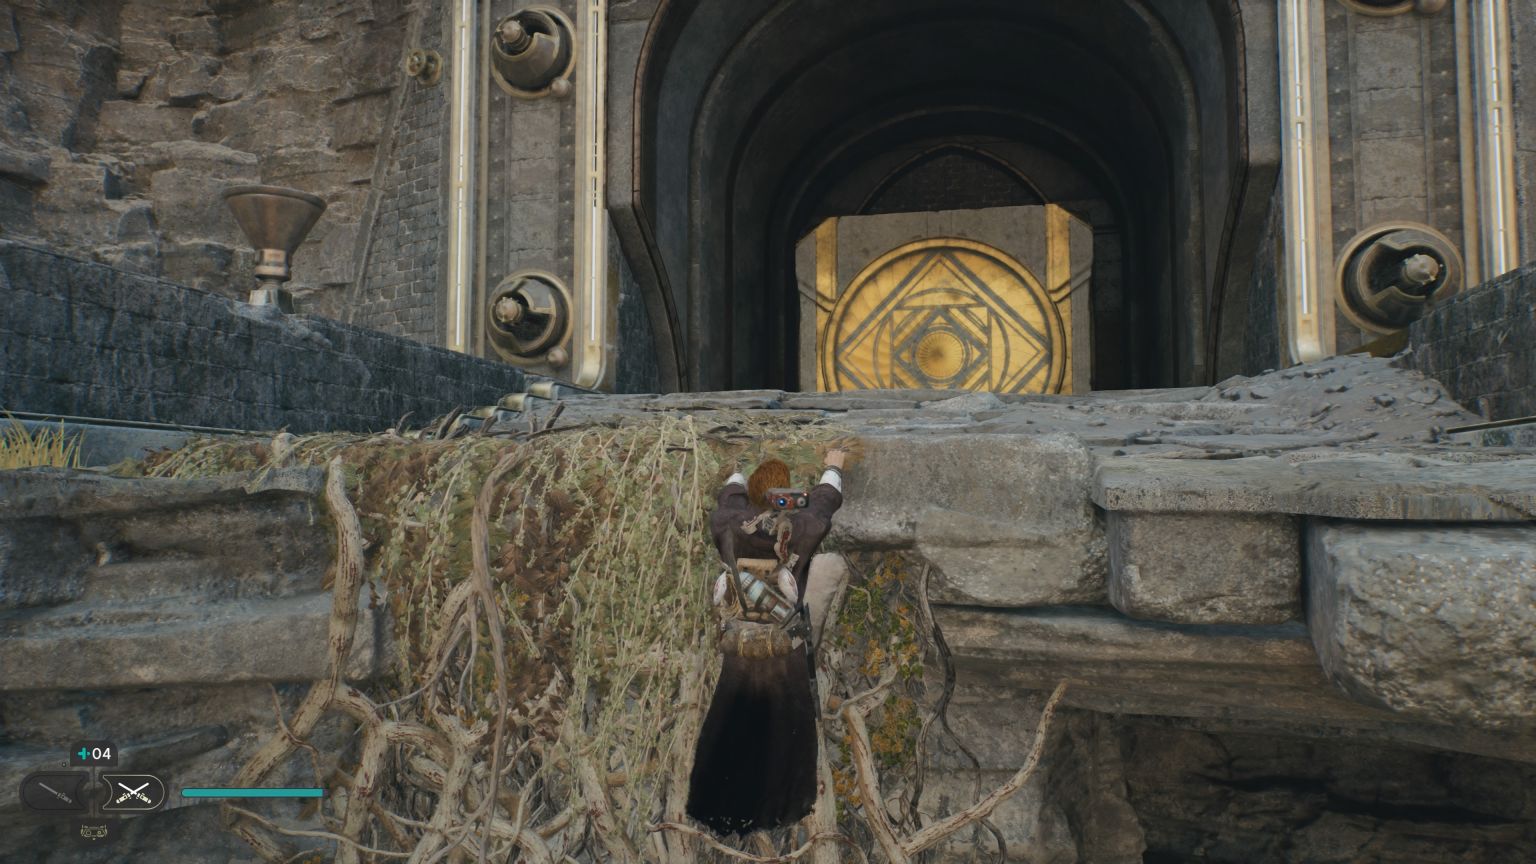 Climb the vines to top of the cliff. You can then enter the Chamber of Clarity. |
Where to Find Final Jedi Chamber
| Map Location | In-Game Location |
|---|---|
 |
 |
| Koboh - Devastated Settlement | |
How to Reach the Final Jedi Chamber
| How to Get to the Final Jedi Chamber | |
|---|---|
| 1 |  You can find the hidden ledge right below the cube at the opposite end of the entrance. |
| 2 |  Use the flying mount, Relter to go to the hidden ledge across the Devastated Settlement. |
| 3 |  You will not be able to reach the hidden ledge below the cube if you do not use the updraft in the middle of Devastated Settlement. |
Jedi Chamber Solutions
| Jedi Chamber Solutions | ||
|---|---|---|
| Chamber of Duality | Chamber of Connection | Chamber of Detachment |
| Chamber of Reason | Chamber of Fortitude | Chamber of Clarity |
| Final Jedi Chamber | - | - |
Chamber of Duality Puzzle
| Chamber of Duality Puzzle Solution | |
|---|---|
| 1 |  Pull the purple orb and place it on the glowing blue slot to create a bridge that leads to the central area. |
| 2 | 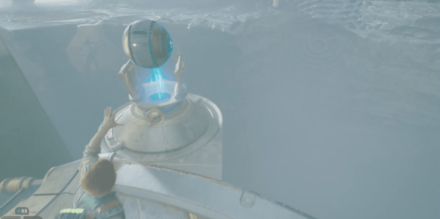 After crossing the bridge, pull the purple orb again and place it in the slot on your right. |
| 3 | 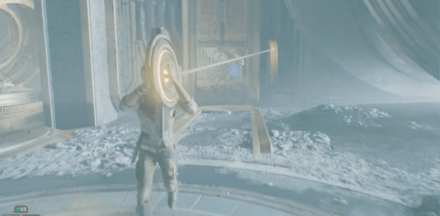 Cross the second bridge and then use your Force-Pull to grab the rope. |
| 4 | 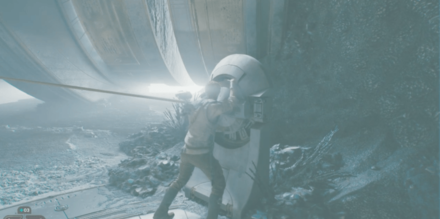 While holding the rope, you can interact with the panel and attach it. This will hold the door open for you. |
| 5 | 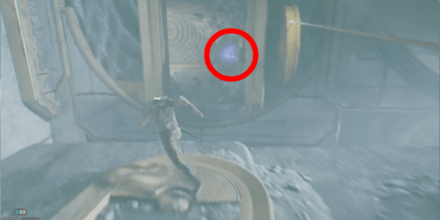 Pull the purple orb inside the room and return to the central area. |
| 6 | 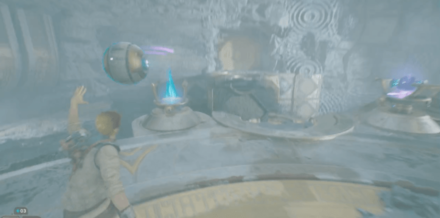 You can now use the two purple orbs that you have to open the central bridge has two slots. |
| 7 |  Jump down the cliff on your left and head towards the end. |
| 8 | 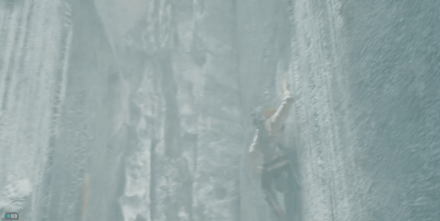 Here you will have to perform a wall-to-wall jump again to reach the top. |
| 9 | 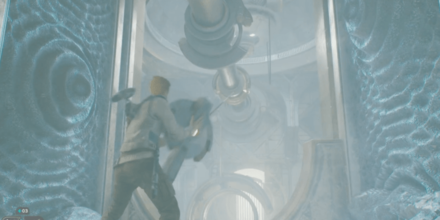 Use Force-Pull to grab the second rope and attach it to the panel. |
| 10 | 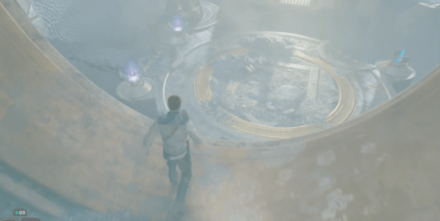 Jump back down to the central area and help Zee. |
| 11 | 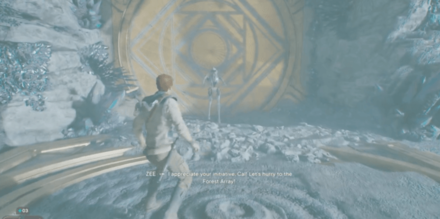 Wait for Zee to open up the door that leads to the elevator. |
Chamber of Duality Walkthrough
Chamber of Connection Puzzle
| Chamber of Connection Puzzle Solution | |
|---|---|
| 1 |  Go straight and stand on the pressure plate located at the end of the chamber. This will open up a gate where you will find a purple orb. |
| 2 | 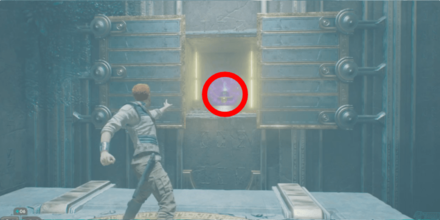 Force-Pull the purple orb and bring it to the middle of the room. |
| 3 |  Put the purple orb in the slot near the center of the room to activate the laser. |
| 4 |  Use BD-1 to draw a line from the laser to the vines on the right side of the room. This will open up a new path that you can explore. |
| 5 | 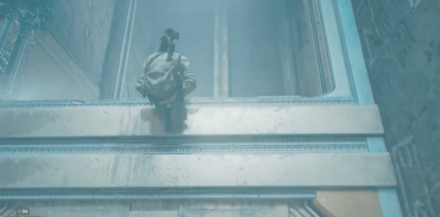 Go to the newly opened path and then climb the ledge. |
| 6 | 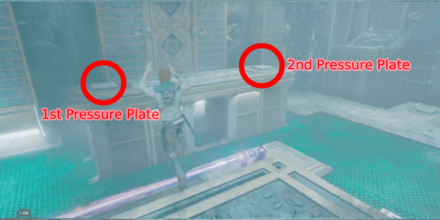 From here, you will need to jump across the room and step on 2 pressure plates. |
| 7 | 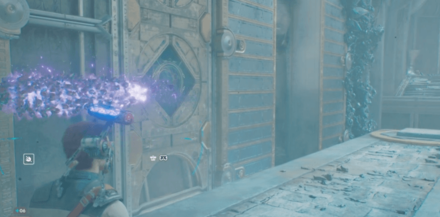 Stand on the 1st pressure plate to connect the wall on the left side of the room and use BD-1 to draw a new line starting from the laser. |
| 8 | 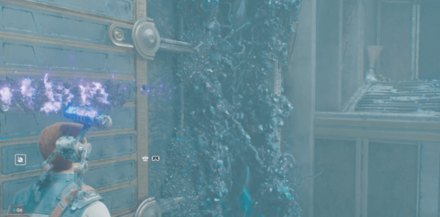 After crossing the first wall, you will need to stand on the 2nd pressure plate next to you to connect to the second wall. Now you will be able to burn the vines on the left wall to open another path. |
| 9 | 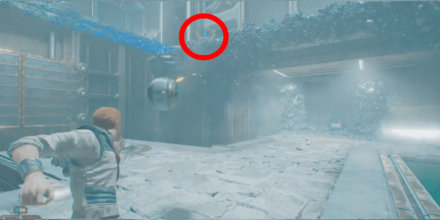 Grab the purple orb from the middle of the room and place it on the second floor to create a bridge. |
| 10 | 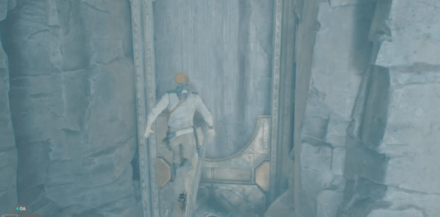 Enter the new path to get to the second floor of the chamber. |
| 11 | 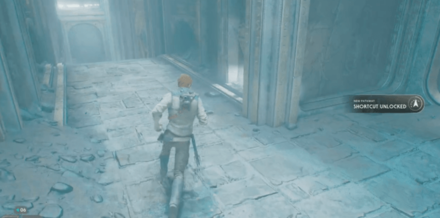 Open the door on the other side to unlock a shortcut. |
| 12 | 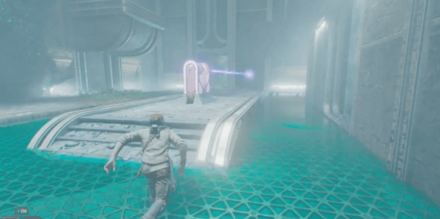 Grab the orb again from the second floor and place it back in the middle of the room. |
| 13 | 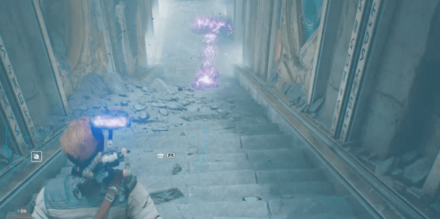 Start drawing a new line from the laser to the shortcut that you've just opened up until you reach the second floor. |
| 14 | 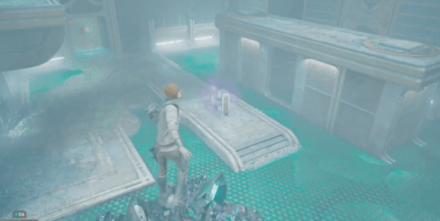 Upon reaching the second floor, you will need to grab the purple orb from the first floor and immediately place it in the slot on the second floor. (You need to do this fast or the connection will be lost and you will have to start on the first floor again) |
| 15 | 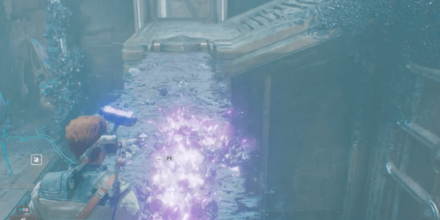 Cross the bridge with your line. Be extremely careful not to lose the flames. |
| 16 | 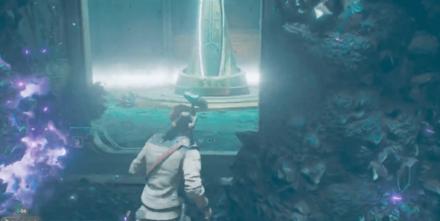 Connect the line to the vine gate to open it. |
Chamber of Connection Walkthrough
Chamber of Detachment Puzzle
| Chamber of Detachment Puzzle Solution | |
|---|---|
| 1 | 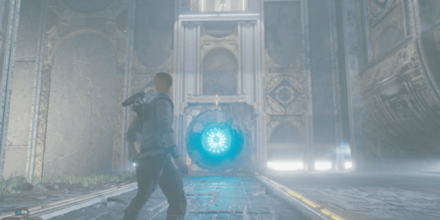 Force-Pull the giant cube at the end of the hall and grab the purple orb behind it. |
| 2 |  Place the purple orb on the slot at the right side of the chamber. This will allow it to fire a laser that stops after a few seconds. |
| 3 |  Return the giant cube to its original position and then pull it back. Make sure you line it up perfectly so that when the cube passes, the laser is present. |
| 4 | 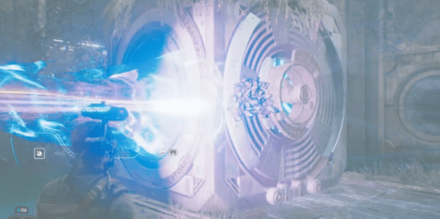 Use BD-1 on the side of the cube while the laser is hitting it and follow it until it reaches the other giant cube covered in vines near the entrance. |
| 5 | 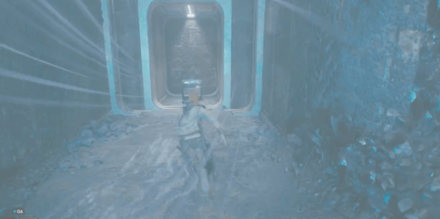 Pick up the BD-1 Materials (Jedi Paint) behind the other giant cube. |
| 6 | 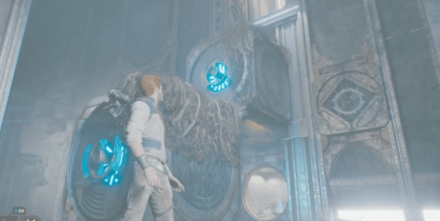 Now that you have two giant cubes, you need place one of them on top of the platform before it rises. You can do this by using one of the cubes to lower the platform and using Force-Push to place the other cube on top of it while it is lowered. |
| 7 | 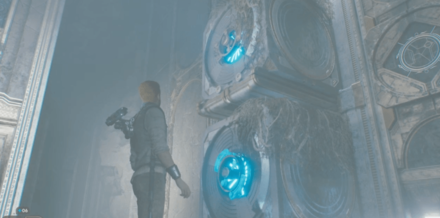 After that, you need to place your other cube below the platform and climb the vines on the cube to solve the puzzle. |
Chamber of Detachment Walkthrough
Chamber of Reason Puzzle
| Chamber of Reason Puzzle Solution | |
|---|---|
| 1 | 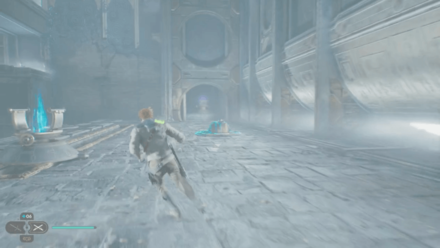 Climb down the rope onto the platform. You should see 3 devices in the center. |
| 2 | 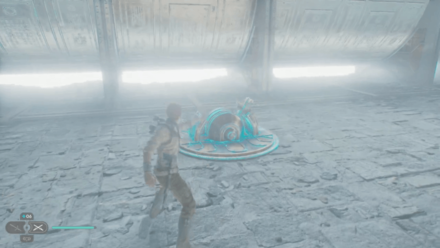 Use the device that allows the first device to move along the track. To continue, you will need it on the second position. |
| 3 | Grab the orb in the far back pedestal. Bring it to the first device near the entrance. |
| 4 | 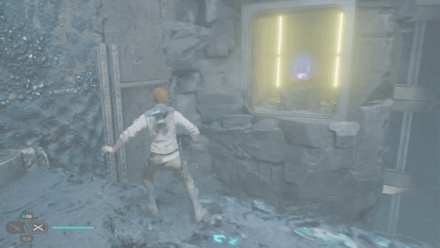 Grab the second orb and cross the newly formed bridge on the other side. You'll find another Orb behind a wall. Take it back with you. |
| 5 | 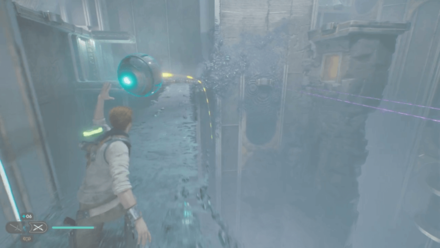 Use the device at the center to form a new bridge. Cross the bridge with the second orb. You can obtain a Sense Echo on the other side. |
| 6 | 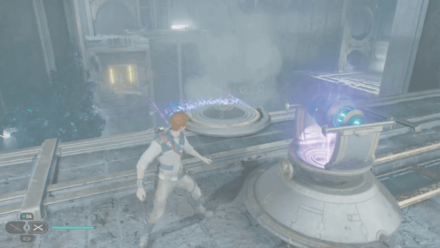 Place the orb on the first device. Keep in mind that this bridge mechanism is broken and it is not stable. |
| 7 | 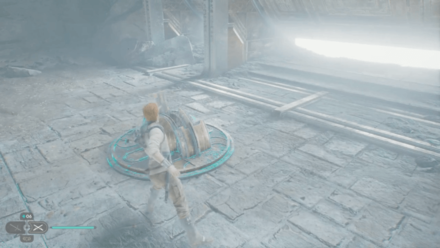 Similar to the previous section, use the switch to move the mechanism over and form a new bridge that you need to cross. |
| 8 | 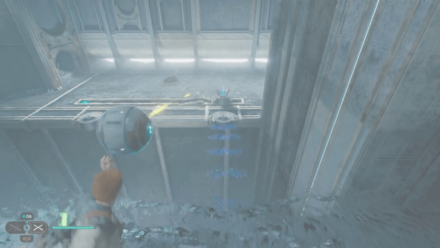 While crossing the bridge, you can see the first orb on the platform. Take that orb from the slot and bring it with you. |
| 9 | 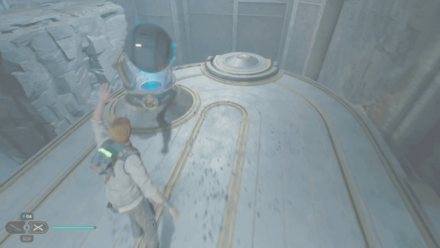 Bring the Orb to the platform and place it on the mechanism to reveal a new bridge. Take the Sense Echo at the end. |
| 11 |  Once you have returned, stand on the platform and interact with the switch to raise the platform. |
| 12 | 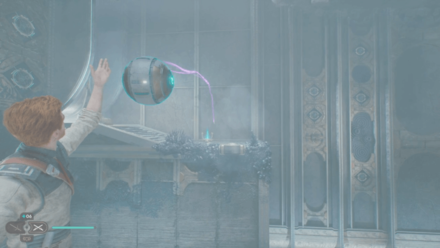 Force-Push the orb and aim it on the other side to create a bridge. |
| 13 |  While on the platform, turn to the left to receive your reward (Dexterity Perk). |
| 14 | 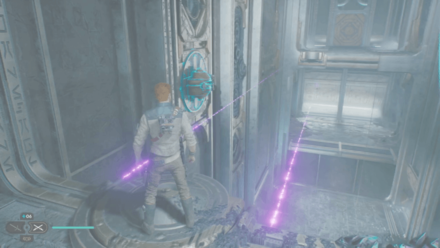 You can use the switch on the wall to craete a bridge to exit the area. |
Chamber of Fortitude Puzzle
| Defeat Anoth Estra | |
|---|---|
| 1 | 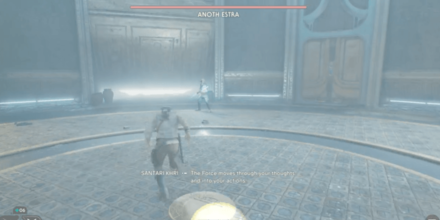 Upon entering the Chamber of Fortitude, you only need to defeat the boss Anoth Estra. |
Chamber of Fortitude Walkthrough
Chamber of Clarity Puzzle
| Chamber of Clarity Puzzle Solution | |
|---|---|
| 1 | 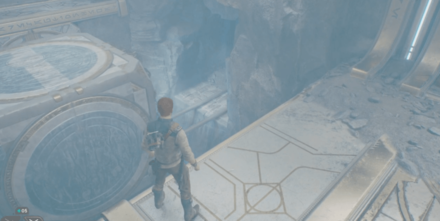 Use Force-Pull on the cube to your right to open a hidden passage. |
| 2 | 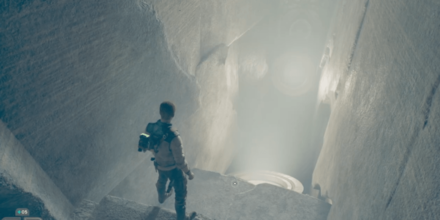 Enter the hidden passage and perform a wall run to reach the other side. |
| 3 | 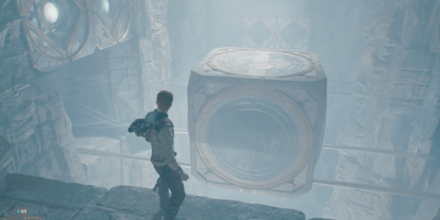 Force-Pull the cube to your right and jump on it. You need to do this again on the other cube on your left to get across. (You will have to do this quickly before the cube reaches the opposite end or you will fall) |
| 4 | 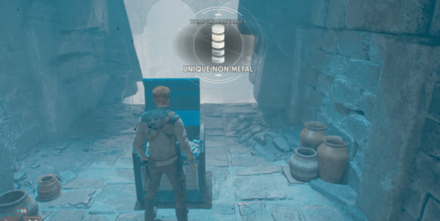 Grab the Weapon Materials - Unique Non-Metal from the Chamber of Clarity Chest. |
| 5 | 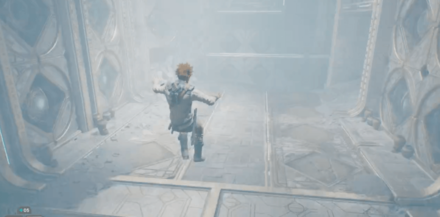 Jump down the platform and head towards the opposite end. |
| 6 | 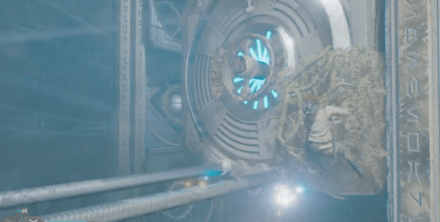 Force-Pull the cube from your right. Wait for it to reach you and use Force-Pull again to bring it back to its original position. While doing this, you need to grab onto the vines and position yourself correctly so you do not fall. |
| 7 | 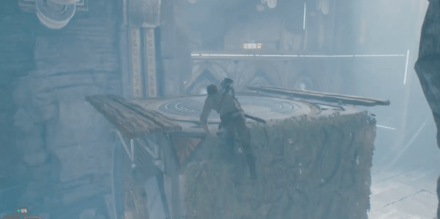 Use Force-Pull on the other cube at the end of the room and climb the ledge. |
| 8 | 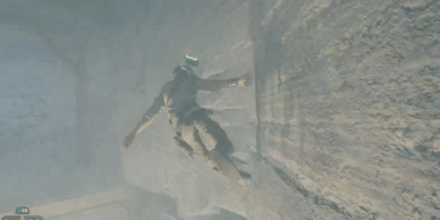 Perform a wall run to reach the opposite side. |
| 9 |  Use a charged Force-Push to open the other door. |
| 10 | 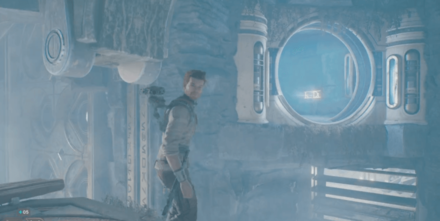 Jump back down and use Force-Pull on the cube to enter the newly opened door. |
| 11 | 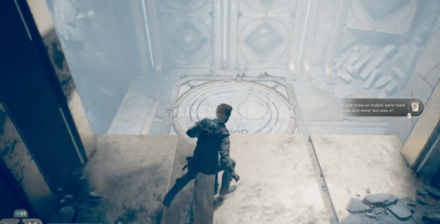 Force-Push the cube to bring it to the main room. |
| 12 | 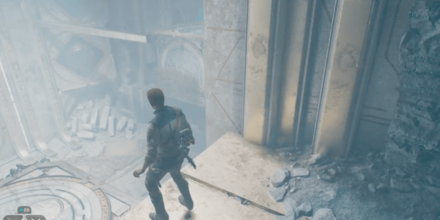 Use Force-Pull again to bring down a beam that you will need to get across. |
| 13 |  Jump on the cube and stand on the beam to complete the Chamber of Clarity. |
Chamber of Clarity Walkthrough
Final Jedi Chamber Puzzle
| How to Solve the Final Jedi Chamber | |
|---|---|
| 1 |  From the Grand Courtyard Meditation Point, go to the far left side of the platform and look ahead and slightly down to see a giant empty cube, which also happens to contain a Force Tear. |
| 2 |  Look further down in the same spot to see a hidden ledge with a Relter, the flying mount. |
| 3 |  Go to the Relter on the platform you're currently on and ride straight forward to the opposite side where a laser is installed. Direct the laser to hit the hidden ledge directly. It's a bit hard to see but anywhere that hits the rocks is fine. |
| 4 |  Take the Relter from the laser platform and ride across to the hidden platform. You'll need to use an updraft then kill some time in the air to land correctly. |
| 5 |  On the hidden ledge, you'll find a cave with a Chamber inside, though it is not explicitly labeled as a Chamber on the map. |
| 6 |  Use BD-1's Koboh Grinder gun to create a trail of Koboh Matter from the laser to the vines blocking the way. On the other side of the vines, you'll receive the Ambidexterity Perk to clear the Chamber. |
Final Jedi Chamber Walkthrough
Jedi Chamber Rewards
Jedi Chamber Rewards Perks
| Jedi Chamber | Reward |
|---|---|
| Chamber of Duality | Story Progression |
| Chamber of Connection | Recuperation Perk |
| Chamber of Detachment | Patience Perk |
| Chamber of Reason | Dexterity Perk |
| Chamber of Fortitude | Persistence Perk |
| Chamber of Clarity | Fellowship Perk |
| Final Jedi Chamber | Ambidexterity Perk |
All Perks Locations and Effects
Star Wars Jedi Survivor Related Guides

Jedi Survivor Guide and Walkthrough
| Star Wars Jedi Survivor Wiki | |
|---|---|
 Walkthrough Walkthrough |
 Collectibles Collectibles |
 Jedi Chambers Jedi Chambers |
 Rumors Rumors |
 Puzzles Puzzles |
 Choices Choices |
 Skills Skills |
 Tips and Tricks Tips and Tricks |
 Outfits and Cosmetics Outfits and Cosmetics |
 Lightsabers Lightsabers |
 Blasters Blasters |
 BD-1 Parts BD-1 Parts |
 Enemies Enemies |
 Bosses Bosses |
 Bounties Bounties |
 Characters Characters |
 News and Game Info News and Game Info |
- |
Author
All Jedi Chamber Locations and Solutions
improvement survey
03/2026
improving Game8's site?

Your answers will help us to improve our website.
Note: Please be sure not to enter any kind of personal information into your response.

We hope you continue to make use of Game8.
Rankings
- We could not find the message board you were looking for.
Gaming News
Popular Games

Genshin Impact Walkthrough & Guides Wiki

Honkai: Star Rail Walkthrough & Guides Wiki

Umamusume: Pretty Derby Walkthrough & Guides Wiki

Pokemon Pokopia Walkthrough & Guides Wiki

Resident Evil Requiem (RE9) Walkthrough & Guides Wiki

Monster Hunter Wilds Walkthrough & Guides Wiki

Wuthering Waves Walkthrough & Guides Wiki

Arknights: Endfield Walkthrough & Guides Wiki

Pokemon FireRed and LeafGreen (FRLG) Walkthrough & Guides Wiki

Pokemon TCG Pocket (PTCGP) Strategies & Guides Wiki
Recommended Games

Diablo 4: Vessel of Hatred Walkthrough & Guides Wiki

Fire Emblem Heroes (FEH) Walkthrough & Guides Wiki

Yu-Gi-Oh! Master Duel Walkthrough & Guides Wiki

Super Smash Bros. Ultimate Walkthrough & Guides Wiki

Pokemon Brilliant Diamond and Shining Pearl (BDSP) Walkthrough & Guides Wiki

Elden Ring Shadow of the Erdtree Walkthrough & Guides Wiki

Monster Hunter World Walkthrough & Guides Wiki

The Legend of Zelda: Tears of the Kingdom Walkthrough & Guides Wiki

Persona 3 Reload Walkthrough & Guides Wiki

Cyberpunk 2077: Ultimate Edition Walkthrough & Guides Wiki
All rights reserved
© 2023 Electronic Arts Inc.
The copyrights of videos of games used in our content and other intellectual property rights belong to the provider of the game.
The contents we provide on this site were created personally by members of the Game8 editorial department.
We refuse the right to reuse or repost content taken without our permission such as data or images to other sites.


![Everwind Review [Early Access] | The Shaky First Step to A Very Long Journey](https://img.game8.co/4440226/ab079b1153298a042633dd1ef51e878e.png/thumb)

![Monster Hunter Stories 3 Review [First Impressions] | Simply Rejuvenating](https://img.game8.co/4438641/2a31b7702bd70e78ec8efd24661dacda.jpeg/thumb)


Hey guys so i spent all day making sure i had all 7 perks so i can go do the allignment control mission but after collecting them all all screens are green i walk into the big room and all doors are closed no empire the grate is there i cant do nothing has anyone experienced this and has sorted it.....