Doppelganger's Den Treasures, Castaway, and Onion Locations
❀ Pikmin 4 is out! Get a headstart by following these tips!
❀ Get more Pikmin by getting all the onion types!
❀ New and returning bosses are back in the Piklopedia!
❀ Brave the Trial of the Sage Leaf to get more onions!
❀ Make Oatchi stronger by upgrading his skills!
Doppelganger's Den in Pikmin 4 is a cave that can be found in Hero's Hideaway. See all treasures, bosses, enemies, castaways, and onion locations in Doppelganger's Den. The guide below also has its map, a section on how to reach it and tips and strategies on how to complete it 100%.
List of Contents
Doppelganger's Den Map and Overview
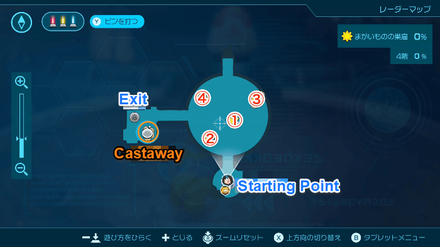
Map
| Map Location | 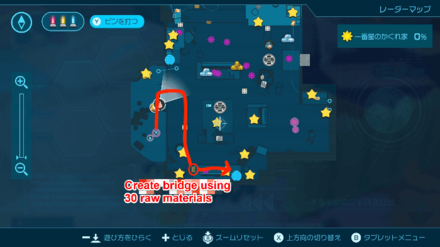 |
|---|---|
| Overworld Location | 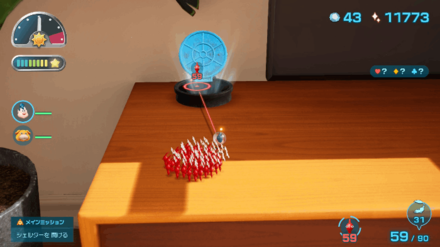 |
Overview
| Location | Hero's Hideaway | ||
|---|---|---|---|
| Castaways | 1 | ||
| Treasures | 16 | ||
| Onions | 0 | ||
| Pikmin |
Ice Pikmin
White Pikmin |
||
How to Reach Doppelganger's Den
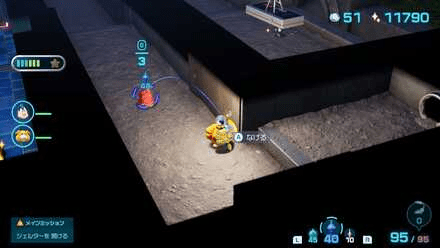
Build Climbing Wall Using 30 Pieces of Raw Materials
The entrance of the cave is above the TV stand. Use 30 pieces of Raw Materials to build a climbing wall to reach the top and enter Doppelganger's Den.
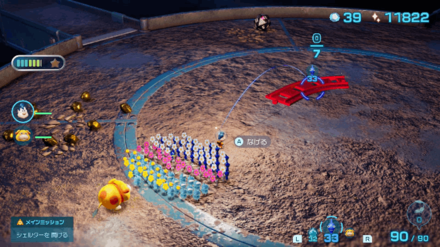
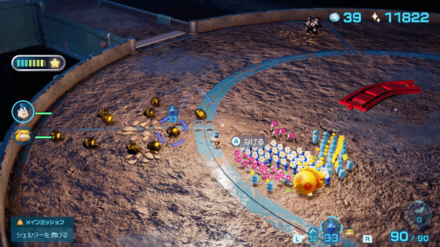
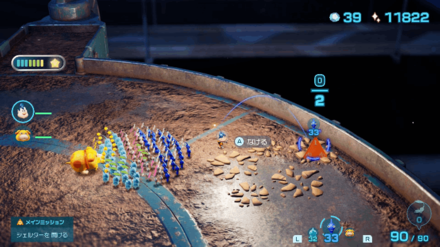
Doppelganger's Den Bosses and Enemies
Bosses
|
|
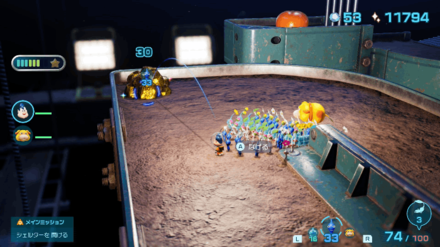
Gildemander's weak points are the red spots on its body which it covers with pieces of gold. You can use Oatchi's Rush ability or throw Pikmin to peel off the gold and expose its weak points.
You can destroy the pieces of gold when Gildemander drops it on the ground. This prevents it from putting them back to its back, making the boss completely defenseless.
Enemies
|
|
|
|
|
|
|
|
|
|
Doppelganger's Den Treasure Locations
Sublevel 1
| Jump to a Sublevel | |
|---|---|
| Sublevel 1 | Sublevel 2 |
| Sublevel 3 | Sublevel 4 |
| Doppelganger's Den Sublevel 1 Map | ||
|---|---|---|
 |
||
| All Treasures | ||
| 1 |
Sparklium: 50 |
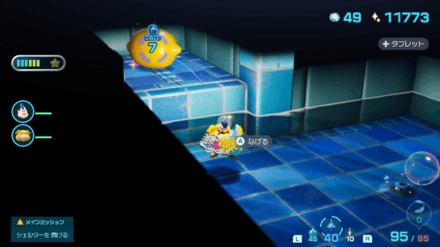 Freeze the water using 15 Ice Pikmin then throw Pikmin to collect the treasure. |
| 2 |
Sparklium: 90 |
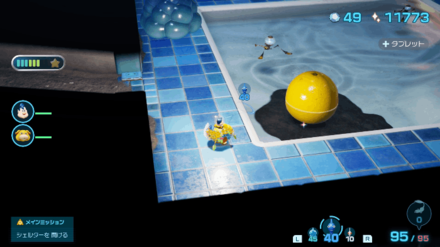 Use Blue Pikmin to reach it. |
| 3 |
Sparklium: 110 |
 Pick it up from the ground. |
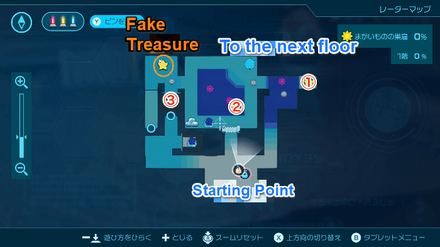
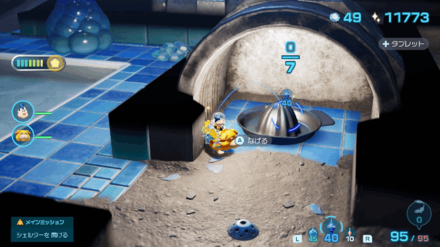
Beware of Fake Treasures that Trick the Treasure Gauge
There are fake treasures that appear on the radar map and on the Treasure Gauge. These fake treasures are actually enemies that will appear if you get close to it.
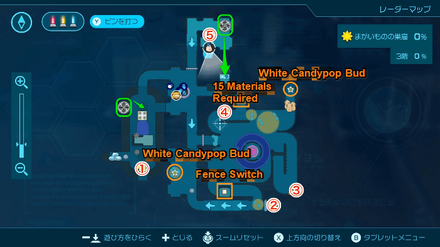
Sublevel 2
| Jump to a Sublevel | |
|---|---|
| Sublevel 1 | Sublevel 2 |
| Sublevel 3 | Sublevel 4 |
| Doppelganger's Den Sublevel 2 Map | ||
|---|---|---|
 |
||
| All Treasures | ||
| 1 |
Sparklium: 50 |
 Pick it up from the ground. |
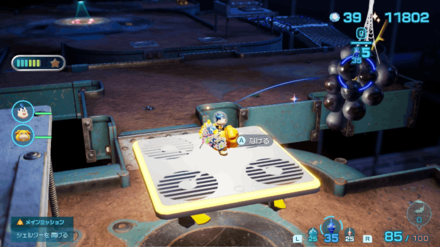
| 2 |
Sparklium: 150 |
 Push the red switch and cross the gate. Throw Pikmin at the treasure. |
| 3 |
Sparklium: 50 |
 Enter the pipe and collect the treasure. |
| 4 |
Sparklium: 5 |
 Throw Pikmin to collect all 50. |
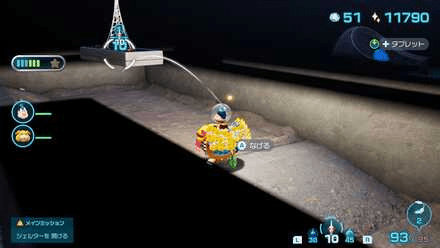
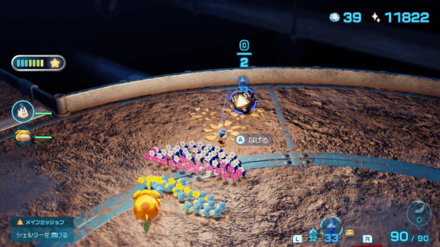
2. Throw Pikmin Near the Door and Press the Switch
To reach the location of the Life Controller, you need to throw a Pikmin on the red switch and then run towards the left side before the wall emerges from the ground.
Sublevel 3
| Jump to a Sublevel | |
|---|---|
| Sublevel 1 | Sublevel 2 |
| Sublevel 3 | Sublevel 4 |
| Doppelganger's Den Sublevel 3 Map | ||
|---|---|---|
 |
||
| All Treasures | ||
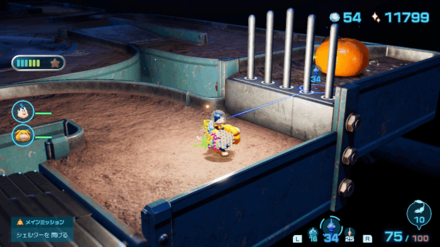
| 1 |
Sparklium: 120 |
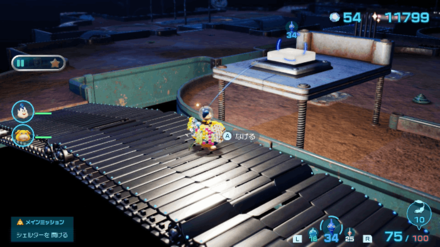
 Use the fan to ride the moving platform then throw your Pikmin at the treasure. |
| 2 |
Sparklium: 60 |
 Hit the switch to lower the iron fence. Throw Pikmin to carry the treasure. |
| 3 |
Sparklium: 5 |
 Throw Pikmin to collect all 30. |
| 4 |
Sparklium: 90 |
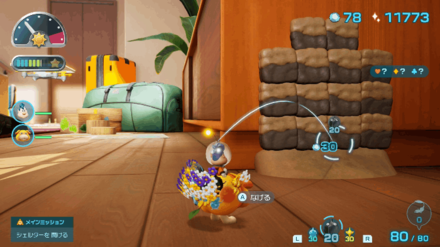
 Complete the climbing wall using Raw Materials then throw Pikmin at the treasure. |
| 5 |
Sparklium: 50 |
 Climb the conveyor and pick it up from the ground. |
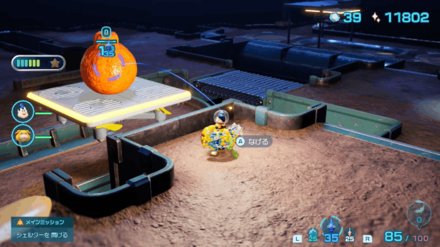
1. Wait for the Floating Platform Before Jumping
You can reach the floating platform by riding the fan on the right side. Head north towards the metal platform to reach the location of the Dusk Pustules treasure.
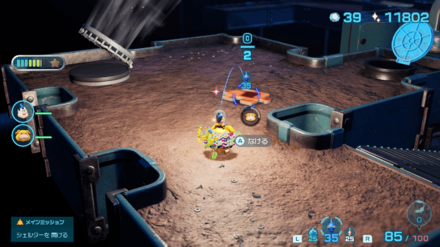
2. Throw the Pikmin to Press the Switch
To open the fence where the Citrus Lump is located, throw a Pikmin towards the white switch from the conveyor belt.
Sublevel 4
| Jump to a Sublevel | |
|---|---|
| Sublevel 1 | Sublevel 2 |
| Sublevel 3 | Sublevel 4 |
| Doppelganger's Den Sublevel 4 Map | ||
|---|---|---|
 |
||
| All Treasures | ||
| 1 |
Sparklium: 150 |
 Use the fan to ride the moving platform then throw your Pikmin at the treasure. |
| 2 |
Sparklium: 5 |
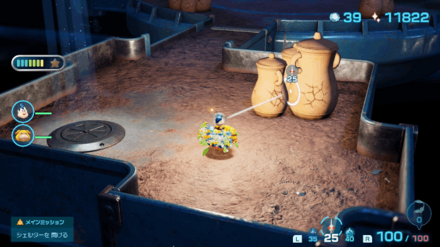
 Break the pots to get 10 pieces of the treasure |
| 3 |
Sparklium: 20 |
 Break the pots to collect treasure. |
| 4 |
Sparklium: 40 |
 Complete the climbing wall using Raw Materials then throw Pikmin at the treasure. |
Doppelganger's Den Castaway Locations
Inside the Vase After Defeating Gildemander at Sublevel 4
The castaway will appear inside the vase once you defeat the Gildemander boss at the 4th sublevel.
Doppelganger's Den Onion Locations
No Onions
There are no onions in this cave.
No Flarlics
There are no flarlics in this cave.
Doppelganger's Den Tips and Strategies
| Doppelganger's Den Tips and Strategies |
|---|
|
|
Bring at Least 15 Ice Pikmin
| Pikmin to Bring | ||
|---|---|---|
|
15 or more |
20 or more |
10 or more |
15 Ice Pikmin are required as there is a treasure that only they can transport to the base. There are also treasures submerged in water and protected by poisonous enemies, so having both Blue Pikmin and White Pikmin are recommended.
Use White Candypop Bud on the 2nd and 3rd Sublevels

There is one white Candypop Bud on the 2nd sublevel and two more on the 3rd sublevel, allowing you to convert your Pikmin into White Pikmin should you need more.
Pikmin 4 Related Guides

List of All Cave Locations and Maps
All Rescue Command Post Caves
| Rescue Command Post Cave |
|---|
| Burrow of Beginnings |
All Sun-Speckled Terrace Caves
| Sun-Speckled Terrace Caves | |
|---|---|
| Last-Frost Cavern | Hectic Hollows |
| Crackling Cauldron | Industrial Maze |
| Aquiferous Summit | - |
All Blossoming Arcadia Caves
| Blossoming Arcadia Caves | |
|---|---|
| Secluded Courtyard | Drafty Gallery |
| Sightless Passage | Kingdom of Beasts |
All Serene Shores Caves
| Serene Shores Caves | |
|---|---|
| Subzero Sauna | Seafloor Resort |
| Below-Grade Discotheque | Engulfed Castle |
All Hero's Hideaway Caves
| Hero's Hideaway Caves | |
|---|---|
| Plunder Palace | Doppelganger's Den |
| Frozen Inferno | - |
All Giant's Hearth Caves
| Giant's Hearth Caves | |
|---|---|
| Dream Home | Ultimate Testing Range |
| Cradle of the Beast | - |
All Primordial Thicket Caves
| Primordial Thicket Caves | |
|---|---|
| Subterranean Swarm | The Mud Pit |
| Cavern for a King | - |
Comment
Author
Doppelganger's Den Treasures, Castaway, and Onion Locations
Rankings
- We could not find the message board you were looking for.
Gaming News
![Neverness to Everness (NTE) Review [Beta Co-Ex Test] | Rolling the Dice on Something Special](https://img.game8.co/4414628/dd3192c8f1f074ea788451a11eb862a7.jpeg/show)


Popular Games

Genshin Impact Walkthrough & Guides Wiki
Honkai: Star Rail Walkthrough & Guides Wiki
Arknights: Endfield Walkthrough & Guides Wiki
Umamusume: Pretty Derby Walkthrough & Guides Wiki
Wuthering Waves Walkthrough & Guides Wiki
Pokemon TCG Pocket (PTCGP) Strategies & Guides Wiki
Abyss Walkthrough & Guides Wiki
Zenless Zone Zero Walkthrough & Guides Wiki
Digimon Story: Time Stranger Walkthrough & Guides Wiki
Clair Obscur: Expedition 33 Walkthrough & Guides Wiki


Recommended Games
Fire Emblem Heroes (FEH) Walkthrough & Guides Wiki
Pokemon Brilliant Diamond and Shining Pearl (BDSP) Walkthrough & Guides Wiki
Diablo 4: Vessel of Hatred Walkthrough & Guides Wiki
Super Smash Bros. Ultimate Walkthrough & Guides Wiki
Yu-Gi-Oh! Master Duel Walkthrough & Guides Wiki
Elden Ring Shadow of the Erdtree Walkthrough & Guides Wiki
Monster Hunter World Walkthrough & Guides Wiki
The Legend of Zelda: Tears of the Kingdom Walkthrough & Guides Wiki
Persona 3 Reload Walkthrough & Guides Wiki
Cyberpunk 2077: Ultimate Edition Walkthrough & Guides Wiki


All rights reserved
© Nintendo.
The copyrights of videos of games used in our content and other intellectual property rights belong to the provider of the game.
The contents we provide on this site were created personally by members of the Game8 editorial department.
We refuse the right to reuse or repost content taken without our permission such as data or images to other sites.