8th Badge Walkthrough Guide
★ Best Pokemon Tier List
☆ Best Teams to Beat the Story
★ Celadon Game Corner Guide
☆ Farm EXP, Money, and Duplicate Items!
★ Shiny Hunting Guide and Shiny Odds
☆ How to Get Lugia, Ho-Oh, and Deoxys
This is a walkthrough guide for getting the 8th Gym Badge in Pokemon FireRed and LeafGreen (FRLG). See a step-by-step guide on how to open up Viridian CIty's Gym and beat it, get the Earth Badge, as well as important items and Pokemon to get here.
| ◀ Previous Guide | Next Guide ▶ |
|---|---|
| Getting the 7th Badge | Victory Road |
Getting the 8th Badge Walkthrough
| Jump to a Section | |
|---|---|
| Cinnabar Island | One Island* |
| Treasure Beach* | Kindle Beach* |
| Mt. Ember* | Two Island* |
| Three Island* | Bond Bridge* |
| Berry Forest* | Power Plant* |
| Viridian City | - |
Those with asterisks are optional objectives.
Cinnabar Island
| 1 | 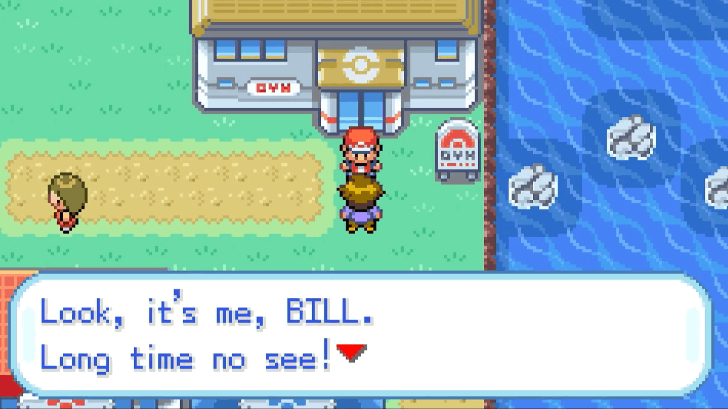 Exit the Cinnabar Gym, and you will be intercepted by Bill. He will ask you if you want to go to One Island, part of the Sevii Islands. |
|---|---|
| 2 | 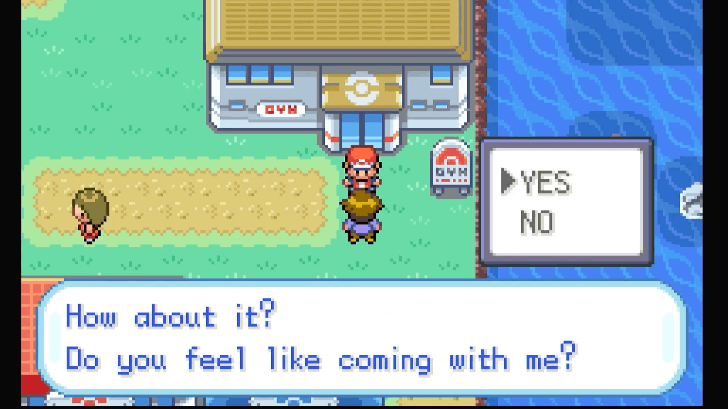 If you say YES, you will automatically go to One Island and kick off the Sevii Islands saga. If you say NO, you can opt to go straight to the Viridian City and challenge the Gym Leader. Sevii Islands at this point is optional, but is extremely beneficial for you in terms of farming EXP and getting powerful Legendary Pokemon. If you opt to delay it, you can just return to the Cinnabar Pokemon Center and talk to Bill again anytime. ▶ Sevii Islands Location |
One Island (Optional)
| 1 | 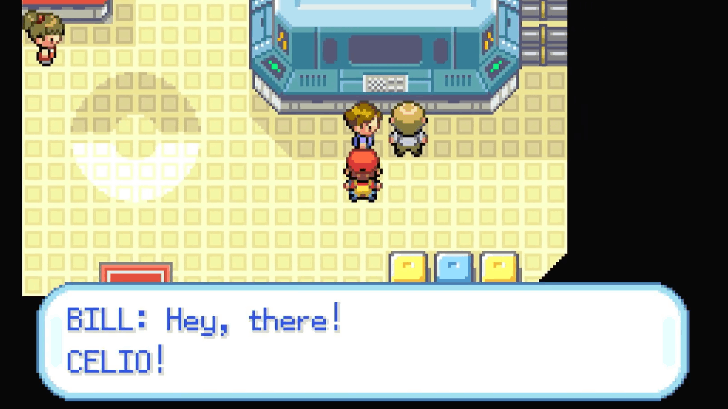 Bill introduces you to Celio, a Pokemon PC developer like him. |
|---|---|
| 2 | 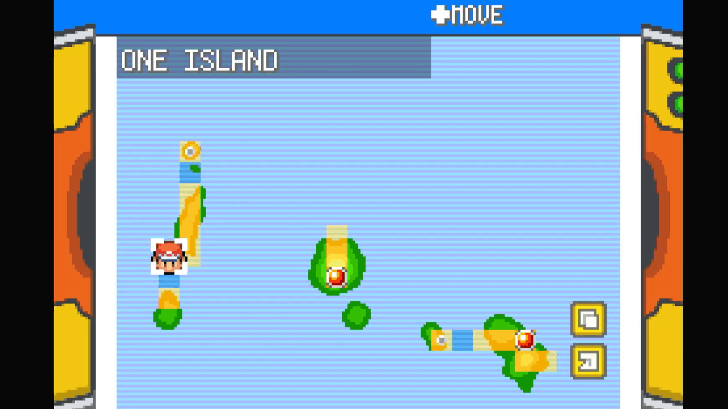 Bill gives you a Meteorite and asks you to deliver it to the Game Corner in Two Island. He will also give you a Tri-Pass to use the ferry services across the three islands. We advise checking your map to see the first three islands and plan your course of action. |
Treasure Beach (Optional)
| 1 | 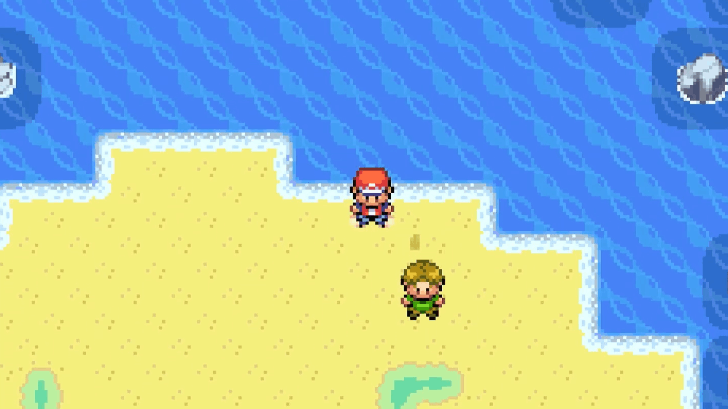 Use Surf and follow the sea south of One Island. You'll arrive on Treasure Beach, and an NPC will tell you that there are a bunch of treasures here! |
|---|---|
| 2 | 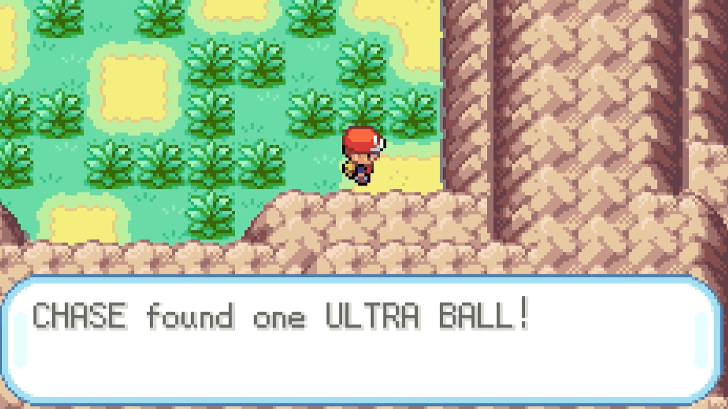 There are two Ultra Balls hidden within the Treasure Beach. Make sure to use an Item Finder to identify their locations! |
Kindle Road (Optional)
| 1 | 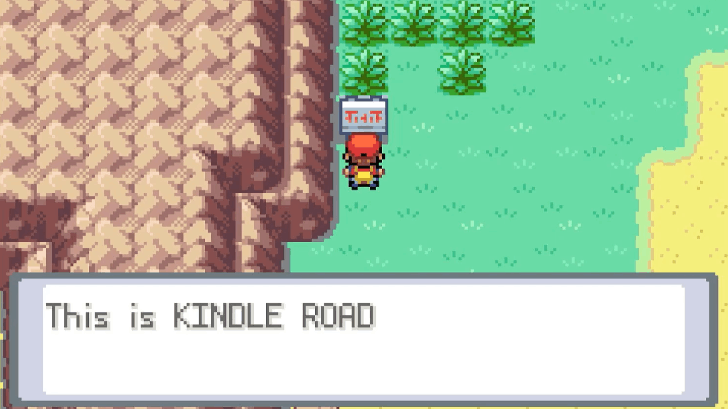 Use Surf and follow the sea east of One Island. Don't forget to fight Trainers to get more XP! |
|---|---|
| 2 | 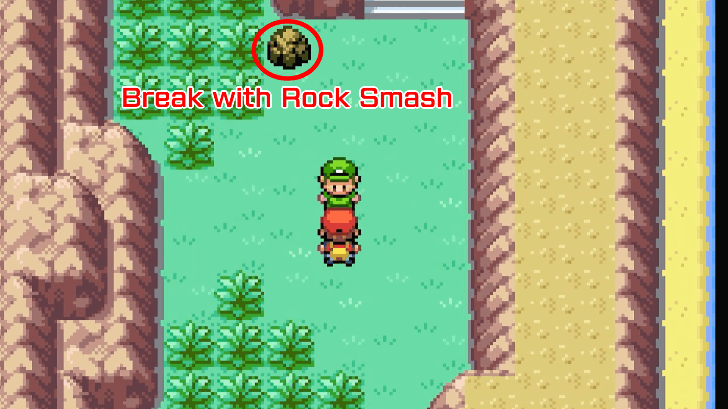 There are a bunch of items that can be obtained mostly from using the HMRock Smash: • Use Surf on the eastern waters then move south to get a Max Repel. • Use Rock Smash on the three rocks south of Ember Spa to get an Ether. • Climb up the stairs and walk south until you see a trainer. Smash the two rocks to get a Carbos. |
| * |  Optional: Enter the cave on the northern part of Kindle Road to discover the Ember Spa. Take a bath to recover your Pokemon's health to full! |
Mt. Ember (Optional)
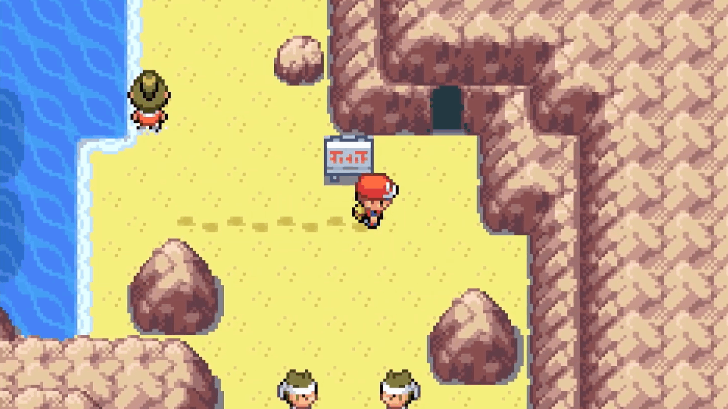
| 1 | 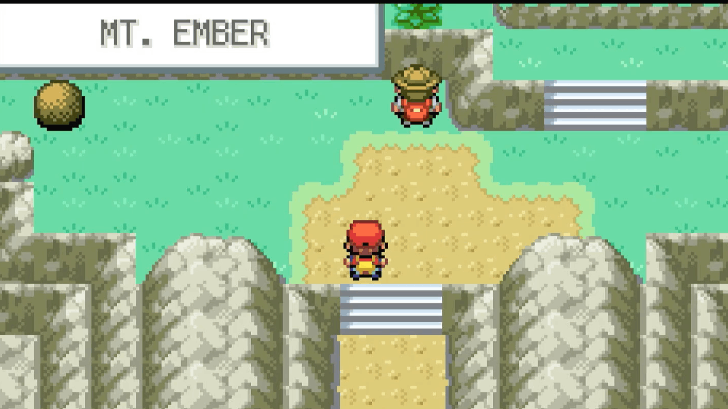 Use Surf on the north-east part of Kindle Island, which also allows you to travel north to the entrance of Mt. Ember. Be sure to have a Pokemon that has learned the HM Strength and HM Rock Smash! You can equip them via the TM Case in your Bag. |
|---|---|
| 2 | 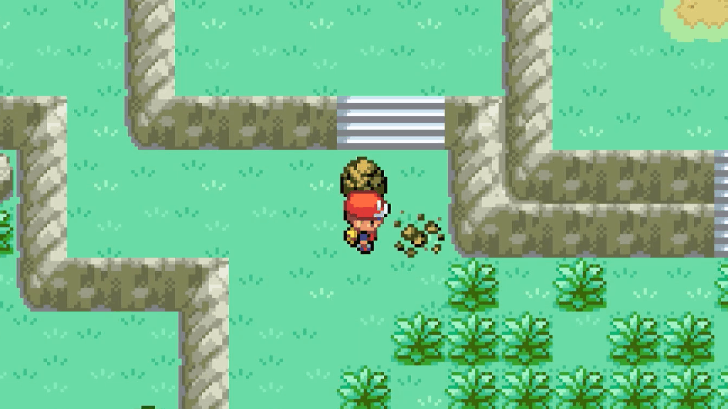 Continue east from the Rock Climber where you'll need to use Strength to push some rocks. Follow the trail up until you find a path with a Trainer or two rocks that can be smashed. You have two choices of paths from here: 1. Go east past the trainer to get a Dire Hit. 2. Go west to progress through Mt. Ember. |
| 3 | 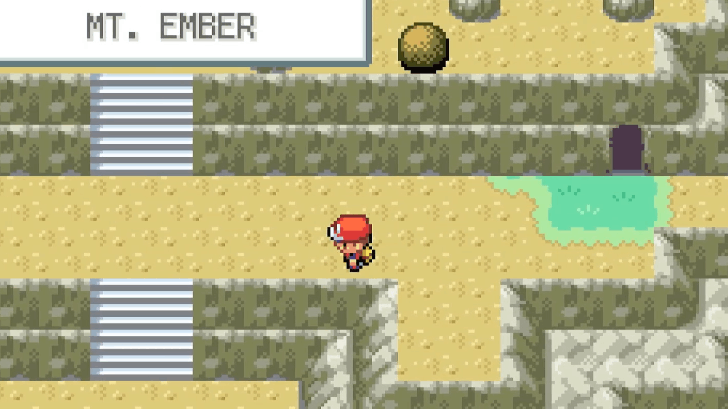 Head west to continue progressing through Mt. Ember. Fight Pokemon Ranger Logan along the way, and use an Item Finder afterwards to get an Ultra Ball on the empty strip of land to his left. Afterwards, proceed to the cave opening and enter Mt. Ember proper. Be sure to have Repels on hand to make progress a bit quicker! |
| 4 | 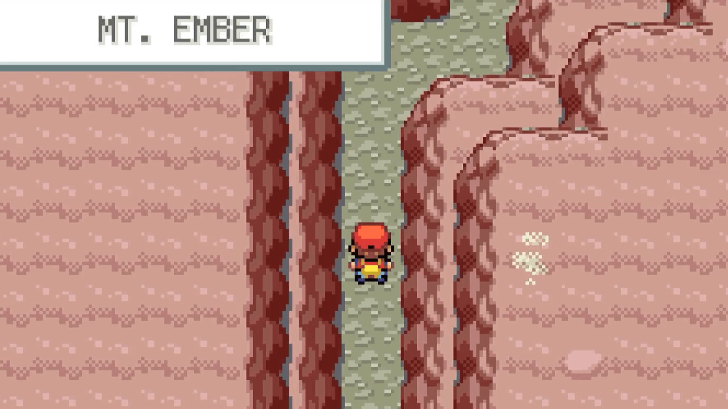 Follow the route and enter two cave areas. You will then exit at an area nearer to the peak, where you'll get more items. • Head right to get a Fire Stone blocked by boulders and rocks. Solve the puzzle to get the Fire Stone. • or head left instead to get an Ultra Ball. |
| 5 | 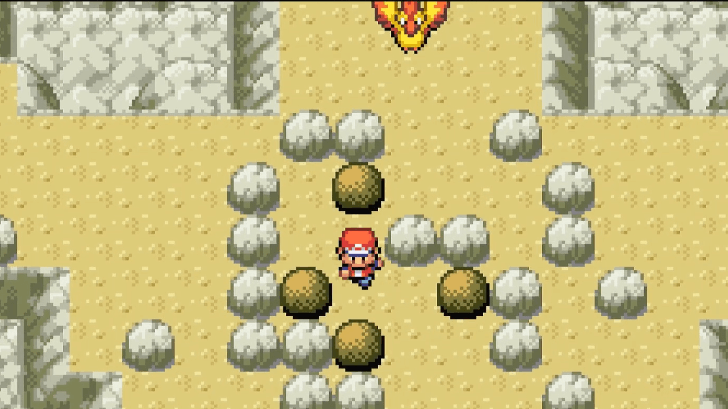 Go back to the center and move up to solve the boulder puzzle that will enable you to fight the Legendary Pokemon, Moltres. We advise capturing this Pokemon to get one of the Legendary Birds of Kanto! ▶ Moltres Location |
| 6 | 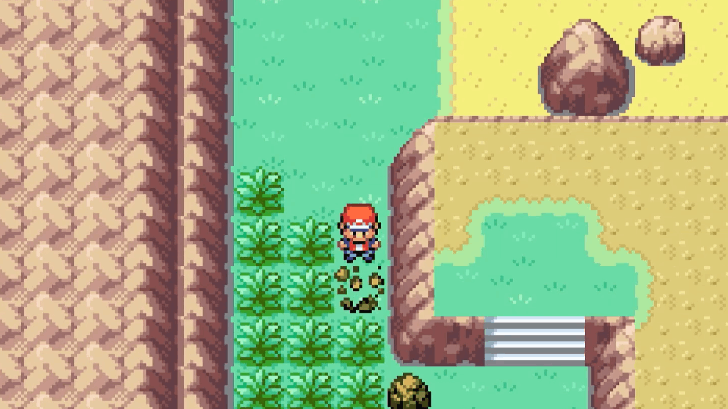 After battling Moltres, head down Mt. Ember until you reach the entrance again by jumping down the ledges. You can now fly freely back to One Island. |
Moltres Pokemon Information
| Moltres Flame Pokémon |
|
|---|---|
 |
|
| Type 1 |

|
| Type 2 |

|
| Egg Group |
Undiscovered |
| Height | 2m |
| Weight | 60lbs |
Moltres is a Legendary dual Fire and Flying-type Pokemon, part of the Legendary Bird Trio of Kanto and found at Mt. Ember.
Prepare your inventory by having recovery items to heal Pokemon getting damaged in the fight, and getting a significant stock of Poke Balls to avoid running out. We also advise using moves such as False Swipe as the move reduces the Pokemon's HP safely to 1.
You can also attempt to use attacks that Moltres is resistant to if you want to avoid accidentally knocking it out if ever you are over-leveled.
Fire Stone Boulder Puzzle Solution
Exit the caves, and you'll see an item blocked by boulders and rocks. To solve this:
- Break the left most rock first
- Push the bottom boulder until you can access the other breakable rock in the group. Break that rock.
- Afterwards, push the right-side boulder up then the left-side boulder left. This should give you an opening to access the item.
- Note that if you messed this up, you can reload the area by going in and out of the nearby cave.
Two Island (Optional)
| 1 |
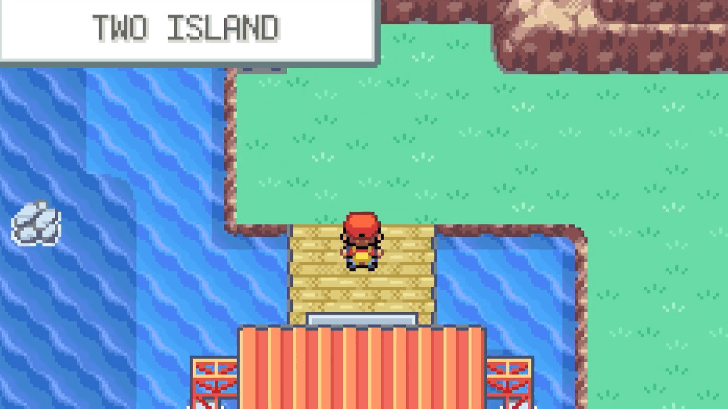 Go to the Ferry Port on One Island and ride the ferry to Two Island. Note that you will only be able to do this after getting the Tri-Pass from Bill. |
|---|---|
| 2 |
 Once there, take time to rest your Pokemon in the nearby Pokemon Center, then head east to look for the Game Corner. Note: There is a path below the ledges that asks you to use HM Cut to break a small tree. This path leads to a Revive item. |
| 3 |
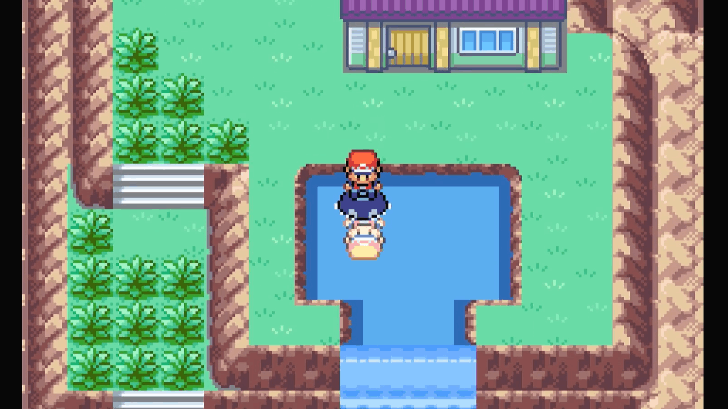 Head north of Two Island into Cape Brink until you see a house. Go behind it and interact with the right-most tile to get a Rare Candy. |
| 4 |
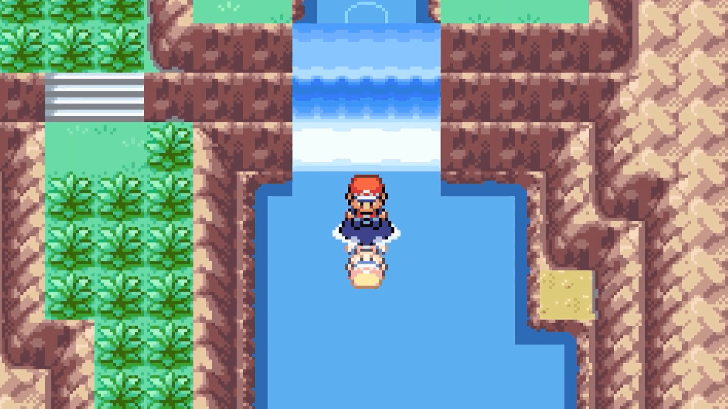 From the house in Cape Brink, use Surf and go down the waterfall. Alight in the lone sand tile to the right and use an Item Finder to interact with the tile and get a PP Max. |
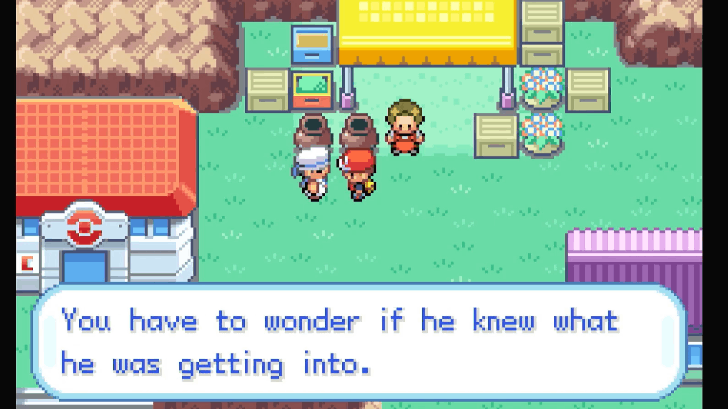
| 5 | 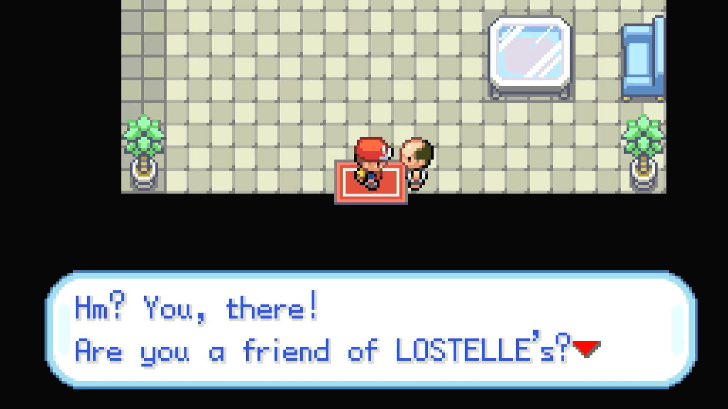 Enter the Game Corner to see an old man looking for his daughter, Lostelle. He will then ask you to search for her in Three Island! Return to the Ferry port in Two Island, choose Three Island, and look for Lostelle! |
| * |  Optional: Two Island is also home to the Move Maniac that allows you to teach a Pokemon one of its moves learned (or forgotten) from a lower level in exchange for two Tiny Mushrooms or one Big Mushroom. You can find them inside the house next to the Game Corner. |
Three Island (Optional)
| 1 | 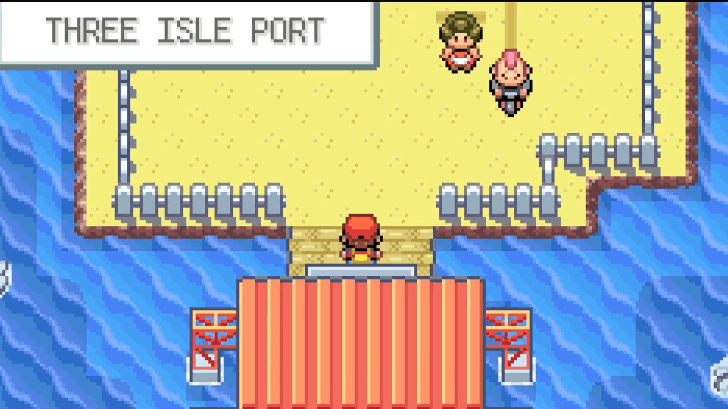 Upon arriving at Three Island, you'll see that it is taken over by Bikers. Head north until you see a group of bikers blocking the way next to a Pokemon Center. You will be fighting four Bikers in a row, so take time to heal in the Pokemon Center! |
|---|---|
| 2 |
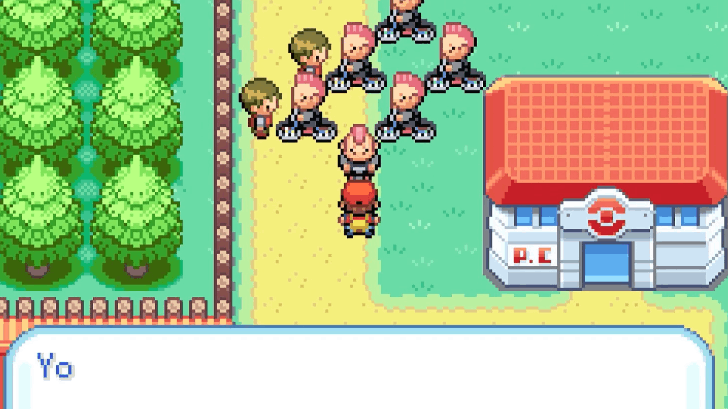 Approach the group of Bikers and start the gauntlet, take note that this fight will continue until all four Bikers are defeated. Use Ether if you want to replenish moves, Potions for healing and Status Effect items to cure any effect applied on your Pokemon, particularly Poison. |
| 3 | 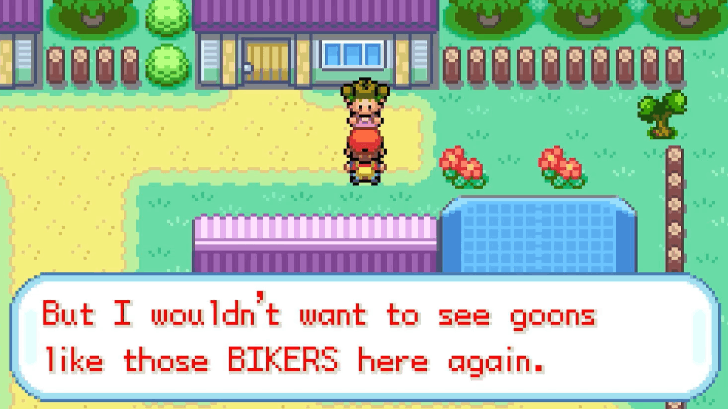 After beating the final Biker Cue Ball Paxton, the people you saved will inform you that Lostelle went ahead through Bond Bridge. Head further north to see that wooden bridge full of trainers. Take on all the trainers to get much-needed XP for future battles! |
| * | 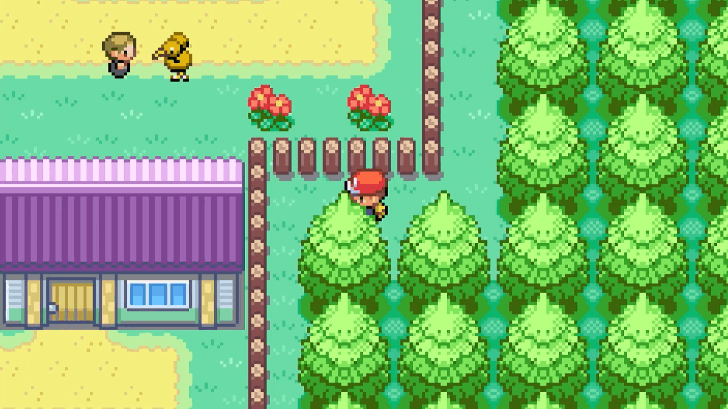 Optional: Above the PokeMart is a small tree that can be cut using HM Cut. Follow the path it opens to get a Zinc! |
Bond Bridge (Optional)
| 1 | 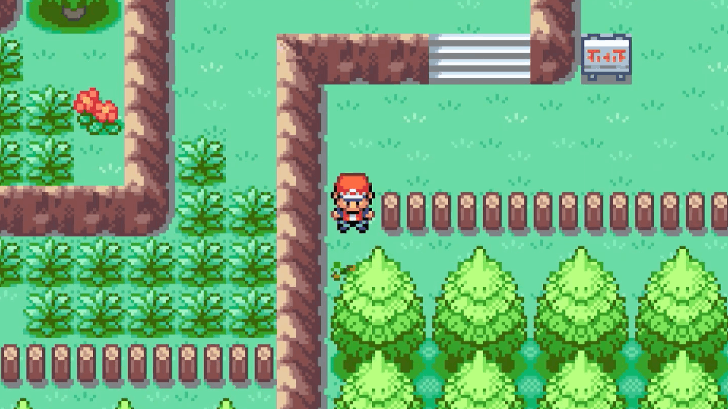 Head north from Three Island proper, then west to Bond Bridge. A small tree can be cut down near the ledge entrance using HM Cut. Follow the path and interact with the final tile to get a PP Up. |
|---|---|
| 2 | 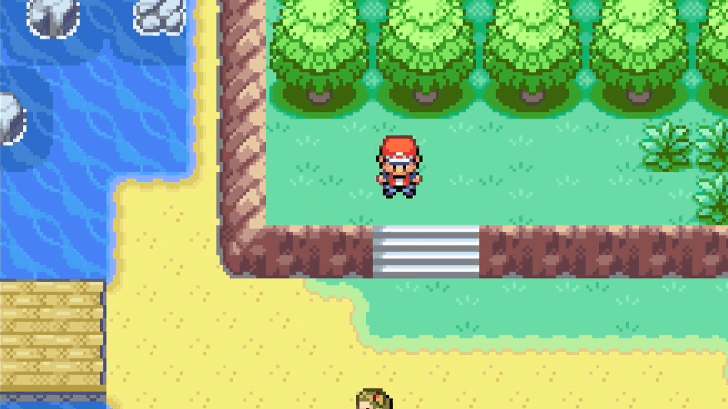 Follow the road west until you see a wooden bridge. Be sure to use Repels to quickly go through the grassy areas here. |
| 3 | 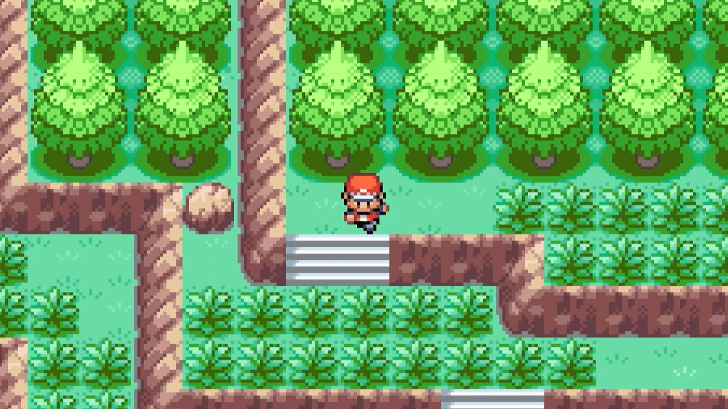 A lone rock sits next to a stair, hidden in plain sight. Make sure to interact with it to get an extra Max Repel. |
| 4 | 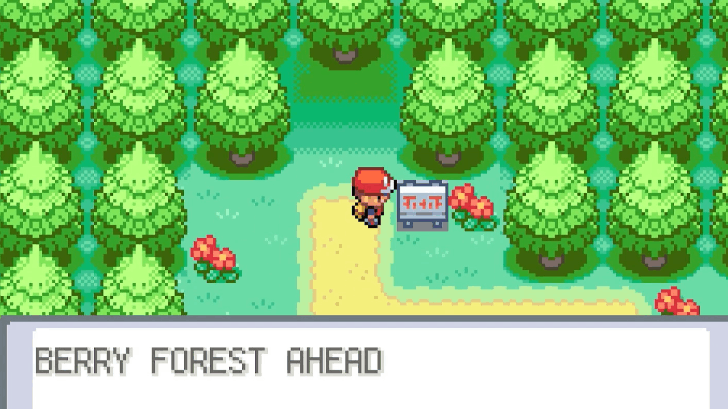 Cross the bridge to arrive at a forest entrance. Enter to reach the Berry Forest. |
Berry Forest (Optional)
There are no trainers in Berry Forest, but it's full of hidden berry items and small trees to be cut. Be sure to bring a Pokemon that has HM Cut and HM Surf.
| 1 | 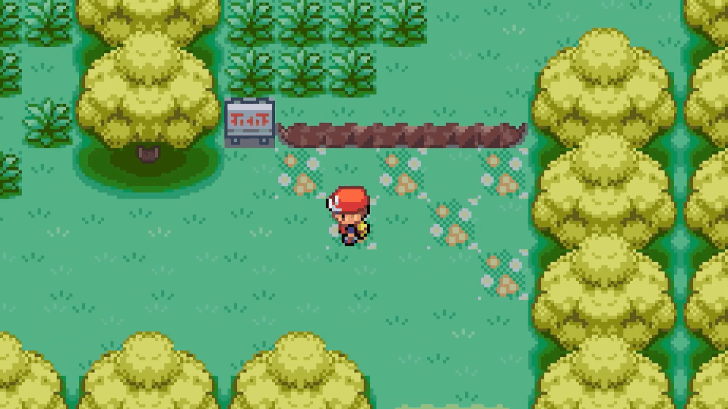 Enter the Berry Forest and head east. Your path is going to be blocked by two small trees that you can use HM Cut on to open. |
|---|---|
| 2 | 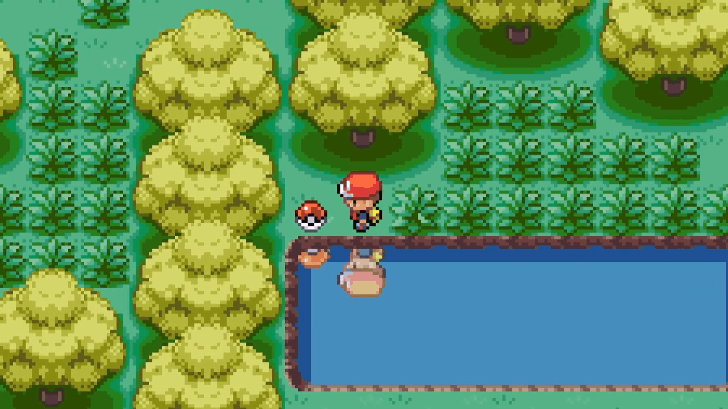 Head north and make a U-turn to jump off a ledge near the central pond. Use HM Surf to cross. Don't forget to get the Full Heal on the upper left corner of the pond! |
| 3 | 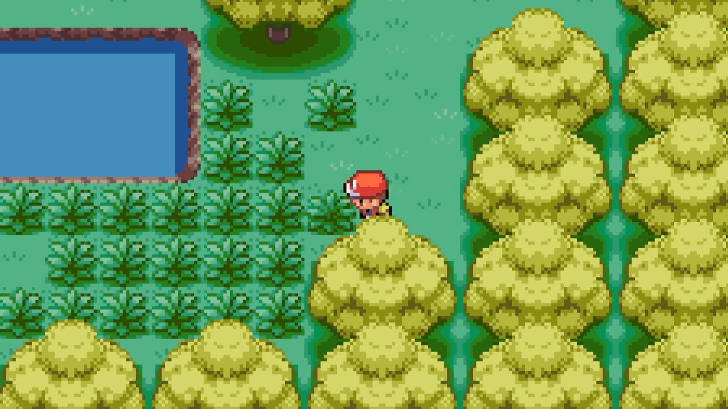 Alight on the bottom edge of the pond and cut the tree to the left. This should allow you to go to the eastern area of the Forest. |
| 4 | 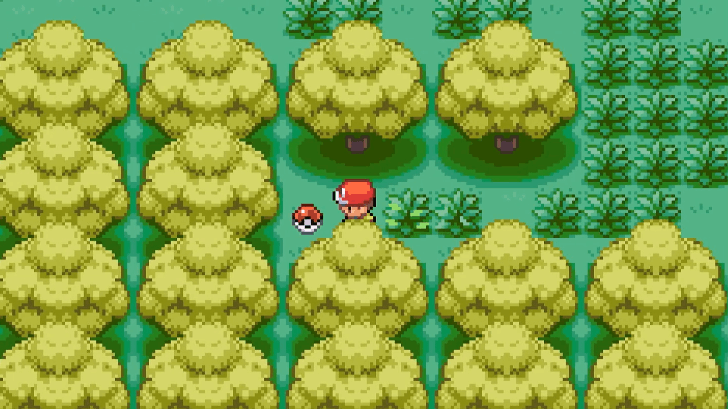 Head north to get a Max Ether. Then, head south until you see another pond, different from the central pond from earlier. Cross that pond or go around it to get to the flowery path on its left. |
| 5 | 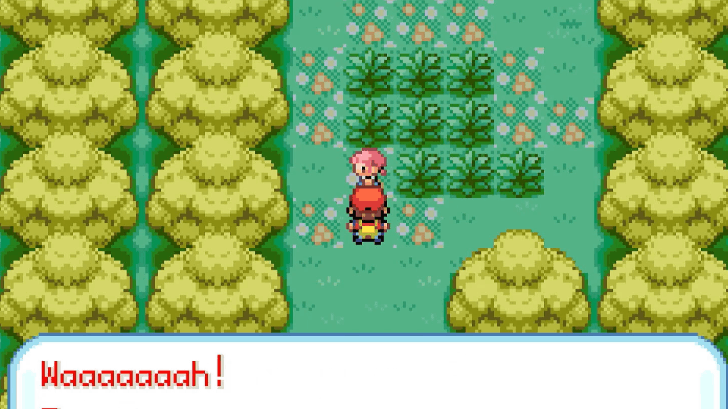 Follow the Flowery Path until you see Lostelle near a patch of grass. Talk to her, but be ready for a battle against a Hypno! Since Lostelle is not a Trainer, you can opt to catch this Hypno or defeat it normally. |
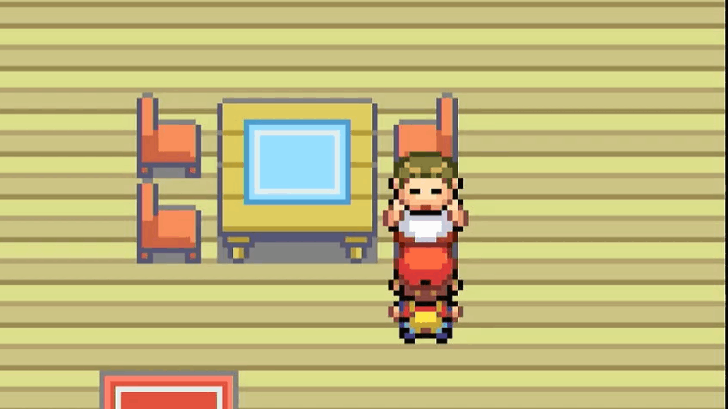
| 6 | 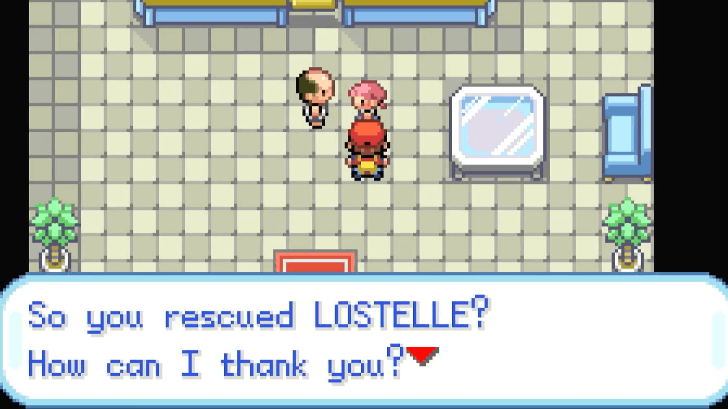 After the Hypno fight, you will be transported back to the Game Corner, where Lostelle's dad will joyfully thank your efforts. Lostelle's Dad will then give you a Moon Stone as a reward. |
| 7 | 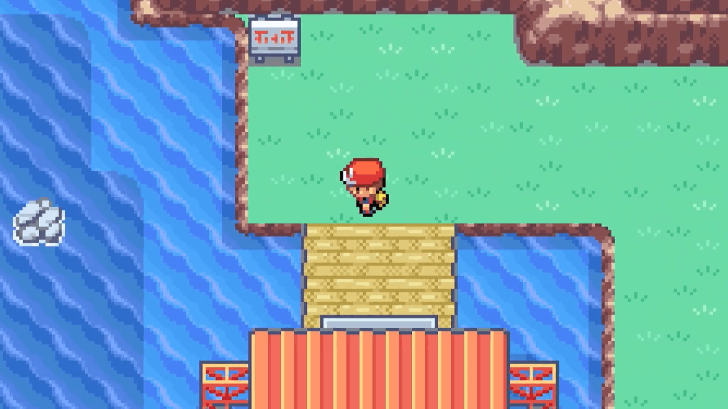 Finally, go to the Ferry port and talk to Bill again in One Island. After the conversation, he will escort you back to Cinnabar Island. |
| * |  Hidden Berries are scattered all over the floor of the Berry Forest. Try to get them for free Berries! ▶ List of All Berries |
Power Plant (Optional)
| 1 | 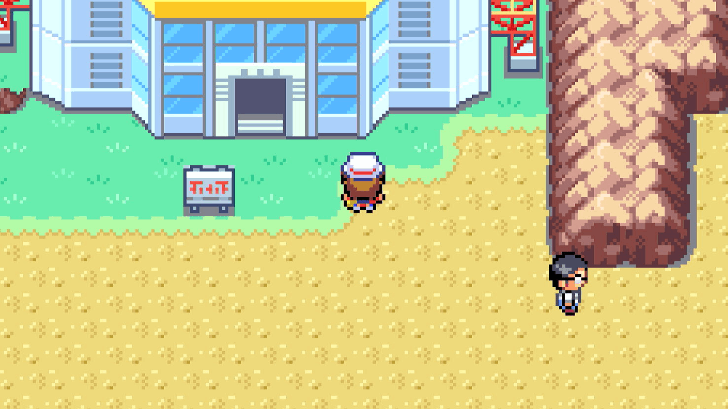 After arriving in Cinnabar Island, fly to Route 10 and use Surf on the body of water behind the Pokemon Center. Follow the path south until you arrive at the Power Plant. A PokeManiac will challenge you to a battle in front of the Power Plant, so be ready. ▶ Kanto Power Plant Location Guide |
|---|---|
| 2 | 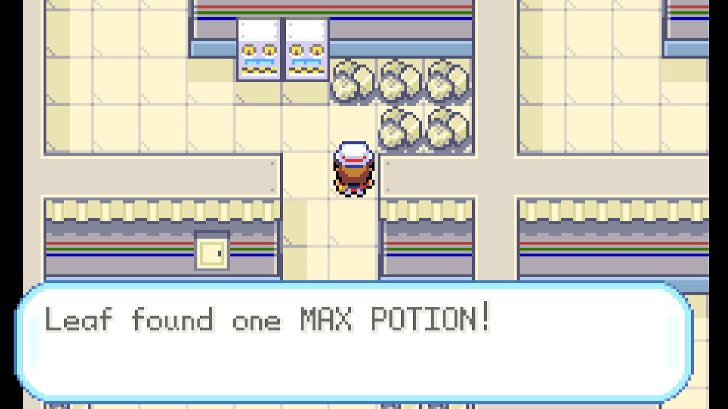 Enter the Power Plant and head north. You will see an item - pick it up to get a Max Potion. Be careful when exploring this location, as there are Electrodes disguised as collectible Poke Balls. |
| 3 | 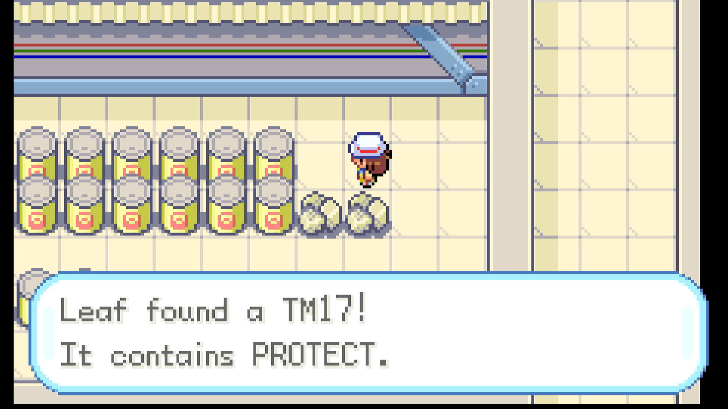 Continue following the path north and look east. You'll see a room with a bunch of canisters and two Poke Balls. The rightmost is a TM17: Protect while the leftmost item is an Elixir. |
| 4 | 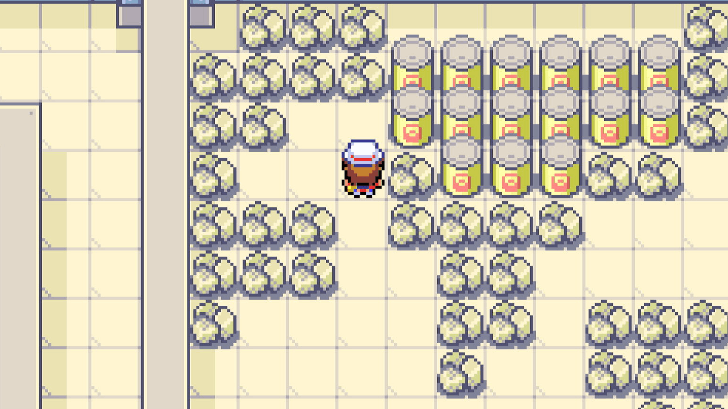 Exit that room, then head south. Enter the southernmost room to find a lone Pokeball, which turns out to be an Electrode. Defeat or catch the Electrode for its Dex entry. There is nothing else in this room. Exit and head east. |
| 5 | 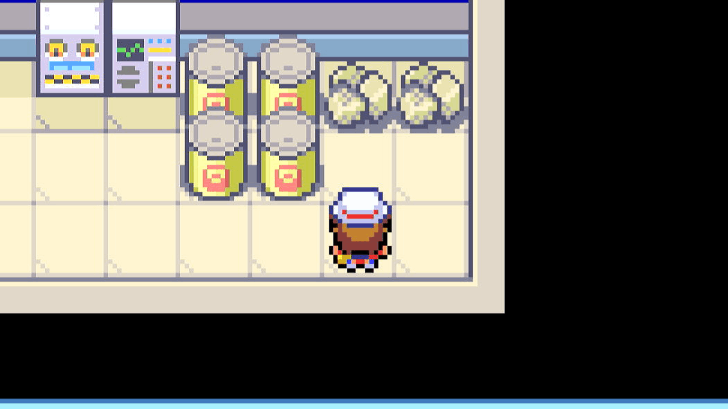 Go to the room right next to the room with an Electrode to find a PokeBall that contains TM25 Thunder. Exit the room and head north again. |
| 6 | 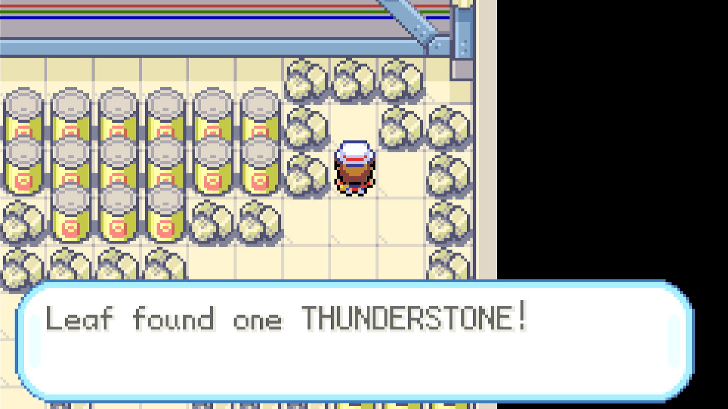 Enter the room filled with trash, canisters, and two Pokeball. • Interact with the PokeBall to the left to initiate a battle with an Electrode. • Interact with the PokeBall on the right to get a Thunder Stone. |
| 7 | 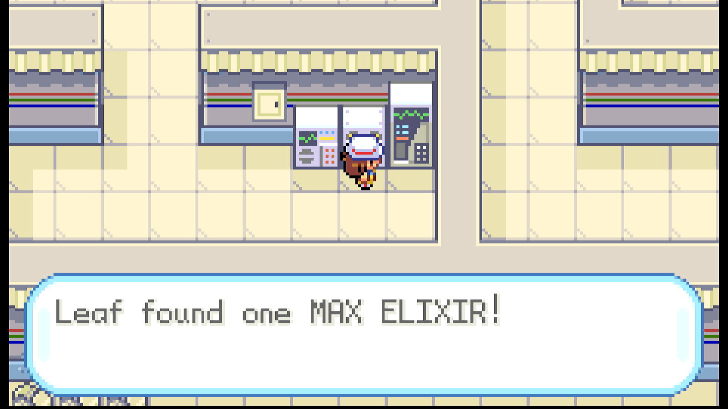 Exit the room and head west, north, west, then south. Go inside the small room at the end of the hallway. Use an Item Finder to get a Max Elixir. |
| 8 | 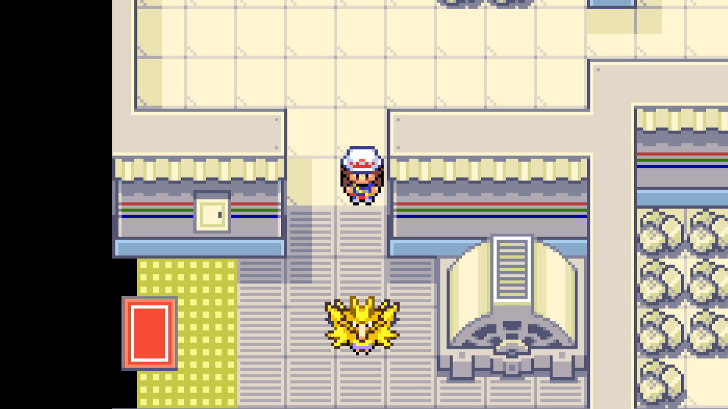 Follow the hallway to the west until you reach the room where the Legendary Pokemon Zapdos is resting. Defeat the Pokemon or catch it if you can! ▶ Zapdos Location |
| 9 | 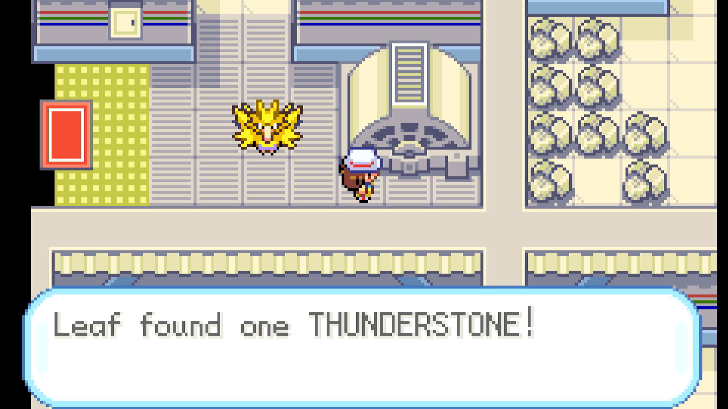 After fighting Zapdos, scan the room with an Item Finder. A Thunderstone can be obtained in front of the generator to the right of Zapdos. |
| 10 | 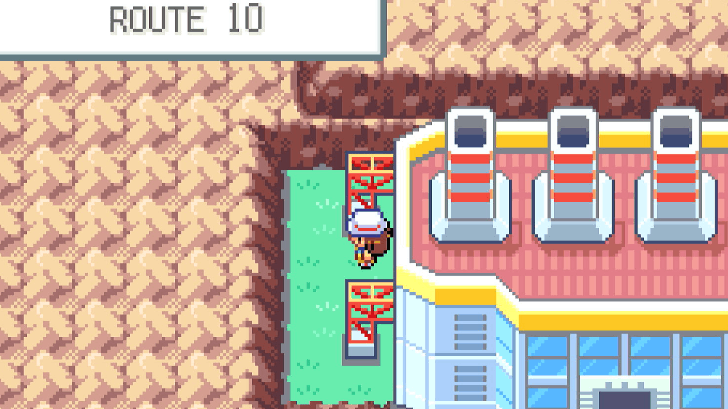 Exit the Power Plant using the door to the left of Zapdos' room. You can then fly to Viridian City to challenge the 8th Gym! |
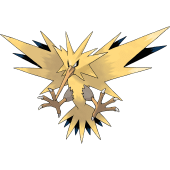
Zapdos Pokemon Information
| Zapdos Electric Pokémon |
|
|---|---|
 |
|
| Type 1 |

|
| Type 2 |
|
| Egg Group |
Undiscovered |
| Height | 1.6m |
| Weight | 52.6lbs |
Zapdos is a Legendary dual Electric and Flying-type Pokemon, part of the Legendary Bird Trio of Kanto and found at the Kanto Power Plant.
For this Pokemon, aside from the usual preparation of having multiple Poke Balls, we advise using moves such as False Swipe if you want to increase your odds of capturing one.
You can also attempt to use attacks that Zapdos is resistant to if you want to avoid accidentally knocking it out if ever you are over-leveled.
Zapdos Location, Evolution, and Stats
Viridian City Gym
| 1 |  Return to Viridian City and face your 8th and final Gym battle. The old man blocking the Gym entrance moves aside and lets you know that the gym leader is back! |
|---|---|
| 2 | 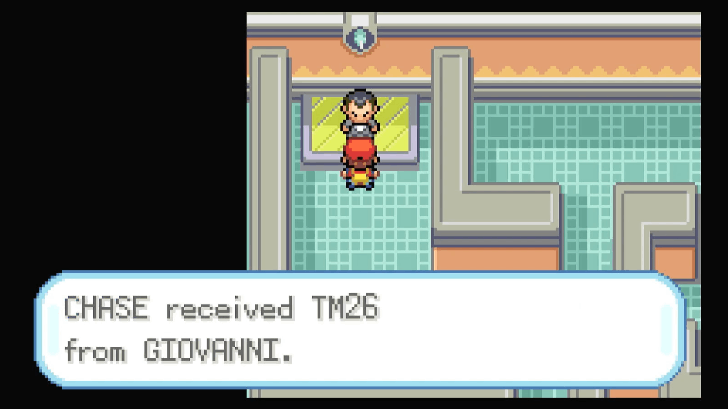 Get ready to fight Ground-type Pokemon in this Gym. Take advantage of Water and Grass-types moves against them and make sure to avoid getting hit by their high-damaging moves. After defeating the Gym Leader, he will give you TM26: Earthquake. In addition, use an Item Finder on his pedestal after the battle to get a Macho Brace. By this point, you have already collected 8 badges and all their effects are active. Head to Route 22 and challenge the Indigo Plateau's Pokemon League! ▶ Viridian CIty Gym Guide |
8th Gym (Viridian City) Trainers and Teams
| Jump to a Trainer | ||
|---|---|---|
| Tamer Cole | Black Belt Kiyo | Cooltrainer Samuel |
| Cooltrainer Yuji | Black Belt Atsushi | Tamer Jason |
| Cooltrainer Warren | Black Belt Takashi | Leader Giovanni |
Tamer Cole
| Pokemon | Type | Abilities | Moves |
|---|---|---|---|
 Arbok Arbok
(Lvl. 39) |

|
・Intimidate
・Shed Skin |
・Acid
・Bite
|
 Tauros Tauros
(Lvl. 39) |

|
・Intimidate
|
・Rest
|
Black Belt Kiyo
| Pokemon | Type | Abilities | Moves |
|---|---|---|---|
 Machoke Machoke
(Lvl. 43) |

|
・Guts
|
Cooltrainer Samuel
| Pokemon | Type | Abilities | Moves |
|---|---|---|---|
 Sandslash Sandslash
(Lvl. 37) |

|
・Sand Veil
|
|
|
Sandslash
(Lvl. 37) |
|
・Sand Veil
|
|
 Rhyhorn Rhyhorn
(Lvl. 38) |

|
・Lightning Rod
・Rock Head |
|
 Nidorino Nidorino
(Lvl. 39) |
|
・Poison Point
|
|
 Nidoking Nidoking
(Lvl. 39) |
|
・Poison Point
|
Cooltrainer Yuji
| Pokemon | Type | Abilities | Moves |
|---|---|---|---|
|
Sandslash
(Lvl. 38) |
|
・Sand Veil
|
|
 Graveler Graveler
(Lvl. 38) |
|
・Rock Head
・Sturdy |
|
 Onix Onix
(Lvl. 38) |
|
・Rock Head
・Sturdy |
・Bind
|
|
Graveler
(Lvl. 38) |
|
・Rock Head
・Sturdy |
|
 Marowak Marowak
(Lvl. 38) |
|
・Rock Head
・Lightning Rod |
・Leer
|
Black Belt Atsushi
| Pokemon | Type | Abilities | Moves |
|---|---|---|---|
 Machop Machop
(Lvl. 40) |
|
・Guts
|
|
|
Machoke
(Lvl. 40) |
|
・Guts
|
Tamer Jason
| Pokemon | Type | Abilities | Moves |
|---|---|---|---|
|
Rhyhorn
(Lvl. 43) |
|
・Lightning Rod
・Rock Head |
Cooltrainer Warren
| Pokemon | Type | Abilities | Moves |
|---|---|---|---|
|
Marowak
(Lvl. 37) |
|
・Rock Head
・Lightning Rod |
・Leer
|
|
Marowak
(Lvl. 37) |
|
・Rock Head
・Lightning Rod |
・Leer
|
|
Rhyhorn
(Lvl. 38) |
|
・Lightning Rod
・Rock Head |
|
 Nidorina Nidorina
(Lvl. 39) |
|
・Poison Point
|
・Bite
|
 Nidoqueen Nidoqueen
(Lvl. 39) |
|
・Poison Point
|
・Bite
|
Black Belt Takashi
| Pokemon | Type | Abilities | Moves |
|---|---|---|---|
|
Machoke
(Lvl. 38) |
|
・Guts
|
|
|
Machoke
(Lvl. 38) |
|
・Guts
|
|
|
Machop
(Lvl. 38) |
|
・Guts
|
Leader Giovanni
| Pokemon | Type | Abilities | Moves |
|---|---|---|---|
|
Rhyhorn
(Lvl. 45) |
|
・Lightning Rod
・Rock Head |
|
|
Rhyhorn
(Lvl. 50) |
|
・Lightning Rod
・Rock Head |
|
 Dugtrio Dugtrio
(Lvl. 42) |
|
・Sand Veil
・Arena Trap |
|
|
Nidoqueen
(Lvl. 44) |
|
・Poison Point
|
|
|
Nidoking
(Lvl. 45) |
|
・Poison Point
|
Pokemon to Get Before the 8th Gym
Notable Pokemon to Catch
| Pokemon | Location |
|---|---|
|
Moltres
|
In an optional area past Kindle Road, Mt. Ember towers over the seas and islands. Explore its caverns and reach the top to fight Moltres and get the opportunity to tame the Legendary Pokemon! |
|
Zapdos
|
Preferably, after finishing the first three Sevii Islands, go to Route 10 to find Zapdos biding its time within the confines of the Power Plant. This area is optional, but be ready for a good fight! |
Items to Get Before the 8th Gym
Useful Items to Get
| Item | Location |
|---|---|
| Fire Stone | Obtained on the upper levels of Mt. Ember. You have to solve a rock puzzle using Rock Smash and Strength. |
| Rare Candy | Obtained at the back of the house in Cape Brink, north of Two Island. |
| Meteorite | Given by Bill at the start of One Island. |
| Protect (TM17) |
Obtained from a room in the Power Plant. |
| Moon Stone | Given at Berry Forest by Lostelle. |
| Thunder (TM25) |
Obtained from a room in the Power Plant. |
| Thunder Stone | Obtained inside Zapdos' room in the Power Plant using an Item Finder. |
| Earthquake (TM26) |
Given by Giovanni after beating him and getting the 8th badge. |
| Macho Brace | Use Itemfinder after defeating Giovanni. Can be found hidden on his pedestal. |
Pokemon FireRed and LeafGreen (FRLG) Related Guides

Walkthrough Guides by Type
| Gym Leader Guides | Elite Four Guide |
| Giovanni Fights and Teams | Rival Fights and Teams |
Main Story Walkthrough
| 1 | Boulder Badge | 2 | Cascade Badge |
|---|---|---|---|
| 3 | Thunder Badge | 4 | Rainbow Badge |
| 5 | Soul Badge | 6 | Marsh Badge |
| 7 | Volcano Badge | 8 | Earth Badge |
| 9 | Victory Road | 10 | Pokemon League |
| 11 | Post-Game | 12 | - |
All Gym Leader Guides
| 1 | Brock | 2 | Misty |
|---|---|---|---|
| 3 | Lt. Surge | 4 | Erika |
| 5 | Koga | 6 | Sabrina |
| 7 | Blaine | 8 | Giovanni |
Elite Four and Champion Guides
| 1 | Lorelei | 2 | Bruno |
|---|---|---|---|
| 3 | Agatha | 4 | Lance |
| * | Champion | * | - |
Comment
Author

Pokemon FireRed and LeafGreen (FRLG) Walkthrough & Guides Wiki
8th Badge Walkthrough Guide
Rankings
- We could not find the message board you were looking for.

Gaming News

![Death Stranding 2: On The Beach [PC] Review | A Port That Delivers](https://img.game8.co/4447392/15310a0c9aa1b6843bb713b2ea216930.jpeg/show)


Popular Games

Genshin Impact Walkthrough & Guides Wiki
Umamusume: Pretty Derby Walkthrough & Guides Wiki
Crimson Desert Walkthrough & Guides Wiki
Monster Hunter Stories 3: Twisted Reflection Walkthrough & Guides Wiki
Honkai: Star Rail Walkthrough & Guides Wiki
Pokemon Pokopia Walkthrough & Guides Wiki
The Seven Deadly Sins: Origin Walkthrough & Guides Wiki
Wuthering Waves Walkthrough & Guides Wiki
Zenless Zone Zero Walkthrough & Guides Wiki
Arknights: Endfield Walkthrough & Guides Wiki


Recommended Games
Fire Emblem Heroes (FEH) Walkthrough & Guides Wiki
Diablo 4: Vessel of Hatred Walkthrough & Guides Wiki
Cyberpunk 2077: Ultimate Edition Walkthrough & Guides Wiki
Yu-Gi-Oh! Master Duel Walkthrough & Guides Wiki
Super Smash Bros. Ultimate Walkthrough & Guides Wiki
Pokemon Brilliant Diamond and Shining Pearl (BDSP) Walkthrough & Guides Wiki
Elden Ring Shadow of the Erdtree Walkthrough & Guides Wiki
Monster Hunter World Walkthrough & Guides Wiki
The Legend of Zelda: Tears of the Kingdom Walkthrough & Guides Wiki
Persona 3 Reload Walkthrough & Guides Wiki


All rights reserved
©2004 Pokémon. ©1995-2004 Nintendo/Creatures Inc./GAME FREAK inc. Pokémon and Nintendo Switch are trademarks of Nintendo.
The copyrights of videos of games used in our content and other intellectual property rights belong to the provider of the game.
The contents we provide on this site were created personally by members of the Game8 editorial department.
We refuse the right to reuse or repost content taken without our permission such as data or images to other sites.