100% Walkthrough and Story Progression Guide
★ Best Pokemon Tier List
☆ Best Teams to Beat the Story
★ Celadon Game Corner Guide
☆ Farm EXP, Money, and Duplicate Items!
★ Shiny Hunting Guide and Shiny Odds
☆ How to Get Lugia, Ho-Oh, and Deoxys
This is a 100% walkthrough guide and story progression order for Pokemon FireRed and LeafGreen (FRLG). See a detailed step-by-step guide for all eight Gym Badges, the Pokemon League and Elite Four challenges to fully clear the Kanto region with ease.
List of Contents
List of Story Guides
All Gym Guides and Story Order
| 1 | Boulder Badge (Brock) |
2 | Cascade Badge (Misty) |
|---|---|---|---|
| 3 | Thunder Badge (Lt. Surge) |
4 | Rainbow Badge (Erika) |
| 5 | Soul Badge (Koga) |
6 | Marsh Badge (Sabrina) |
| 7 | Volcano Badge (Blaine) |
8 | Earth Badge (Final Gym Leader) |
There are a total of eight Kanto Gym Badges you must earn before you can challenge the Pokemon League.
Each Gym Leader specializes in a specific type, so preparing the right team is key to progressing smoothly through the region.
Pokemon League and Elite Four Guides
| 9 | Victory Road | 10 | Elite Four |
|---|
After completing all eight Gym Badges, your journey continues at Victory Road and the Pokemon League, culminating in back-to-back battles against the Elite Four and the reigning Champion.
Character Encounter and Battle Guides
| - | All Giovanni Fights and Teams | - | All Rival Fights and Teams |
|---|
You can encounter your Rival and Giovanni in many places throughout the Kanto region. We've made these guides so you can track your encounters with them as you progress through the game!
Post-Game Adventures
After taking on the Pokemon League and becoming Pokemon League Champion, the post-game for FireRed and LeafGreen unlocks.
Take on the remaining islands of the Sevii Islands, meet new Pokemon not usually seen in the Kanto Region, as well as try to capture Legendary Pokemon like Mewtwo, the Johto Legendary Dogs, Ho-Oh, Lugia, and Deoxys!
Post Game and 100% Completion Guide
Full Main Story Walkthrough Guide
| Jump to a Section | |||||||||||
|---|---|---|---|---|---|---|---|---|---|---|---|
| 1st Gym | 2nd Gym | 3rd Gym | 4th Gym | ||||||||
| 5th Gym | 6th Gym | 7th Gym | 8th Gym | ||||||||
| Victory Road | Elite Four | ||||||||||
Getting the First Badge
| # | Step by Step Objectives |
|---|---|
| 1 | 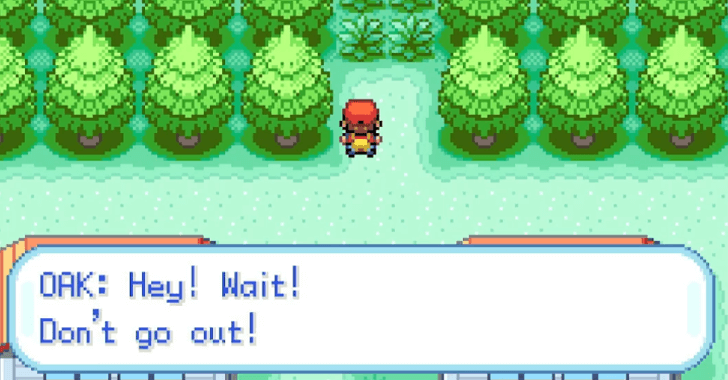 Find Professor Oak in Route 1 Exit your house and find Prof. Oak by trying to go to Route 1. Prof. Oak will stop you from going to Route 1 without a Pokemon. |
| 2 |  Select Your Starter Pokemon: Charmander, Squirtle, or Bulbasaur Follow Prof. Oak to his lab where you'll meet your Rival and get to select your starter Pokemon. ▶ Best Starter Pokemon to Choose |
| * |
・If you chose Charmander, your rival will choose Squirtle ・If you chose Squirtle, your rival will choose Bulbasaur ・If you chose Bulbasaur, your rival will choose Charmander |
| 3 | 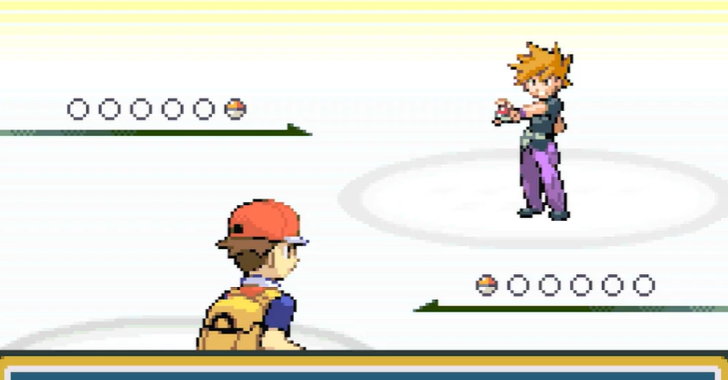 Have Your First Rival Battle After trying to exit the lab, your Rival will stop you to have your first rival battle. |
| 4 | 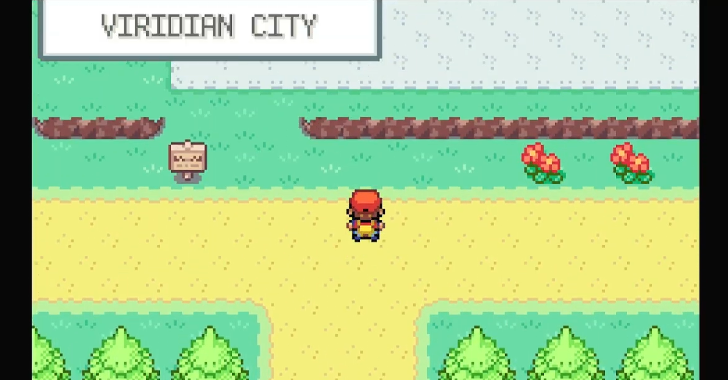 Head North to Viridian City Exit Professor Oak's lab and proceed north through Route 1 and go to Viridian City. |
| 5 | 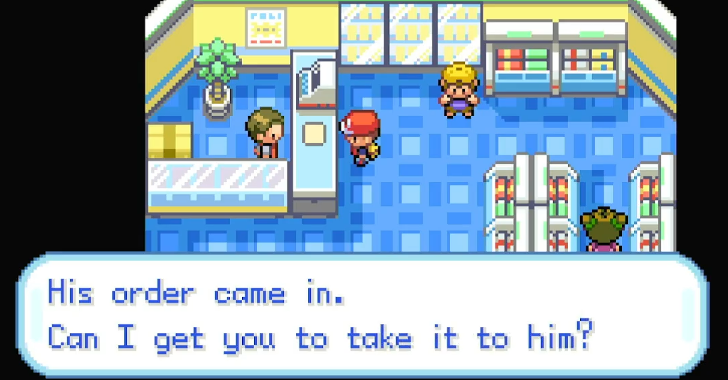 Receive Oak's Parcel at the Poke Mart Head to the Poke Mart northeast of the Viridian Poke Center. The shopkeeper calls you over to receive Oak's Parcel. |
| 6 |  Deliver Oak's Parcel and Receive the Pokedex Return to Pallet Town and head to Prof. Oak's Lab to bring his parcel. After delivering the parcel, receive the Pokedex from the professor. ▶ Kanto Pokedex Guide |
| 7 | 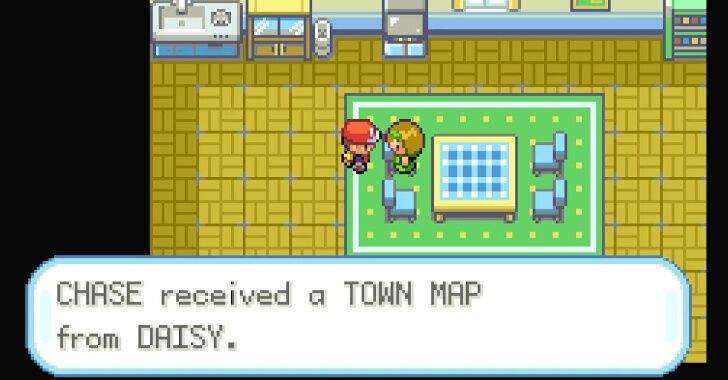 Receive a Town Map from Daisy Head to the house north of the lab. Talk to Daisy to obtain a Town Map. |
| 8 | 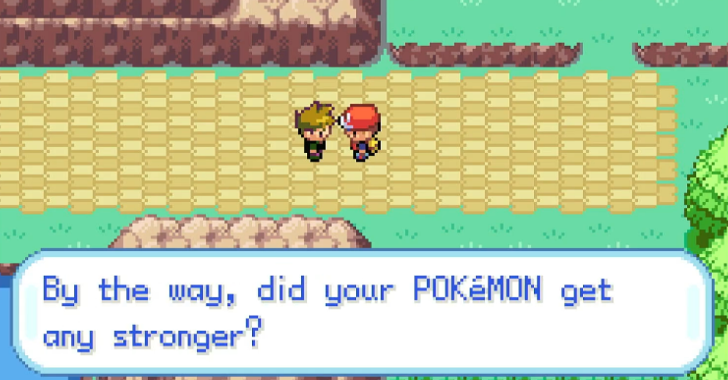 (/games/Pokemon-FireRed-LeafGreen/archives/584319), mode:scale}] (/games/Pokemon-FireRed-LeafGreen/archives/584319), mode:scale}]Face Your Rival Again in Route 22 Travel back north to Viridian City and head west to Route 22. Face off your rival in another battle. |
| 9 |  Go back to Viridian City and head north. Meet with an old man who will teach you how to catch Pokemon. |
| 10 | 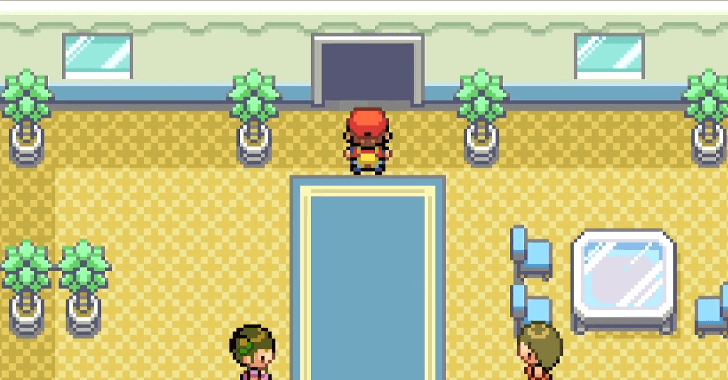 Continue to proceed north through Route 2 and head to the gate to enter the Viridian Forest. |
| 11 | 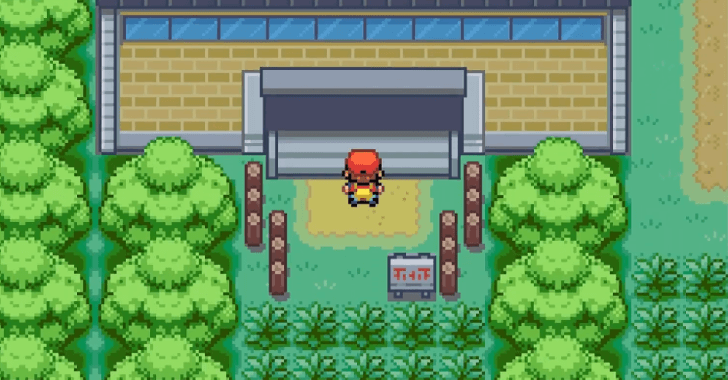 Exit the Viridian Forest by going east, then north, and then west to reach the gate. Then, proceed to Pewter City. |
| 12 |  Challenge the Pewter City Gym Enter the Pewter City Gym and challenge Brock, who will bring out two Rock-type Pokemon, with levels ranging from 12-14. Defeat them to receive the Boulder Badge. ▶ How to Beat Brock |
Getting the Second Badge
| # | Step by Step Objectives |
|---|---|
| 1 | 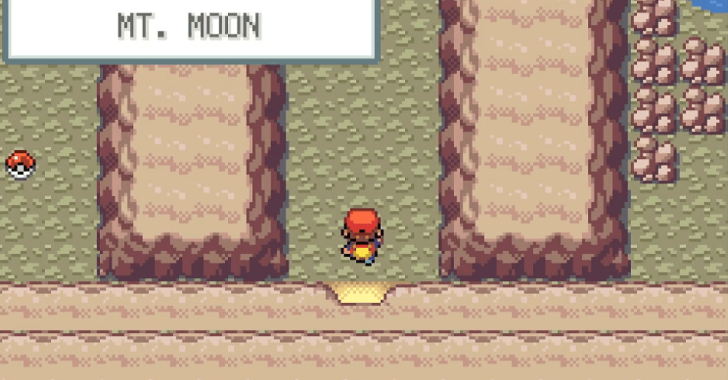 Enter Mt. Moon Traverse Route 3 after exiting Pewter City and head west then north to lead you to Mt. Moon. Enter Mt. Moon and climb the various ladders until you reach the area of the fossils. Pick between the Dome Fossil, which revives Kabuto or Helix Fossil, which revives Omanyte and then use the last ladder to exit the cave. ▶ Which Fossil Should You Choose? |
| 2 | 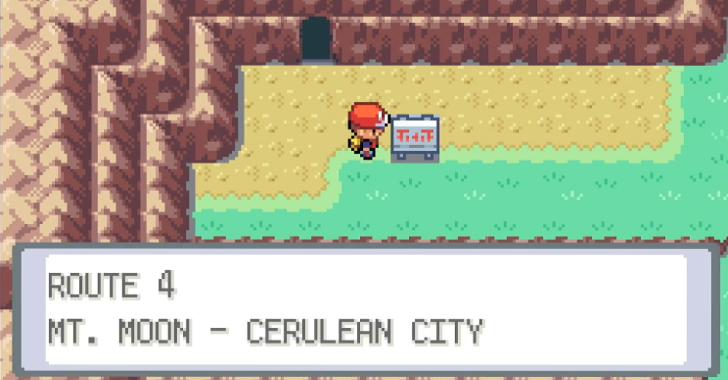 Go Through Route 4 After exiting Mt. Moon, follow the yellow path to the east until you see some water. This takes you to Cerulean City. |
| 3 | 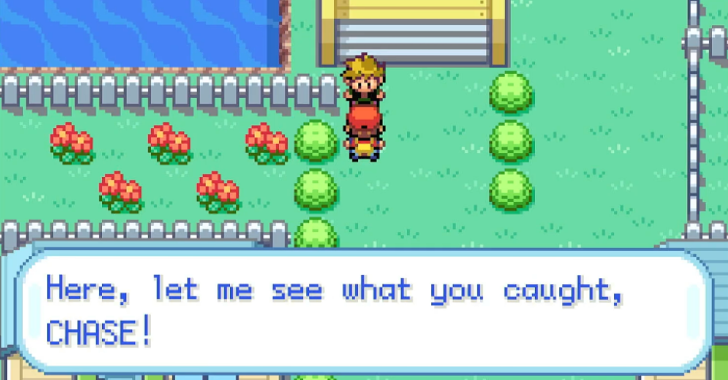 Pass The Nugget Bridge Head north to get to the Nugget Bridge, where you'll face off against your Rival. You'll get the Fame Checker from your Rival after the battle. Head to the Nugget Bridge and face off against the other trainers to level up your Pokemon before the gym battle. ▶ Money Farming Guide (Nugget Bridge) |
| 4 | 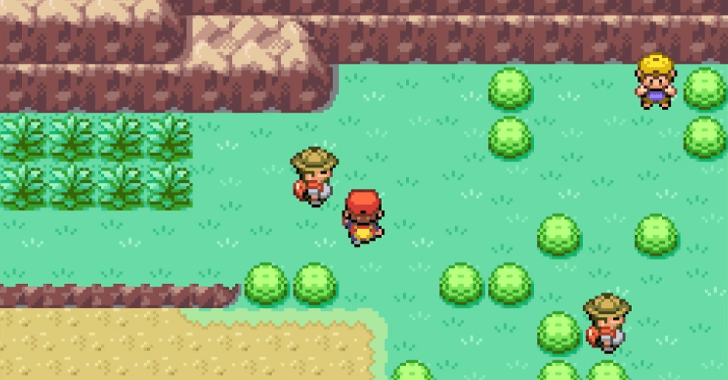 Fight Through Route 25 After crossing the bridge, head east to Route 25 to fight even more trainers. Keep going and you'll arrive at the house of Bill, where you'll get the S.S. Ticket. |
| 5 | 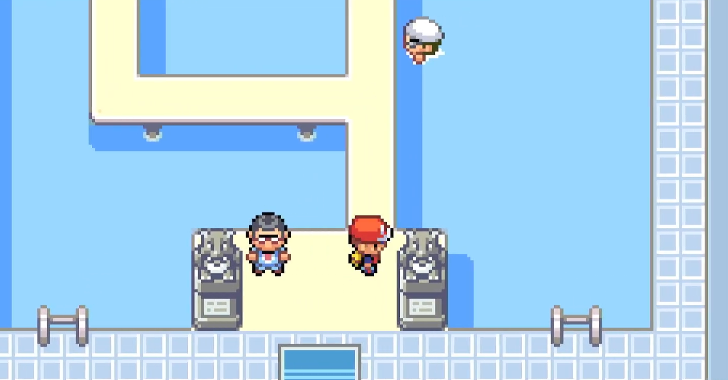 Enter The Water Gym Go back to Cerulean City and enter the second gym. You can fight the other trainers inside, or avoid them by using the other paths in the gym. |
| 6 |  Face Off Against Misty At the very end of the gym, you'll face Misty. Misty has a Staryu and a Starmie, with levels ranging from Lvl. 18-21. Use Grass-type or Electric-type Pokemon for this fight. ▶ How to Beat Misty |
| 7 | 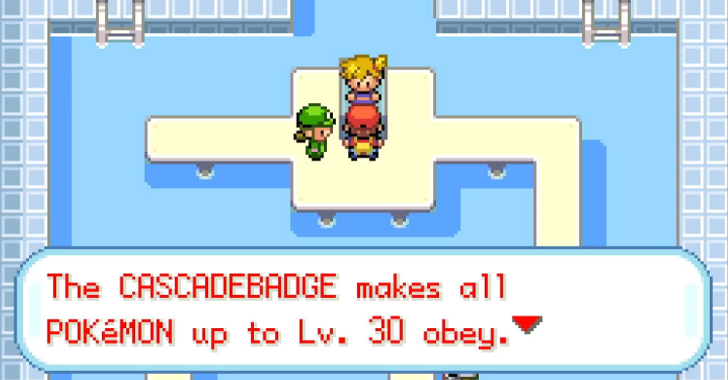 Collect the Cascade Badge Beating Misty gives you the Cascade Badge and also allows you to use the HM Cut outside of battle. |
Getting the Third Badge
| # | Step by Step Objectives |
|---|---|
| 1 |  Pass the Underground Path in Route 5 Head south from Cerulean City to enter Route 5. Head south again and enter the small building to descend into the Underground Path. Go through the Underground Path to reach Route 6. |
| 2 | 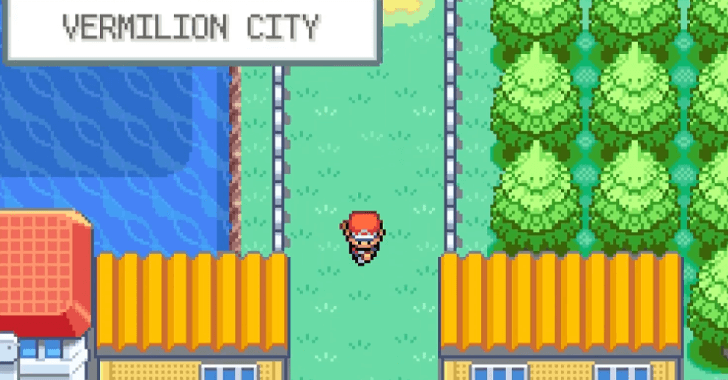 Head South to Reach Vermilion City Head south from Route 6 to reach Vermilion City. Some trainers cannot be avoided and must be battled along the way. |
| * | 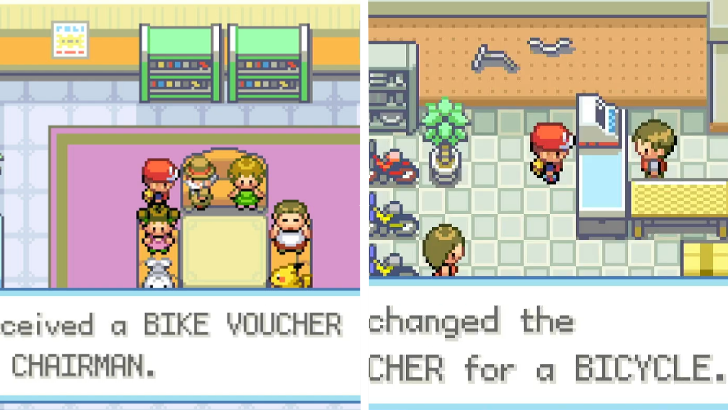 Get a Bicycle (Optional) Go inside the Pokemon Fan Club located north of the Vermilion Gym. Talk to the Fan Club Chairman to get a Bike Voucher. You can exchange this voucher in the Bike Shop in Cerulean City. ▶ How to Get the Bike |
| 3 | 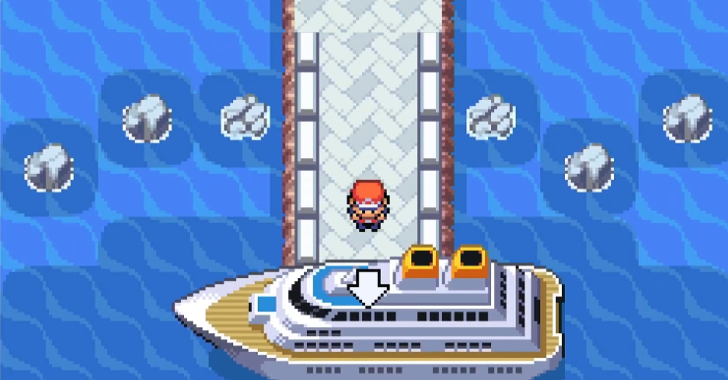 Board the S.S. Anne Head south of Vermilion City to reach the harbor and talk to the Sailor to board the S.S. Anne. You can challenge the various trainers in their rooms for EXP. |
| 4 |  Get the HM for Cut From the Captain Go up a level and head to the opposite side of the floor. Defeat your rival near the stairs to the Captain's room. Talk to the Captain to receive the Hidden Machine for Cut. ▶ Where to Get Cut (HM01) |
| 5 | 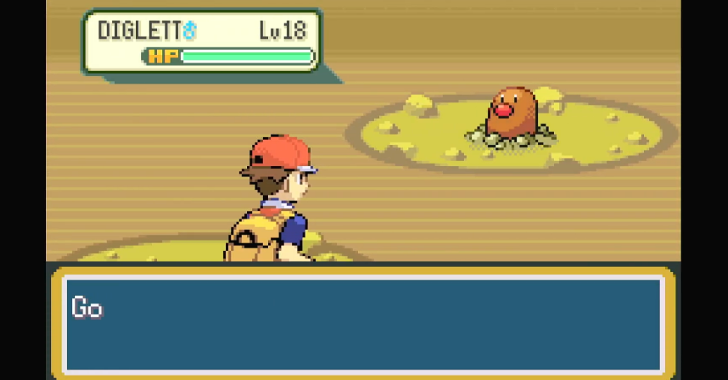 Catch a Ground Type Pokemon in Diglett's Cave (Optional) Go east from Vermilion City to briefly enter Route 11 and then enter the nearby cave. The cave will have wild Digletts and Dugtrios. You can catch one to make the upcoming battle with Lt. Surge easier. |
| 6 | 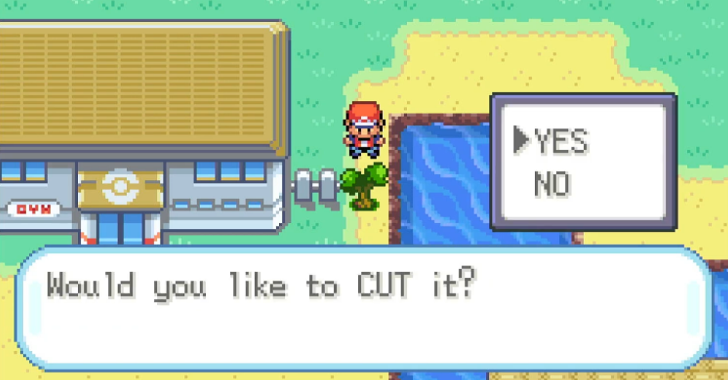 Use Cut to Enter the Vermilion Gym Teach Cut to one of your Pokemons and use it on the small tree blocking the way to the gym. Enter the gym. |
| 7 |  Look for Two Switches in the Cans There will be two switches in the cans in the gym. The first switch's location is completely random. However, the second switch can always be found beside the first switch. ▶ Lt. Surge Puzzle Guide |
| 8 | 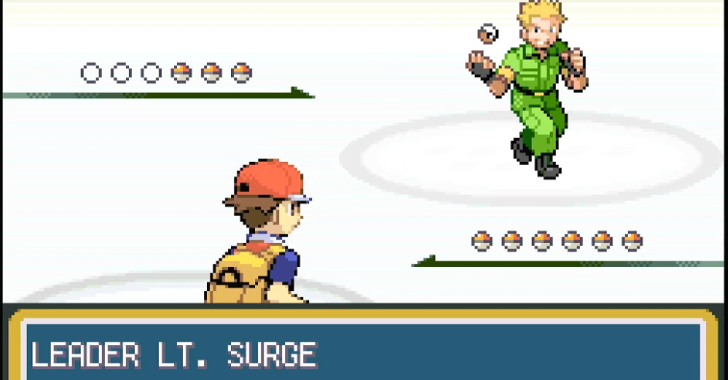 Defeat Lt. Surge Lt. Surge's team consists of Voltorb, Pikachu, and Raichu, with their levels ranging from 18 to 24. It is recommended to use Ground-type Pokemon against his team. ▶ How to Beat Lt. Surge |
| 9 | 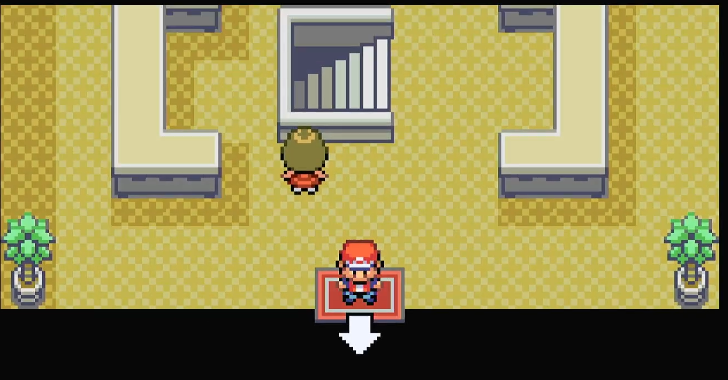 Head back to Cerulean City After defeating Lt. Surge, you will have to backtrack all the way to Cerulean City's rightmost route, then cut the tree blocking the way into Route 9, allowing you to reach Route 10 by heading rightwards. |
Getting the Fourth Badge
| # | Step by Step Objectives |
|---|---|
| 1 | 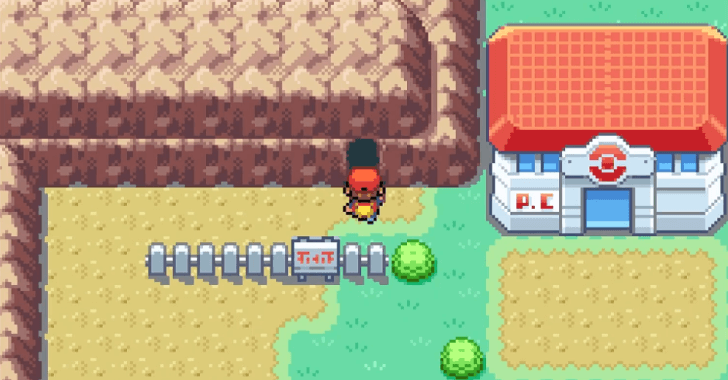 Head Into the Rock Tunnel From Route 10, head to the Rock Tunnel on the left of the nearby Pokemon Center and explore the cave system by defeating the trainers inside to help you find the exit. Make sure to have a Pokemon that has Flash before entering to make this cave easier to explore, then use Repels if you want to minimize Pokemon encounters in it. ▶ Best HM Pokemon |
| 2 | 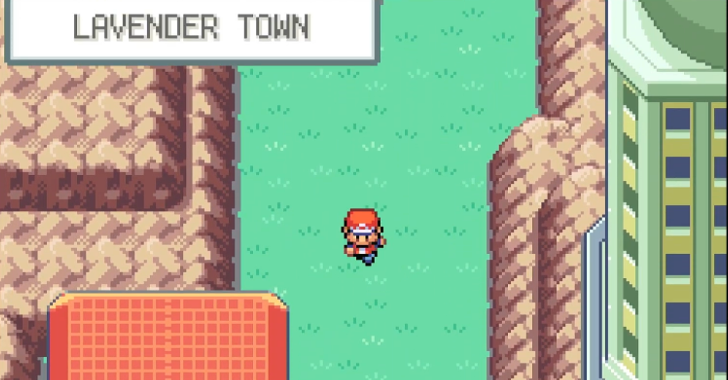 Head to Lavender Town After exiting the cave, you will reach Lavender Town directly from Route 10's opposite terminus. You can explore the town or heal up and buy items through the Pokemon Center and Poke Mart. |
| 3 | 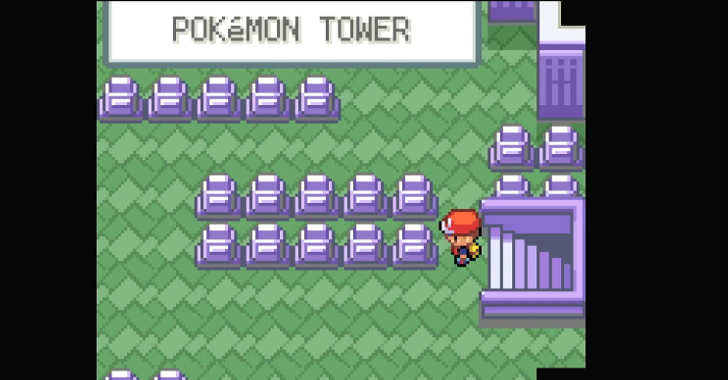 Go to Pokemon Tower's 2nd Floor You can then head to Lavender Town's Pokemon Tower. Head to the 2nd floor to fight your Rival and leave the Tower immediately after, as you cannot explore the other floors till you have a Silph Scope. |
| 4 | 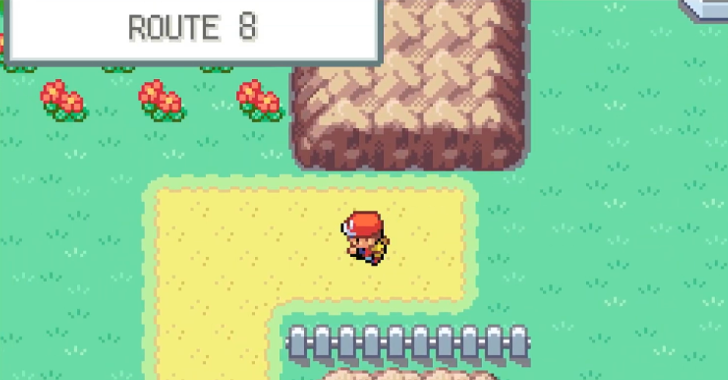 Exit Lavender Town via Route 8 Head left from Lavender Town to reach Route 8 and continue your progress. This path is mostly linear as you will only continue left until you reach the route's endpoint. |
| 5 | 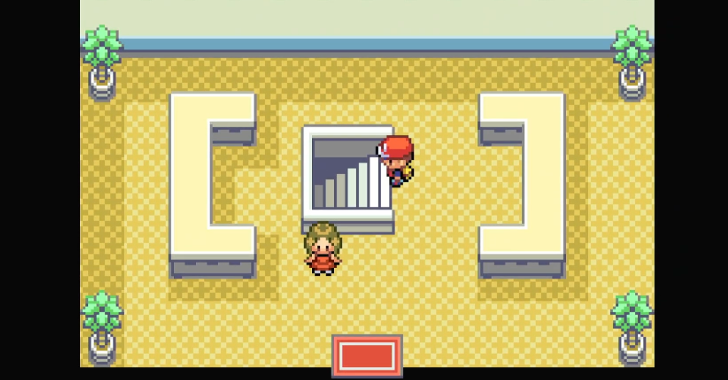 Head to the Underground Tunnel Go to the door near a Super Nerd NPC to enter the Underground Tunnel then exit the long tunnel by reaching the other side, allowing you to reach Route 7. Head north of Route 7 to find some paved road, then follow it to reach the next area. |
| 6 | 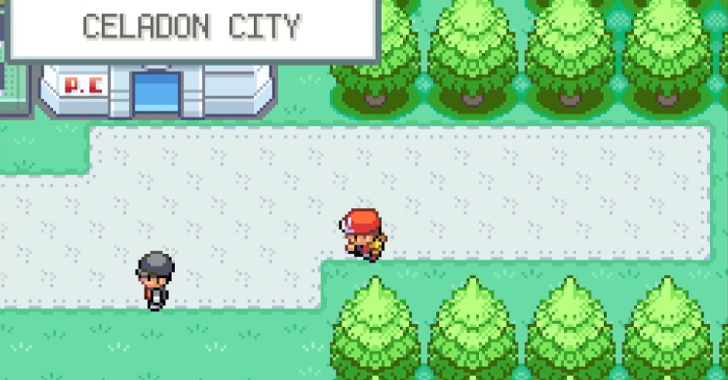 Explore Celadon City (Optional) You will reach Celadon City shortly, where you can explore most of the houses and other points of interest in the area. We advise heading to Celadon Department Store in the center of the city to buy TMs and items. When you are done exploring, hit the Celadon Game Corner next, as your next objective will be there. |
| * |  Get the Tea in Celadon Mansion Proceed to the Celadon Mansion, east of the department store to receive the item, Tea from an elderly woman. Giving this to any of the gate guards in Routes 5-8 will allow you access to Saffron City later on. ▶ How to Get Tea: Drink for Thirsty Guards |
| 7 |  Enter Team Rocket's Hideout Go to Celadon Game Corner to find the entrance of the Team Rocket Hideout to the right, fight the Grunt guarding a Rocket Poster switch and press it to enter the different floors of the building. |
| 8 |  Sweep Team Rocket's Hideout Sweep all Team Rocket grunts and collect items as you go into the Hideout. Follow the position of the Grunts you defeated to get through the different areas until your reach the Team Rocket boss, Giovanni. |
| 9 |  Defeat Giovanni and Exit the Hideout Defeat Giovanni's Pokemon to finish this section, and you can either exit the way you came, or use an Escape Rope to reach the surface again. Don't forget to collect the Silph Scope after the fight! |
| 10 |  Prepare for the Gym Fight (Optional) After defeating Giovanni, you can continue to level up your Pokemon or explore Celadon City if you haven't done so yet. Make sure your Pokemon are healed too before proceeding. |
| 11 |  Head South of Celadon City Go to the southern area of Celadon City and Cut down the tree blocking the rightmost path near some fences. Continue cutting trees along the southern path to reach Celadon City Gym. |
| 12 |  Enter the Gym and FIght the Trainers Enter Celadon City Gym, a Grass-Type specialty Gym, and defeat the trainers there. We advise carrying at least one or two Fire-type Pokemon that has Fire moves to make the fights easier. |
| 13 |  Defeat Erika and Get the Badge Continue defeating the different Trainers inside the Gym until you face Erika, the Gym Leader, herself. She will be using Grass-types primarily against you so it is adviseable to have Fire-type Pokemon in this fight. Finish the duel to claim your Fourth badge, the Rainbow Badge, and get TM19: Giga Drain. ▶ How to Beat Erika |
Getting the Fifth Badge
| # | Step by Step Objectives |
|---|---|
| 1 | 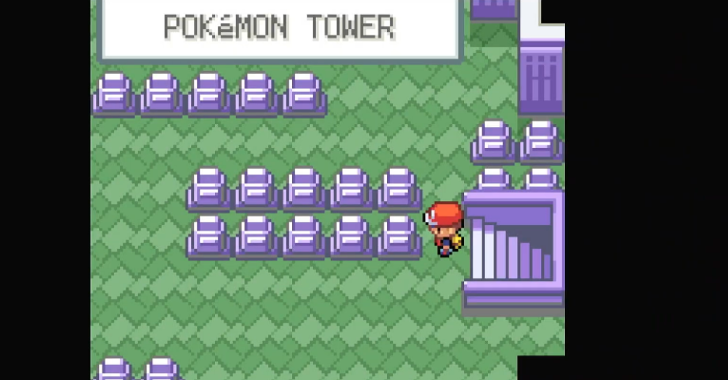 Enter the Pokemon Tower Again After the fight with Erika, backtrack via Route 8 into the Pokemon Tower at the northeastern end of Lavender Town. Make sure you collected the Silph Scope that Giovanni dropped in Team Rocket's Hideout before proceeding. |
| 2 | 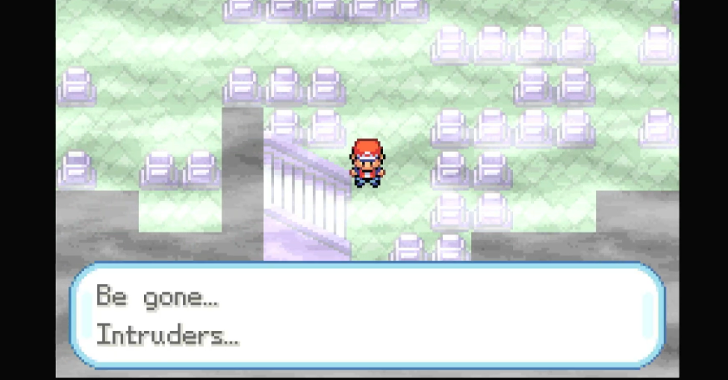 Make Your Way to the 6th Floor Continue exploring the upper floors of the Tower until you reach the 6th floor. The Silph Scope allows you to properly combat the Ghost-type Pokemon in the area as they won't force you to just Run anymore. The Channelers in the area primarily use Gastly from Lv. 22-24, so you can use Dark-type moves to defeat them easily. |
| 3 | 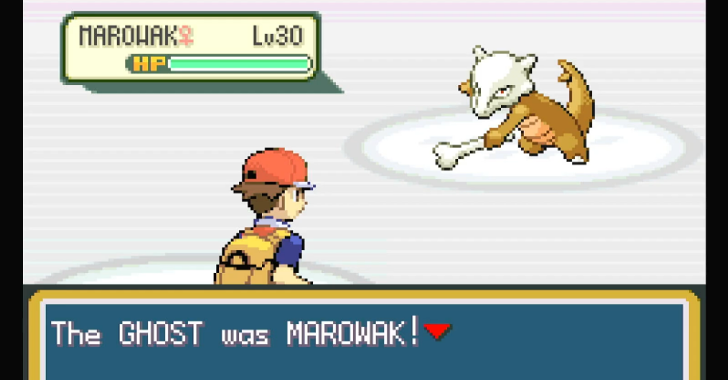 Defeat the Ghost Marowak Once you reach the stairs leading to the 7th floor, your Silph Scope will reveal a Level 30 Ghost Marowak that was initially blocking the entrance. Defeat it to free the Marowak's soul and your way upstairs. |
| 4 | 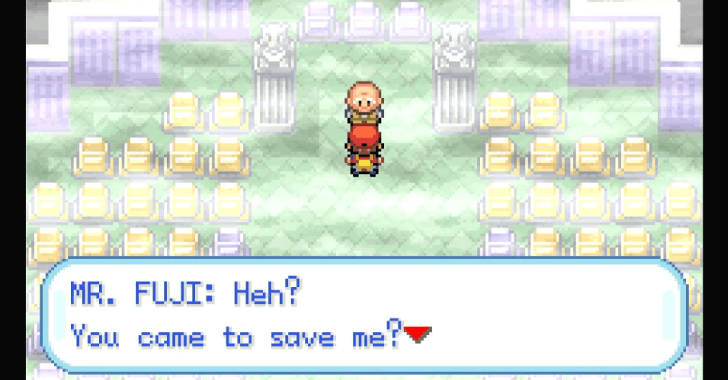 Save Mr. Fuji There will be 3 Team Rocket Grunts blocking the way to Mr. Fuji. Their Pokemon mainly consists of Poison and Psychic types from Lv. 23-26, so prepare accordingly. |
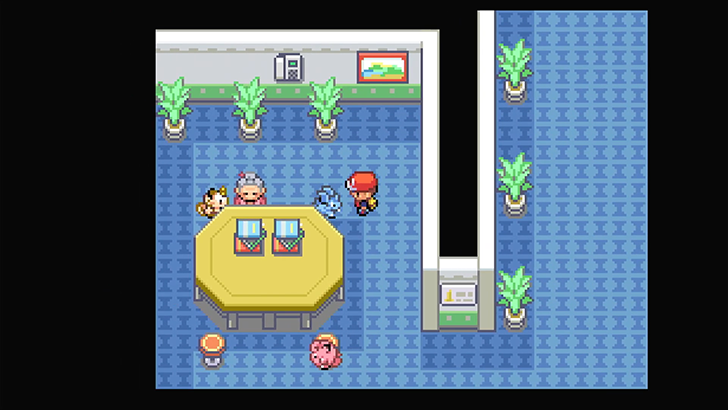
| 5 | 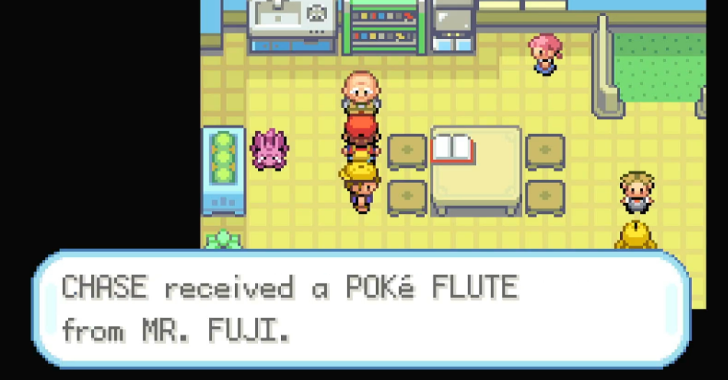 Get the Poké Flute Speak to Mr. Fuji again at his house to get the Poké Flute, which will allow you to wake up the two Snorlax blocking the way to other routes. |
| 6 | 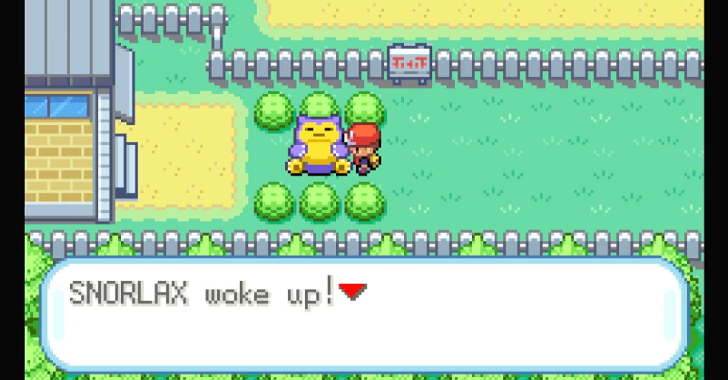 Go through Route 12 Leave Mr. Fuji's house and head south of Lavender Town to reach Route 12 You can use the Poké Flute to wake up the Snorlax blocking the way forward. You can battle the trainers along the bridge to gain more EXP! |
| 7 | 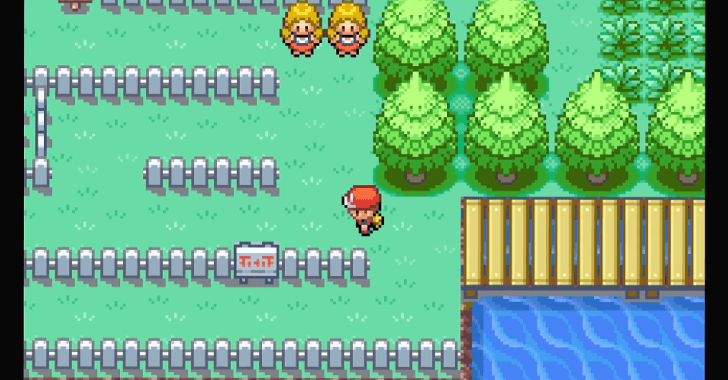 Go through Route 13 You'll eventually arrive at Route 13. Make your way through the fence maze while defeating the many trainers along the way to reach the next area. |
| 8 | 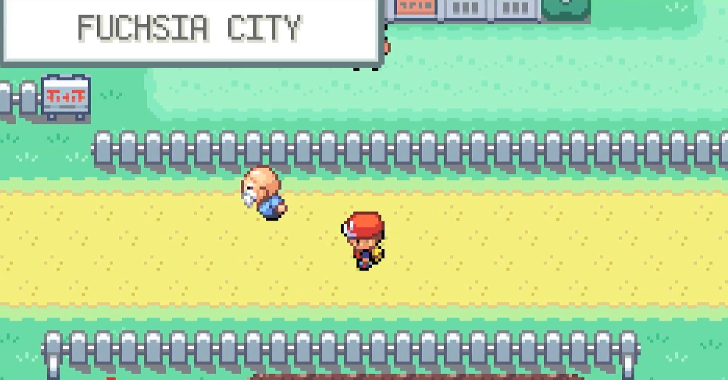 Arrive at Fuchsia City Continue heading west through Route 14 and Route 15 to reach Fuchsia City. |
| 9 | 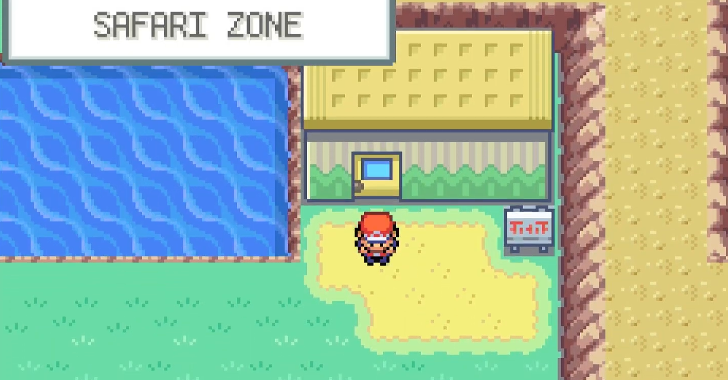 Explore the Safari Zone (Optional) You can explore the Safari Zone at the northern area of Fuchsia City to catch more Pokemon and obtain valuable items and TMs! The Gold Teeth item can also be found here. Give it to the Safari Zone Warden to get HM04: Strength! ▶ Safari Zone Guide |
| 10 |  Explore Route 17 and 16 (Optional) To gain more EXP, you can also head west from Fuchsia City to battle the trainers at Route 17 and Route 16. You'll need to use a Bicycle in Route 17 to traverse the area easily. ▶ How to Get the Bike |
| 11 | 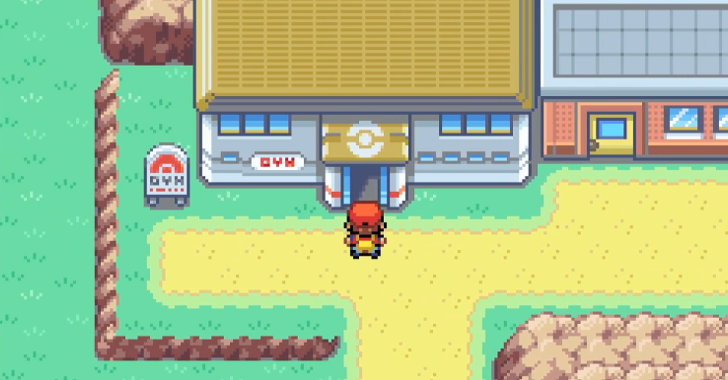 Enter the Fuchsia Gym Once you're ready, enter the Fucshia Gym at the southwest area of Fuchsia City. You'll need to go through the invisible maze inside to reach the Gym Leader. You can follow the general direction of the other trainers in the gym to reach the middle. They'll mainly have Poison and Psychic Pokemon from Lv. 31-34. |
| 12 | 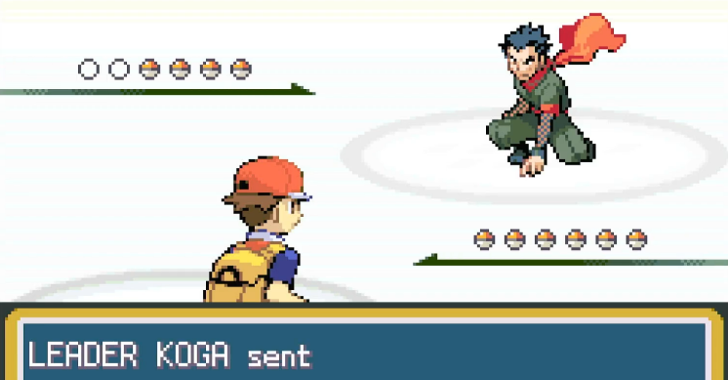 Defeat Gym Leader Koga Defeat Koga to obtain the Soul Badge and TM06: Toxic. You must then head to Saffron City afterwards for your next gym. Koga's team is comprised of Poison Pokemon from Lv. 37-43. ▶ How to Beat Koga |
Getting the Sixth Badge
| # | Step by Step Objectives |
|---|---|
| 1 | 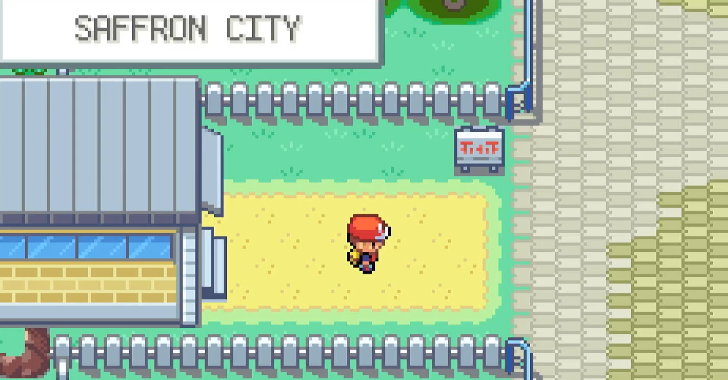 Go to Saffron City Head into Saffron City with the Tea Key Item from the woman in Celadon Mansion, which the guard will take in exchange for letting you through. ▶ How to Get Tea: Drink for Thirsty Guards |
| 2 |  Find and Enter Silph Co. Head to the center of Saffron City to find the Silph Co. building, and head inside. Make your way to the elevator. ▶ Silph Co. Location Guide |
| 3 | 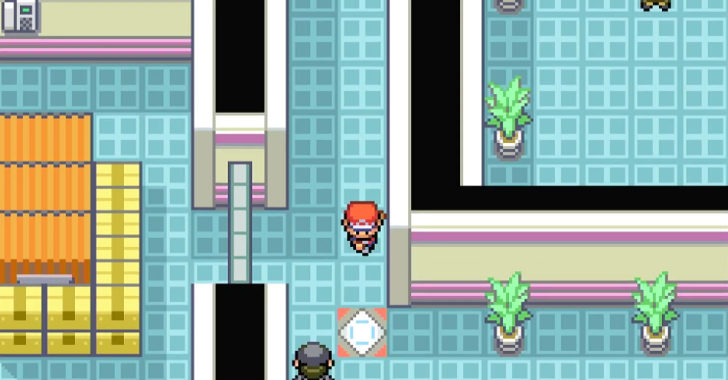 Head to the 5th Floor Go to the 5th Floor. From the elevator, head west, then south until you see a warp tile. Step on it to be sent to the 9th Floor, and then reuse the warp tile to be sent back to the 5th floor. |
| 4 |  Locate the Card Key You will now be standing on the 5th Floor warp tile. Continue to head south and go east to find the Card Key item. |
| 5 | 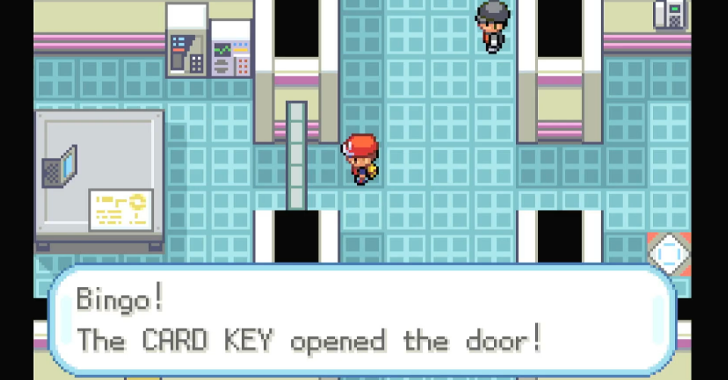 Head to the 3rd Floor The Card Key will allow you to open the locked doors in the building. Head to the 3rd Floor, and from the elevator, go directly south then west into the first room you see. |
| 6 |  Defeat Your Rival Step on the warp tile here to be brought to the 7th Floor for a Rival battle. Win the fight to continue through the building. Your Rival has continued to strengthen his team, fighting with 5 Pokemon at Level 35-40. |
| 7 | 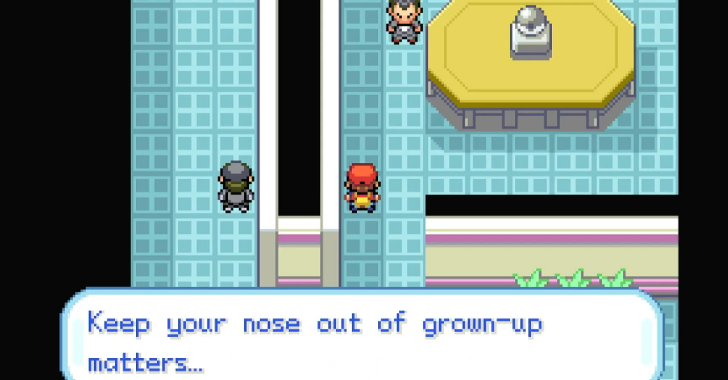 Find and Defeat Giovanni Use the other warp tile after defeating your Rival to reach the 11th Floor. Then, head South and East to find a room with Giovanni in it. Defeat him to clear the building and obtain the Master Ball. Giovanni fights with mainly Ground types, with their levels at 35-41. |
| 8 | 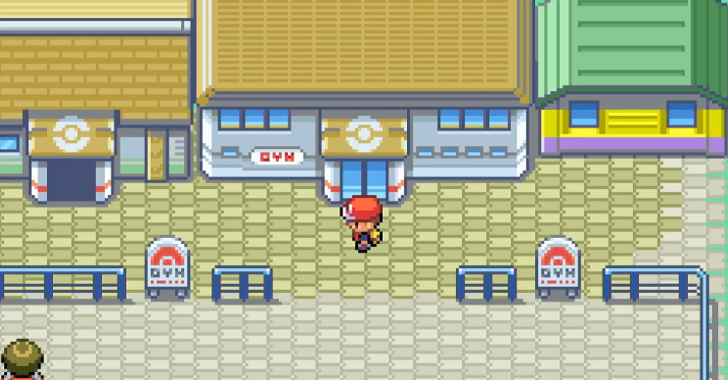 Prep for Saffron City Gym With Giovanni defeated, you can now challenge the Saffron City Gym. It is a Psychic type gym, so Dark and Ghost types are recommended. |
| 9 |  Reach the Gym Leader The Gym uses warp tiles similar to those in the Silph Co. building. To get to the gym leader, take the following tiles: 1. East (Entrance) 2. Northeast 3. Northwest 4. Southwest 5. Southwest (Sabrina) |
| 10 | 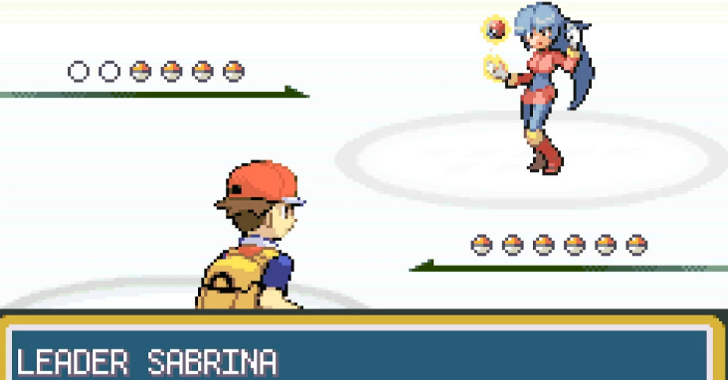 Defeat Sabrina Take on the gym leader Sabrina to claim the Marshbadge, as well as TM04: Calm Mind. Her team consists of Level 37-38 Psychic-types, with her ace being a higher-level Alakazam. ▶ How to Beat Sabrina |
Getting the Seventh Badge
| # | Step by Step Objectives |
|---|---|
| 1 | 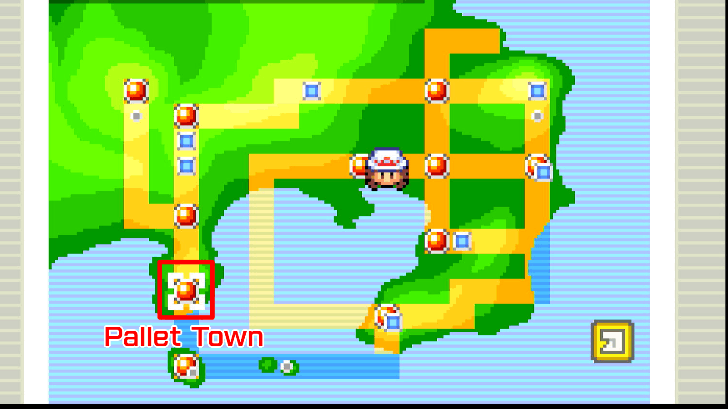 Head South Towards Cinnabar Island After defeating Gym Leader Sabrina, head to the southwest area of Pallet Town and use Surf on the water. ▶ Pallet Town Guide |
| 2 | 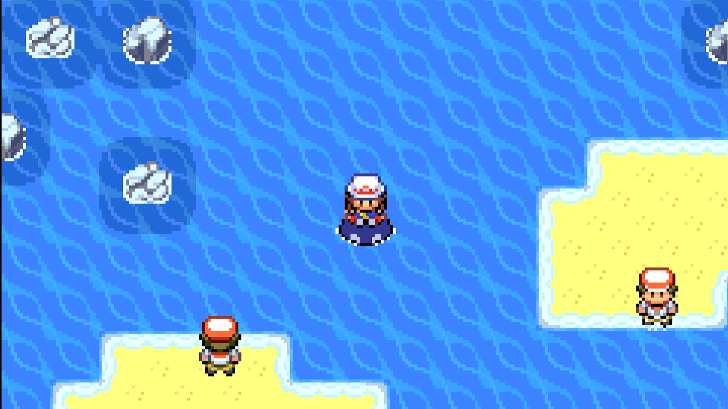 Train in Route 21 (Optional) Make your way down to Cinnabar Island and defeat the trainers stationed in the area for EXP. You may also capture Water-type Pokemon in this route. |
| 3 | 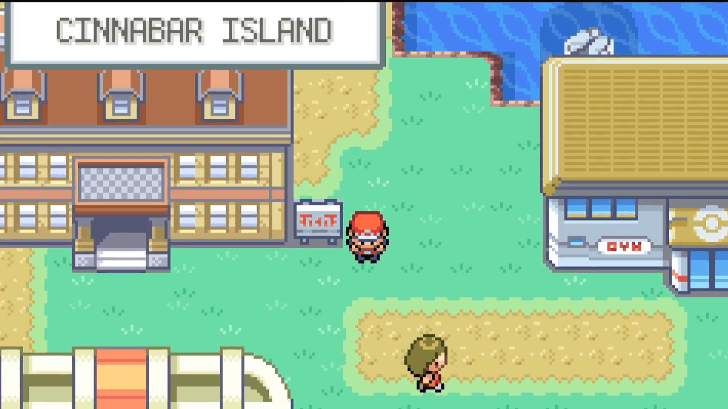 Arrive at Cinnabar Island In Cinnabar Island, the Pokemon Gym will be locked. Look for the key in the Pokemon Mansion. ▶ Cinnabar Island Guide |
| 4 | 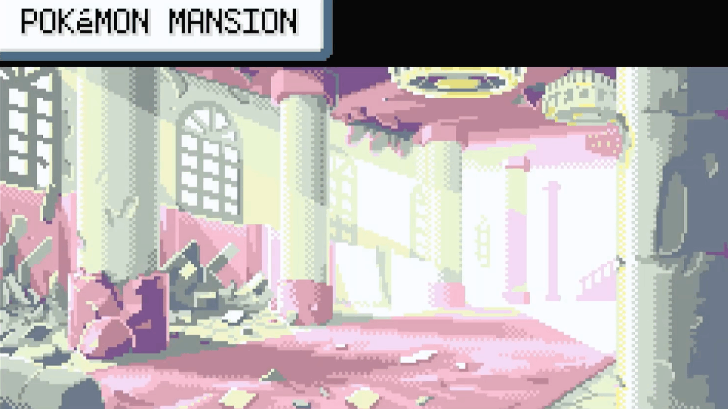 Explore the Pokemon Mansion The Secret Key to the Gym is found in the basement. It is located at the deepest level after activating the statue switches. ▶ Pokemon Mansion Guide |
| * | 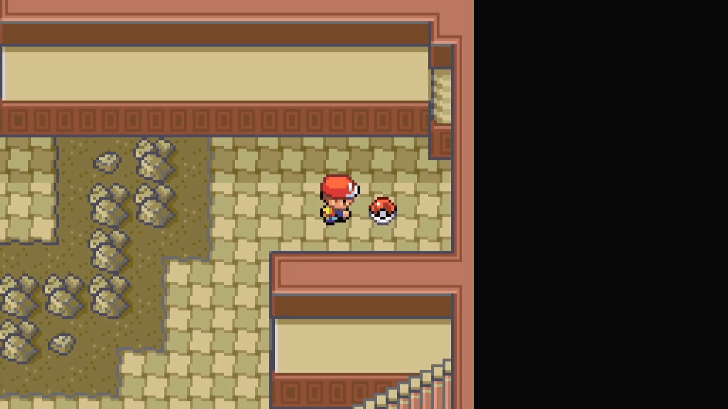 The Mansion contains a lot of valuable items and trainers for EXP, so we suggest thoroughly exploring the area! ▶ EXP Farming Guide |
| 5 | 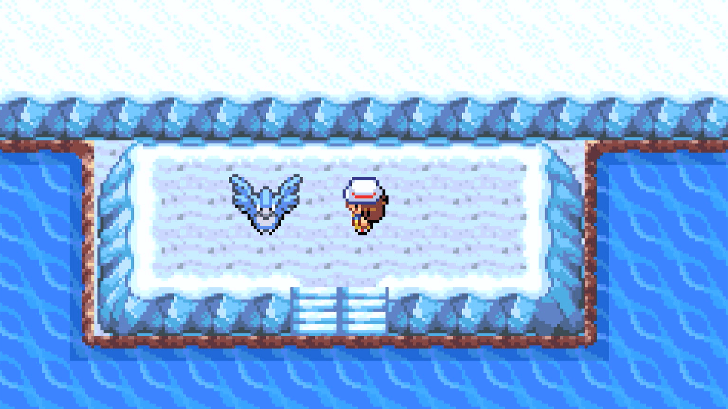 Capture Articuno in the Seafoam Islands (Optional) To the right of Cinnabar Island, you can solve the Boulder Puzzle with Strength to reach Articuno in the deepest section of the Seafoam Islands. ▶ Seafoam Islands Guide |
| 6 |  The gym is now accessible with the Secret Key. Answer the quizzes correctly to avoid fighting the extra gym trainers. All Answers, in order: 1. YES (Caterpie) 2. NO (Gym Badges) 3. NO (Poliwag) 4. NO (Electric) 5. YES (Identical Pokemon) 6. NO (TM28) |
| 7 | 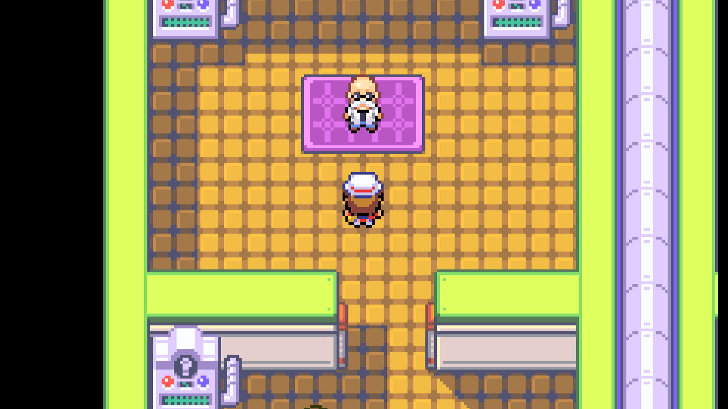 Defeat Blaine in the Last Room Blaine's roster features four Fire-type Pokemon ranging from Lvl. 40-47. Use Water-type Pokemon and prepare Burn Heals for this fight. ▶ How to Beat Blaine |
| * | If you lack Water-type Pokemon, Routes 20 and 21 feature good Pokemon you can capture like Tentacruel. |
Getting the Eighth Badge
| # | Step by Step Objectives |
|---|---|
| 1 | 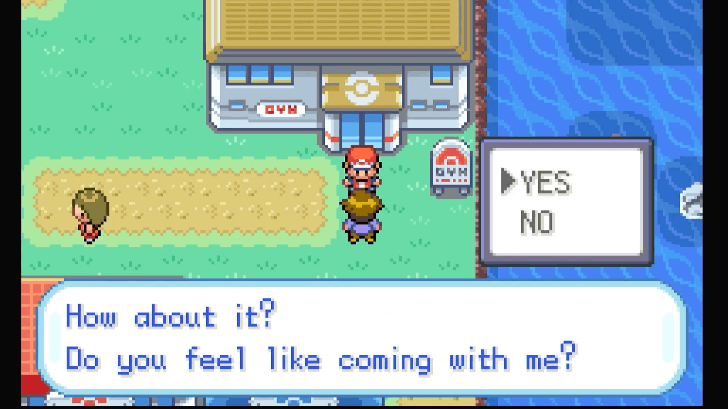 Exit the Cinnabar Gym Exit the Cinnabar Gym and meet Bill waiting for you at the door. He will then take you to One Island. Note that you can say NO to Bill's invitation and not go to One Island. You can always return to the Pokemon Center and talk to Bill again. If you opted to do this, you can go straight to Step 14 and take on the Viridian City Gym. We do suggest accepting the invitation to get some additional EXP before the final gym. ▶ How to Get to Sevii Islands |
| 2 | 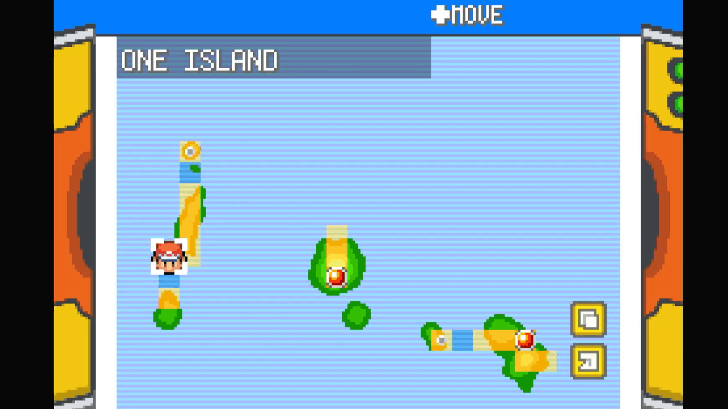 Get the Meteorite and Tri-Pass Get the Meteorite and Tri-Pass from Bill after the conversation on One Island. |
| 3 |  Explore Treasure Beach (Optional) Use Surf and follow the sea south of One Island to arrive in Treasure Beach. You can get two Ultra Balls using an Itemfinder. |
| 4 | 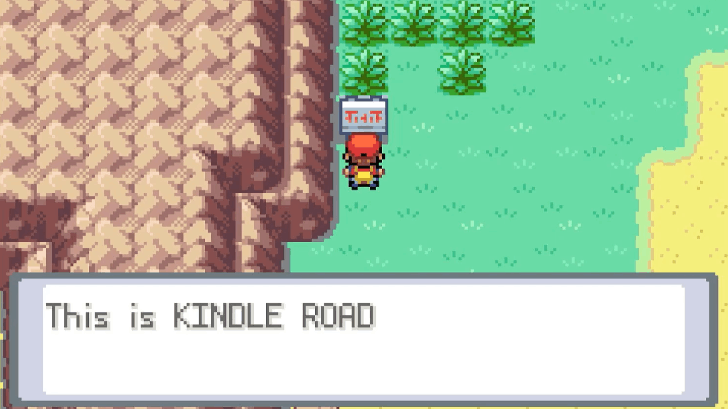 Explore Kindle Road (Optional) Use Surf and follow the sea east of One Island to arrive in Kindle Road. Fight a bunch of Trainers for EXP and get items protected by breakable rocks! Restore your Pokemon's health via the Ember Spa inside the cave north of Kindle Road. |
| 5 | 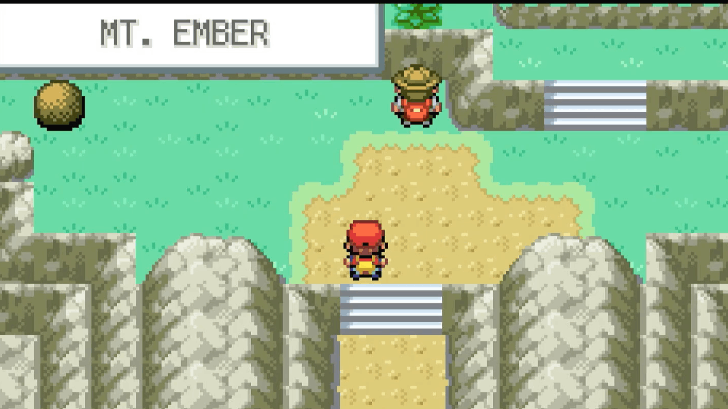 Explore Mt. Ember (Optional) Using Surf again, follow the sea north of Kindle Road to arrive at the entrance of Mt. Ember. This is where you'll be able to encounter the legendary Pokemon Moltres so catch it if you can! |
| 6 | 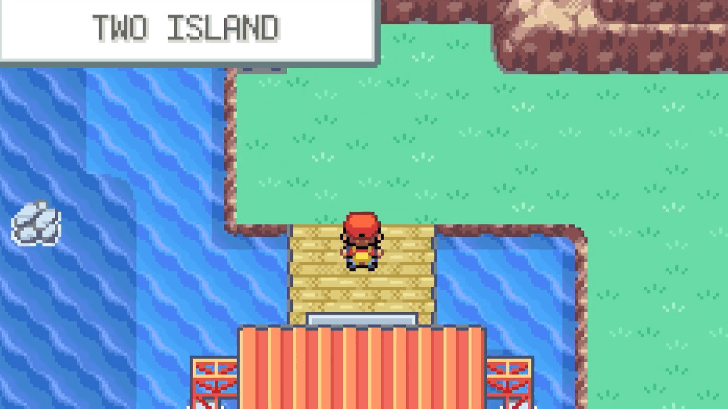 Go to Two Island Using the Tri-Pass given by Bill, talk to the sailor at the Ferry port of One Island. This will take you to Two Island! |
| 7 | 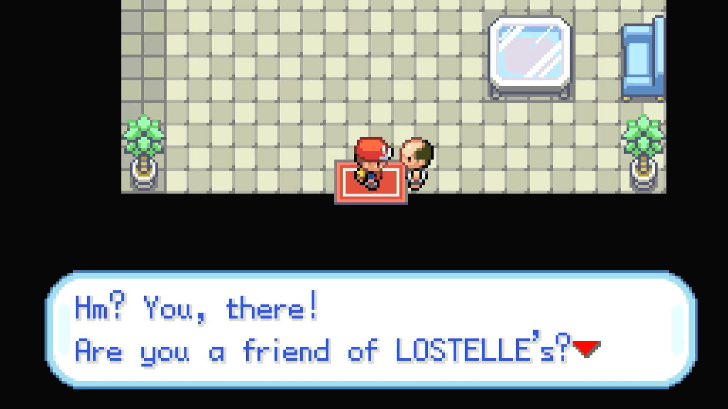 Go to the Game Corner Upon arriving, take time to heal up your Pokemon via the Pokemon Center. Then, head east to find the Game Corner. Upon arriving, you'll learn that a man is looking for Lostelle. |
| 8 | 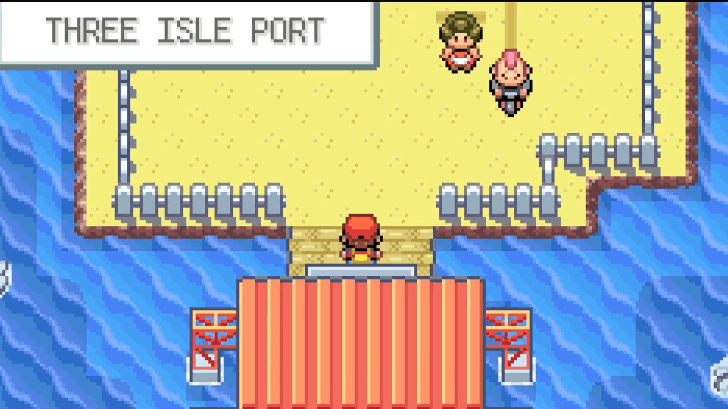 Go to Three Island To find Lostelle, follow the biker to Three Island. Go back to the Ferry port and choose Three Island from the choices. ▶ How to Get to Three Island |
| 9 | 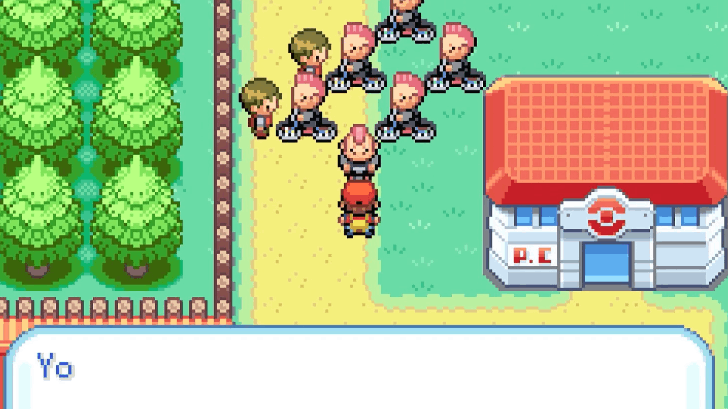 Battle the Bikers North of Three Island Upon arriving in Three Island, travel north to see people surrounded by a bunch of bikers. Fight the bikers to pass through! Note that you'll need to fight four Bikers in succession, so be ready! |
| 10 | 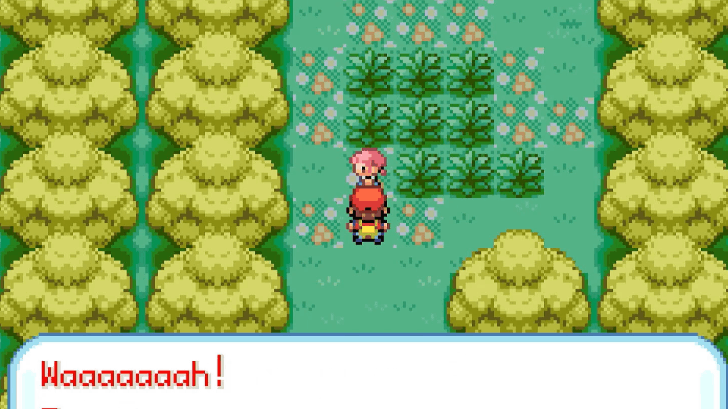 Find Lostelle in the Berry Forest After driving the Bikers away, go to the Berry Forest west of Three Island, past the wooden bridge. You'll find Lostelle protected by a Hypno so be ready to fight! |
| 11 | 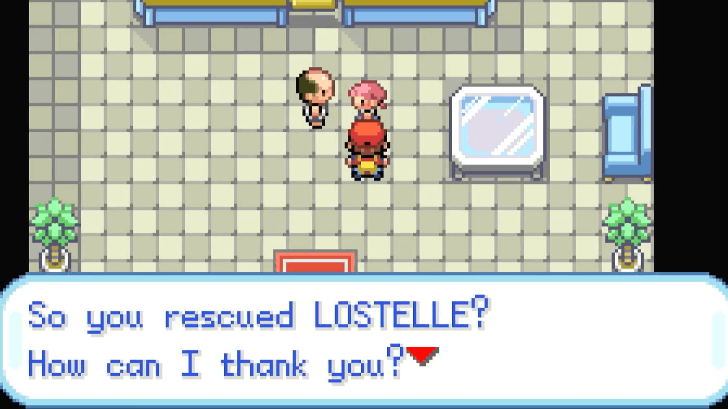 Give the Meteorite to Lostelle's Father After finding Lostelle, give the Meteorite to Lostelle's father as intended by Bill originally. He will then give you a Moon Stone as a reward. |
| 12 | 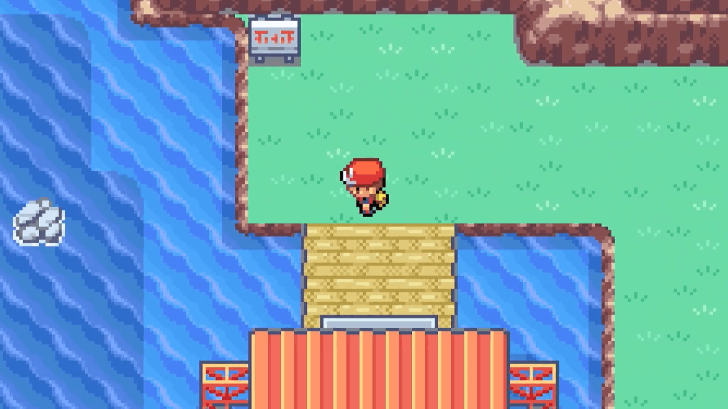 Go Back to One Island and Talk to Bill Return to One Island and talk to Bill again. Exit the premises to return to Cinnabar Island. |
| 13 | 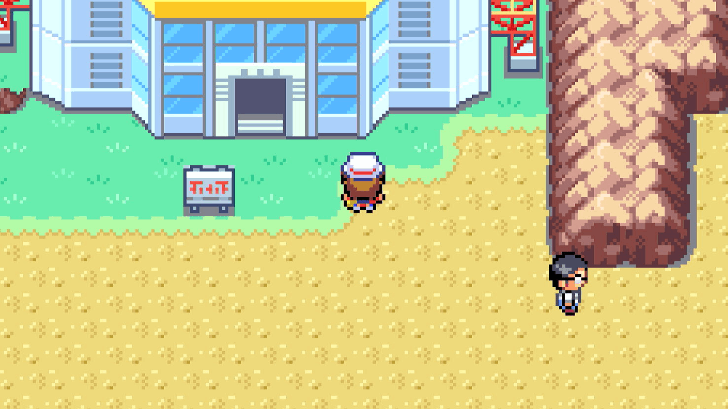 Go to the Power Plant (Optional) At this point, you are now strong enough to take on the mysteries of the Power Plant near Rock Tunnel in Route 10. Use Surf until you reach the entrance to the Power Plant. This is where you'll be able to encounter the legendary Pokemon Zapdos so catch it if you can! |
| 14 |  Face the 8th Gym Leader After the entire Sevii Island saga, the old man previously blocking the entrance to the Viridian City Gym will move aside and let you know that the Gym Leader is back! Challenge the 8th Gym Leader to get your final badge before going to Victory Road! ▶ How to Beat the 8th Gym Leader |
Going Through Victory Road
| # | Step by Step Objectives |
|---|---|
| 1 | 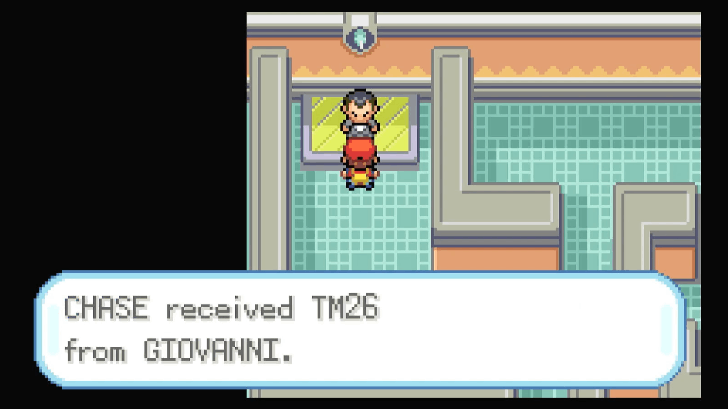 Pick Up the Hidden Macho Brace After Giovanni leaves the Gym, use the Itemfinder and pick up the hidden Macho Brace on the ground. |
| 2 | 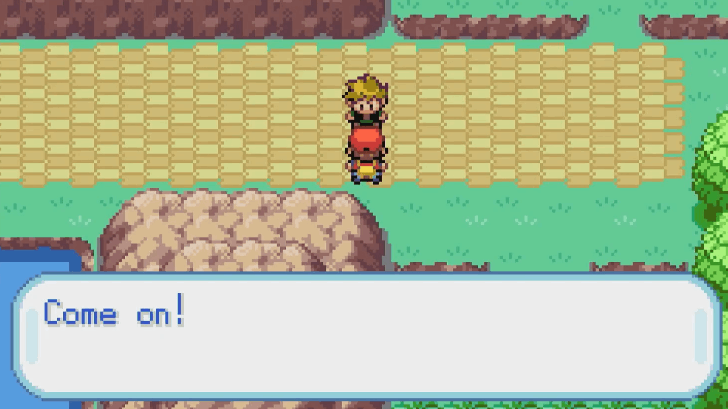 Defeat Your Rival Leave Viridian City Gym. Heal at the Pokemon Center and go west to Route 22. Upon reaching the area above the first set of grass, your Rival will challenge you to a battle. The Rival's team will always have Pidgeot, Alakazam, and Rhyhorn. The final three will vary depending on the starter you chose. The final three Pokemon will include two among Growlithe, Exeggcute, and Gyarados, and then a fully-evolved starter replacing the Pokemon of similar type among these three. |
| 3 | 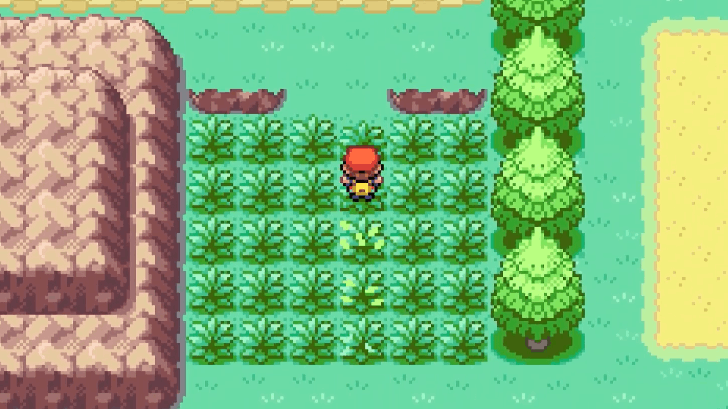 Heal and Go to Route 22 Heal at the Pokemon Center again if necessary, then return west and go through Route 22. Enter the building at the end of the route. |
| 4 | 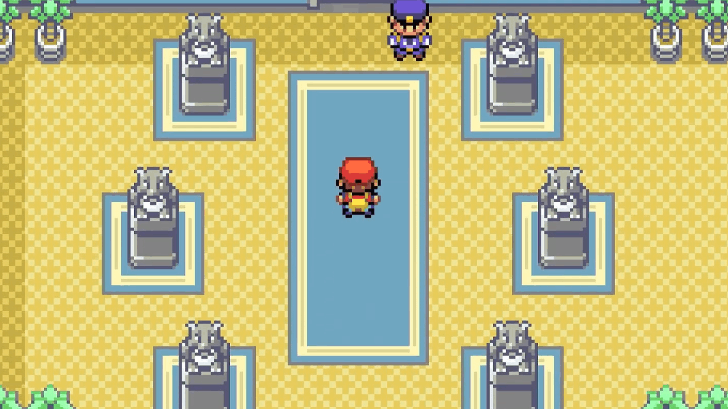 Proceed Through the Badge Checks Move forward and enter Route 23 after passing the Boulder Badge check. |
| 5 | 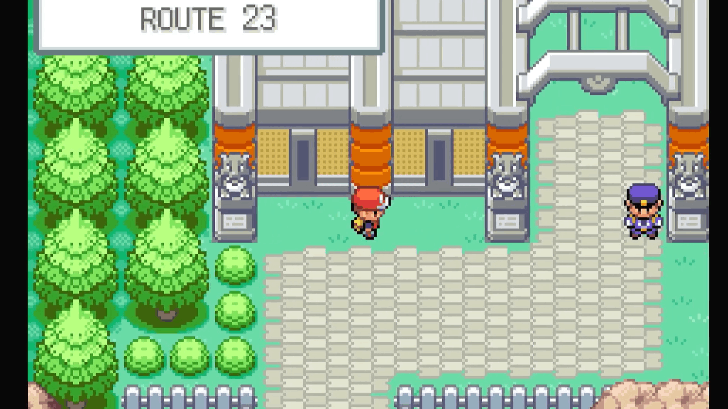 Use Surf to Proceed Proceed along Route 23, going through multiple badge checks. After the Rainbow Badge check, you will need Surf to proceed. |
| 6 | 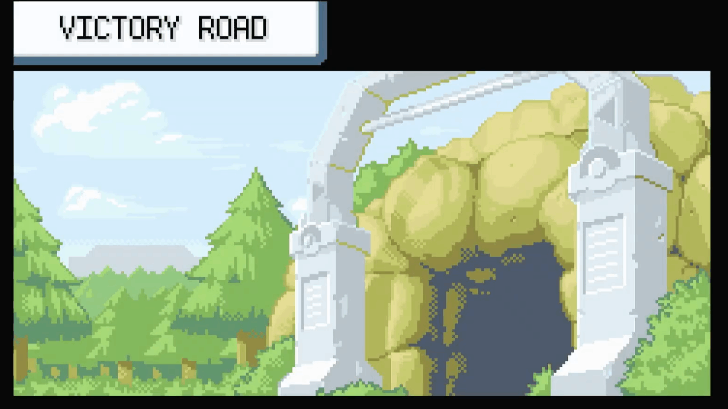 Enter Victory Road The entrance to Victory Road will be located after the Earth Badge check. You'll have to go through Victory Road to challenge the Pokemon League. |
| 7 | Push the First Boulder Go west and move on top of the boulder. Use Strength to move the boulder down one space, then all the way east, north, and east. Push the boulder to the white button tile nearby. |
| 8 | 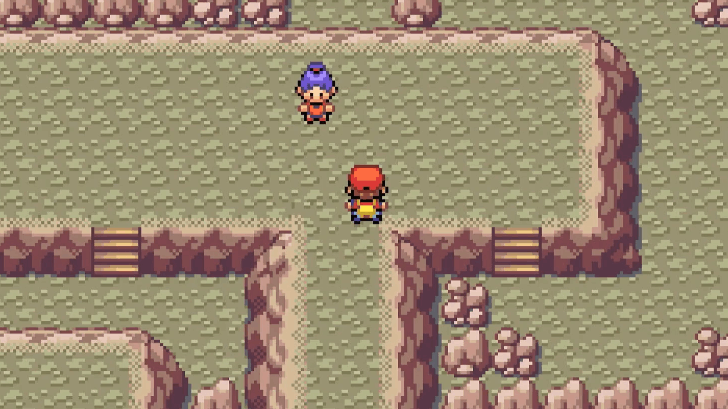 Return west and go up the stairs to the now-open passageway. Defeat the Cooltrainer here, then go east when you reach the fork in the road and proceed through the path. |
| 9 | 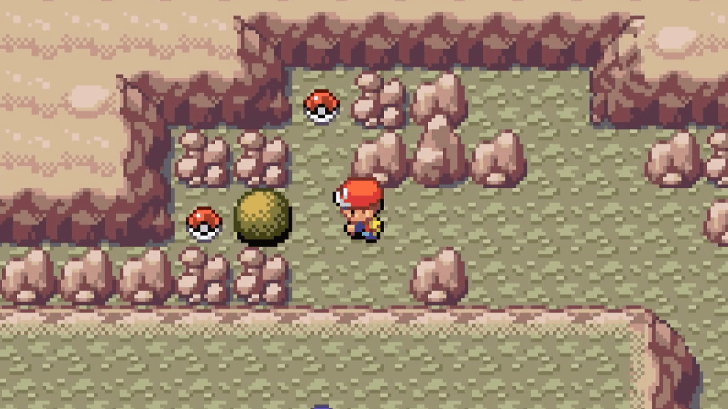 Collect TM02: Dragon Claw First, collect the hidden Full Restore on the section to the north of the boulder. Then, use Strength to push the boulder west, then collect TM02: Dragon Claw The other item is a Rare Candy; to collect it, exit and re-enter this room to reset the boulder's position, then use Strength to push the boulder west and then north. |
| 10 | 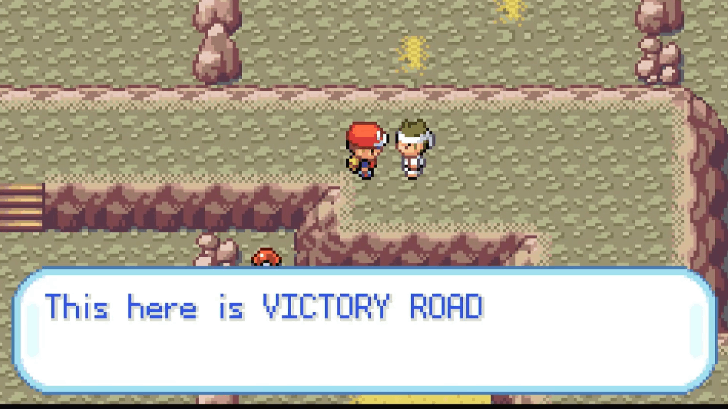 Defeat Cooltrainer and Proceed Return back to the fork in the road and head west this time, defeating a Cooltrainer along the way and going up the ladder. |
| 11 | 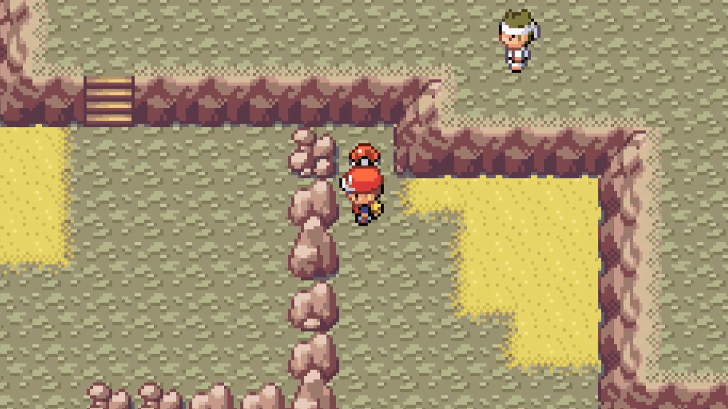 Push the Second Boulder Go south and push the boulder to the white button in the southwest area. Then go up the nearby stairs and defeat the Black Belt and the Juggler. |
| 12 | Collect TM37: Sandstorm Go down the stairs and collect TM37: Sandstorm by going west, and then north. Then, go south, east, west, and north to battle a Tamer and pick up the nearby Full Heal. |
| 13 | 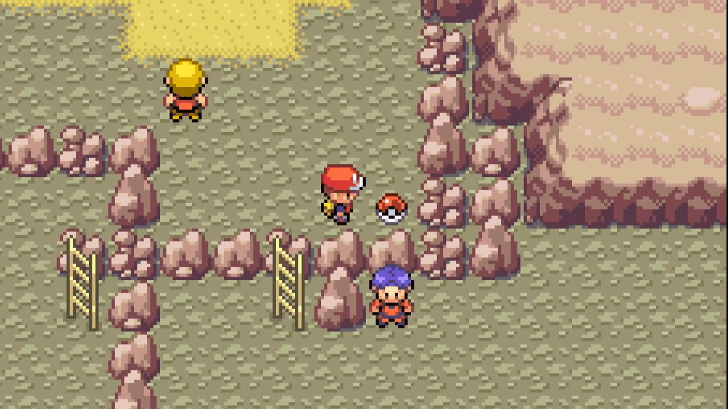 Collect TM07: Hail Go north and east to collect TM07: Hail guarded by a Juggler. Return to the Tamer and go up the ladder. |
| * | 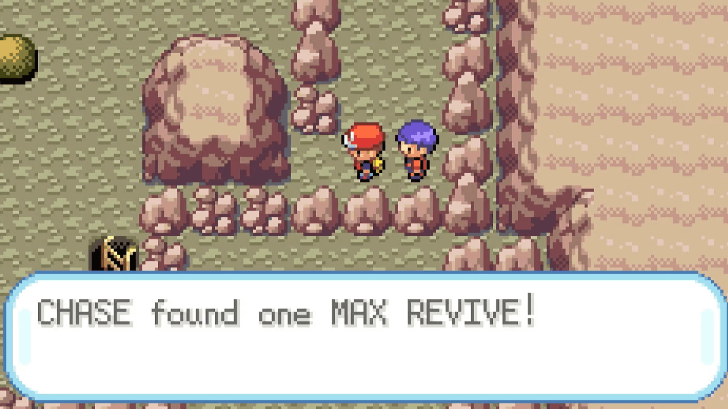 From here, you can go north, east, and south to pick up the Max Revive guarded by a Cooltrainer. |
| 14 | 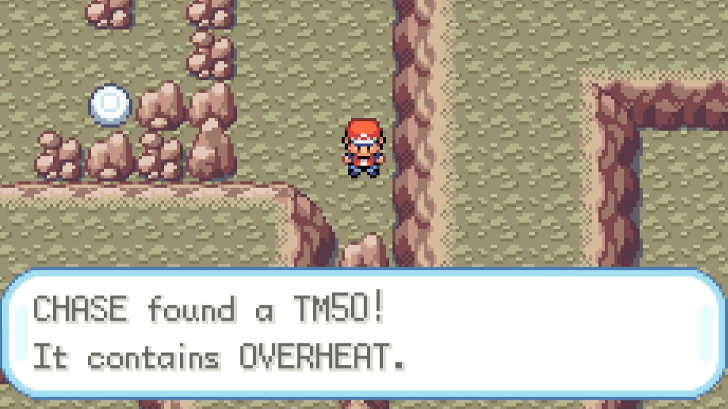 Collect TM50: Overheat Go north, then all the way west, and south to pick up TM50: Overheat. Then go north and west to the nearby ladder. |
| 15 | 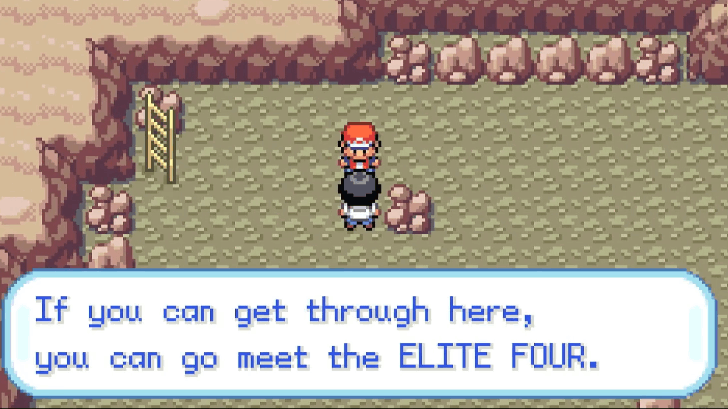 Defeat the Pokemaniac and Get Guard Spec Defeat the nearby Pokemaniac, then go east to pick up a Guard Spec. Return back to the ladder and go back to the previous area. |
| 16 | Push the Third Boulder Go east until you reach the boulder. Use Strength to push the boulder north two spaces, then all the way west until you hit a wall. Then push the boulder south once, west four times, then south thrice and east once onto the white button tile. |
| 17 |  Defeat Cooltrainers Blocking the Way Return east towards the boulder's initial position. Go south, then west, up the stairs and defeat the Cooltrainer. Proceed through the passage until you go down a flight of stairs and defeat the two Cooltrainers nearby. |
| 18 | 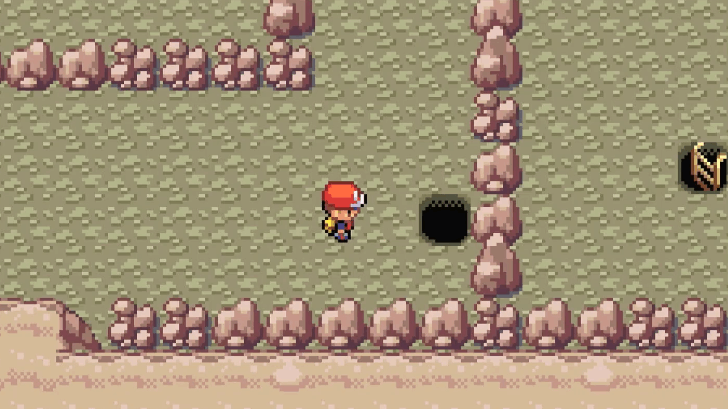 Push the Fourth Boulder Go all the way east and push the boulder through the hole. Go down the hole, pushing the boulder all the way west towards the white button tile. |
| 19 | 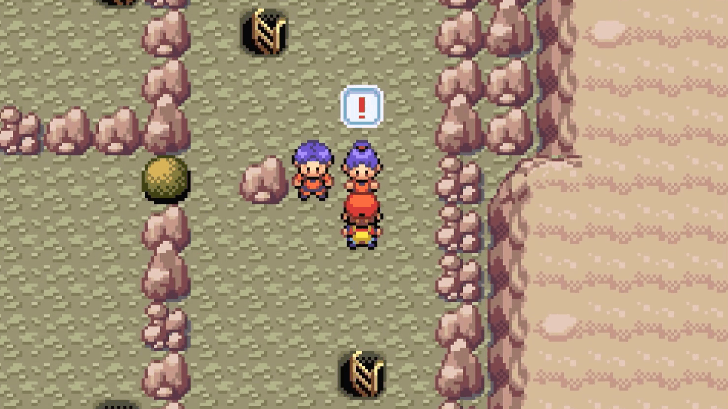 Defeat Cooltrainers in a Double Battle Go up the nearby stairs, then east through the now-open passageway and up the ladder. Defeat a pair of Cooltrainers here in a double battle, then go north and down a ladder. |
| 20 | 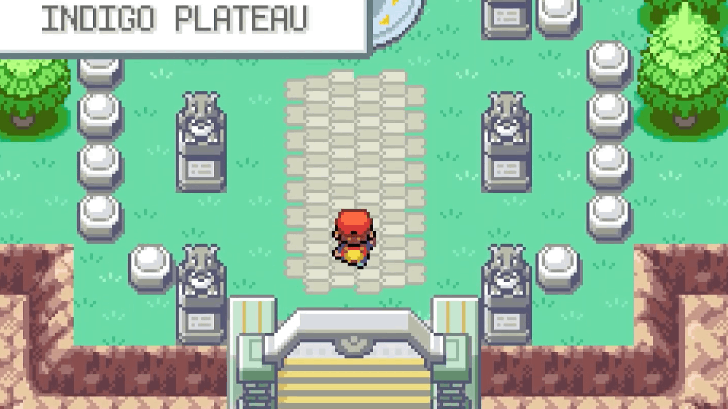 Exit Victory Road A move tutor teaching Double-Edge is located nearby. Then, go east to exit Victory Road. Proceed north and enter Indigo Plateau. |
Elite Four
| # | Step by Step Objectives |
|---|---|
| 1 |  Heal and Save Once you arrive at the Indigo Plateau, heal your Pokemon at the Pokemon Center. This is your last free recovery before facing consecutive battles, so make sure to save your game as well. |
| 2 | 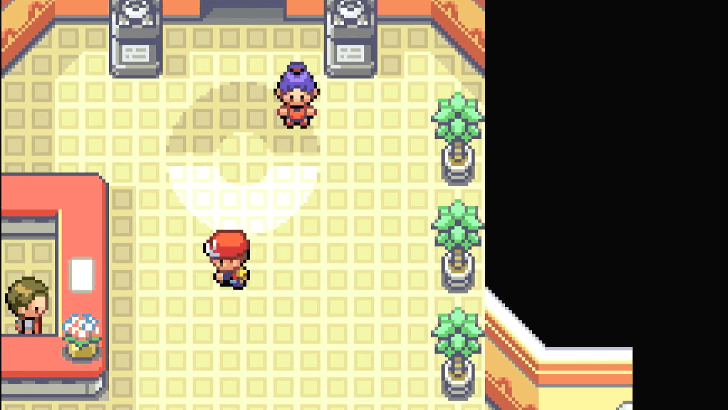 Organize Your Party and Stock Up on Items Before challenging the Elite Four, organize a balanced team that can cover multiple type matchups. Having strong Water, Electric, Ice, and Psychic Pokemon with Levels 55 - 65 will help deal with most of their teams. Since you cannot leave once you begin, stock up on Full Restores, Max Revives, and Hyper Potions to sustain your party between battles. There is a PokeMart Counter conveniently placed on the left before entering the Pokemon League. |
| 3 |  Defeat Elite Four Lorelei Enter the first chamber to battle Lorelei, whose team primarily consists of Water and Ice-type Pokemon. Electric and Grass-type moves are highly effective here. After defeating Lorelei, you cannot return to the Pokemon Center. Heal your team using items before proceeding to the next room. ▶ How to Beat Lorelei |
| 4 | 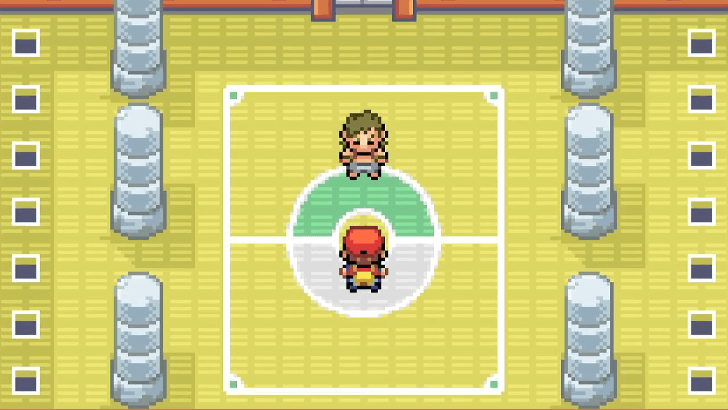 Defeat Elite Four Bruno Next is Bruno, who uses Rock and Fighting-type Pokemon. Psychic and Water-type moves are especially effective against his team. Use your items to restore HP and PP before moving forward. ▶ How to Beat Bruno |
| 5 |  Defeat Elite Four Agatha Agatha specializes in Ghost and Poison-type Pokemon. Psychic and Dark-type moves work well in this matchup. Heal up again after the battle, as only one member of the Elite Four remains. ▶ How to Beat Agatha |
| 6 | 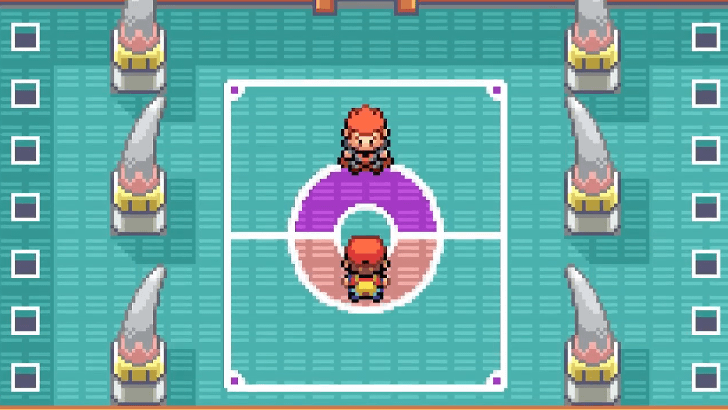 Defeat Elite Four Lance The final member is Lance, who uses Dragon and Flying-type Pokemon. Ice-type moves are extremely effective against his Dragonairs and Dragonite, while Electric-type moves are strong against Gyarados and Aerodactyl. After defeating Lance, prepare for one final battle before becoming Champion. ▶ How to Beat Lance |
| 7 | 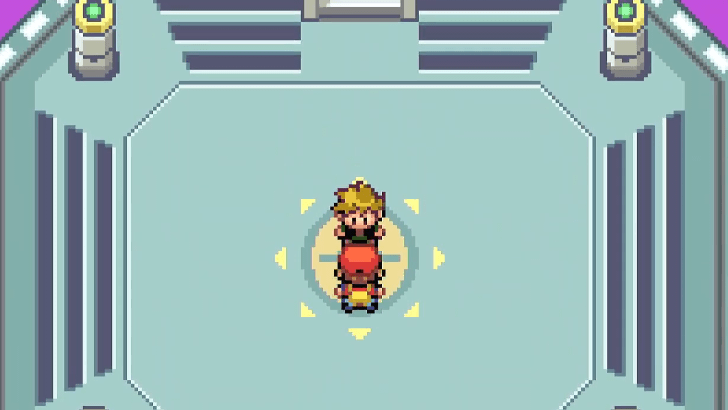 Defeat the Reigning Champion In the next room, you will face your Rival, the current Pokemon League Champion. His team composition depends on the starter you chose, but it will be well-balanced and high-level. Adjust your strategy accordingly and defeat him to become the new Champion. After the battle, Prof. Oak will escort you to the Hall of Fame where your team will be registered and the game ends. ▶ How to Beat The Champion |
Can You Challenge Gyms in Any Order?
Yes, There is No Order For Gyms
Although it is highly recommended to take on gyms in order of their badge numbers, you can actually take on gyms in any order as soon as you unlock Surf.
For example, Blaine can be challenged before Sabrina since you can technically use Surf to access Cinnabar Island from Pallet Town. You can also go straight to Koga and skip Erika, since you only need the PokeFlute to access Fuchsia City.
Beware of Level Gaps
Note that as you take on further gym leaders, their levels increase so you may have a hard time defeating them. If you're a veteran player, though, you may take this as a challenge!
Level and HM Restrictions
Remember that defeating gym leaders rewards you with badges that enable two things: use of a specific HM and increase in the level threshold of Pokemon that will listen to you. Skipping gym leaders would cause some HMs to not function, or Pokemon of a higher level to ignore your commands.
The game is mostly designed to take on the gym leaders in order of their badge numbers, so take extra care when challenging them randomly. Beware of these disadvantages as you take on the gym leaders of Kanto.
Pokemon FireRed and LeafGreen (FRLG) Related Guides

Guides by Category
 Pokemon Pokemon |
 Walkthrough Walkthrough |
 Tips and Tricks Tips and Tricks |
 Moves Moves |
 HMs HMs |
 TMs TMs |
 Abilities Abilities |
 Natures Natures |
 Items Items |
 Locations Locations |
 Latest News Latest News |
- |
Comment
Author

Pokemon FireRed and LeafGreen (FRLG) Walkthrough & Guides Wiki
100% Walkthrough and Story Progression Guide
Rankings
- We could not find the message board you were looking for.

Gaming News


Popular Games

Genshin Impact Walkthrough & Guides Wiki
Umamusume: Pretty Derby Walkthrough & Guides Wiki
Crimson Desert Walkthrough & Guides Wiki
Monster Hunter Stories 3: Twisted Reflection Walkthrough & Guides Wiki
Honkai: Star Rail Walkthrough & Guides Wiki
Pokemon Pokopia Walkthrough & Guides Wiki
The Seven Deadly Sins: Origin Walkthrough & Guides Wiki
Wuthering Waves Walkthrough & Guides Wiki
Zenless Zone Zero Walkthrough & Guides Wiki
Arknights: Endfield Walkthrough & Guides Wiki


Recommended Games
Fire Emblem Heroes (FEH) Walkthrough & Guides Wiki
Diablo 4: Vessel of Hatred Walkthrough & Guides Wiki
Cyberpunk 2077: Ultimate Edition Walkthrough & Guides Wiki
Yu-Gi-Oh! Master Duel Walkthrough & Guides Wiki
Super Smash Bros. Ultimate Walkthrough & Guides Wiki
Pokemon Brilliant Diamond and Shining Pearl (BDSP) Walkthrough & Guides Wiki
Elden Ring Shadow of the Erdtree Walkthrough & Guides Wiki
Monster Hunter World Walkthrough & Guides Wiki
The Legend of Zelda: Tears of the Kingdom Walkthrough & Guides Wiki
Persona 3 Reload Walkthrough & Guides Wiki


All rights reserved
©2004 Pokémon. ©1995-2004 Nintendo/Creatures Inc./GAME FREAK inc. Pokémon and Nintendo Switch are trademarks of Nintendo.
The copyrights of videos of games used in our content and other intellectual property rights belong to the provider of the game.
The contents we provide on this site were created personally by members of the Game8 editorial department.
We refuse the right to reuse or repost content taken without our permission such as data or images to other sites.