 Scout Trooper
 Scout Trooper Commanders
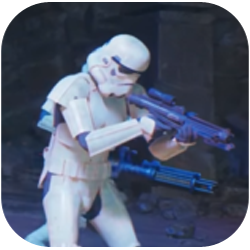 Stormtrooper
 Stormtrooper Commanders
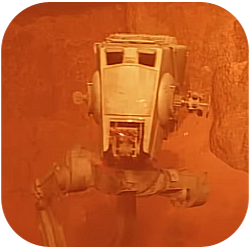 AT-ST
AT-ST Security Droid
  Flametrooper
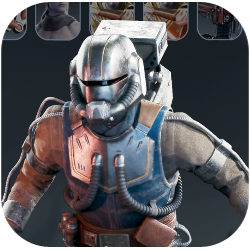
 Heavy Assault Trooper
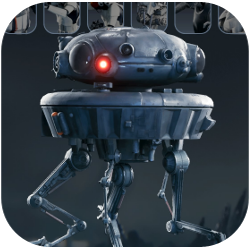 Probe Droid
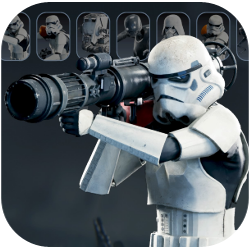 Rocket Launcher Trooper
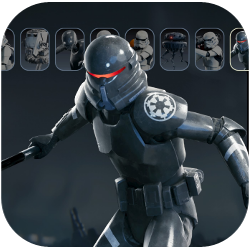 Electrobaton Purge Trooper
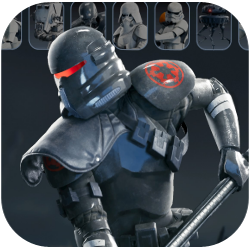 Electrostaff Purge Trooper
 Purge Trooper Commander
 The Ninth Sister
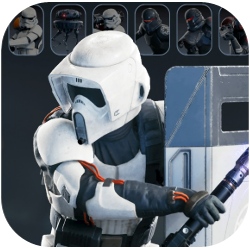 Shield Trooper
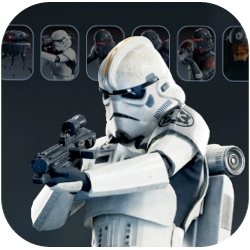 Jetpack Trooper
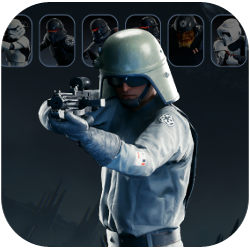 Imperial Officer
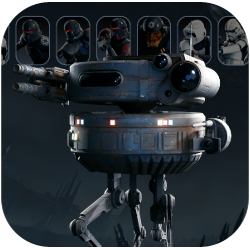 Viper Probe Droid
 DT Sentry Droid
 Security Droid Enforcer
 ISB Agent
 Darth Vader
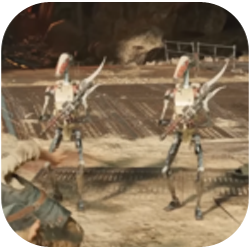 B1 Battle Droid
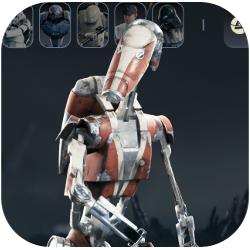 B1 Melee Battle Droid
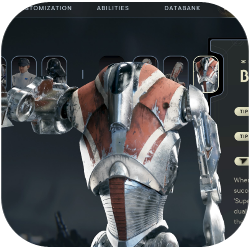 B2 Battle Droid
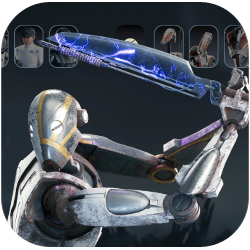 BX Droid
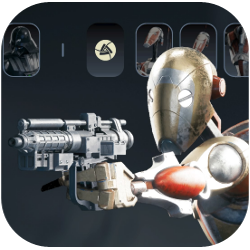 BX Droid (Hybrid)
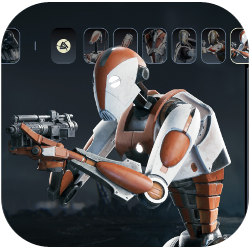 BX Droid (Rifle)
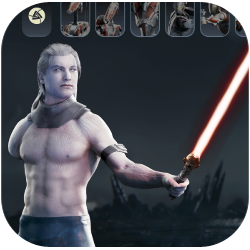 Dagan Gera
 Dagan Gera (2nd Encounter)
 Dagan Gera (3rd Encounter)
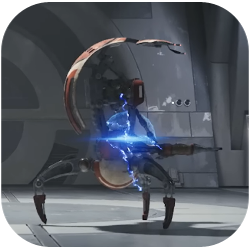 Droideka
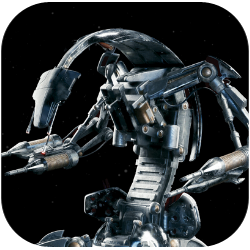 E3-VE3
 The Massiff
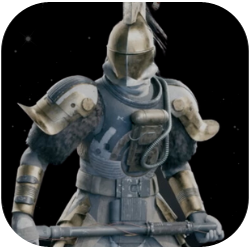 Urgost, Fist of Rayvis
 Bedlam Raider Lieutenant (Single-Blade)
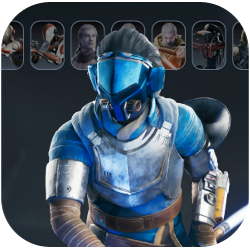 Bedlam Raider Lieutenant (Double-Blade)
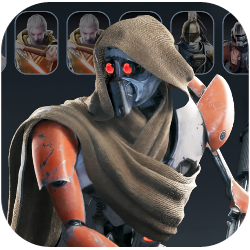 Magnaguard
 Rayvis
 Raider Veteran
 Raider Grunt
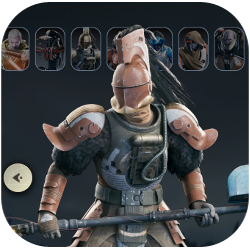 Bedlam Smasher
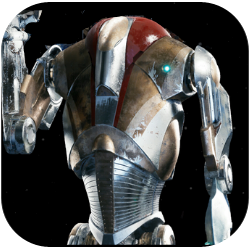 Beetu Deetu
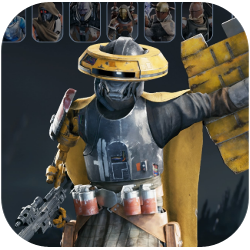 Haxion Brood Commando
 Haxion Brood Bounty Droid
 Caij Vanda
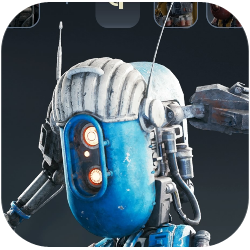 Haxion Brood Brawler Bounty Droid
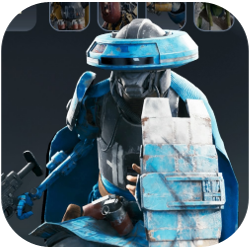 Haxion Brood Shock Commando
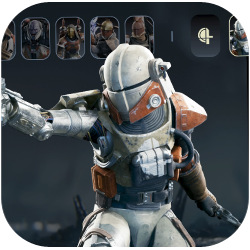 Haxion Brood Gunslinger
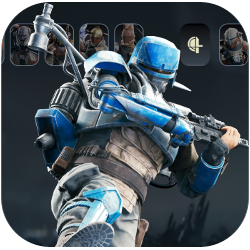 Haxion Brood Grenadier
 Gorocco
 Gorger
 Vile Balemaw
 Gorocco Matriarch
 The Mire Terror
 Rancor
 Bilemaw
  Rawka
Rawka Spawn of Oggdo
 Bramlik
 Shiverpede
 Mogu
Mogu Hardshell
 Golden Skriton
 Skriton
 Sutaban
 Sutaban Alpha
 Roller Mine
 Scavenger Droid
 Bode Akuna
 Bode Akuna (2nd Encounter)
This survey will take about 1 minute.
Your answers will help us to improve our website.
Star Wars Jedi Survivor
Haxion Brood Bounty Hunter Location and How to Beat
★ Find out what gets carried over to New Game Plus!
☆ Learn how to get Beskar Steel and all weapon materials!
★ Make sure to get all the BD-1 Upgrades to help in combat!
☆ Get Map Upgrades to make hunting Collectibles easier!
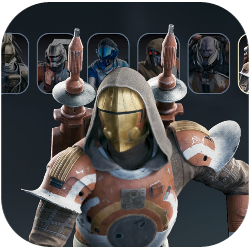
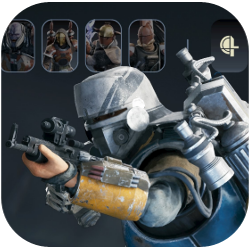
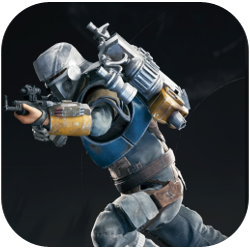
Haxion Brood Bounty Hunters are one of the enemies you face in Star Wars Jedi: Survivor. Read on to learn where you can scan Haxion Brood Bounty Hunters and their faction, Haxion Brood, their weakness and how to beat them, and more!
List of Contents
Haxion Brood Bounty Hunter Overview
| Haxion Brood Bounty Hunter Overview | |||
|---|---|---|---|
 |
|||
| Type: | Haxion Brood Enemy | Planet: | Koboh |
| Location: | Observatory Understructure | ||
| Description: | |||
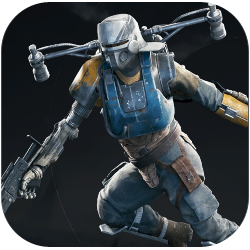
| Bounty hunters is the employ of the nefarious Haxion Brood are as varied as they are unscrupulous. Equipped with a jetpack, Haxion Brood bounty hunter dominate the air. This, combined with a high-powered blaster rifle, wrist-mounted rockets and flamethrower, makes them masters of relentless, deadly assaults. When they strike, it often seems to be as if from thin air. | |||
Haxion Brood Bounty Hunter Location
| Bounty | Location |
|---|---|
 Selfin Jook Selfin Jook |
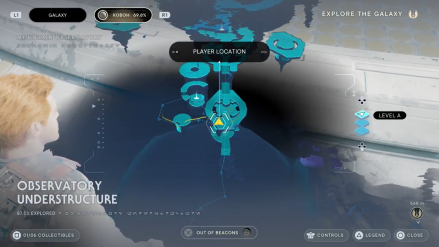 Found in one of the platforms of the Observatory Understructure and is accompanied by two other bounty hunters. (Koboh) |
 Fenn Finau Fenn Finau |
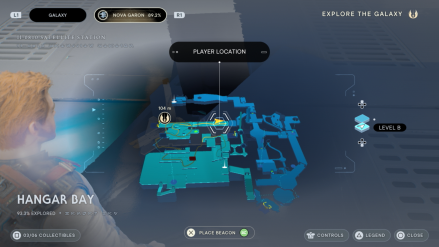 Found in the Hangar Bay Exterior along with Kle-0 and Masi Finau (Nova Garon). |
The above bounty hunters fall within the Haxion Brood Bounty Hunter enemy type. You can scan either of them to obtain their entry in the tactical guide!
How to Beat Haxion Brood Bounty Hunter
| Haxion Brood Bounty Hunters In-Game Tips |
|---|
|
|
Star Wars Jedi Survivor Related Guides

Comment
Author

Haxion Brood Bounty Hunter Location and How to Beat
Please participate in our site
improvement survey
03/2026
improvement survey
03/2026
Would you assist in
improving Game8's site?
improving Game8's site?

×
We are listening to our users' valuable opinions and discussing how to act on them.
The information collected through this survey will be used for the purpose of improving our services. In addition, the information will only be disclosed a part of a statistic in a format that will not allow identification of personal information.
Begin Survey
Not Now
×
Please rate each item regarding Game8.co's Advertisements.
Amount of Ads
Very Dissatisfied
Somewhat Dissatisfied
Fine
Somewhat Satisfied
Highly Satisfied
Placement of Ads
Timing of Ad Display
Ad Loading Speed
Safeness of Ads
Content of Ads
×
Please rate each item regarding Game8.co's Quality of Articles.
Amount of information
Very Dissatisfied
Somewhat Dissatisfied
Fine
Somewhat Satisfied
Highly Satisfied
Frequency of updates
Speed of new information
Accuracy of articles
Understandibility of articles
Readability of sentences
×
Please rate each item regarding Game8.co's Usability of the Site.
Ease of finding information
Very Dissatisfied
Somewhat Dissatisfied
Fine
Somewhat Satisfied
Highly Satisfied
Loading Speed
Use of Color
Font Size
Visibility of Images
Easy to Understand Layout
×
Please rate each item regarding Game8.co's Message Boards, Comments.
Ease of Writing
Very Dissatisfied
Somewhat Dissatisfied
Fine
Somewhat Satisfied
Highly Satisfied
Readability
Ease in Finding Information
Comment Quality
Comment Quantity
Admin Response
×
Please rate each item regarding Game8.co's Site's new design.
Please rate our site's new design
Very Dissatisfied
Somewhat Dissatisfied
Fine
Somewhat Satisfied
Highly Satisfied
Do you think that the website's design change makes the site easier to use?
Has the new design made it easier for you to find information on the site?
Has the new design improved the overall visual appeal of the site?
How would you rate your overall satisfaction with the new design of the site?
×
How likely are you to recommend Game8 to someone you know?
Very Unlikely
0
1
2
3
4
5
6
7
8
9
10
Very Likely
If you have other opinions regarding potential improvement to the website, please share them with us. We would appreciate your honest opinion.
Note: This is a free response section, so you can proceed without entering anything.
Note: Please be sure not to enter any kind of personal information into your response.
Note: Please be sure not to enter any kind of personal information into your response.
×
Thank You
×
Thank you for participating in our survey! Your answers will help us to improve the quality of our website and services.
We hope you continue to make use of Game8.
We hope you continue to make use of Game8.
Close
Rankings
- We could not find the message board you were looking for.
Gaming News


![Everwind Review [Early Access] | The Shaky First Step to A Very Long Journey](https://img.game8.co/4440226/ab079b1153298a042633dd1ef51e878e.png/thumb)

![Monster Hunter Stories 3 Review [First Impressions] | Simply Rejuvenating](https://img.game8.co/4438641/2a31b7702bd70e78ec8efd24661dacda.jpeg/thumb)
Popular Games

Genshin Impact Walkthrough & Guides Wiki
Honkai: Star Rail Walkthrough & Guides Wiki
Umamusume: Pretty Derby Walkthrough & Guides Wiki
Pokemon Pokopia Walkthrough & Guides Wiki
Resident Evil Requiem (RE9) Walkthrough & Guides Wiki
Monster Hunter Wilds Walkthrough & Guides Wiki
Wuthering Waves Walkthrough & Guides Wiki
Arknights: Endfield Walkthrough & Guides Wiki
Pokemon FireRed and LeafGreen (FRLG) Walkthrough & Guides Wiki
Pokemon TCG Pocket (PTCGP) Strategies & Guides Wiki


Recommended Games
Diablo 4: Vessel of Hatred Walkthrough & Guides Wiki
Fire Emblem Heroes (FEH) Walkthrough & Guides Wiki
Yu-Gi-Oh! Master Duel Walkthrough & Guides Wiki
Super Smash Bros. Ultimate Walkthrough & Guides Wiki
Pokemon Brilliant Diamond and Shining Pearl (BDSP) Walkthrough & Guides Wiki
Elden Ring Shadow of the Erdtree Walkthrough & Guides Wiki
Monster Hunter World Walkthrough & Guides Wiki
The Legend of Zelda: Tears of the Kingdom Walkthrough & Guides Wiki
Persona 3 Reload Walkthrough & Guides Wiki
Cyberpunk 2077: Ultimate Edition Walkthrough & Guides Wiki


All rights reserved
© 2023 Electronic Arts Inc.
The copyrights of videos of games used in our content and other intellectual property rights belong to the provider of the game.
The contents we provide on this site were created personally by members of the Game8 editorial department.
We refuse the right to reuse or repost content taken without our permission such as data or images to other sites.