 Cleansing Tint
 Longer Shell
 Energising Pain
 Perilous Parry
 Painted Power
 Stay Marked
 Weakness Gain
 Empowering Parry
 Second Chance
 Enfeebling Attack
 Breaking Attack
 Greater Defenceless
 Random Defense
This survey will take about 1 minute.
Your answers will help us to improve our website.
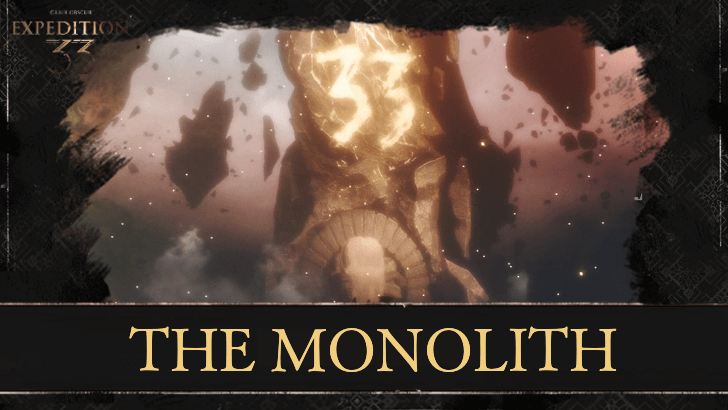
Clair Obscur: Expedition 33
The Monolith Walkthrough
★ Builds: Gustave | Lune | Maelle
┗ Sciel | Verso | Monoco
★ Popular: Missables | Puzzles | White Nevrons
┗ Best Characters | Skills | Teams | Attributes
★ Patch 1.5.0: Verso's Drafts | Root of All Evil
┗ Endless Tower Guide | All New Bosses
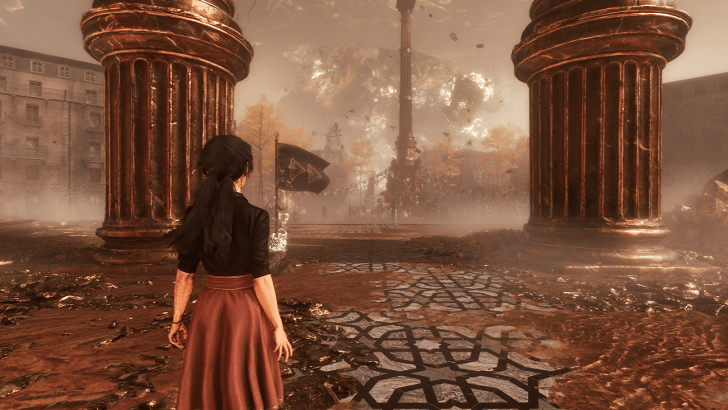
The Monolith is an area that you will visit during Act 2 in Clair Obscur: Expedition 33. See The Monolith walkthrough, how to catch the Petank in The Monolith, as well as all the weapons and Pictos in the area!
List of Contents
The Monolith Walkthrough
- Entrance
- Tainted Meadows
- Tainted Waters
- Tainted Sanctuary
- Tainted Cliffs
- Tainted Battlefield
- Tainted Hearts
- Tainted Lumiere
- Tower Peak
Entrance
| Monolith Entrance Walkthrough | |
|---|---|
| 1 |  After acquiring the Barrier Breaker weapon from The Curator, head north of Visages and Sirene to find the entrance to The Monolith. Approach the barrier to trigger a cutscene. ▶ How to Get Barrier Breaker |
| 2 | 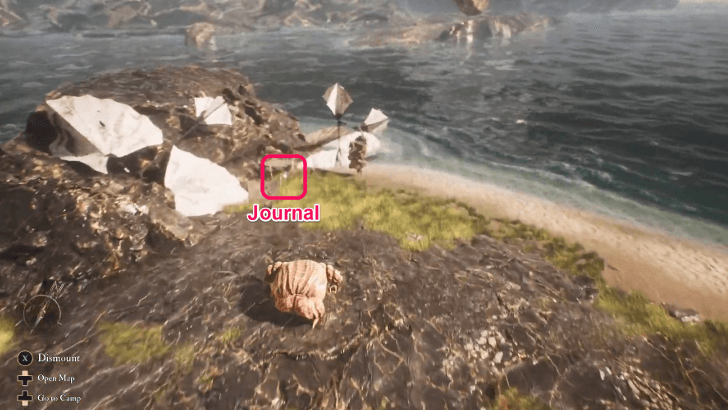 Players will be transported to a nearby island after the cutscene where the Expedition 40 Journal and the merchant Granasori is found. Head towards The Monolith afterwards via the entrance portal up north. ▶ Granasori Merchant Shop Items |
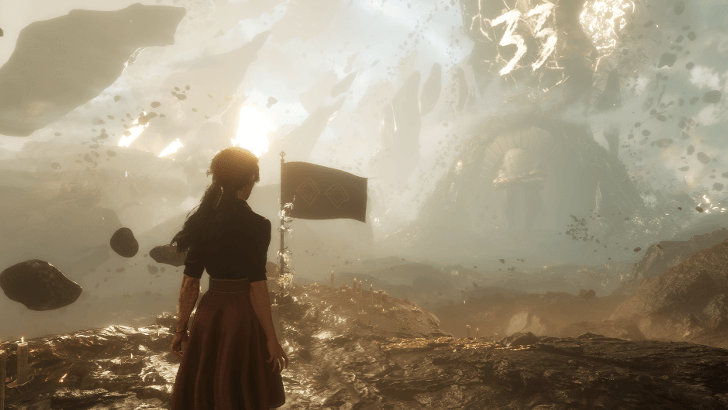
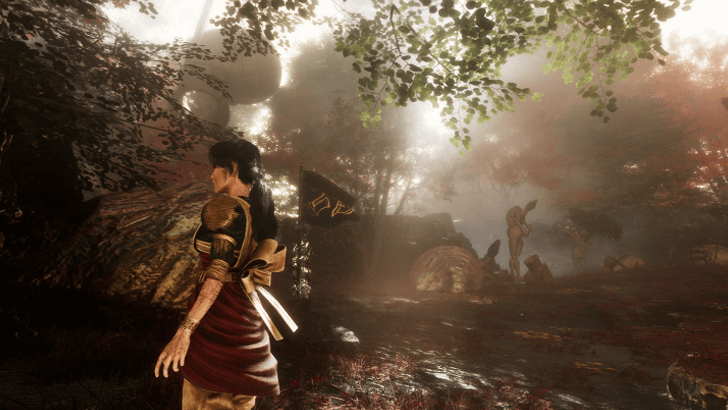
| 3 | 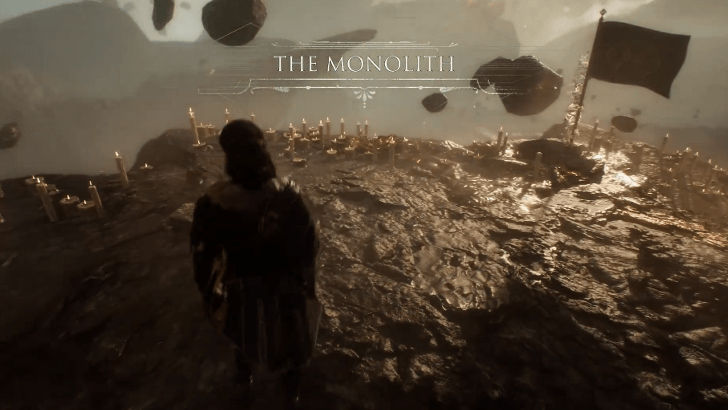 Enter to The Monolith to trigger another cutscene. The party will enter the area afterwards where an Expedition Flag is seen immediately upon spawning. |
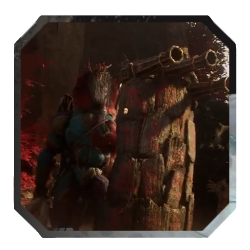
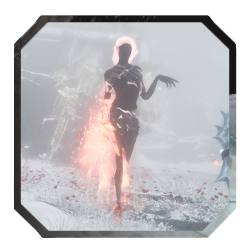
| 4 | 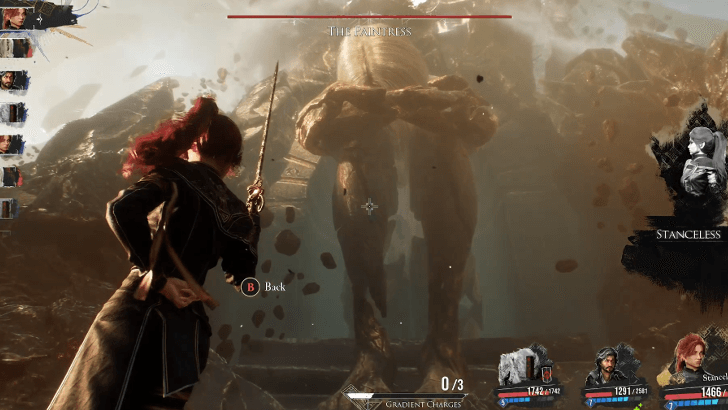 Continue onward and approach the Paintress where a fight occurs immediately after a cutscene. The Paintress is invulnerable and the fight is scripted to end after a few turns. |
| 5 |  Following the scripted fight against The Paintress, the Expedition is transported to the Inside of the Monolith. Proceed onward to find an Expedition Flag for the area. ▶ All Expedition Flags |
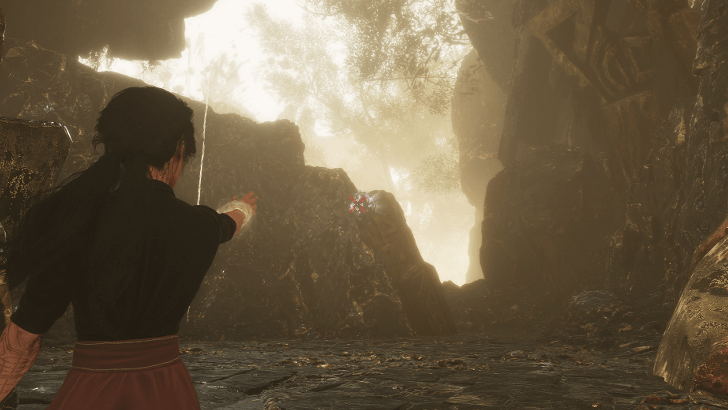
Tainted Meadows
| Tainted Meadows Walkthrough | |
|---|---|
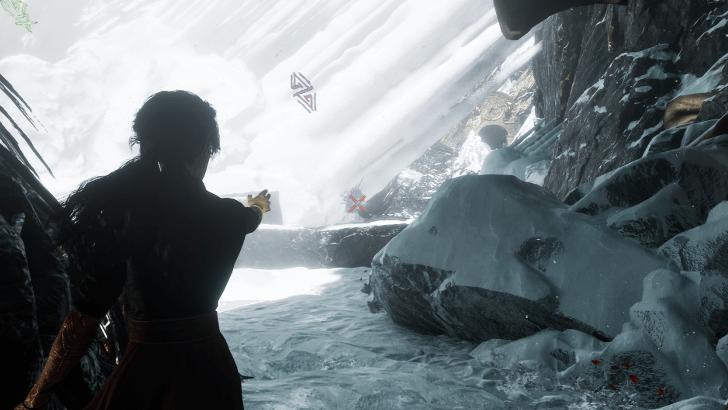
| 1 |  Continue past the Expedition Flag and grapple to cross a gap. Another grapple point is encountered shortly after the first one. The following section will resemble the Spring Meadows area back in Act 1. ▶ Spring Meadows 100% Guide |
| 2 | 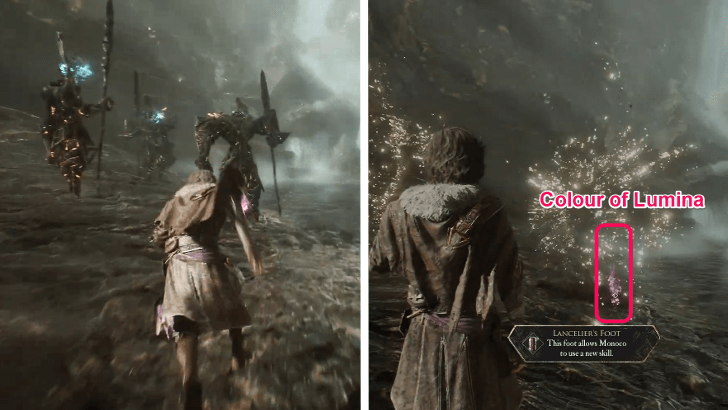 Past the second grapple is an area where a pair of Lanceliers can be found near the waterfall. Defeat the Lanceliers to obtain a Level 15 Lanceram and collect the Colour of Lumina on the ground before proceeding. |
| 3 | 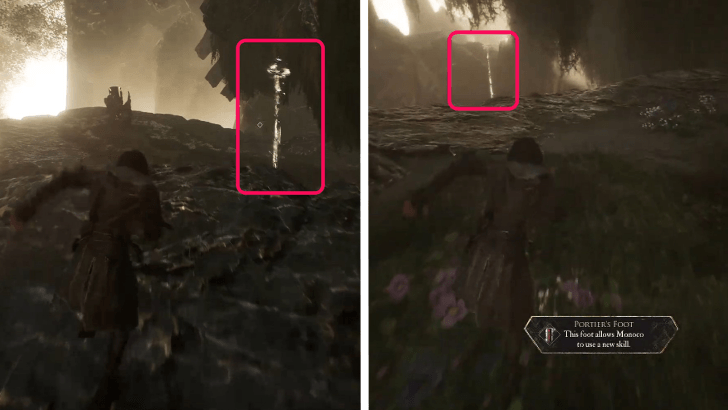 The colors will turn monochrome past the waterfall area. Enter the frame on the right and take the left path, then descend via a light rope. Past the Portier is another light rope; ride it towards the lower area. |
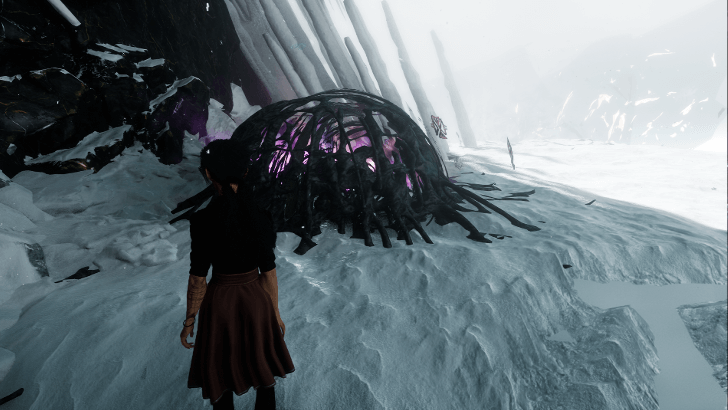
| 4 | 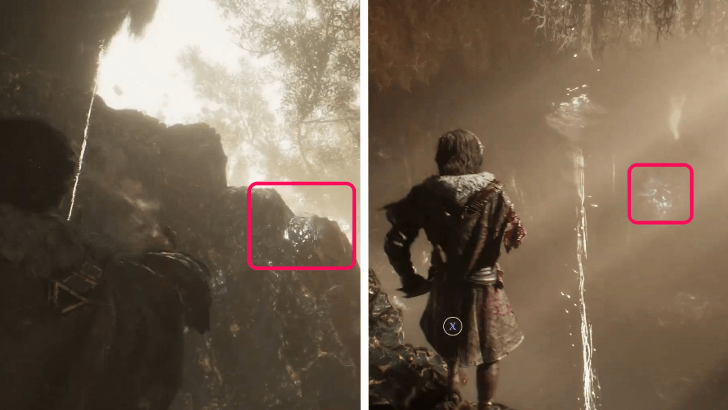 A Paint Cage can be found in this area that rewards a Revive Tint Shard when broken. When done, head right from the Paint Cage. Climb the rope then grapple towards the bridge afterwards. ▶ All Paint Cage Locations |
| 5 | 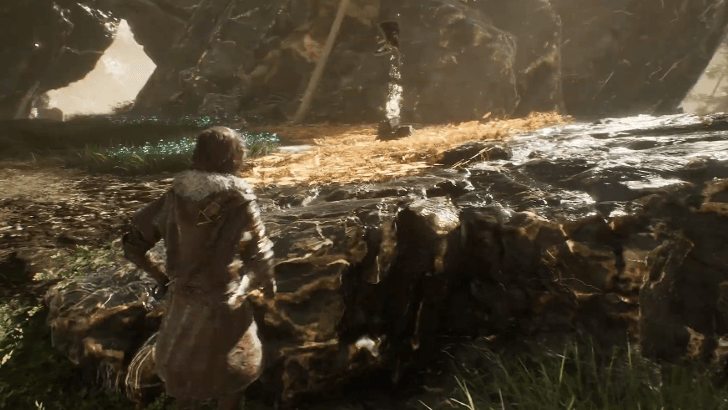 Grappling will take you to the bridge with the Expedition Flag for Tainted Meadows nearby. Head towards the right path and stick to the right section when proceeding. |
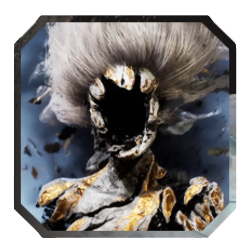
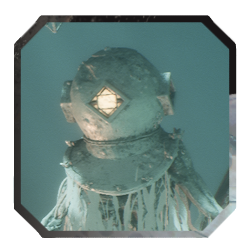
| 6 | 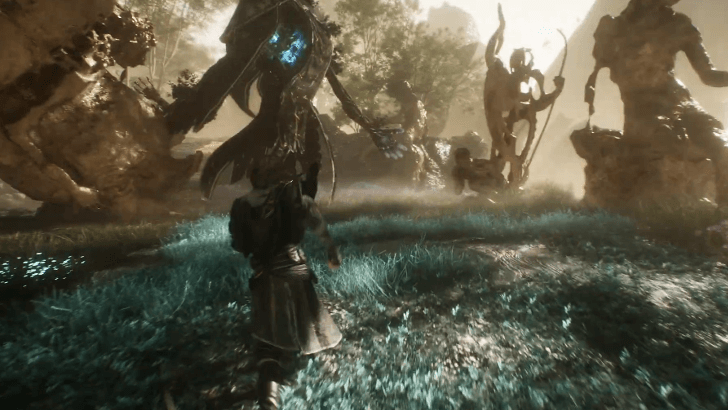 Head left to find an Eveque. Defeat it to acquire Cleansing Tint, Resplendent Chroma Catalysts, and Recoats. ▶ How to Beat Eveque |
| 7 |  After defeating Eveque, turn left to find a ledge and collect the Colour of Lumina at the end. Climb back up and follow the path that leads to the next section of the Monolith. |
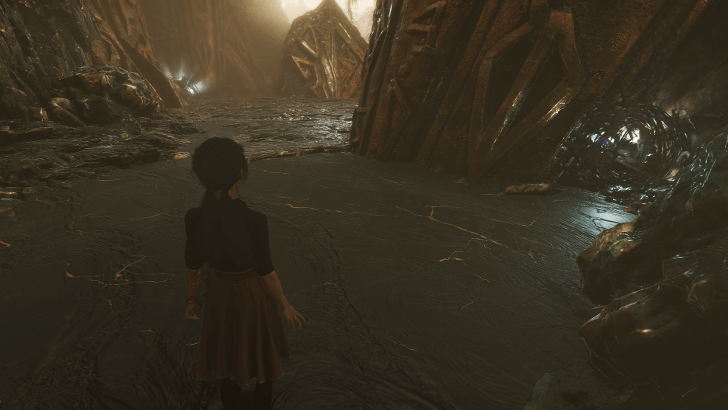
Tainted Waters
| Tainted Waters Walkthrough | |
|---|---|
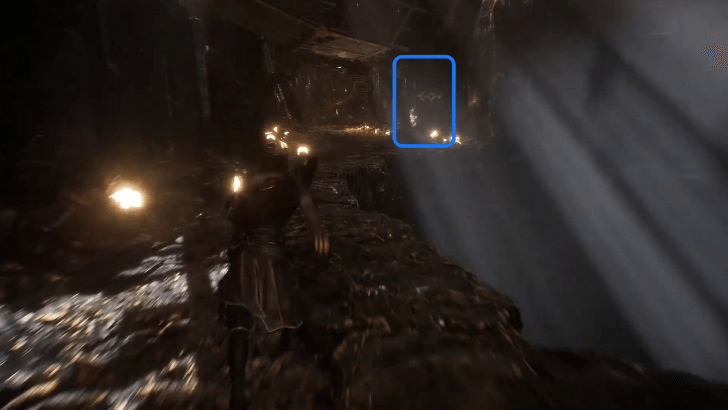
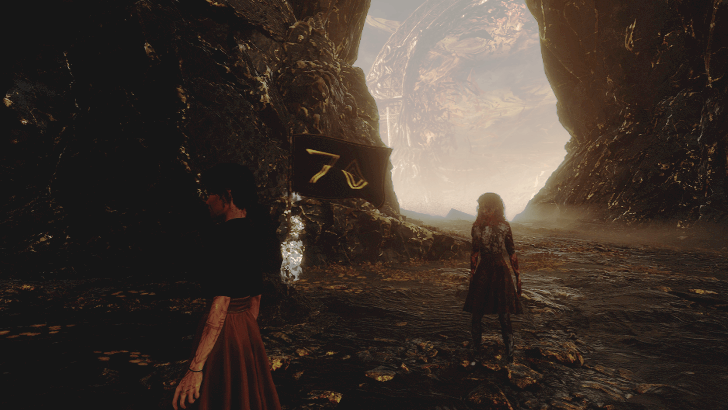
| 1 | 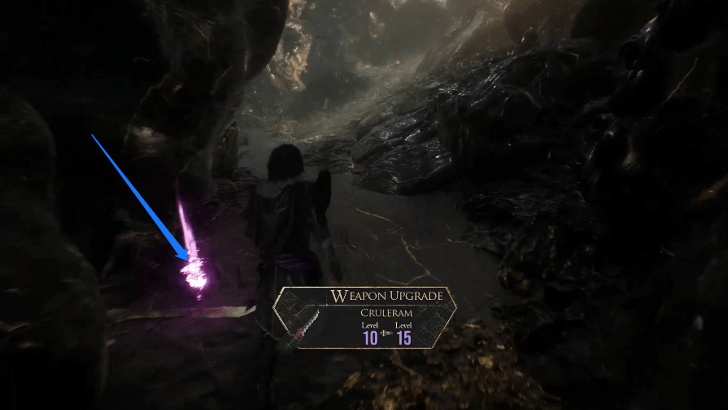 Climb the ledge and proceed, with the colors turning monochroma again. Enter the tunnel to reach the Tainted Waters section, reminiscent of the Flying Waters area. Defeat the Cruler along the way to obtain upgrades for Brulerum and Cruleram. Head left of the Cruler to find a Resplendent Chroma Catalyst. ▶ Flying Waters 100% Guide |
| 2 | 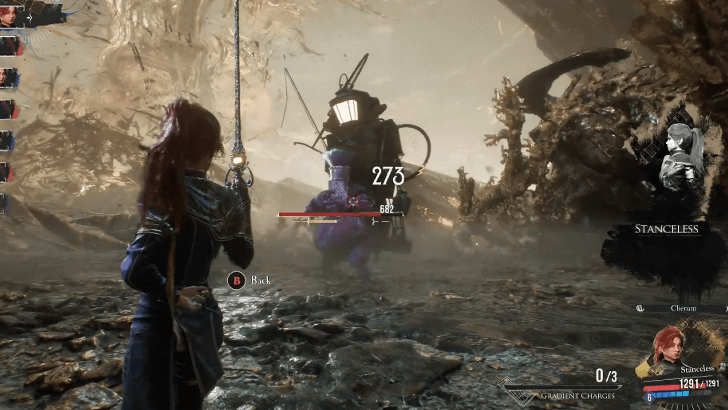 Stick to the left wall to find a path past a seaweed to find the merchant Mistra. Defeating Mistra unlocks the Energising Cleanse in their wares. ▶ Mistra Merchant Shop Items |
| 3 | 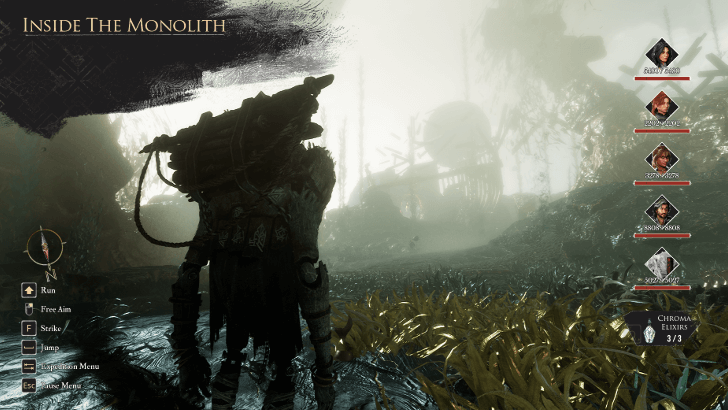 Continue onward to find the Expedition Flag for Tainted Waters. Head south towards the shipwreck after resting or leveling up. ▶ All Expedition Flags |
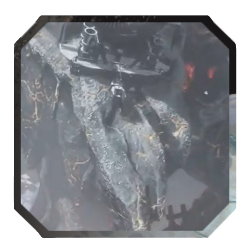
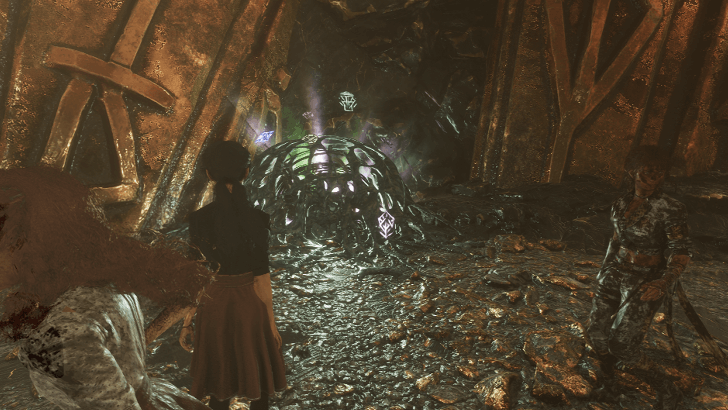
| 4 |  Enter the archway at the end of the shipwreck and grapple towards the lower platform at the edge. Continue grappling to reach an area where the Chromatic Bourgeon is found. |
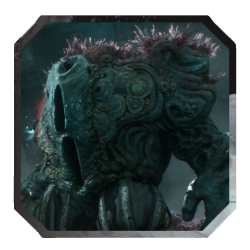
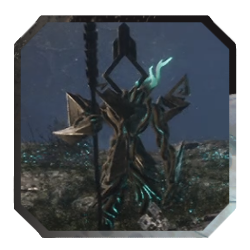
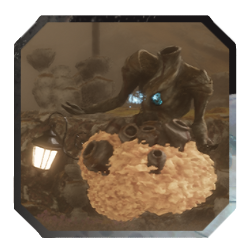
| 5 | 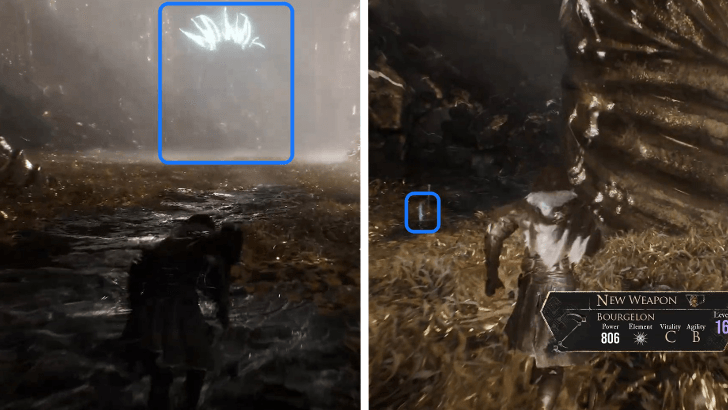 Defeat the Chromatic Bourgeon to obtain a Bourgelon, a Bourgeon Skin, Resplendent Chroma Catalysts, and Colours of Lumina. Collect the loot behind the boss to acquire the Stay Marked Picto. ▶ How to Beat Chromatic Bourgeon |
| 6 | 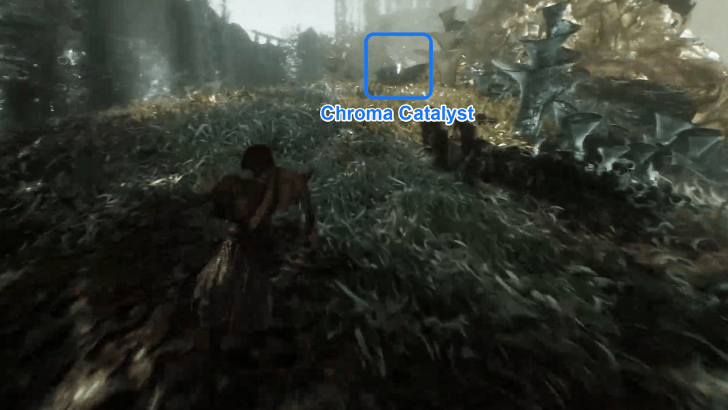 Return to the previous area and exit the shipwreck. Head towards the giant anchor to find a Resplendent Chroma Catalyst. |
| 7 | 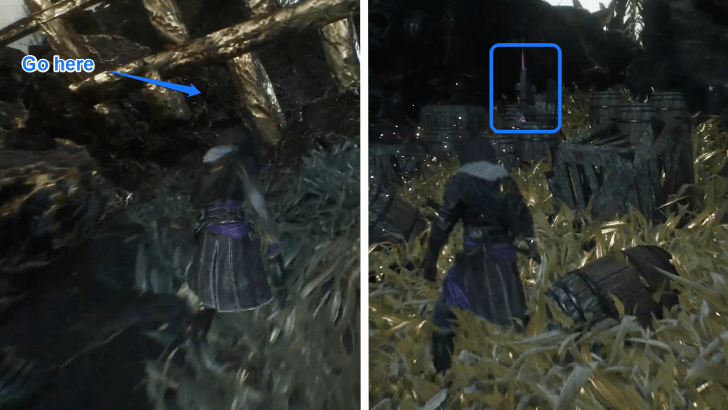 Before approaching the Obscur enemy, turn right and stick to the wall to find a small opening with a Demineur inside. Crawl under the golden shipwreck to find a Colour of Lumina behind the barrels. |
| 8 | 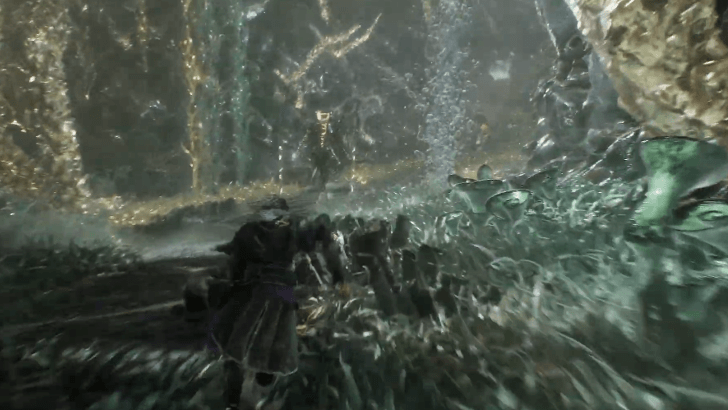 Return and defeat Obscur to acquire a Resplendent Chroma Catalyst. Enter the cave and ascend the light rope to reach the next section of The Monolith. |
Tainted Sanctuary
| Tainted Sanctuary Walkthrough | |
|---|---|
| 1 |
Past the light rope is the Expedition Flag for Tainted Sanctuary. The following section will have similarities in enemy and vicinity with Ancient Sanctuary.
▶Ancient Sanctuary 100% Guide |
| 2 | Take the right path from the Expedition Flag to find a Colour of Lumina. Return to the rest point afterward. |
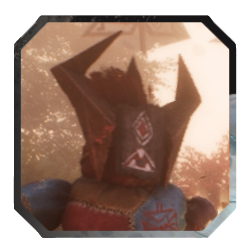
| 3 |  Move forward and head towards the left path. Defeat the Robust and Ranger Sakapatate to get a level 15 Sakaram. |
| 4 | 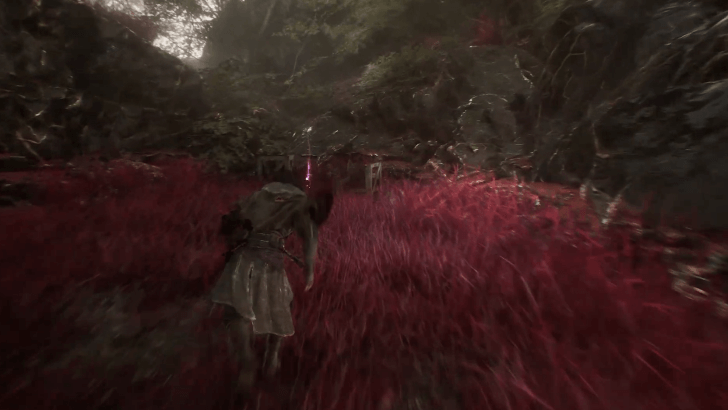 Continue until the end of the path. Destroy the wooden crates to collect a Colour of Lumina, then head to the path with statues. |
| 5 | 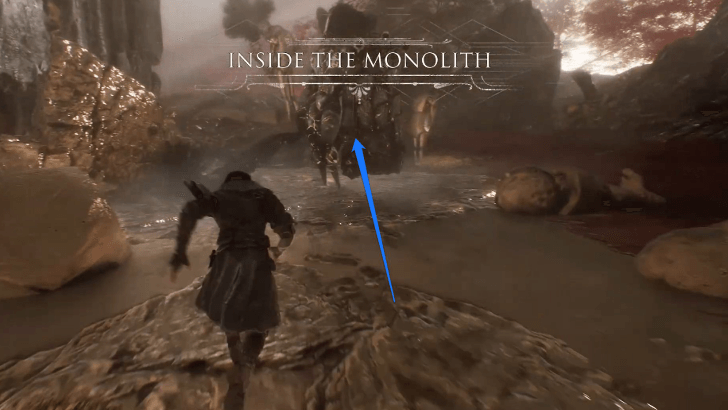 Defeat the Ultimate Sakapatate in the area to acquire a Resplendent Chroma Catalyst. Afterwards, head towards the western wall. |
| 6 | 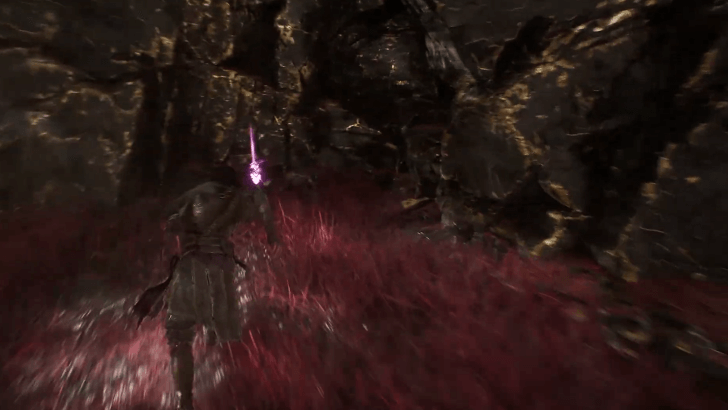 From the western wall, turn right—or north—and follow the path. Collect the Resplendent Chroma Catalyst behind a rock and return to the western wall. |
| 7 |  Turn left—or south—and crawl under the gap to find the Paint Cage of the section. Note that this Paint Cage requires finding at least 4 Lost Gestrals to break, as one of the locks is hidden behind a Paint Spike. Break the cage to acquire the Random Defense Picto. ▶ Lost Gestral Locations |
| 8 |
 Return to the area before the Paint Cage and defeat the Clair enemy to acquire a Trebuchim. Enter the tunnel past it to enter the next section of the Monolith. |
Tainted Cliffs
| Tainted Cliffs Walkthrough | |
|---|---|
| 1 | Past the tunnel and near the staircase is the Expedition Flag for Tainted Cliffs resembling the Stone Wave Cliffs. Turn right after climbing the stairs to find a Resplendent Chroma Catalyst near the edge.
▶ Stone Wave Cliffs Walkthrough |
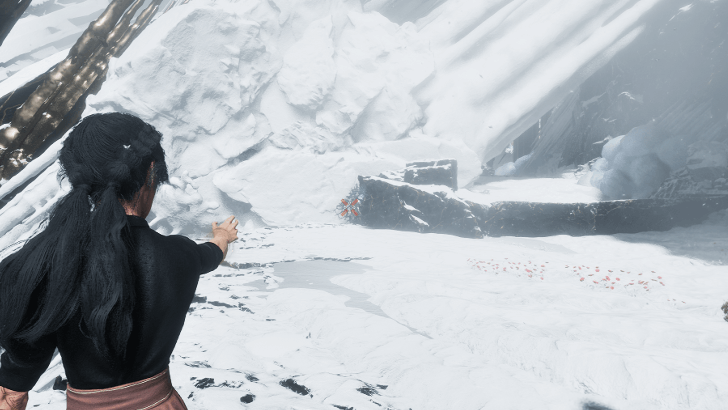
| 2 | 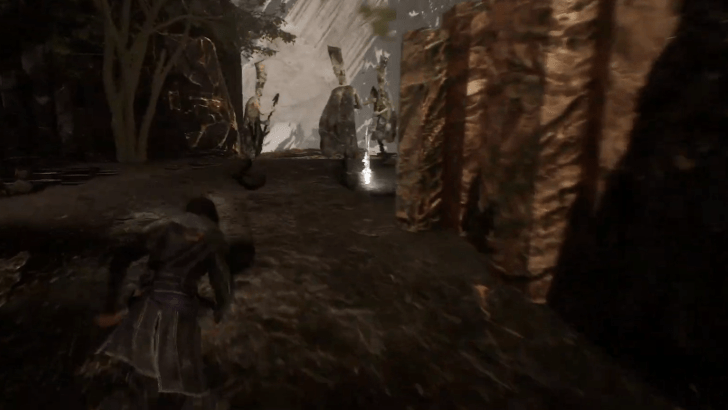 Cross the gap via the grapple point and continue onward until the colors turn monochrome. Turn right and defeat the Reaper Cultists to acquire Chation and collect the Chroma on the ground. |
| 3 | 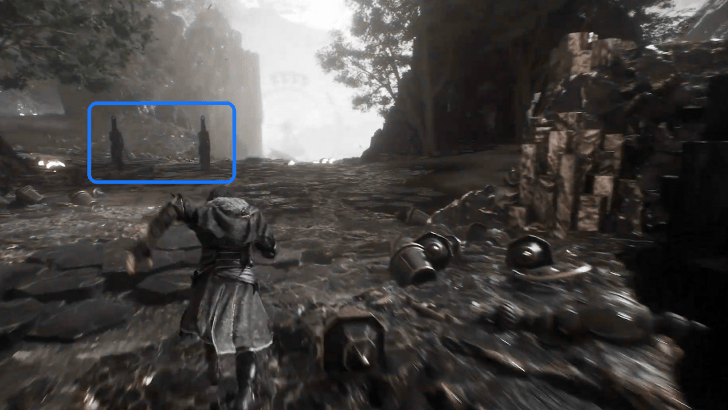 Afterwards, defeat the nearby pair of Greatsword Cultists to acquire the Energising Pain Picto. |
| 4 |  Take the right path to find a Petank. Defeating this Petank awards Resplendent Chroma Catalyst x5, Recoat x1, and Colour of Lumina x5. ▶ How to Catch Petanks |
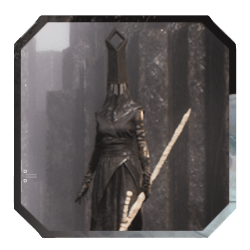
| 5 | 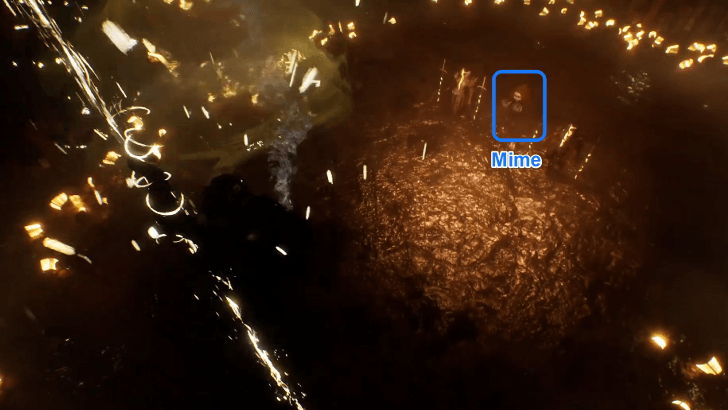 Continue south to find a shrine similar to the Paintress Shrine in Stone Wave Cliffs. Facing the shrine, turn left and descend the light rope to find a Mime. Defeat the Mime to acquire the Voluminous Haircut for Maelle. ▶ All Mime Locations and Weaknesses |
| 6 | 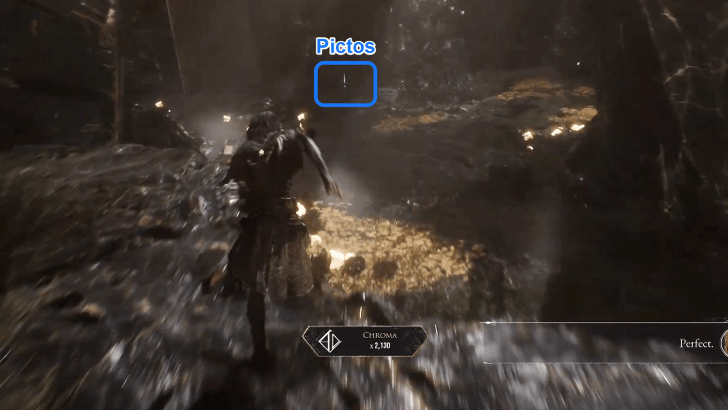 Return to the shrine and take the right path. Head behind the large rock on the right to find the Weakness Gain Picto. Defeat the Obscur enemy after and enter the tunnel past it to reach the next section of the Monolith. |
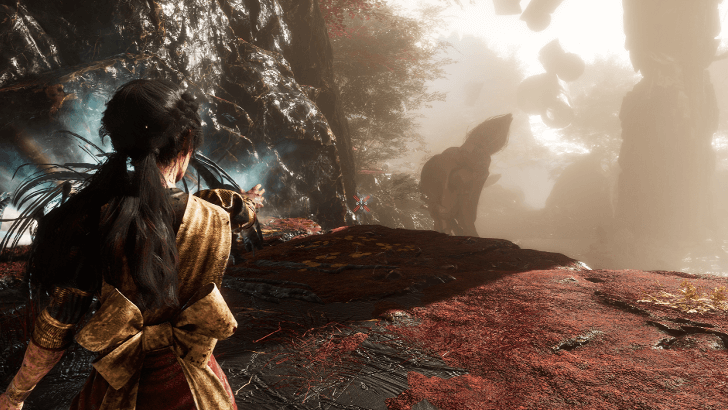
Tainted Battlefield
| Tainted Battlefield Walkthrough | |
|---|---|
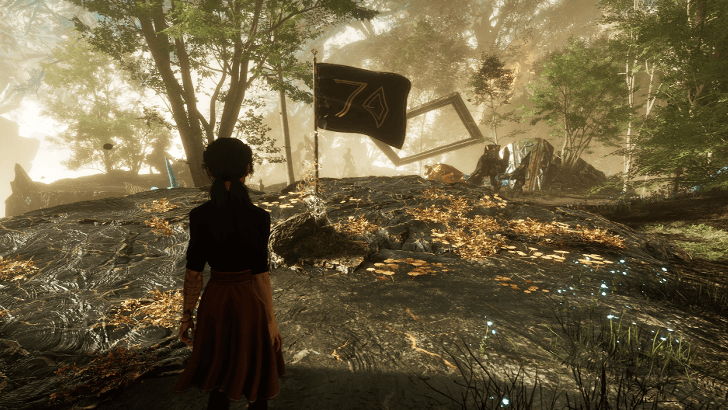
| 1 | 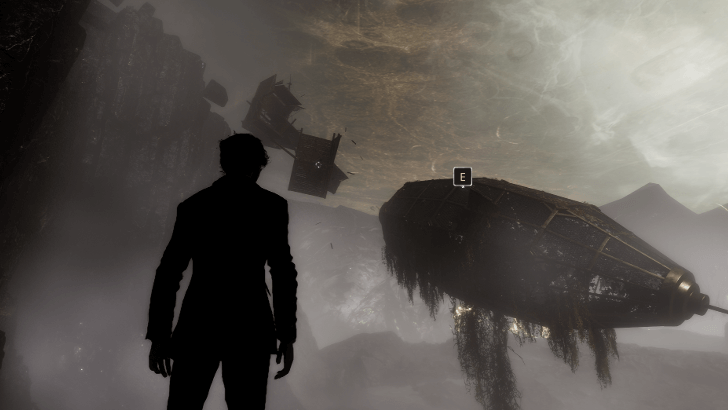 Continue via multiple grapples to arrive at the Expedition Flag for the Tainted Battlefield section resembling the Forgotten Battlefield. ▶ Forgotten Battlefield Walkthrough |
| 2 | 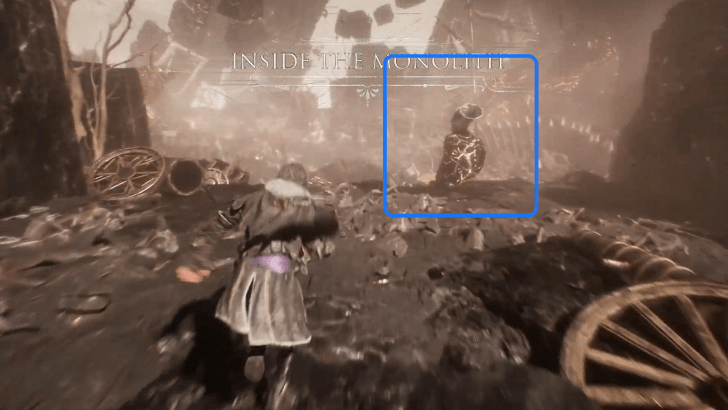 Ascend the ramp past the flag and defeat the Troubadour by the edge to acquire the Troubadim weapon and Longer Shell Picto. |
| 3 | 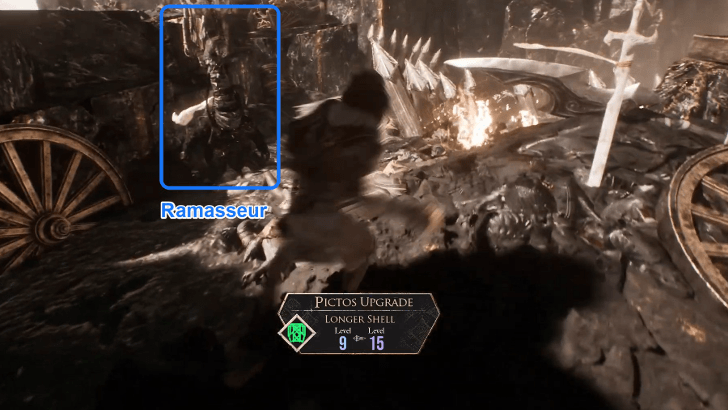 Jump down the ledge and fight the Ramasseur to acquire a Ramasson. |
| 4 | Press forward and defeat the Clair enemy. Ascend the left slope past it to acquire a Colour of Lumina. |
| 5 | 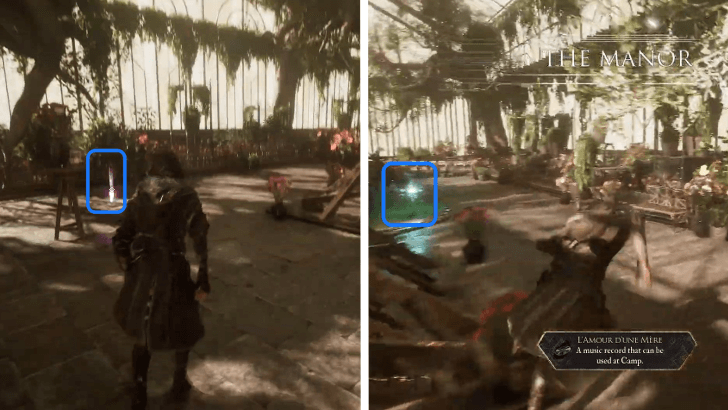 Follow the path until you arrive at a gravestone. Turn left to enter a cavern that leads to a Manor Door. Enter the Manor to find the entrance to the rooftop gardens. Collect the L'amour Dune Mere music record and Aline's Journal inside, then return to the Monolith. ▶ All Expedition Journal Locations |
| 6 | Head towards the path opposite of the cavern. Grapple towards multiple platforms to enter the next section of the Monolith. |
Tainted Hearts
| Tainted Hearts Walkthrough | |
|---|---|
| 1 |
After grappling over multiple platforms, head towards the Expedition Flag for the Tainted Hearts section of the Monolith. This following section will bear similarities to the Monoco's Station and Frozen Hearts areas.
▶ Frozen Hearts 100% Guide |
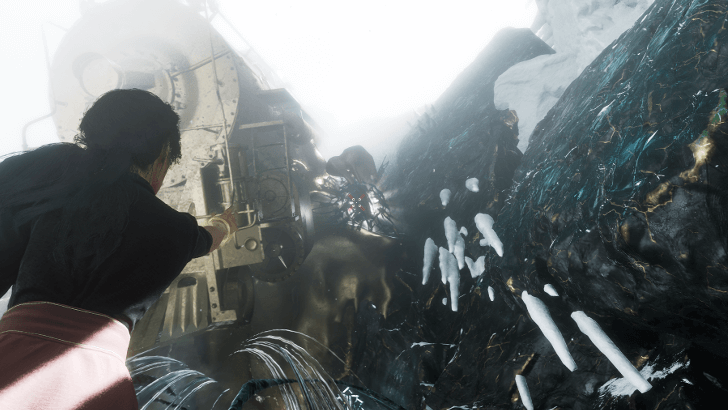
| 2 | 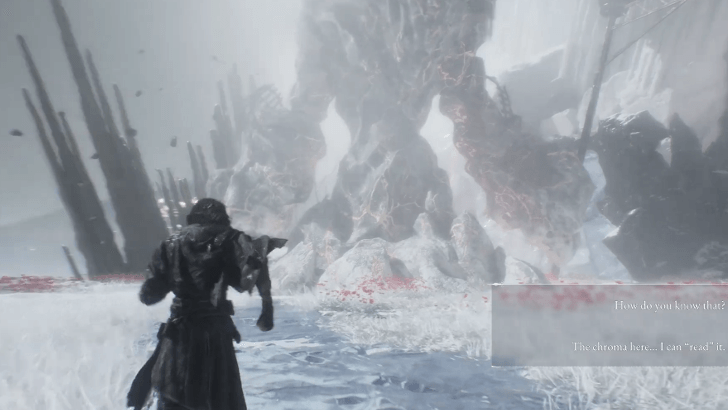 Enter the station and turn left after exiting. Defeat Gargant and scale the wall behind it. ▶ How to Beat Gargant |
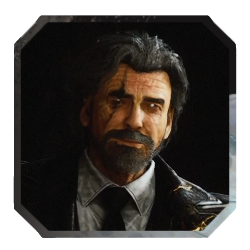
| 3 |  Speak to the Gestral Merchant Melosh after climbing. Defeating them in battle stocks the Greater Defenceless Picto in their shop. ▶ Melosh Merchant Shop Items |
| 4 | 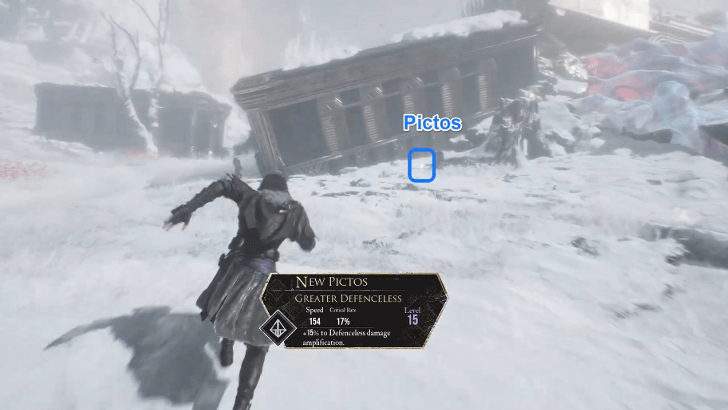 Head past the merchant and collect the Enfeebling Attack Picto by the train car on the right. |
| 5 | 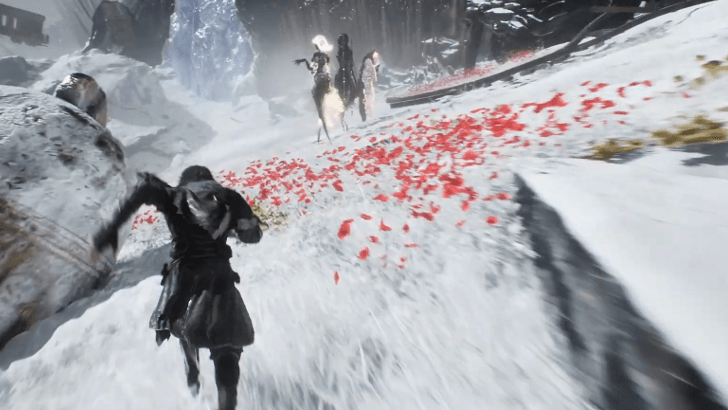 Move past the train cars and head up the slope. Defeat the Obscur enemy near the next station to acquire Braselim and Resplendent Chroma Catalyst x4. |
| 6 | 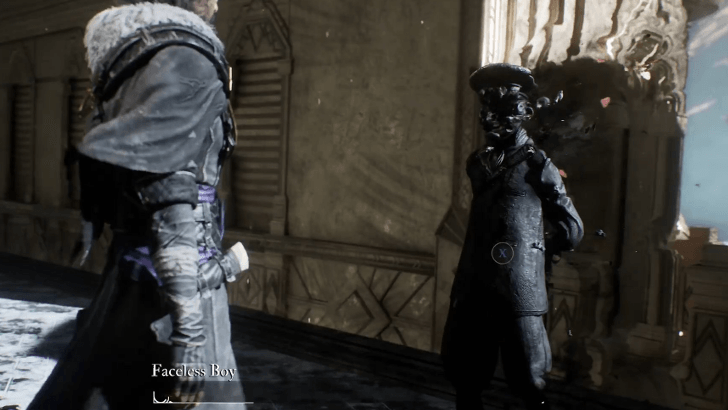 Enter the station and speak to the Faceless Boy by the train. Ask for the possible destinations and agree to be taken there to reach the next section of the Monolith. |
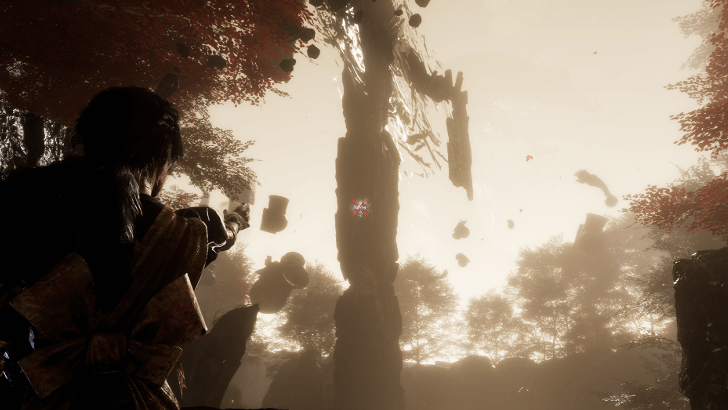
Tainted Lumiere
| Tainted Lumiere Walkthrough | |
|---|---|
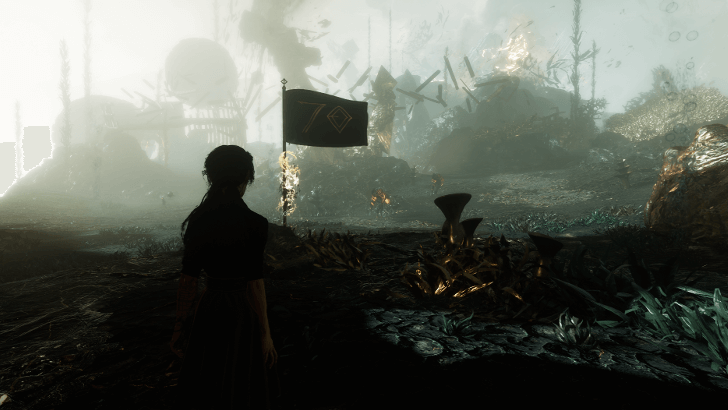
| 1 |
Players will arrive at Tainted Lumiere after departing from the train station in Tainted Hearts. An Expedition Flag for the section is seen immediately upon arrival.
▶ All Expedition Flags |
| 2 | 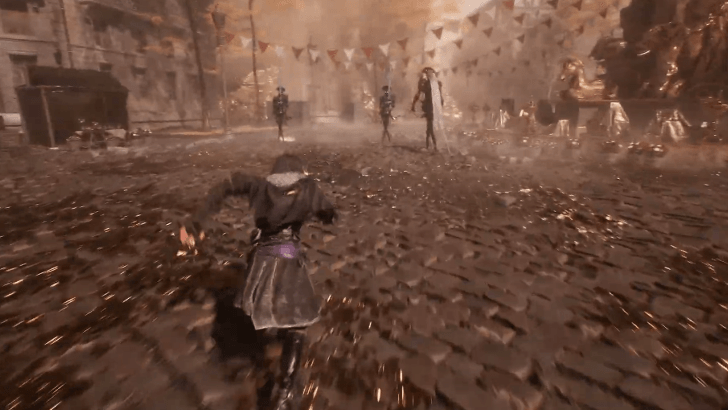 Stick to the left section of the area and defeat the Ceramic Chevalieres to acquire the Perilous Parry Picto. |
| 3 | 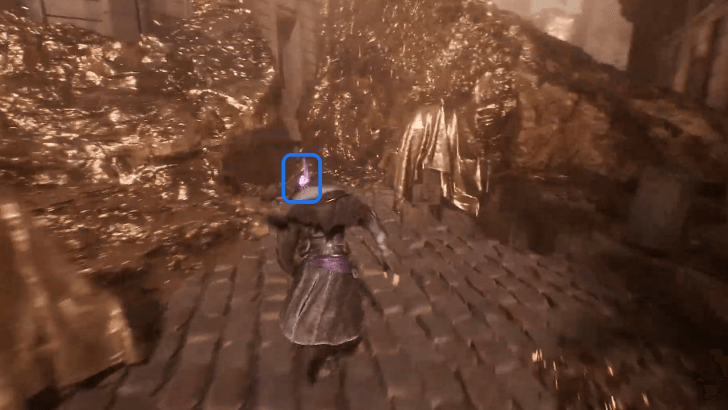 Collect the Recoat found in the corner by the golden rocks. Continue onward and move past the golden statue. |
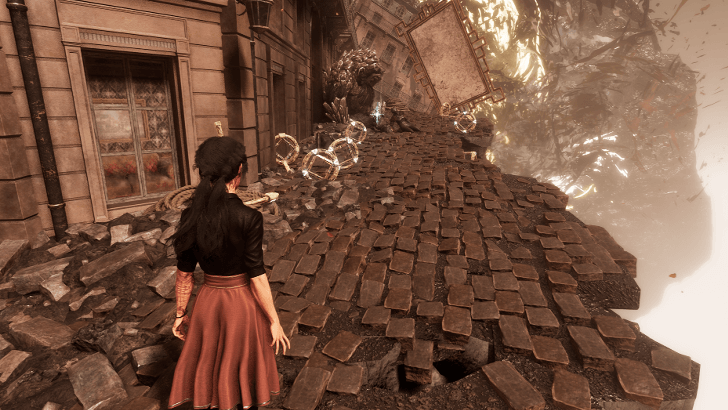
| 4 | 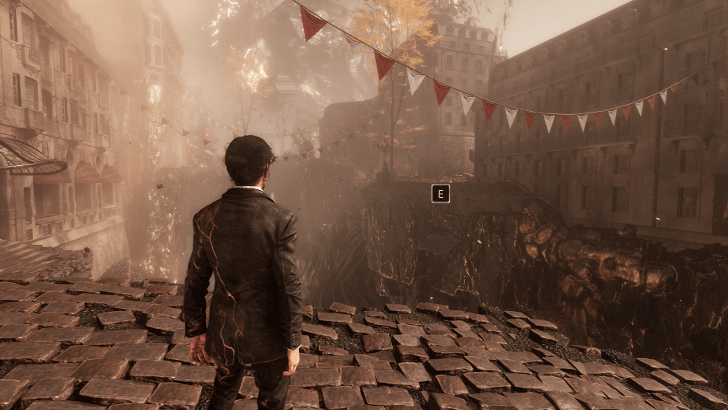 At the end of the path past the statue, grapple over the gap and exit the alley after. Turn right to grapple onto another platform, then head to the southeast corner and grapple over. |
| 5 |  Stick to the cliff on the right and collect the Colour of Lumina on a chair. Watch out for the nearby Ceramic Chevaliere. |
| 6 | 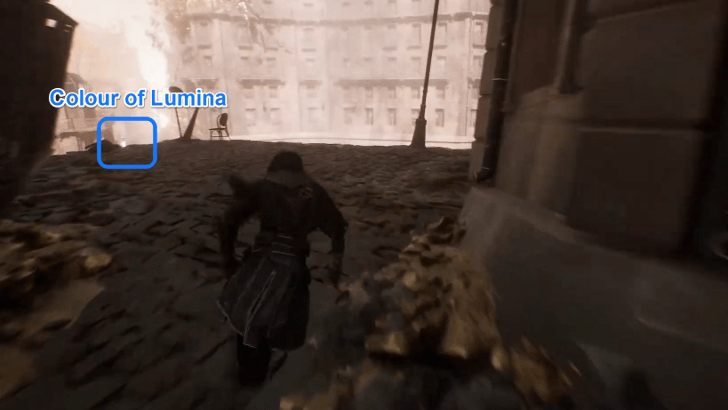 Continue moving forward while sticking to the right wall to arrive at a plaza with a tree at the center. Collect the Colour of Lumina along the way and enter the eastern alley. |
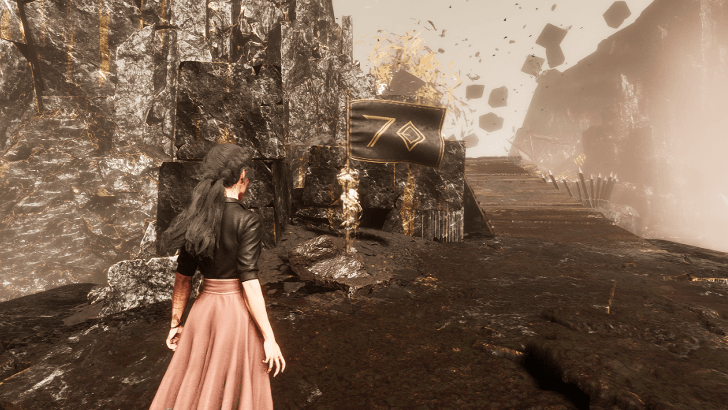
| 7 |  Grapple over multiple platforms to find the Expedition 70 Journal at the end, behind a group of Chevalieres. ▶ All Expedition Journal Locations |
| 8 | 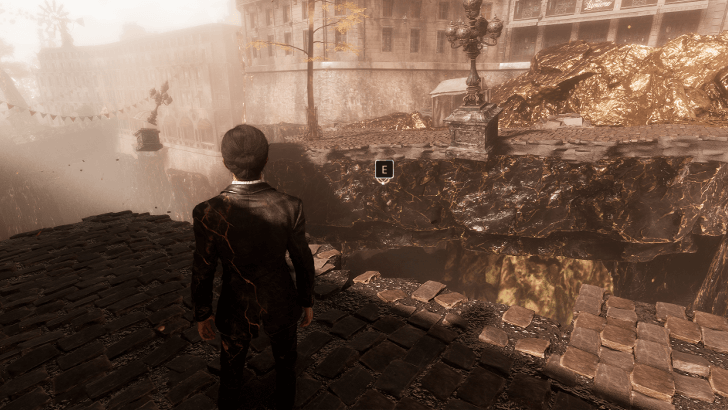 Return to the plaza and enter the crevice along the right wall. After emerging, turn left and head down the path. Grapple over to the next platform at the end. |
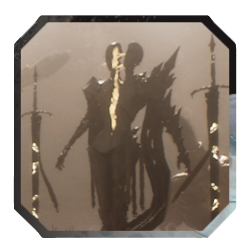
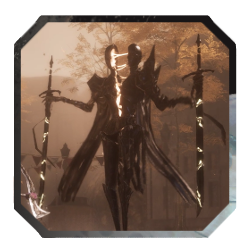
| 9 | 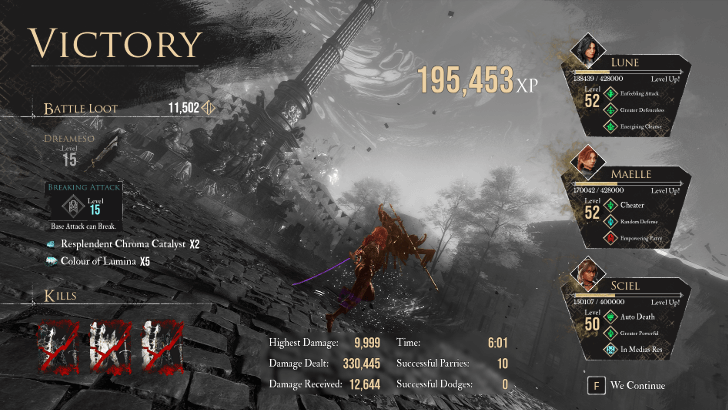 Defeat the Clair Obscur optional boss to acquire the Dreameso weapon and Breaking Attack Picto. Collect the loot on the table behind the boss to acquire Lithelim. ▶ How to Beat Clair Obscur (Boss) |
| 10 | 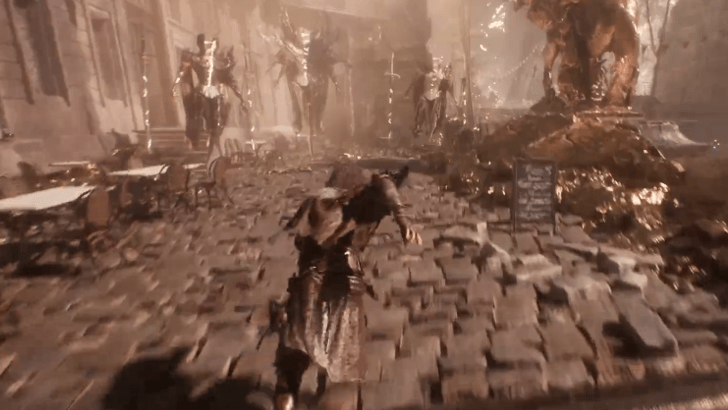 Return to the previous platform and fight the pair of Clair and Obscur enemies at the center. Descend the stairs past the enemies to enter the final section of Inside the Monolith. |
Tower Peak
| Tower Peak Walkthrough | |
|---|---|
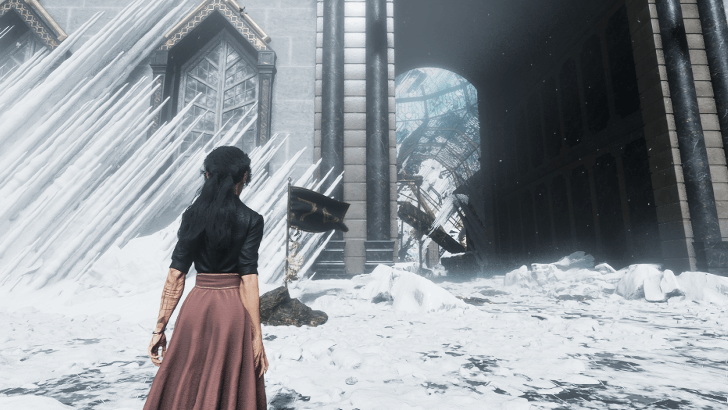
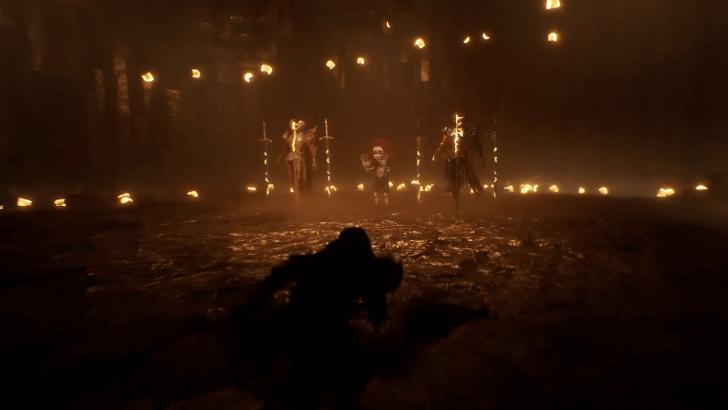
| 1 | 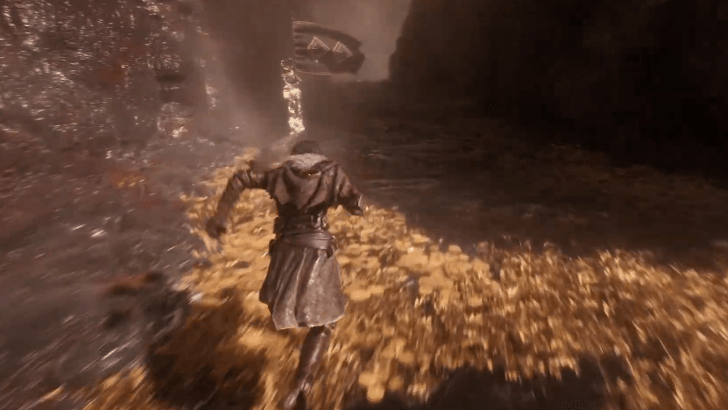 Near the crevice is the Expedition Flag for Tower Peaks. Rest up to prepare for a boss fight within the cavern. Enter the crevice and proceed; a cutscene will trigger shortly after. ▶ All Expedition Flags |
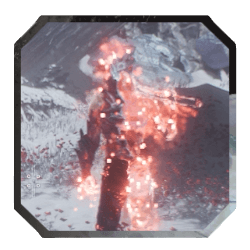
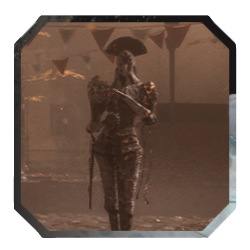
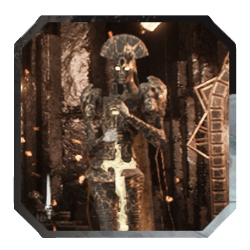
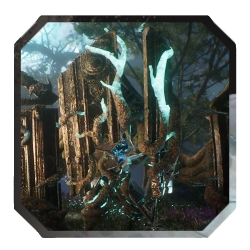
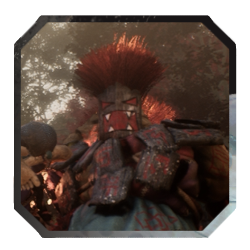
| 2 | 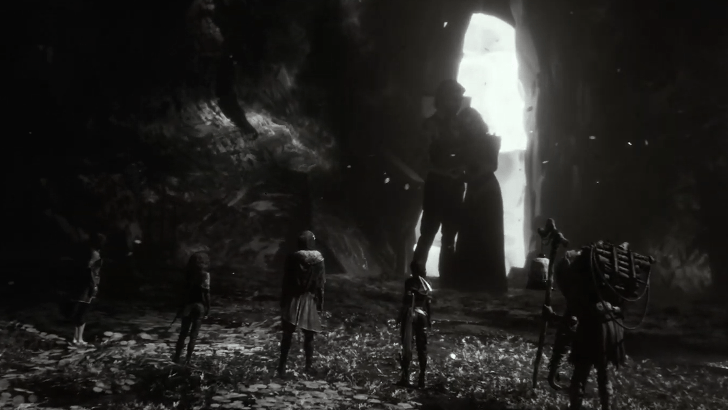 A fight with Renoir starts immediately after the cutscene. Eliminate him to acquire the Second Chance Picto and the Renoir's Suit Outfit for Verso. ▶ How to Beat Renoir (Second Fight) |
| 3 | After defeating Renoir, enter the portal at the end of the cave to arrive at Monolith Peak. Rest at the Expedition Flag to prepare for an upcoming boss fight. |
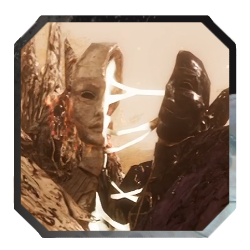
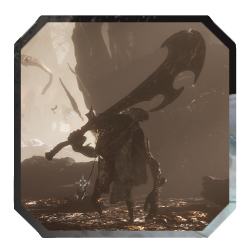
| 4 | 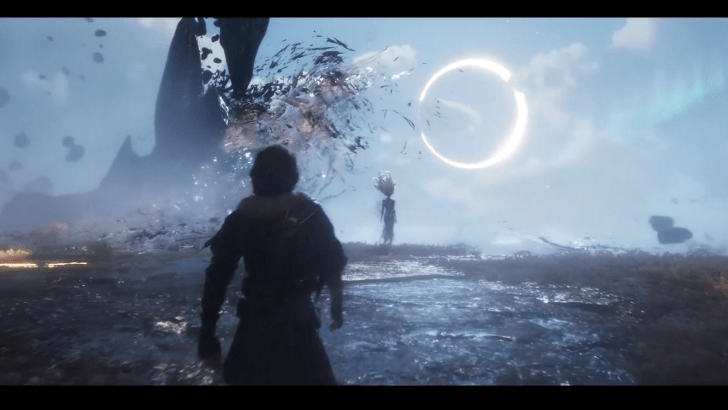 Approach the Paintress to trigger a cutscene where a boss fight will occur immediately after. She will drop the Painted Power Picto when defeated. ▶ How to Beat The Paintress |
| 5 | Several cutscenes will occur after defeating the Paintress. The game shifts to Alicia's POV inside the Manor once the cutscenes are over. |
| 6 | Head towards the large door past the dining hall to find Clea. Enter the Canvas after the cutscene ends. |
| 7 | Players will regain control after the conversation between Maelle and Verso. Continue onward and follow the linear path to meet Renoir. |
| 8 |  Speak to Renoir to trigger another cutscene. Players will be sent to Camp afterward. Choose to start the greatest Expedition ever at the campfire to mark the end of Act 2. |
How to Get to The Monolith
Northernmost Area of The Continent
The Monolith is found north of The Continent. It is the final area of Act 2, accessible after completing both Visages and Sirene and obtaining the Barrier Breaker weapon from The Curator.
Interactive Map: All Locations and Areas
How to Catch Petank in The Monolith
Lead the Green Petank to the Trap
To trap the Petank in The Monolith, approach it from the left and have it flee towards the slope behind the rock. Once it flees to an open space, circle around it and approach from the right. Continue the pursuit until it lands on the trap.
To defeat this Petank, shoot the teleporting green orb on its last turn before it flees. Awards Resplendent Chroma Catalyst x5, Recoat x1, and Colour of Lumina x5 upon victory.
The Monolith Boss Locations
| Boss | Quest & Weakness |
|---|---|
 Renoir Renoir |
Weakness: None Drop: • Renoir's Suit (Verso) • Second Chance • Resplendent Chroma Catalyst x3 |
 The Paintress The Paintress |
Weakness: None Drop: • Painted Power • Resplendent Chroma Catalyst x3 • Recoat x2 |
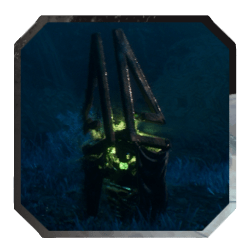
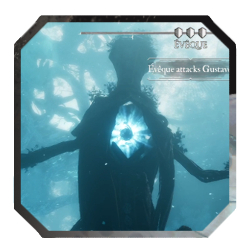 Eveque Eveque |
Weakness: Ice Drop: • Cleansing Tint |
 Chromatic Bourgeon Chromatic Bourgeon |
Weakness: None Drop: • Bourgelon • Bourgeon Skin • Resplendent Chroma Catalyst • Colour of Lumina x5 |
 Ultimate Sakapatate Ultimate Sakapatate
|
Weakness: Fire Drop: • Resplendent Chroma Catalyst |
 Gargant Gargant |
Weakness: Fire or Ice Drop: • Resplendent Chroma Catalyst x3 |
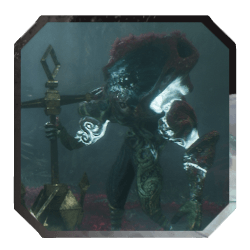
 Clair Obscur Clair Obscur |
Weakness: None Drop: • Dreameso • Resplendent Chroma Catalyst x2 • Colour of Lumina x5 |
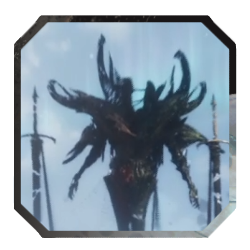 Chromatic Clair Obscur Chromatic Clair Obscur |
Weakness: None Drop: • Combo Attack II • Grandiose Chroma Catalyst x2 • Colour of Lumina x5 |
Renoir and The Paintress are the main story bosses in The Monolith. Both bosses are encountered past the Tower Peak Expedition Flag.
Eveque, Ultimate Sakapatate, Gargant, Chromatic Bourgeon, and Clair Obscur are the optional bosses found in each section. These bosses are found in Tainted Meadows, Tainted Waters, Tainted Sanctuary, Tainted Hearts, and Tainted Lumiere respectively.
Chromatic Clair Obscur is encountered in Monolith Peak after defeating The Paintress.
The Monolith Fast Travel Locations
| The Monolith Rest Points | |
|---|---|
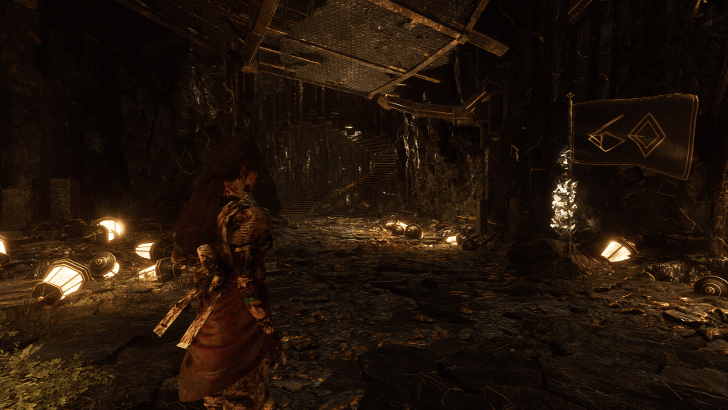
 1. The Monolith - Entrance Found immediately upon entering The Monolith. Cannot be used to fast travel to Inside the Monolith rest points. |
 2. Inside the Monolith - Entrance Found shortly after entering Inside the Monolith. |
 3. Tainted Meadows Found shortly past the Entrance rest point. |
 4. Tainted Waters Found past the Obscur enemy in Tainted Meadows. |
 5. Tainted Sanctuary Found past the Obscur enemy beside the ship in Tainted Waters. |
 6. Tainted Cliffs Found past the Clair enemy in Tainted Sanctuary. |
 7. Tainted Battlefield Found past the Obscur enemy in Tainted Cliffs. |
 8. Tainted Hearts Found past the Clair enemy in Tainted Battlefield. |
 9. Tainted Lumiere Found immediately after riding the train to Lumiere at the end of Tainted Hearts. |
 10. Tower Peak Found at the entrance of the main story boss area past Tainted Lumiere. |
 11. Monolith Peak - Entrance Found past the main story boss of the area. Cannot be used to fast travel to Inside the Monolith rest points. |
|
The Monolith Weapon Locations
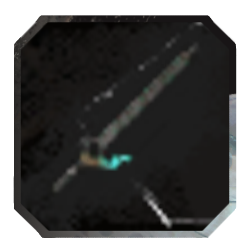
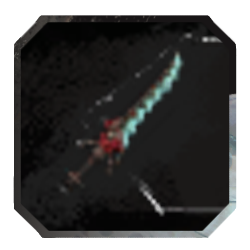
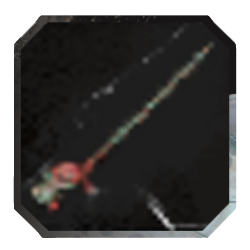
| All Monolith Weapons |
 Lanceram Lanceram
|
 Cruleram Cruleram
|
 Brulerum Brulerum
|
|---|---|---|
 Troubadim Troubadim
|
 Trebuchim Trebuchim
|
 Chation Chation
|
 Ramasson Ramasson
|
 Veremum Veremum
|
 Fragaro Fragaro
|
 Braselim Braselim
|
 Dreameso Dreameso
|
 Bourgelon Bourgelon
|
 Garganon Garganon
|
 Lithelim Lithelim
|
|
There are 14 weapons to be found in The Monolith. These weapons are either acquired as drops from enemies, bought from a merchant, or collected as loot within the area.
The Monolith Pictos Locations
There are 14 Pictos to be found in The Monolith. These Pictos are either acquired as drops from enemies, bought from a merchant, or collected as loot within the area.
The Monolith Outfit and Haircut Locations
Voluminous Haircut for Maelle
 Voluminous Haircut |
Defeat the Mime in Tainted Cliffs.
Renoir's Suit Outfit for Verso
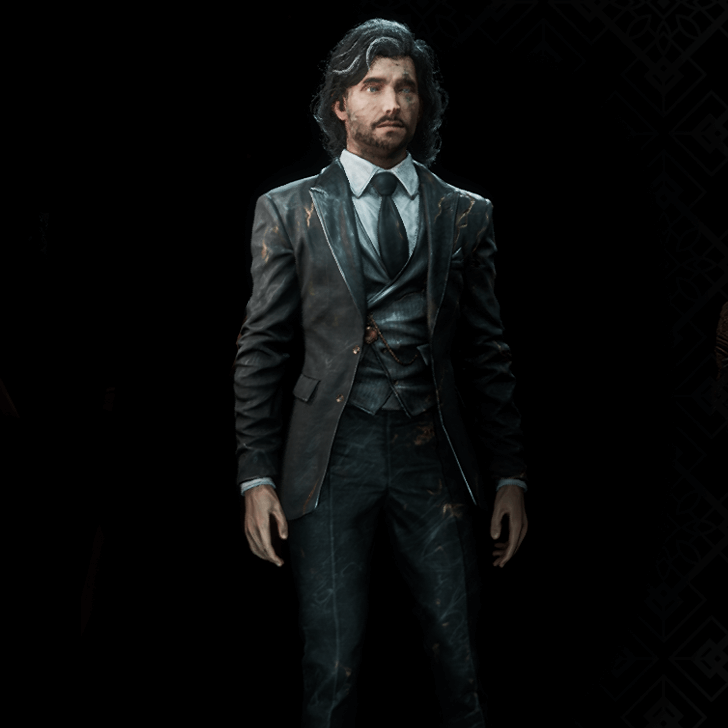 Renoir's Suit |
Defeat Renoir in Tower Peaks.
All Cosmetics: Outfits and Haircuts
The Monolith NPC Locations
| List of NPCs in The Monolith | ||
|---|---|---|
| Mistra | Melosh | |
This is a list of all NPCs you can find in The Monolith. Find the locations of all NPCs and what services they provide in our guide below.
List of All NPCs and Locations
The Monolith Enemies
| Enemy | Elemental Affinities |
|---|---|
 Abbest Abbest |
Weak: Ice Resist: Physical Immune: None Absorb: None |
 Braseleur Braseleur |
Weak: Ice Resist: None Immune: None Absorb: Fire |
 Bruler Bruler |
Weak: Lightning Resist: None Immune: None Absorb: None |
 Catapult Sakapatate Catapult Sakapatate |
Weak: Fire Resist: None Immune: None Absorb: None |
 Ceramic Chevaliere Ceramic Chevaliere |
Weak: Fire, Ice, Lightning, Earth, Dark, Light Resist: None Immune: None Absorb: None |
 Chalier Chalier |
Weak: Light Resist: Dark Immune: None Absorb: None |
 Clair Clair |
Weak: Dark Resist: None Immune: Light Absorb: None |
 Cruler Cruler |
Weak: Lightning Resist: None Immune: None Absorb: None |
 Danseuse Danseuse |
Weak: Fire (Ice Stance), Ice (Fire Stance) Resist: None Immune: None Absorb: Fire (Fire Stance), Ice (Ice Stance) |
 Demineur Demineur |
Weak: Lightning Resist: None Immune: None Absorb: None |
 Gold Chevaliere Gold Chevaliere |
Weak: Light, Dark Resist: Fire, Ice Immune: None Absorb: None |
 Greatsword Cultist Greatsword Cultist |
Weak: Dark Resist: None Immune: None Absorb: None |
 Hexga Hexga |
Weak: Ice Resist: Fire Immune: None Absorb: None |
 Lancelier Lancelier |
Weak: Ice Resist: None Immune: None Absorb: None |
 Obscur Obscur |
Weak: Light Resist: None Immune: Dark Absorb: None |
 Portier Portier |
Weak: Ice Resist: None Immune: None Absorb: None |
 Potier Potier |
Weak: None Resist: None Immune: None Absorb: None |
 Ramasseur Ramasseur |
Weak: Light Resist: Dark Immune: None Absorb: None |
 Ranger Sakapatate Ranger Sakapatate |
Weak: Fire Resist: Lightning Immune: None Absorb: None |
 Reaper Cultist Reaper Cultist |
Weak: Dark Resist: None Immune: None Absorb: None |
 Robust Sakapatate Robust Sakapatate |
Weak: Fire Resist: Lightning Immune: None Absorb: None |
 Steel Chevaliere Steel Chevaliere |
Weak: Physical Resist: None Immune: None Absorb: None |
 Troubadour Troubadour |
Weak: Light Resist: Dark Immune: None Absorb: None |
List of Enemies and Weaknesses
Mime Location
| Mime | Location |
|---|---|
 The Monolith Mime |
Follow the path past the Tainted Cliffs rest point then turn left upon arriving at the shrine. Ride the zipline down to find the Mime accompanied by the Clair and Obscur enemies. |
All Mime Locations and How to Beat Them
The Monolith Paint Cage
Tainted Meadows Paint Cage
 Along the path towards the Tainted Meadows rest point from the Entrance, ride the ziplines down to the second level to find the Paint Cage. Awards a Revive Tint Shard when broken. |
|
| World View | Description |
|---|---|
 |
Facing the Paint Cage, turn left to find the lock next to the zipline. |
 |
Found on the rock in the middle of the area. |
 |
Facing the Paint Cage, head to the far left section of the area past a group of enemies. |
Tainted Sanctuary Paint Cage
 Along the path towards the Clair enemy at the end of Tainted Sanctuary, head inside the small gap and follow the path to find the Paint Cage. Awards Random Defense when broken. |
|
| World View | Description |
|---|---|
 |
Facing the Paint Cage, turn right to find the lock attached to the stone pillar. |
 |
Found on the cliff face next to Paint Cage. |
|
Facing the Paint Cage, turn around then head down the right path. Destroy the Paint Spike to find the lock. |
Tainted Hearts Paint Cage
 After exiting the station, turn left towards the Gargant enemy, then grapple along the cliffside towards the next platform to find the Paint Cage. Awards Empowering Parry when broken. |
|
| World View | Description |
|---|---|
 |
Found along the path towards the Paint Cage. |
 |
Found attached to the train directly above the Paint Cage. |
 |
Face the path from where you came from to find the lock along the left side of the ledge. |
The Monolith Journal Location
| Journal | How to Get |
|---|---|
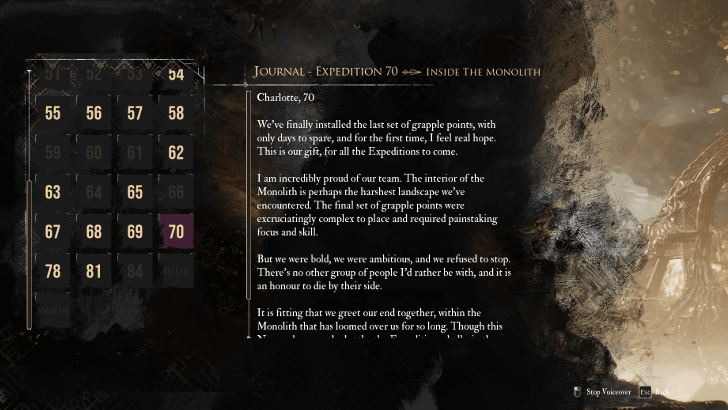 Expedition 70 - Charlotte |
 From the Tainted Lumiere rest point, progress until you reach a plaza with a tree with yellow leaves at the center. Head inside the eastern alley and grapple towards a few platforms to find the journal at the end behind a group of Chevalieres. |
Clair Obscur: Expedition 33 Related Guides

All Locations
Author

The Monolith Walkthrough
Please participate in our site
improvement survey
03/2026
improvement survey
03/2026
Would you assist in
improving Game8's site?
improving Game8's site?

×
We are listening to our users' valuable opinions and discussing how to act on them.
The information collected through this survey will be used for the purpose of improving our services. In addition, the information will only be disclosed a part of a statistic in a format that will not allow identification of personal information.
Begin Survey
Not Now
×
Please rate each item regarding Game8.co's Advertisements.
Amount of Ads
Very Dissatisfied
Somewhat Dissatisfied
Fine
Somewhat Satisfied
Highly Satisfied
Placement of Ads
Timing of Ad Display
Ad Loading Speed
Safeness of Ads
Content of Ads
×
Please rate each item regarding Game8.co's Quality of Articles.
Amount of information
Very Dissatisfied
Somewhat Dissatisfied
Fine
Somewhat Satisfied
Highly Satisfied
Frequency of updates
Speed of new information
Accuracy of articles
Understandibility of articles
Readability of sentences
×
Please rate each item regarding Game8.co's Usability of the Site.
Ease of finding information
Very Dissatisfied
Somewhat Dissatisfied
Fine
Somewhat Satisfied
Highly Satisfied
Loading Speed
Use of Color
Font Size
Visibility of Images
Easy to Understand Layout
×
Please rate each item regarding Game8.co's Message Boards, Comments.
Ease of Writing
Very Dissatisfied
Somewhat Dissatisfied
Fine
Somewhat Satisfied
Highly Satisfied
Readability
Ease in Finding Information
Comment Quality
Comment Quantity
Admin Response
×
Please rate each item regarding Game8.co's Site's new design.
Please rate our site's new design
Very Dissatisfied
Somewhat Dissatisfied
Fine
Somewhat Satisfied
Highly Satisfied
Do you think that the website's design change makes the site easier to use?
Has the new design made it easier for you to find information on the site?
Has the new design improved the overall visual appeal of the site?
How would you rate your overall satisfaction with the new design of the site?
×
How likely are you to recommend Game8 to someone you know?
Very Unlikely
0
1
2
3
4
5
6
7
8
9
10
Very Likely
If you have other opinions regarding potential improvement to the website, please share them with us. We would appreciate your honest opinion.
Note: This is a free response section, so you can proceed without entering anything.
Note: Please be sure not to enter any kind of personal information into your response.
Note: Please be sure not to enter any kind of personal information into your response.
×
Thank You
×
Thank you for participating in our survey! Your answers will help us to improve the quality of our website and services.
We hope you continue to make use of Game8.
We hope you continue to make use of Game8.
Close
Rankings
- We could not find the message board you were looking for.
Gaming News


![Monster Hunter Stories 3 Review [First Impressions] | Simply Rejuvenating](https://img.game8.co/4438641/2a31b7702bd70e78ec8efd24661dacda.jpeg/thumb)
Popular Games

Genshin Impact Walkthrough & Guides Wiki
Honkai: Star Rail Walkthrough & Guides Wiki
Umamusume: Pretty Derby Walkthrough & Guides Wiki
Pokemon Pokopia Walkthrough & Guides Wiki
Resident Evil Requiem (RE9) Walkthrough & Guides Wiki
Monster Hunter Wilds Walkthrough & Guides Wiki
Wuthering Waves Walkthrough & Guides Wiki
Arknights: Endfield Walkthrough & Guides Wiki
Pokemon FireRed and LeafGreen (FRLG) Walkthrough & Guides Wiki
Pokemon TCG Pocket (PTCGP) Strategies & Guides Wiki


Recommended Games
Diablo 4: Vessel of Hatred Walkthrough & Guides Wiki
Cyberpunk 2077: Ultimate Edition Walkthrough & Guides Wiki
Fire Emblem Heroes (FEH) Walkthrough & Guides Wiki
Yu-Gi-Oh! Master Duel Walkthrough & Guides Wiki
Super Smash Bros. Ultimate Walkthrough & Guides Wiki
Pokemon Brilliant Diamond and Shining Pearl (BDSP) Walkthrough & Guides Wiki
Elden Ring Shadow of the Erdtree Walkthrough & Guides Wiki
Monster Hunter World Walkthrough & Guides Wiki
The Legend of Zelda: Tears of the Kingdom Walkthrough & Guides Wiki
Persona 3 Reload Walkthrough & Guides Wiki


All rights reserved
©2025 Sandfall Interactive SAS - Published by Kepler Interactive Limited. All rights reserved.
The copyrights of videos of games used in our content and other intellectual property rights belong to the provider of the game.
The contents we provide on this site were created personally by members of the Game8 editorial department.
We refuse the right to reuse or repost content taken without our permission such as data or images to other sites.
This walk through links to the overworked location, not the tainted location. It misses quite a lot, like the paint cage off to the left of Gargant in theTainted Hearts area