This survey will take about 1 minute.
Your answers will help us to improve our website.
Clair Obscur: Expedition 33
Ancient Sanctuary 100% Guide and all Locations
★ Builds: Gustave | Lune | Maelle
┗ Sciel | Verso | Monoco
★ Popular: Missables | Puzzles | White Nevrons
┗ Best Characters | Skills | Teams | Attributes
★ Patch 1.5.0: Verso's Drafts | Root of All Evil
┗ Endless Tower Guide | All New Bosses
Ancient Sanctuary is an area found in Clair Obscur: Expedition 33's overworld, called The Continent. Learn more about Ancient Sanctuary maze including the area's bosses, fast travel points, weapons, items, and how to catch the Petank in this Ancient Sanctuary map guide.
List of Contents
How to Catch Petank in Ancient Sanctuary
Lead it Toward the Trap
Petanks are fast Nevrons that zoom away when you get close to them. The only way to catch a Petank is to lead it to a nearby trap.
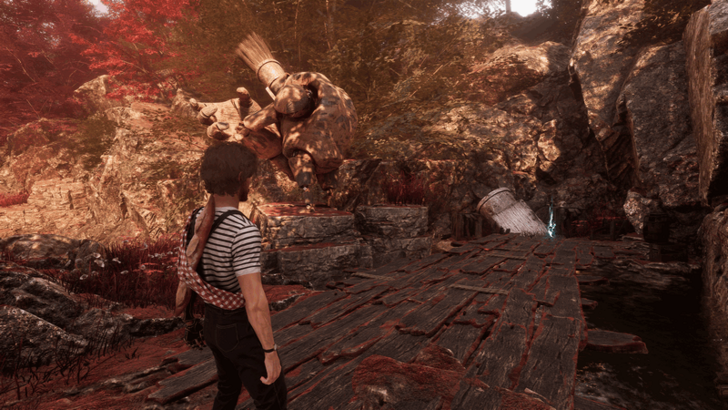
The trap in Ancient Sanctuary is located across the river. You will need to lead the Petank across the bridge that goes over the river until it reaches the trap.
Ancient Sanctuary Boss Locations
All Main Bosses in Ancient Sanctuary
| Boss | Quest & Weaknesses |
|---|---|
 Ultimate Sakapatate Ultimate Sakapatate
|
Quest: Act 1: Gustave
Location: • Ancient Sanctuary
Weakness: Fire |
Ultimate Sakapatate is the only boss you can fight in Ancient Sanctuary. This boss can be found at the very end of the Ancient Sanctuary, past the Giant Bell Alley rest point.
Ancient Sanctuary Fast Travel Locations
All Expedition Flag Rest Points in Ancient Sanctuary
| Ancient Sanctuary Rest Points | |
|---|---|
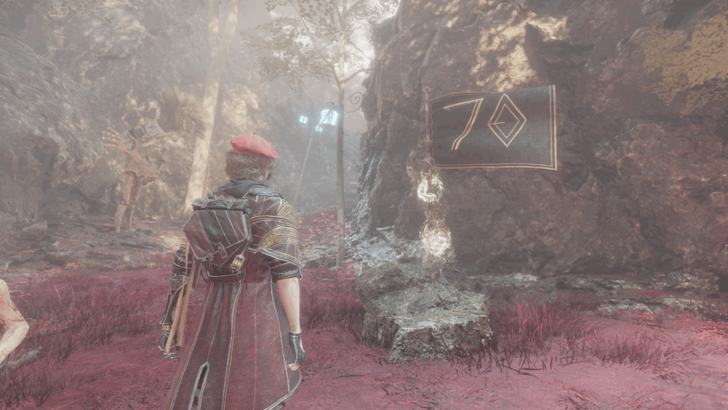
 1. Entrance Found right at the entrance of Ancient Sanctuary. |
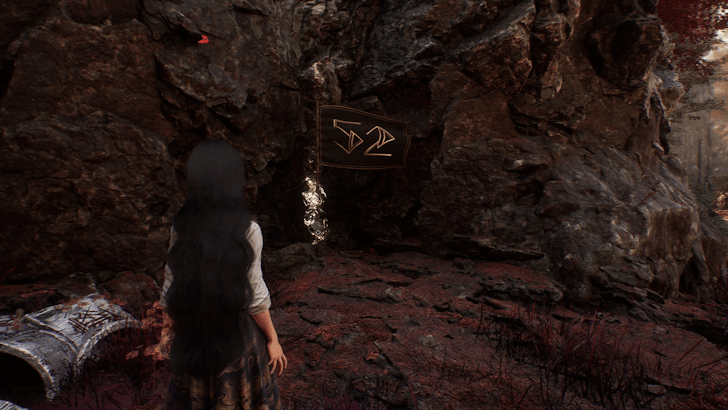
 2. Sanctuary Maze Can be found a little after the Entrance. You will enter a cutscene then fight a Robust Sakapatate, after which the flag will be available. |
 3. Giant Bell Alley Found at the end of Ancient Sanctuary, right before the Ultimate Sakapatate story boss fight. |
 4. Gestral Totem Found in the area past the Paint Spike located near the Sanctuary Maze Rest Point. |
This is a list of all Rest Point Flags that are used to fast travel from one point of an area to another.
All Expedition Flags
Ancient Sanctuary Weapon Locations
Sakaram
| Weapon | Overview |
|---|---|
|
|
Character: Gustave/Verso Power: 2938 Element: Physical Vitality: - Might: - Agility: S Defense: - Luck: A |
The Sakaram can be obtained from the mandatory fight against a Robust Sakapatate before reaching the Sanctuary Maze rest point.
Trebuchim
| Weapon | Overview |
|---|---|
|
|
Character: Lune Power: 3067 Element: Lightning Vitality: S Might: - Agility: - Defense: - Luck: A |
The Trebuchim drops from Catapult Sakapatates in Ancient Sanctuary.
Ancient Sanctuary Pictos Locations
There are six Pictos you can obtain in Ancient Sanctuary:
All Pictos and Luminas Guide and Stats
Burning Mark
 |
| Lumina: Apply Burn on hitting a Marked enemy. Bonus Stats: Health +44 Defense +32 |
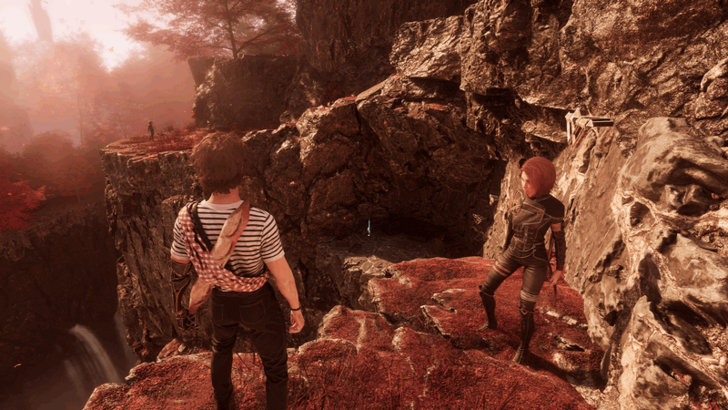
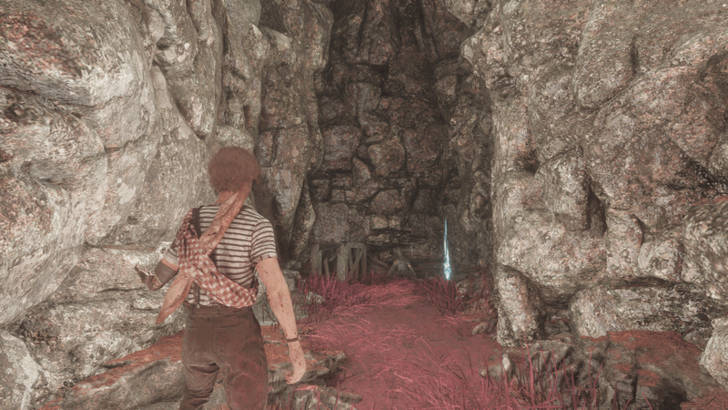
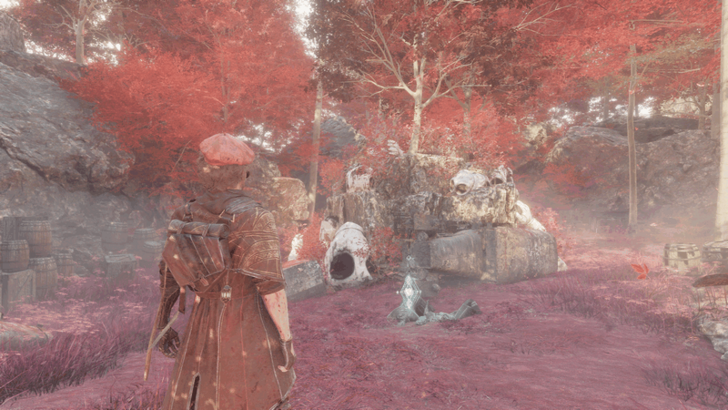
| How to Get: Found down the cliff from the faceless child close to the Entrance flag. To get down here, you must find where the river turns into a waterfall, then climb onto the hand grips on the cliff face. |
Energising Jump
 |
| Lumina: +1 AP on Jump Counterattack. Bonus Stats: Health +44 Speed +29 |
| How to Get: Found close to the Entrance flag, just across the bridge. |
Energising Jump Lumina Effects
Energising Start II
 |
| Lumina: +1 AP on battle start. Bonus Stats: Health +175 |
| How to Get: From the Sanctuary Maze flag, proceed onward but stick to the right path until you crawl through a low space. Then, head into the cave to the right, head past the enemy who is a distance in front of you, then climb the hand holds on the ledge on the left to get up. The Pictos should be at the end of this path. |
Energising Start II Lumina Effects
Attack Lifesteal
 |
| Lumina: Recover 15% Health on Base Attack. Bonus Stats: Health +44 Speed +32 |
| How to Get: From the ledge mentioned above in Energising Start II, jump down and head into the cave opposite the ledge. The Pictos will be guarded by a Catapult Sakapatate a little into the cave. |
Attack Lifesteal Lumina Effects
Breaker
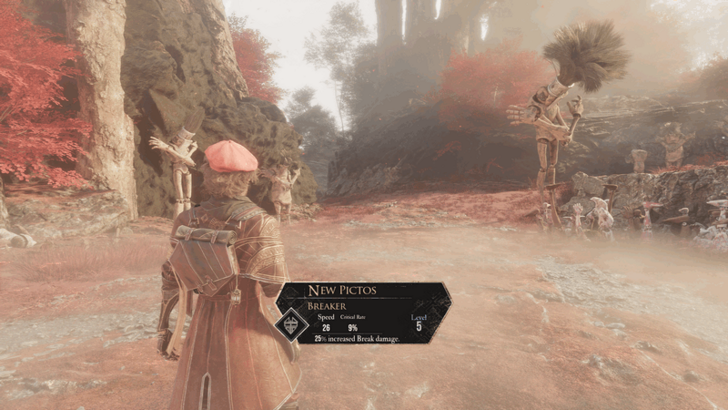 |
| Lumina: 25% increased Break damage. Bonus Stats: Speed +26 Critical Rate +9% |
| How to Get: Obtained as a reward for defeating the story boss, Ultimate Sakapatate at the end of the area. |
Stun Boost
 |
| Lumina: 30% increased damage on Stunned targets. Bonus Stats: Speed +35 Critical Rate +2% |
| How to Get: In the boss room of the Ultimate Sakapatate, there will be a small cave entrance you will have to crouch through to get in. The Pictos will be in here. |
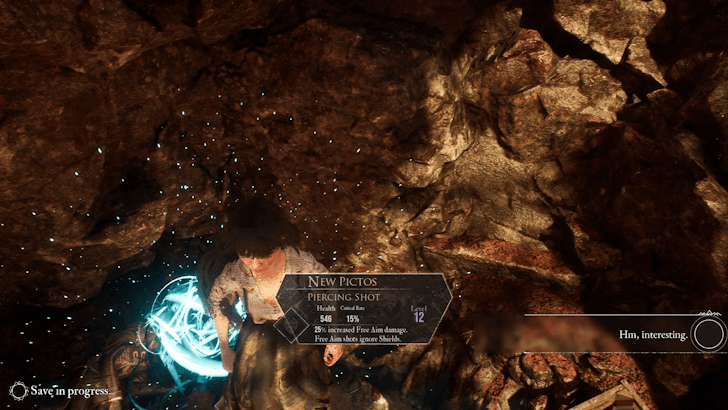
Piercing Shot
|
| Lumina: 25% increased Free Aim damage. Free Aim shots ignore Shields. Bonus Stats: Health + Critical Rate + |
| How to Get: In the Gestral Totem area behind the Paint Spike, follow the stream that branches off from the central body of water and leads into a small alcove. The Pictos is located inside near a dead Expeditioner's body. |
Ancient Sanctuary Outfit and Haircut Locations
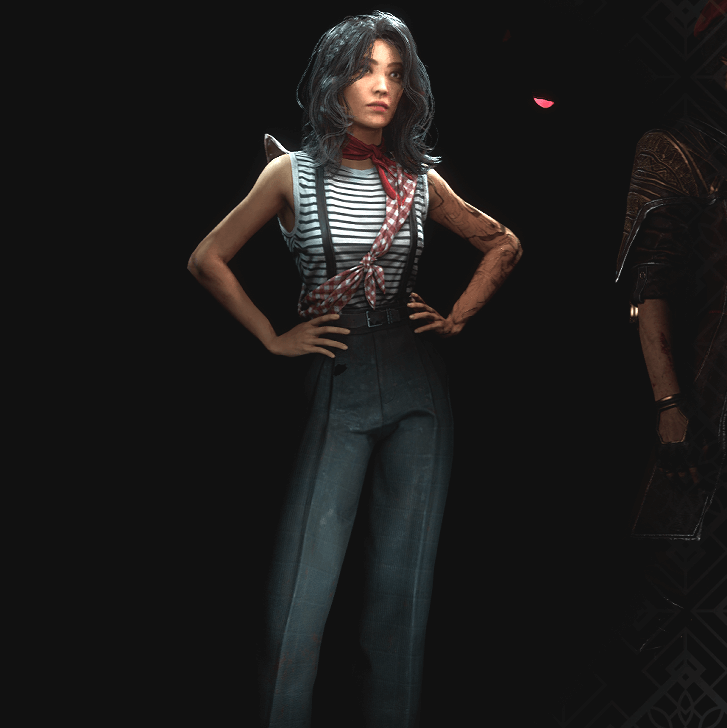
Baguette Outfit for Lune
| Baguette Wardrobe Set | |
|---|---|
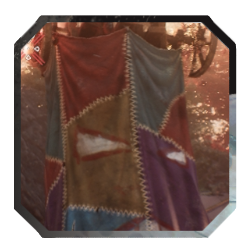
 Baguette Outfit |
 Baguette Haircut |
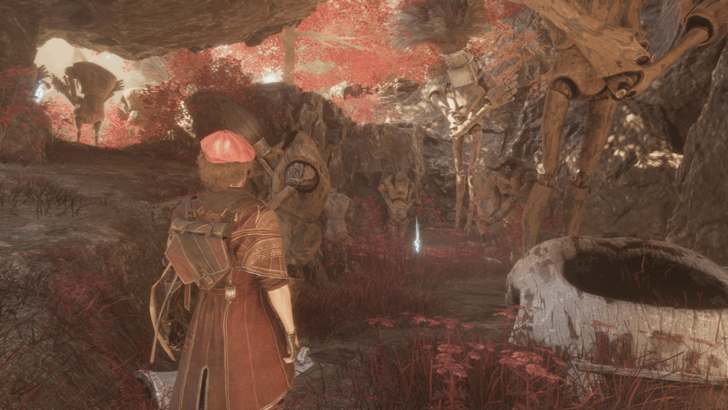
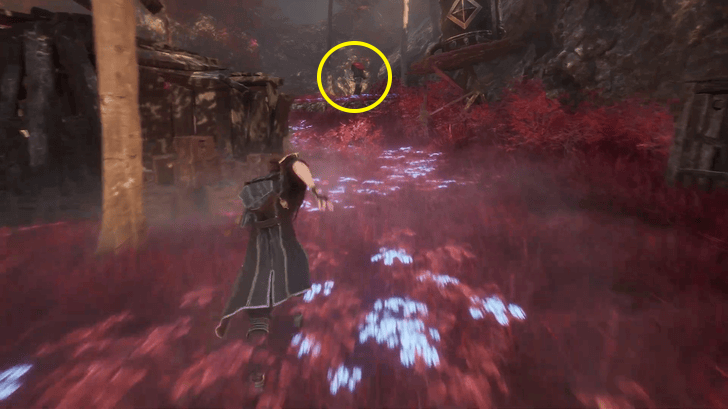
In order to get the Baguette outfit for Lune, you must defeat the hidden Mime in Ancient Sanctuary.
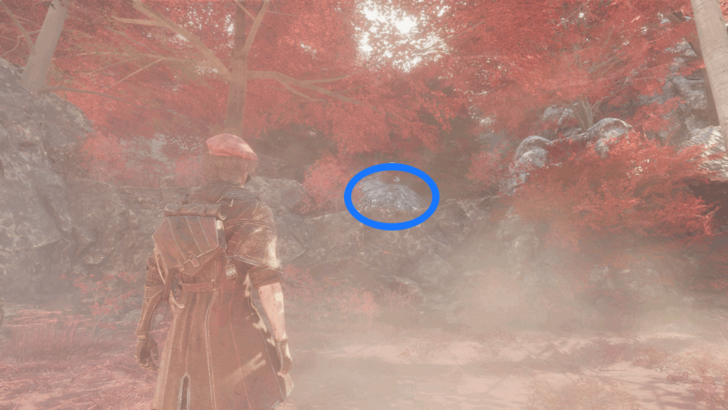
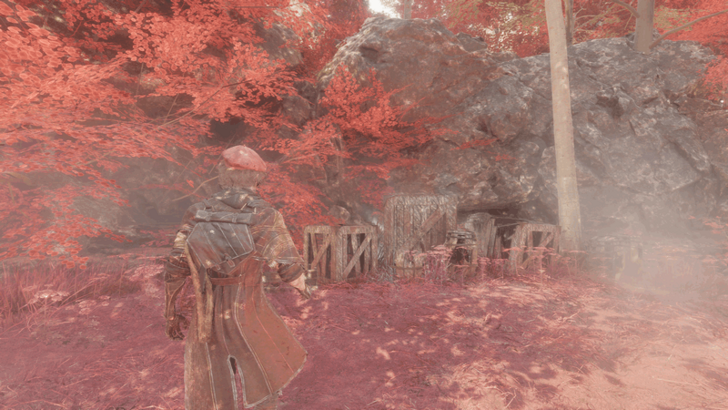
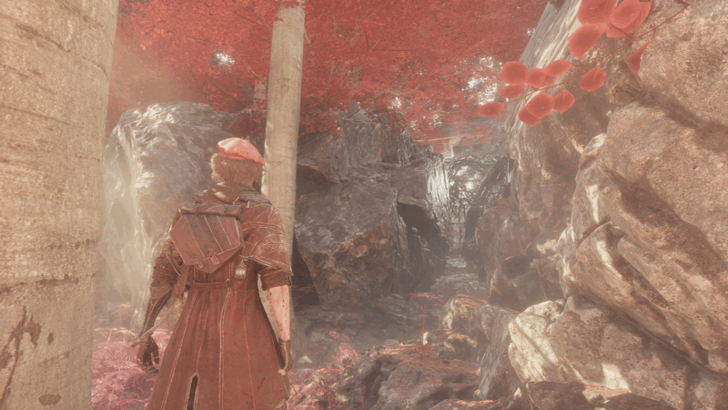
From the , take the path on the right and look for a small opening under a rock. Pass through it and take a left until you reach an open area. In the middle of this space is a broken hut, and you’ll find the mime behind it.
All Cosmetics: Outfits and Haircuts
Ancient Sanctuary Enemies
All Enemies in Ancient Sanctuary
| Enemy | Elemental Affinities |
|---|---|
 Catapult Sakapatate Catapult Sakapatate |
Weak: Fire Resist: None Immune: None Absorb: None |
 Ranger Sakapatate Ranger Sakapatate |
Weak: Fire Resist: Lightning Immune: None Absorb: None |
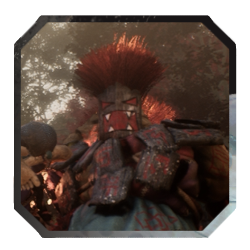 Robust Sakapatate Robust Sakapatate |
Weak: Fire Resist: Lightning Immune: None Absorb: None |
These are all the enemies you can find in Ancient Sanctuary.
List of Enemies and Weaknesses
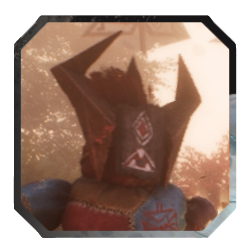
Mime Location
| Mime | Location |
|---|---|
 Ancient Sanctuary Mime |
From the Sanctuary Maze rest point, take the path on the right and look for a small opening under a rock. Pass through it and take a left until you reach an open area. In the middle of this space is a broken hut, and you’ll find the mime behind it. |
All Mime Locations and How to Beat Them
Ancient Sanctuary Paint Cage
Paint Cage Location
 From the Giant Bell Alley rest point, head back and hang a right, then move past the prowling Robust Sakapatate. Straight ahead will be the area where you collect the Journal of this area. The 3 Paint Cage locks are hidden in this area, near the Journal. From here, you can spot the Paint Cage up on a cliff. After shooting all the locks, you can get up to the Paint Cage by heading back out and turning left into a hidden path covered by trees. Do some minor platforming to across the statues to get to the Paint Cage. |
|
| World View | Description |
|---|---|
 |
The first lock will be hidden inside a box. The box has a strange glow around it so it is easy to spot. |
 |
The second one will be hidden between some stone cracks on the opposite side from the Journal. |
 |
The third lock will be up on a cliff, opposite the Paint Cage. |
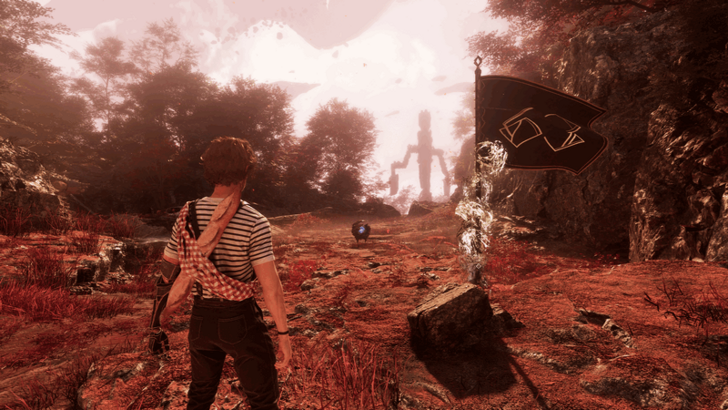
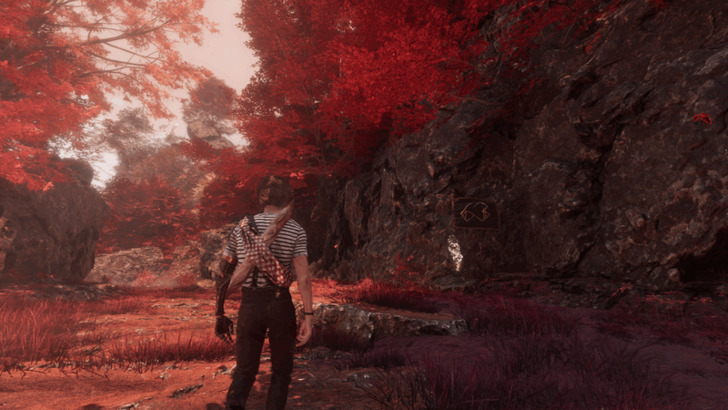
Ancient Sanctuary Paint Spike
Paint Spike Location
| # | Directions |
|---|---|
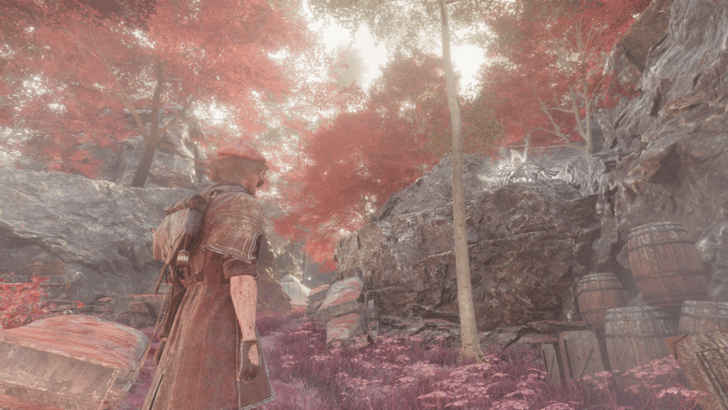
| 1 | 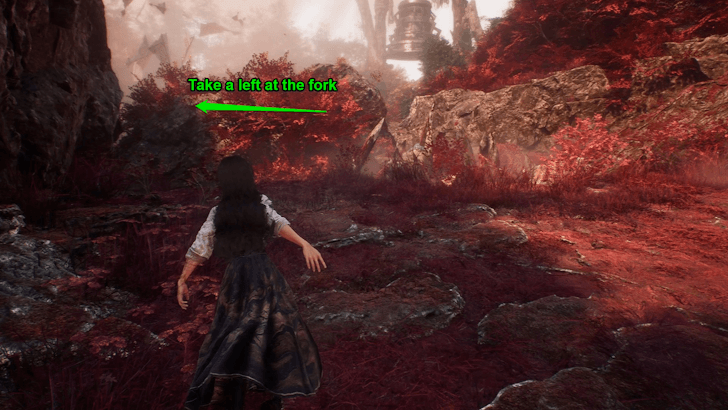 From the Sanctuary Maze Rest Point, head toward the main path and take a left turn when you reach the fork. |
| 2 | 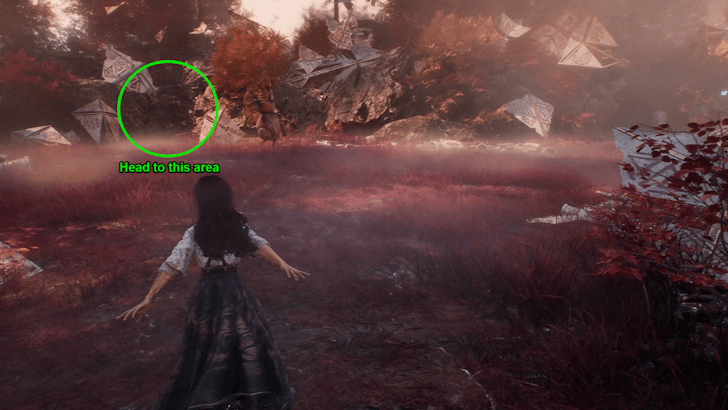 Once you reah the open area with a patrolling Sakapatate, head to the left side of the area. |
| 3 |  Once you reach the left side, attack and destroy the Paint Spike to gain access to the Gestral Totem area. |
Ancient Sanctuary Journal Location
Expedition 63 - Damien
| Journal | How to Get |
|---|---|
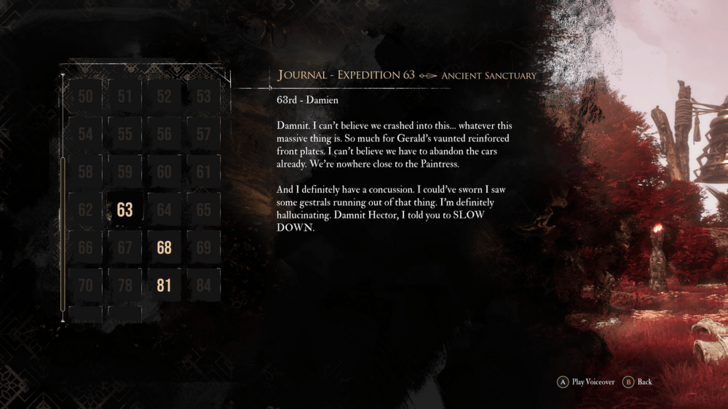 Expedition 63 - Damien |
 From the Giant Bell Alley expedition flag, head back and hang a right, then run past the Robust Sakapatate. Straight ahead will be a narrow nook you can enter. |
Journals are records of past expeditions before Expedition 33, giving you a glimpse into how those missions failed and never returned to Lumière as the years went by.
Clair Obscur: Expedition 33 Related Guides

All Locations
Comment
1  Evriana 11 months
Cool, cool but there is four expedition flag points. You skipped quite big part of map. Not important one, but there is few items. It’s under that big totem. Not accessible before you can destroy that blue spikes tho 😄
Author

Ancient Sanctuary 100% Guide and all Locations
Please participate in our site
improvement survey
03/2026
improvement survey
03/2026
Would you assist in
improving Game8's site?
improving Game8's site?

×
We are listening to our users' valuable opinions and discussing how to act on them.
The information collected through this survey will be used for the purpose of improving our services. In addition, the information will only be disclosed a part of a statistic in a format that will not allow identification of personal information.
Begin Survey
Not Now
×
Please rate each item regarding Game8.co's Advertisements.
Amount of Ads
Very Dissatisfied
Somewhat Dissatisfied
Fine
Somewhat Satisfied
Highly Satisfied
Placement of Ads
Timing of Ad Display
Ad Loading Speed
Safeness of Ads
Content of Ads
×
Please rate each item regarding Game8.co's Quality of Articles.
Amount of information
Very Dissatisfied
Somewhat Dissatisfied
Fine
Somewhat Satisfied
Highly Satisfied
Frequency of updates
Speed of new information
Accuracy of articles
Understandibility of articles
Readability of sentences
×
Please rate each item regarding Game8.co's Usability of the Site.
Ease of finding information
Very Dissatisfied
Somewhat Dissatisfied
Fine
Somewhat Satisfied
Highly Satisfied
Loading Speed
Use of Color
Font Size
Visibility of Images
Easy to Understand Layout
×
Please rate each item regarding Game8.co's Message Boards, Comments.
Ease of Writing
Very Dissatisfied
Somewhat Dissatisfied
Fine
Somewhat Satisfied
Highly Satisfied
Readability
Ease in Finding Information
Comment Quality
Comment Quantity
Admin Response
×
Please rate each item regarding Game8.co's Site's new design.
Please rate our site's new design
Very Dissatisfied
Somewhat Dissatisfied
Fine
Somewhat Satisfied
Highly Satisfied
Do you think that the website's design change makes the site easier to use?
Has the new design made it easier for you to find information on the site?
Has the new design improved the overall visual appeal of the site?
How would you rate your overall satisfaction with the new design of the site?
×
How likely are you to recommend Game8 to someone you know?
Very Unlikely
0
1
2
3
4
5
6
7
8
9
10
Very Likely
If you have other opinions regarding potential improvement to the website, please share them with us. We would appreciate your honest opinion.
Note: This is a free response section, so you can proceed without entering anything.
Note: Please be sure not to enter any kind of personal information into your response.
Note: Please be sure not to enter any kind of personal information into your response.
×
Thank You
×
Thank you for participating in our survey! Your answers will help us to improve the quality of our website and services.
We hope you continue to make use of Game8.
We hope you continue to make use of Game8.
Close
Rankings
- We could not find the message board you were looking for.
Gaming News


![Monster Hunter Stories 3 Review [First Impressions] | Simply Rejuvenating](https://img.game8.co/4438641/2a31b7702bd70e78ec8efd24661dacda.jpeg/thumb)
Popular Games

Genshin Impact Walkthrough & Guides Wiki
Honkai: Star Rail Walkthrough & Guides Wiki
Umamusume: Pretty Derby Walkthrough & Guides Wiki
Pokemon Pokopia Walkthrough & Guides Wiki
Resident Evil Requiem (RE9) Walkthrough & Guides Wiki
Monster Hunter Wilds Walkthrough & Guides Wiki
Wuthering Waves Walkthrough & Guides Wiki
Arknights: Endfield Walkthrough & Guides Wiki
Pokemon FireRed and LeafGreen (FRLG) Walkthrough & Guides Wiki
Pokemon TCG Pocket (PTCGP) Strategies & Guides Wiki


Recommended Games
Diablo 4: Vessel of Hatred Walkthrough & Guides Wiki
Cyberpunk 2077: Ultimate Edition Walkthrough & Guides Wiki
Fire Emblem Heroes (FEH) Walkthrough & Guides Wiki
Yu-Gi-Oh! Master Duel Walkthrough & Guides Wiki
Super Smash Bros. Ultimate Walkthrough & Guides Wiki
Pokemon Brilliant Diamond and Shining Pearl (BDSP) Walkthrough & Guides Wiki
Elden Ring Shadow of the Erdtree Walkthrough & Guides Wiki
Monster Hunter World Walkthrough & Guides Wiki
The Legend of Zelda: Tears of the Kingdom Walkthrough & Guides Wiki
Persona 3 Reload Walkthrough & Guides Wiki


All rights reserved
©2025 Sandfall Interactive SAS - Published by Kepler Interactive Limited. All rights reserved.
The copyrights of videos of games used in our content and other intellectual property rights belong to the provider of the game.
The contents we provide on this site were created personally by members of the Game8 editorial department.
We refuse the right to reuse or repost content taken without our permission such as data or images to other sites.
there is a revive tint on the hut near the mime