This survey will take about 1 minute.
Your answers will help us to improve our website.
Clair Obscur: Expedition 33
Act 2: Verso Walkthrough
★ Builds: Gustave | Lune | Maelle
┗ Sciel | Verso | Monoco
★ Popular: Missables | Puzzles | White Nevrons
┗ Best Characters | Skills | Teams | Attributes
★ Patch 1.5.0: Verso's Drafts | Root of All Evil
┗ Endless Tower Guide | All New Bosses
Act 2: Verso is the second part of the main story in Clair Obscur: Expedition 33. See its full walkthrough, how to complete it, boss guides, and how long it'll take to beat Act 2 here!
| ◀︎ Previous Act | Next Act ▶︎ |
|---|---|
| Act 1: Gustave | Act 3: Maelle |
Act 2: Verso Story Walkthrough
Clair Obscur Act 2 Main Objectives
- Go Through the Forgotten Battlefield to Continue to the Monolith
- Recruit Monoco, Verso's Best Friend, at His Station in the Mountains
- Find and Destroy the Paintress' Heart in the Centre of Old Lumiere
- Defeat the First Axon to Forge a Weapon Able to Pierce the Monolith Barrier
- Defeat the Second Axon to Forge a Weapon Able to Pierce the Monolith Barrier
- Face the Paintress at the Monolith
- Find The Paintress' Heart at The Top of The Monolith
Go Through the Forgotten Battlefield to Continue to the Monolith
| Act 2: Verso Objective 1 Guide | |
|---|---|
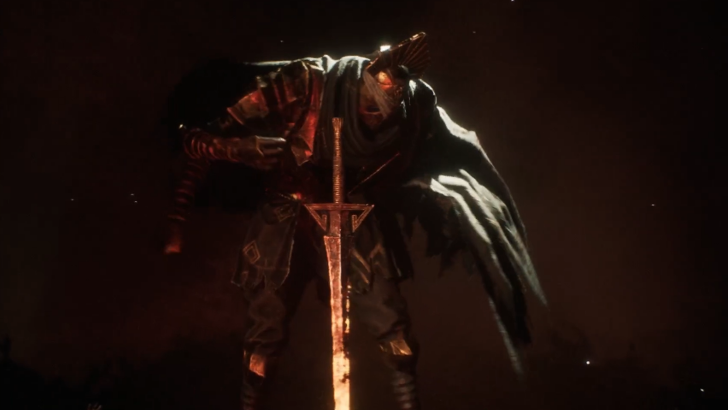
| 1 | 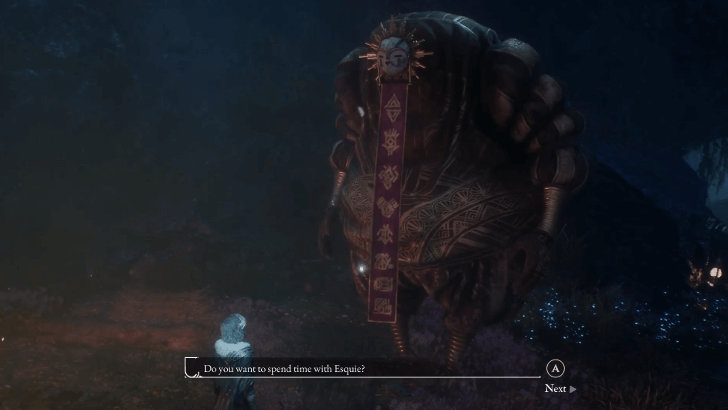 After the last Act's events, the party will temporarily setup Camp before continuing their expedition. It is advised to interact with your party members and upgrade their equipment before heading out. The player will also unlock a new character starting this Act, a mysterious man known only as Verso as well as Character Relationships ▶ Character Relationships Guide |
| 2 | 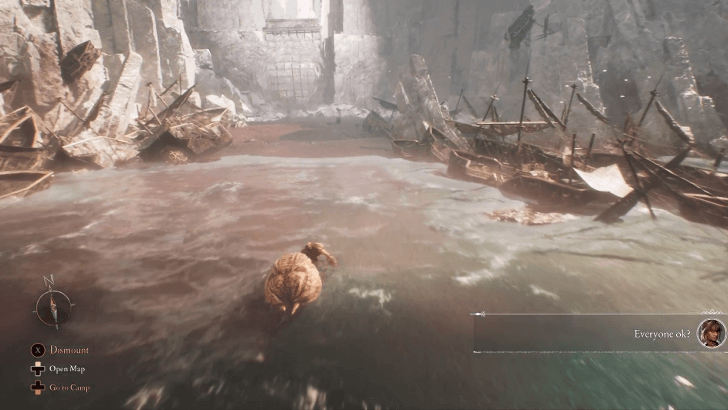 Esquie will gain the ability to swim, allowing the player to traverse The Continent's water areas. The player can either explore the world more or head directly north to the Forgotten Battlefield. The player should reach a shoreline with a closed, huge gate. The player should rest on an Expedition Flag before proceeding. ▶ Esquie Character Profile |
| 3 | 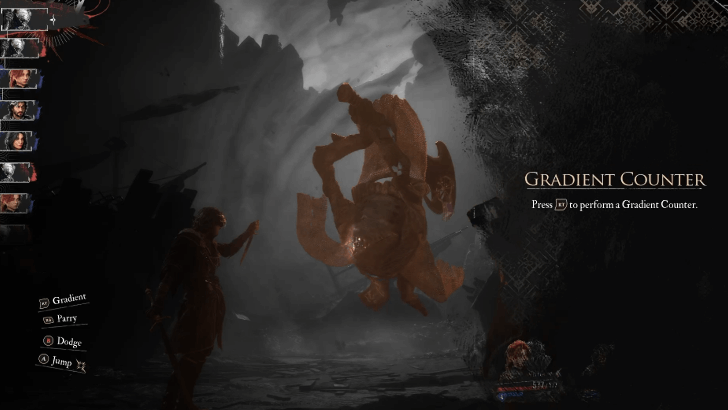 The player will enter a cutscene after entering the area and will immediately be thrust into combat against a Chalier. This is the game's introduction as well to enemy Gradient Attacks that can only be stopped by a Gradient Counter. Remember the tutorial for this section as these mechanics will stay later in the game. ▶ How to Parry and Counter |
| 4 | 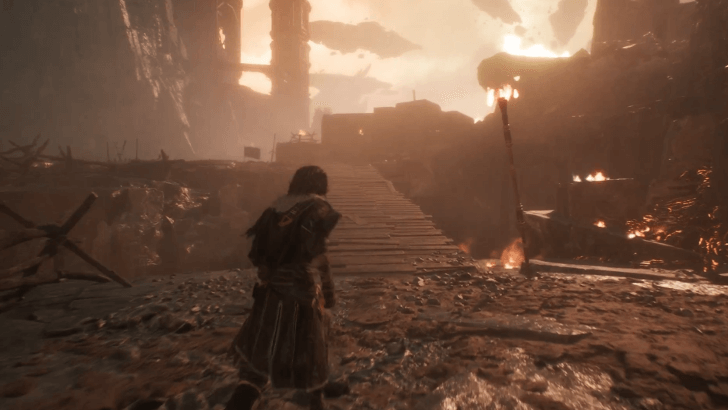 The area will then open to the player after the battle after passing through a northen gate. There is another Expedition Flag here so before heading out, rest and upgrade your characters and equipment. Once the player is ready, head outside to see several road forks. The player can explore all road forks to get collectible items and materials until they reach a pontoon leading to an Expedition 41 Flag. ▶ All Expedition Flags |
| 5 | 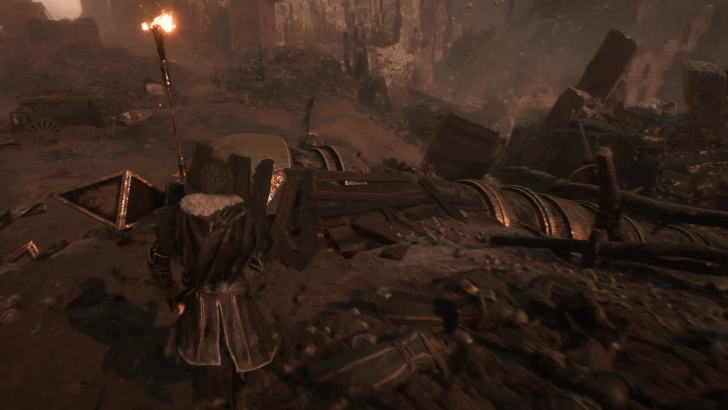 The player has now entered the Vanguard Point subarea of the Forgotten Battlefield, look to the left and walk above the pipe-like object, then continue forward along the path of wooden planks. The player has followed the correct path when a shadowy figure appears ahead. Go forward to a trench-like section past the figure and the characters will have a conversation. |
| 6 |  From the trench section, head right along the grassy path to find the Expedition 57 Journal. Moving a little further north will also give another Expedition Flag for the player to rest on before proceeding to the bridge. Once the player crosses, a cutscene plays. The player should prepare prior as they will battle a boss after this cutscene. ▶ All Journal Locations |
| 7 | 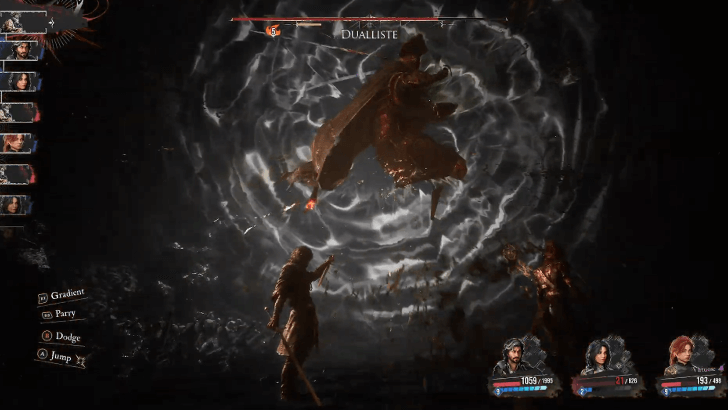 The player will then encounter and fight Dualliste. Remember the Gradient Counter mechanic from earlier and use it against the boss to defeat it. The player can farm around the Forgotten Battlefield to gain some levels should they want to feel safe engaging with the target. Verso also works well against this boss due to its Light weakness. This boss enters a second phase, and will invert healing and damage attributes against the player as a last resort. ▶ How to Beat the Dualliste |
| 8 | 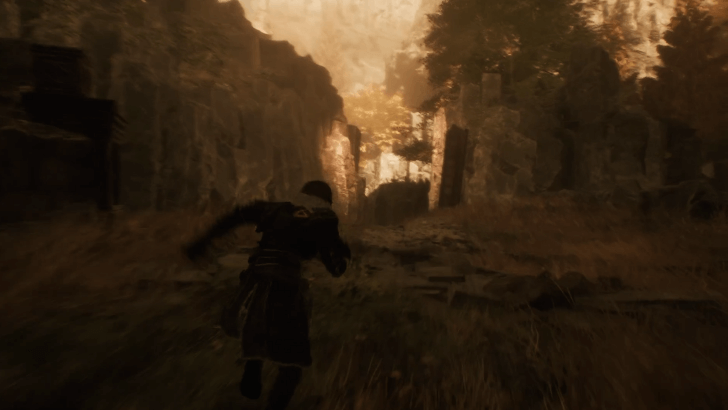 Once Dualliste is defeated, the player is rewarded with a new weapon for Verso and a Pictos. The player can explore the area afterwards to gather other collectibles they might have missed. Follow the grapple paths to head upwards to the mountains. There are other grapple points the player can explore to find more items and explore but when the player reaches a clearing to the east, a cutscene will play, finishing the objective. |
| 9 | 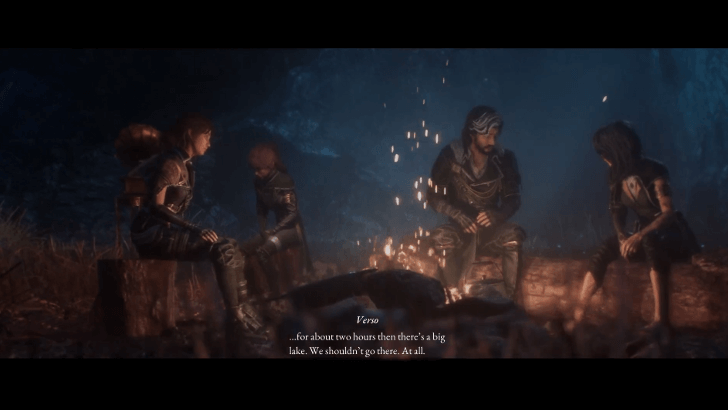 Should the player continue, they will build another Camp to prepare for the next area, Monoco's Station. |
Recruit Monoco, Verso's Best Friend, at His Station in the Mountains
| Act 2: Verso Objective 2 Guide | |
|---|---|
| 1 | 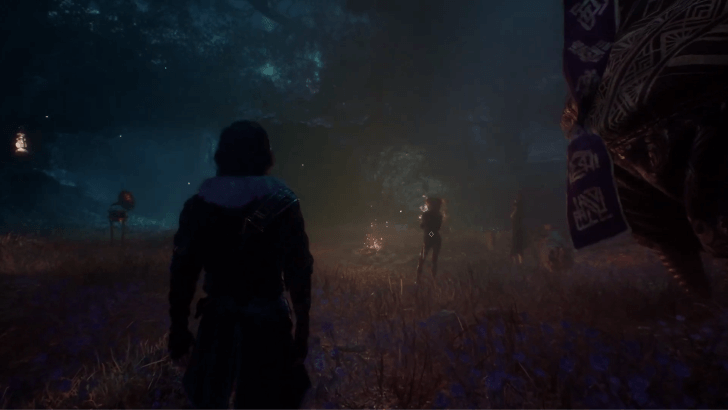 At the Camp, you may check on your teammates and equipment or improve your character relationships. Once you're ready, you can go to sleep and set out for Monoco's Station. ▶ Character Relationships Guide |
| 2 | 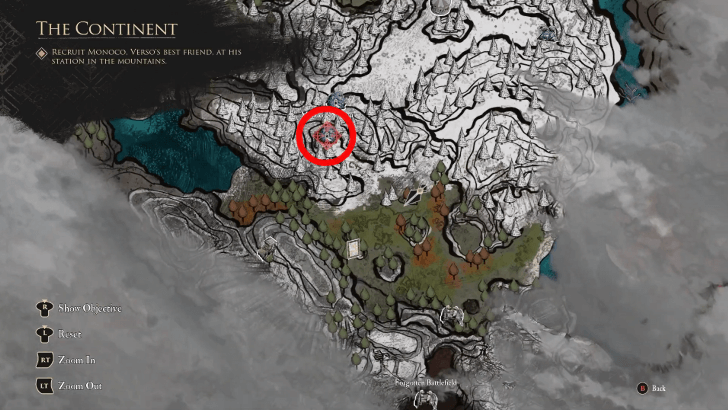 Mount Esquie and head northwest from your starting point toward the snowy mountains, either avoiding or killing enemies along the way. You should come across a large archway leading to Monoco's Station. |
| 3 | 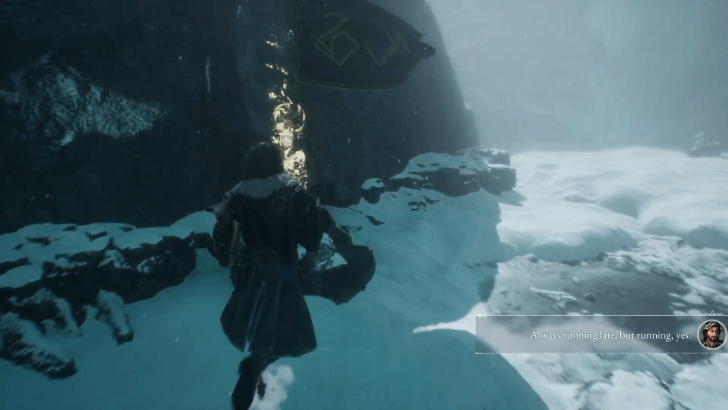 Enter Monoco's Station and follow the path ahead. You can use the Rest Point along the way to save your progress and prepare. Afterwards, simply continue on until you reach a large clearing. |
| 4 | 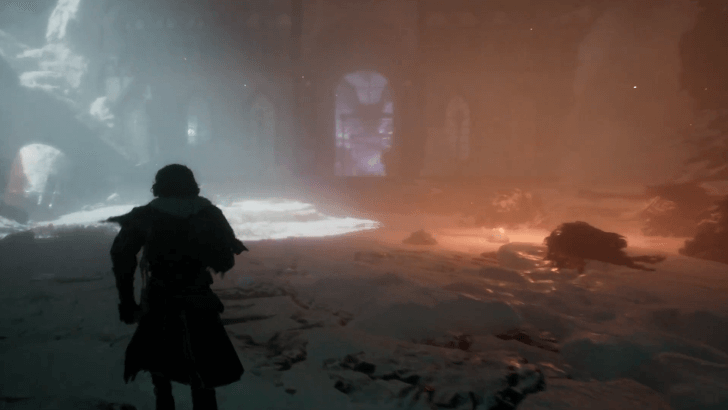 Look to your right to spot another large archway. Press onward, optionally stopping by another Rest Point, then watch the cutscene that will ensue. |
| 5 | 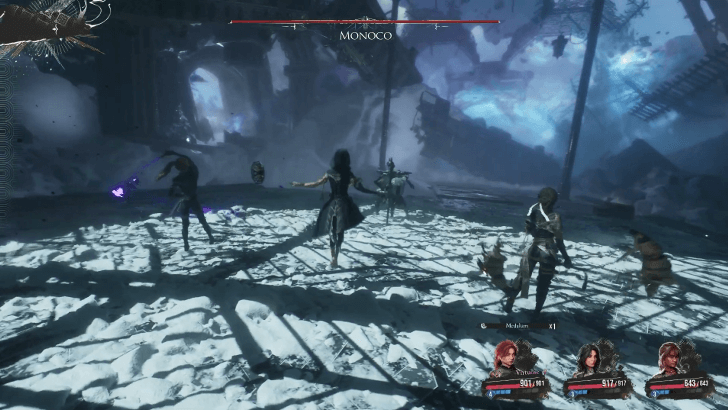 After the cutscenes, you'll engage in a duel with Monoco before you can recruit him. He has neither weaknesses nor resistances, but he does boast long, fast, and powerful attack strings. Be sure to dodge or parry at the right moments, as well as inflicting debuffs on him as much as you can, and you should clear this battle no problem! ▶ How to Beat Monoco |
| 6 | 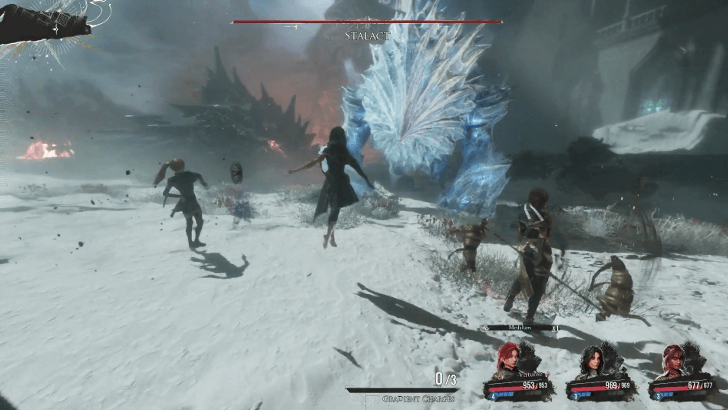 A cutscene will ensue after the battle. Once it's finished, backtrack to the clearing you came from to encounter the Stalact. This will also serve as your introduction to Gradient Attacks. The Stalact is weak to Fire and resistant to Ice. Use attacks of this element to finish the battle quickly! ▶ How to Beat the Stalact |
| 7 | 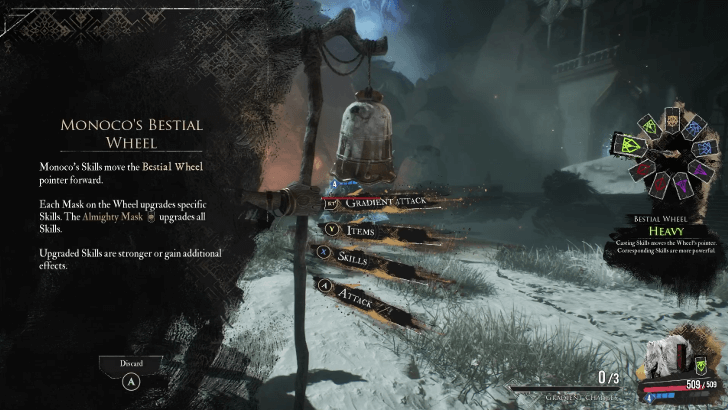 Once the Stalact has been defeated, you have the option to play the tutorial on how to play Monoco or continue onward. Each hit by Monoco's skills moves his Bestial Wheel. Using skills corresponding to the mask in the wheel you're currently on will deal increased damage! Once you're done, exit Monoco's Station to begin your new objective. ▶ Monoco Best Builds and Attributes |
Find and Destroy the Paintress' Heart in the Centre of Old Lumiere
| Act 2: Verso Objective 3 Guide | |
|---|---|
| 1 | 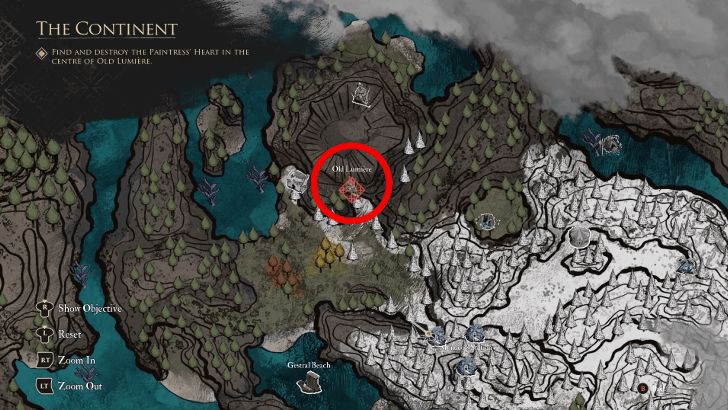 You will come out the other side of the snowy mountain that houses Monoco's Station. From there, make your way further northwest. The entrance to Old Lumiere is right beside the large crater. |
| 2 | 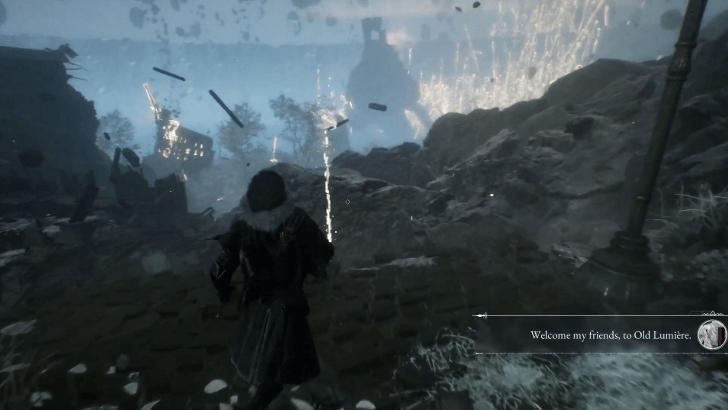 Proceed a little further down the path then slide down the light rope to your left. Proceed further, stopping by the Rest Point along the way. Make your way past the large light sword until you encounter a blockade of ruined buildings. Watch the cutscenes that will ensue. |
| 3 | 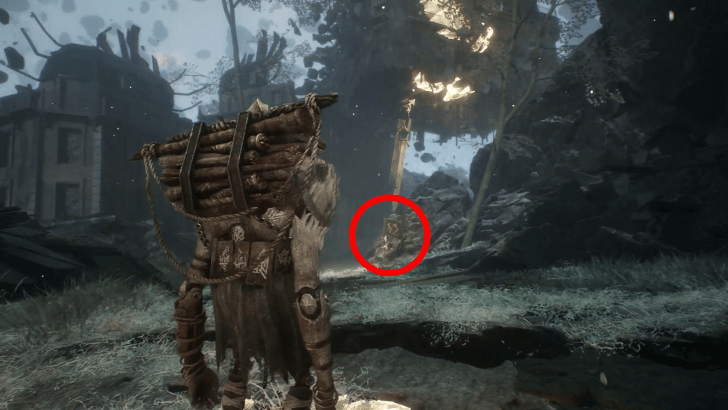 A new path will open up after the cutscenes, so continue onward until you reach some floating ruins with multiple grapple points, eliminating Nevrons in your path. Be sure to interact with the Rest Point in front of you before proceeding. It would be wise to keep Monoco in your party to make him learn new skills after each new kill. |
| 4 | 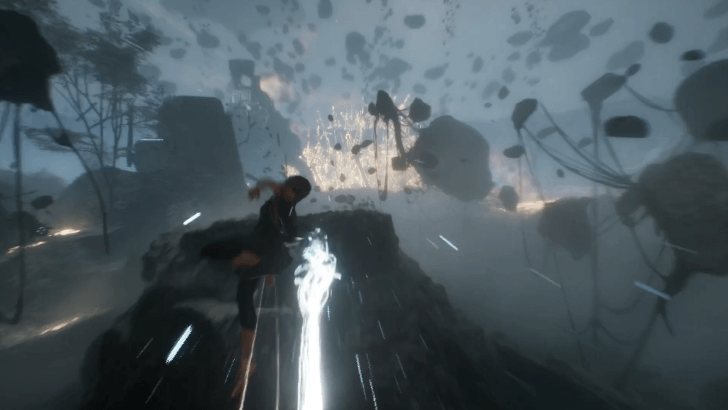 Keep grappling from point to point until you reach the other side. Make your way past the spirit and the giant light sword, and keep going until another set of cutscenes ensue. |
| 5 | 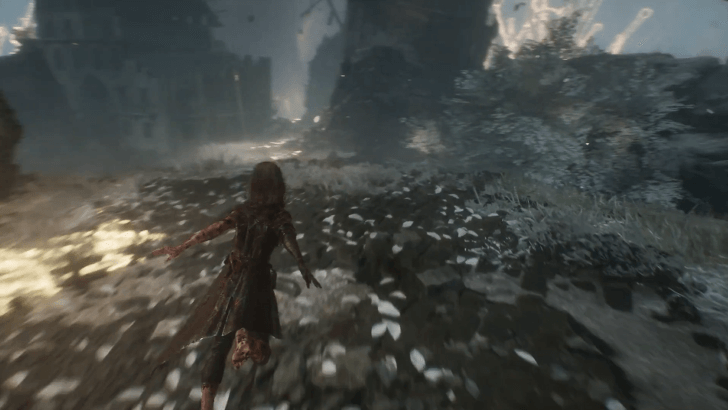 Continue along the winding paths, eliminating Nevrons, and jumping over gaps. Follow the path ahead for another cutscene. |
| 6 | 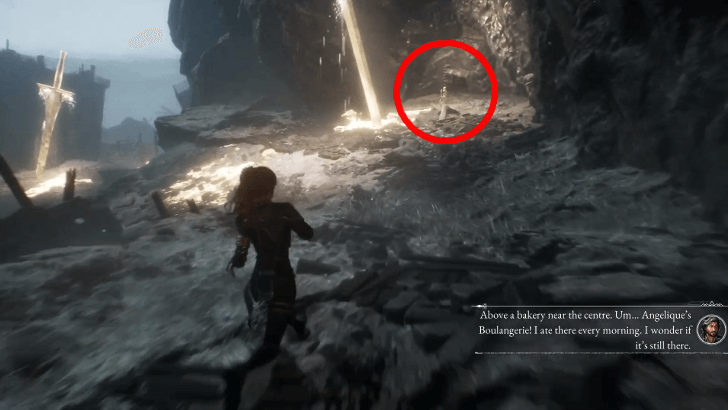 After the cutscene, continue onward and interact with the Rest Point beside the giant light sword. Keep going downhill and eliminate the Nevrons that will stand in your way. Afterwards, another cutscene will play. |
| 7 | 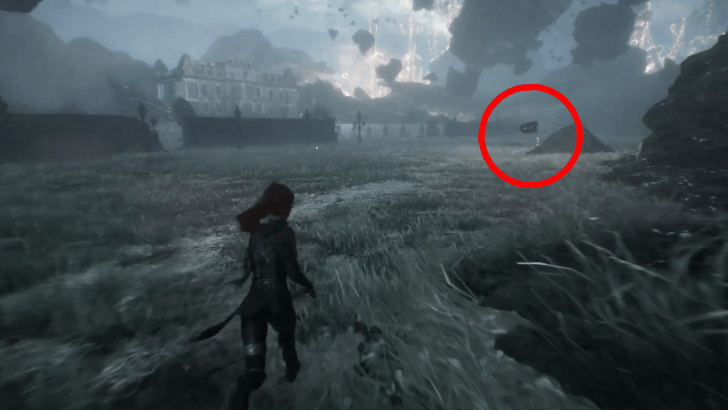 Now, you'll need to find your companions. Push forward and keep following the giant light swords, eliminating or evading Nevrons along the way, as well as grappling past gaps until you reach the manor courtyard. Be sure to save up and take your time to prepare at the available Rest Point, then proceed towards the manor. |
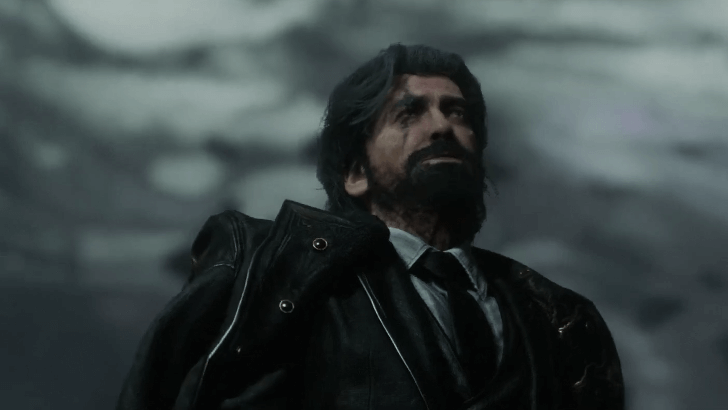
| 8 | 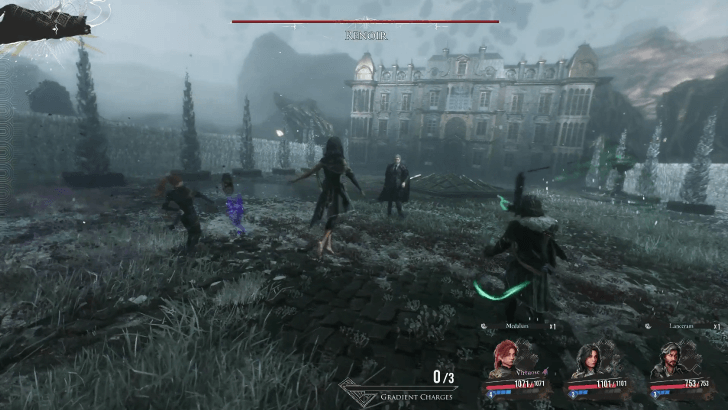 Reunited with your allies, you will now face Renoir in battle. Renoir has several attack patterns depending on the situation he puts your party in, and likes to bombard you with Status Effects. It would be wise to keep a teammate or items in your inventory that can restore HP and cure Status Effects promptly to avoid having this battle drag on longer than it should. After the battle, the party will immediately set up Camp. ▶ How to Beat Renoir |
Defeat the First Axon to Forge a Weapon Able to Pierce the Monolith Barrier
| Act 2: Verso Objective 4 Guide | |
|---|---|
| 1 | 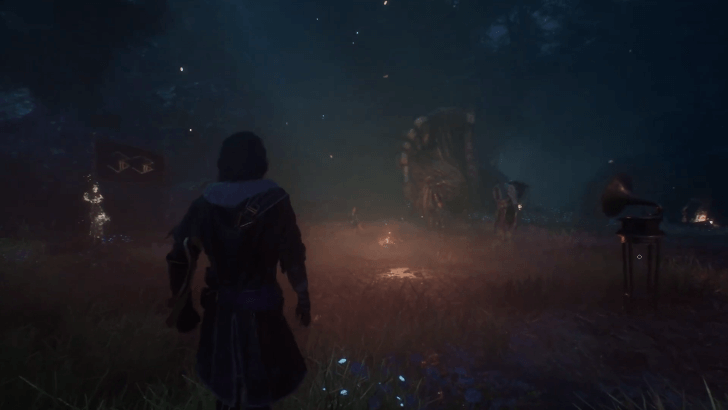 Get everything settled at Camp and take your time to prepare for the next leg of your journey. Check your equipment, improve your relationships, then go to sleep to set off. ▶ Character Relationships Guide |
| 2 |  You will begin in a new area called the Visages. The path ahead is pretty linear, so make your way through the gorge of stone faces until you reach the first Rest Point, which you should approach and interact with. ▶ Visages 100% Guide |
| 3 | 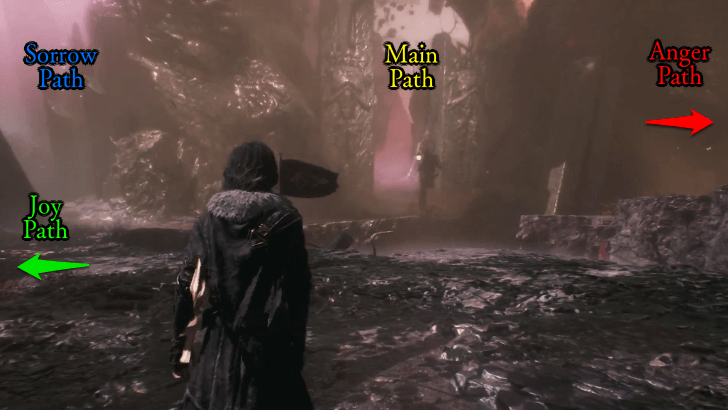 Looking ahead, you will see four paths—the verdant Joy Vale directly left of the Rest Point, the barren Sadness Vale just beside it, and the scorched Anger Vale to the far right that looks like a ravine. The Main Path in the center that is framed by two columns with faces should come last. From here, you can make a choice on which of the other three paths to take first. ▶ Mask Riddle Answers |
The Joy Vale
| Act 2: Objective 4 - Joy Vale Guide | |
|---|---|
| 1 | 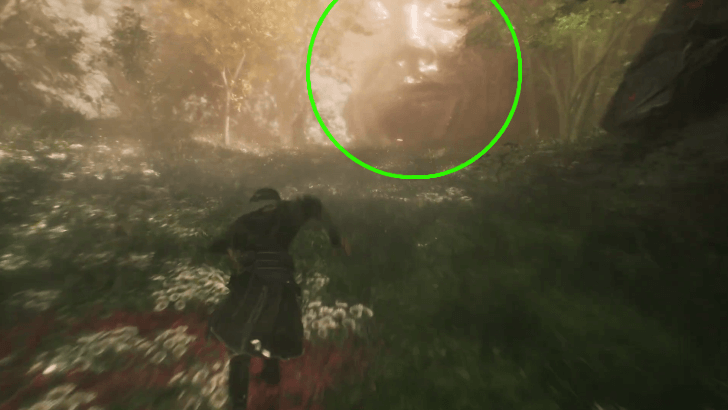 Proceed to the Joy Path and continue on until you reach the visage. Once you do, let it swallow you. |
| 2 | 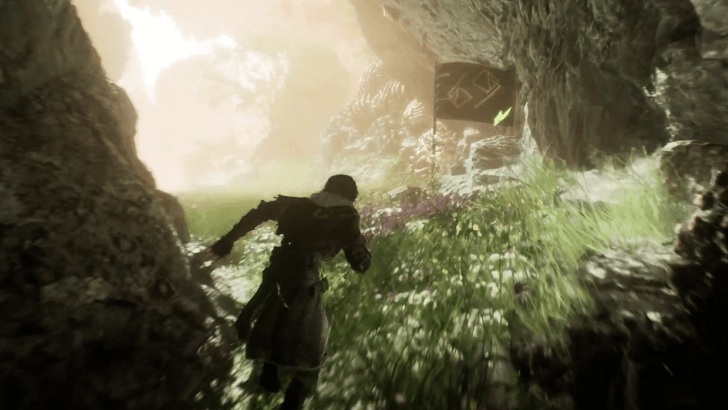 Keep following the path while eliminating any Nevrons in the way until you reach the Rest Point. You should come across a clearing with the Joy Mask just beyond. |
| 3 | 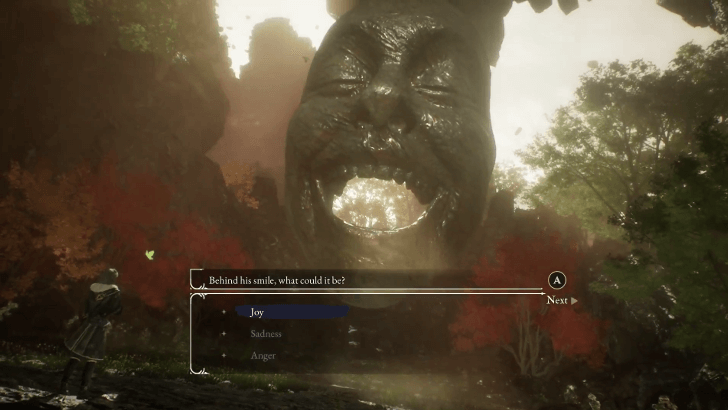 It will give you the following riddle: “He who painted this world, Seeking what he could not grasp, Longing to share with those he loves. Behind his smile, what could it be?” Answer Joy and prepare to engage in a fight. |
| 4 | 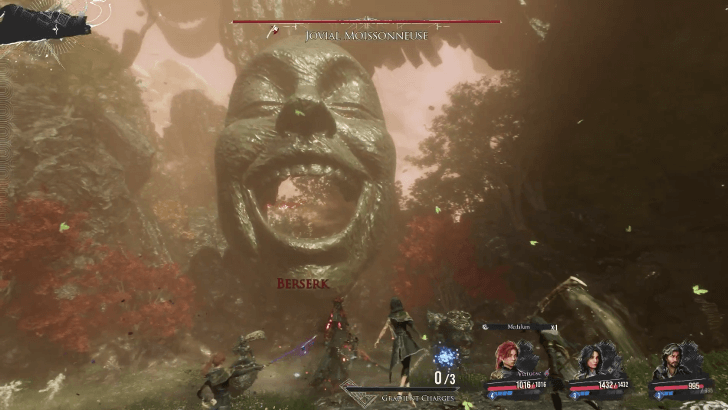 Defeat the Jovial Moissoneneuse. This enemy casts Berserk on itself, which significantly strengthens its attacks. Do prepare for a lengthy battle as the Joy Mask will heal the Jovial Moissoneneuse regularly. Defeating the Jovial Moissoneneuse will reward you with the Chapelim, a new weapon for Lune. After the fight, you will immediately be transported back to the starting crossroads. ▶ How to Beat the Jovial Moissoneneuse |
The Sadness Vale
| Act 2: Objective 4 - Sadness Vale Guide | |
|---|---|
| 1 | 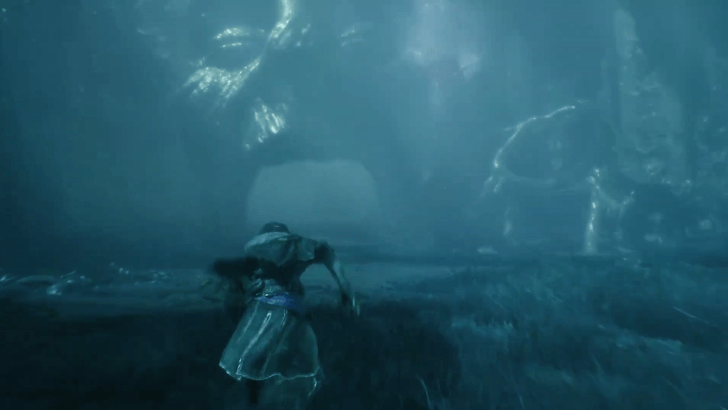 Keep following the path until you reach a large clearing with a giant face whose mouth looks to be an entrance. Approach the visage and let it swallow you. |
| 2 | 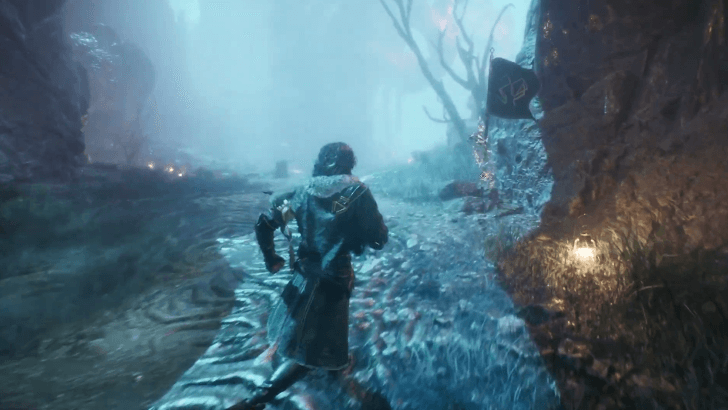 After the cutscene, a new path will be made available in front of you, so keep pressing onward while eliminating Nevrons along the way until you reach the next Rest Point. |
| 3 |  You will be at a clearing with several Nevrons. Either defeat them or evade them. Make your way to the Sorrow Mask at the far end of the area and speak to it. |
| 4 | 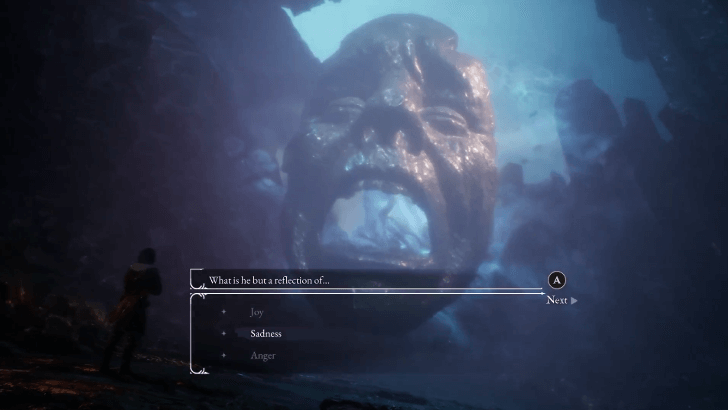 It will give you the following riddle: “He who lives in-between, Behind his veil, emotions swell For a life forced to paint. What is he but a reflection of...” Answer Sadness and prepare to engage in a fight. |
| 5 | 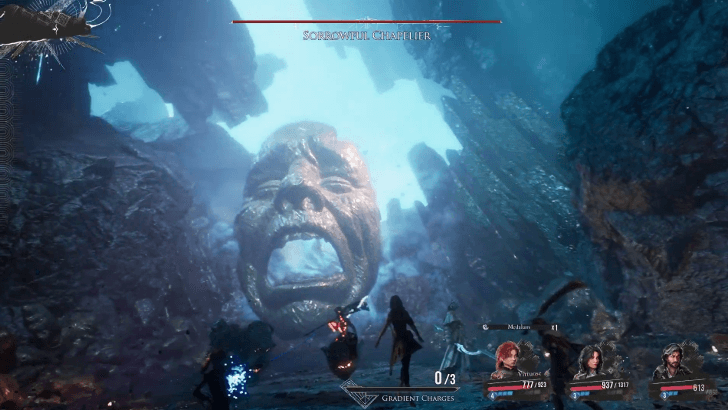 Defeat the Sorrowful Chapelier. Despite having a relatively low amount of HP, this one will be challenging as it and its companions boast powerful attacks than can incapacitate teammates quickly while bombarding you with Status Effects. Defeating the Sorrowful Chapelier will reward you with the Boucharo, a new weapon for Monoco. After the fight, you will immediately be transported back to the starting crossroads. ▶ How to Beat the Sorrowful Chapelier |
The Anger Vale
| Act 2: Objective 4 - Anger Vale Guide | |
|---|---|
| 1 | 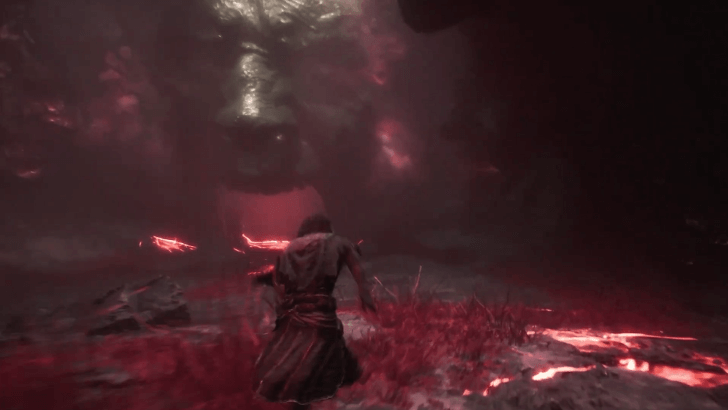 Enter the Anger Path and approach the visage's mouth and let it swallow you. |
| 2 | 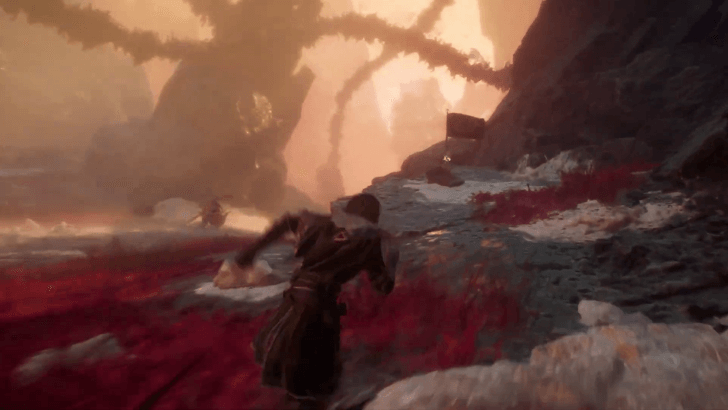 You will enter a different area this time. The path here is pretty straightforward so keep pushing on while eliminating or evading Nevrons until you reach the next Rest Point. The Anger Mask should just be downhill. |
| 3 | 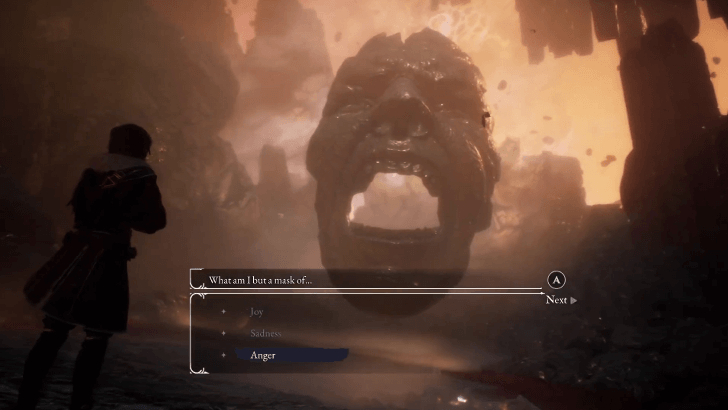 It will give you the following riddle: “He who cannot fight fate, Behind his scowl, emotions blaze But in the shadows, his temper fades. What am I but a mask of...” Answer Anger and prepare to engage in a fight. |
| 4 | 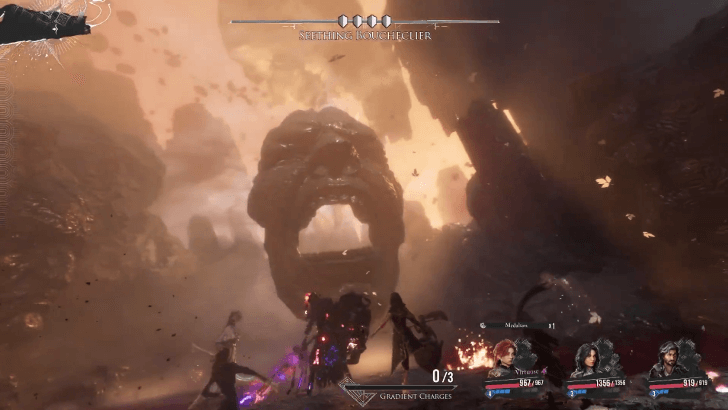 Defeat the Seething Boucheclier. This fight depends on your ability to dodge or parry with precision, though it shouldn't be a problem as the Seething Bouchilier has very slow attacks that are easy to predict. Ironically, the Seething Boucheclier is weak to Fire. Defeating the Seething Boucheclier will reward you with the Clierum, a new weapon for Maelle. After the fight, you will immediately be transported back to the starting crossroads. ▶ How to Beat the Seething Boucheclier |
The Main Path
| Act 2: Verso Objective 4 Guide | |
|---|---|
| 1 | 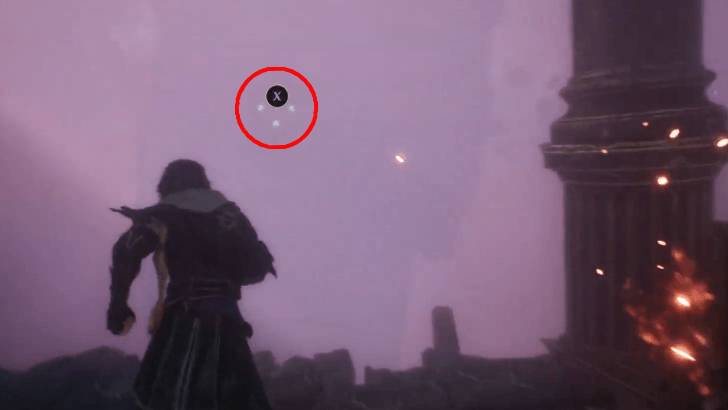 Once all three masks are dealt with, it's time to deal with the Axon, so proceed to the Main Path. The environment should look similar to the Anger Path. Keep pressing on until you reach a grapple point. Once you do, grapple to the other side. |
| 2 | 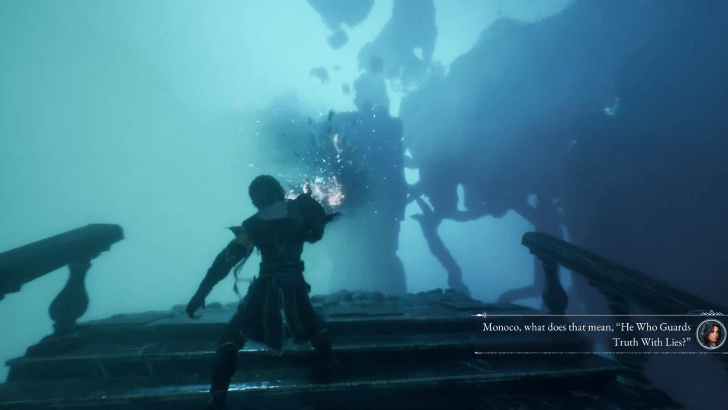 The environment will change to resemble the Sorrow Path. Keep pressing on until you reach the next grapple point. Once you do, grapple to the other side. |
| 3 |  The last area should resemble the Joy Path. Keep going until you reach a Rest Point. Take your time to prepare and save, then proceed to the clearing just beyond and watch the cutscenes. ▶ All Expedition Flags |
| 4 |  You will now face against the Visages. Prepare for a lengthy battle as the Visages boast substantial amounts of HP as well as varying tactics based on the mask that appears in the mirror. ▶ How to Beat the Visages |
| 5 | 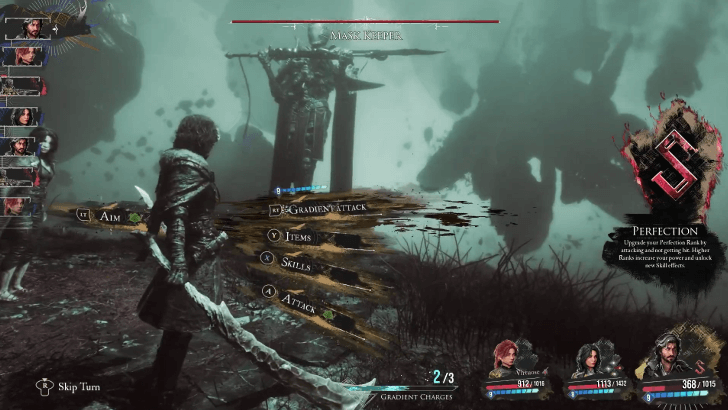 After the fight with the Visages, you will face another boss—the Mask Keeper. This boss fight is as straightforward as they come and is much easier than the previous one, provided that you've defeated the three previous masks first. Once defeated, a set of cutscenes will play, and the party will automatically set up camp. ▶ How to Beat the Mask Keeper |
Defeat the Second Axon to Forge a Weapon Able to Pierce the Monolith Barrier
| Act 2 Verso Objective 5 Guide | |
|---|---|
| 1 | 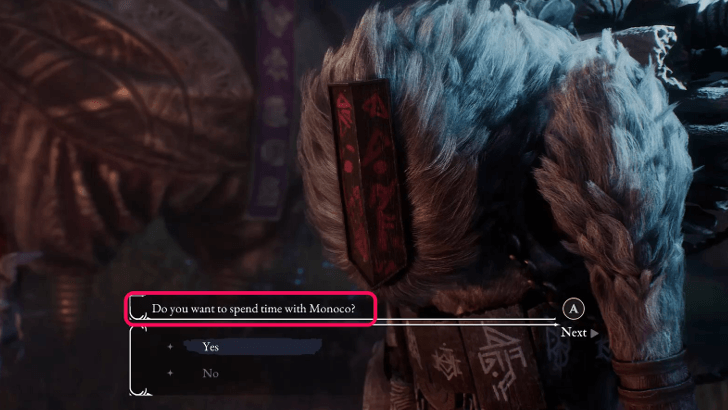 Improve your relationships with your teammates, learn new skills, or check your equipment at camp. Go to sleep after everything is settled to set off for Sirene. ▶ Character Relationships Guide |
| 2 | 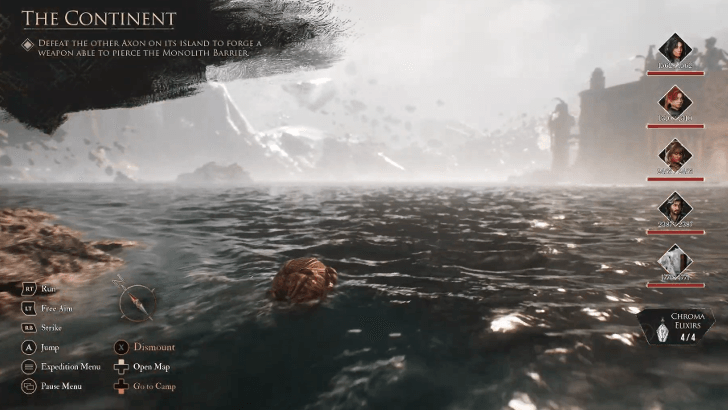 Sirene is directly east of the Visages, and you'll need Esquie's ability to swim as you will need to cross the sea to get there. ▶ Esquie Character Profile |
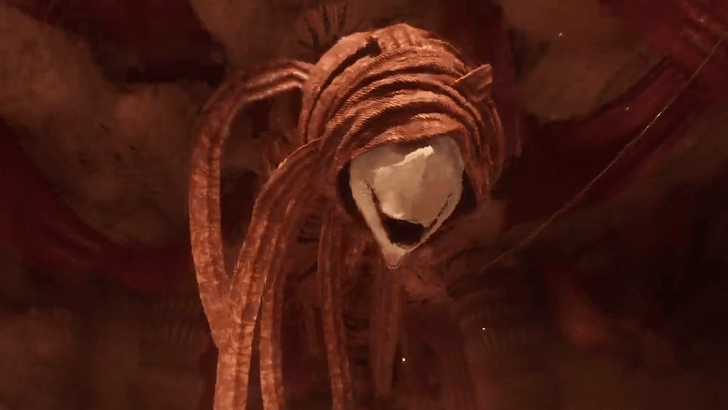
| 3 | 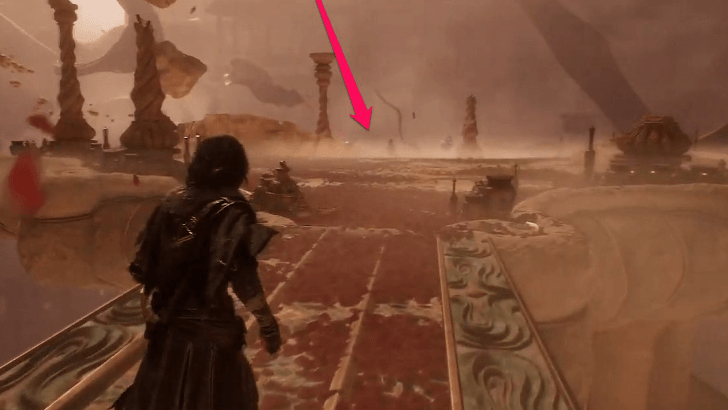 Once you arrive, press forward past the bridge and onto the first platform to initiate a cutscene about the second Axon—Sirene, She Who Plays with Wonder. |
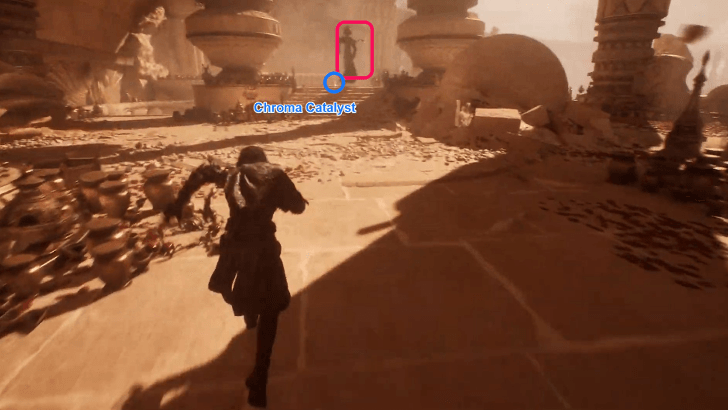
| 4 | 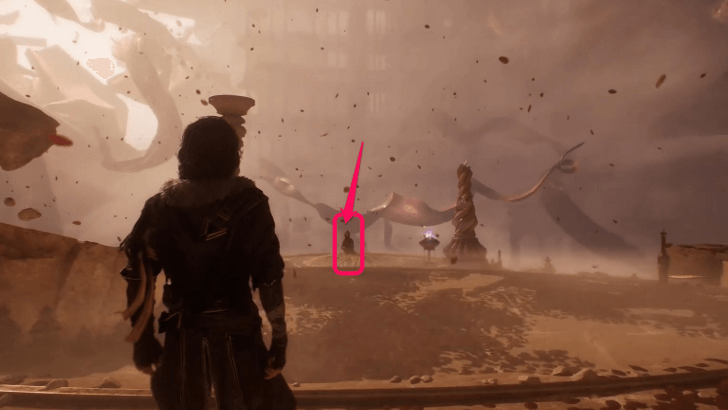 After Sirene's introduction, interact with the elavator ahead of you. It will transport you to the lower levels of the island. Once you arrive, go a little ways forward, then look to your right to spot a tunnel. Enter it and keep going until you reach a Resplendent Chroma Catalyst. Afterwards, backtrack to the previous area. |
| 5 |  Go down the stairs and follow the path until you reach your first Rest Point. Interact with it, then press onward, up the staircase, and into the courtyard. Beware of the Nevrons in the way. At the courtyard, look to the right and notice a Journal Entry (Expedition 55) on the ground by abroken structure. Defeat the Nevrons guarding it and pick it up. On the other side of the structure is a Colour of Lumina that you should also pick up. ▶ All Expedition Journal Locations |
| 6 |
 |
| 7 | 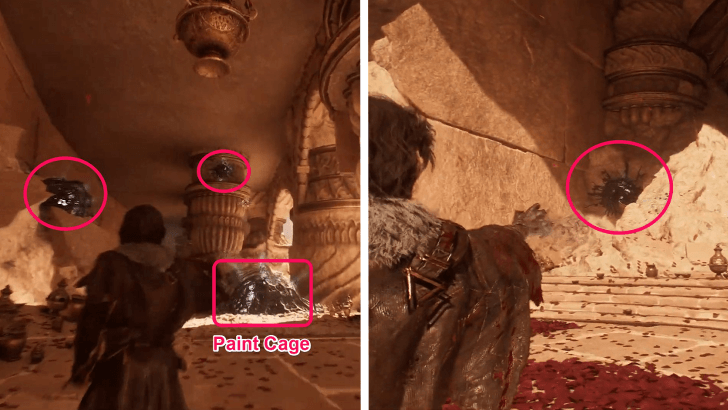 Enter the alcove just opposite the structure and slide down the light rope. The opening to the right contains a Resplendent Chroma Catalyst but watch out for the Nevron guarding it. Backtrack and continue down the path to reach a Paint Cage puzzle that contains a Shield Affinity Pictos. One lock is above the cage on a pillar, the second one is on some boulders beside it, and the last one is behind a boulder beside the entrance. ▶ All Best Pictos and Lumina |
| 8 |
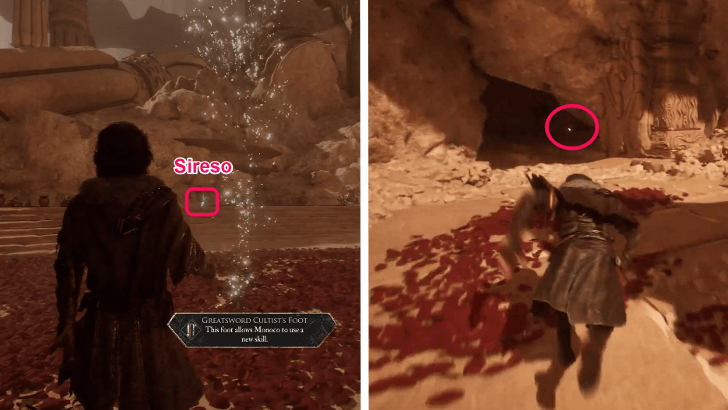 Interact with the elevator to go to a new area. Push forward then take a left and defeat the Chromatic Greatsword Cultist, who likes to put up shields and batter you with extremely powerful swings. After defeating it, pick up Sireso, a new weapon for Verso, as well as two Resplendent Chroma Catalysts. ▶ How to Beat the Chromatic Greatsword Cultist |
| 9 | 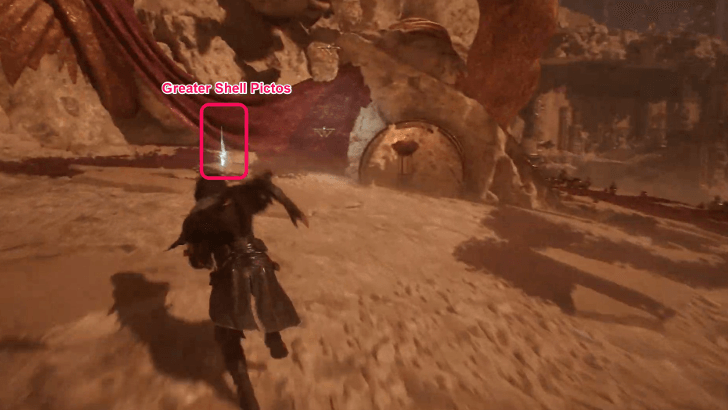 Proceed to the opposite path and eliminate the Nevrons in the way. By the broken pillar to the right is a Colour of Lumina that you should pick up. Proceed further, eliminating more Nevrons, and pick up the Greater Shell Pictos at the far end of the path. |
| 10 | 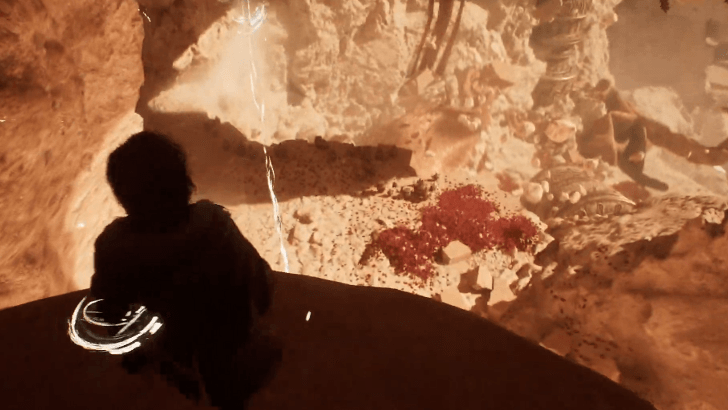 Spot some handholds just to the right of the Pictos. Use them to climb up to the cliff above, then proceed through the small cave that contains another Resplendent Chroma Catalyst. Afterwards, go to the balcony to the right and slide down the light rope. Follow the path and you will be back at the area where the very first elevator dropped you off at in Step 4 and 5. Go down the stairs and go back to the courtyard. |
| 11 |
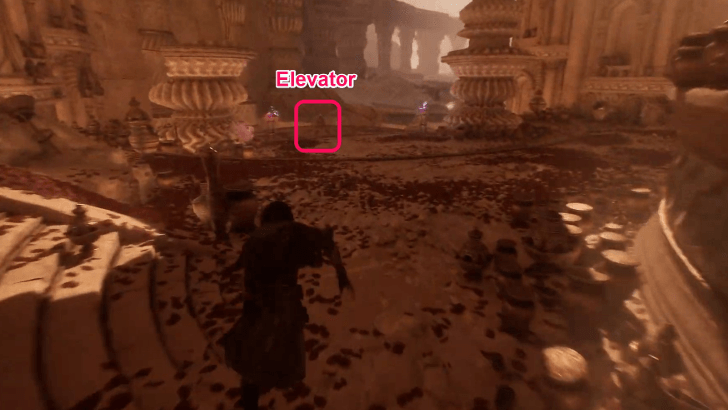 The balcony previously mentioned in Step 6 will have a set of stairs on either side of it. Go down the stairs and ride the elevator to a new area. Once you reach your destination, you may speak with the fallen Gestrals in the area then continue on. |
| 12 |  There are three paths surrounding the central statue. Go to the one directly behind it first to find some Chroma in a giant brass brazier and a Petank that you need to chase. Chase it all the way to left path and defeat it! ▶ How to Catch Petanks |
| 13 |
 After the fight with the Petank, go to the right path and contnue on until you reach an area with paths seemingly made of fabric. Both paths lead to the door at the far end of the room. Opt to take the left path first and eliminate the Nevrons in the way. Upon arriving at the next fork, take a left and follow it to the end. Defeat the Nevron and pick up the Colour of Lumina, then backtrack to the fork. |
| 14 |
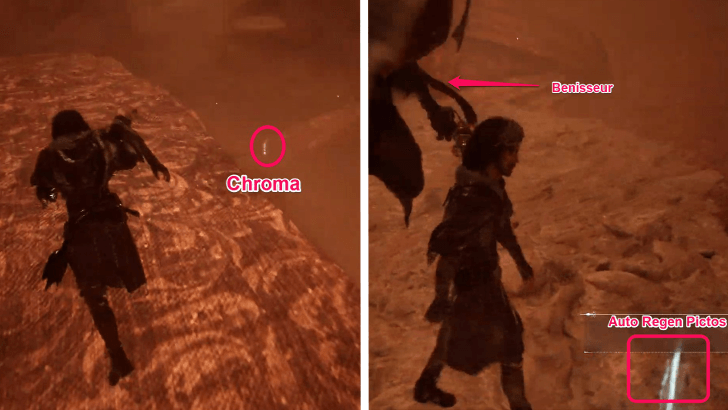 Follow the path until you reach the door, but don't proceed yet. Keep your guard up as there are Nevrons about. Take a right and drop onto the platform below and grab the Chroma on it. Drop down to the very bottom of the room to find a Benisseur guarding an Auto Regen Pictos. Defeat it and pick the Pictos up. Defeating the Benisseur will also reward you the Powerful on Shell Pictos. |
| 15 | 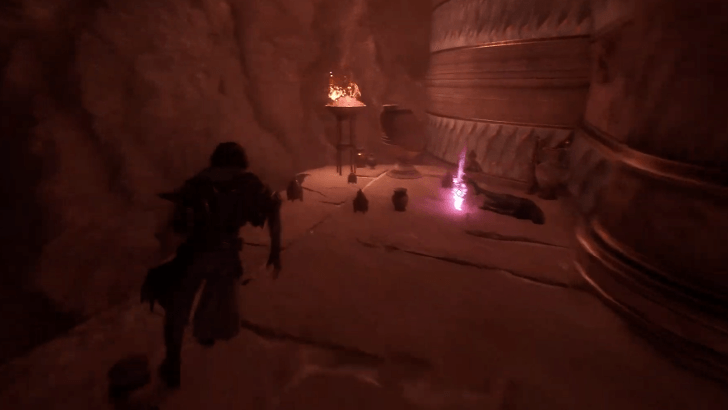 Work your way back up and proceed through the door. Follow the broken path and notice the path to the right but don't go through it yet. Instead, follow the broken path to a dead end and pick up the Resplendent Chroma Catalyst before backtracking and proceeding. |
| 16 | 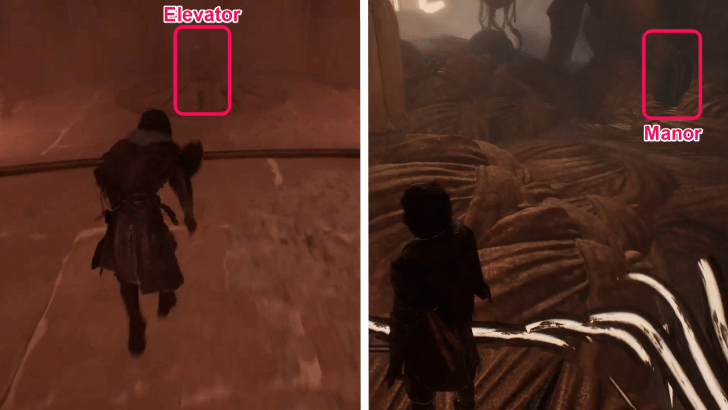 Interact with the elevator ahead. The new area a large underground field with several tunnels. If you go a little ways forward and turn right, a door to the Manor will be available, and you may explore it if you wish. ▶ The Manor Puzzle Guide |
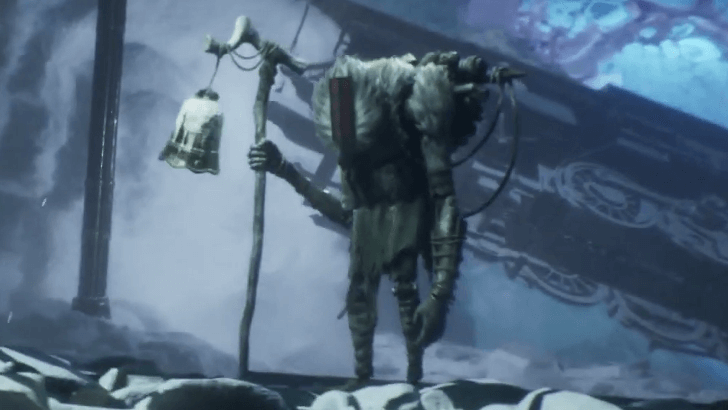
| 17 | 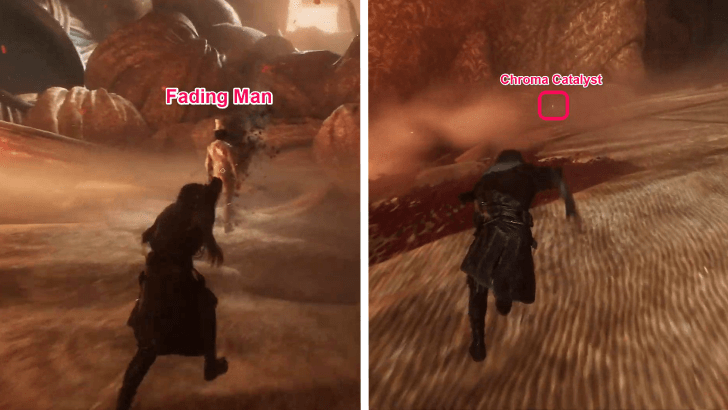 Proceed onward and speak to the Fading Man if you wish. Enter the tunnel ahead, but not before picking up the Resplendent Chroma Catalyst to the left of it. |
| 18 |  Before grappling to the other side, follow the path ahead to the end. Defeat the Nevrons in your path then jump on the elevated area and pick up the Protecting Death Pictos. Afterwards, backtrack and grapple to the next area. |
| 19 |  Follow the path to the right all the way to the end and pick up the Colour of Lumina, then grapple onto the next area. |
| 20 | 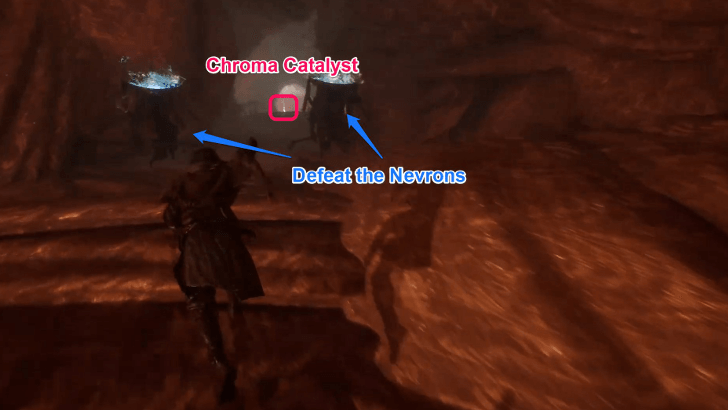 There will be a doorway to the right and a passage to the left. Opt to take teh left passage and eliminate the Nevrons. PIck up the Resplendent Chroma Catalyst on the balcony, then backtrack to the doorway. Once inside, slide down the light rope. |
| 21 | 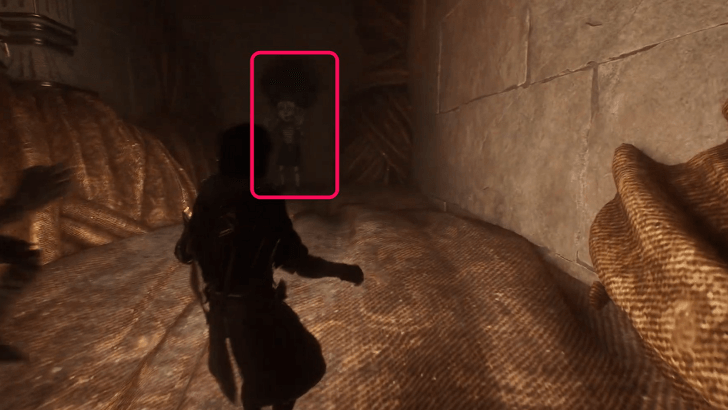 Continue onward until you reach a fork in the road. Before going to the right, go straight ahead into the dark room to find a Mime waiting for you inside. Prepare for battle and defeat it to reap its rewards, then proceed to the doorway, but not before saving at the Rest Point in the alcove to the left. ▶ All Mime Locations and Weaknesses |
| 22 | 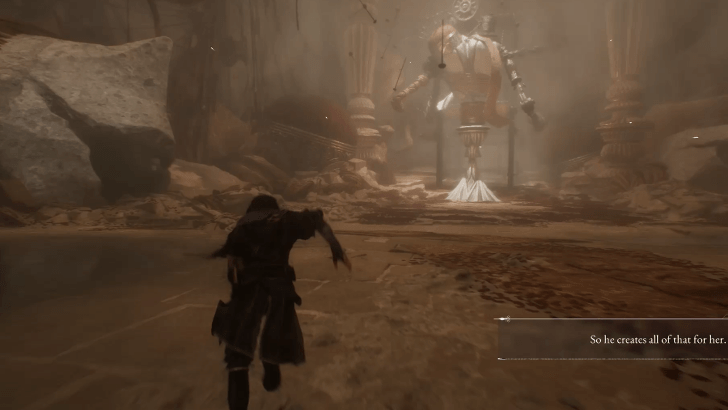 The imposing figure at the far end of the room is the Tisseur. Before engaging it, though, turn right and notice the Resplendent Chroma Catalyst at the far wall as well as a Grapple Point. Pick up the Catalyst but don't grapple to the raised area. |
| 23 |  Return to the entrance and, facing the Tisseur, look to your left and spot some raised platforms you can jump on. Do so and follow the path, but stop halfway and look behind you to spot a lock of a Paint Cage on a suspended structure. Destroy it and proceed to the Paint Cage. Facing the cage, look up and to the right to spot another lock. The final lock is right at the ceiling of the room. This Paint Cage contains a Revive Tint Shard. A small area just ahead contains a Resplendent Chroma Catalyst so pick it up. |
| 24 | 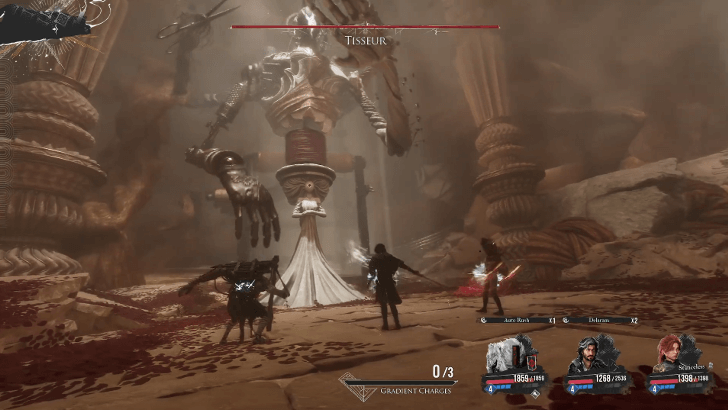 Time to face the Tisseur, which will cast Curse on the entire party at the very start of the battle, leaving you with 8 turns to win or else. It is weak to both Light and Fire, and a lot of its attacks can be taken advantage of. Defeating the Tissuer will reward you with the Tissenum, a new weapon for Maelle, and an Anti-Charm Pictos. ▶ How to Beat the Tisseur |
| 25 | 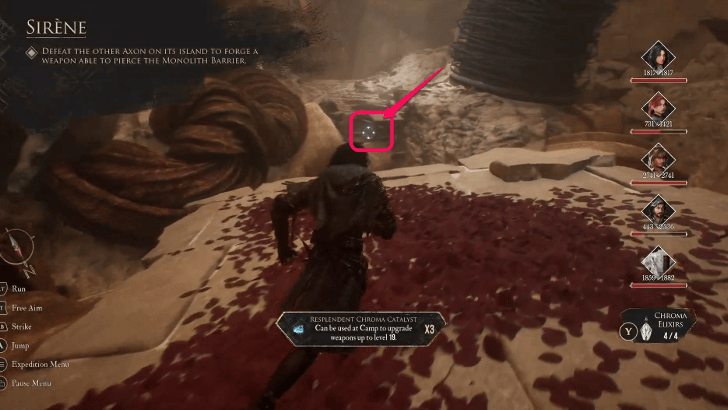 After the battle with the Tisseur, grapple onto the grapple point you saw earlier and follow the path, defeating the Nevrons in the way. Keep following the path until you reach a long light rope you can slide down on. Do so and take your time preparing at the Rest Point to the right. |
| 26 |  Before engaging the large creature ahead of you, continue further right and pick up the Energy Tint Shard. Don't slide down the light rope you'll find ahead. Instead, brace yourself for another boss fight. Engage the Glissando. |
| 27 | 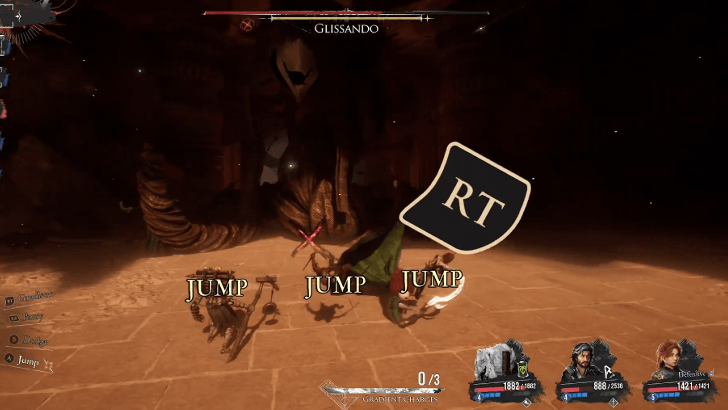 The Glissando is weak to both Ice and Darkness, and its attacks target the entire party. However these attacks are easy to parry and dodge, making it susceptible to counterattacks. ▶ How to Beat the Glissando |
| 28 |  After the fight, go left and go down the stairs to the side. Turn right for some Chroma by a corpse, then proceed to the other path and spot the handholds you can use to make your way across the gap. Do so and keep going, then slide down the light rope at the end. |
| 29 | 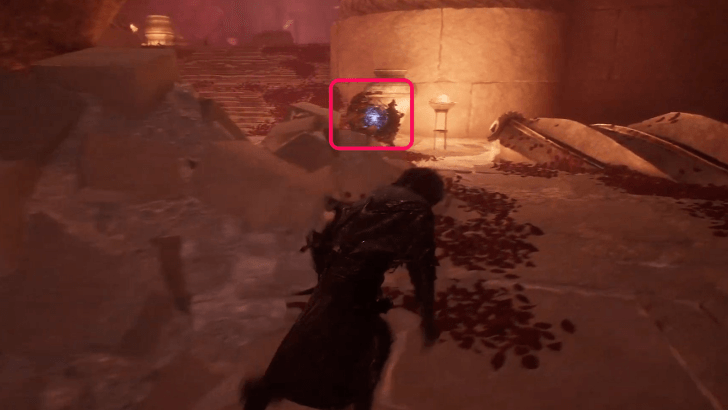 A blue Petank will just be ahead. Chase it to its illuminated tile, which is just in the area ahead. Don't forget to grab the Colour of Lumina in one of the braziers to the left along the way. Defeat the Petank to claim its rewards. ▶ How to Catch Petanks |
| 30 | 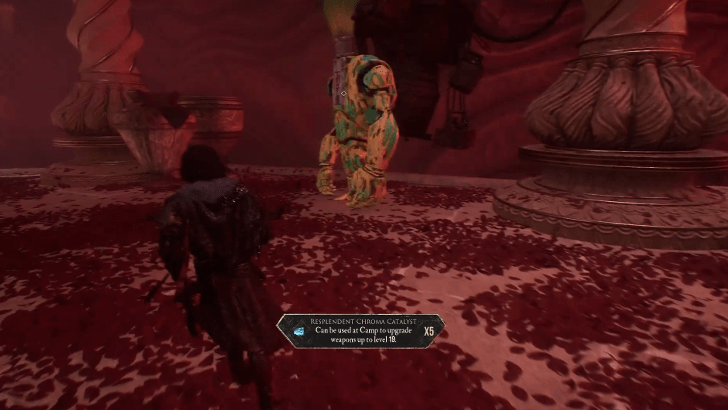 Right ahead is a Merchant named Klaudiso. You can trade with him or fight him if you wish. Defeating Klaudiso will unlock Chantenum, a new weapon for Maelle, in his shop and make it available for purchase. |
| 31 |  Backtrack to the are where you fought the Glissando. Go back to the light rope you saw when you picked up the Energy Tint Shard in Step 26. You'll find a gap you can grapple over, so do so to cross to the platform on the other side. |
| 32 | 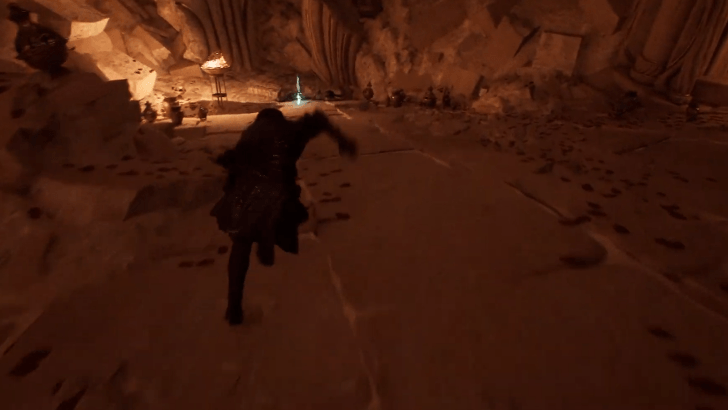 Keep following the path then crouch through the small opening. Pick up the Healing Fire Pictos, then turn right and grapple to the other side. |
| 33 | Keep pushing forward and up the stairs to find yourself at a clearing. To the left of the clearing is a set of stairs leading to another elevator. Interact with it to go to a different area. |
| 34 | 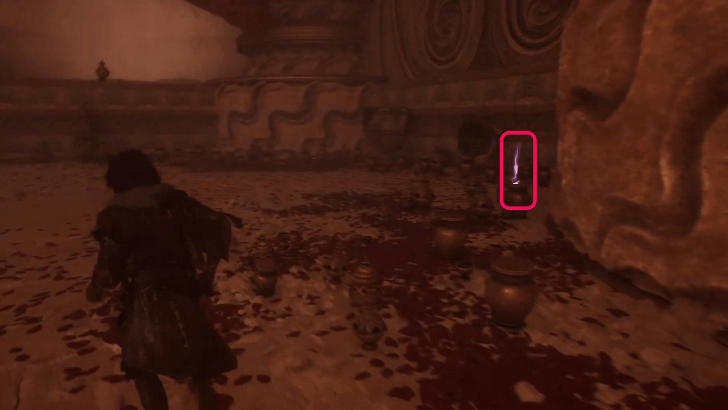 Once you arrive, go right and behind one of the pillars to find a Resplendent Chroma Catalyst you can pick up. Then, go to the far opposite side of the elevator and pick up the Expedition 67 Journal Entry. ▶ All Expedition Journal Locations. |
| 35 | Turn around and interact with the Rest Point. Take your time to prepare, for at the end of the long tunnel beyond the doorway ahead will be Sirene. |
| 36 |
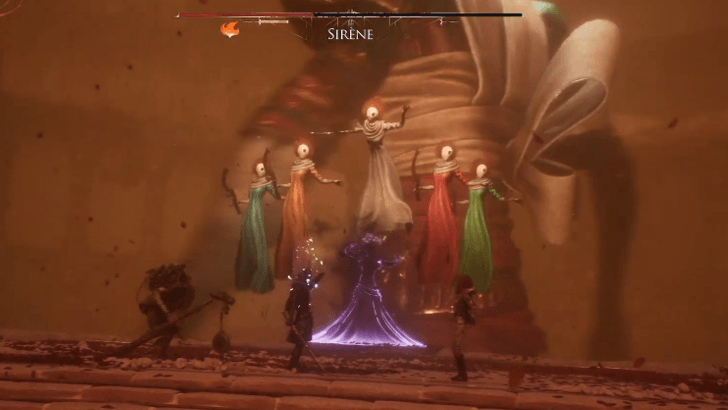 Sirene attacks in dances, and her actions will depend on how she does so. She also likes to inflict Charm on party members, and if you don't want this battle get harder than it already is, it would be best to cure it as soon as you see it stick. Sirene is weak to Ice. Sirene gets increasingly aggressive the lower her health is so keep your wits about you! Defeating Sirene will reward you with the Tisseron, a new weapon for Sciel, and the Expedition will automatically set up camp. ▶ How to Beat Sirene |
Face the Paintress at the Monolith
| Act 2 Verso Objective 6 Guide | |
|---|---|
| 1 |  Improve your relationships with your teammates, learn new skills, or check your equipment at camp. Go to sleep after everything is settled to set off for the Monolith. ▶ Character Relationships Guide |
| 2 |  The Monolith is directly north of Sirene. Use Esquie's ability to swim to cross the sea to get there. When you're close enough to the Monolith, a cutscene happens. ▶ Esquie Character Profile |
| 3 | 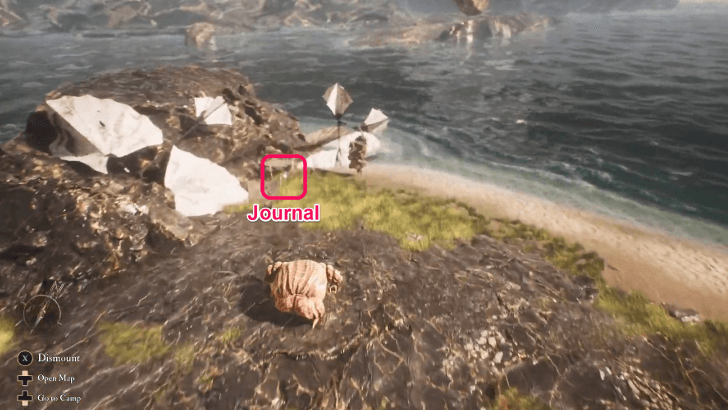 After the cutscene, you'll be transported to an island nearby where you'll find the Expedition 40 Journal and the Grasanori Merchant that sells the Pure Outfit for Verso and Double Braid for Lune. The Monolith is directly northeast from the island, so head back there. ▶ All Expedition Journal Locations |
| 4 | 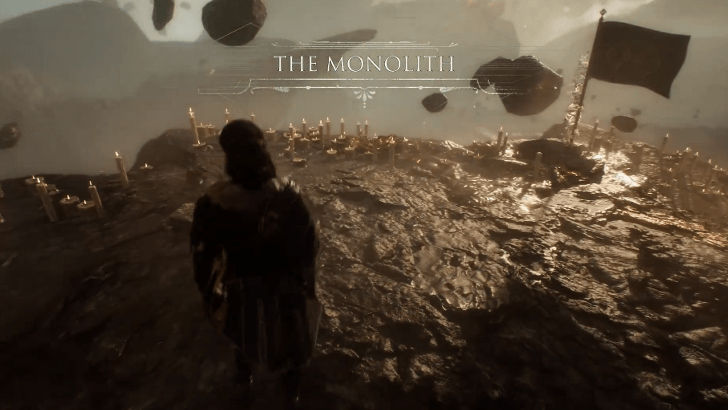 Enter the Monolith and another cutscene will happen. After the cutscene, you'll make it to the Monolith area where you'll see the Entrance Expedition Flag for the area. |
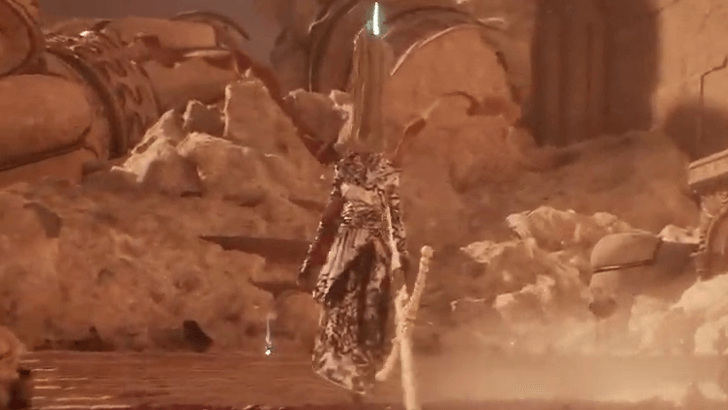
| 5 | 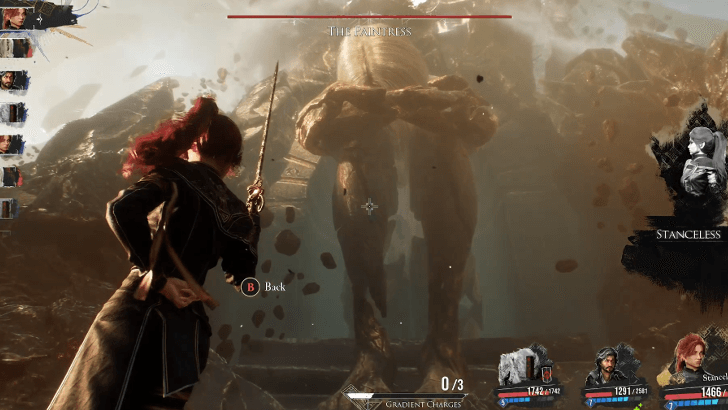 Follow the path and you'll come face to face with the Paintress. Approach the Paintress and a cutscene happens, then a fight starts immediately after. This fight is special since the Paintress won't take any damage and the fight ends after a couple of turns with a cutscene. |
Find The Paintress' Heart at The Top of The Monolith
| Act 2 Verso Objective 7 Guide | |
|---|---|
| 1 |  After the cutscene, you'll be transported to the Inside of the Monolith. Move forward and you'll see the Entrance Expedition Flag for the area. |
| 2 |  Move past the Expedition Flag until you see a grapple point. Use it to cross the gap and keep moving. You'll see another grapple point shortly after so use it to cross another gap and keep moving forward. |
| 3 | 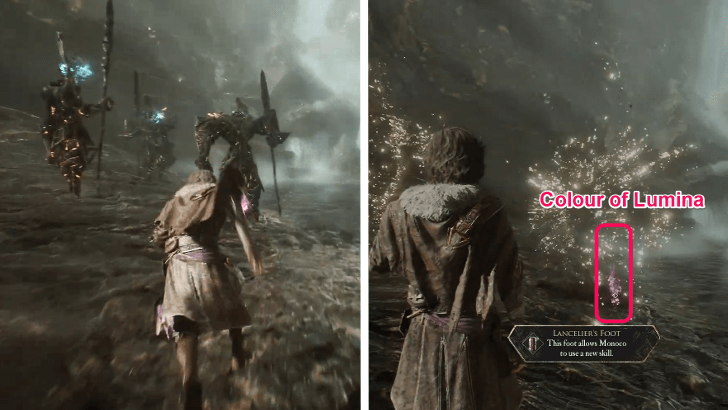 You'll eventually reach an area with a pond with a small fountain and two Lanceliers before it. This area looks similar to the Spring Meadows area earlier in the game. Kill the Lanceliers to get a Level 15 Lanceram then follow the path left to the pond to continue. You can also get a Colour of Lumina from the dead body next to the Lanceliers. |
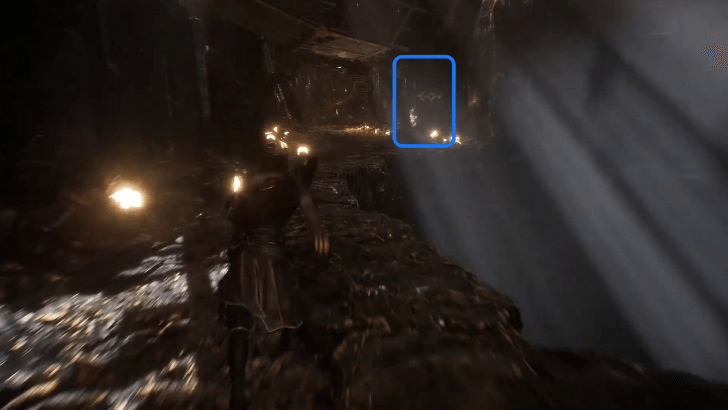
| 4 | 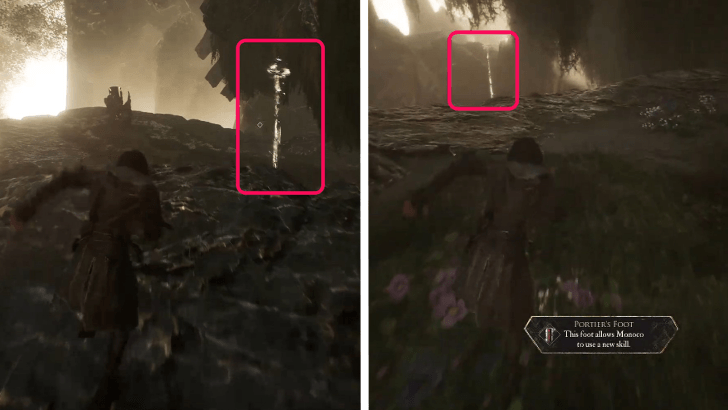 The screen will turn black and white. Go through the empty frame of a painting on the right and just follow the path on the left until you see a light rope. Use it to get down to the area below. Move to the left side and you'll see another cliff with a light rope. |
| 5 | 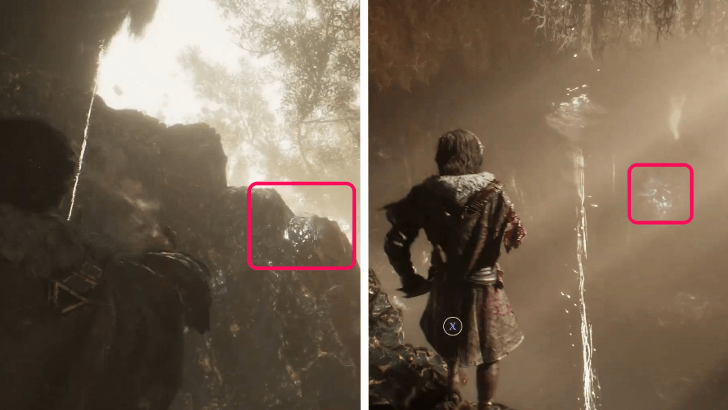 Go down the rope and you'll see more enemies. Take the enemies out first so you can focus on unlocking the Paint Cage nearby. The reward inside the Paint Cage is a Revive Tint Shard. The locks are on top of a huge rock, beside a cliff to the right of the first light rope, and behind a small rock. |
| 6 | You'll see a second light rope to the right of the Paint Cage from earlier. Climb up the rope and you'll see a bridge and a grapple point next to it. |
| 7 | 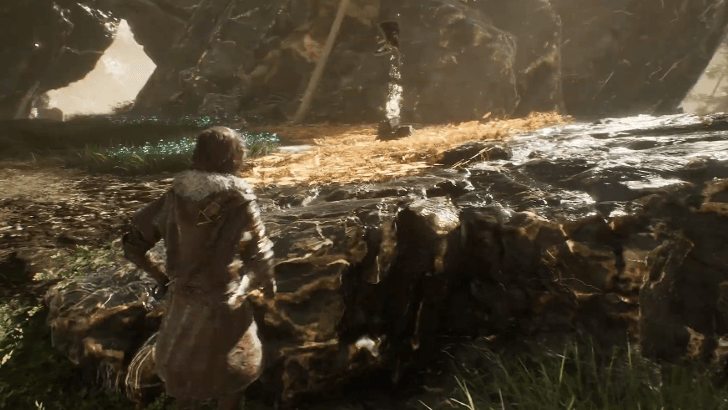 Use it and you'll get to the area next to the bridge. Pass through the bridge and on the left, you'll see the Tainted Meadows Expedition Flag. From the flag, follow the right path and you'll come across more enemies. The path to the right of the enemies leads to the next area. |
| 8 | 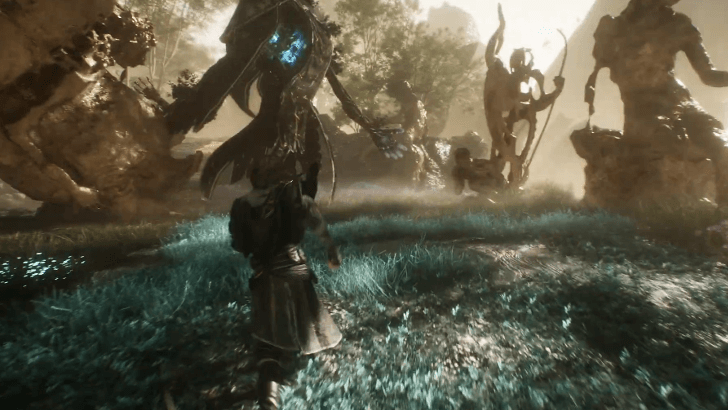 Take the enemies out and then go the left path with some statues where an Eveque boss is. Its optional but taking it out rewards you with a Level 15 Cleansing Tint, Resplendent Chroma Catalysts, and two Recoats. |
| 9 |  Once you're done with Eveque, go to the left and follow the path to the end until you see a ledge. Jump down to get a Colour of Lumina. Climb back up and follow the path from earlier that leads to the next area. |
| 10 | 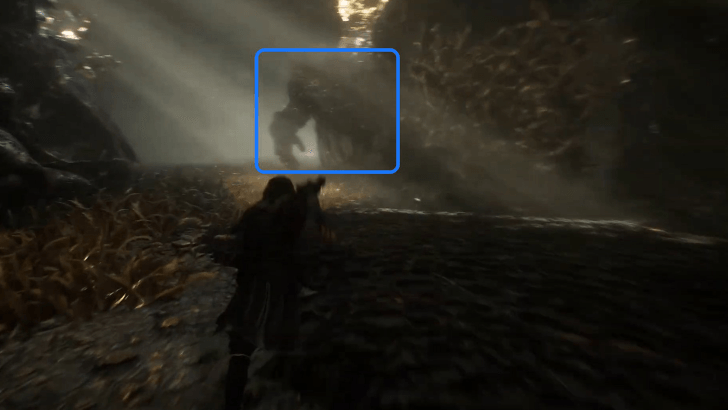 Climb up the small ledge and the screen turns black and white. Follow the path until you pass a tunnel that leads you to an area like Flying Waters. Keep moving until you see a Cruler enemy. ▶ Cruler Enemy Weaknesses |
| 11 | 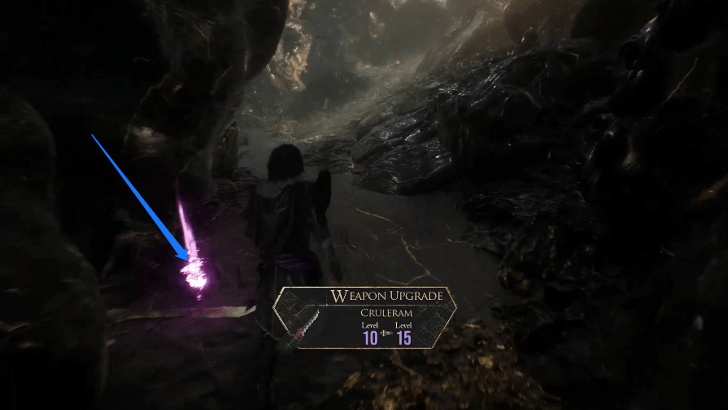 Fighting the Cruler enemy and defeating it rewards you with a Level 15 Brulerum and Cruleram. To the left of the Cruler enemy is a path that just loops around, where you can get a Resplendent Chroma Catalyst. |
| 12 | 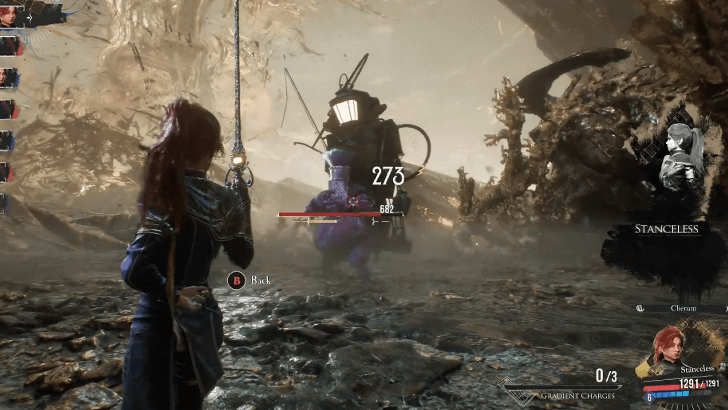 To the right and through some seaweed, you'll see the Mistra merchant that sells Level 15 Fragaro and Veremum along with the other usual items. You can also fight the merchant and unlock the Energising Cleanse Pictoss for sale. |
| 13 |  Go back where you came from and follow the right path to get to the Tainted Waters Expedition Flag. Move forward until you see a Demineur. Kill it and you'll get two Resplendent Chroma Catalysts. |
| 14 | 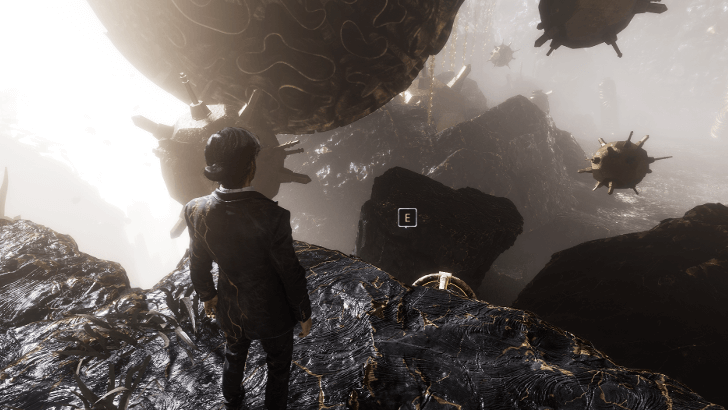 From there, you'll be able to see a path to the right through the seaweed. You'll come face to face with a giant mine, as well as a grapple point below. Use it and then grapple to another point to get to the Chromatic Bourgeon. |
| 15 | 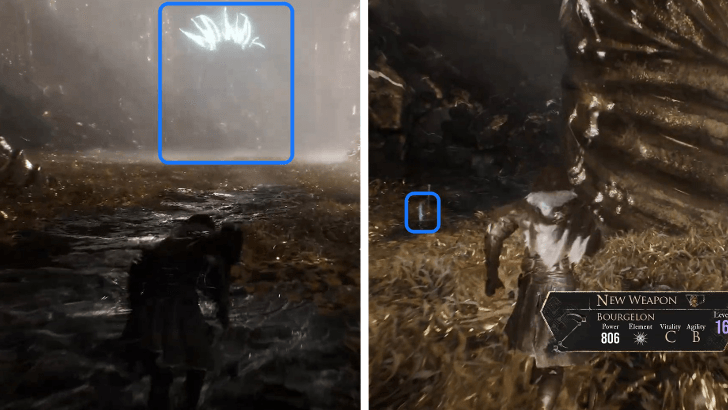 Killing the Chromatic Bourgeon rewards you with a Level 15 Bourgelon, Bourgeon Skin, two Resplendent Chroma Catalysts, and five Colours of Lumina. The item the Bourgeon was also guarding is the Stay Marked Pictoss, so pick it up also. |
| 16 | 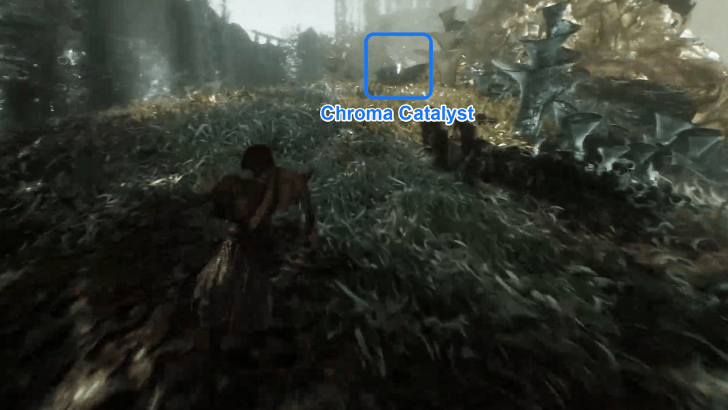 Grapple back up to the area before and follow the path until you see an Obscur enemy. Just before the Obscur is a Resplendent Chroma Catalyst on a rock. |
| 17 | 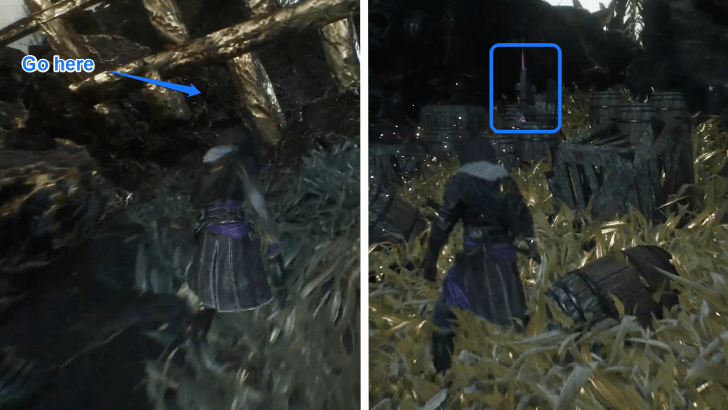 The path to the right of the Obscur takes you to a Demineur. Kill the Demineur and to its left, you'll see a small opening in the golden metal. Go through it and you can pick up a Colour of Lumina. |
| 18 |  Go back to the Obscur and take it out. You'll be rewarded a Resplendent Chroma Catalyst. Go through the cave and up the light rope to get to the next area. |
| 19 | The next area is similar to the Ancient Sanctuary area. Upon entering the area, you'll immediately see the Tainted Sanctuary Expedition Flag. |
| 20 |  Follow the left path and you'll see two enemies just standing in the middle of the area. Take them out and you'll get a Level 15 Sakaram. |
| 21 | 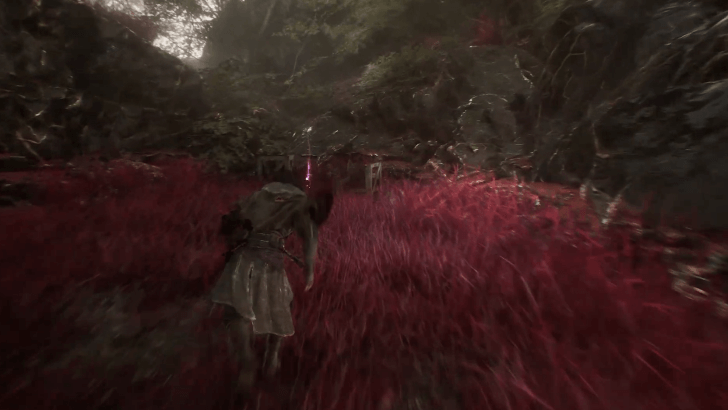 Follow the path until the end and you'll see some wooden crates where a Colour of Lumina is. Take it and go to the right to see a path with statues. |
| 22 | 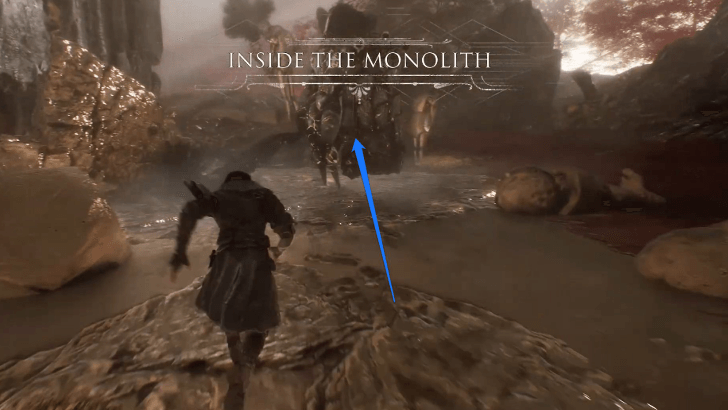 The path leads you to an area filled with wooden statues and an Ultimate Sakapatate optional boss. Killing the boss rewards you with a Resplendent Chroma Catalyst. Go back to the Expedition Flag right after. |
| 23 | The path to the right of the Expedition Flag leads you to a Colour of Lumina. Go back to the area with wooden statues and follow the path until you see a Clair enemy. |
| 24 |  There's also a path near the Clair enemy where a Paint Cage is. One of the locks require you to break a tree root. You need to find your fourth Lost Gestral to be able to break Paint Spikes. It rewards you with the Random Defense Pictoss. ▶ Lost Gestral Locations |
| 25 | 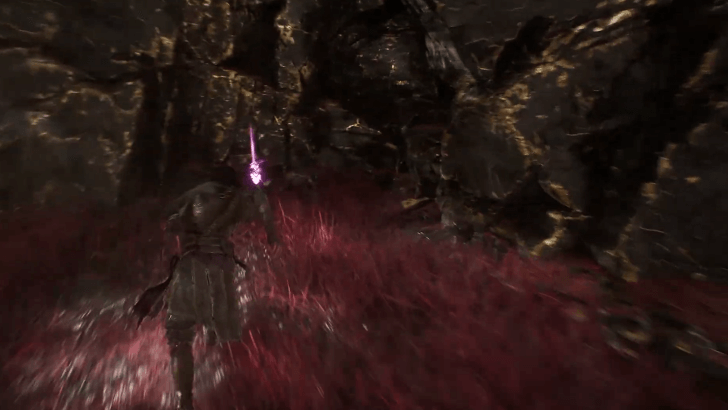 Just before the Clair enemy, there's a path that loops around that also has a Resplendent Chroma Catalyst. Taking out the Clair enemy rewards you with a Level 15 Trebuchim. |
| 26 |
 Follow the path after the Clair enemy to get to the Tainted Cliffs Expedition Flag. Climb up the stairs and you'll see a Resplendent Chroma Catalyst near the edge to the right. |
| 27 | 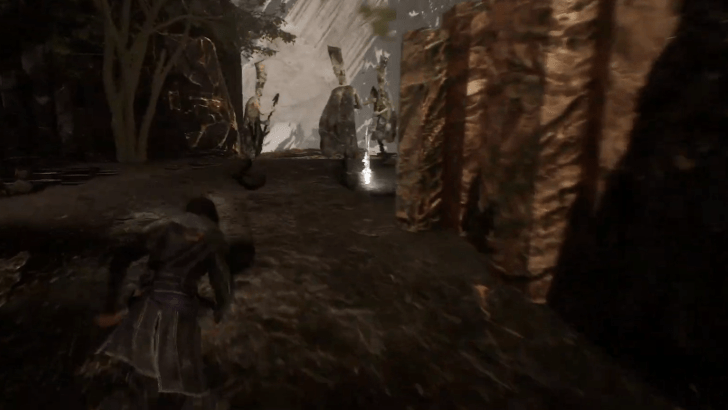 Keep moving forward and use the grapple point to pass the gap. Continue down the path until the screen turns black and white. Follow the path until you see three enemies guarding an item near some golden pillars. |
| 28 | 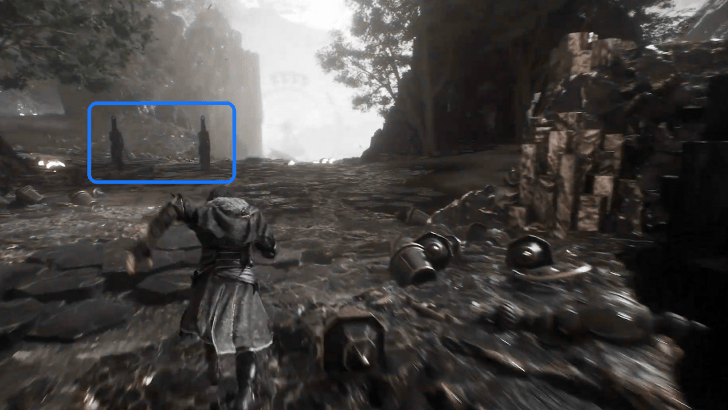 Killing the enemies and picking up the item rewards you with a Level 15 Chation. To the left, you'll see two enemies. Beating them rewards you with a Level 15 Energising Pain Pictos. |
| 29 | 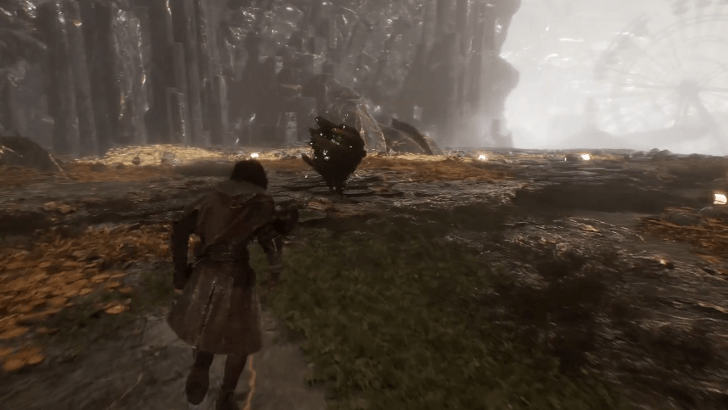 Follow the path to the right and you'll come across a Green Petank. Follow the Green Petank until it leads you to its spot and fight it. It'll reward you with five Resplendent Chroma Catalysts, Recoat, and five Colours of Lumina. |
| 30 | 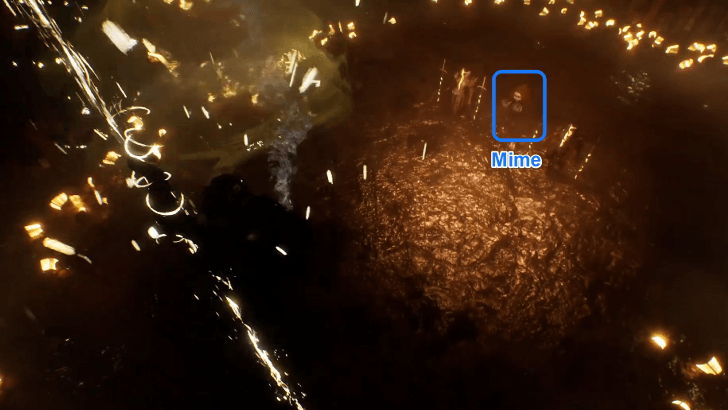 From the Petank's spot, go to the right and you'll see a small opening to the left where a light rope is. Ride the light rope downward to see a Mime. Defeating the Mime rewards you with a Voluminous Hairstyle for Maelle. ▶ All Cosmetic: Outfits and Haircuts |
| 31 | 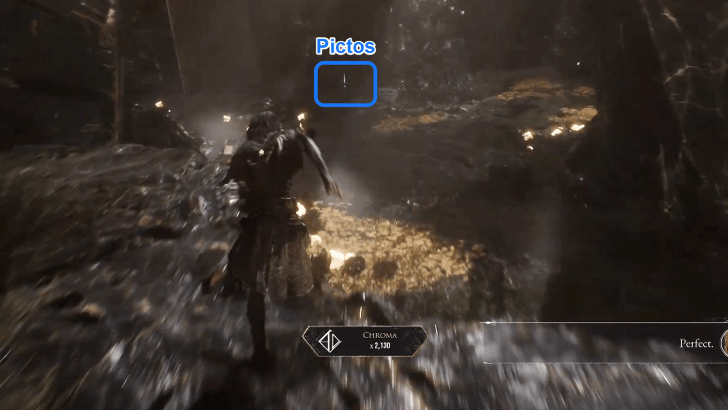 Climb the light rope and follow the path to the left, where you'll see the Obscur enemy for the area. Defeat it and go to the right where you'll see a blank frame and to its right, the Weakness Gain Pictos. |
| 32 | 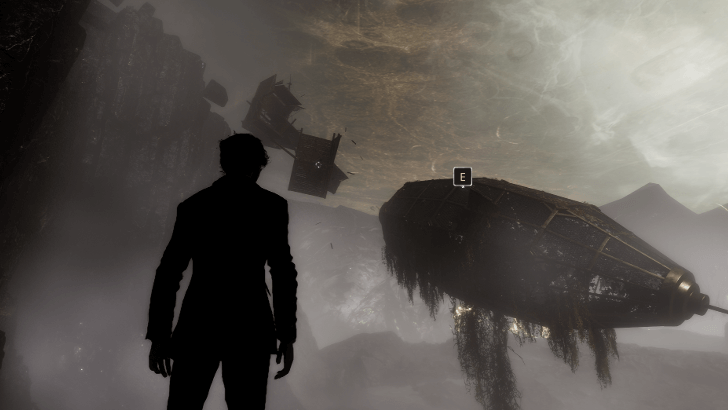 Keep moving forward until you see grapple points and use it to cross the gaps. You'll then come across the Tainted Battlefield Expedition Flag. This area looks similar to the Forgotten Battlefield area. |
| 33 | 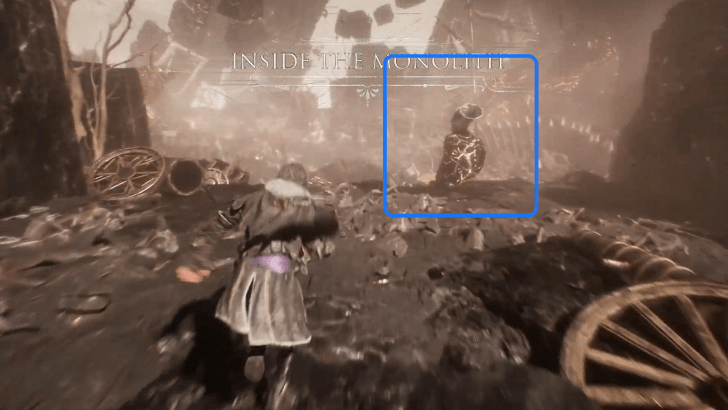 Cross the wooden bridge and you'll see a Trobadour sitting by the edge. Defeat it to get a Level 15 Troubadim and Longer Shell. |
| 34 | 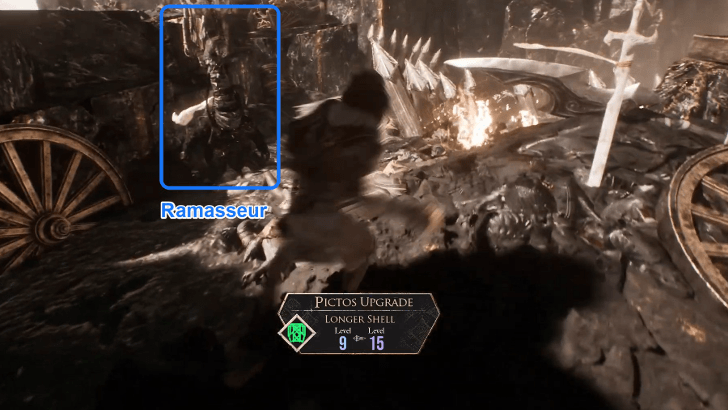 Go down the edge and fight the Ramasseur below. It'll reward you with a Level 15 Ramasson. Follow the path through the battlefield until you see the Clair enemy. |
| 35 | Fight the Clair enemy and take it out. It rewards you with two Resplendent Chroma Catalysts. To the left of it, you'll see a small path upward where you can get a Colour of Lumina. |
| 36 | 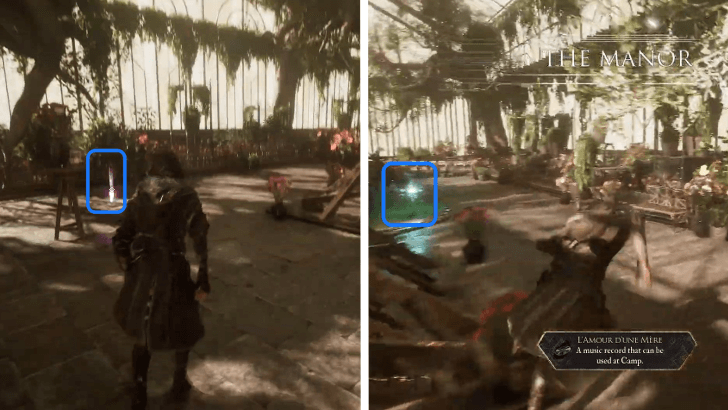 Move forward and follow the path until you see the site where you buried Gustave's Arm. To the left of it, you'll see a path which leads to a Manor Entrance. Unlocking this entrance allows you to obtain the L'amour Dune Mere music record and Aline's Journal. ▶ All Expedition Journal Locations |
| 37 | Go to the path to the left of the grave to continue. Use your grapples to cross the gaps and you'll come across the Tainted Hearts Expedition Flag. This area looks similar to the Monoco's Station area. |
| 38 |  Move forward until the screen turns black and white. Follow the path until the screen returns to normal, then follow the path to the left. Here you'll see the Gargant optional boss. Defeating it rewards you with three Resplendent Chroma Catalysts. |
| 39 |  Climb the small wall to the right of the Gargant to see the Melosh merchant. It sells a Healing Tint Shard among the other usual merchant items. You can also unlock a Greater Defenseless Pictos and Level 15 Garganon for sale after fighting the merchant. ▶ Melosh Merchant Shop Items |
| 40 | 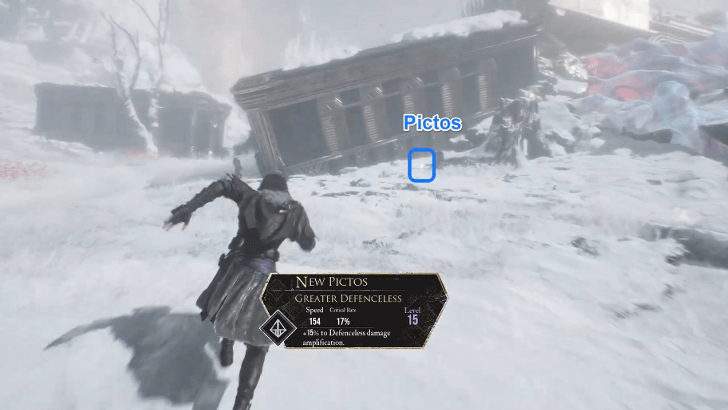 To the right of the merchant, you'll see the Enfeebling Attack Pictos near a dead body. Pass through the wrecked trains and go the left to continue with the main path. |
| 41 |  At the end of the path, you'll see the Obscur enemy for the area. Defeating it rewards you with a Level 15 Braselim and four Resplendent Chroma Catalysts. |
| 42 | 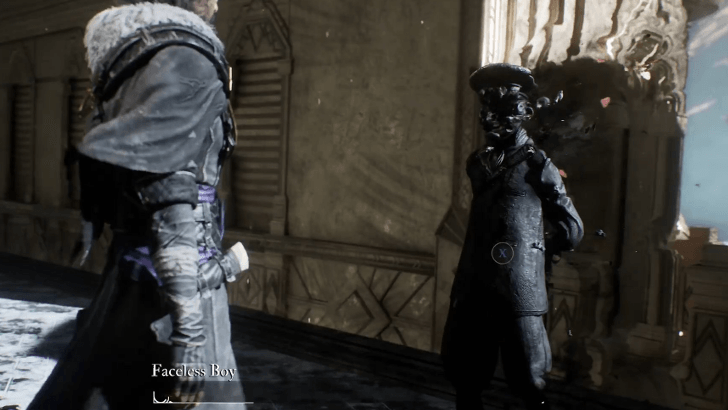 Follow the main path until it takes you to a train station. Grapple to cross the gaps then talk to the Faceless Boy near the train to get to the next area. |
| 43 | The next area looks similar to the Old Lumiere area. Upon arrival, you'll immediately see the Tainted Lumiere Expedition Flag. |
| 44 | 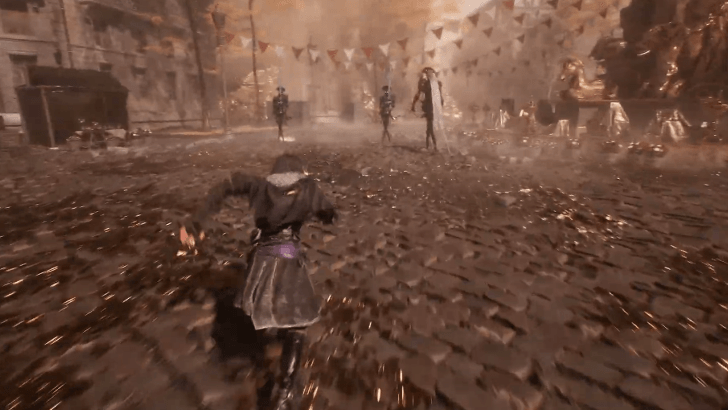 Follow the path and to the left, you'll see a group of Chevaliers. Defeating them rewards you with a Level 15 Perilous Parry Pictos. Keep moving forward until you see some golden rocks. |
| 45 | 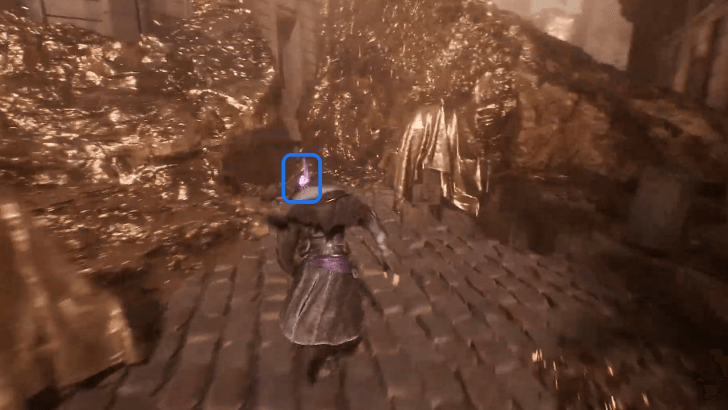 You'll see a Recoat between the golden rocks to the left. Keep going forward until you see a huge golden statue. |
| 46 | 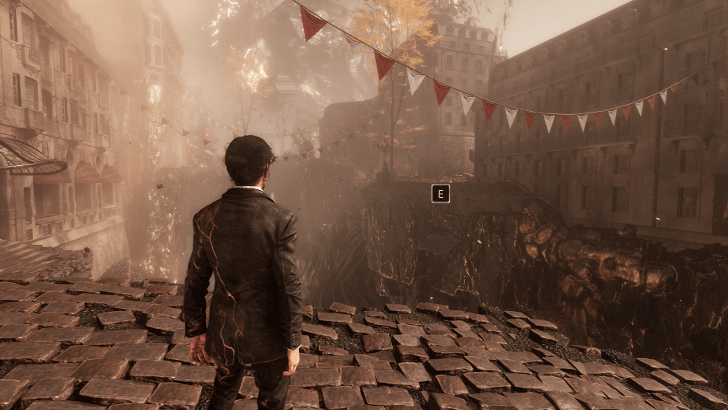 Past the statue, you'll see a grapple point. Use it to cross the gap and move to the right, where another grapple point is. Use it again and then to the left, you'll see another one. |
| 47 | 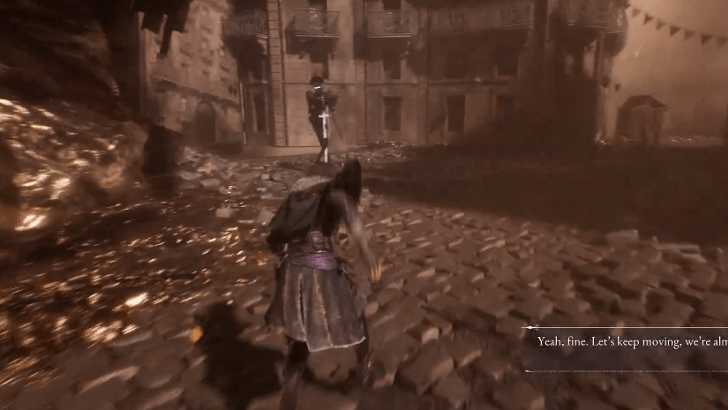 Once you've crossed the gaps, follow the right path to see a Chevalier. Defeat it to get a Resplendent Chroma Catalyst. Move forward until you see a chair near the edge, where a Colour of Lumina is. |
| 48 | 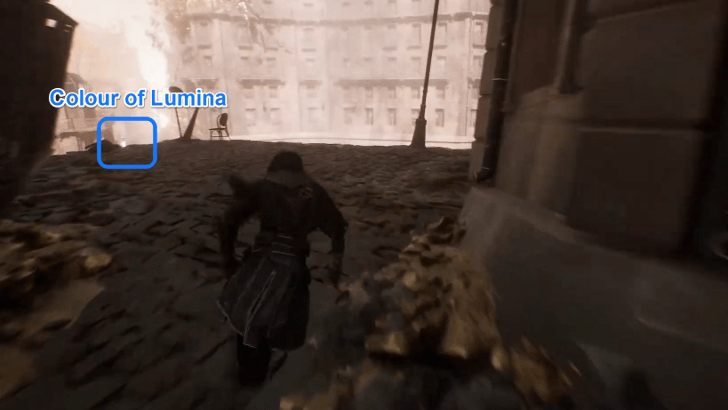 Follow the path until you reach the main square, then head to the right. You'll see a small gap between the stalls that you can follow. You can also grab a Colour of Lumina along the way. At the edge, use your grapple to cross the gaps. |
| 49 |  A Clair enemy awaits you on the other side. Defeat it and you'll obtain a Resplendent Chroma Catalyst. You'll also see the Expedition 70 Journal and an additional Colour of Lumina past them. ▶ All Expedition Journal Locations |
| 50 |  Go back to the main square and follow the main path. After passing through a crevice with golden rocks, go to the left path. Follow the path and then use the grapple point to get to the other side. |
| 51 | 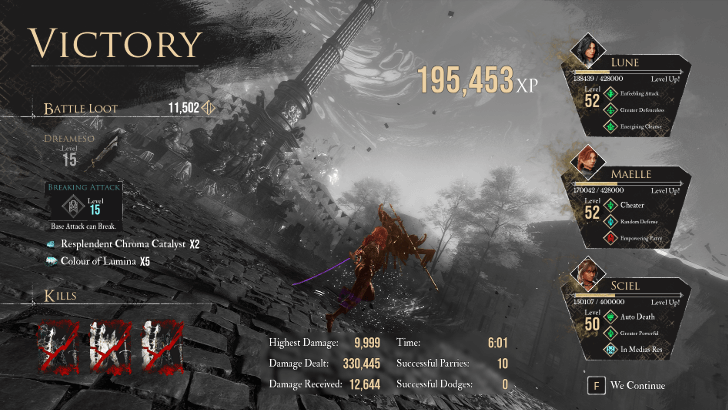 On the other side, a Clair Obscur optional boss awaits you. Defeat it to get a Level 15 Dreameso and Breaking Attack Pictos, two Resplendent Chroma Catalysts, and five Colours of Lumina. |
| 52 | 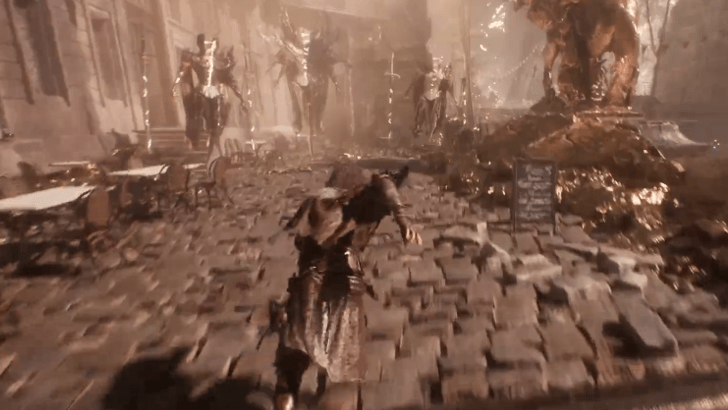 Go back to the main path and fight the Clair and Obscur enemies on the right side. After defeating them, move down the stairs and follow the path to get to the next area. |
| 53 | 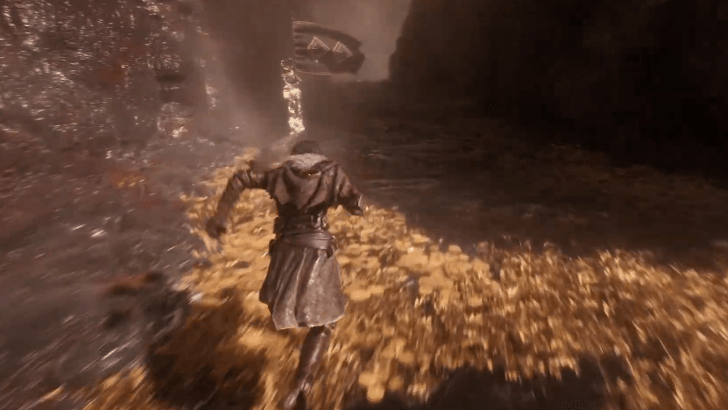 The path leads you to the Tower Peak Expedition Flag. Go past the flag and a cutscene triggers once you reach the middle of the area. |
| 54 | 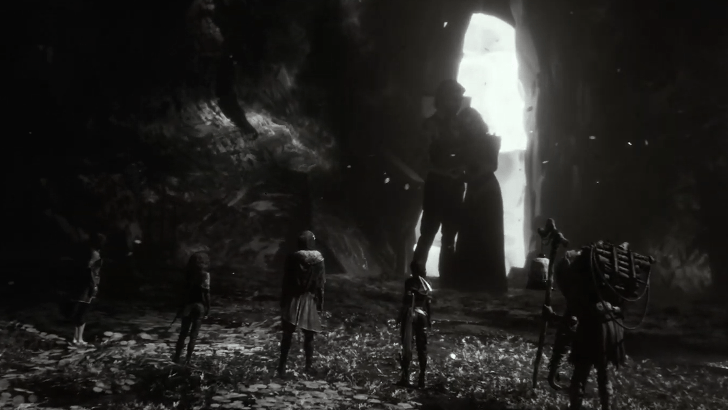 After the cutscene, you'll fight Renoir. Take him out and you'll be rewarded with the Second Chance Pictos, Renoir's Suit for Verso, and three Resplendent Chroma Catalysts. ▶ All Cosmetic: Outfits and Haircuts |
| 55 | Proceed into the portal ahead after Renoir's fight and you'll be transported to the peak of the Monolith. You'll immediately see the Entrance Expedition Flag for the area. |
| 56 | Follow the path to the end and you'll see the Paintress herself. After the cutscene, a fight with the Paintress immediately happens. |
| 57 | 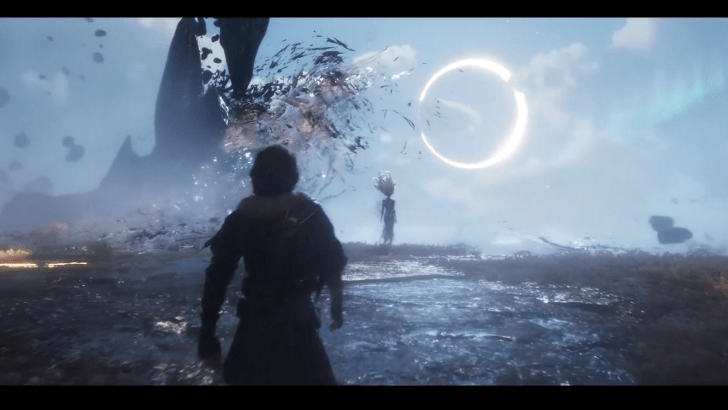 Defeat the Paintress and you'll be rewarded with the Painted Power Pictos, three Resplendent Chroma Catalysts, and two Recoats. ▶ How to Beat The Paintress |
| 58 | Long cutscenes will happen after the battle. Finish all of them and you'll be transported to Alicia's point of view. |
| 59 | Follow the voice of Clea and you'll initiate another cutscene. After the cutscene, you'll be asked to go inside the canvas. |
| 60 | More cutscenes happen after. When you regain control, you'll be inside the canvas again. Follow the path to meet the real Renoir with Verso. |
| 61 |  Talk with Renoir and another cutscene happens. Finish the cutscene and you'll be transported back to Camp. This is the end of Act 2. |
Act 2: Verso Boss Guides
- Dualliste
- Monoco
- Stalact
- Renoir
- Jovial Moissoneneuse (Joy Mask)
- Sorrowful Chapelier (Sorrow Mask)
- Seething Boucheclier (Anger Mask)
- Visages
- Mask Keeper
- Chromatic Greatsword Cultist
- Tisseur
- Glissando
- Sirene
- Paintress
How to Beat Dualliste
| Recommended Level: 20 |
|---|
 |
| Tips and Strategy |
|
|
Dualliste is weak to Light, but resistant to Fire. If Verso has skills like Perfect Break or Purification unlocked, he can deal good Light Damage to Dualliste as well.
Pay attention to the swords and parry as Dualliste swings them, just before they hit. Dualliste often does multiple hits with its attacks, so you have to react quickly. Watch out for the Inverted status in the second phase as it causes healing to deal damage instead.
How to Beat Monoco
| Recommended Level: 23 |
|---|
 |
| Tips and Strategy |
|
|
Monoco transforms into Nevrons and uses their skills in battle, resulting in varying attack patterns. Thankfully, he only switches between two attacks: a dual attack that hits twice, and a relentless combo, which is a fast multi-hit attack.
Once you see his attack prompt, parry or dodge accordingly. Monoco has no attribute affinities, but he is not immune to status ailments such as Burn. Be sure to inflict it as often as you can!
How to Beat Stalact
| Recommended Level: 25 |
|---|
 |
| Tips and Strategy |
|
|
The Stalact is a creature made of Ice. Naturally, it is weak to Fire. Maelle or Lune will shine brightly in this battle as they both possess Fire skills that inflict Burn.
The Stalact is also large creature. While its blows may be powerful, they are extremely slow, giving you significant amounts of time to parry or dodge. It can also slam the ground 4 times, creating earthquakes. Jump at the right time to negate any incoming damage!
How to Beat Renoir
| Recommended Level: 30 |
|---|
 |
| Tips and Strategy |
|
|
Renoir is a powerful opponent, boasting a large amount of HP and powerful attacks such as Vanish. Use Gradient Counters against this attack to negate its damage and deal your own.
During the battle, Renoir will surround himself with Petals that will manifest into two constructs beside him. He can transform them into masks that deal AoE magic damage and cause several Status Effects.
Additionally, if the Petals are kept on the field for too long, Renoir can sacrifice them to heal himself. Best eliminate them as quickly as possible when you see them manifest to prevent any of these from happening!
How to Beat Renoir (Second Fight)
How to Beat the Jovial Moissoneneuse (Joy Mask)
| Recommended Level: 32 |
|---|
 |
| Tips and Strategy |
|
|
The Jovial Moissoneneuse will cast Berserk on itself which will strengthen its attacks. Furthermore, it will rely on long combos so keep your wits about you and dodge or parry accordingly!
This fight may drag on longer than it should as the Joy Mask will heal the Jovial Moissoneneuse at regular intervals. It would be best to inflict Burn on it as it is weak to Fire, then get rid of its companions before focusing your attacks on it.
How to Beat Jovial Moissonneuse
How to Beat the Sorrowful Chapelier (Sorrow Mask)
| Recommended Level: 35 |
|---|
 |
| Tips and Strategy |
|
|
The Sorrowful Chapelier strikes three times, with each hit having a high chance to cause Inverted, negating any efforts on healing. Be sure to dodge or parry each strike to avoid this!
Additionally, the Sorrowful Chapelier will summon 3 masks that will launch itself at random party members. If they hit, they will inflict Exhaust. The Sorrow Mask itself will also inflict Exhaust on you at intervals so it would be best to use skills that cure Status Effects.
How to Beat Sorrowful Chapelier
How to Beat the Seething Boucheclier (Anger Mask)
| Recommended Level: 35 |
|---|
 |
| Tips and Strategy |
|
|
The Seething Boucheclier has slow attacks that are easy to parry and dodge, so keep your eyes peeled. However, the Anger Masks gives it extra turns at regular intervals, so keep your guard up!
When the Seething Boucheclier slams its shield on the ground, use your Gradient Counter to negate the incoming damage and deal your own! The Anger Mask also occassionally inflicts Burn so cure it as soon as you see it stick.
How to Beat Seething Boucheclier
How to Beat the Visages
| Recommended Level: 37 |
|---|
 |
| Tips and Strategy |
|
|
The Visages will switch masks after each turn, which will lead to a different tactic ranging from offensive skills to restoring HP to inflicting debuffs on the party. Pay attention to which mask is on the mirror and plan your next action accordingly.
Pay attention to the mask's eye color and use the table below to determine which tactic the Visages will use.
Visages Attack Pattern
| Mask | Effect |
|---|---|
| Determination (Red) |
Performs a powerful 3-hit AoE attack. 2nd hit is a low attack. |
| Peace (Blue) |
Tries to build a shield on the Mirror and performs a 4-hit AoE attack. Chance to inflict Exhaust. |
| Anxiety (Purple) |
Performs a powerful 2-hit AoE attack that deals magic damage. |
| Doubt (Orange) |
Performs a powerful 5-hit AoE attack. |
| Confidence (Green) |
Performs a powerful 1-hit AoE attack. Heals the Visages when attack hits successfully. |
How to Beat the Mask Keeper
| Recommended Level: 37 |
|---|
 |
| Tips and Strategy |
|
|
The Mask Keeper can be easy or difficult depending on whether or not you've defeated the Joy, Sorrow, and Anger Masks previously. If you have, then this boss fight is as straightforward as they come.
The Mask Keeper uses Dark attacks and long combos, all of which are perfectly dodgeable and parryable. It is also weak to Fire, so be sure to use skills of this element to inflict Burn on the Mask Keeper for additional damage each turn!
How to Beat the Chromatic Greatsword Cultist
| Recommended Level: 40 |
|---|
 |
| Tips and Strategy |
|
|
The Chromatic Greatsword Cultist is a side boss that guards Sireso, a weapon for Verso. It's weak to Dark, so use attacks of this element to disable its shields quickly.
When the Chromatic Greatsword Cultist covers its sword with blood, prepare for a powerful 6-hit combo that can shred your entire party's HP quickly. All hits, thankfullt, are parryable, with the third hit being a low attack that you can jump over. Successfully doing so will initiate a counterattack.
How to Beat Chromatic Greatsword Cultist
How to Beat the Tisseur
| Recommended Level: 40 |
|---|
 |
| Tips and Strategy |
|
|
The Tisseur will cast Curse on the entire party, leaving you with exactly 8 turns to defeat it. You must act fast and deal as much damage as possible in each turn to survive this battle.
Thankfully, a lot of its attacks enable counterattacks when parried or dodged. This is a great way to inflict major damage on it without sacrificing a turn. Keep your eyes peeled for opportunities to dodge and do so accurately to deal your own bouts of damage!
The Tisseur is an optional boss, but is highly recommended to defeat since it will drop the Anti-Charm Pictos, which will come in handy when facing Sirene.
How to Beat the Glissando
| Recommended Level: 42 |
|---|
 |
| Tips and Strategy |
|
|
The Glissando is similar to the Tisseur, but thankfully, without the Curse. Its head smash attacks are parryable and, if you do it correctly, will initiate a party counterattack, dealing significant damage to it.
It will also summon ballerinas to do two swiping attacks that you can jump over. Doing so successfully also initiates a counterattack, so jump at the precise moment! The Glissando is weak to both Ice and Dark, so best use skills of these elements to make the batte easier.
How to Beat Sirene
| Recommended Level: 45 |
|---|
 |
| Tips and Strategy |
|
|
Sirene likes to Charm teammates and turn them against each other so best cure this as soon as you see it, or equip the Anti-Charm Pictos you got from the Tisseur to negate its effects. She is weak to Ice so best use skills of this element for maximum damage.
At 50% HP or less, she will start using Grand Ballet, which will have ballerinas strike your entire team with each element, for a total of 5 hits. Thankfully, each strike is parryable and dodgeable, so keep your eyes peeled and do so accordingly!
At 20% HP or less, Sirene will cast Final Act, an attack that can wipe out the party instantly. Be sure to dodge this and deliver your own counterattacks!
How to Beat the Paintress
| Recommended Level: 45 |
|---|
|
| Tips and Strategy |
|
|
You'll encounter the Paintress for the very first time once you enter the Monolith. The fight will end quickly here, but thankfully you'll have another chance later down the line!
The Paintress is the final boss of Act 2, and once the fight starts, shoot the orbs immediately to delay her Curse effect. There will only be four turns during this fight so be sure to deal as much damage as possible through buffs, combos and parrying. Unfortunately, there is a very high chance that your first team will die so be sure to build your second team!
How Long Is Act 2?
Twelve Hours Long
Clair Obscur Expedition 33's Act 2 will take around 11-12 hours due to multiple boss fights, side quests, and main story cutscenes!
Clair Obscur: Expedition 33 Related Guides
All Act Walkthroughs
| Clair Obscur: Expedition 33 Acts | |
|---|---|
| Prologue: Lumiere | Act 1: Gustave |
| Act 2: Verso | Act 3: Maelle |
Author

Act 2: Verso Walkthrough
Please participate in our site
improvement survey
03/2026
improvement survey
03/2026
Would you assist in
improving Game8's site?
improving Game8's site?

×
We are listening to our users' valuable opinions and discussing how to act on them.
The information collected through this survey will be used for the purpose of improving our services. In addition, the information will only be disclosed a part of a statistic in a format that will not allow identification of personal information.
Begin Survey
Not Now
×
Please rate each item regarding Game8.co's Advertisements.
Amount of Ads
Very Dissatisfied
Somewhat Dissatisfied
Fine
Somewhat Satisfied
Highly Satisfied
Placement of Ads
Timing of Ad Display
Ad Loading Speed
Safeness of Ads
Content of Ads
×
Please rate each item regarding Game8.co's Quality of Articles.
Amount of information
Very Dissatisfied
Somewhat Dissatisfied
Fine
Somewhat Satisfied
Highly Satisfied
Frequency of updates
Speed of new information
Accuracy of articles
Understandibility of articles
Readability of sentences
×
Please rate each item regarding Game8.co's Usability of the Site.
Ease of finding information
Very Dissatisfied
Somewhat Dissatisfied
Fine
Somewhat Satisfied
Highly Satisfied
Loading Speed
Use of Color
Font Size
Visibility of Images
Easy to Understand Layout
×
Please rate each item regarding Game8.co's Message Boards, Comments.
Ease of Writing
Very Dissatisfied
Somewhat Dissatisfied
Fine
Somewhat Satisfied
Highly Satisfied
Readability
Ease in Finding Information
Comment Quality
Comment Quantity
Admin Response
×
Please rate each item regarding Game8.co's Site's new design.
Please rate our site's new design
Very Dissatisfied
Somewhat Dissatisfied
Fine
Somewhat Satisfied
Highly Satisfied
Do you think that the website's design change makes the site easier to use?
Has the new design made it easier for you to find information on the site?
Has the new design improved the overall visual appeal of the site?
How would you rate your overall satisfaction with the new design of the site?
×
How likely are you to recommend Game8 to someone you know?
Very Unlikely
0
1
2
3
4
5
6
7
8
9
10
Very Likely
If you have other opinions regarding potential improvement to the website, please share them with us. We would appreciate your honest opinion.
Note: This is a free response section, so you can proceed without entering anything.
Note: Please be sure not to enter any kind of personal information into your response.
Note: Please be sure not to enter any kind of personal information into your response.
×
Thank You
×
Thank you for participating in our survey! Your answers will help us to improve the quality of our website and services.
We hope you continue to make use of Game8.
We hope you continue to make use of Game8.
Close
Rankings
- We could not find the message board you were looking for.
Gaming News


![Monster Hunter Stories 3 Review [First Impressions] | Simply Rejuvenating](https://img.game8.co/4438641/2a31b7702bd70e78ec8efd24661dacda.jpeg/thumb)
Popular Games

Genshin Impact Walkthrough & Guides Wiki
Honkai: Star Rail Walkthrough & Guides Wiki
Umamusume: Pretty Derby Walkthrough & Guides Wiki
Pokemon Pokopia Walkthrough & Guides Wiki
Resident Evil Requiem (RE9) Walkthrough & Guides Wiki
Monster Hunter Wilds Walkthrough & Guides Wiki
Wuthering Waves Walkthrough & Guides Wiki
Arknights: Endfield Walkthrough & Guides Wiki
Pokemon FireRed and LeafGreen (FRLG) Walkthrough & Guides Wiki
Pokemon TCG Pocket (PTCGP) Strategies & Guides Wiki


Recommended Games
Diablo 4: Vessel of Hatred Walkthrough & Guides Wiki
Cyberpunk 2077: Ultimate Edition Walkthrough & Guides Wiki
Fire Emblem Heroes (FEH) Walkthrough & Guides Wiki
Yu-Gi-Oh! Master Duel Walkthrough & Guides Wiki
Super Smash Bros. Ultimate Walkthrough & Guides Wiki
Pokemon Brilliant Diamond and Shining Pearl (BDSP) Walkthrough & Guides Wiki
Elden Ring Shadow of the Erdtree Walkthrough & Guides Wiki
Monster Hunter World Walkthrough & Guides Wiki
The Legend of Zelda: Tears of the Kingdom Walkthrough & Guides Wiki
Persona 3 Reload Walkthrough & Guides Wiki


All rights reserved
©2025 Sandfall Interactive SAS - Published by Kepler Interactive Limited. All rights reserved.
The copyrights of videos of games used in our content and other intellectual property rights belong to the provider of the game.
The contents we provide on this site were created personally by members of the Game8 editorial department.
We refuse the right to reuse or repost content taken without our permission such as data or images to other sites.
In the "Find The Paintress' Heart at The Top of The Monolith" section, step 7 says the expedition flag will be on the left, and to follow the path to the right. But when you cross the bridge, the flag is at like 1 o'clock, almost straight ahead and slightly right, not left. Then the next path to follow is only to the right if you go back to the flag and turn around to face the bridge.