This survey will take about 1 minute.
Your answers will help us to improve our website.
Clair Obscur: Expedition 33
Act 1: Gustave Walkthrough
★ Builds: Gustave | Lune | Maelle
┗ Sciel | Verso | Monoco
★ Popular: Missables | Puzzles | White Nevrons
┗ Best Characters | Skills | Teams | Attributes
★ Patch 1.5.0: Verso's Drafts | Root of All Evil
┗ Endless Tower Guide | All New Bosses
Act 1: Gustave is the first part of the main story in Clair Obscur: Expedition 33. See its full walkthrough, how to complete it, boss guides, and how long to beat Act 1 here!
| ◀︎ Previous Act | Next Act ▶︎ |
|---|---|
| Prologue: Lumiere | Act 2: Verso |
Act 1: Gustave Story Walkthrough
Clair Obscur Act 1 Main Objectives
- Look for Survivors at the Indigo Tree in Spring Meadows
- Find Maelle and Search for a Path Through the Flying Waters
- Find the Gestral Village in the Middle of the Ancient Sanctuary
- Ask Golgra, the Chief of the Gestrals, for a Way to Cross the Sea
- Find and Recruit the Legendary Esquie at Esquie's Nest
- Cross the Stone Wave Cliffs to Find Florrie
Look for Survivors at the Indigo Tree in Spring Meadows
| Act 1: Gustave Objective 1 Guide | |
|---|---|
| 1 |  After the cutscene, you'll be in the Spring Meadows. Follow the path ahead and continue walking until some tutorial pop-ups appear. When prompted, use the Chroma Elixir to heal yourself. ▶ Spring Meadows Guide |
| 2 | 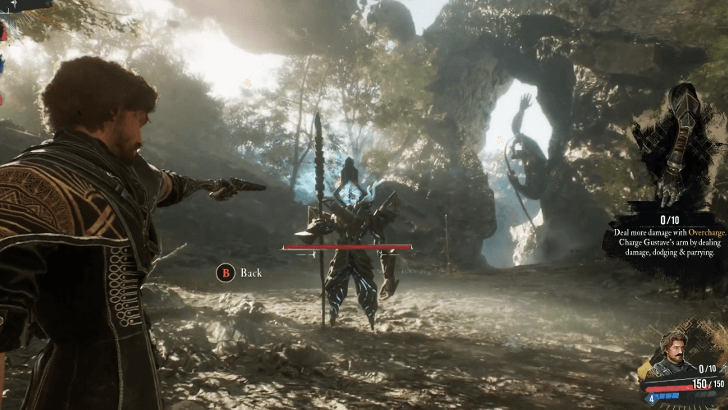 As you continue along the trail, a Lancelier will get in your way. Shoot at its glowing, blue head to hit its weak point and deal more damage. You can also use your skills and parry its attacks to defeat it faster. |
| 3 | 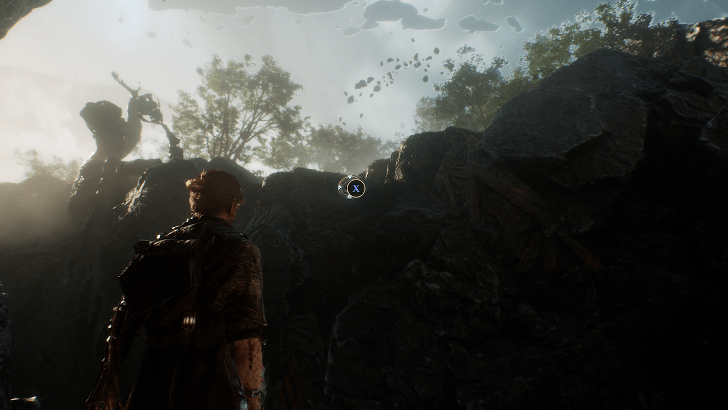 Continue following the path until you reach a chasm. Look at the cliff above to find a grapple point you can use to cross to the other side. |
| 4 | 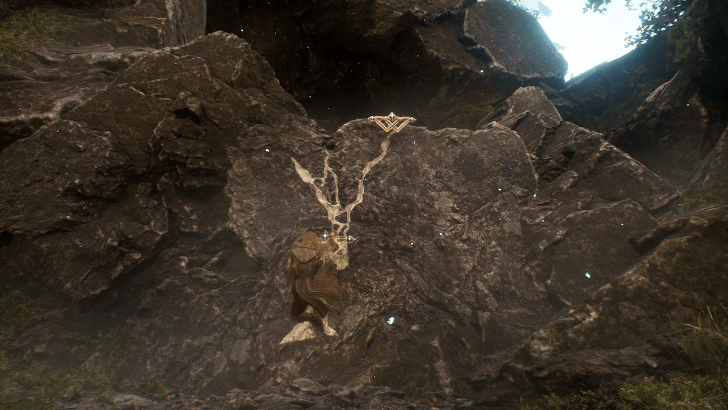 There's nothing much to do here but proceed until you reach a climbable wall. A few steps past it is an area with the bodies of dead expeditioners. Enter the cave ahead until you trigger a cutscene and another enemy encounter. |
| 5 | 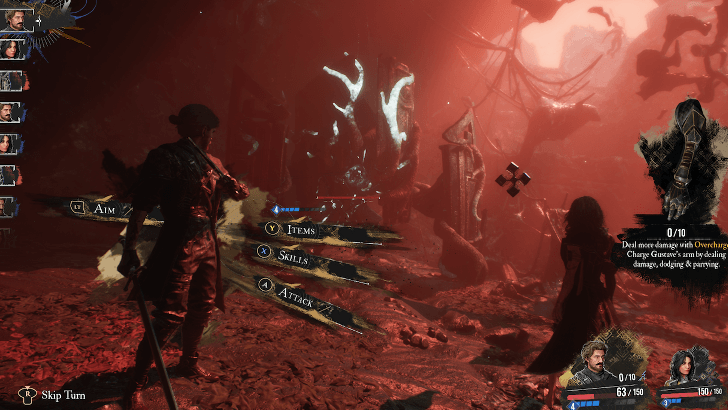 Gustave and Lune will now fight against a new enemy called a Portier. As soon as the fight starts, pull your gun out and shoot its glowing blue head to take a chunk out of its HP. After Gustave attacks, a short tutorial on Lune's skill set will appear, showing how Elemental Stains work and the effects they trigger, as well as the importance of knowing the enemies' Elemental Affinities. When the Portier attacks, a prompt will appear where you can execute an Expedition Counter where the entire party attacks the enemy after a successful parry. Defeat the Portier to continue. |
| 6 | 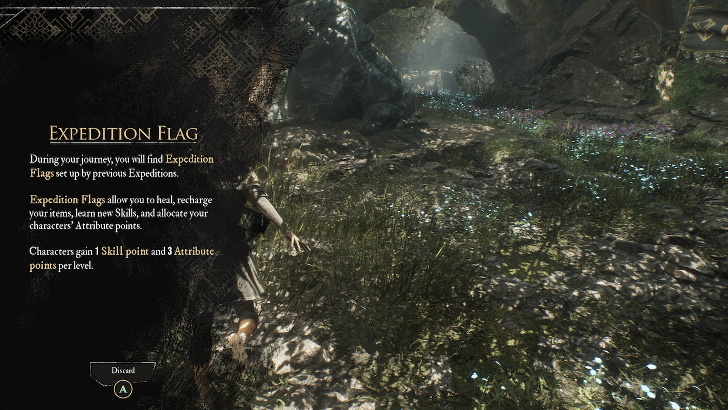 Exit the cave on the other side and follow the path until you find your first Expedition Flag. Here, you can heal your entire party by resting, allocate attribute points to make your characters stronger, and learn new skills! For attribute points management, we recommend upgrading the attribute that scales with your current weapon. In addition to their associated stats, upgrading attributes marked with a sword icon with a letter will also contribute to your Attack Power. |
| 7 |  When you're set, go down the path and you'll find an unaware Lancelier. Attacking an enemy to engage them in combat triggers First Strike, which gives the first turns to your party when the battle starts. Use the rest of the fight to practice parrying and dodging, and to learn Gustave and Lune's skill sets. You will get the Lanceram weapon for Gustave after beating the two Lanceliers. |
| 8 |  Continue following the path ahead until you encounter another Lancelier. Initiate the fight with First Strike and defeat the two Lanceliers. Enter the house at the end and go to the upper floor. Interacting with the rope hanging from the ceiling launches you to the third floor. Exit the house through the broken wall to find an Expedition Flag. Now that you've found two flags, you can now Fast Travel between them. Find more Expedition Flags so you can move around easier! |
| 9 | 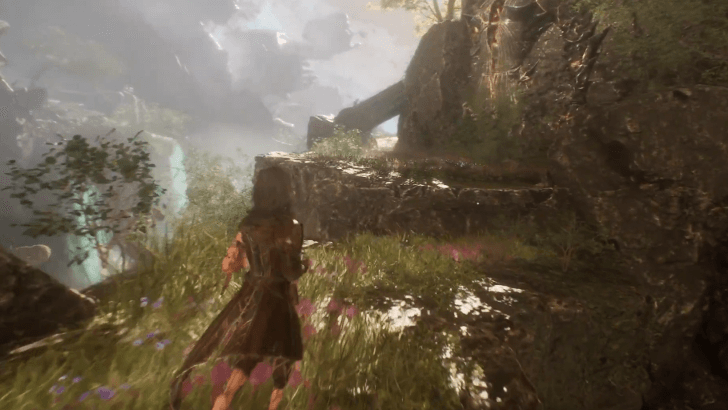 Take the path with the Portier and turn left to the area where a statue split in half is. Go up the slope past it and trigger a forced fight once you reach a small camp. This fight introduces Flying enemies that dodge most basic Attacks and Skills. However, they're very vulnerable to Aimed Attacks, so unload all your Action Points with these. |
| 10 | 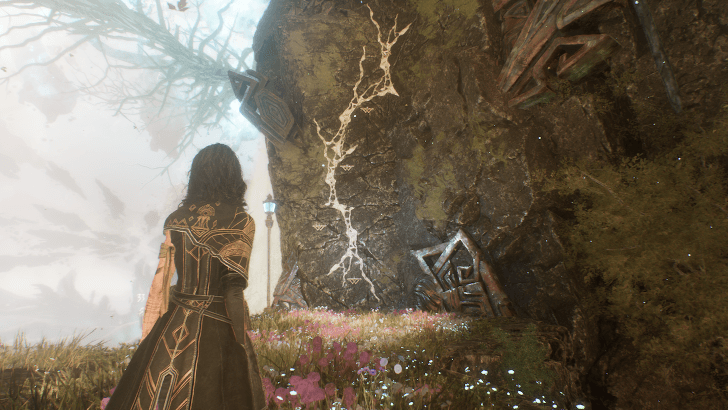 After the battle, grab the light rope on your left to reach the upper area then turn right. Grapple across the gap and take the left path until you reach the wall with handholds. |
| 11 | 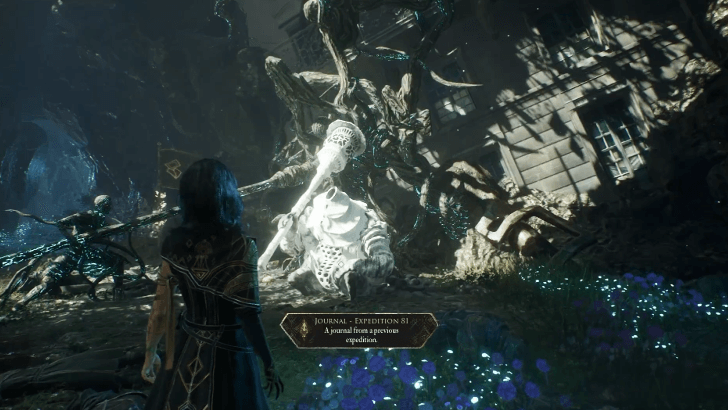 Climb the wall and enter the small cave to find a Nevron named Jar. There's also an Expedition Flag beside it that you can use to heal up and upgrade. |
| 12 | 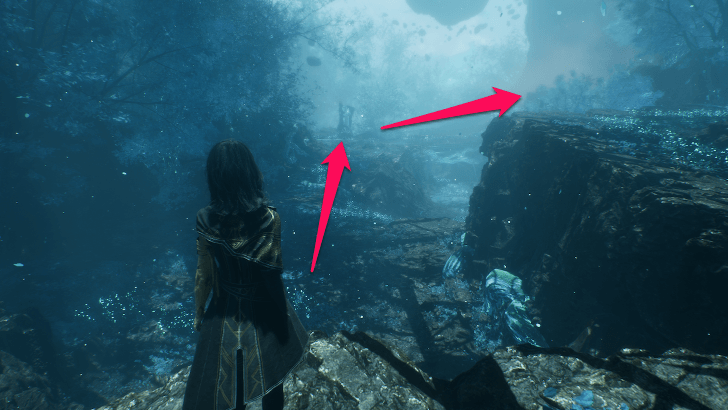 You'll see flares right after going back outside through the other end of the cave, showing where you'll need to go next. This area has a new enemy called Abbest that can cast Earth-type spells. The first Abbest that you see and defeat will drop a Lighterim weapon for Lune. Make for the bridge that you see in front of you and cross it. |
| 13 |  Go down the lower area and then back up through the slope on your right to reach another Expedition Flag. Rest and update your team's loadout as this is actually a boss room for Eveque. ▶ Eveque Boss Guide |
Find Maelle and Search for a Path Through the Flying Waters
| Act 1: Gustave Objective 2 Guide | |
|---|---|
| 1 | 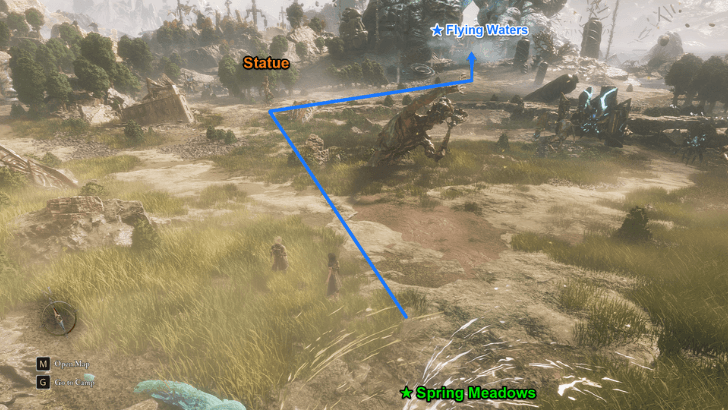 Exit Spring Meadows to enter The Continent. Head north until you reach a human statue, then turn right. Head left upon reaching the corals to find the entrance to Flying Waters. ▶ Flying Waters 100% Guide |
| 2 | 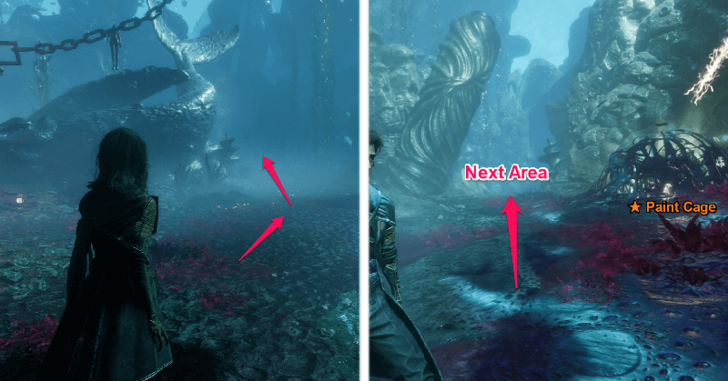 Head onward to trigger a cutscene about the previous Expedition 68. Afterwards, take the right path around the whale statue to encounter a tutorial about Paint Cages. ▶All Paint Cage Locations |
| 3 |  Follow the path past the Paint Cage to find the Luster enemy appearing ahead. The fight can be skipped if preferred. Turn left to continue to the minefield. |
| 4 | 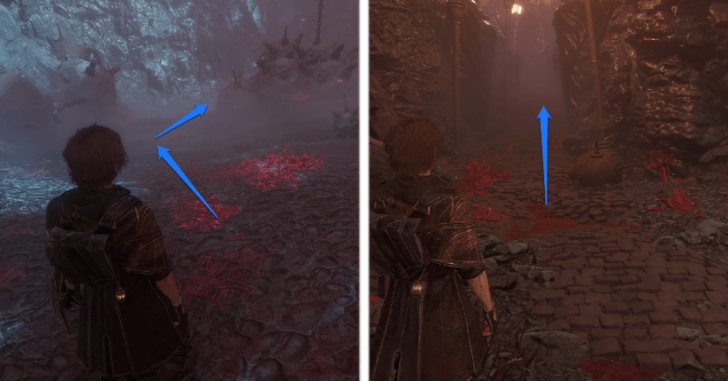 Follow the path downwards to proceed. Beware of exploding mines, as these turn to Demineur enemies when approached. Enter the narrow path to proceed to the next area. |
| 5 | 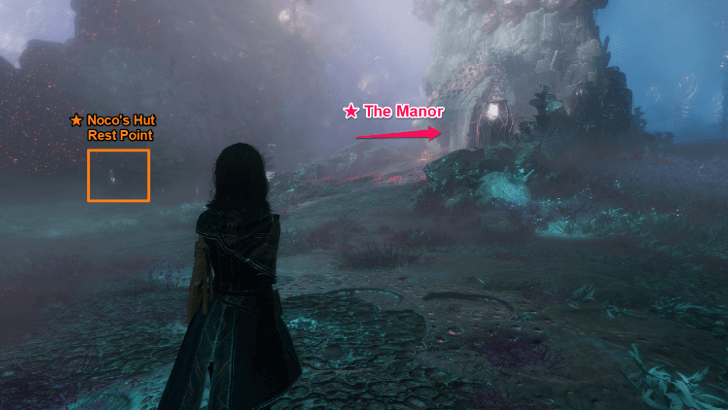 Players will arrive at Noco's Hut upon emerging from the narrow pathway. The Noco's Hut Rest Flag can be found at the far end of the room for resting, learning skills, and increasing attributes. Once rested, enter the door at the center of the room to arrive at The Manor. |
| 6 | 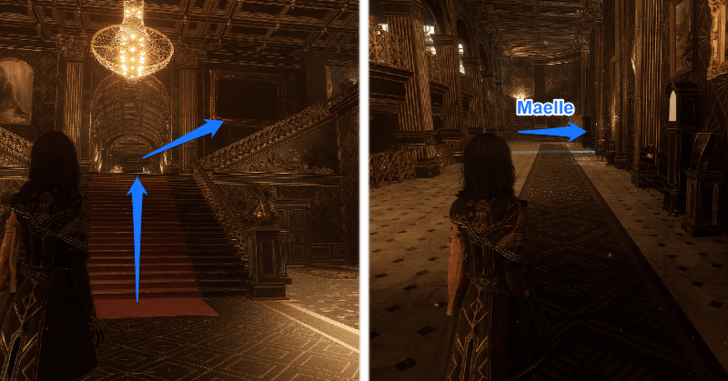 Upon entering The Manor, use the Entry Hall Rest Point to rest and initiate a fast travel point. Head up the staircase and take the right stairs afterwards. Ascend the next flight of stairs and travel down the corridor to find a room illuminated with a blue light. Enter the room to unlock Maelle as a playable character. |
| 7 | 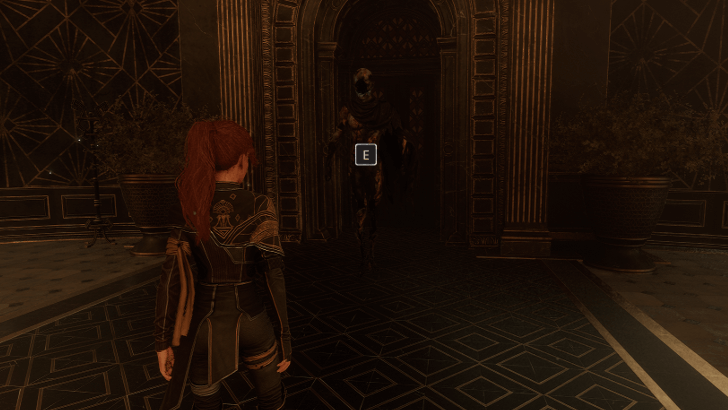 Return to the Entry Hall and speak to The Curator standing by the door to Flying Waters. Initiate a fight against The Curator to enter a tutorial for Maelle's abilities and the Jump mechanic. Open the door after the fight to return to Flying Waters. |
| 8 | 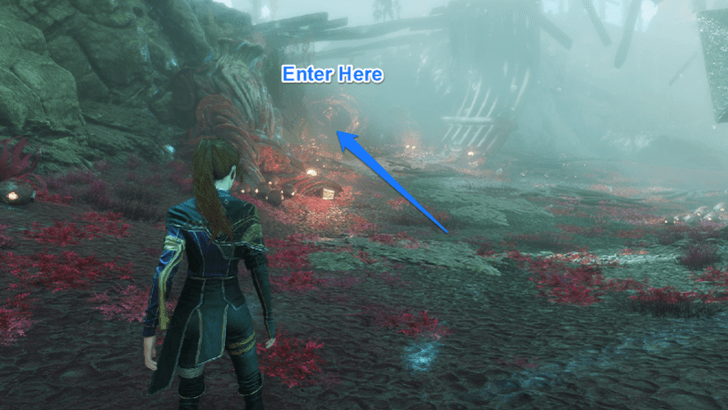 The path past the Noco's Hut Rest Point opens up after the cutscene ends. The Gestral Merchant Noco can be found nearby to trade Chromas for useful items. Traverse the linear path to arrive at Expedition 68's boat. Enter the opening at the far left of the area to proceed. |
| 9 | 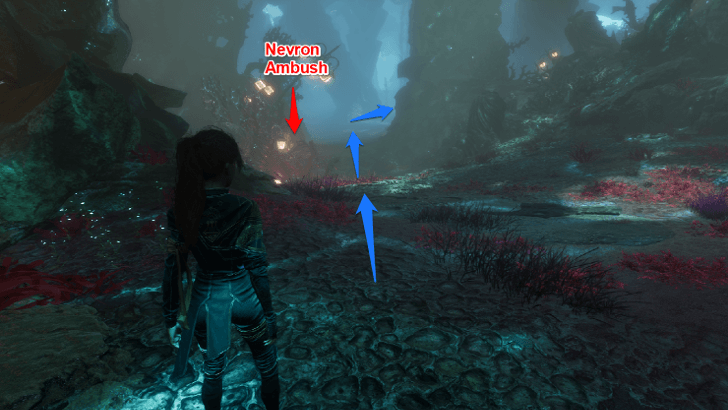 Continue down the path past the forging Nevron to find the Coral Cave Rest Point. Move past the rest point and head down the slope to proceed. Beware of a Nevron ambush from your left as you approach the end of the path. |
| 10 | 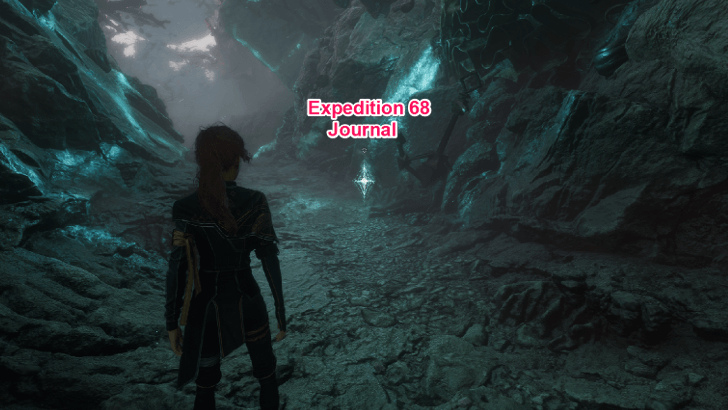 Continue towards the foggy path to proceed. The path ahead is linear, and the Expedition 68 Journal can be found along the way. ▶ All Journal Locations |
| 11 | 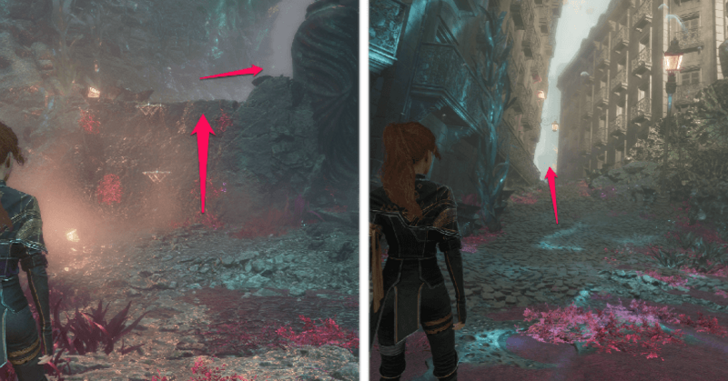 Turn right after exiting the path and scale the wall before the kelps. Proceed onwards and head down the path between the buildings to find the Lumieran Streets Rest Point. |
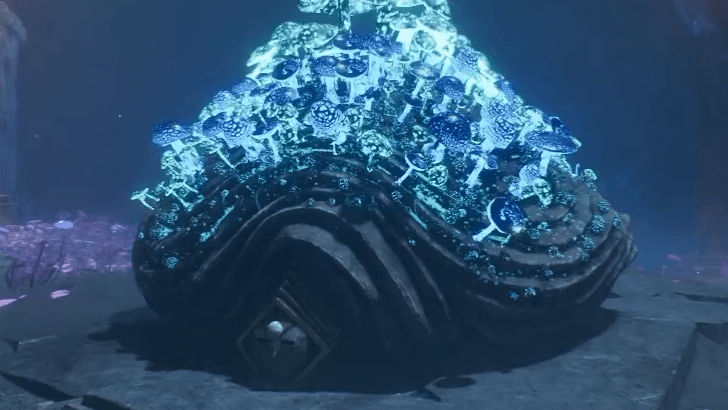
| 12 | 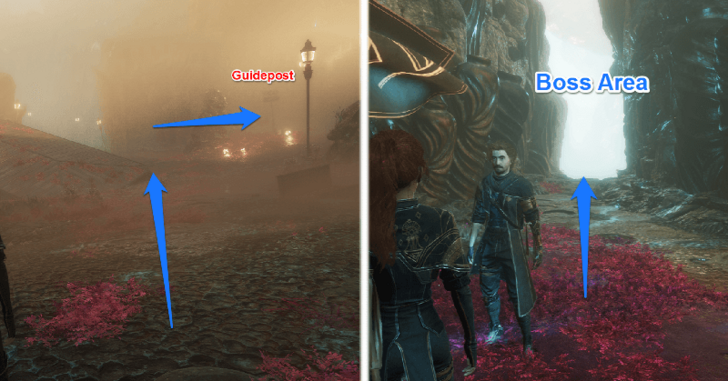 From the Lumieran Streets Rest Point, head towards the signpost and take a right to find a path lit with blue light. Enter the passage to find the Flower Field Rest Point. Make sure to update your stats and skills at the rest point as the path ahead leads to a boss fight against Goblu. ▶ Goblu Boss Guide |
Find the Gestral Village in the Middle of the Ancient Sanctuary
| Act 1: Gustave Objective 3 Guide | |
|---|---|
| 1 | 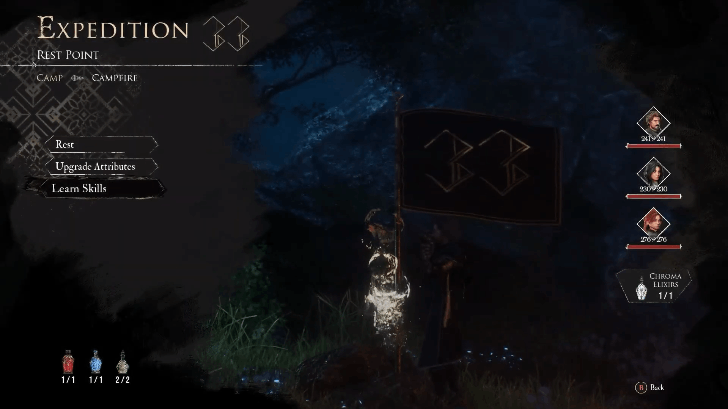 After the battle with Goblu, the party's objectives change. The player can setup Camp and do their routines, upgrade characters and unlock more story beats before heading out to The Continent. ▶ How to Unlock and Setup Camp |
| 2 | 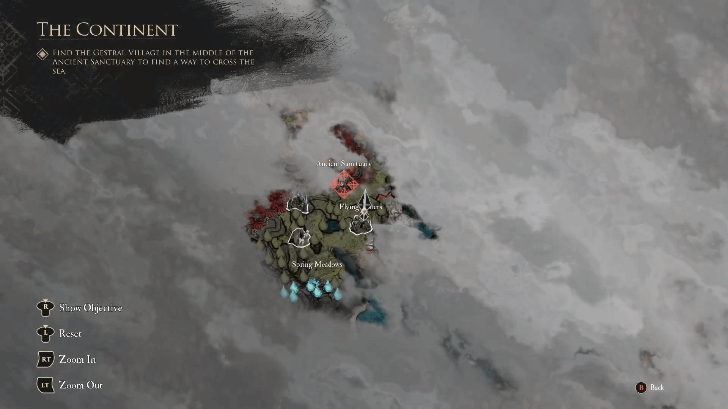 Immediately head to the Ancient Sanctuary as indicated in the Overworld Map. The player can do some additional exploration, interact with other characters in The Continent or fight enemies along the way. ▶ All Locations and Areas |
| 3 | 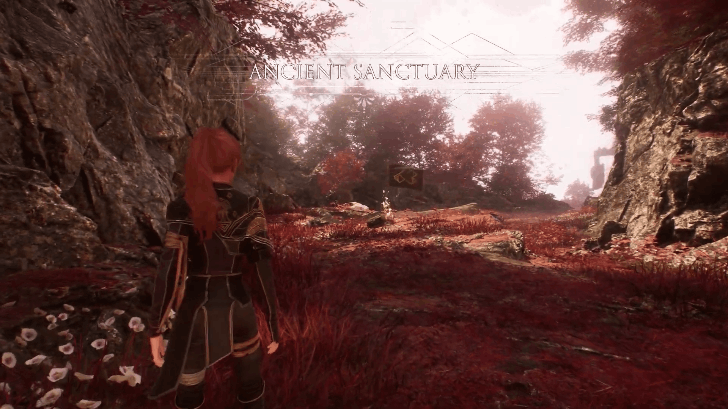 Once the player finds the Ancient Sanctuary and enters the area, a cutscene plays. When it ends, the player should preferably reach for the immediate Expedition Flag to save their progress. |
| 4 | 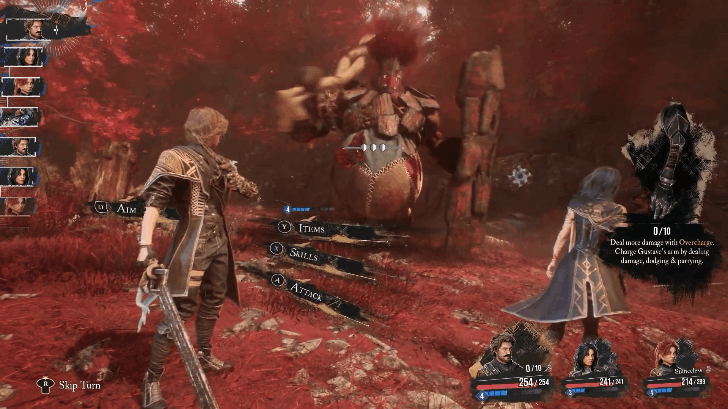 From here, you can either face your first Pétank or keep on moving northwards until you find a Young Boy. Talk to him then head to his right, another cutscene will play showing the party about to engage their first Robust Sakapatate. Take down the target using your upgraded party. ▶ List of Enemies and Weaknesses |
| 5 | 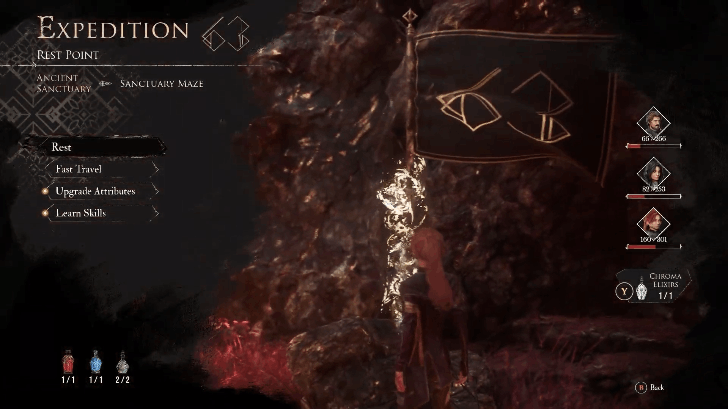 Once done, a cutscene will play introducing the Gestralt. There is another Expeditionary Flag nearby. Rest and upgrade characters if needed then continue progressing forward. The player can continue to explore alternate paths or find items and treasures along the way. |
| 6 | 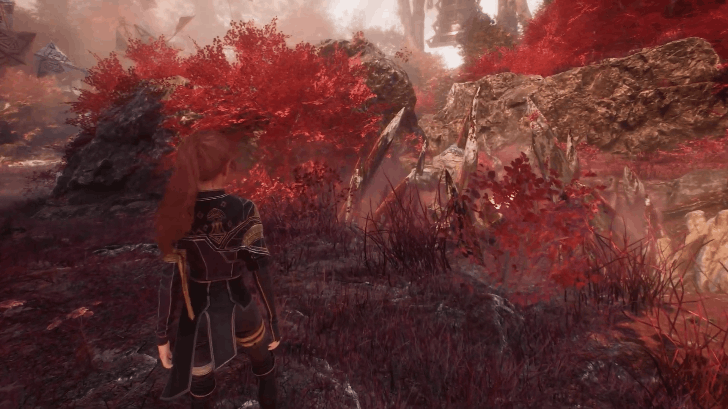 The main path should go northeast of a huge tree branch ahead of the Expedition Point, the player is then greeted with several winding paths towards the village. Explore the routes for collectibles or head straight to the village front itself. The player will know this once they reach a bell-like structure and a nearby Expedition Flag. |
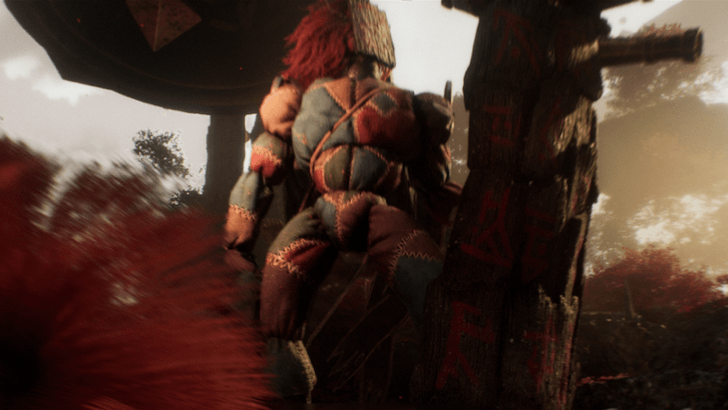
| 7 | 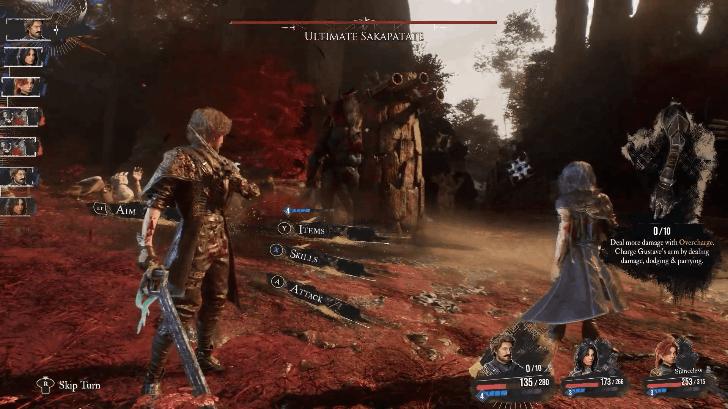 The player is then greeted with a cutscene showing the Ultimate Sakapatate, a boss the player must fight. The player is advised to prepare their characters as the boss fights from this point on will be more difficult. Defeat the boss to progress towards the village. Another cutscene will play when the boss is defeated. ▶ How to Beat Ultimate Sakapatate |
| 8 | 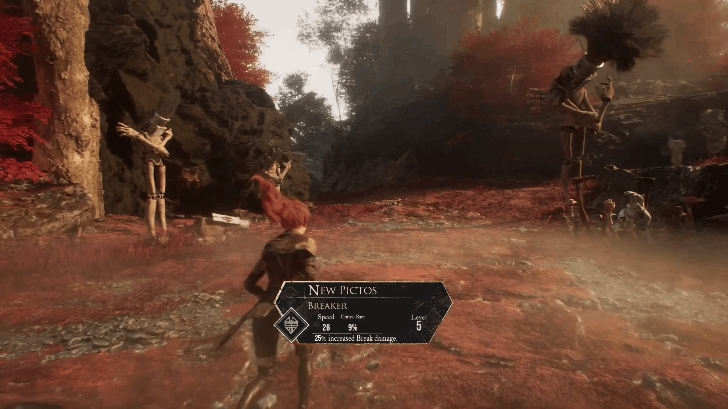 The player can proceed straight ahead using the bell-like object as a landmark to follow or do some more exploration around the area. Should the player proceed now, they will be warped to the Gestralt Village. ▶Gestral Village 100% Guide |
| 9 | 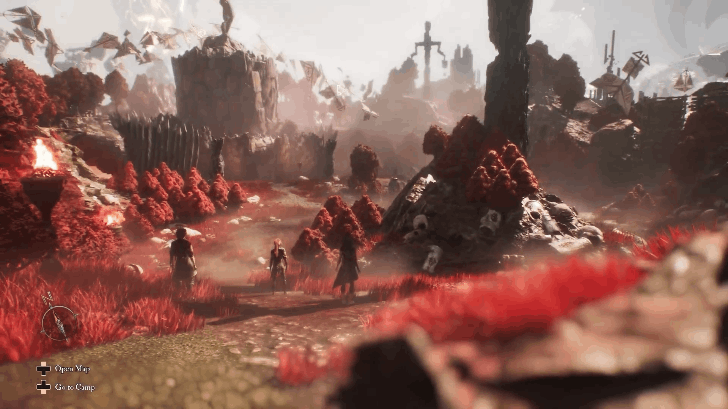 From this point on, the player's objectives would have changed as the player progresses to the new area ahead. There will be no camp stops after arriving at Gestralt Village so remember to rest at the earlier Expeditionary Flag. |
Ask Golgra, the Chief of the Gestrals, for a Way to Cross the Sea
| Act 1: Gustave Objective 4 Guide | |
|---|---|
| 1 | 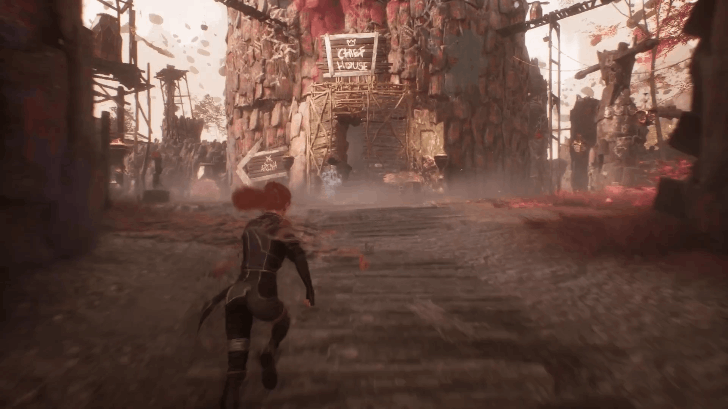 The player will need to find the village chief, Golgra. Just head straight until a building with a sign that reads Chief House is found. Golgra will engage in conversation with the party, revealing important story details and mentioning Esquie, a character the player should note for now. |
| 2 | 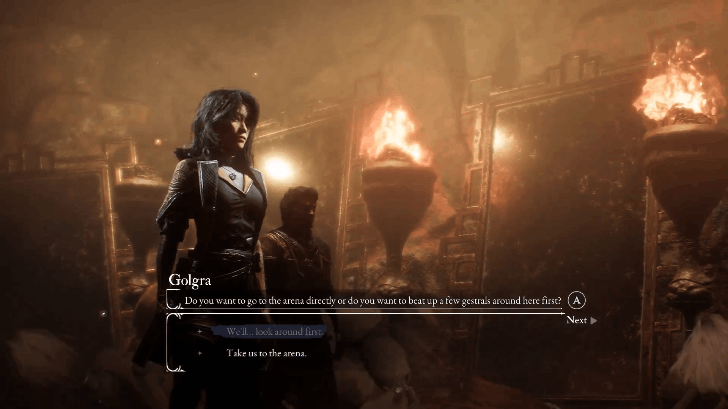 The player is then ordered to have a duel with the village's strongest in order for them to proceed. From here, the player can then explore the village as they please. There are important items and interactions to be discovered in the village so exploriing the area is advisable. |
| 3 | 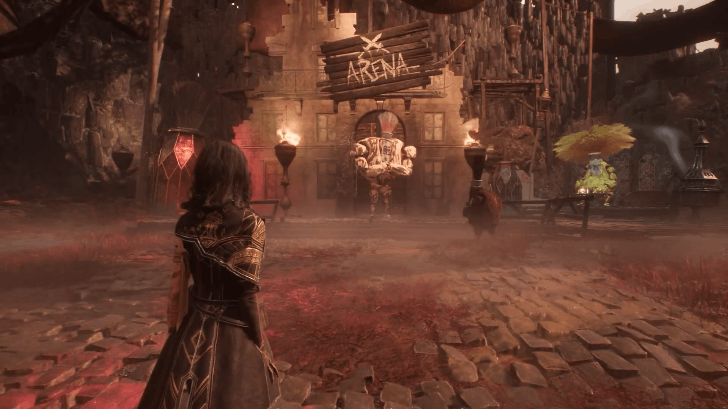 The village offers some extra fights with other characters such as Ono-Puncho, a purple Gestral. The player can either engage with them or just head straight to the Arena, located just south of the Chief House. The player can go to the Expeditionary Flag nearby before starting the tournament to allow the player to prepare their characters. ▶ Ono-Poncho: How to Deal 9999 Damage |
| 4 | 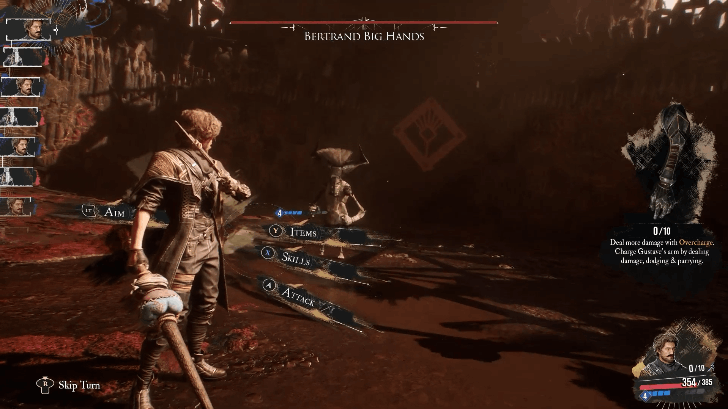 Once done, talk to Limonsol, the yellow Gestral on the right. Once the player chooses their character, the first fight will then commence against Bertrand Big Hands. Bertrand is easy to take down, being the first of four opponents the player will face. Nevertheless, the player should properly build their characters before engaging. ▶ All Characters and Builds |
| 5 | 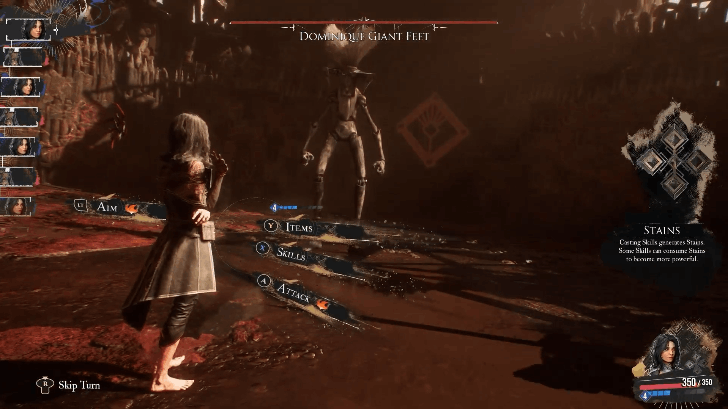 Once the player beats Bertrand, they can either immediately talk to Limonsol for the 2nd challenge or take a break. Once the player is ready they will battle Dominique Giant Feet with their selected character. Dominique offers the same level of challenge as Bertrand and should be relatively easy to beat with built characters. Once done, the player can once again take a break or immediately talk to Limonsol. |
| 6 | 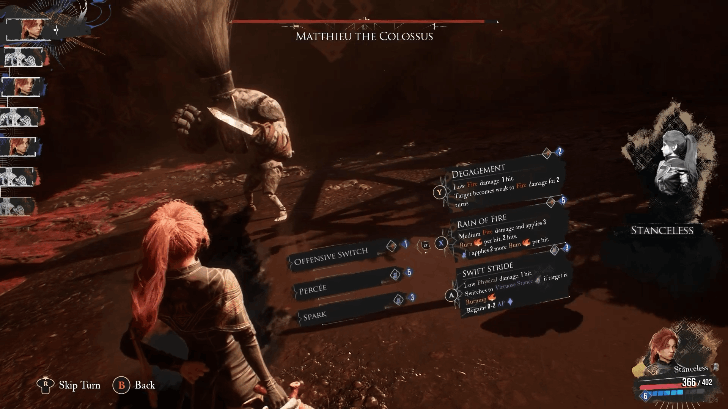 The player then faces the third opponent of the bout, Matthieu the Colossus. Beat Matthieu to proceed. Matthieu provides more challenge than the other two contenders to the player but can be beaten easily as long as their characters are properly built. Once done, talk to Limonsol one final time to meet the champion. |
| 7 | 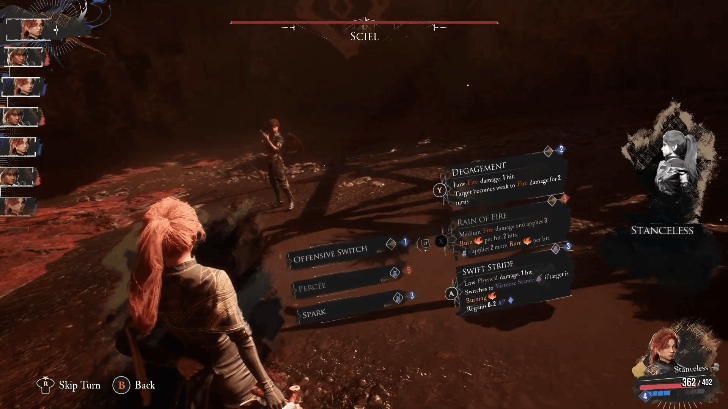 The last leg of the tournament gives us Sciel, another surviving member of the expedition. She will have similar fighting dynamics as Maelle in the prologue but the player should build their character to withstand her attacks. Defeat her in combat and she will join the party and the tournament ends. The player can access her tutorial should they want to learn her skillset. Should Sciel defeat the player, they will still join the party and the player is still given a unique weapon. ▶ Sciel Best Builds and Attributes |
| 8 | 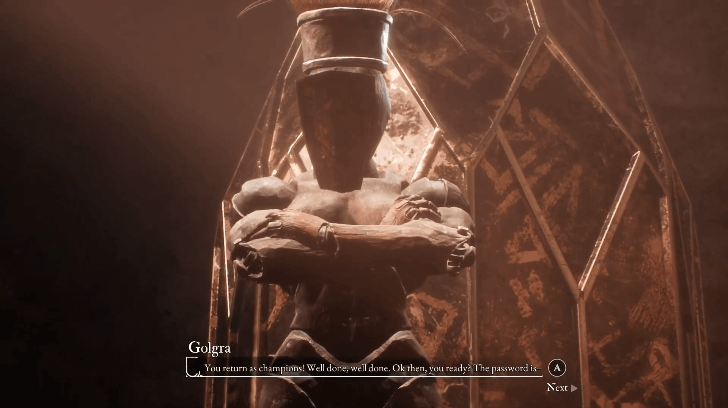 Should Sciel be defeated, The Gestralts will praise the player after the tournament and give a weapon to whoever beat Sciel. Head back to Golgra for the Expedition to continue. The player can optionally challenge Golgra if they want a challenge. Do note that fighting Golgra now is dangerous due to the party's lower stats at this point. |
| 9 | 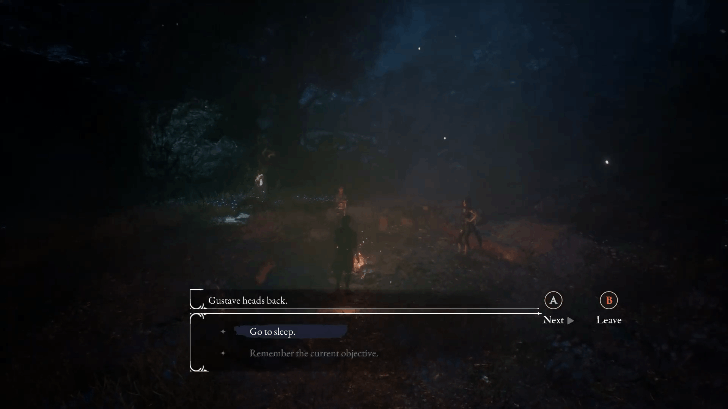 Regardless of the player's choices, the objective is completed here and they can proceed to Camp before heading out. The player can upgrade their characters, weapons and finish up camp activities to unlock more character moments. |
| 10 | 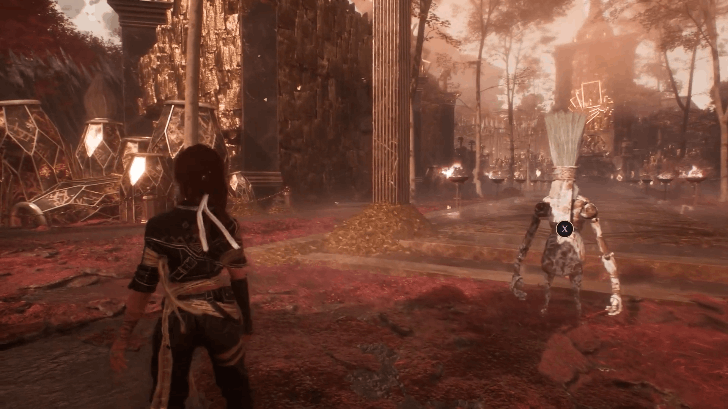 The player can still backtrack Gestral Village and other areas even after the objective is completed. This can be done at the player's own leisure should they want to explore more and find collectibles or interactables. |
Find and Recruit the Legendary Esquie at Esquie's Nest
| Act 1: Gustave Objective 5 Guide | |
|---|---|
| 1 | 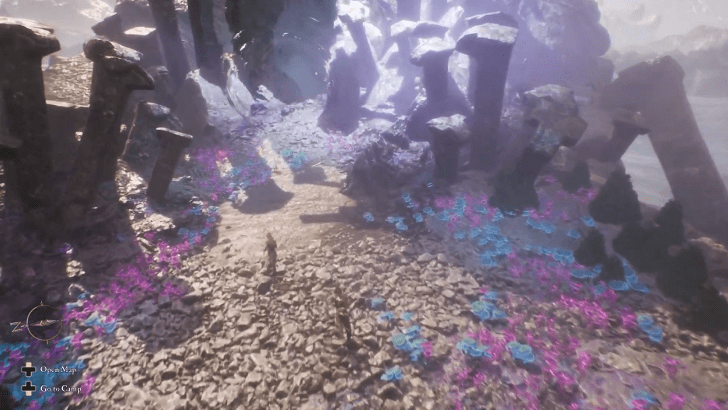 Back in the world map, head east from Ancient Sanctuary to reach the new area marked on your map, Esquie's Nest. ▶ Esquie's Nest 100% Guide |
| 2 | 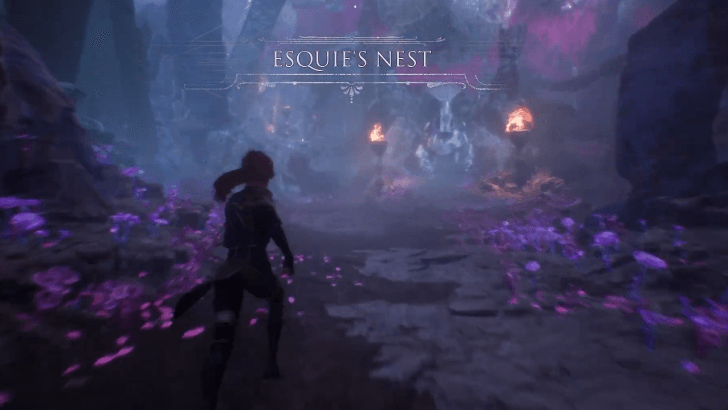 You will find an Expedition Flag ahead, as well as the Gestral named Sunniso, who will ask for the password given to you by Golgra. After the cutscene, follow the path ahead until you end up in a room with torches. |
| 3 | 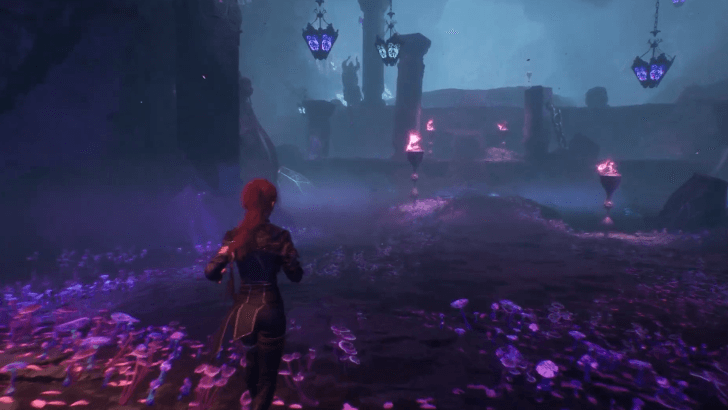 Go up the stairs in the middle and a cutscene with Esquie will trigger. |
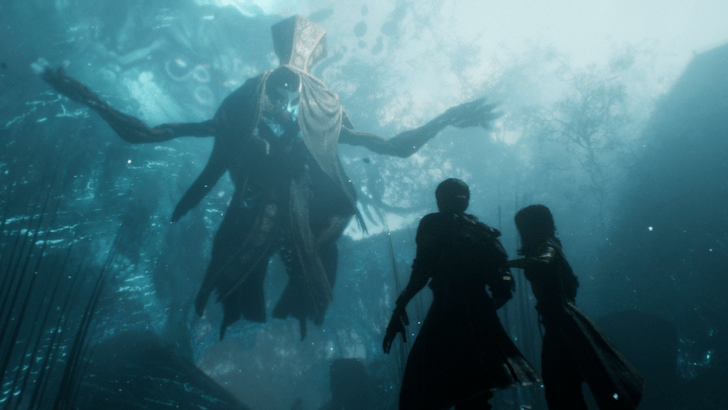
| 4 | 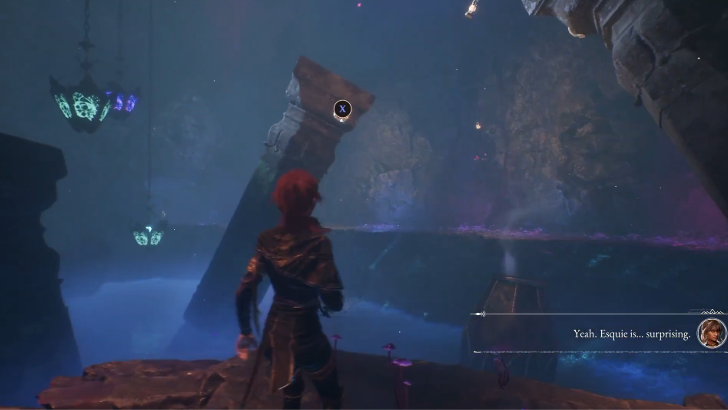 When you're back in control, go down the slope and turn left. The grapple point above the chasm will take you to the other side where you will find another Expedition Flag if you go left. Heal up and update your loadout again as you'll be up against Francois in the next room. ▶ Francois Boss Guide |
| 5 | 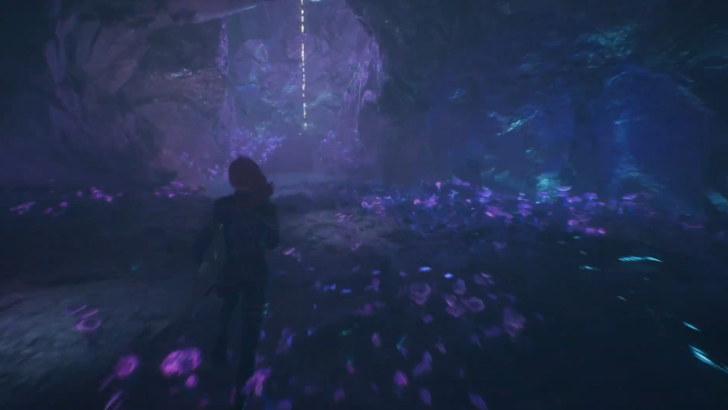 After the fight, turn around to find a light rope hanging in one of the connecting rooms. Go up the rope and follow the path to your right. This should lead you back to the large room where you first meet Esquie. |
| 6 | 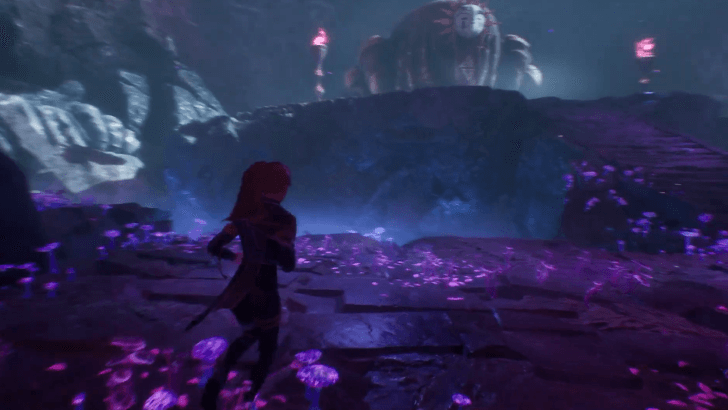 Climb the central stairs again and trigger a cutscene at the top to unlock Esquie! |
Cross the Stone Wave Cliffs to Find Florrie
| Act 1: Gustave Objective 6 Guide | |
|---|---|
| 1 | 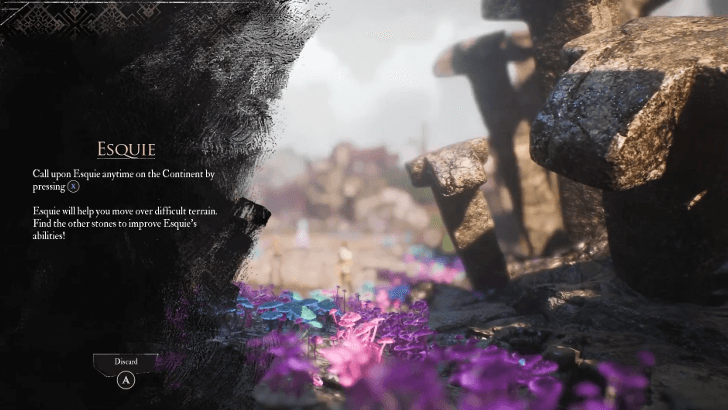 Go back to the world map by exiting Esquie's Nest from where you entered. You can now mount on Esquie in the Continent and plow through the blue rocks up north! Use Esquie's ability to reach this previously inaccessible area and reach Stone Wave Cliffs. ▶Stone Wave Cliffs 100% Guide |
| 2 | 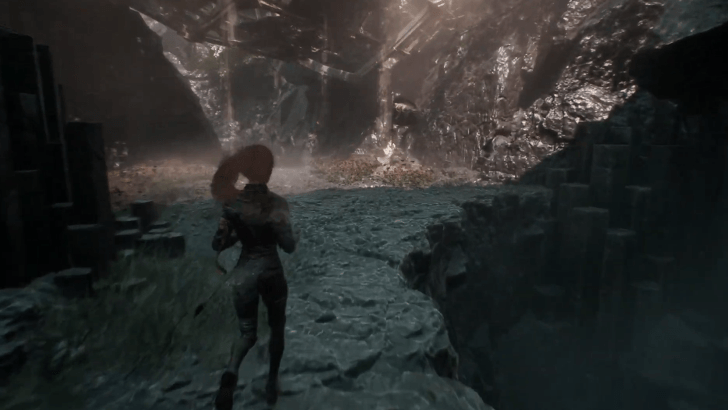 Follow the path until you trigger a cutscene, then enter the tunnel ahead until you reach the first Expedition Flag in this area next to a ravine. |
| 3 | 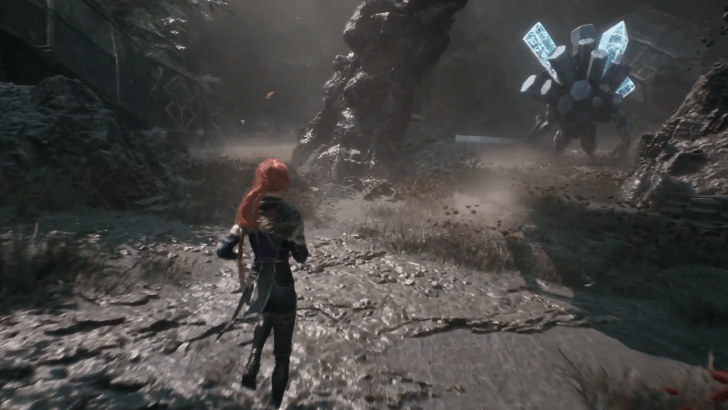 As you enter the next area, you'll see a golem on your left with large crystals sticking out of its body. Make it past this enemy and pass through the tunnel behind it. |
| 4 | 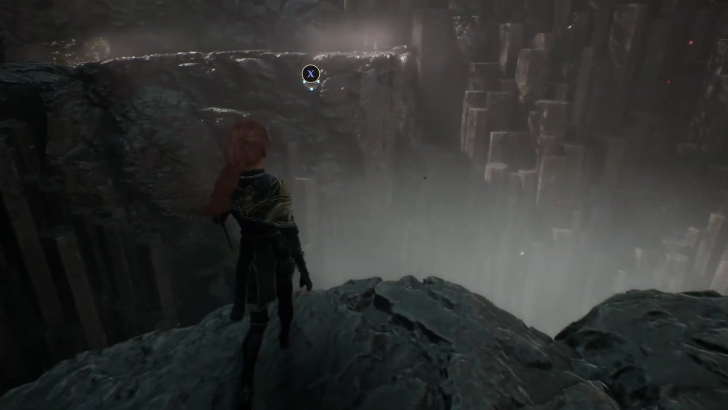 Grapple across the gap and turn left. The path will split here but will ultimately converge again at the end. You can take the left path first to obtain an Expedition 56 Journal. |
| 5 | 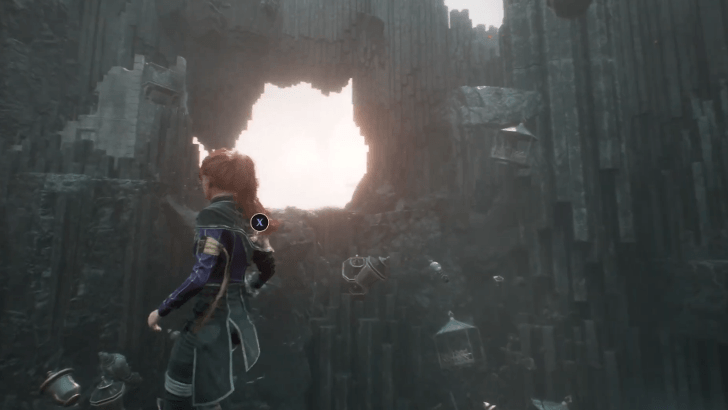 Look over the chasm to see a grapple point that will take you to the other side. A few steps forward and you will find another Expedition Flag. |
| 6 | 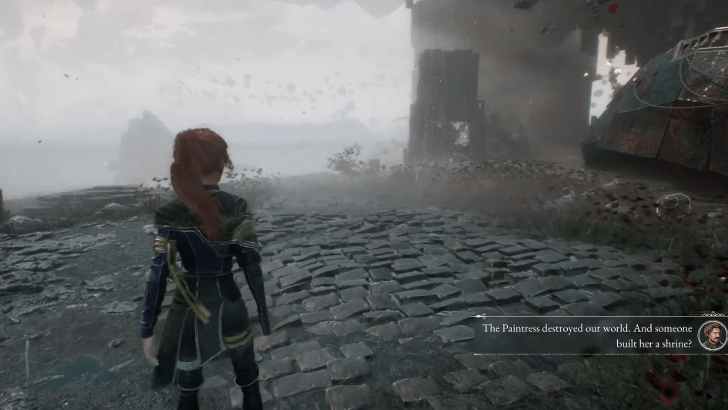 Turn right from the flag and keep going down towards the shipwreck. After crossing the stone bridge behind the shipwreck, a Rocher will jump right in front of you. |
| 7 | 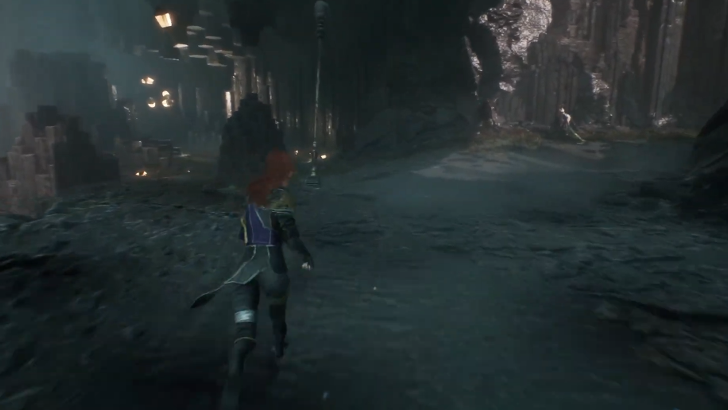 After the fight, take the left path then turn right at the split. You will end up in an area with a wandering Cultist enemy and a crystallized tunnel. |
| 8 | 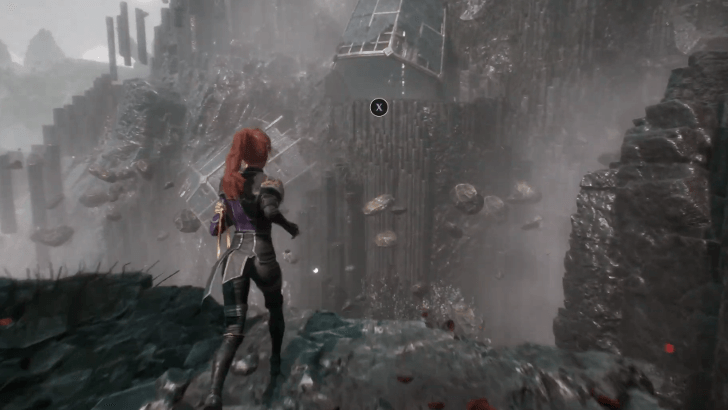 Make for the other end of the path and grapple to the other side. Zip up the light rope to find the third Expedition Flag. |
| 9 | 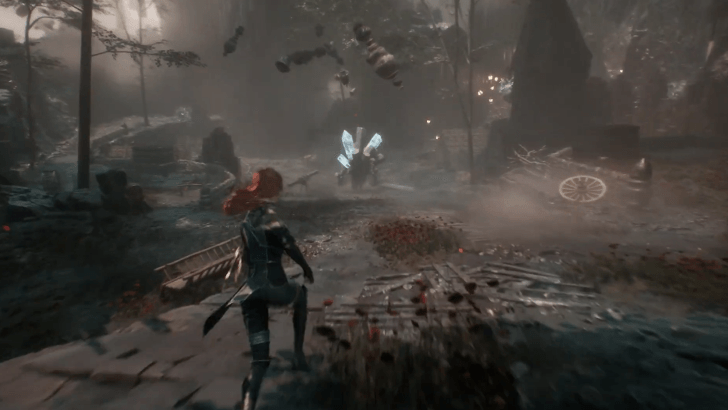 In the farm area is another Hexga that you can defeat for the Confident Picto. To the right of the Hexga is a slope that leads to the next area. Take the left path, as the path to the right is a shortcut to sneak past the Hexga, and use the handholds on the cliffside to get across. |
| 10 |  Enter the caverns and heal up on the Expedition Flag. Use the grapple point past the lamppost and slide down the rope to the lower cavern area. |
| 11 | 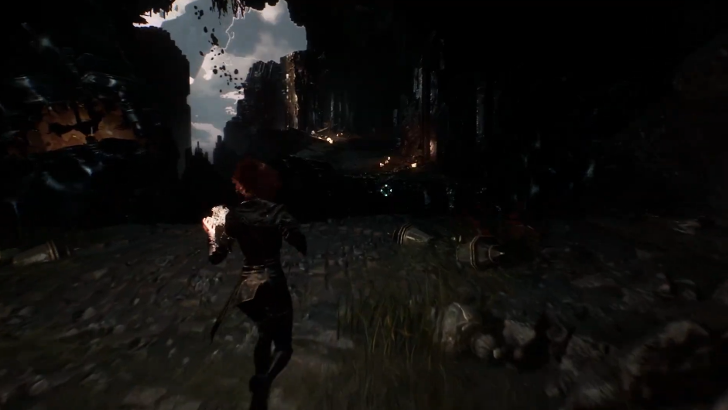 Take the left path past the Hexga and follow it to another grapple point. Cross the gap and use the light rope ahead to find another Expedition Flag. Rest up, prepare for a boss fight, and push through the tunnel to meet the Lampmaster. ▶ Lampmaster Boss Guide |
| 12 | 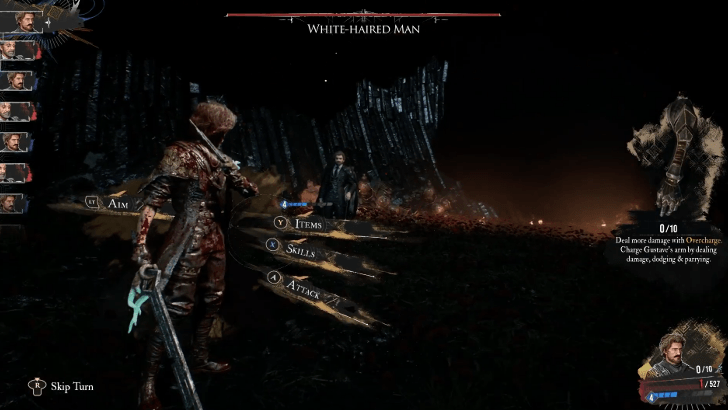 Another "boss fight" against a White-Haired Man will take place after defeating the Lampmaster. You really can't do anything else here so just focus on gaining Charges with Skills so Gustave can use his Overcharge in a cutscene and bring Act 1 to a close! |
Act 1: Gustave Boss Guides
How to Beat Eveque
| Recommended Level: 5 |
|---|
 |
| Tips and Strategy |
|
|
This boss fight introduces the Shield combat mechanic, which completely negates instances of attacks. Be sure to pop these shields first with Aimed attacks so you don't waste more AP or turns using more powerful moves.
Once Eveque is vulnerable, hit it with Lune's Ice Lance to exploit its weakness to Ice. Eventually, it will spawn two Abbest that you can deal with using multi-target attacks or by simply waiting for their turn and countering their attacks.
How to Beat Goblu
| Recommended Level: 10 |
|---|
 |
| Tips and Strategy |
|
|
Goblu will open the fight with a jump attack that deals three instances of damage. Each of its hits can be parried and parrying all three hits executes and Expedition Counter. Successfully doing so at the start of the battle removes all of its shields.
Goblu is also weak to Lightning attacks, so Gustave's Overcharge will hurt it a lot at max power. When it grows flowers on the field, either shoot the blue ones to prevent Goblu from regaining shields or shoot the red ones to prevent Goblu from gaining a damage buff.
How to Beat Ultimate Sakapatate
| Recommended Level: 15 |
|---|
 |
| Tips and Strategy |
|
|
Like all the Sakapatate, the Ultimate Sakapatate is also weak to Fire, but is resistant to Lightning. Its weakpoint will only be exposed after filling up the Break gauge and using a skill that can inflict Break.
Watch out for its shield slam attack as it can Mark your entire party and make the next hit from Ultimate Sakapatate hurt more.
How to Beat Ultimate Sakapatate
How to Beat Francois
| Recommended Level: 15 |
|---|
 |
| Tips and Strategy |
|
|
Francois will start with five points of shield up. Break it with Aimed attacks, basic attacks, or Skills that inflict Burn before going all out. This boss is weak to Dark so Sciel will definitely shine here with ther skillset.
Francois will only use one attack throughout the battle—a beam of ice that is apparently the "strongest Ice attack ever". Prepare to parry or dodge the attack once Francois "charges" energy twice.
How to Beat Lampmaster
| Recommended Level: 30 |
|---|
 |
| Tips and Strategy |
|
|
Despite hovering all throughout the fight, the Lampmaster is not a flying enemy, so it can be hit normally with Attacks and Skills. The Lampmaster starts the fight with four floating lamps on. Switch off these lamps with aimed attacks to cancel one of its attacks later on that can utilize the floating lamps that are left on.
During the second phase, the Lampmaster will use the lamps attached to its body to perform a strange ritual. These lamps will blink red in a specific order and you should shoot them with aimed attacks in the same order to cancel the Sword of Light attack that the boss will use the next turn.
How Long Is Act 1?
Six to Eight Hours Long
Clair Obscur Expedition 33's Act 1 will take approximately 6-8 hours to complete. This usually depends on how fast you are in your exploration, solving puzzles, and defeating major bosses!
Clair Obscur: Expedition 33 Related Guides

All Act Walkthroughs
| Clair Obscur: Expedition 33 Acts | |
|---|---|
| Prologue: Lumiere | Act 1: Gustave |
| Act 2: Verso | Act 3: Maelle |
Comment
Author

Act 1: Gustave Walkthrough
Please participate in our site
improvement survey
03/2026
improvement survey
03/2026
Would you assist in
improving Game8's site?
improving Game8's site?

×
We are listening to our users' valuable opinions and discussing how to act on them.
The information collected through this survey will be used for the purpose of improving our services. In addition, the information will only be disclosed a part of a statistic in a format that will not allow identification of personal information.
Begin Survey
Not Now
×
Please rate each item regarding Game8.co's Advertisements.
Amount of Ads
Very Dissatisfied
Somewhat Dissatisfied
Fine
Somewhat Satisfied
Highly Satisfied
Placement of Ads
Timing of Ad Display
Ad Loading Speed
Safeness of Ads
Content of Ads
×
Please rate each item regarding Game8.co's Quality of Articles.
Amount of information
Very Dissatisfied
Somewhat Dissatisfied
Fine
Somewhat Satisfied
Highly Satisfied
Frequency of updates
Speed of new information
Accuracy of articles
Understandibility of articles
Readability of sentences
×
Please rate each item regarding Game8.co's Usability of the Site.
Ease of finding information
Very Dissatisfied
Somewhat Dissatisfied
Fine
Somewhat Satisfied
Highly Satisfied
Loading Speed
Use of Color
Font Size
Visibility of Images
Easy to Understand Layout
×
Please rate each item regarding Game8.co's Message Boards, Comments.
Ease of Writing
Very Dissatisfied
Somewhat Dissatisfied
Fine
Somewhat Satisfied
Highly Satisfied
Readability
Ease in Finding Information
Comment Quality
Comment Quantity
Admin Response
×
Please rate each item regarding Game8.co's Site's new design.
Please rate our site's new design
Very Dissatisfied
Somewhat Dissatisfied
Fine
Somewhat Satisfied
Highly Satisfied
Do you think that the website's design change makes the site easier to use?
Has the new design made it easier for you to find information on the site?
Has the new design improved the overall visual appeal of the site?
How would you rate your overall satisfaction with the new design of the site?
×
How likely are you to recommend Game8 to someone you know?
Very Unlikely
0
1
2
3
4
5
6
7
8
9
10
Very Likely
If you have other opinions regarding potential improvement to the website, please share them with us. We would appreciate your honest opinion.
Note: This is a free response section, so you can proceed without entering anything.
Note: Please be sure not to enter any kind of personal information into your response.
Note: Please be sure not to enter any kind of personal information into your response.
×
Thank You
×
Thank you for participating in our survey! Your answers will help us to improve the quality of our website and services.
We hope you continue to make use of Game8.
We hope you continue to make use of Game8.
Close
Rankings
- We could not find the message board you were looking for.
Gaming News


![Monster Hunter Stories 3 Review [First Impressions] | Simply Rejuvenating](https://img.game8.co/4438641/2a31b7702bd70e78ec8efd24661dacda.jpeg/thumb)
Popular Games

Genshin Impact Walkthrough & Guides Wiki
Honkai: Star Rail Walkthrough & Guides Wiki
Umamusume: Pretty Derby Walkthrough & Guides Wiki
Pokemon Pokopia Walkthrough & Guides Wiki
Resident Evil Requiem (RE9) Walkthrough & Guides Wiki
Monster Hunter Wilds Walkthrough & Guides Wiki
Wuthering Waves Walkthrough & Guides Wiki
Arknights: Endfield Walkthrough & Guides Wiki
Pokemon FireRed and LeafGreen (FRLG) Walkthrough & Guides Wiki
Pokemon TCG Pocket (PTCGP) Strategies & Guides Wiki


Recommended Games
Diablo 4: Vessel of Hatred Walkthrough & Guides Wiki
Cyberpunk 2077: Ultimate Edition Walkthrough & Guides Wiki
Fire Emblem Heroes (FEH) Walkthrough & Guides Wiki
Yu-Gi-Oh! Master Duel Walkthrough & Guides Wiki
Super Smash Bros. Ultimate Walkthrough & Guides Wiki
Pokemon Brilliant Diamond and Shining Pearl (BDSP) Walkthrough & Guides Wiki
Elden Ring Shadow of the Erdtree Walkthrough & Guides Wiki
Monster Hunter World Walkthrough & Guides Wiki
The Legend of Zelda: Tears of the Kingdom Walkthrough & Guides Wiki
Persona 3 Reload Walkthrough & Guides Wiki


All rights reserved
©2025 Sandfall Interactive SAS - Published by Kepler Interactive Limited. All rights reserved.
The copyrights of videos of games used in our content and other intellectual property rights belong to the provider of the game.
The contents we provide on this site were created personally by members of the Game8 editorial department.
We refuse the right to reuse or repost content taken without our permission such as data or images to other sites.