This survey will take about 1 minute.
Your answers will help us to improve our website.
Borderlands 4
Another Day, Another Universe Walkthrough
★ 17 active SHiFT Codes as of March 14, 2026
☆ Black Market Location
★ Elemental Weakness Chart
☆ Legendary Weapons
★ Builds: Vex | Amon | Rafa | Harlowe
This is a walkthrough for the Another Day, Another Universe mission in Borderlands 4. Read on to follow the objectives and clear the mission.
| ◀ Previous Mission | Next Mission ▶ |
|---|---|
| Rising Action | The Falling Wall |
List of Contents
Another Day, Another Universe Walkthrough
Objective 1: Get Oxygen Kits for Zane and Amara
| # | Walkthrough |
|---|---|
| 1 | Take the oxygen kit from Zane, then melee the door in front of you. |
| 2 | 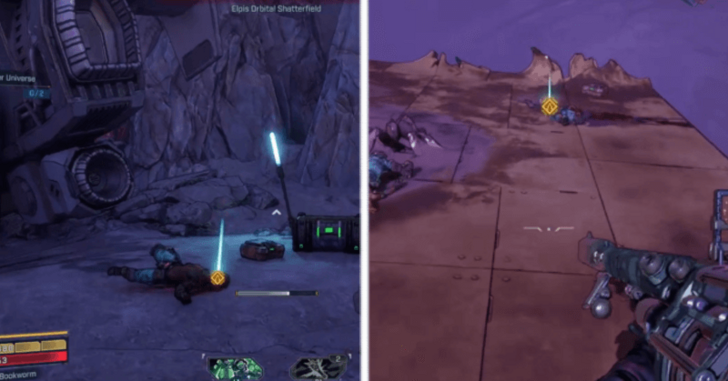 Find two oxygen kits in the area. The first oxygen kit can be found on a ledge near the device. The kit is held by a corpse. The second oxygen kit can be found ahead of the device on a metal platform, on another ripper corpse. |
| 3 | Return to Zane and Amara to give them the oxygen kits. |
Objective 2: Reach the Elpis Core
| # | Walkthrough |
|---|---|
| 1 | 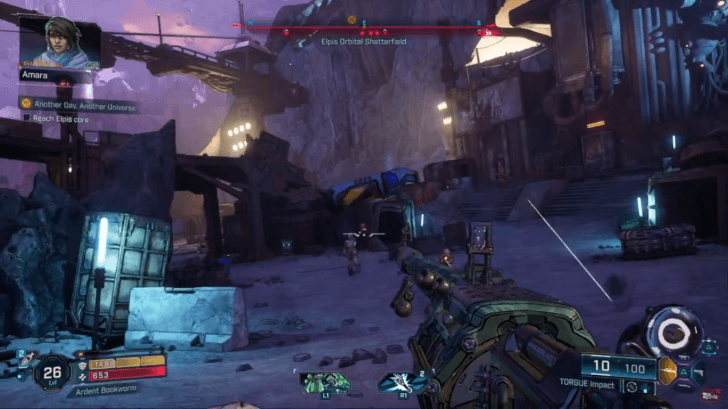 Go to the marked location on the map to find the Elpis core. On the way you will reach a ripper camp. Kill them to advance to the objective. |
| 2 | 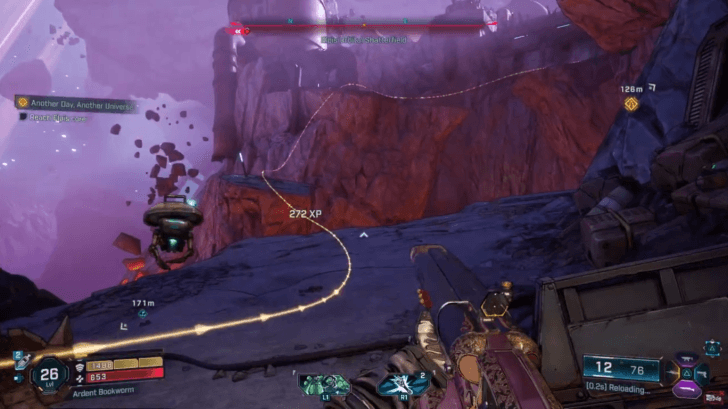 At the end of the camp, jump on the floating platforms to to finally reach the other side. Clear the area of both rippers and Order forces. |
| 3 | 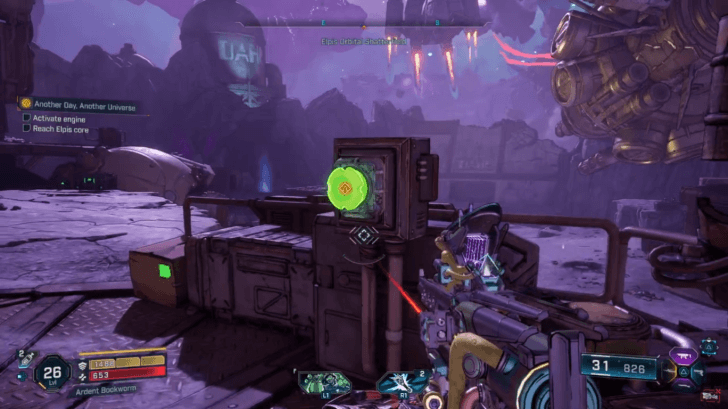 After clearing the area, Zane and Amara will attempt to land the Dahl airship. Go to a platform and press the button on the console to activate the engine. This will not work, however. |
| 4 | 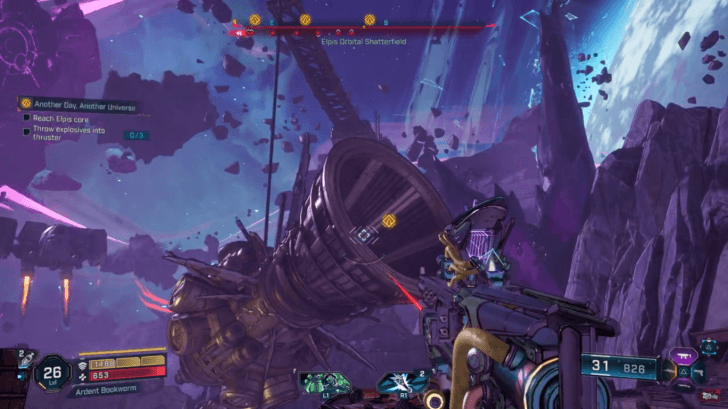 Throw explosives into the large thruster floating at the center of the area. There are several of these explosives you can find scattered in the area. More Order forces will arrive to intercept you. |
| 5 | Once again attempt to activate the engine, which will this time destroy the wall ahead. |
| 6 | 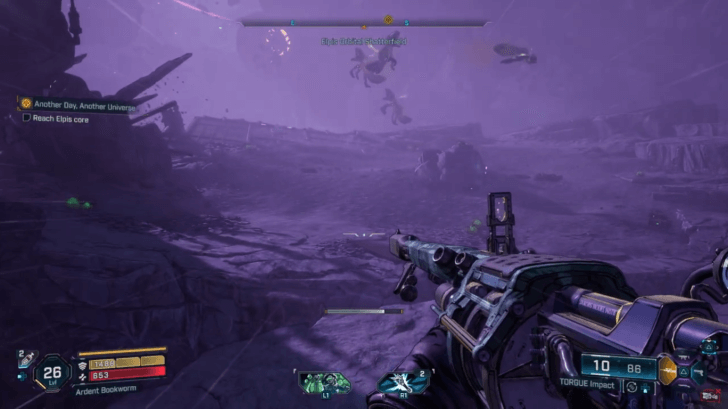 Proceed to reach the Elpis core until you reach an area full of threshers. |
| 7 | 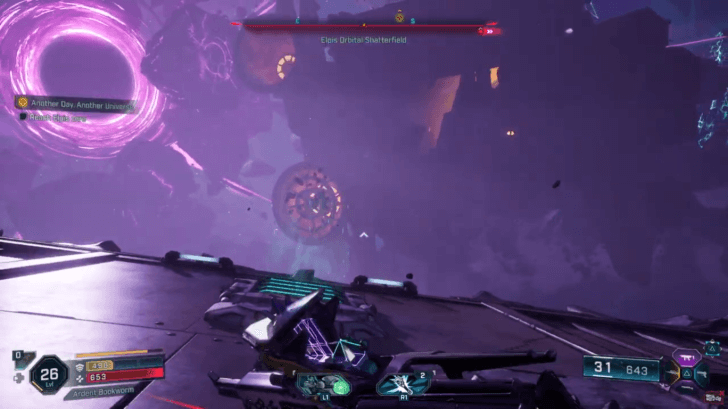 Run along the left side until you reach the edge. Step on the pad to launch yourself to a wreckage. In the wreckage, climb the ledge with your grappling hook. |
| 8 | 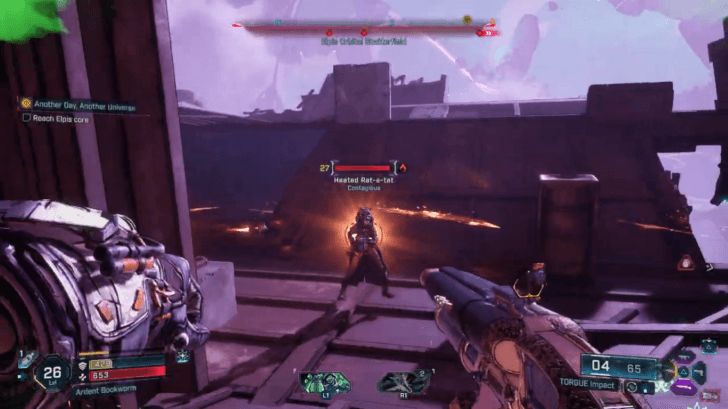 Reaching the respawn point, look up again to use your grappling hook to get over the ledge. You will be met by rippers at the top. |
| 9 | 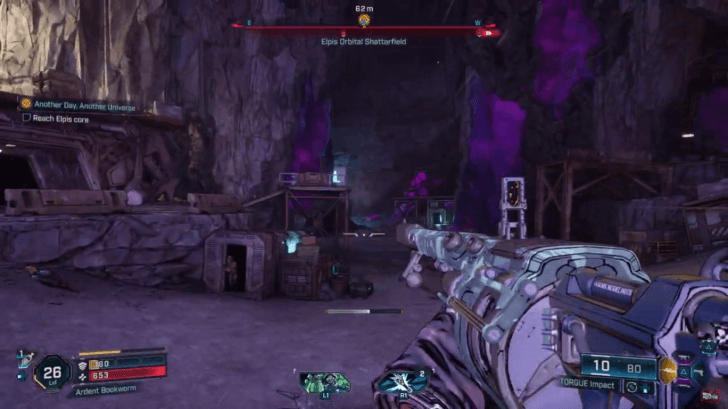 Continue jumping on the platforms to reach the Elpis core. On the last platform, jump on the pad to reach the next area, where you will see another Dahl mine. |
| 10 | Pass through the mine entrance to reach another area full of rippers. It is not necessary to kill everyone here, so you may enter the mines. |
| 11 | 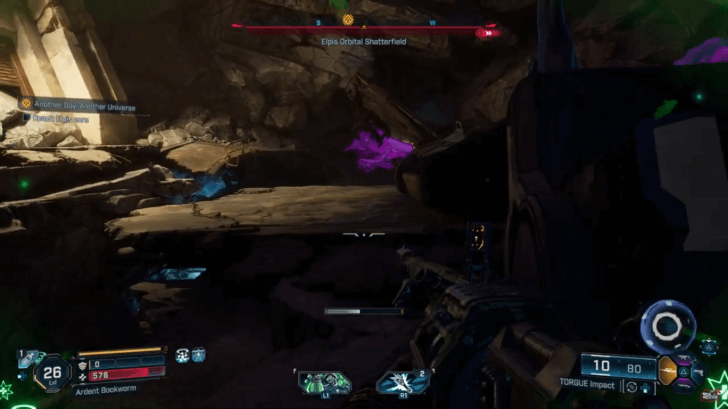 Descend into the mines, following the purple crystals. At the other side, kill all the rippers within. |
| 12 | 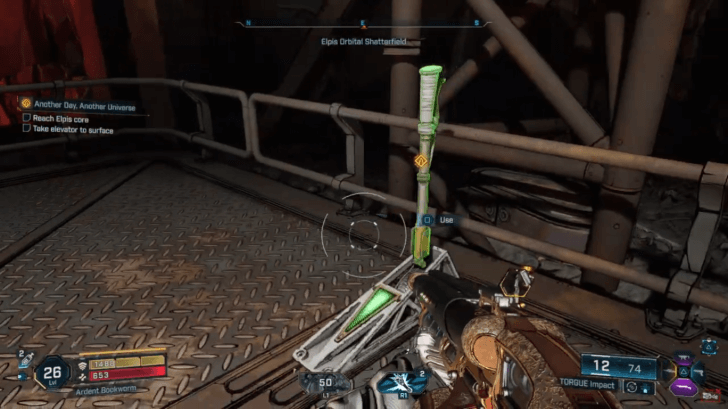 Flip the switch to take the elevator. This, however, will not work. |
| 13 | 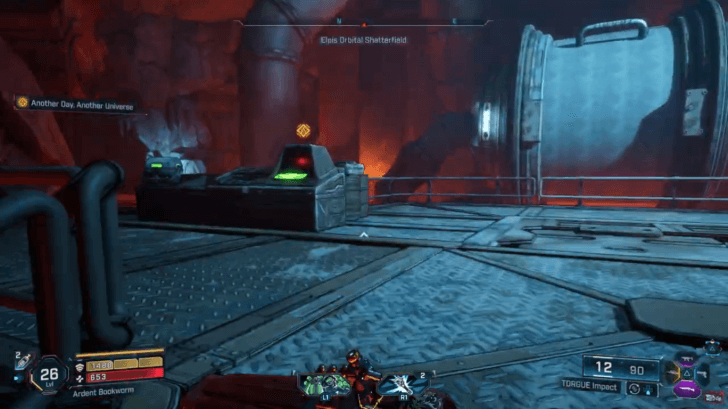 Find the power source for the elevator at the marked location. If you start the reactor, it will not work either. |
| 14 | 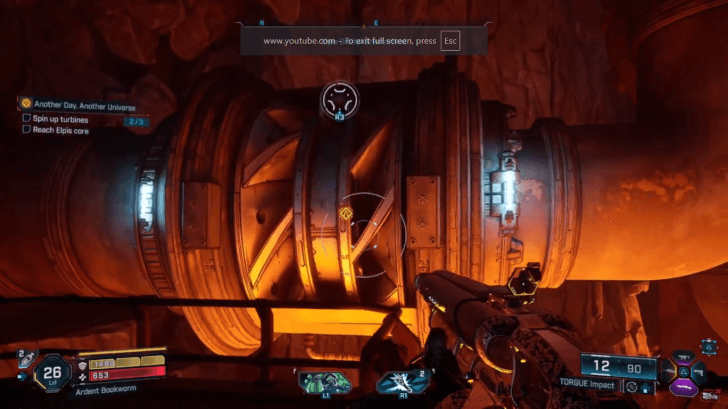 To get the reactor to work, you will have to spin three turbines. The first turbine is directly in front of the console, while the other two are its sides. You will have to open their hatches and spin the turbines inside twice. Afterwards, start the reactor again. |
| 15 | Enemies will suddenly appear. Kill them all, then go back to the elevator to head to the surface. |
| 16 |  The elevator will stop midway. Get off and hop on the side platform and jump to the climbable wall on the other side. Reach the surface by climbing the ladder at the top. |
| 17 | 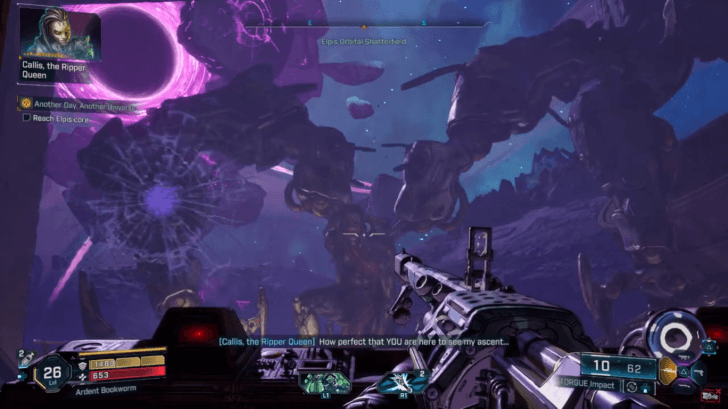 Once you get to the surface, Zane and Amara's airship will be attacked by Callis, the Ripper Queen. Leave the building to kill the enemies outside. Zane and Amara will join you eventually. |
| 18 | 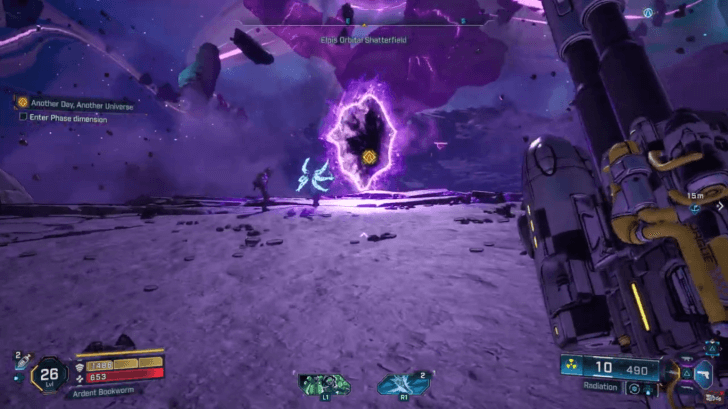 Escort Amara to the core. Wait for her to conjure a rift for you to enter the Phase dimension. |
Objective 3: Find Lilith
| # | Walkthrough |
|---|---|
| 1 | 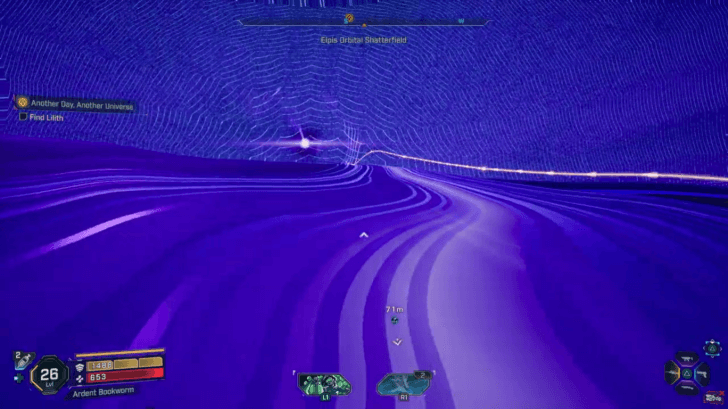 In the Phase dimension, find Lilith. Run toward the glowing orbs to be transported to the next section of the path. |
| 2 | 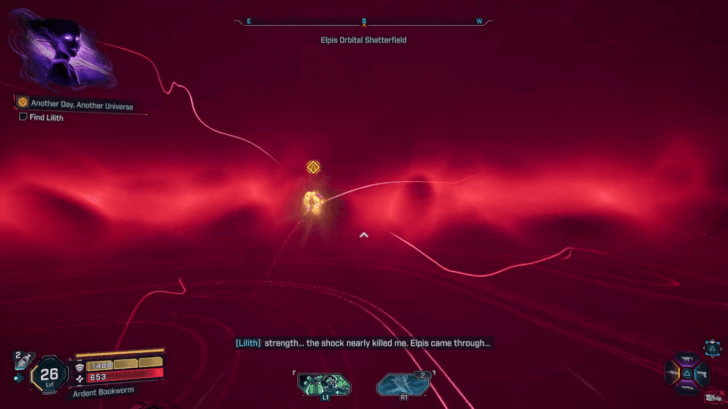 At the last orb, you will transported to where Lilith is. You will then be returned to Elpis. |
| 3 | After being taken back, you will be attacked by Moon-Maddened Callis. |
Objective 4: Kill Callis
| # | Walkthrough |
|---|---|
| 1 | 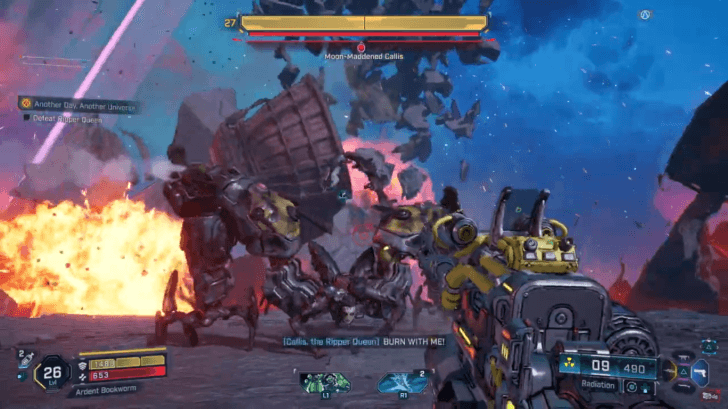 Phase 1: Kill Moon-Maddened Callis. Be careful of falling off the stage, as this will have you restart the entire boss fight. Callis' attacks have her launch mines and balls of fire. Jump and dodge out of the way to avoid them. Once you halve her first health bar, Callis will summon rippers. You may kill these rippers to trigger Second Wind if you are incapacitated. |
| 2 | 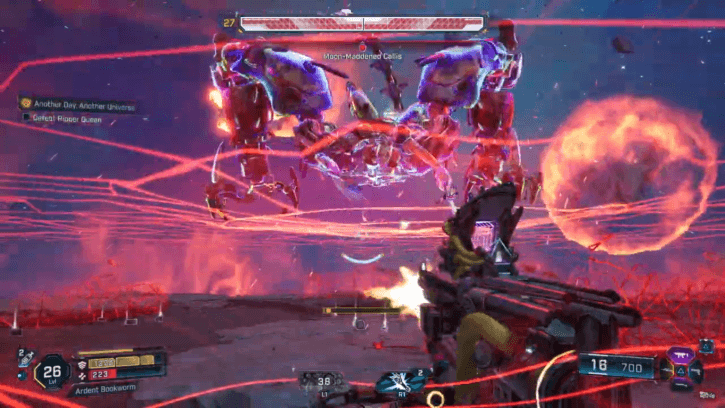 Phase 2: At her second phase, Callis will summon a red web that hovers above the arena, which will allow her to move above you. While this web is active, she will have a shied that prevents you from harming her until the web disappears. Touching the web also slows you down and deals damage. |
| 3 | 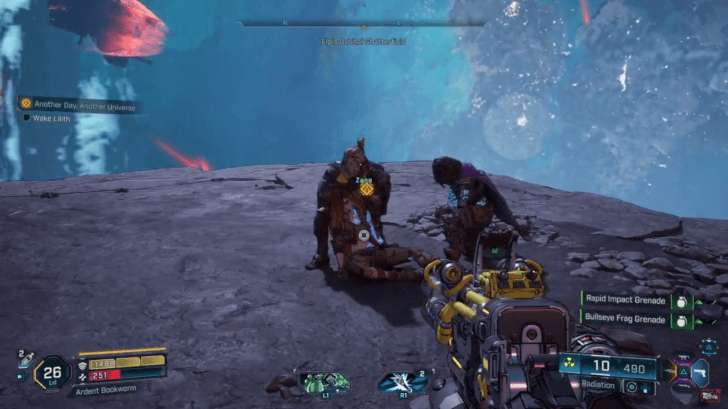 After killing Callis, wake up Lilith. |
How to Beat Moon-Maddened Callis
Another Day, Another Universe Rewards
| Main Mission Rewards | |
|---|---|
| Base Reward |
・EXP ・Cash ・Eridium |
| Equipment Reward | ・Shotgun (Blue to Purple Rarity) |
| Cosmetic Reward | ・Fang Glider (Vehicle) |
Vehicle: Fang Glider
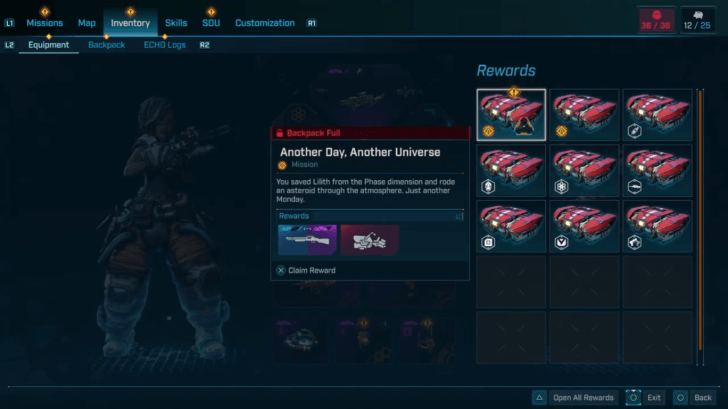
Completing this mission will reward you with a new vehicle, the Fang Glider, available in the Customization menu under the Vehicles tab.
Borderlands 4 Related Guides

All Main Missions
| # | Main Mission | ||
|---|---|---|---|
| 1 | Guns Blazing | ||
| 2 | Recruitment Drive | ||
| 3 | Down and Outbound | ||
| 4 | A Lot to Process | ||
| * | One Fell Swoop | Shadow of the Mountain | Wrath of the Ripper Queen |
| Rush the Gate | Crystal Brawl | Siege and Destroy | |
| ↓ | Dark Subject | Unpaid Tab | |
| His Vile Sanctum | Her Flaming Vision | ||
| 15 | Rising Action | ||
| 16 | Another Day, Another Universe | ||
| 17 | The Falling Wall | ||
| 18 | Means of Ascent | ||
| 19 | Plan Z | ||
| 20 | The Timekeeper's Order | ||
| 21 | Secrets of the Vault | ||
Comment
Author

Another Day, Another Universe Walkthrough
Please participate in our site
improvement survey
03/2026
improvement survey
03/2026
Would you assist in
improving Game8's site?
improving Game8's site?

×
We are listening to our users' valuable opinions and discussing how to act on them.
The information collected through this survey will be used for the purpose of improving our services. In addition, the information will only be disclosed a part of a statistic in a format that will not allow identification of personal information.
Begin Survey
Not Now
×
Please rate each item regarding Game8.co's Advertisements.
Amount of Ads
Very Dissatisfied
Somewhat Dissatisfied
Fine
Somewhat Satisfied
Highly Satisfied
Placement of Ads
Timing of Ad Display
Ad Loading Speed
Safeness of Ads
Content of Ads
×
Please rate each item regarding Game8.co's Quality of Articles.
Amount of information
Very Dissatisfied
Somewhat Dissatisfied
Fine
Somewhat Satisfied
Highly Satisfied
Frequency of updates
Speed of new information
Accuracy of articles
Understandibility of articles
Readability of sentences
×
Please rate each item regarding Game8.co's Usability of the Site.
Ease of finding information
Very Dissatisfied
Somewhat Dissatisfied
Fine
Somewhat Satisfied
Highly Satisfied
Loading Speed
Use of Color
Font Size
Visibility of Images
Easy to Understand Layout
×
Please rate each item regarding Game8.co's Message Boards, Comments.
Ease of Writing
Very Dissatisfied
Somewhat Dissatisfied
Fine
Somewhat Satisfied
Highly Satisfied
Readability
Ease in Finding Information
Comment Quality
Comment Quantity
Admin Response
×
Please rate each item regarding Game8.co's Site's new design.
Please rate our site's new design
Very Dissatisfied
Somewhat Dissatisfied
Fine
Somewhat Satisfied
Highly Satisfied
Do you think that the website's design change makes the site easier to use?
Has the new design made it easier for you to find information on the site?
Has the new design improved the overall visual appeal of the site?
How would you rate your overall satisfaction with the new design of the site?
×
How likely are you to recommend Game8 to someone you know?
Very Unlikely
0
1
2
3
4
5
6
7
8
9
10
Very Likely
If you have other opinions regarding potential improvement to the website, please share them with us. We would appreciate your honest opinion.
Note: This is a free response section, so you can proceed without entering anything.
Note: Please be sure not to enter any kind of personal information into your response.
Note: Please be sure not to enter any kind of personal information into your response.
×
Thank You
×
Thank you for participating in our survey! Your answers will help us to improve the quality of our website and services.
We hope you continue to make use of Game8.
We hope you continue to make use of Game8.
Close
Rankings
- We could not find the message board you were looking for.
Gaming News


![Everwind Review [Early Access] | The Shaky First Step to A Very Long Journey](https://img.game8.co/4440226/ab079b1153298a042633dd1ef51e878e.png/thumb)

![Monster Hunter Stories 3 Review [First Impressions] | Simply Rejuvenating](https://img.game8.co/4438641/2a31b7702bd70e78ec8efd24661dacda.jpeg/thumb)
Popular Games

Genshin Impact Walkthrough & Guides Wiki
Honkai: Star Rail Walkthrough & Guides Wiki
Umamusume: Pretty Derby Walkthrough & Guides Wiki
Pokemon Pokopia Walkthrough & Guides Wiki
Resident Evil Requiem (RE9) Walkthrough & Guides Wiki
Monster Hunter Wilds Walkthrough & Guides Wiki
Wuthering Waves Walkthrough & Guides Wiki
Arknights: Endfield Walkthrough & Guides Wiki
Pokemon FireRed and LeafGreen (FRLG) Walkthrough & Guides Wiki
Pokemon TCG Pocket (PTCGP) Strategies & Guides Wiki


Recommended Games
Diablo 4: Vessel of Hatred Walkthrough & Guides Wiki
Fire Emblem Heroes (FEH) Walkthrough & Guides Wiki
Yu-Gi-Oh! Master Duel Walkthrough & Guides Wiki
Super Smash Bros. Ultimate Walkthrough & Guides Wiki
Pokemon Brilliant Diamond and Shining Pearl (BDSP) Walkthrough & Guides Wiki
Elden Ring Shadow of the Erdtree Walkthrough & Guides Wiki
Monster Hunter World Walkthrough & Guides Wiki
The Legend of Zelda: Tears of the Kingdom Walkthrough & Guides Wiki
Persona 3 Reload Walkthrough & Guides Wiki
Cyberpunk 2077: Ultimate Edition Walkthrough & Guides Wiki


All rights reserved
©2025 Gearbox Software. Published by 2K Games. Developed by Gearbox. Gearbox, Borderlands, and related logos are all trademarks of Gearbox Software, LLC. 2K and the 2K logo are trademarks of Take-Two Interactive Software, Inc. All other marks and trademarks are the property of their respective owners. All rights reserved.
The copyrights of videos of games used in our content and other intellectual property rights belong to the provider of the game.
The contents we provide on this site were created personally by members of the Game8 editorial department.
We refuse the right to reuse or repost content taken without our permission such as data or images to other sites.