Down and Outbound Walkthrough
★ 17 active SHiFT Codes as of March 14, 2026
☆ Black Market Location
★ Elemental Weakness Chart
☆ Legendary Weapons
★ Builds: Vex | Amon | Rafa | Harlowe
This is a walkthrough for the Down and Outbound mission in Borderlands 4. Read on to learn how to unlock the digirunner and get all three bolt scanners after beating the Spymaster, as well as the four Contraband locations.
| ◀ Previous Mission | Next Mission ▶ |
|---|---|
| Recruitment Drive | A Lot to Process |
List of Contents
Down and Outbound Walkthrough
Objective 1: Go to Outbounders HQ
| # | Walkthrough |
|---|---|
| 1 | If you open your map, you will see your next objective. Use ECHO Location to visualize your path going to Outbounders HQ. |
| 2 | 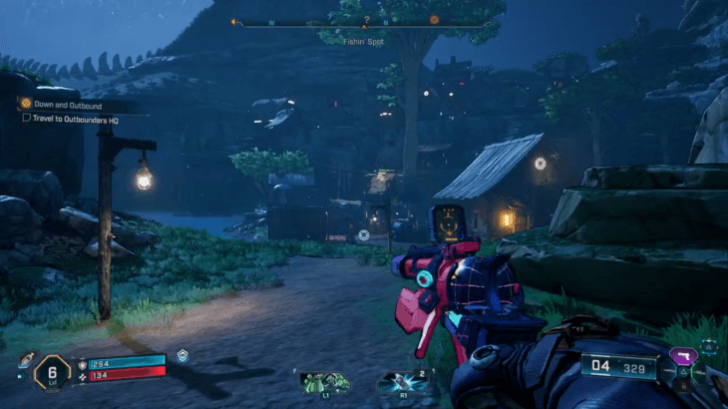 On your way to Outbounders HQ, you should find yourself in a settlement called Plungeford. Eliminate any enemies as you navigate through. |
| 3 | Once you climb the higher cliffs of Plungeford, a miniboss The Exterminator will appear. It is not required to beat him at this level so you may run past him. |
| 4 | 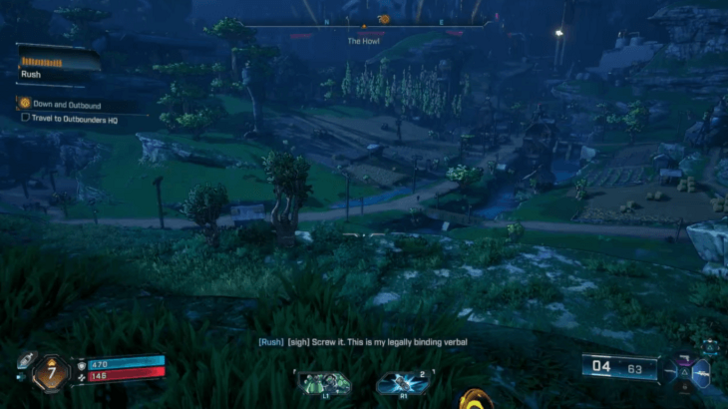 Leave Plungeford to reach an area called The Howl, where Idolator Sol will appear and Order forces will intercept you on the main road. Outbounders in the town will assist you as you repel all enemies. |
Objective 2: Go to the Order Surveillance Center
| # | Walkthrough |
|---|---|
| 1 | After eliminating the Order's forces and meeting Rush at Outbounders HQ, you will be directed to meet Conway who will supply you with a vehicle digirunner for traversal. |
| 2 | 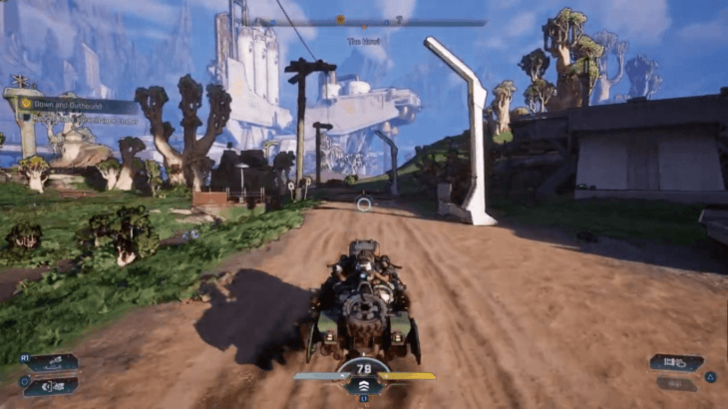 On the digirunner, travel to the Order surveillance center by following the main road. More Order forces will intercept you, so take cover behind terrain. |
| 3 | Continuing on your way, you may use ECHO Location if you are unsure of where to go. |
Objective 3: Find Spymaster
| # | Walkthrough |
|---|---|
| 1 | 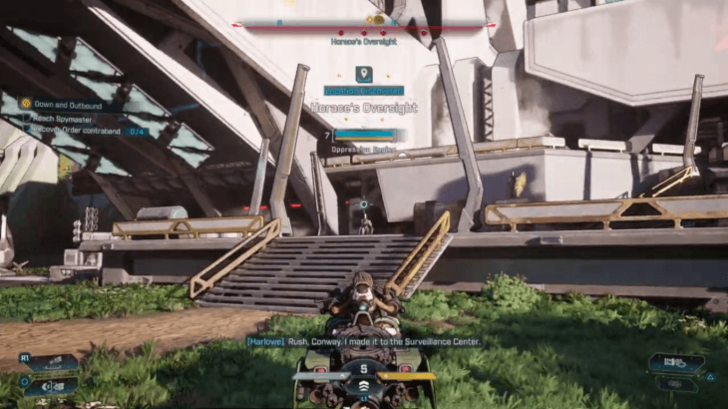 At the Order surveillance center are new enemies guarding the entrance. Use the building and the barricades to deflect projectiles. |
| 2 | Advance further inside the building to eliminate more enemies, after which Rush will contact you about retrieving 4 pieces of Order contraband. These are marked by blue pins scattered in the area, though accomplishing this objective is not required to finish the mission. |
| 3 | 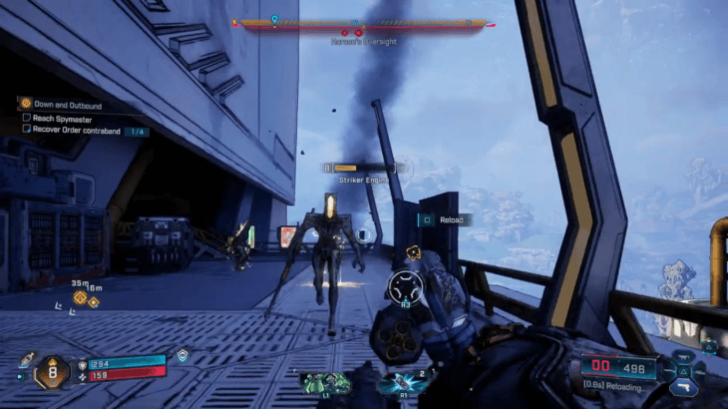 Follow the objective marker until you find stairs leading to a dark room with Spymaster. Clear the enemies guarding the path. |
| 4 | Once you've reached the boss area, defeat the Spymaster a.k.a. Horace! ▶ Horace Drops and Location |
| * | The Spymaster will summon either a flying Witness or a mechanical homing projectile. Prioritize shooting them down immediately, as they can flank you and deal significant damage if ignored. In phase two, the Spymaster will attack with his Scythe. Dodge these strikes by dashing left or right. The boss will also frequently fire volleys of projectiles. Use the pillars in the arena as cover to block incoming fire and minimize damage. |
| 5 | After beating Spymaster, loot the rewards and exit his boss arena. |
Objective 4: Find the Three Bolt Scanners
| # | Walkthrough |
|---|---|
| 1 | 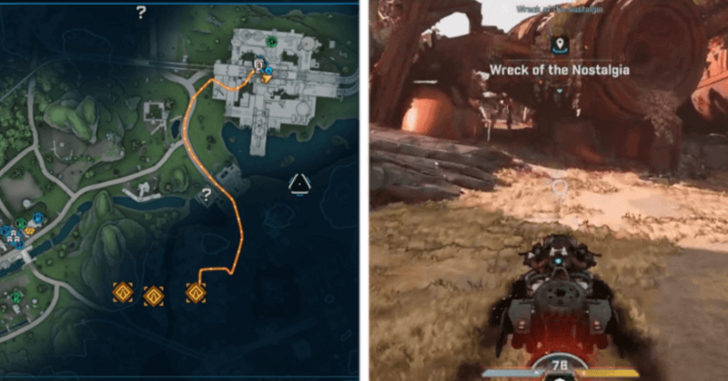 Using ECHO Location, leave the Order surveillance center to find three bolt scanner parts. There is no order to retrieving these parts. All are located in the Wreck of Nostalgia location marked by the mission objective. |
| 2 |  The first bolt scanner should be near the entrance and marked by a blue trail. Follow the trail to retrieve the first bolt scanner. |
| 3 | 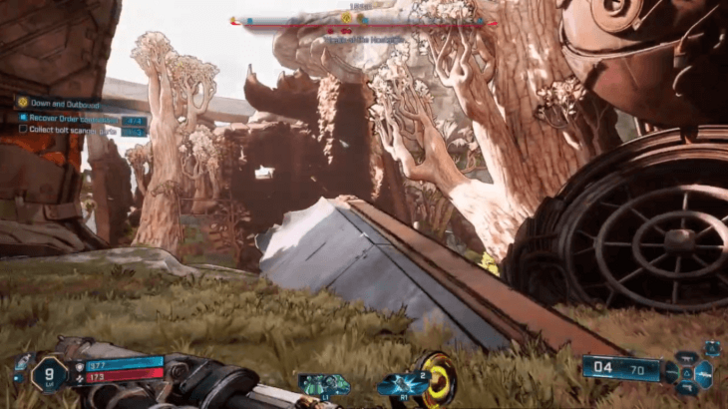 Running ahead, you will see a large pipe of metal jutting out. Run and jump off the ledge to reach the area on the other side. After killing the enemies there, climb the stairs to get the second bolt scanner. |
| 4 | 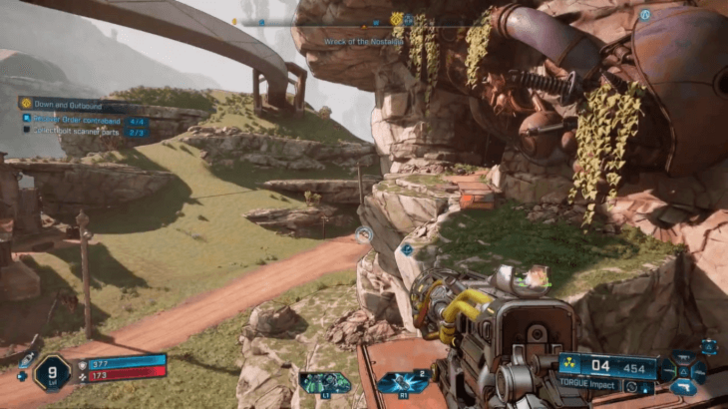 Off the ledge where you got the second bolt scanner, you will see a grassy cliff you can drop down on. There, the cave with the third bolt scanner is guarded by an enemy. Kill the enemy and get the item. |
| 5 | After getting all three bot scanners, return to Outbounders HQ to install them and scan Spymaster's bolt. |
Down and Outbound Contraband Locations
First Contraband Location - Rush's Books
| # | First Contraband Location |
|---|---|
| 1 | 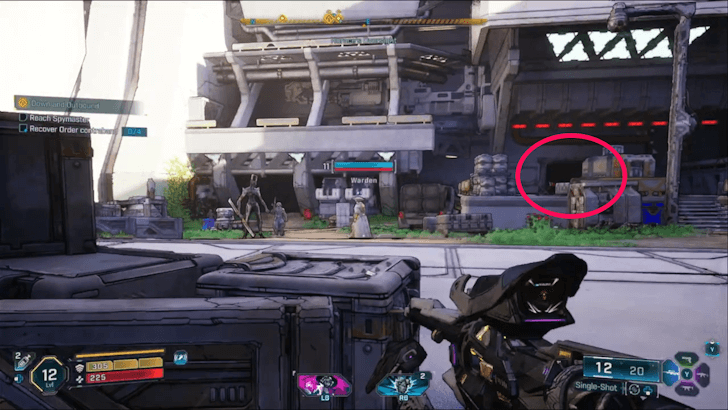 Instead of turning left in the first open area with enemies (just past the respawn beacon), there will be an open door located at the right of the area. |
| 2 | 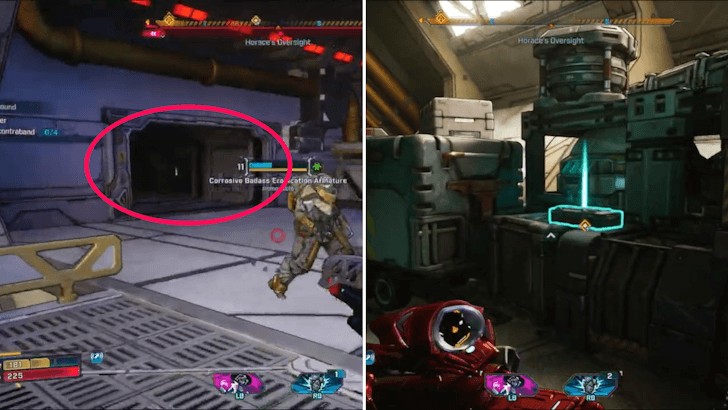 Defeat all of the enemies in this area, then head inside the open door. You will find the first Contraband item on top of some crates on the right. |
Second Contraband Location - Dice's Dice
| # | Second Contraband Location |
|---|---|
| 1 | 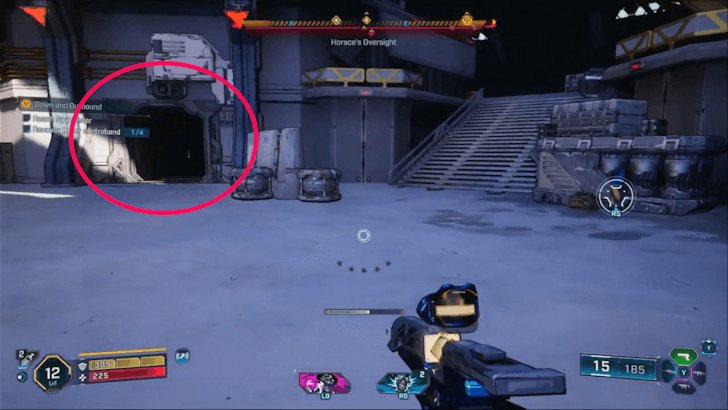 After clearing out the second area of enemies, you will find an open door to the left of the stairs that you need to climb to proceed. |
| 2 | 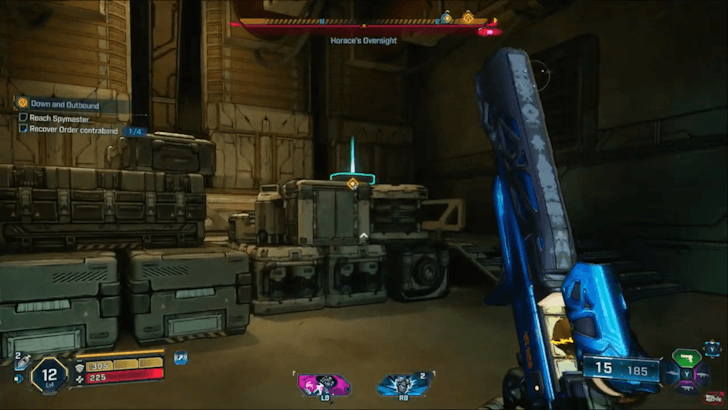 You will find the Contraband inside on top of two sets of crates. |
Third Contraband Location - Hair Products
| # | Third Contraband Location |
|---|---|
| 1 | 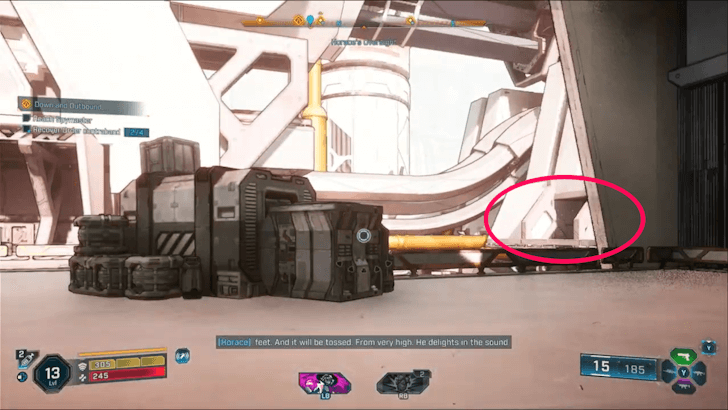 After reaching the upper area via a climbable wall, turn right to see another open door. Follow the path to your right to make your way toward it. |
| 2 | 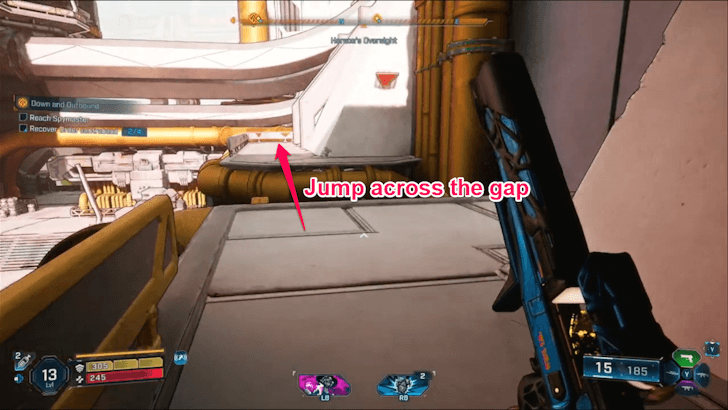 Jump across the gap to reach the open door. A double jump or jump and glide is enough to cross the gap. |
| 3 | 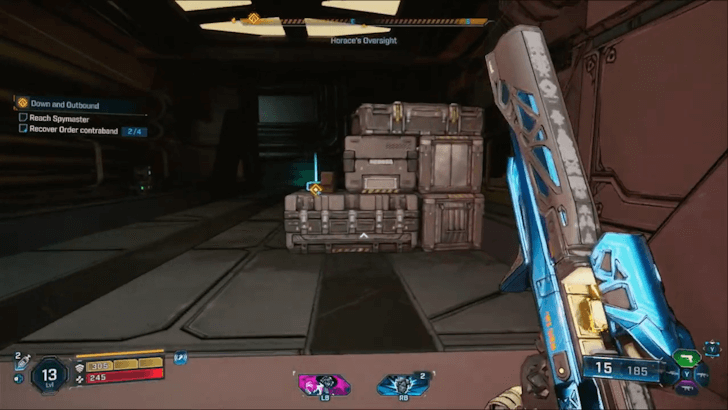 You will find the third Contraband immediately upon entering the room on top of some crates. |
Fourth Contraband Location - Victory Cookbook
| # | Fourth Contraband Location |
|---|---|
| 1 | 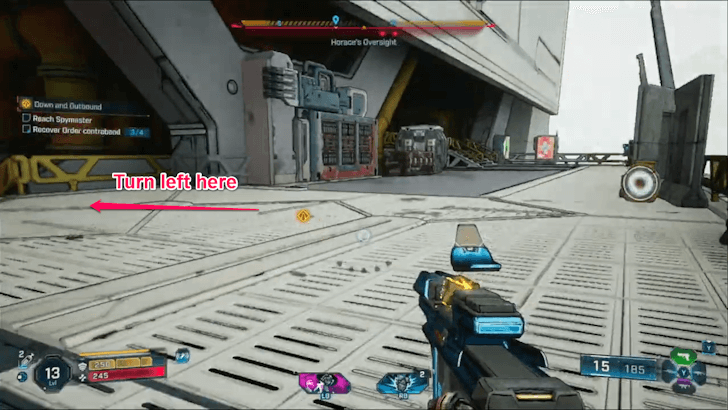 Upon reaching the area with the two vending machines, you will find the Contraband in the area to your left. Defeat the enemies that spawn before going to it. |
| 2 |  You will find the final Contraband on top of a crate behind the searchable trash container. |
Down and Outbound Rewards
| Main Mission Rewards | |
|---|---|
| Base Reward | • Cash • XP • Eridium |
| Equipment Reward | • Assault Rifle (Blue or Purple Rarity) |
| Cosmetic Reward | • Digital Frontier (Vault Hunter Style) |
Borderlands 4 Related Guides
All Main Missions
| # | Main Mission | ||
|---|---|---|---|
| 1 | Guns Blazing | ||
| 2 | Recruitment Drive | ||
| 3 | Down and Outbound | ||
| 4 | A Lot to Process | ||
| * | One Fell Swoop | Shadow of the Mountain | Wrath of the Ripper Queen |
| Rush the Gate | Crystal Brawl | Siege and Destroy | |
| ↓ | Dark Subject | Unpaid Tab | |
| His Vile Sanctum | Her Flaming Vision | ||
| 15 | Rising Action | ||
| 16 | Another Day, Another Universe | ||
| 17 | The Falling Wall | ||
| 18 | Means of Ascent | ||
| 19 | Plan Z | ||
| 20 | The Timekeeper's Order | ||
| 21 | Secrets of the Vault | ||
Author

Down and Outbound Walkthrough
Rankings
- We could not find the message board you were looking for.
Gaming News

![Monster Hunter Stories 3 Review [First Impressions] | Simply Rejuvenating](https://img.game8.co/4438641/2a31b7702bd70e78ec8efd24661dacda.jpeg/show)
![Marathon Cryo Archive Map Teased as [REDACTED] on Selection Screen](https://img.game8.co/4442236/6357203e58172f6de57f1991e7c39b22.png/thumb)


Popular Games

Genshin Impact Walkthrough & Guides Wiki
Umamusume: Pretty Derby Walkthrough & Guides Wiki
Pokemon Pokopia Walkthrough & Guides Wiki
Honkai: Star Rail Walkthrough & Guides Wiki
Monster Hunter Stories 3: Twisted Reflection Walkthrough & Guides Wiki
Arknights: Endfield Walkthrough & Guides Wiki
Wuthering Waves Walkthrough & Guides Wiki
Zenless Zone Zero Walkthrough & Guides Wiki
Pokemon TCG Pocket (PTCGP) Strategies & Guides Wiki
Monster Hunter Wilds Walkthrough & Guides Wiki


Recommended Games
Diablo 4: Vessel of Hatred Walkthrough & Guides Wiki
Cyberpunk 2077: Ultimate Edition Walkthrough & Guides Wiki
Fire Emblem Heroes (FEH) Walkthrough & Guides Wiki
Yu-Gi-Oh! Master Duel Walkthrough & Guides Wiki
Super Smash Bros. Ultimate Walkthrough & Guides Wiki
Pokemon Brilliant Diamond and Shining Pearl (BDSP) Walkthrough & Guides Wiki
Elden Ring Shadow of the Erdtree Walkthrough & Guides Wiki
Monster Hunter World Walkthrough & Guides Wiki
The Legend of Zelda: Tears of the Kingdom Walkthrough & Guides Wiki
Persona 3 Reload Walkthrough & Guides Wiki


All rights reserved
©2025 Gearbox Software. Published by 2K Games. Developed by Gearbox. Gearbox, Borderlands, and related logos are all trademarks of Gearbox Software, LLC. 2K and the 2K logo are trademarks of Take-Two Interactive Software, Inc. All other marks and trademarks are the property of their respective owners. All rights reserved.
The copyrights of videos of games used in our content and other intellectual property rights belong to the provider of the game.
The contents we provide on this site were created personally by members of the Game8 editorial department.
We refuse the right to reuse or repost content taken without our permission such as data or images to other sites.
how do you kill the Spaymaster